In this tutorial, we are going to learn about the General Settings in Rank Math. The General Settings contain the settings that affect the overall SEO efforts of your website and your links, images, and many other things.
That is why it is important to understand what the General Settings are, what they do, and how to configure them for the best results.
Let us begin.
You can reach Rank Math’s General settings through the WordPress menu. Hover over the Rank Math’s menu entry, and from the options that appear, select General Settings.
Once you’re there, you’ll notice that the General Settings are divided into many other settings or sections. This is to help find the exact setting you’re looking for faster.
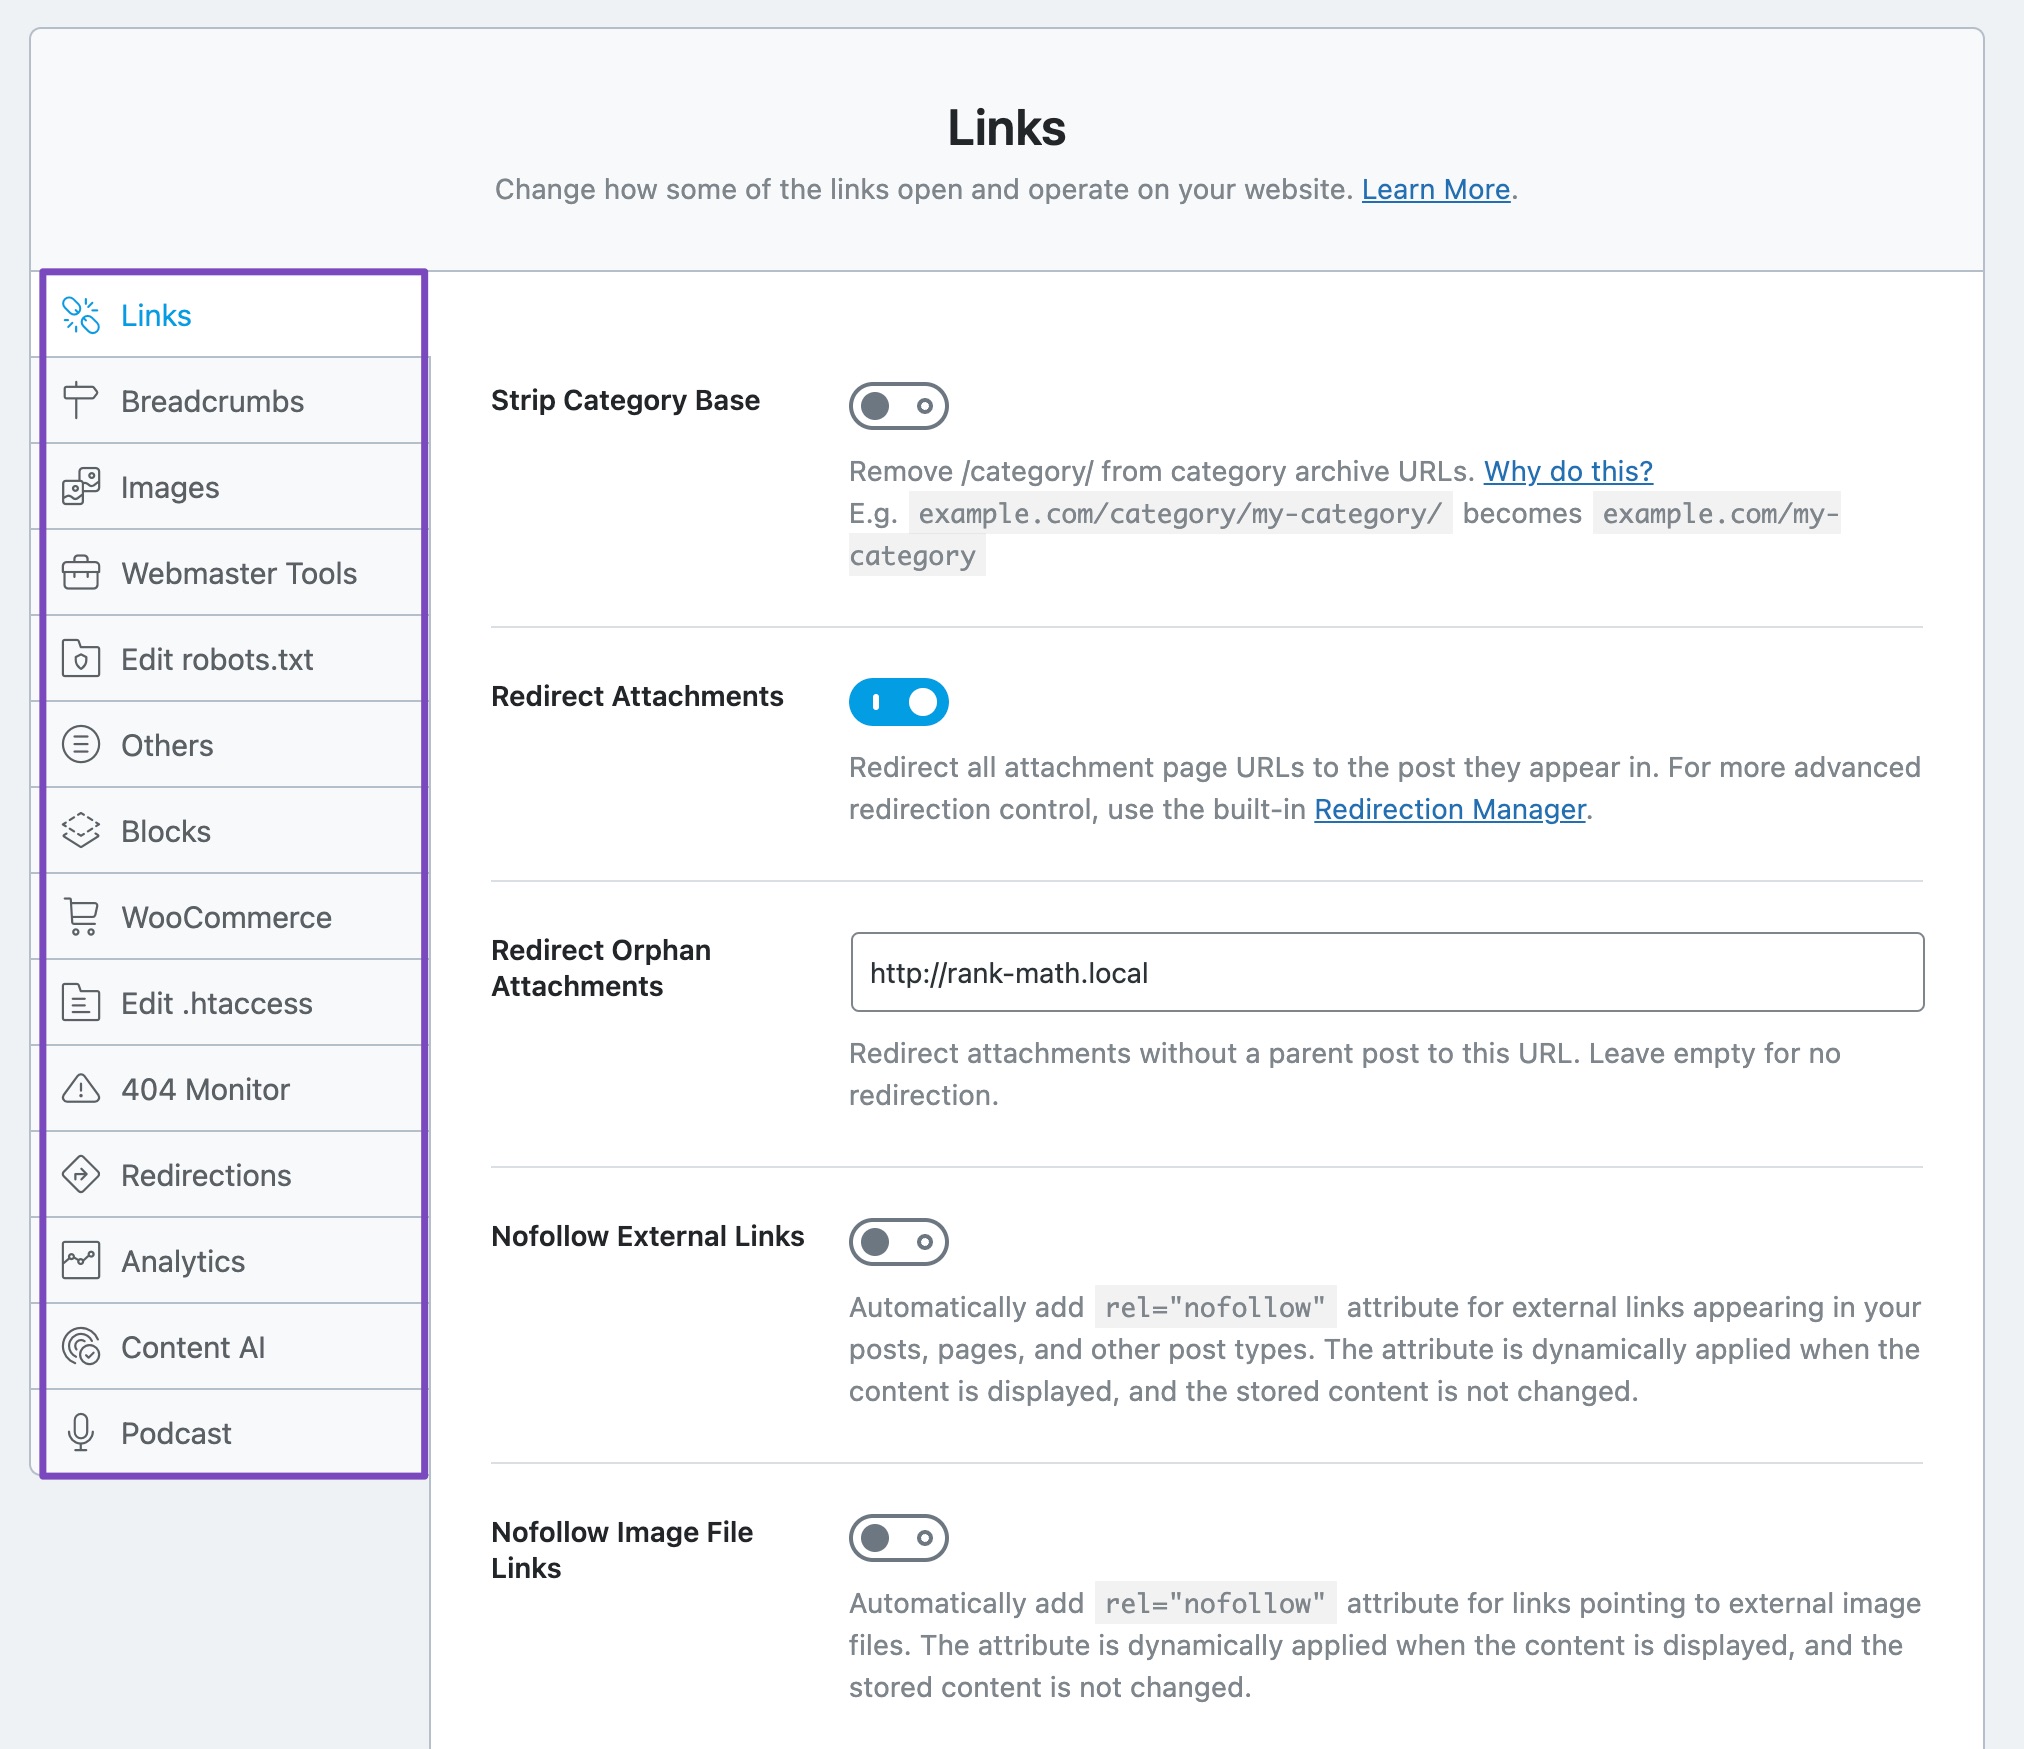
To find settings, you can use the sections on the left, and we’ve also included a handy search bar, which is even faster if you know what you’re looking for. Here is how it works.
Anyways, you should use the method you prefer. And if any of the settings discussed in this article isn’t available on your screen, then check if you’re using the Advanced Mode of Rank Math, as some of the settings are available only in the Advanced Mode. Here are all the settings in the General Settings of Rank Math.
Table of Contents
You can click any of the links to be taken to that section of the settings easily.
Let us get started with the Links section.
1 Links
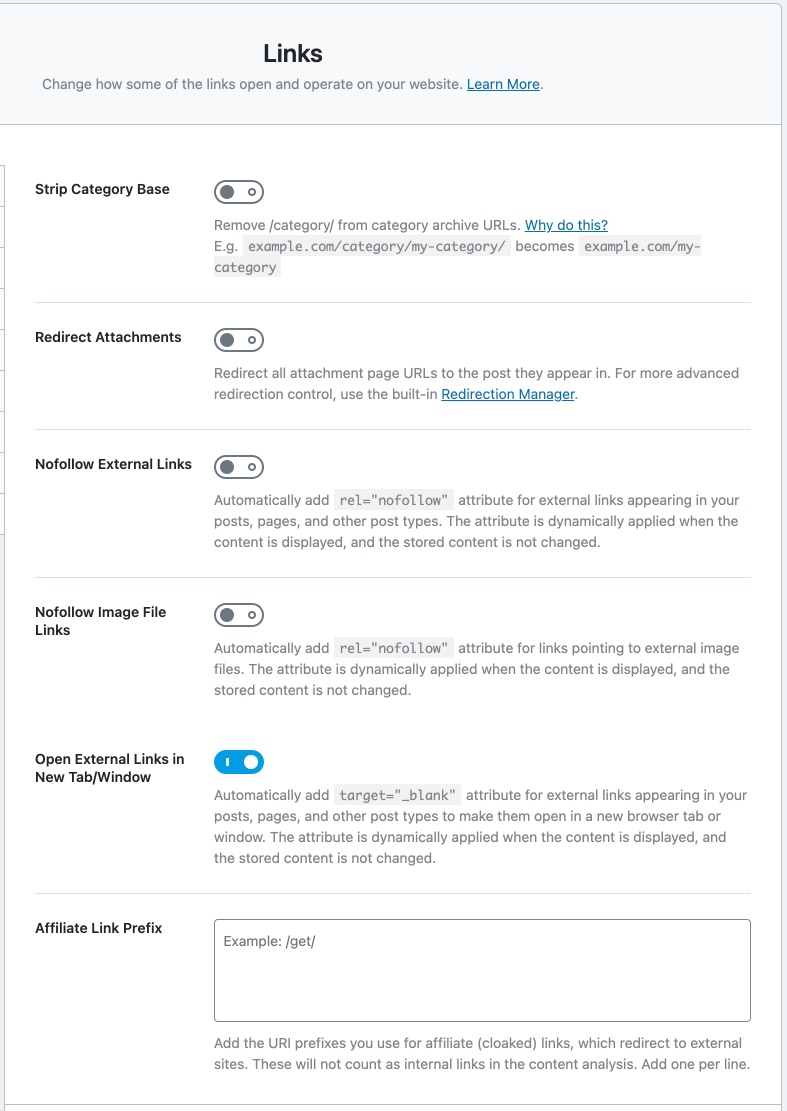
As you probably have guessed by now, the Links section has all the settings that modify the behaviour of links on your website. Here are all the settings you’d find in the Links section.
Let us understand each of the settings.
1.1 Strip Category Base
By default, your category archives will include the “category” base on the URL. For example, if you have an SEO category, then the archive page would look like this:
https://yourwebsite.com/category/SEO/If you enable this option, Rank Math will strip the “category” part of the URL, making the URL shorter. So, the URL will become:
https://yourwebsite.com/SEO/This option only affects the aesthetics, and there is no research or evidence to show that removing the category from the URL helps your SEO in any way. However, it does make the URL shorter and more appealing. The choice is yours; if you like shorter URLs, then enable this option.

1.2 Redirect Attachments
Enabling this setting redirects the URLs of your attachment pages to the post that are used in. For example, let us take a post with the URL yourwebsite.com/post-with-image. Let us assume that the post has an image with the name some-image-with-filename.jpg.
Now, the attachment URL of the image would be similar to yourwebsite.com/.post-with-image/some-image-with-filename/
If you enable this option, then if anyone (even search engines) tries to access the image with the URL.
yourwebsite.com/post-with-image/some-image-with-filename/,
They will be redirected to the post with the URL yourwebsite.com/post-with-image.
Doing this might seem insignificant, but it has plenty of SEO benefits, including distributing the SEO value of the links that your images and other attachments build over time. For these reasons, we recommend enabling this setting.

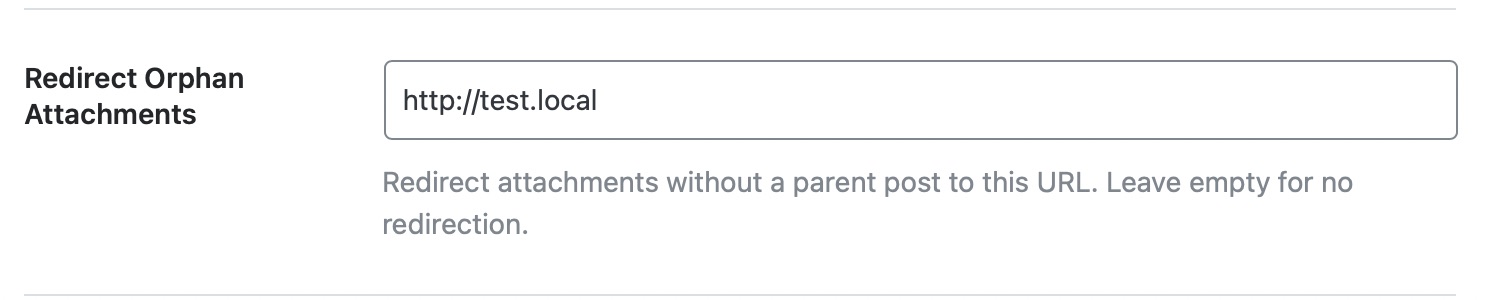
1.3 Redirect Orphan Attachments
Images and attachments that are not associated with any post on your website are called orphan media. In the section above, you chose whether you want to redirect attachment URLs to the post that contained them, but what about the attachments that do not have any posts attached to them?
That is where this setting comes into the picture. Here you can enter the URL where you’d like the URLs of Orphan Media to be redirected to. The preferred setting is your homepage URL.
1.4 NoFollow External Links
This option automatically no-follows external URLs on all your posts, preserving the SEO of your website. We recommend that you enable this setting only if all external links on your website are affiliate links or sponsored links. You can also take advantage of the exclusion and inclusion lists to select nofollow or follow for certain domains.

1.5 NoFollow Image File Links
This option works similar to the NoFollow External Links option above, but this option no-follows any external links to images. We recommend that you enable this setting.

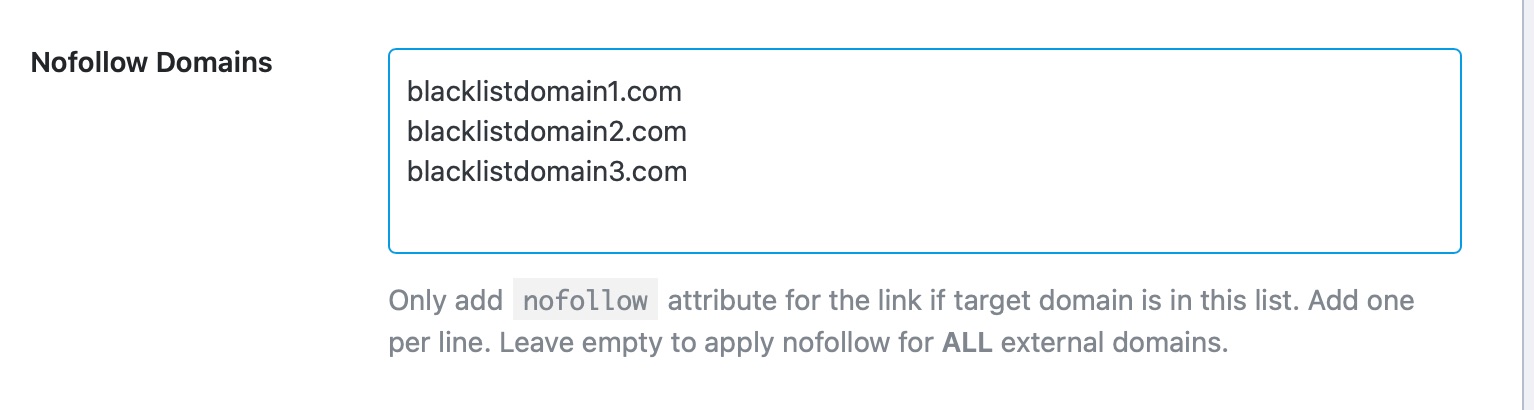
1.6 NoFollow Domains
This setting works in conjunction with the NoFollow External Links option listed above and acts as a blacklist for domains. Simply put, links from your website to any domains that you enter in this section will always be nofollowed.
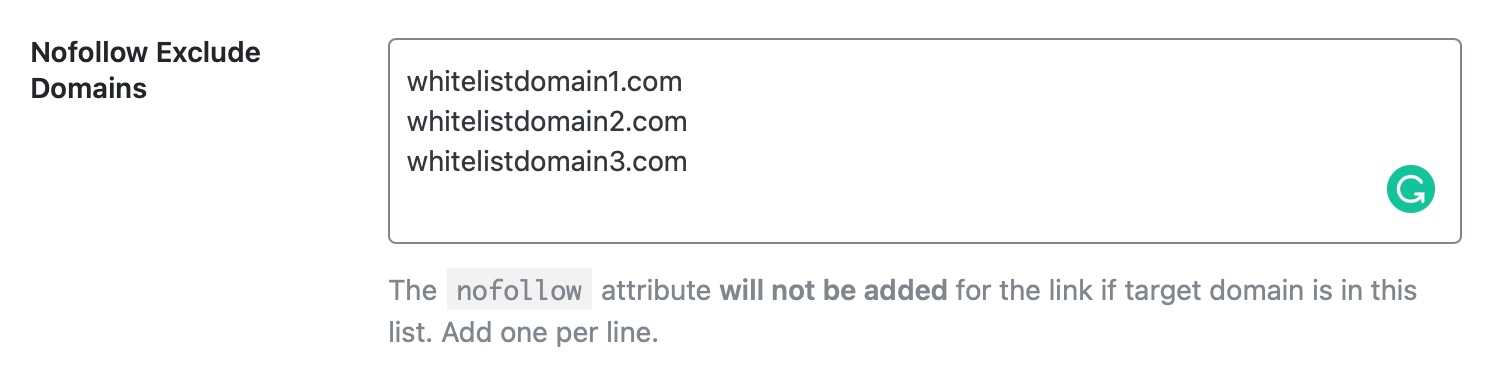
1.7 NoFollow Exclude Domains
This option also works in conjunction with the NoFollow External Links option, but it acts as a whitelist instead. It means that links from your website to any of the domains you enter in this section will be followed.
1.8 How NoFollow Whitelist and Blacklist Actually Work
Rank Math has three sections to manage the link properties of external links.
- NoFollow External Links
- NoFollow Domains
- NoFollow Exclude Domains
This has been done to give you the maximum amount of control over your links. However, it can be a little confusing to understand exactly how it works. Here is a breakdown of different scenarios which will help you understand how the three settings work together.
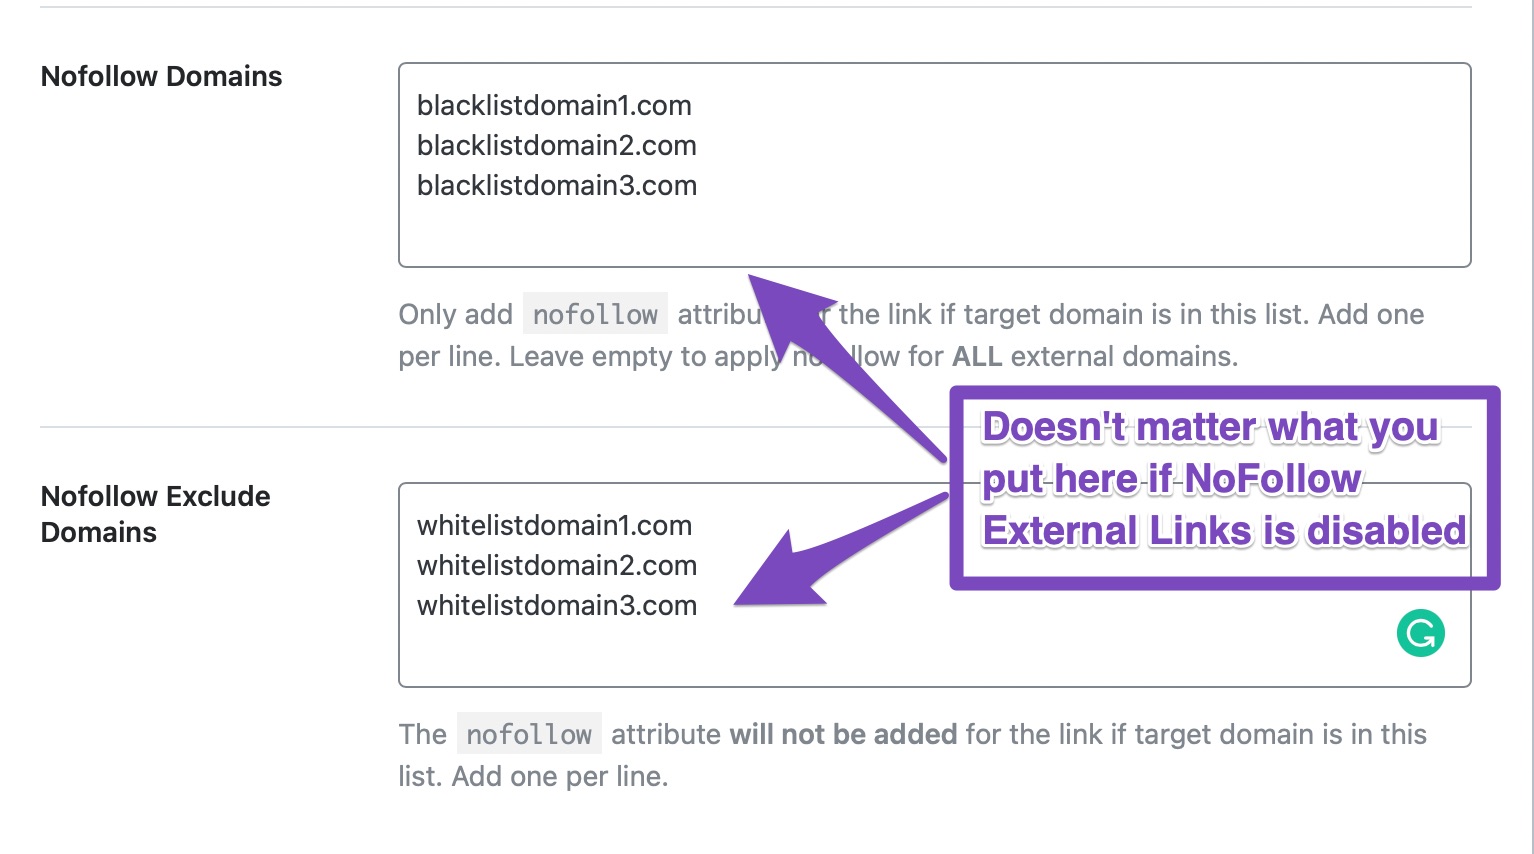
NoFollow External Links is Disabled
In this case, the NoFollow Domains and NoFollow Exclude Domains sections can be ignored, as they will have no effect, even if you add domains to either of the sections.
NoFollow External Links is Enabled
In this case, there are again two possibilities.
- NoFollow Domains is Blank: In this case, all external links will be no-followed, except for the domains that are included in the NoFollow Exclude Domains section.
- NoFollow Domains has domains listed: In this case, only the links to the domains listed in the NoFollow Domains will be no-followed, rest of the links will be followed. In this case, the NoFollow Exclude Domains section holds no weight.
To explain simply, if you disable the NoFollow External Links setting, then links will keep working for you as normal. By default, all links would be created followed, and you would have to manually nofollow them.
However, if you enable the NoFollow External Links section, then all external links will be no-followed. You can then use the NoFollow Domains (Blacklist) or the NoFollow Exclude Domains (Whitelist) to narrow the domains you want to nofollow. Note that you can either use the blacklist or the whitelist to manage external links, but you cannot use them at the same time.
Can Redirects Be Used?
While adding domains to NoFollow Domains and NoFollow Exclude Domains, ensure that you’re adding domains exactly the same as you’re adding to your content.
This case is well suited for using short links and affiliate links, where the final URL & domain are often different from the ones you’re adding to your website.
For instance, if you’re shortening your URL (https://final-destination.com/product-page/) to something like (https://example.com/product) and adding this example.com link to your website, then Rank Math can only detect the presence of example.com domain links in your content and apply/exclude nofollow according to how you’ve configured.
So, in this case, you should add the exact domain you’re linking to in the NoFollow Domains / NoFollow Exclude Domains field and not their final destination.
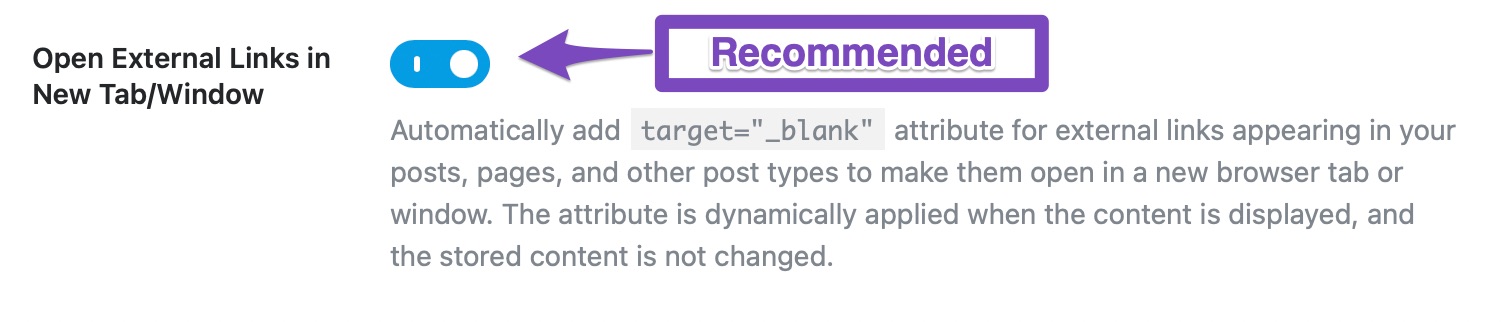
1.9 Open External Links in New Tab
This option applies the target = "_blank” attribute to external links, which will open them in new tabs or windows. We recommend that you enable this setting.
Once you enable the setting, the target attribute is added dynamically on the frontend without making any changes to the actual content. So even if you have not configured this setting to individual links with the link controls option, the external links will now open in a new tab.
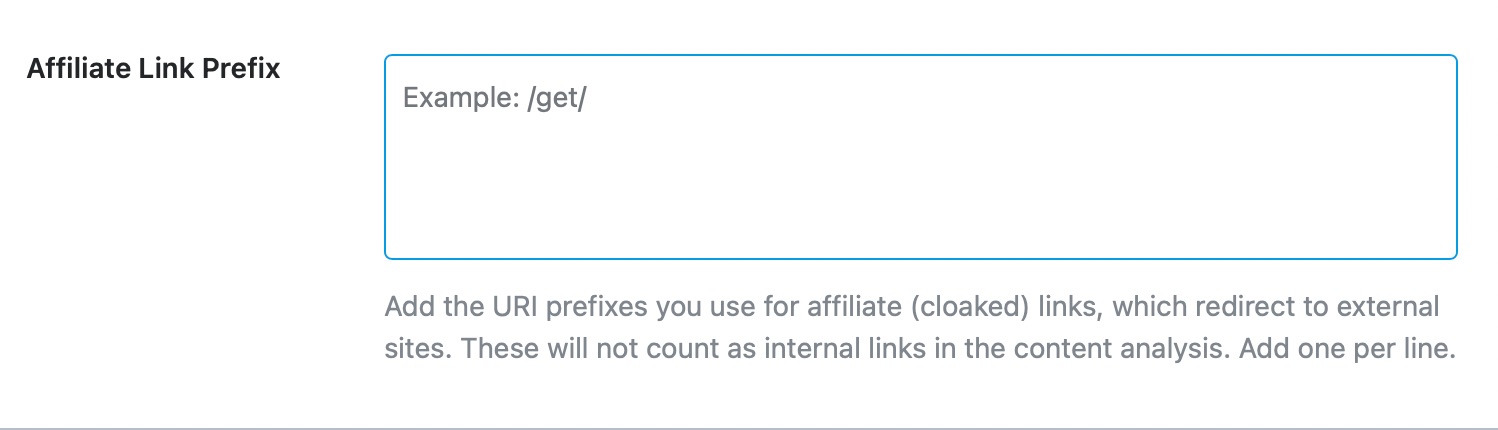
1.10 Affiliate Link Prefix PRO
Sometimes, affiliates need to differentiate cloaked links from regular internal links. Traditionally, all links with your domain as prefixes are counted as internal links. And most automation tools skip cloaked links thinking they are internal links.
With this link prefix option, you can choose the URL base for your cloaked links so Rank Math can automatically count them as outgoing links in the content analysis.
If you are using domain.com/go/ as the base for cloaked URLs, then enter /go/ like this in the field.
In addition to that, Rank Math automatically includes rel="sponsored" attribute for these links (if not added already), in compliance with search engines guidelines for affiliate links.
This concludes the Links section of the General Settings in Rank Math. Let us move on to the next section on the list, the Breadcrumbs section.
2 Breadcrumbs
Breadcrumbs are navigational elements that let users understand where they are on a certain website and also help them navigate the website in an easy-to-understand manner.
In simple terms, they can be compared to “You’re here” signs in large parks, as they both achieve similar things.
Here is an example of how breadcrumbs appear on a website.

Yes, these are breadcrumbs from the article you’re reading right now.
The Breadcrumbs setting in Rank Math lets you configure Breadcrumbs. When you open this section, you’ll only see one setting.
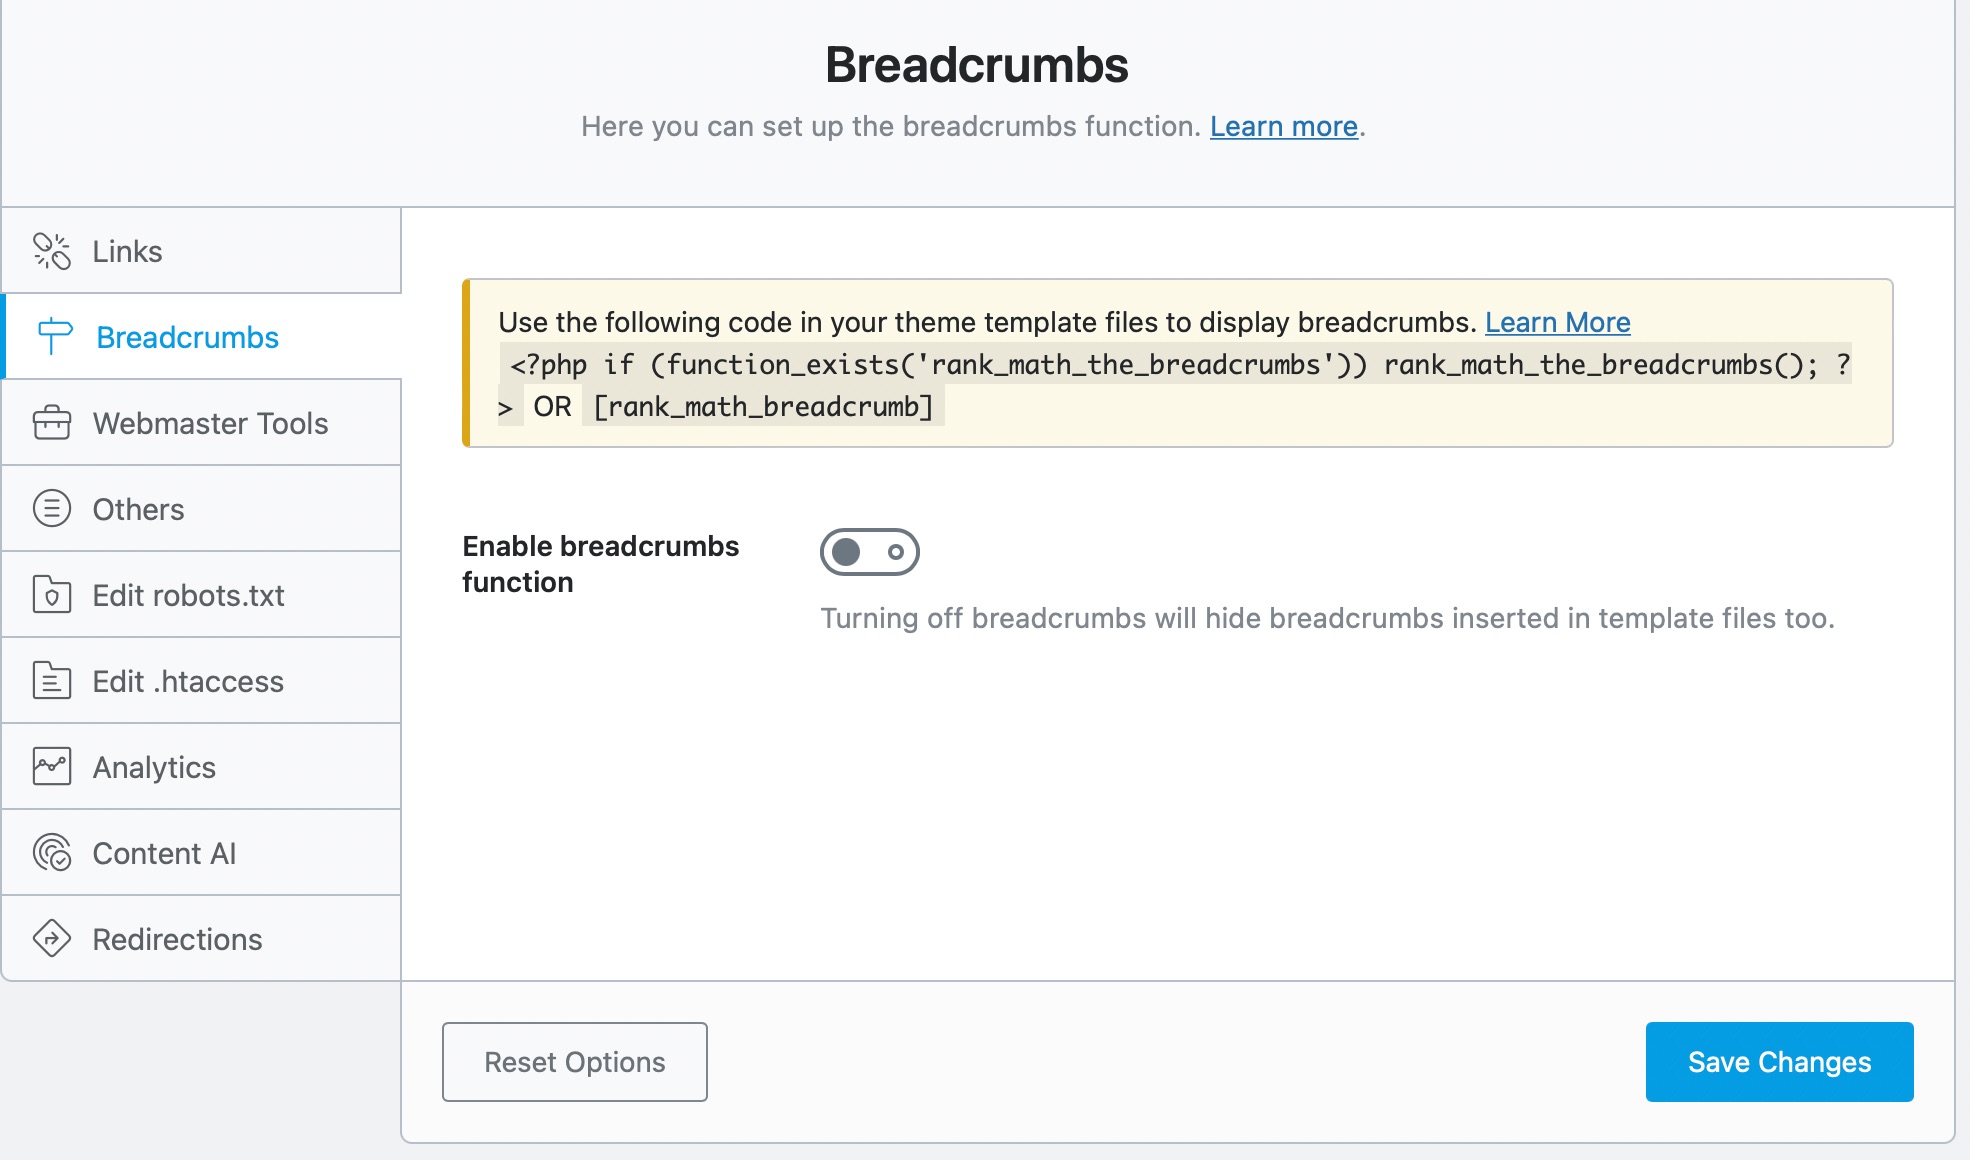
That’s because Breadcrumbs are turned off, and there is no need to show any of the other settings. Once you have enabled breadcrumbs, all the other settings will appear on the screen.
Important Note: If you want Rank Math to handle your site’s breadcrumbs, you may need to ask your theme developer to disable or remove any existing breadcrumbs added by them. After that, you should also add a filter related to Rank Math’s Breadcrumbs on your theme files. This will help the breadcrumbs to appear on your site’s front end accordingly.
Let us understand each of the options one by one.
2.1 Enable Breadcrumbs Function
This setting enables breadcrumbs on your website. Breadcrumbs help users navigate your website and also help search engines index your content efficiently. We recommend that you enable this setting.

Once you’ve enabled the breadcrumbs function, you’ll need to add the code snippet/shortcode to your website for the breadcrumbs to display on the frontend.
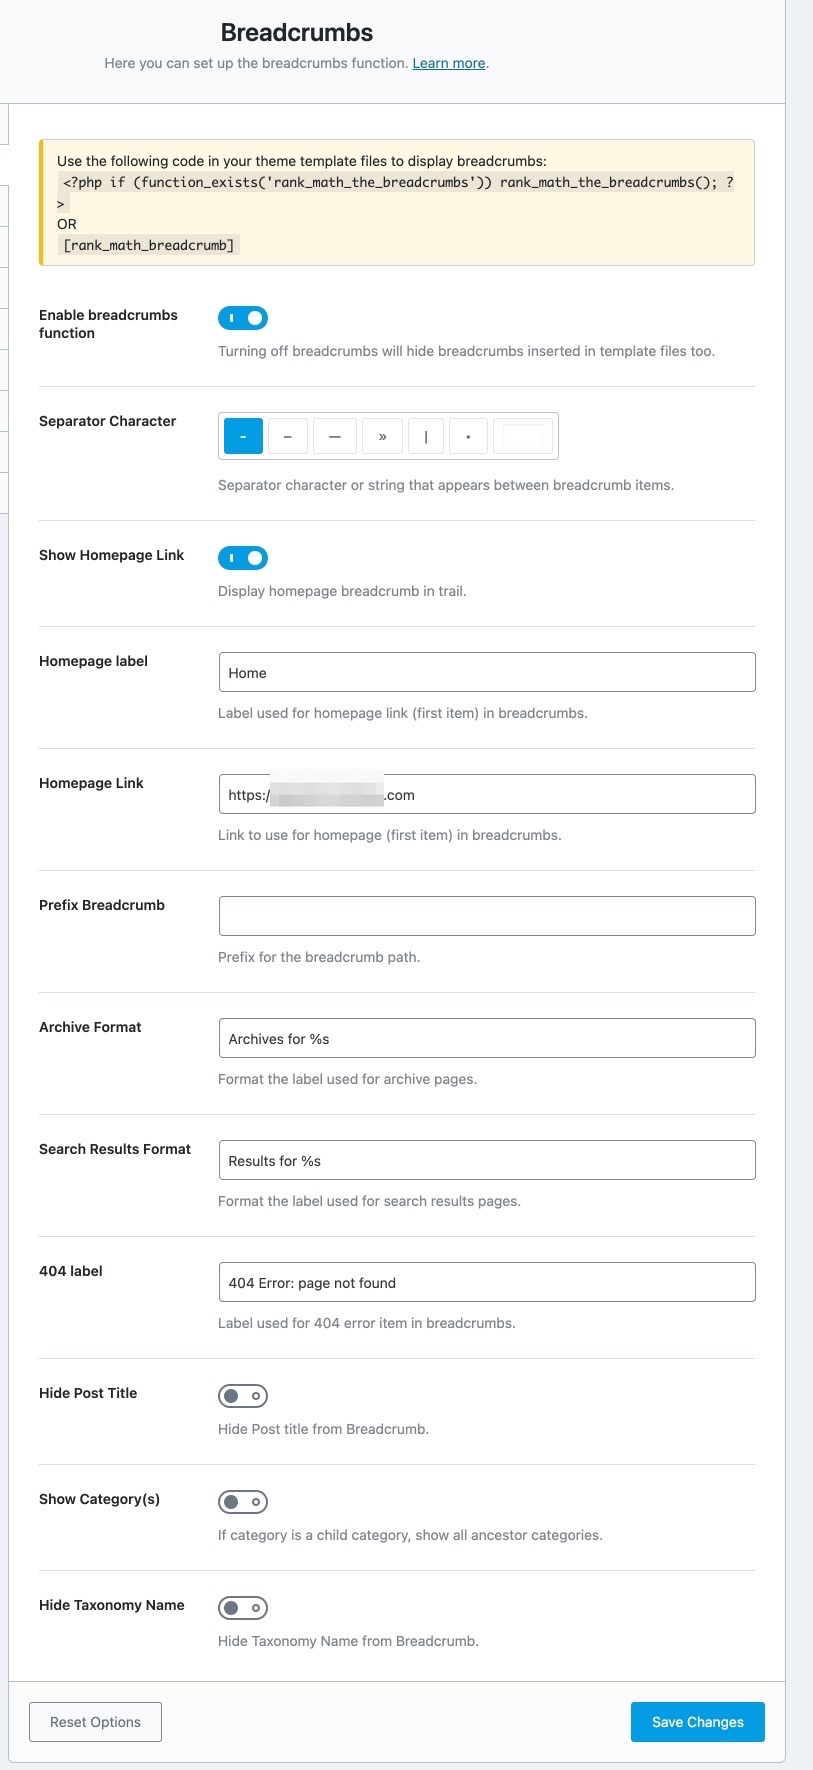
2.2 Separator Character
This option helps you set a Separator Character for your breadcrumbs. There are many options available, so choose the one you prefer. You can also set a custom separator character by typing it in the last field.
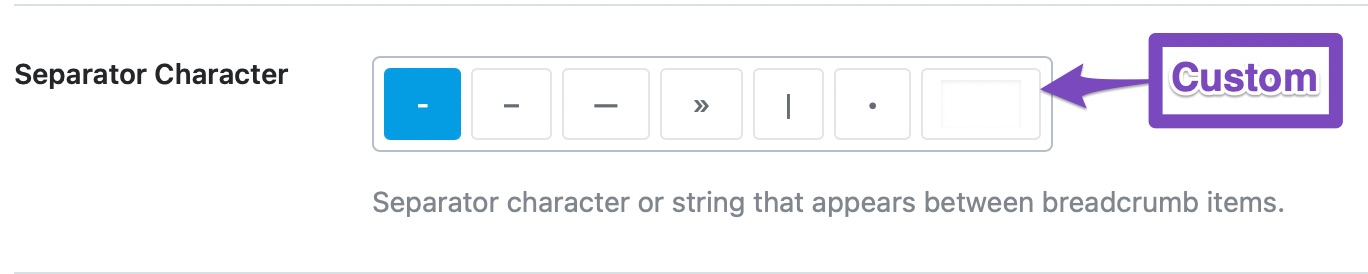
You might have missed it, but guess which separator character are we using?

2.3 Show Homepage Link
If you want your homepage to be included in the breadcrumbs, enable this option. This is more of personal preference, but we’ve seen most websites do include the homepage in their breadcrumbs.

If you enable the Homepage Link, two new settings will pop up under it.
2.4 Homepage Label
Here you can configure what label to give the homepage of your website. All you have to do is type in the label that you want to assign to your homepage.

For example, we have included the homepage link in our breadcrumbs, and the label we’ve assigned is home.

2.5 Homepage Link
This option lets you configure where will the homepage link take the visitor. This is particularly useful when you have many sections of your website like a blog, a store, or others. Using this option, you can configure the breadcrumb to take your visitor anywhere you prefer.

2.6 Prefix Breadcrumb
If you’d like to add a prefix before your breadcrumbs, you can use this option to do so. Popular options would be to add “You are here”, “Navigation”, “Index”, etc.

2.7 Archive Format
This option lets you set a breadcrumb format for the archive pages. You can customize it completely, but we recommend that you don’t remove the “%s” from it, as it represents the taxonomy.

2.8 Search Results Format
This option lets you set a breadcrumb format for search result pages. Popular options are, “You searched for”, “Here is what I found for”, etc. We would recommend that you don’t remove the “%s” from the field.

2.9 404 Label
This option lets you set a breadcrumb format for your 404 pages.

2.10 Hide Post Title
Enabling this option lets you hide the title of the post from the breadcrumb.

For example, here is the breadcrumb of one of our articles with the title.

If you enable this setting, the breadcrumb will change to:

2.11 Show Category(s)
This option enables ancestor categories in the breadcrumbs. What it does is that if your current post is part of a child category, then the breadcrumb will include the parent categories as well. We recommend that you keep this disabled to keep your breadcrumbs small and precise.

2.12 Hide Taxonomy Name
If you use any other taxonomy other than categories, then you can use this option to enable or disable the inclusion of the taxonomy in the breadcrumb. Our recommended setting is “Off”.

2.13 Show Blog Page
If you want to display your Blog page in Breadcrumb, then you can enable this option. This is more of your personal preference.

This covers all the settings in the Breadcrumbs section. Let us move on to the next section, the Images.
3 Images
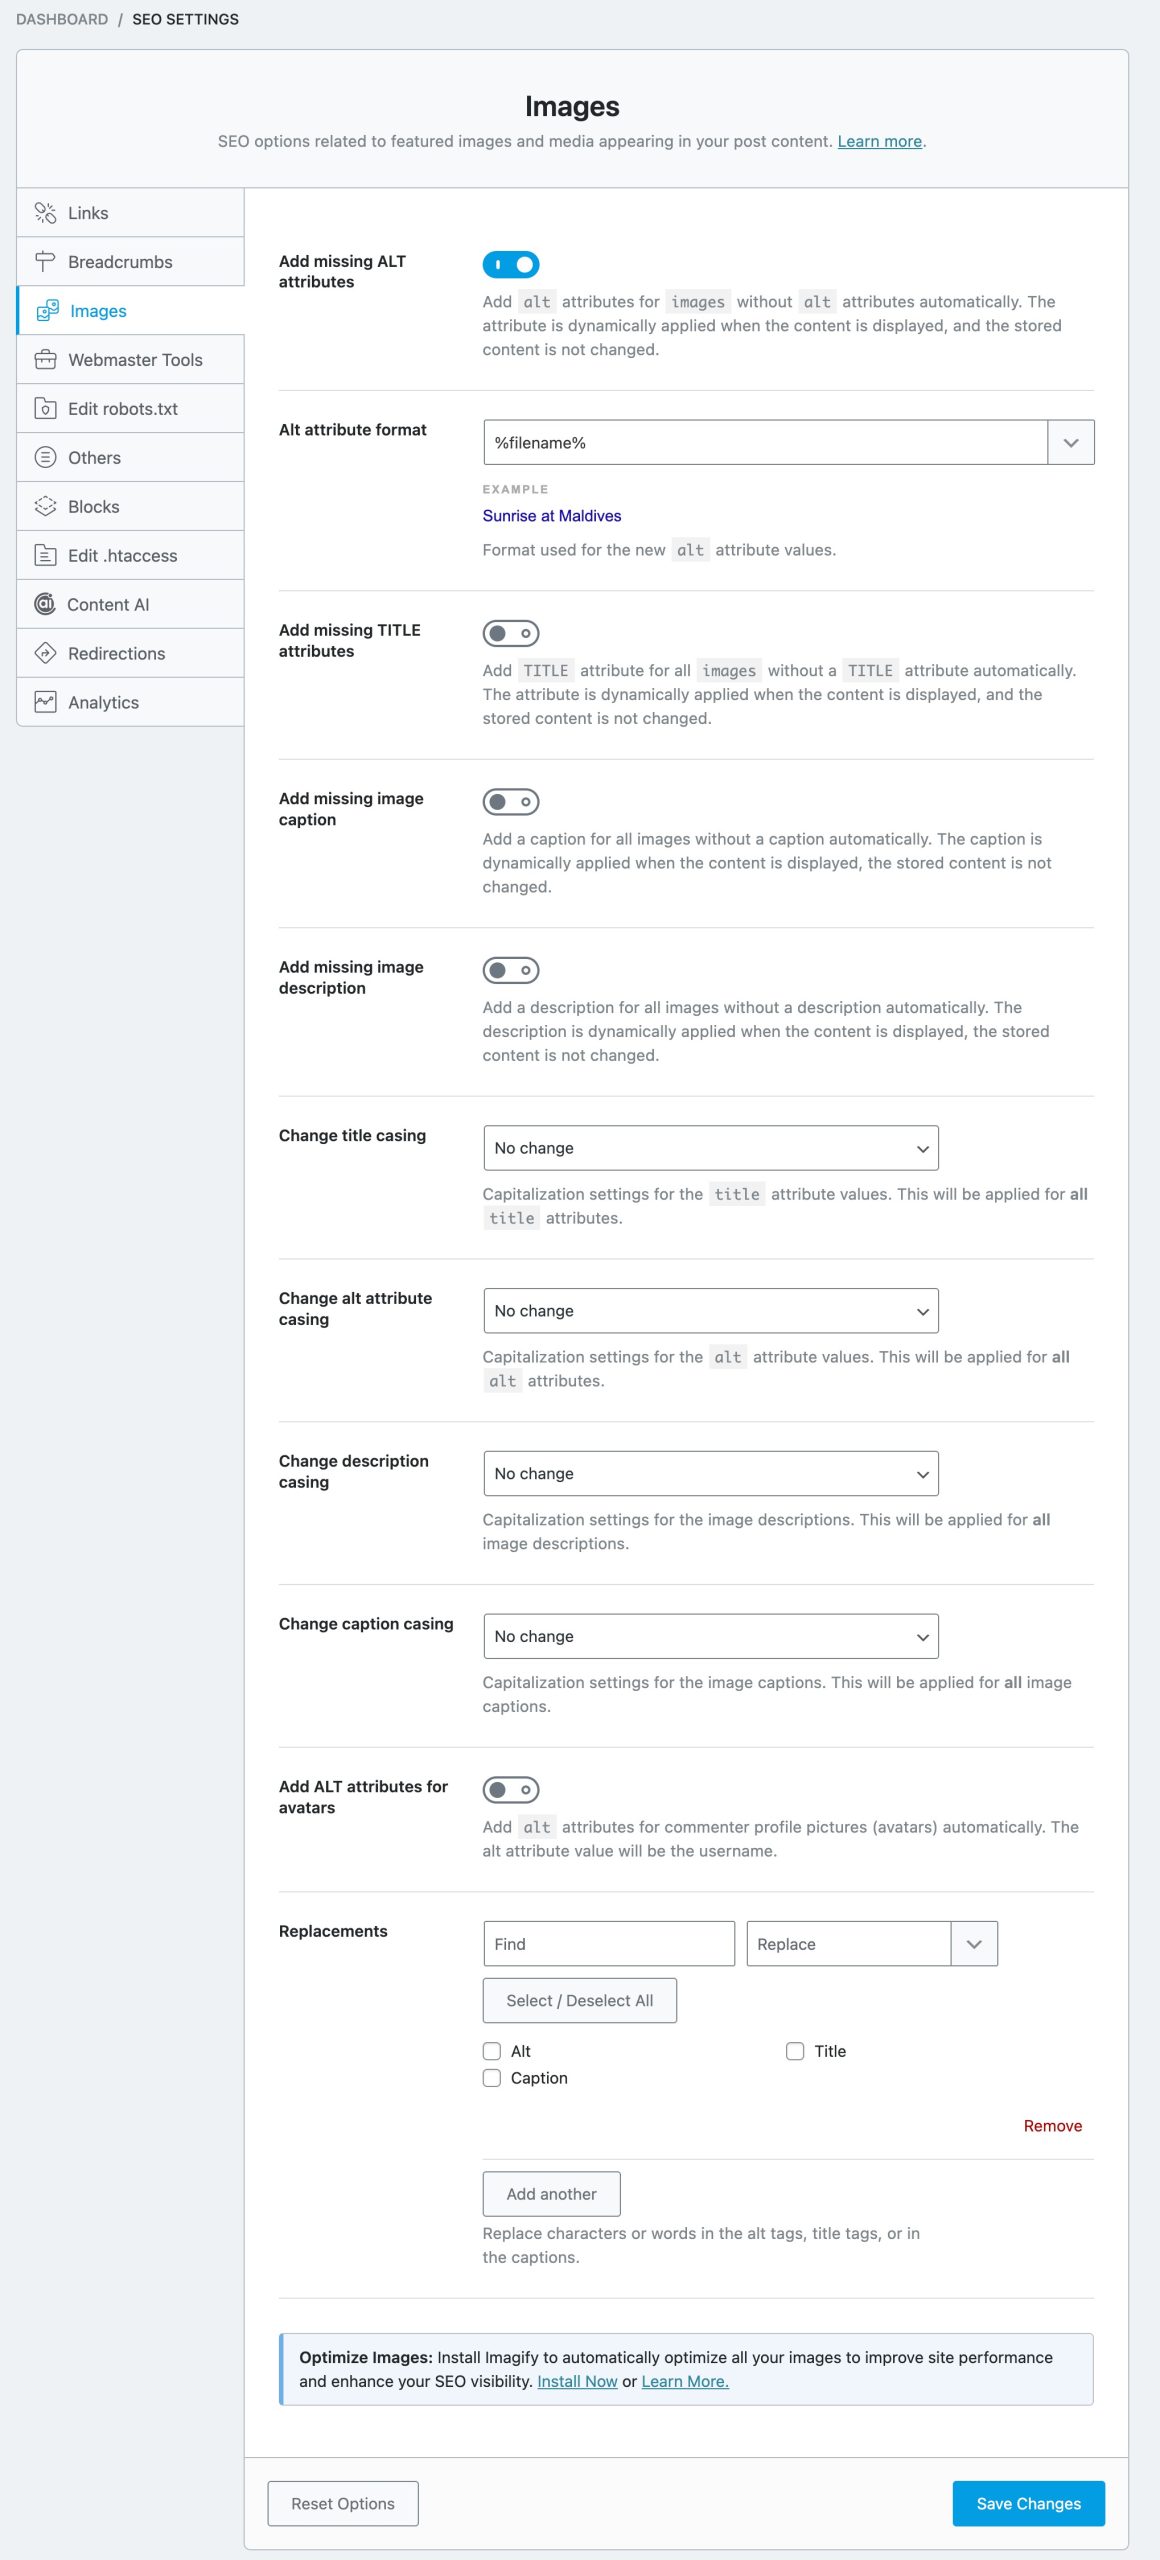
When you open the Images section, you’ll notice the settings as shown below:
Note: The features of Image SEO are only applicable to the images inside the content (blog posts/articles). For optimizations outside the content area, you should ensure that your theme that is accessibility-ready and optimized.
To utilize all these Image SEO features, you need to ensure that the Image SEO module is enabled from Rank Math’s dashboard.
Let us explore each of the settings.
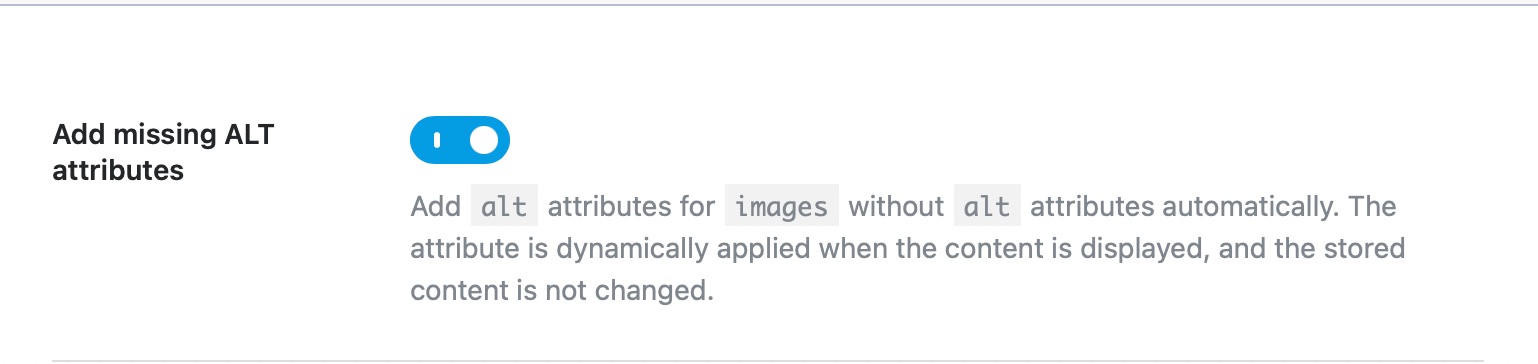
3.1 Add Missing Alt Attributes
Alt attributes are HTML attributes that are considered as “alternative” text versions of images that are displayed on a website when the image is not available or when a visitor wants the text alternative. These attributes can be very helpful when one cannot view images in their browsers. A sample alt attribute is given below:
<img src="img_man.jpg" alt="Man in a jacket" width="500" height="600">
Importance of Alt Attributes:
- Images that Fail to Load: Alt attributes are used to increase the visibility of websites, which are not loading properly and also to improve the user experience. You will get an idea of what the picture is about, in case, if it fails to load due to a low-bandwidth internet connection.
- Visually Impaired Visitors: The alt attribute is a key element of the Web for people who are blind or visually impaired. It provides text that can be read by screen readers or any other programs that read out loud what an image contains.
- Search Engine Optimization: Sometimes, search engines won’t be able to access images on a website. Alt text provides search engines with additional information about the image content on the web pages, thereby helping to boost SEO. Also, image search engines such as Google Images and Bing use alt text to select the best image in response to a search query. For example, when a user searches for a product on a search engine, it will showcase the best images that consist of detailed and relevant alt text information.
Enabling this setting will add Alt Attributes to all the images that do not have their alt text set. Since the alt text is valuable to search engines in understanding your images, we recommend that you enable this setting.
3.2 Alt Attribute Format
If you’ve enabled the Add missing Alt Attribute option, the next question is, how does Rank Math know what an image is about? Actually, Rank Math does not know, and it relies on you to help answer the question with the Alt Attribute Format.
The Alt Attribute Format helps you create a pre-defined format that will be used to create alt text for images. Instead of relying on generic names, Rank Math lets you use the supported variables to create a useful format.

The default variable configured here is %filename%, i.e. the name of the file will be used as the ALT text. You are free to use other variables or static text.
Selecting a variable will update the live preview below it, which will help you understand how the final alt text will be.
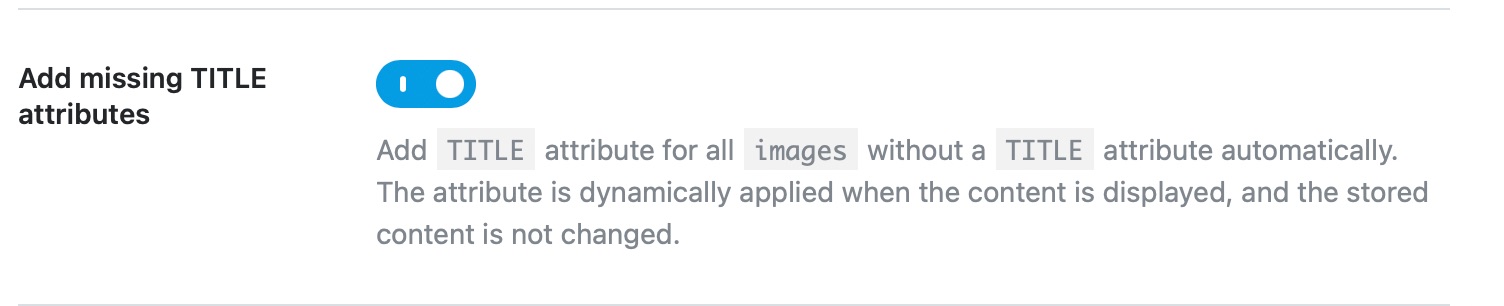
3.3 Add Missing Title Attributes
This option automatically adds the Title attributes to the images without a title. A title also helps search engines understand your images better, and we recommend that you enable this setting.
3.4 Title Attribute Format
The Title Attribute Format option works similar to the Alt Attribute format, the only difference being that it helps define a format to create the image’s title. Use the variables and live preview to create a format.
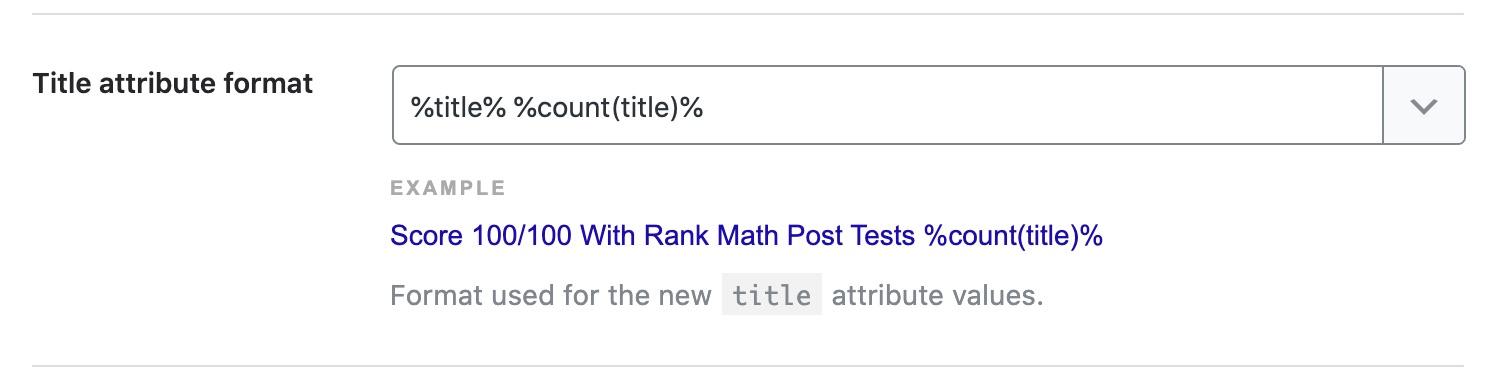
The default format is set to be %title% %count(title)%, but you can always edit and use a combination of static text and variables as well.
3.5 Add Missing Image Caption PRO
Add Missing Image Caption automatically adds a caption for all the images. Enable this option to add the captions to the images.

3.6 Caption Format PRO
This option would be visible only if you enabled the previous option, Add Missing Image Caption.
The Caption format helps to define the format used for the new captions. The default format is set to %title% %count(title)%. You can use the variables and live preview to create a format.
3.7 Add Missing Image Description PRO
The option Add Missing Image Description will let you add a description to the images that do not have any description set. Image description helps the search engines to understand the image better.

3.8 Description Format PRO
Description format works similar to Caption format, and the only difference is that it helps to define a format for the new descriptions. Use the variables to create the format. Again, this option would be visible only if you had enabled the previous option Add missing image description.
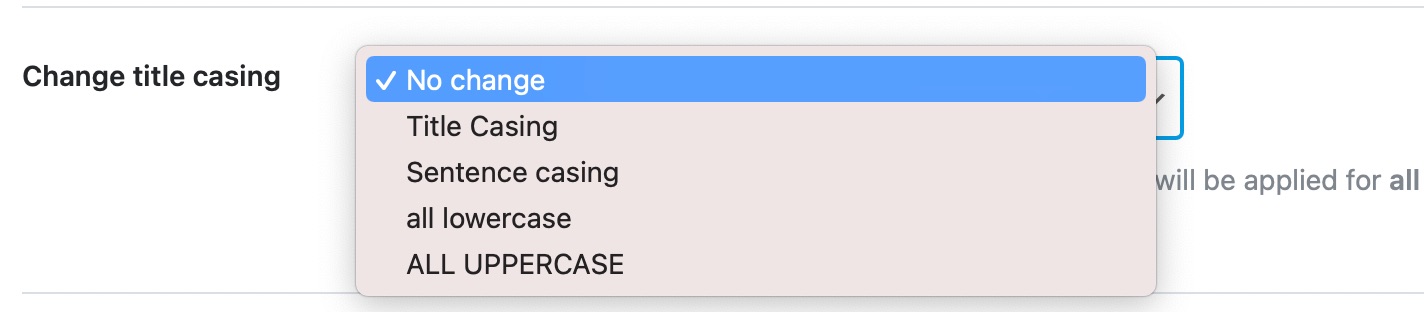
3.9 Change Title Casing PRO
This option lets you change the title case. You can select one from the available options, and all the title attributes will be changed accordingly.
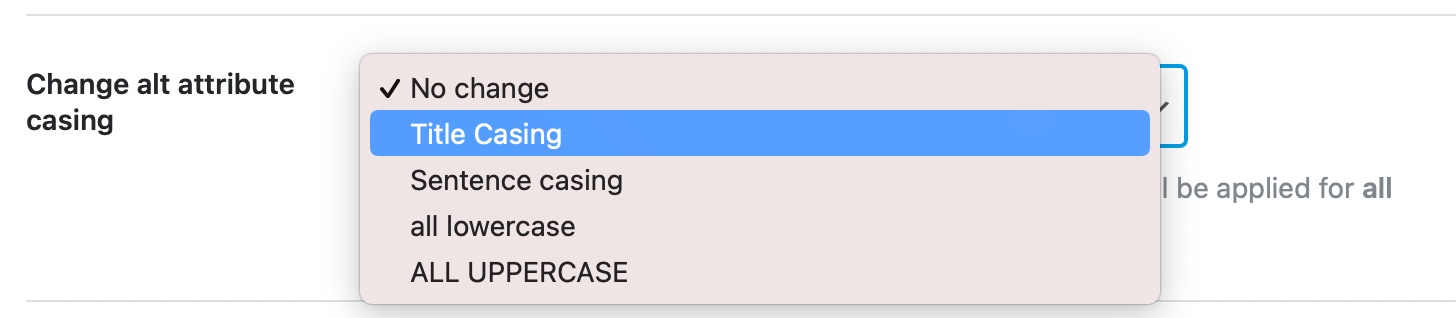
3.10 Change Alt Attribute Casing PRO
This option changes the Alt Attribute casing. The setting will be applied for all Alt attributes.
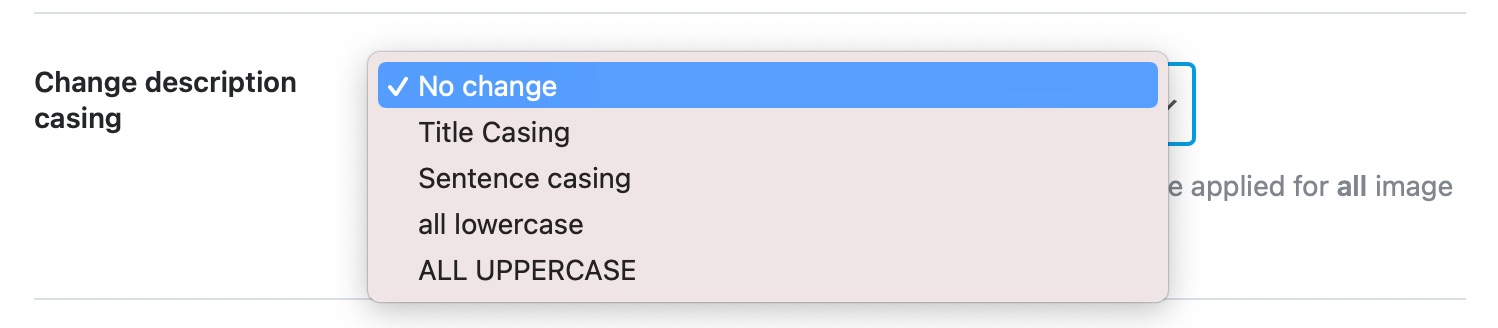
3.11 Change Description Casing PRO
This option helps to change the capitalization settings for the image descriptions. This will be applied to all the image descriptions.
3.12 Change Caption Casing PRO
This option helps to change the capitalization settings for the image captions. This will be applied to all image captions.

3.13 Add Alt Attributes for Avatars PRO
This option helps to add Alt attributes for the avatars used in the commenter profile pictures.
3.14 Replacements PRO
This option allows you to replace characters or words in the alt tags, title tags, or captions. Enter the characters or words in the Find field and the replacement in the Replace field.
Alternatively, you can click the dropdown arrow next to the Replace field to select an option from the list of available variations, as shown below. Remember, you can always use the Add another button below to add more replacements.
Once you finish any changes in the Images section, click the Save Changes button to save your settings. This covers all the settings in the Images section; now, let’s move on to the Webmaster Tools section.
4 Webmaster Tools
Webmaster Tools is the section where you can take the necessary steps to verify your website with various webmaster tools. There are many tools supported, and here is an image that shows all the supported webmaster tools.
Before getting into the verification process, let us understand how the verification process works.
4.1 How Does Webmaster Verification Work
Almost all webmaster tools have similar verification processes. The specifics might be different, but the overall principle is the same. Here are the steps that usually take place.
- You tell a search engine (or another service) about a “property” and claim to own it
- The webmaster tools generate a piece of code that you need to place on your website
- You place the code on your website, proving that you have access to the site and your ownership
- Your property is verified and stays verified till the code is present
The reason why we specify the process is that we won’t be discussing the specifics of getting your website verified with all the webmaster tools. Rather, we will demonstrate the process on one of the webmaster tools, and you can learn the process there. Actually, you don’t even have to verify your website with all the webmaster tools, only for the ones that you want to.
Here are all the supported Webmaster Tools:
- Google Search Console
- Bing Webmaster Tools
- Baidu Webmaster Tools
- Yandex Verification ID
- Pinterest Verification ID
- Norton Safe Web Verification ID
- And more
Let us demonstrate how to verify your website for Google Search Console (formerly known as Google Webmaster Tools).
Start by going to the Google Search Console website, and clicking the “Start Now” button.

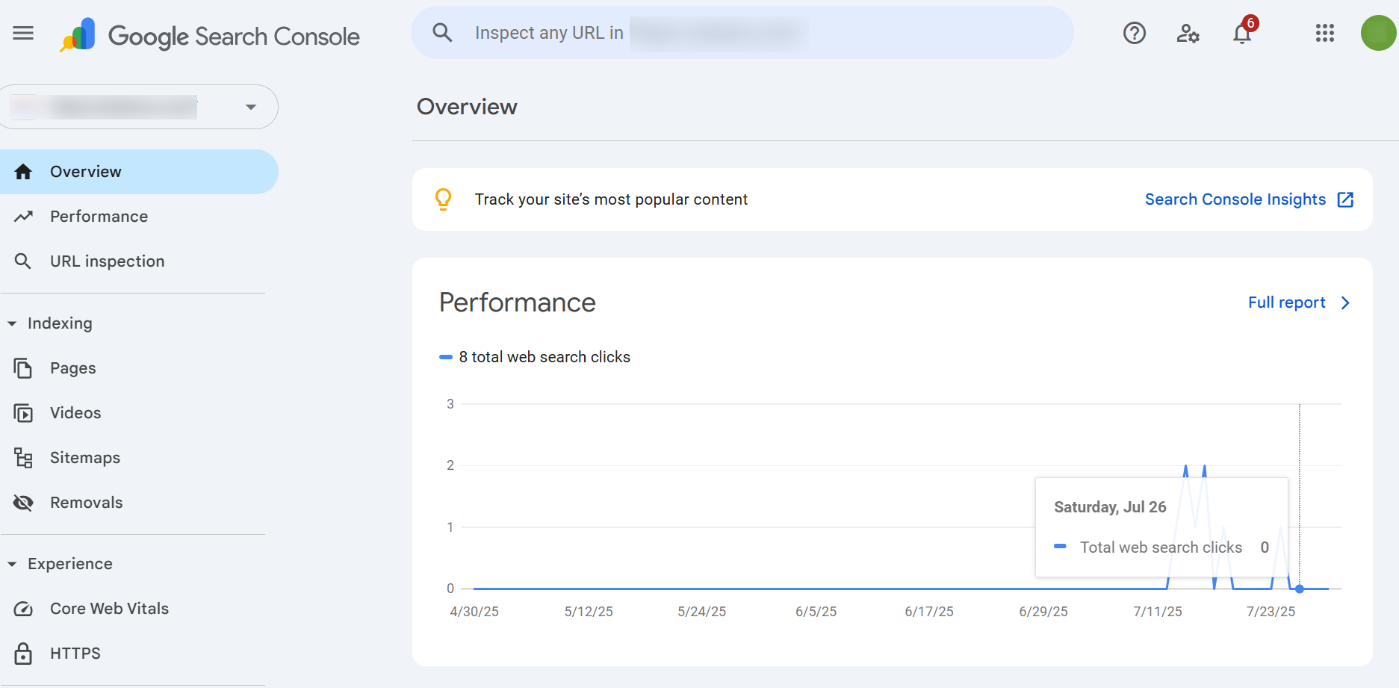
You’ll need to log in with a Google account. Once you’re in, you should see a screen similar to this. Note that your Search Console will look different if you don’t have any websites connected.
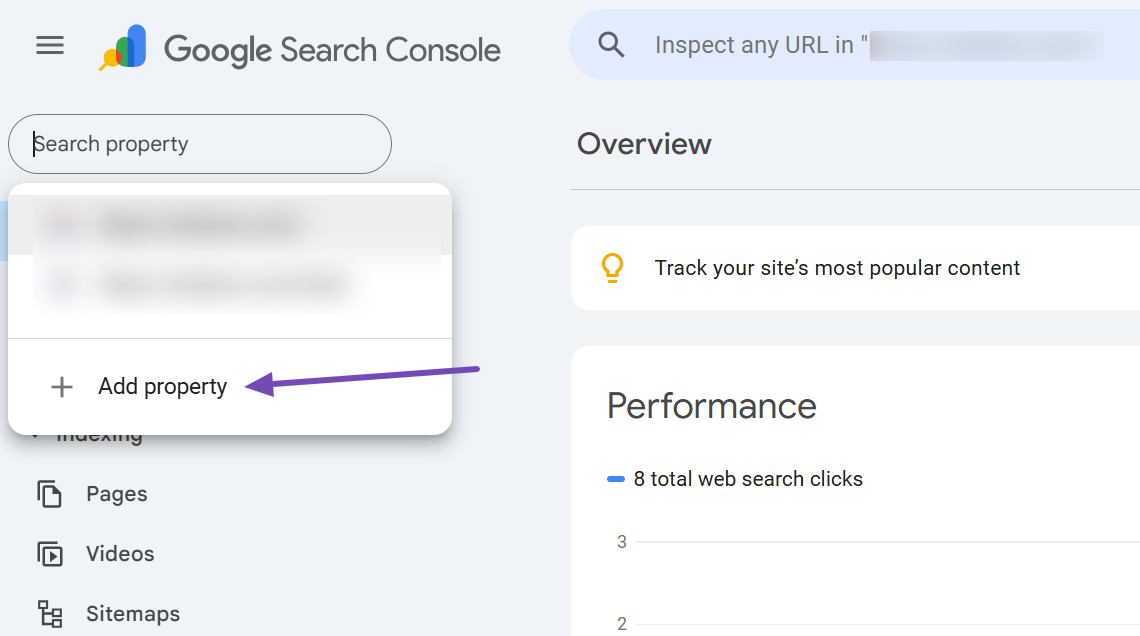
To add a new property, click the Property Selection dropdown and select the Add property option. Again, if you don’t have any properties added, your view will be a little different.
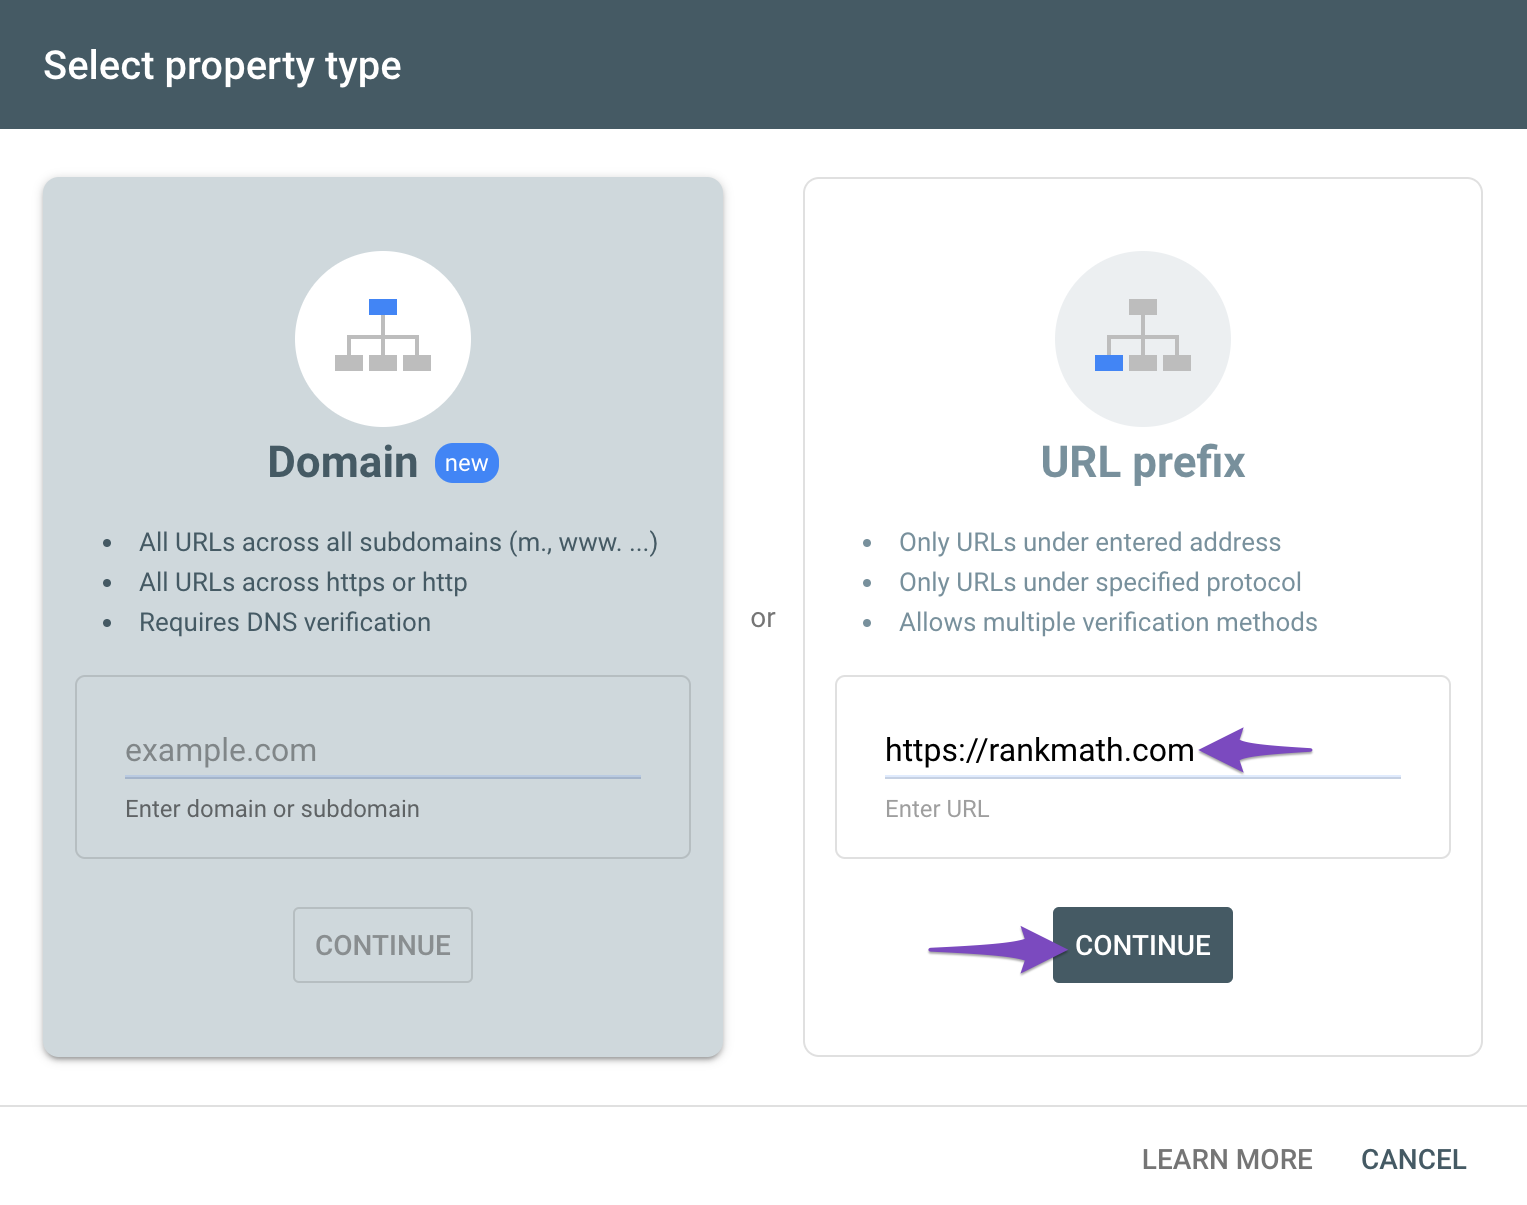
Google Search Console offers 2 types of properties. A domain property and a URL property. For simplicity, we will demonstrate the process using the URL property. Enter your website’s URL in the URL prefix field, and click “Continue”.
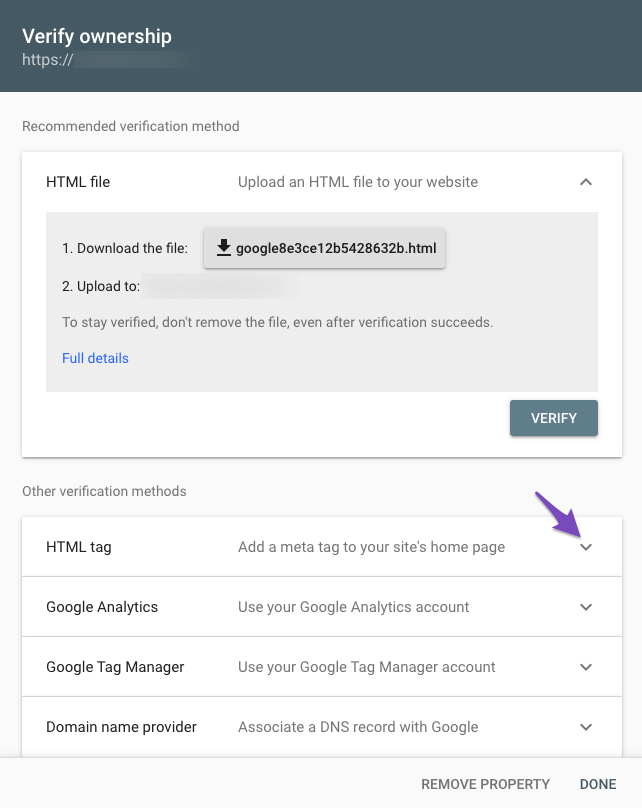
You should see a screen similar to the one below. Here Google is showing you all the ways you can verify your website ownership and also recommending their preferred method.
Since Rank Math already does the heavy lifting for you, you don’t have to choose a complicated verification method. Instead, we will use the HTML Tag method. Click the dropdown next to the HTML Tag option to see its details.
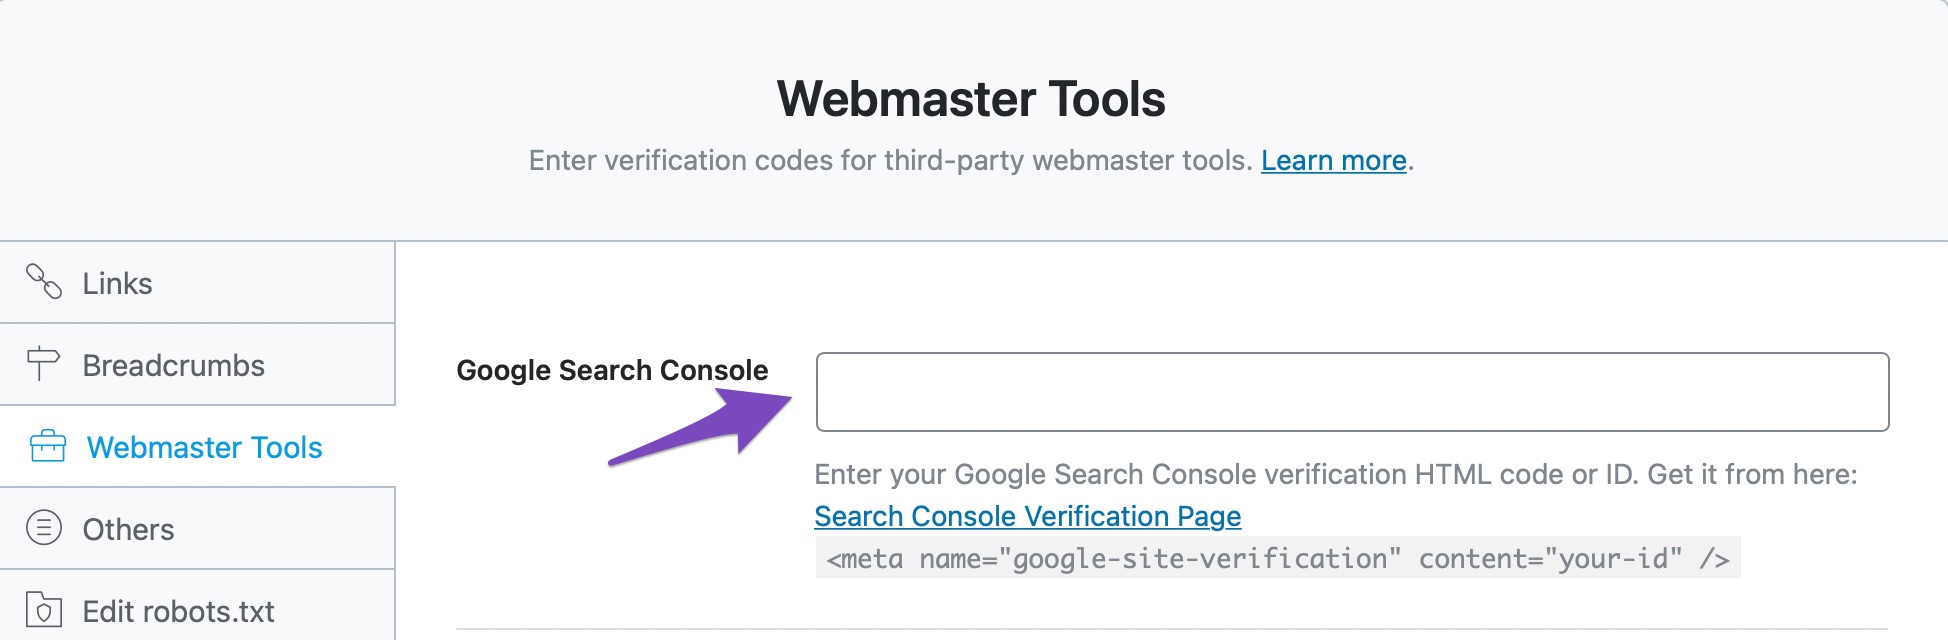
The settings will expand, and you will see the verification meta tag. Copy it, so we can add it to Rank Math.
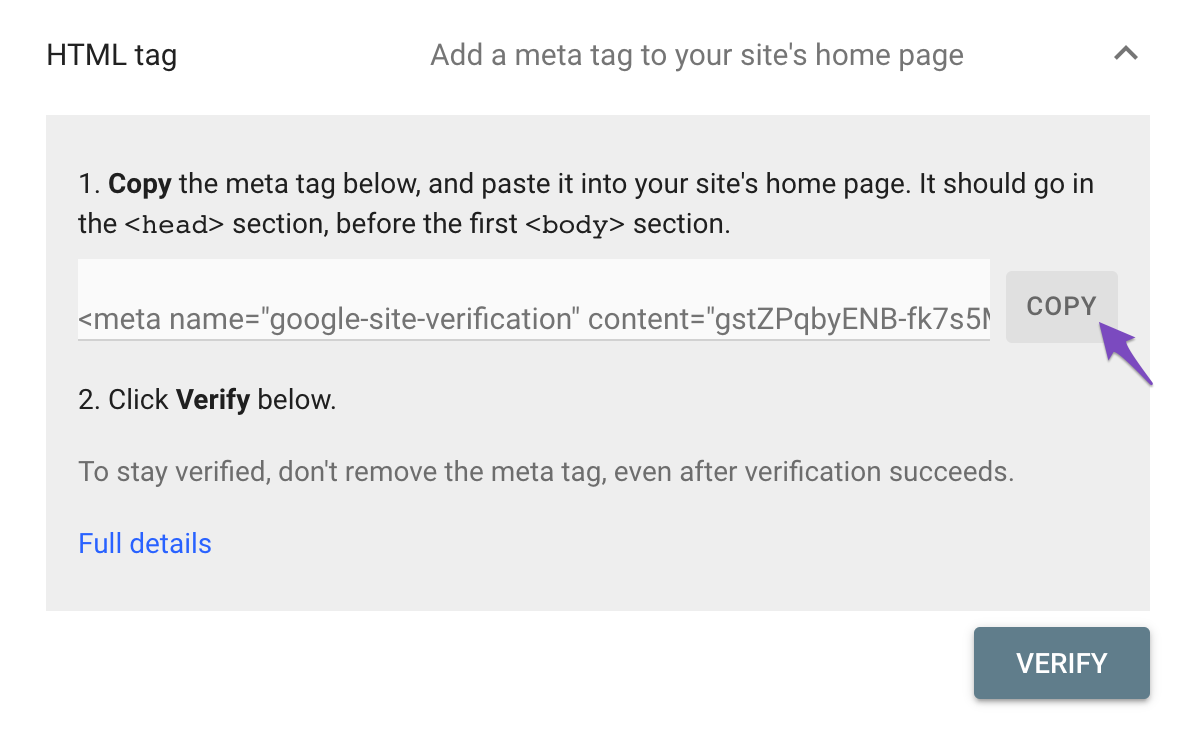
In the Webmaster Tool settings, paste the meta code in the Google Search Console field.
For the code to be applied, you’ll need to update your settings by saving your changes. Head over to the bottom of the page, and click “Save Changes”.

The page will refresh, and you should see a confirmation message on top. Your website will now be verified in Google Search Console.
As we mentioned, the process for verifying with other tools is quite similar, and here are some resources that should help you in verifying your website with other webmaster tools. Remember, you don’t have to follow all the steps from these resources. Once you’ve generated a meta-tag, all you have to do is paste it in the appropriate field.
Use our tutorials for reference.
- Verify Your Website With Bing Webmaster Tools
- Verify Your Website With Baidu Webmaster Tools
- Verify Website for Yandex Webmaster Tools
- Claim Your Website for Pinterest
- Submit a Website to Norton Safe Web
- Verify Your Site Using Custom HTML Meta Tags
That covers the Webmaster Tools section completely. Let us move on to the next section.
5 Edit Robots.txt
Once you open the Edit robots.txt section, you’ll see the default settings available to Rank Math free users, as shown below.
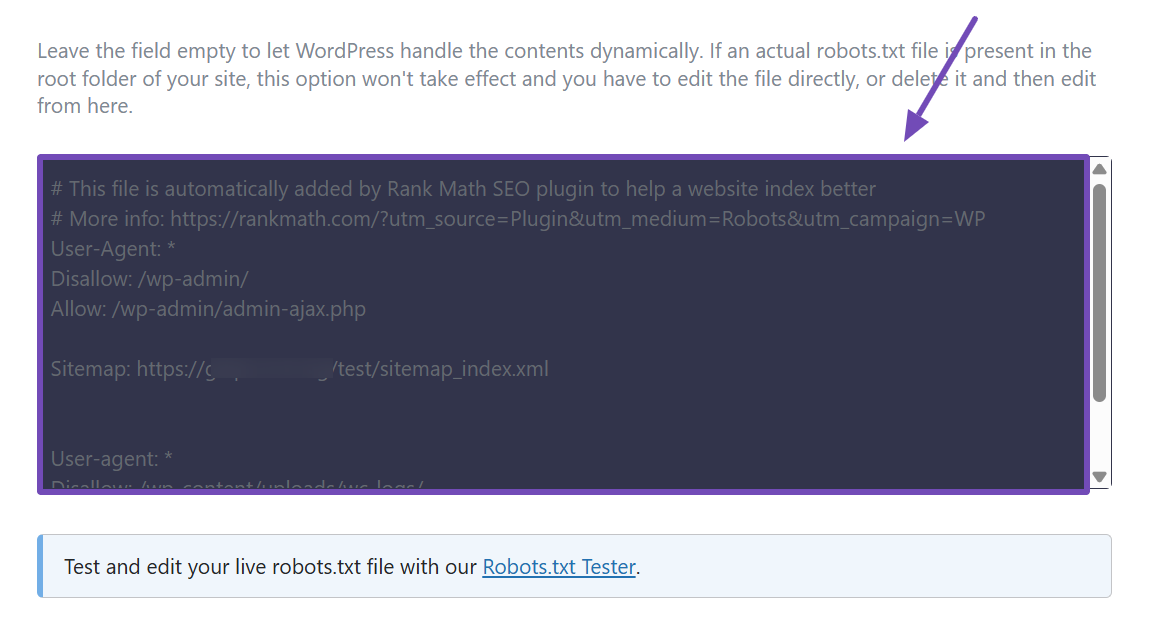
In the text area, you can configure your virtual robots.txt file and use the Robots.txt Tester link beneath it to verify your changes using our external tool.
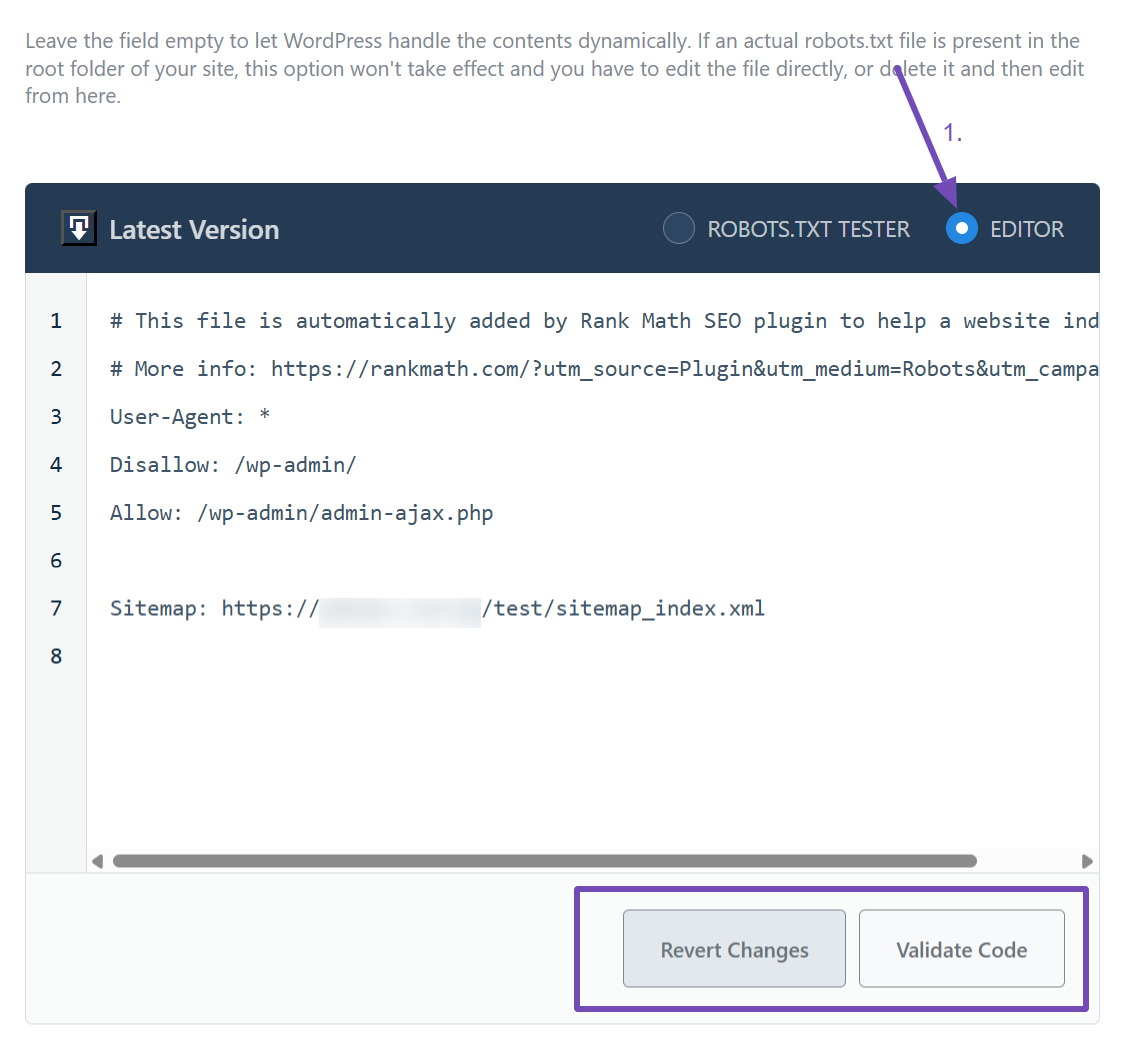
For Rank Math PRO users, a more advanced interface is available. It allows you to both edit your robots.txt file and test it simultaneously.
If you don’t know, robots.txt is a text file present at the root of your website, which helps search engines understand which parts of your website you want them to crawl and index. For example, you wouldn’t want Google to index your website’s admin area, right? You can set this up in the robots.txt file.
We mentioned that you could edit your virtual robots.txt file here. We refer to it as virtual because here, you are not editing your actual robots.txt file, but rather a virtual one.
Rank Math already configures some default settings that should be useful. But any changes you make here will not have an effect on your website if the actual robots.txt file already exists. If it does exist, you would have to edit the file using FTP or any other method, or delete the file completely, and make all the changes through Rank Math.
You can go through our tutorial on how to edit robots.txt with the Rank Math plugin.
6 Edit llms.txt
If you want AI tools like ChatGPT, Claude, or Perplexity to easily access the most important content on your website, this is the perfect place to set that up. And with Rank Math, you can automatically do it using the llms.txt file.
But first, you’ll need to enable the module. To do that, go to Rank Math SEO → Dashboard and make sure the LLMS Txt module is enabled.

If you don’t see it, ensure you’ve switched to Advanced Mode. Once that’s done, the following configurations will become available in the settings:
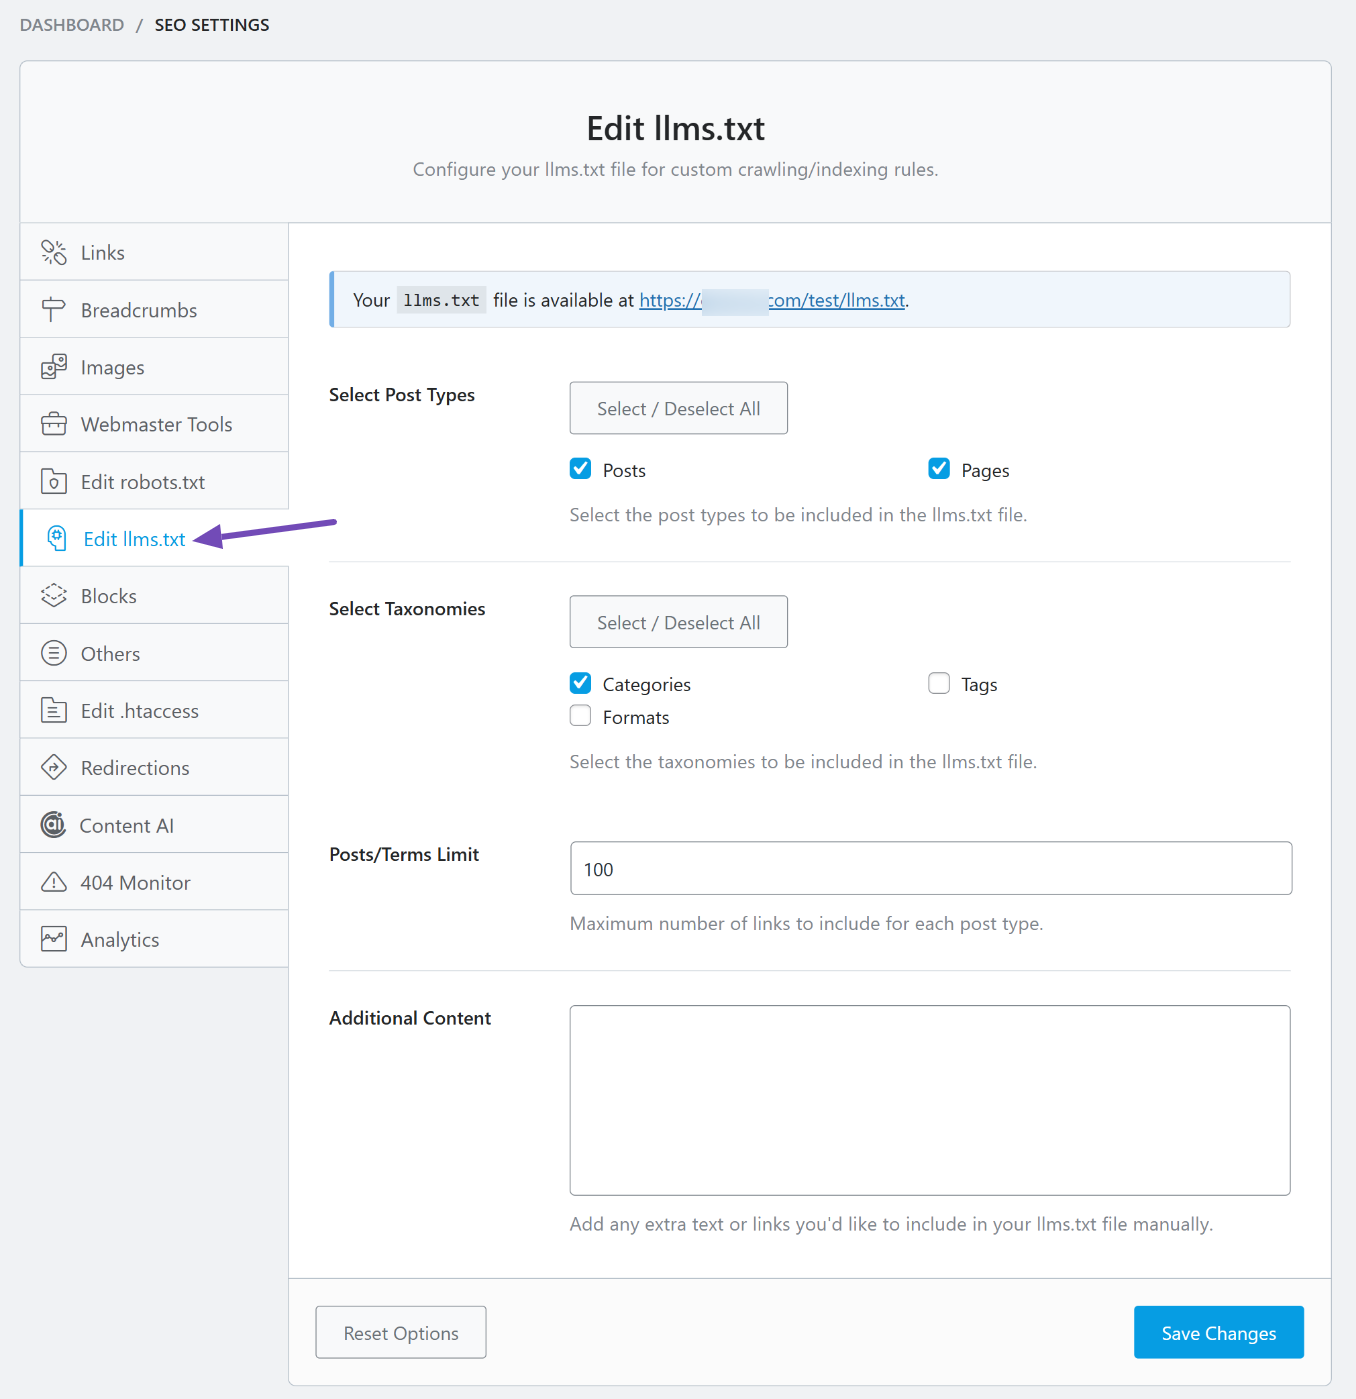
6.1 Select Post Types
Here, you can choose which post types to include in the llms.txt file so AI tools can easily access them. This usually includes Posts and Pages. Whichever ones you select, Rank Math will automatically add their titles, URLs, and short descriptions to the file.

6.2 Select Taxonomies
You can also choose to include your site’s taxonomies, such as Categories or Tags. For example, if you select Categories, each category name and its URL will be listed in the llms.txt file.

6.3 Posts/Terms Limit
There’s no strict rule for how many items should appear in your llms.txt file, but you can set a limit based on your preference. The default is 100, and you can adjust it up or down depending on how much content you want to expose.

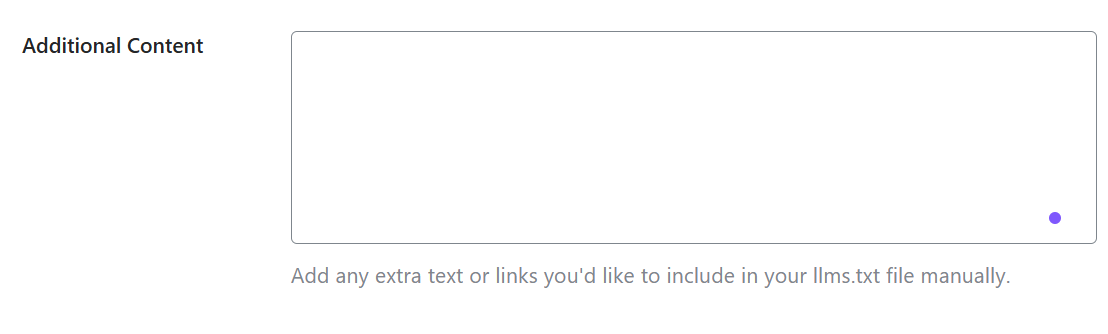
6.4 Additional Content
If you don’t want Rank Math to list all your content, you can selectively add specific pages or posts here. This way, you control exactly what content AI tools like ChatGPT or Claude can access.
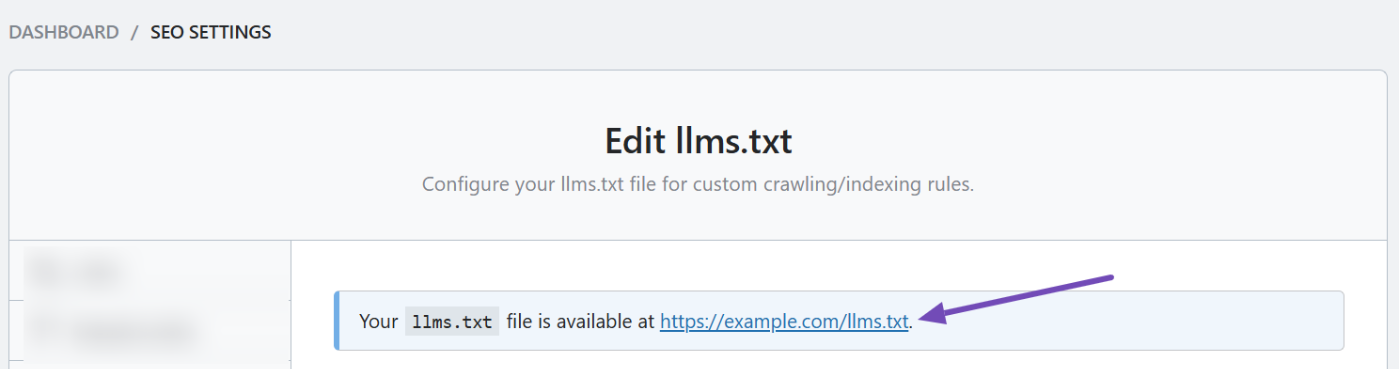
Once done, save your changes and preview how your llms.txt file looks by clicking the preview link at the top of the Edit llms.txt tab.
If you want to read more about the llms.txt file, we’ve provided a full guide for you here.
7 Blocks
This section deals with all the options related to the Table of Contents Block. The Blocks settings are available only when you enable the Schema (Structured data) module.
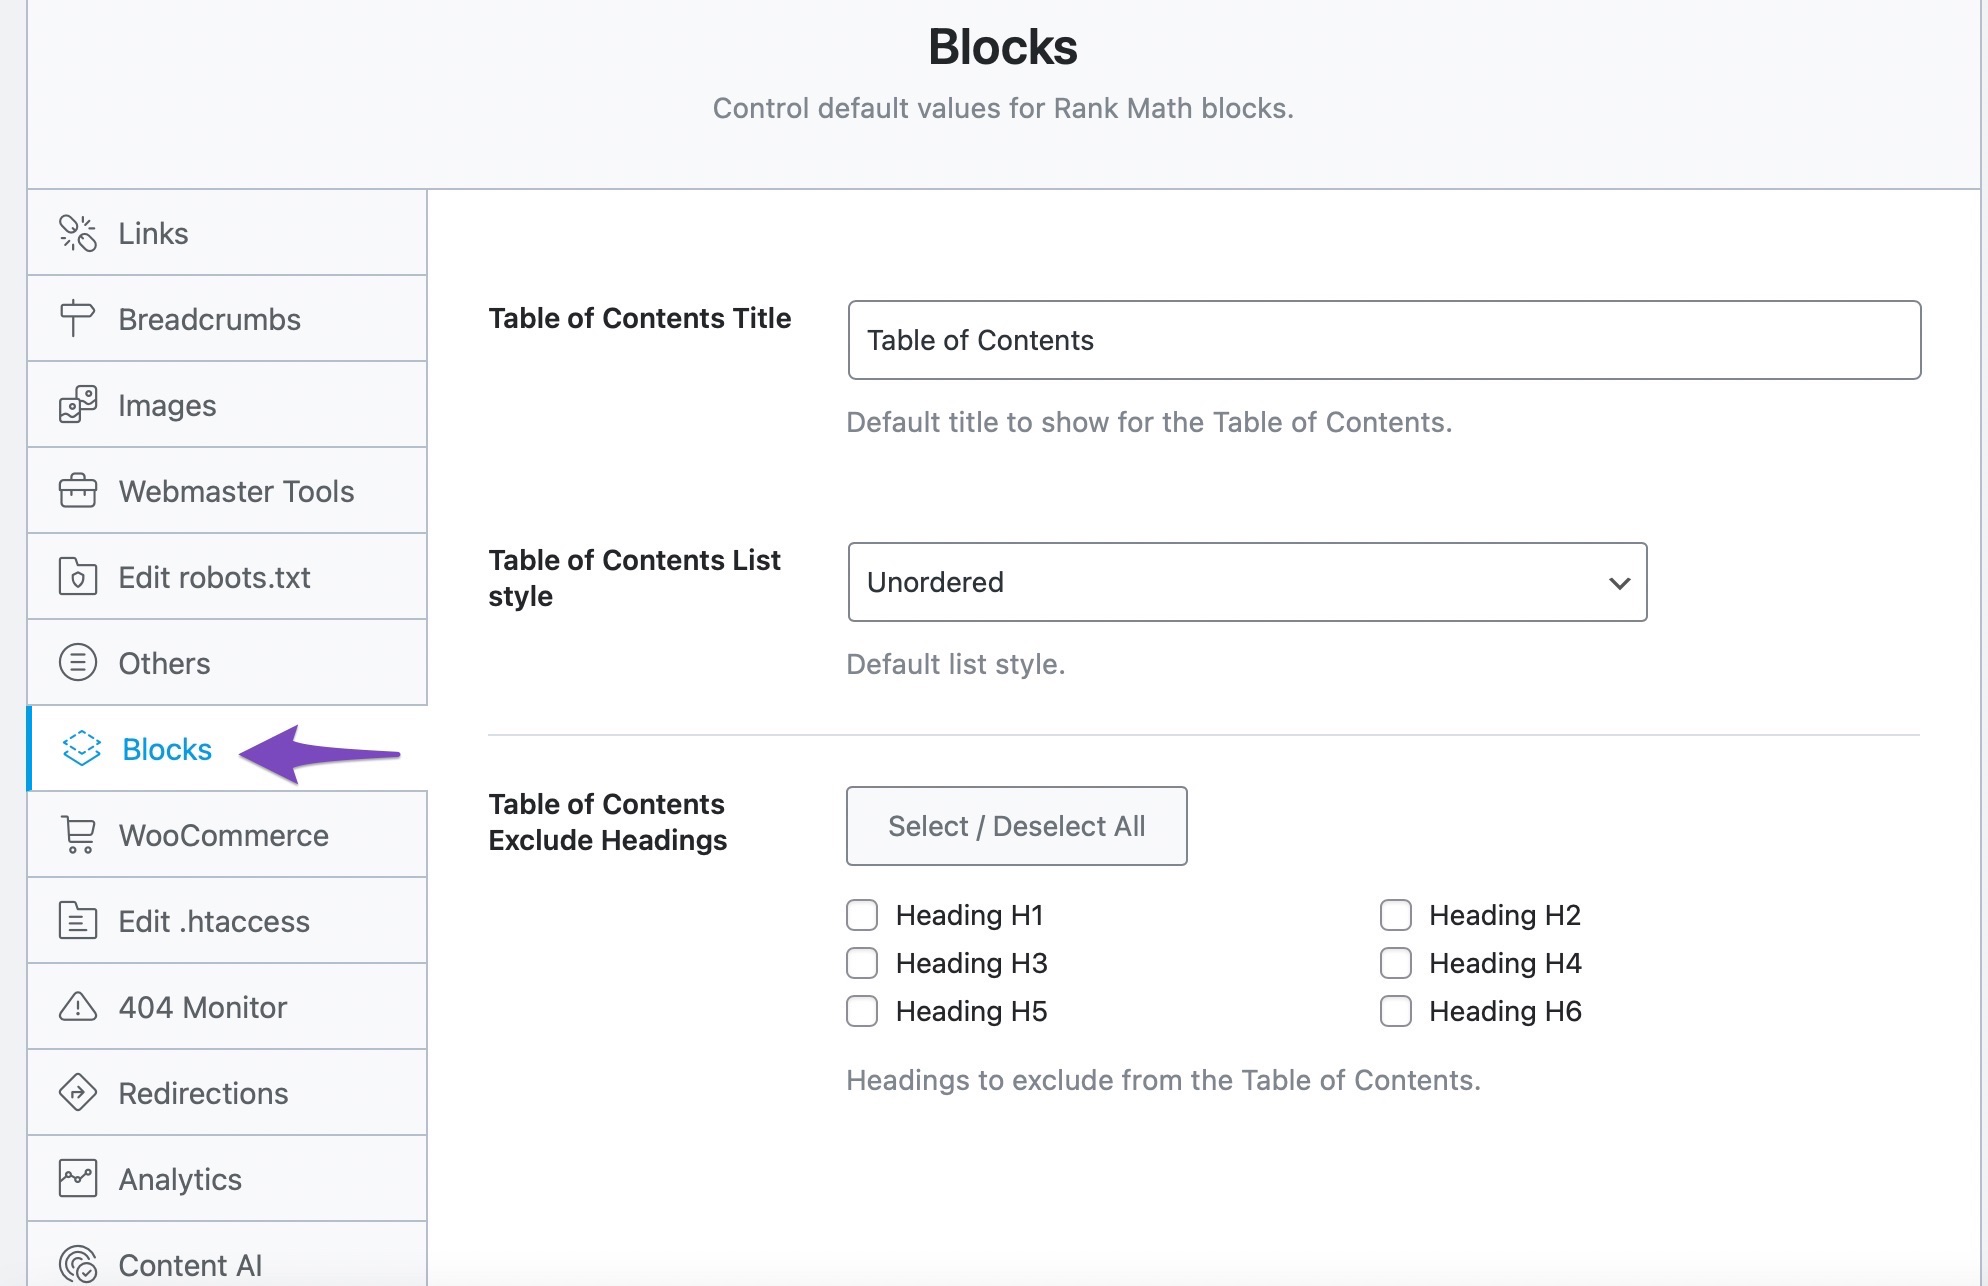
Here are all the options available in the Blocks settings:
7.1 Table of Contents Title
Add the default title for your Table of Contents. But that said, you can always override this default title on a post level. This option is visible in the Advanced version of Rank Math. If you don’t see this option, ensure that you’re using Advanced Mode of Rank Math.

7.2 Table of Contents List Style
Choose the default list style from the drop-down menu. Available options are None, Numbered, and Unordered.

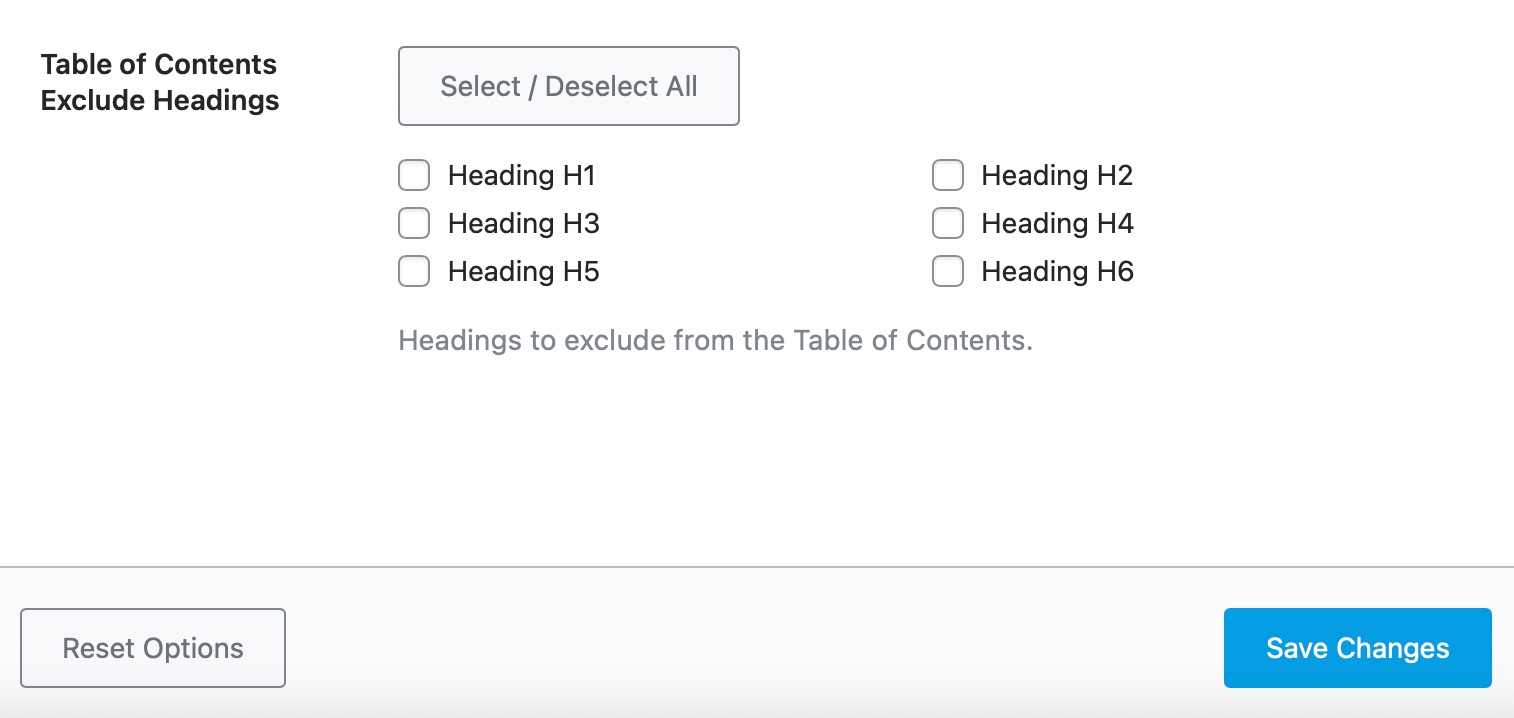
7.3 Table of Contents Exclude Headings
Select the headings you wish to exclude from the Table of Contents.
8 Others
The Others section is home to miscellaneous settings that could not be placed in any of the categories. Here are all the settings in the Other section.
Let us talk about each of the settings.
8.1 Headless CMS Support
If your website makes use of WordPress as headless CMS, then you can enable this Headless CMS Support option. So you can make use of Rank Math’s REST API endpoint to receive your page’s HTML Meta tags to use in your favorite front-end web app.
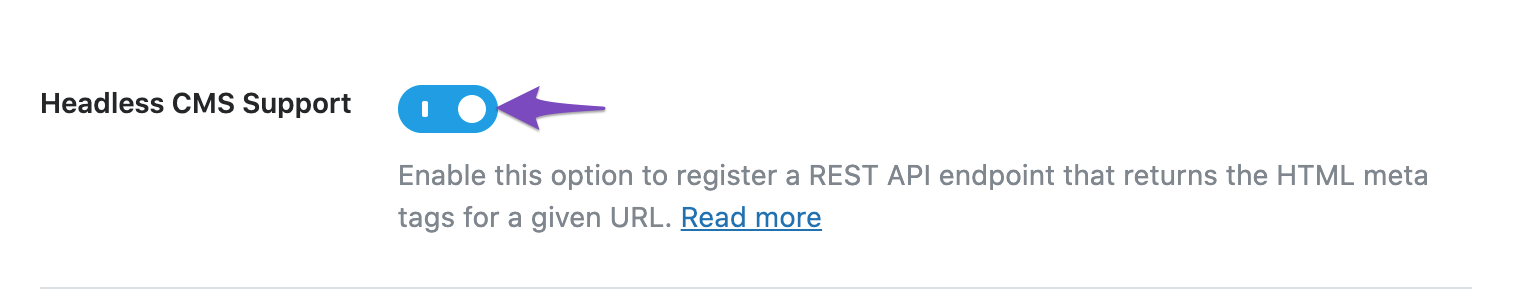
Once you’ve enabled this option, you can send a GET request to our getHead REST endpoint, followed by the URL of the webpage. The syntax is here as follows:
https://your-domain.com/wp-json/rankmath/v1/getHead?url=https://your-domain.com/hello-worldMake sure to replace your-domain.com with your website’s domain name and then replace https://your-domain.com/hello-world with your URL. The REST API will now return your page’s meta tags added by Rank Math. This can be used for posts/categories/user pages or any internal URL and even invalid URLs like 404s/other errors. You can refer to its dedicated KB here.
8.2 Show SEO Score to Visitors
If you have a ton of posts on your website and you just started using Rank Math, then it can be difficult to open each post to check how well they are optimized. This option can come in handy in those situations. When you enable this setting, Rank Math will start displaying the SEO Score of each of the posts on the front end, which will make it easy for you to identify the posts that need the most work.
This option is useful, but it isn’t mandatory for everyone. Only enable this if you have the need.

If you enable this setting, a bunch of new settings open up below it.
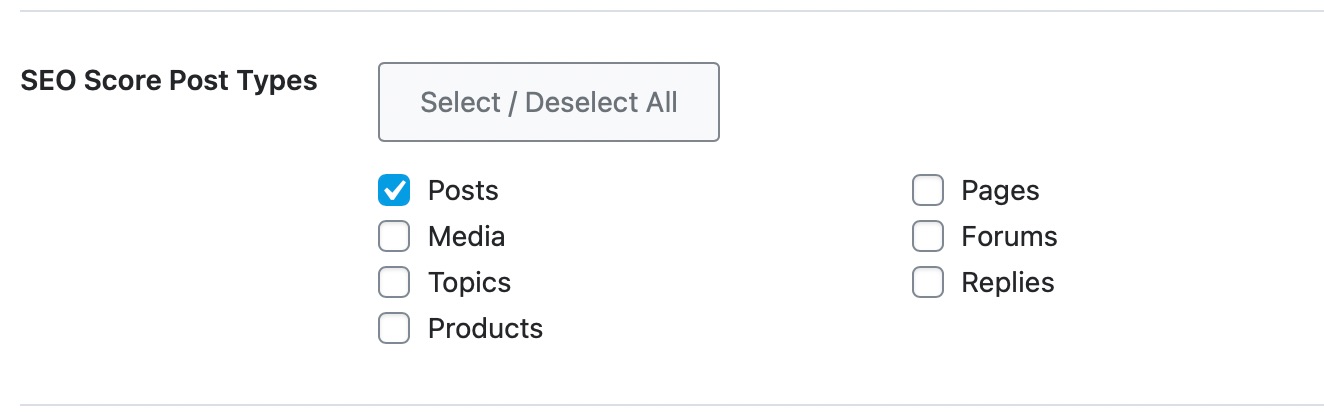
8.3 SEO Score Post Types
This setting lets you select the types of posts for which the SEO score will be displayed. Rank Math will detect and display all types of posts available on your website, including custom post types, and you can select one or more of them.
8.4 SEO Score Template
The SEO score can be displayed in 2 visual formats—Circular or Square—and this setting lets you select your preferred method.

8.5 SEO Score Position
This option lets you pick the position of the SEO score. You can place it above the content, below the content, or both. You can also choose a custom location by using a shortcode.
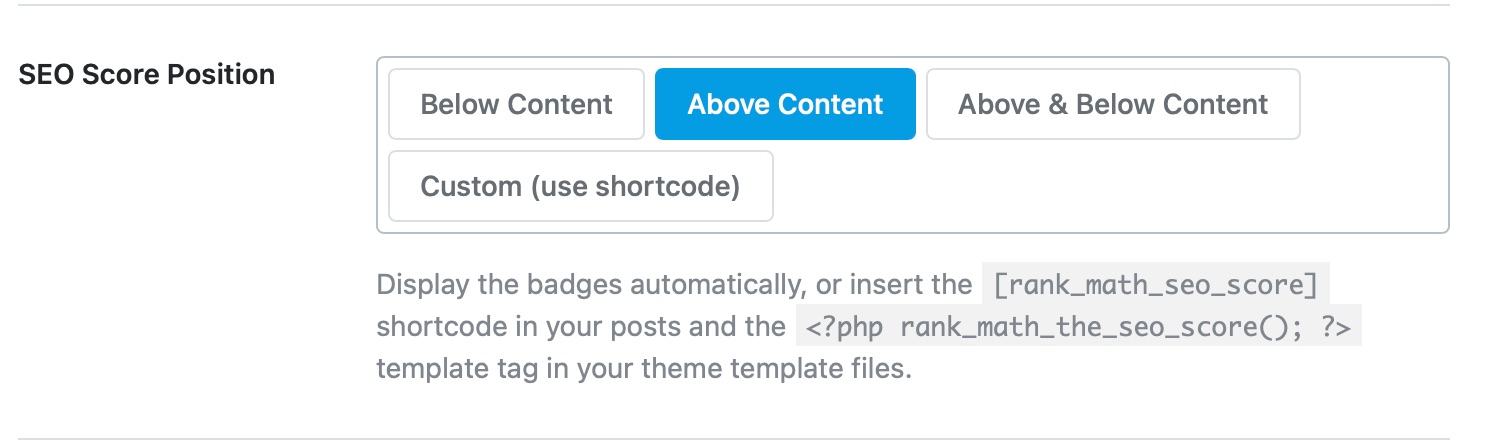
The shortcode you need to use is:
[rank_math_seo_score]If you’re editing your template and making the changes there, you’ll need to use this code chunk.
<?php rank_math_the_seo_score(); ?>8.6 Support Us with a Link
We’ve put in years of hard work to bring Rank Math to you, and if you want to help us spread the word, we’ll be delighted. When you enable this option, Rank Math will include a hyperlink to the Rank Math SEO score on your website to our website. The link will be no-followed, and no SEO value will be passed from your website to Rank Math.

8.7 Usage Tracking
This option allows you to authorize us to collect non-sensitive data on how you use Rank Math. We use this data to identify and fix issues, prioritize the development of your most important features, and improve Rank Math.
The data collected is anonymous, and we do not collect your personal or sensitive information. You can refer to this article for additional details on what we track.
8.8 RSS Before Content
This option lets you add additional content at the beginning of your RSS feed. You can enter any content in the text field and also use the variables listed below to customize the text here.
8.9 RSS After Content
This option lets you add content after your RSS feed. You can use the same variables as in the before content option.

8.10 Remove Media Data from RSS Feed PRO
If you do not want your media elements, like YouTube embeds, to appear on your RSS feed, you can enable this option. Rank Math will remove all media data from your website’s RSS feed.

8.11 Available Variables
This section isn’t configurable, and it just lists all the variables that you can use in the RSS Before and RSS After content options.
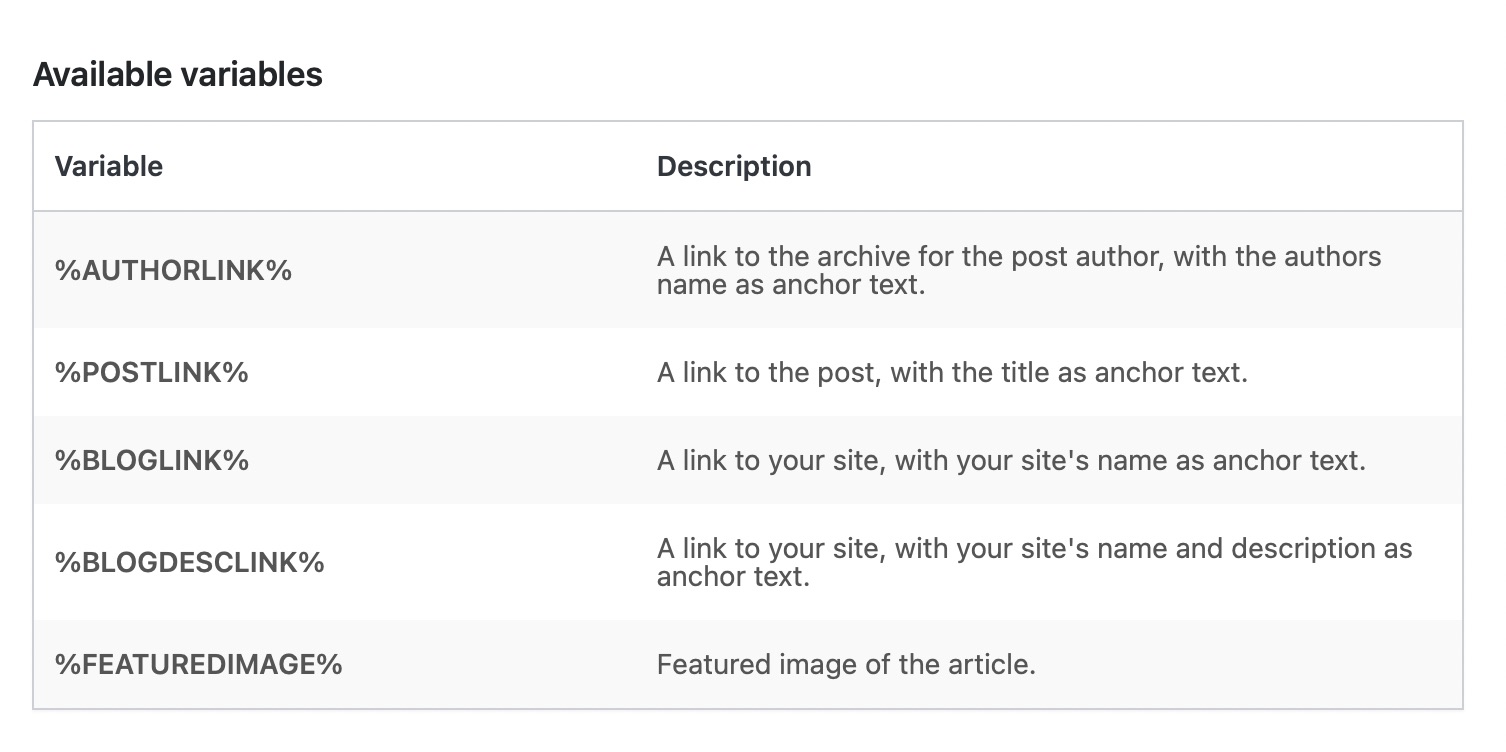
Here is a sample text you can create with variables and use with your RSS settings.
The post %POSTLINK% first appeared on %BLOGLINK% and is written by %AUTHORLINK%.9 WooCommerce
This section deals with all the options related to WooCommerce. Needless to say, this section will only be relevant to you if you actually use WooCommerce and sell products online. In fact, if you don’t have the WooCommerce plugin installed, then this section won’t even be visible to you in the settings. Also, you need to enable WooCommerce Module from Rank Math’s dashboard for this section to appear.
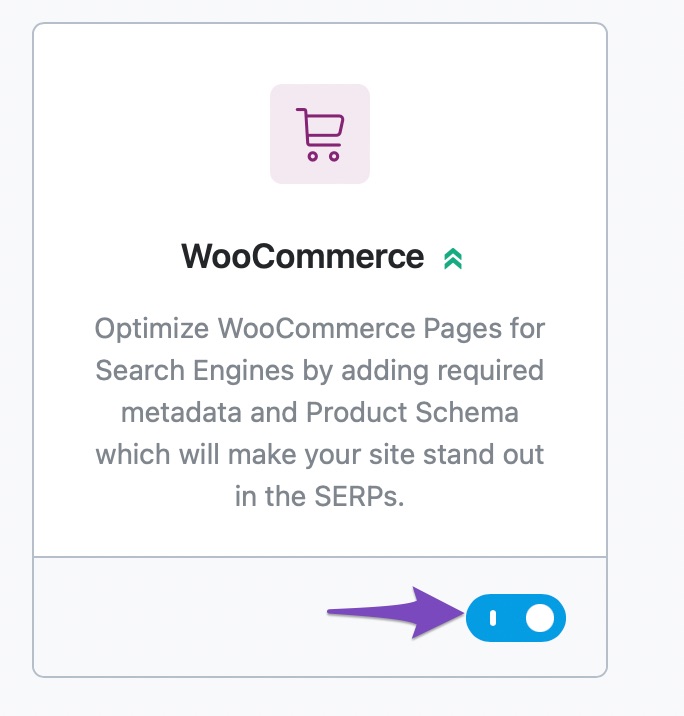
With that out of the way, here are all the settings in the WooCommerce section.
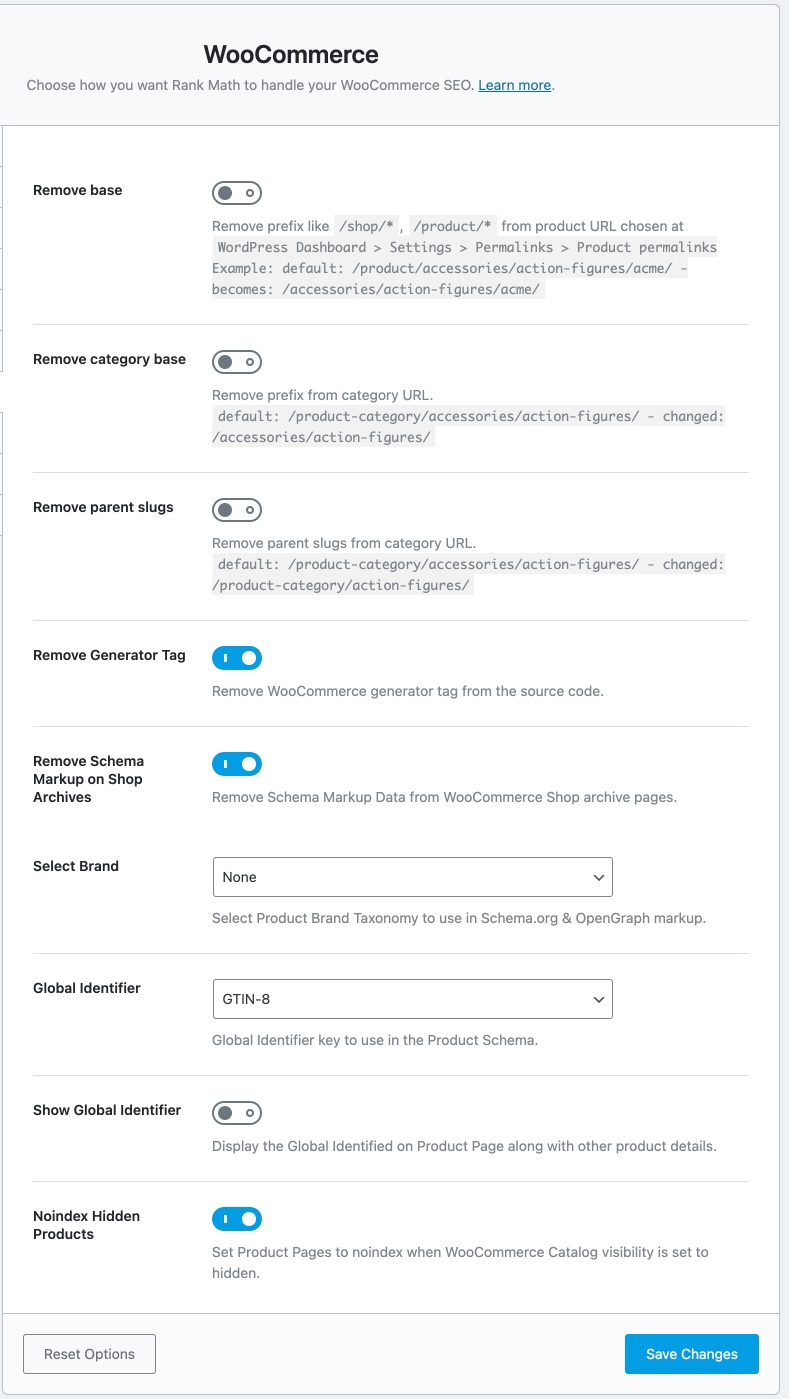
Let us discuss each of the sections one by one.
9.1 Remove Base
WordPress URLs have a “shop” base added to them when WooCommerce is enabled. So, every product URL follows this format.
https://yourwebsite.com/shop/product-1/Notice the ‘/shop/’ part in the URL? That’s what we’re talking about.
Enabling the Remove Base option lets you remove the /shop/ from the URL, so the resulting URL becomes:
https://yourwebsite.com/product-1/This is personal preference, and you can enable or disable it.

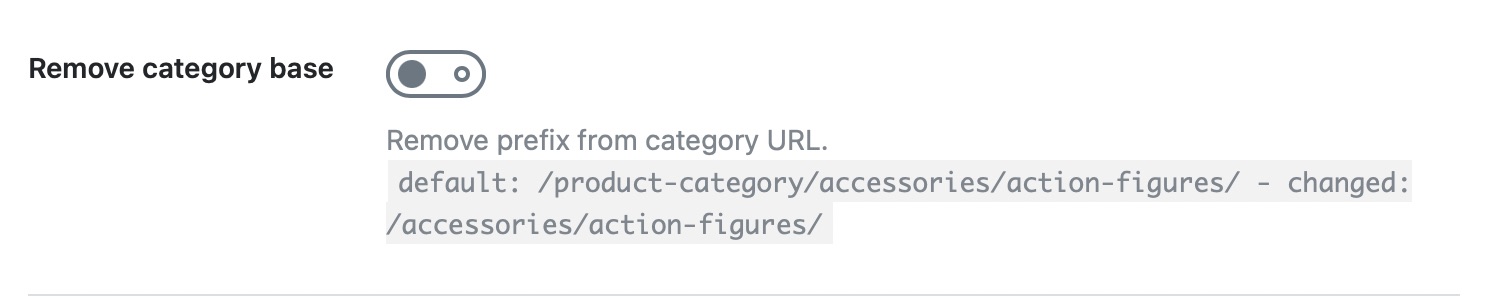
9.2 Remove Category Base
If you have a large base of products and use multiple categories to manage them, then your WooCommerce URLs will also contain the product category. An example URL would be:
https://yourwebsite.com/shop/product-category/product-1/This option lets you remove the “/product-category/” section from the URL, so the resulting URL becomes.
https://yourwebsite.com/shop/product-1/This option is also a preference thing, and you should make a decision to enable it or disable it accordingly.
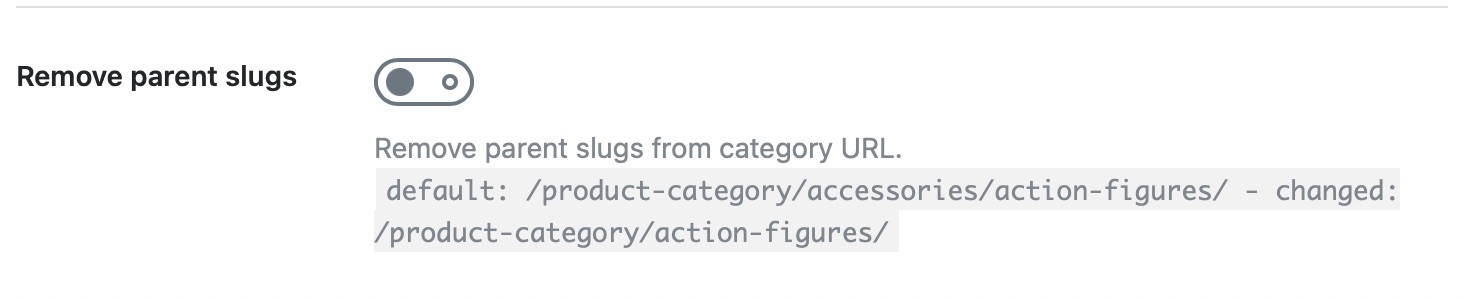
9.3 Remove Parent Slugs
Categories in WordPress are hierarchical, which means a category can have a parent category. If you visit a subcategory page, then WooCommerce’s default behavior is to list the subcategory with the parent category in the URL. An example URL would be:
https://yourwebsite.com/product-category/parent-category/sub-category/
Using this option, you can remove the parent category slug from the URL, resulting in a cleaner and shorter URL. Like the other settings, how you set it up is a personal preference.
8.4 Remove Generator Tag
When you’re using WooCommerce, it includes plenty of meta information in the source code. While it can be useful for diagnostic purposes, it also presents a security risk. Here is how the Meta Generator tag appears in the source code.

When you enable this option, Rank Math disables the output of this meta-information in your website’s source. Since this essentially is a security feature, we recommend that you enable this option.

9.5 Remove Schema Markup on Shop Archives
This option removes the Schema data from the WooCommerce shop archive pages. Enabling/disabling this option depends upon how you’ve configured your WooCommerce shop and is completely your preference.

9.6 Select Brand
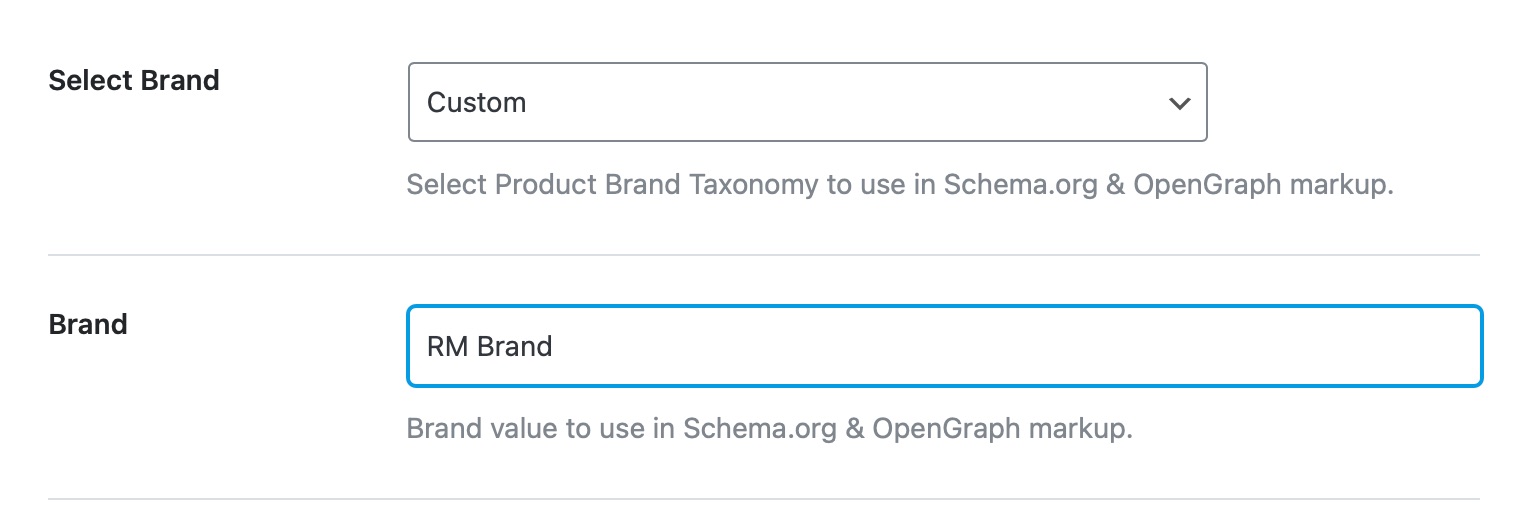
Rank Math adds a lot of rich snippet data to your website and your product pages. One of the key components of that rich snippet data is the Brand of products you’re selling. In this setting, you can select the taxonomy that you’ve used to configure brand listings on your website so that Rank Math can set it up accordingly. Use the dropdown menu and choose the appropriate taxonomy from the available options.

9.7 Brand PRO
If you had selected Custom in the above option, then a new field will appear below, where you can add a custom brand name. This brand name will be used in the Schema Markup and OpenGraph Markup of your WooCommerce products.
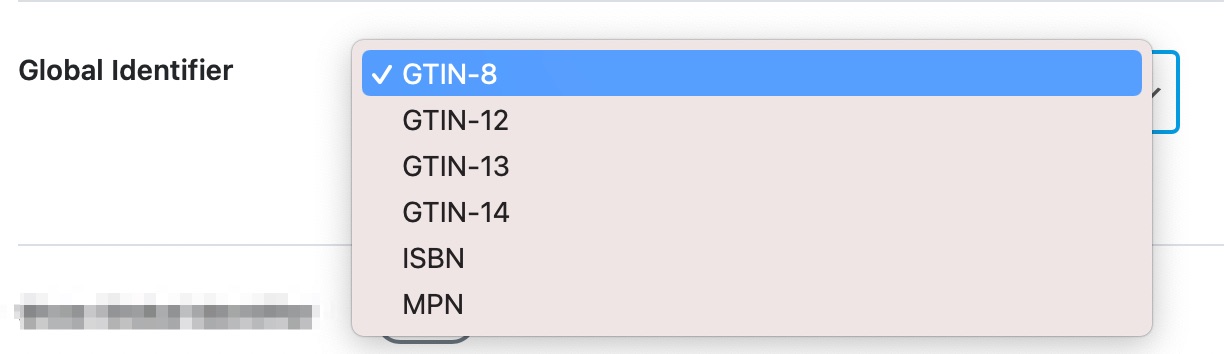
9.8 Global Identifier PRO
In the Global Identifier dropdown list, you can select your Unique Product Identifiers from the dropdown list.
9.9 Show Global Identifier PRO
This option displays the global identifier on the product page. If you enable Show Global Identifier, then it will display the Global Identifier on the product page.

9.10 Global Identifier Label PRO
Once you enable the Show Global Identifier option, the Global Identifier Label setting will appear below, where you can set the Global Identifier label.

You can refer to our massive guide on how to add GTIN, ISBN & MPN Schema to WooCommerce products using Rank Math.
9.11 NoIndex Hidden Products PRO
This option helps to set the product pages to no-index if the WooCommerce Catalog is set to hidden. It also sets a no-index to the taxonomy page if all the products in the taxonomy are hidden.

10 Edit .htaccess
The .htaccess file is a configuration file that helps users and search engines navigate your website. Often, changes or updates are needed to be made to the .htaccess file, for which you can use this section.
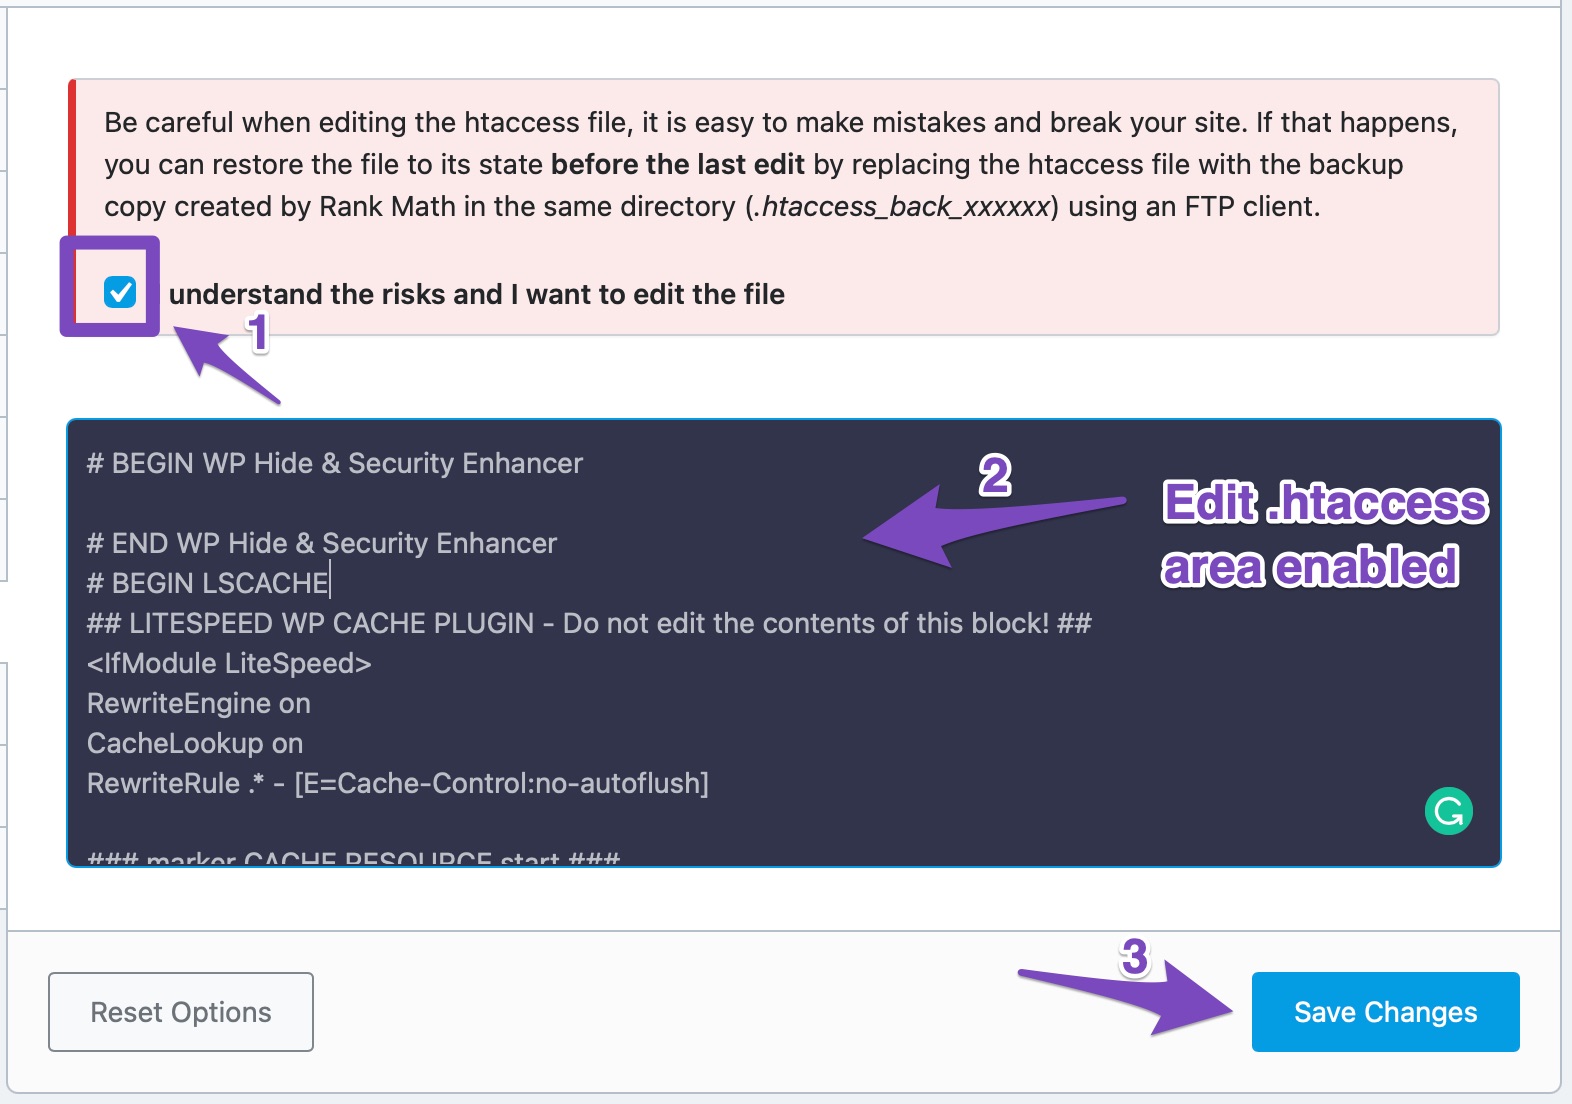
Inside the section, you will see that there is a single text area that can be used to edit the .htaccess file. The important thing to note is the warning above the text area.
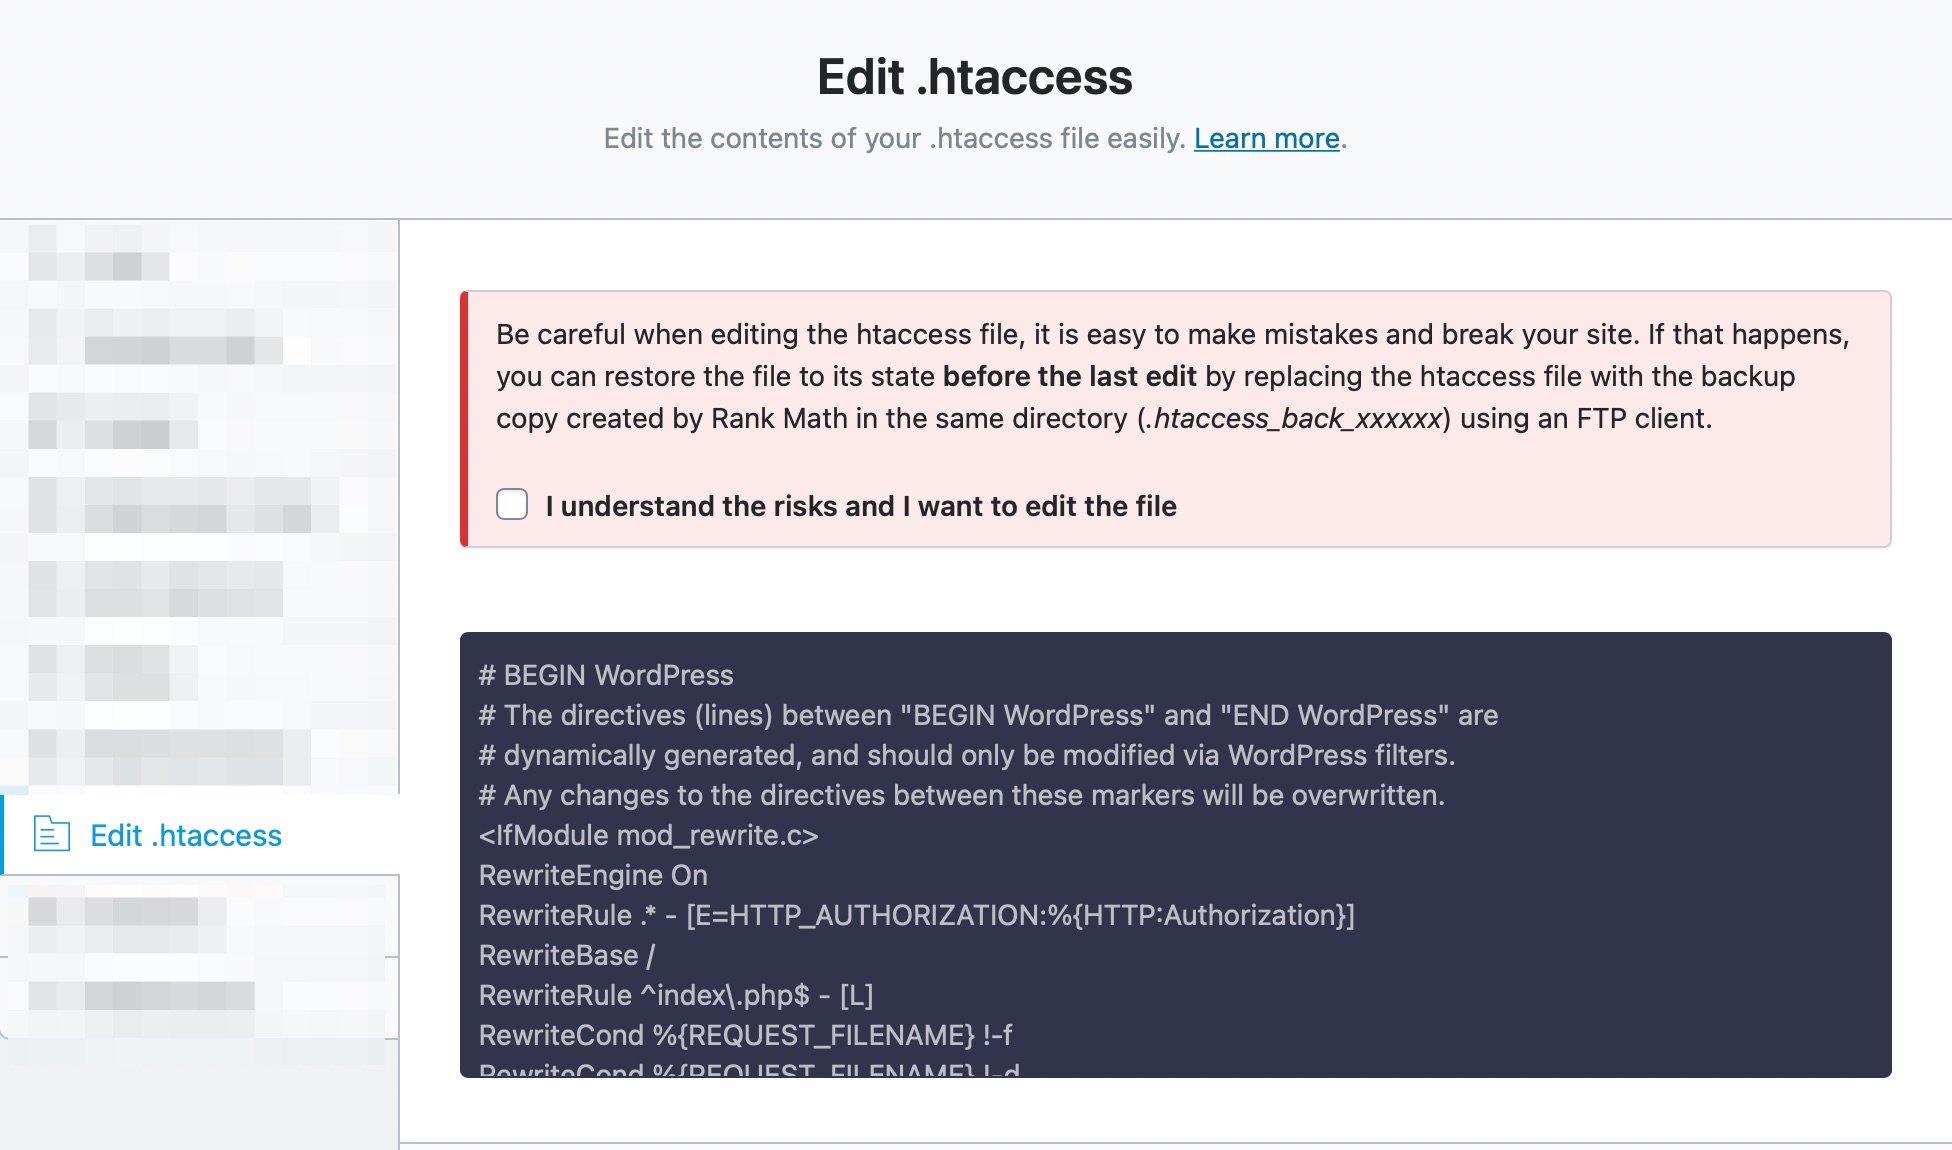
The notice warns you that changing the .htaccess file can break your website. Even if you are technically capable, mistakes can happen. To prevent issues, Rank Math automatically backs up your .htaccess before you modify it.
So, if you accidentally make any changes that mess up your site, you can roll the changes back using the backup. If you understand the risks and want to edit the .htaccess file, then click the checkbox below the text. The text area below will become active, and you can then change your .htaccess file.
This concludes the .htaccess section. Let us move on to the next section.
11 404 Monitor
A 404 error occurs when a visitor tries to access a URL that does not exist. When the website is working actively, it is normal to update and remove content, and as a result, every website will have a few 404 errors. Having 404 errors is not necessarily bad, but the important thing is to find them and resolve them actively. Rank Math’s 404 monitor helps with exactly that. Here are all the options available in the 404 Monitor.
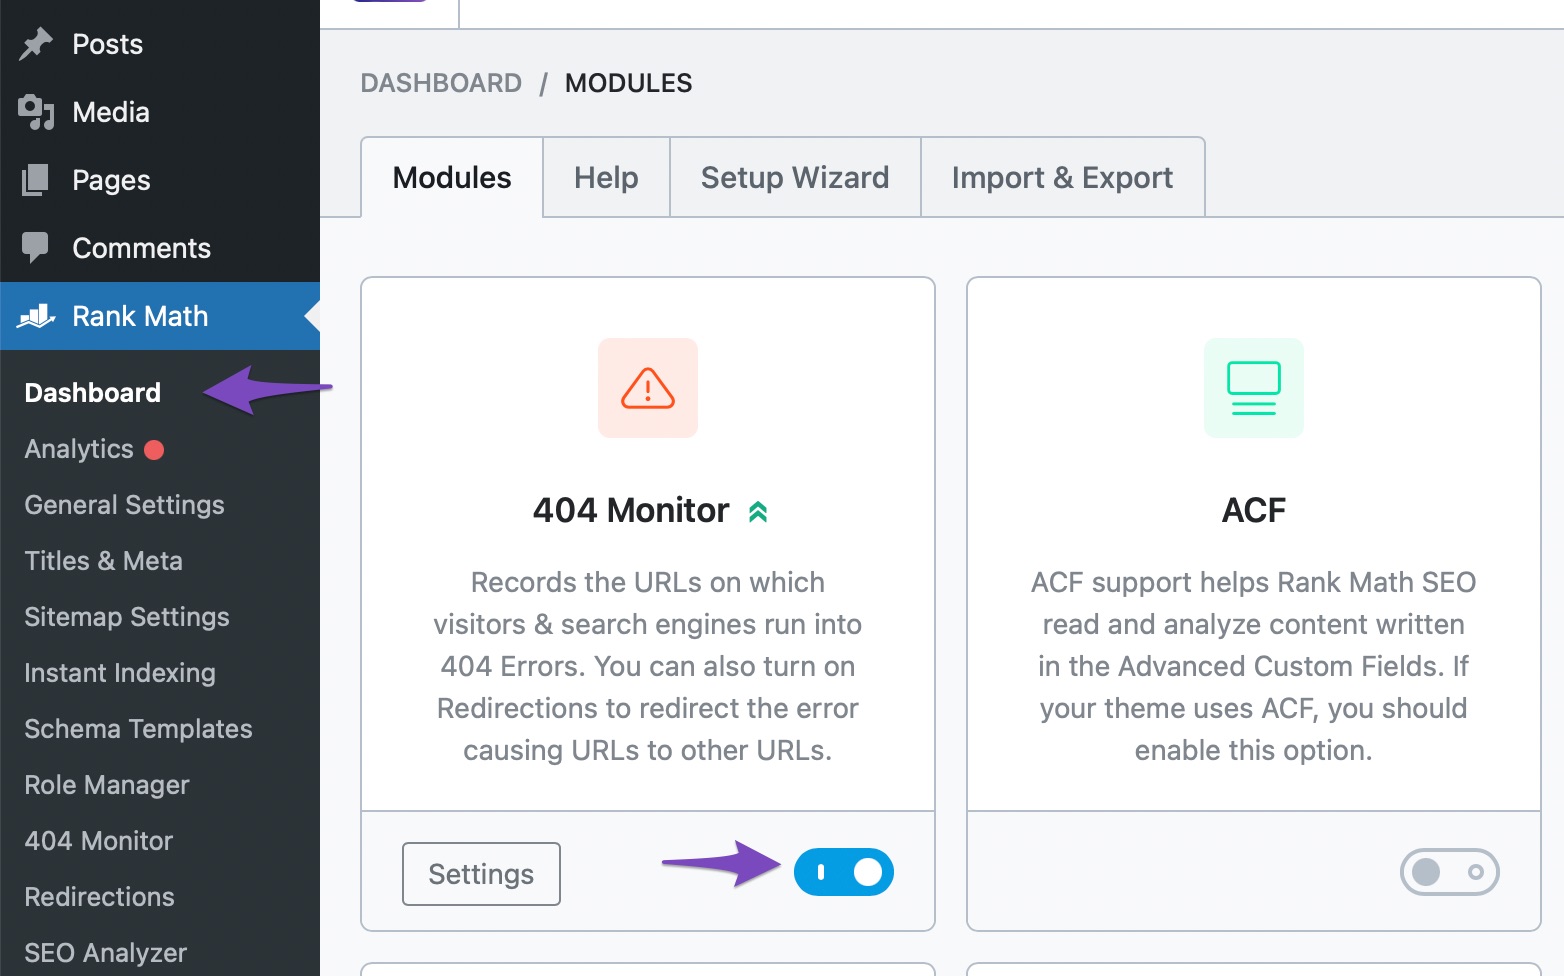
To see this section in General Settings, make sure that you have enabled the 404 Monitor module from the Rank Math dashboard.
Let’s look at all the options one by one.
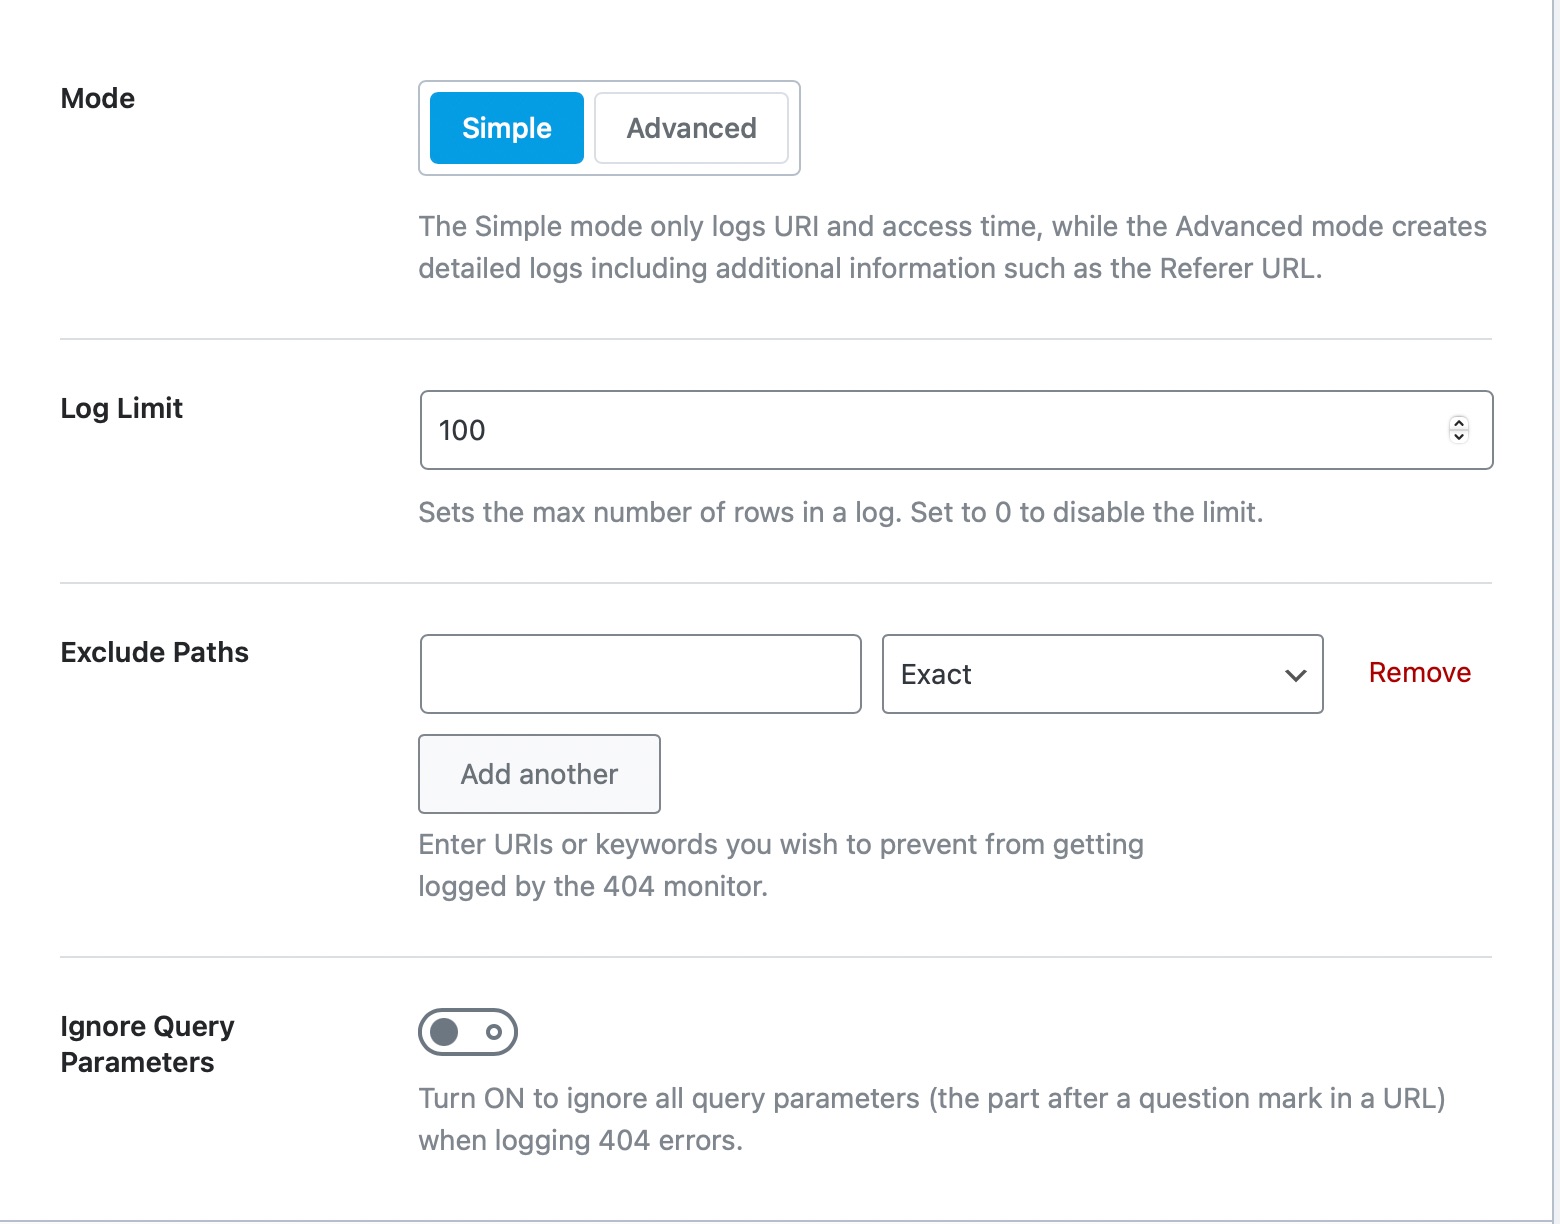
11.1 Mode
The 404 Monitor has 2 modes. Simple and Advanced. The Simple monitor records only the URL where the error occurred and the time of the error. The Advanced monitor captures a lot of additional information, such as the referring URL of the 404 error URL.
The Advanced Mode is pretty powerful, but it does come at a cost. It does require additional resources to capture and store the detailed logs.
If you don’t have many 404 errors, then we would recommend that you use the Simple Mode. However, if you’re constantly seeing 404 errors, then it might be useful to enable the Advanced Mode for some time to diagnose the source of the problem.

11.2 Log Limit
This setting controls the maximum number of rows that the monitor will generate. The default setting of 100 is good enough for most sites, and you can increase or decrease the number depending on your website.
For example, a large eCommerce website with thousands of products may have thousands of broken links at any time (due to new products being introduced and old ones being removed) and might need to remove the limit altogether.
In another example, if you’ve just changed domain names, you might need to increase the log limit temporarily to make sure all your links perform as intended.

11.3 Exclude Paths
If you’re making some changes to your website, then the 404 monitors can fill up the log with unimportant URLs while the real errors get buried. To avoid this from happening, you can set exclusions where the 404 monitors will not check for errors.
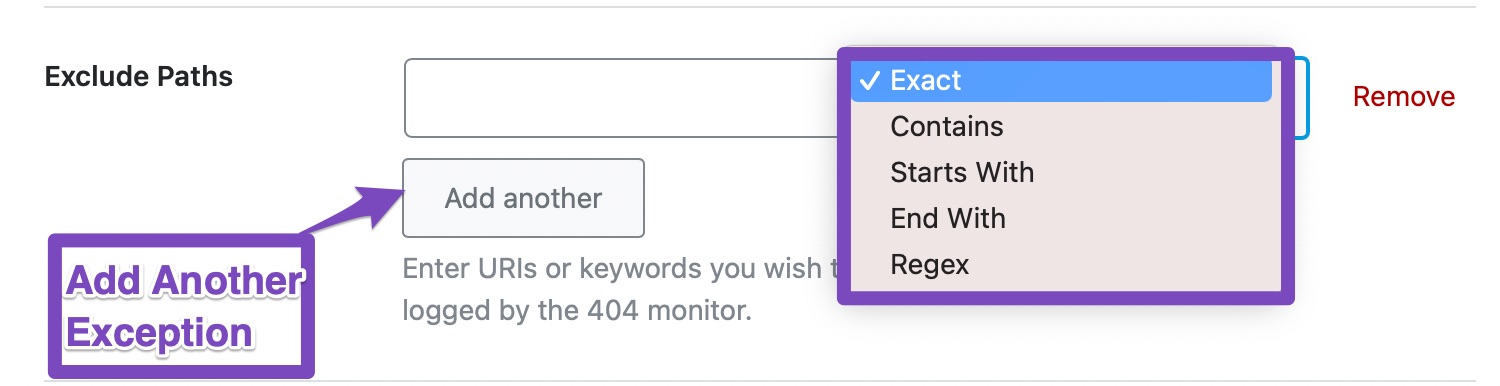
The exclusion tool is versatile and offers plenty of options to set up an exclusion path. You can enter exact URLs, categories, and keywords or even use RegEx to define an exclusion path. The image below shares all the options that are available to you. You can also stack multiple exceptions by creating more exclusion rules.
To set an exclusion path, enter the URI or keyword into the provided field. You should ensure the URI does not begin with a forward slash /.
11.4 Ignore Query Parameters
This option controls whether the 404 monitor ignores the query parameters when logging the 404 errors. Whether you should enable or disable this setting will depend on your website. We recommend that you keep this disabled at first, then enable it if you see a lot of errors in the log file that have the same URL but different query parameters.

12 Redirections
Rank Math has a built-in redirection manager that helps you get rid of 404 and other errors. The redirection section has a few settings that control how the redirections take place. Here is a preview of all the settings in this section.

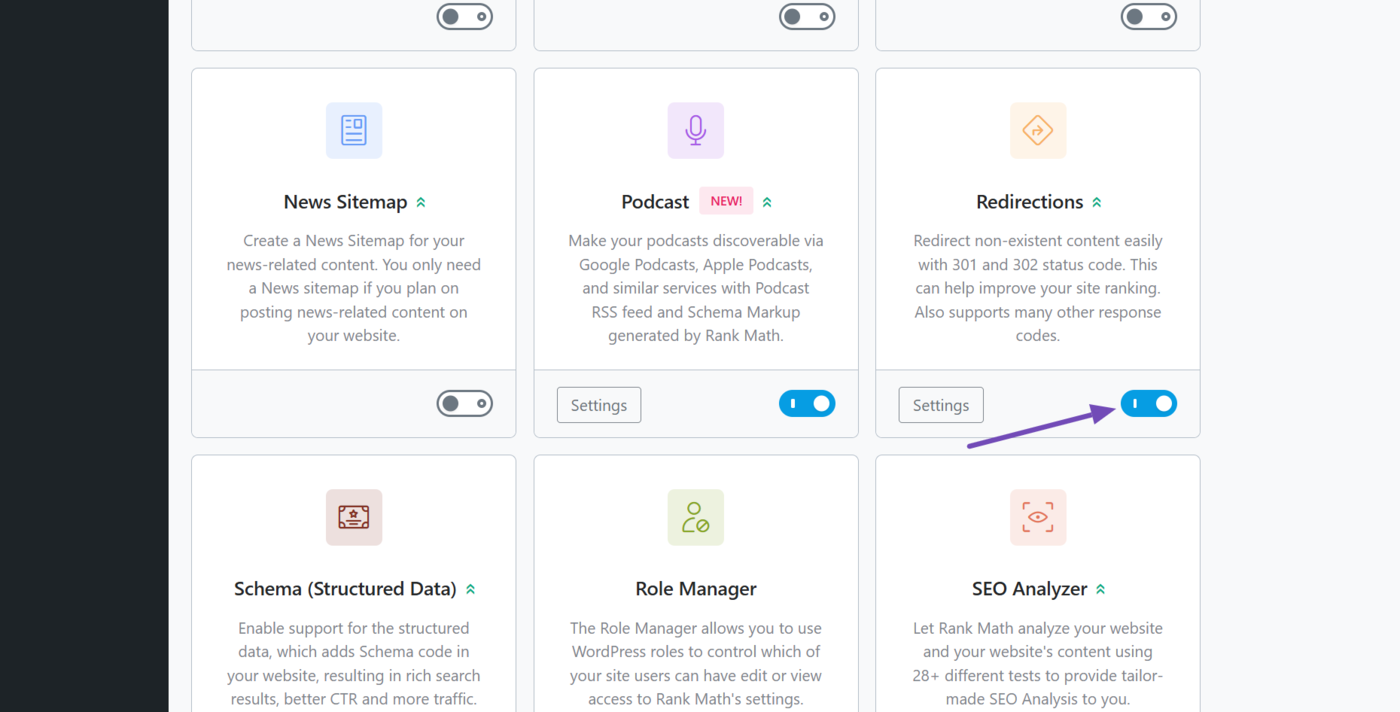
The Redirections section will be only visible in General Settings if you have already enabled the Redirections module from the Rank Math Dashboard.
To enable the Redirections module, click Rank Math SEO on your WordPress Admin dashboard.
Then, enable the Redirections module, as shown below.
Once done, head to Rank Math SEO → General Settings → Redirections, as shown below. You will be presented with the Redirections settings.
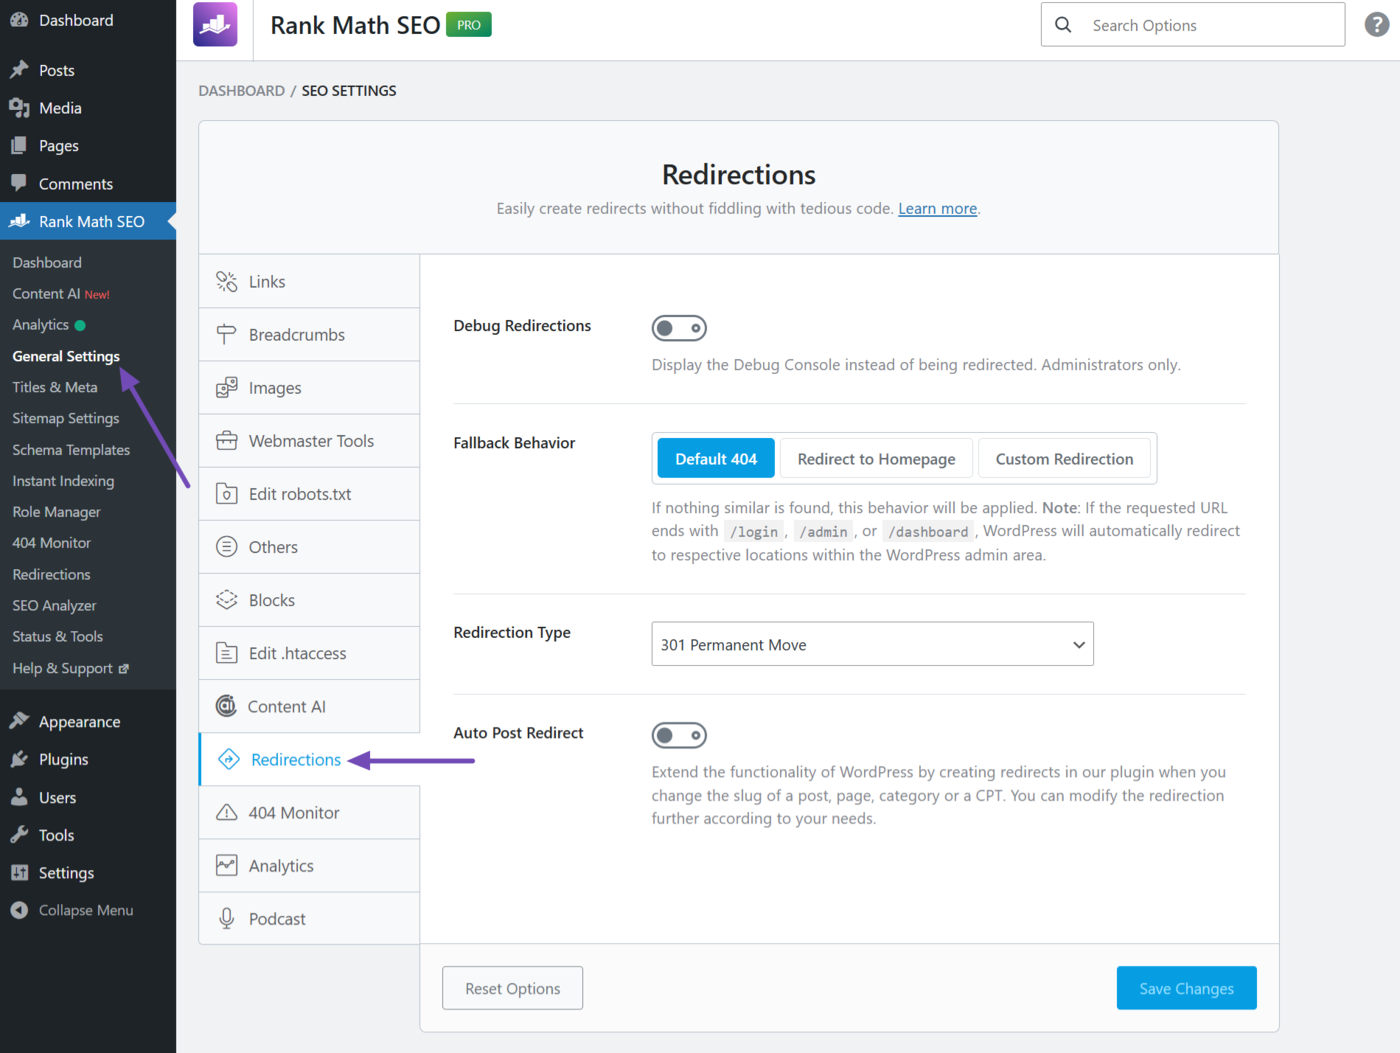
Let us understand what each of the settings does.
12.1 Debug Redirections
Redirects can be tricky business, especially when you’re using Regex and other complex techniques to create redirects. The more complex the method, the more chances that something might go wrong. If you see redirects on your website that can’t take place, then Debug Redirections is here to help.
The Debug Redirection feature places an interstitial window between the source URL and the destination URL. The window contains basic diagnostic information along with the rule that caused the redirection. This helps in finding out the rules that are triggering certain redirects.
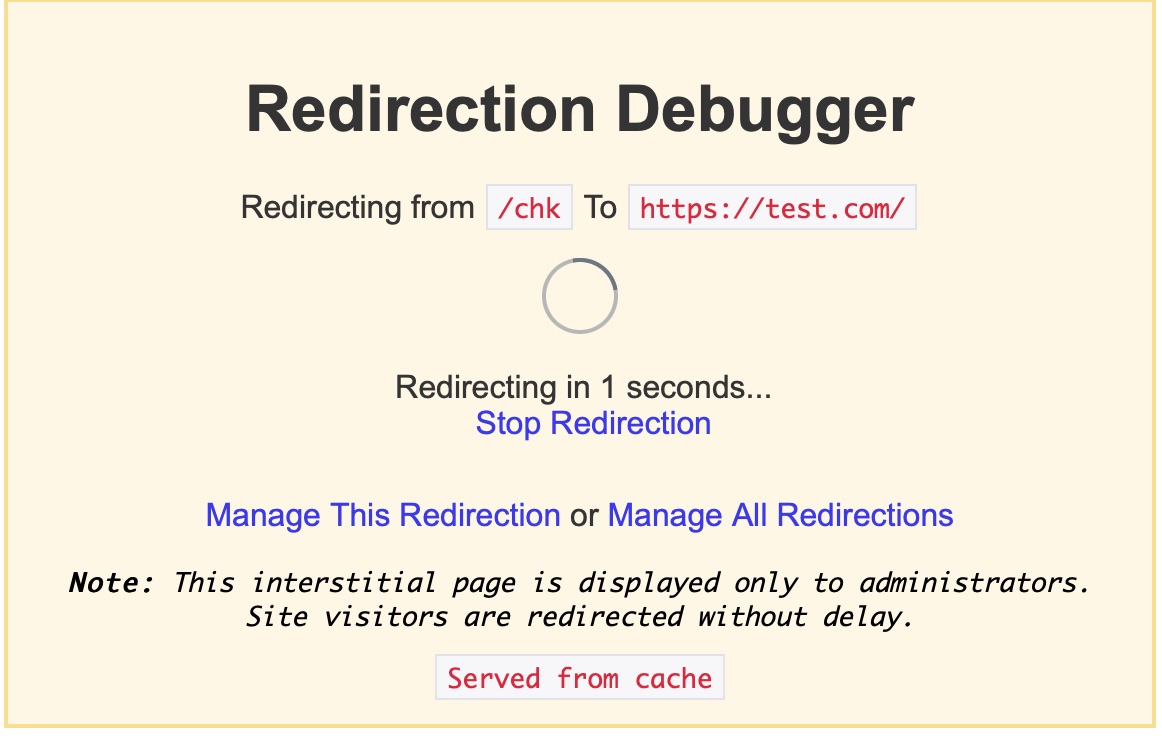
And, the interstitial window is visible only to administrators, and your website visitors won’t know a thing about it.
We would recommend that you keep this feature disabled and only enable it when you have to perform some diagnostics on redirects.

12.2 Fallback Behaviour
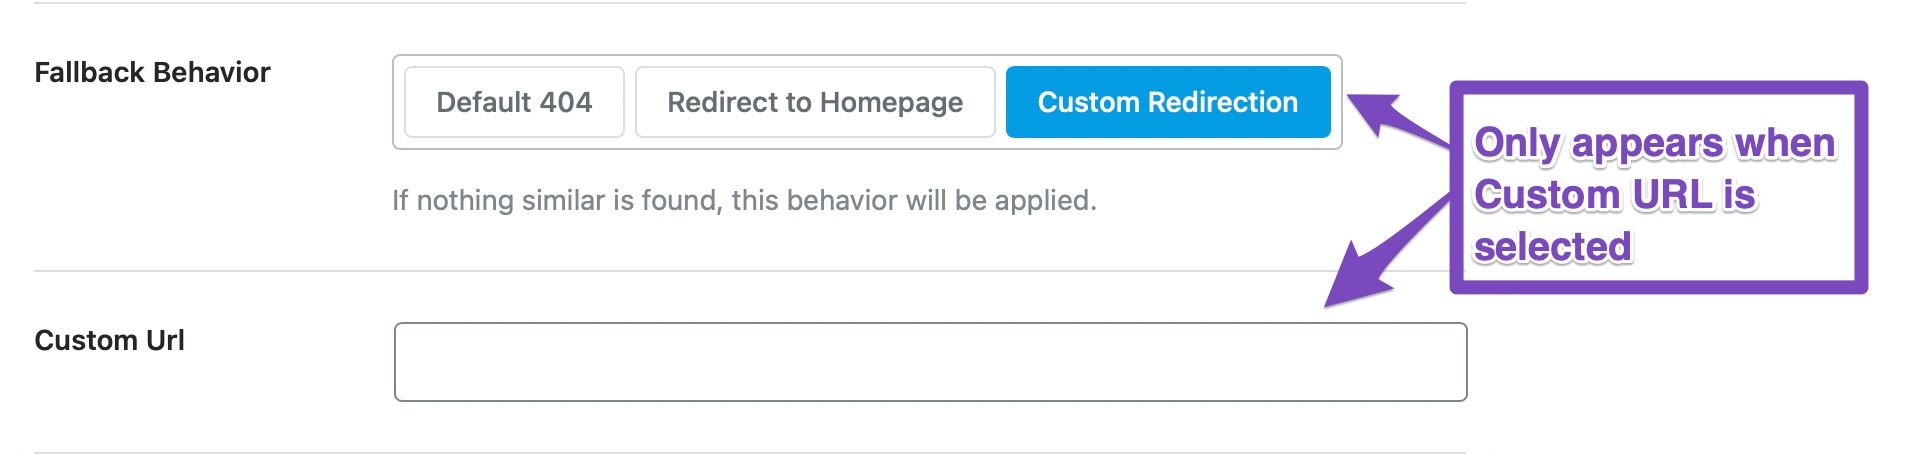
What happens when the destination URL in a redirect isn’t found? With the Fallback Behaviour setting, you can define it just the way you like. You can set it to a 404, redirect to the homepage, or redirect to a custom URL.
If you select the custom URL option, then another field opens up where you can enter the fallback URL.
You can set this up any way you like; there is no single recommendation.
12.3 Custom URL
This field only appears when the Custom URL option is selected. Here you enter the custom fallback URL that your visitors will be taken to if the actual redirect URL is not found.
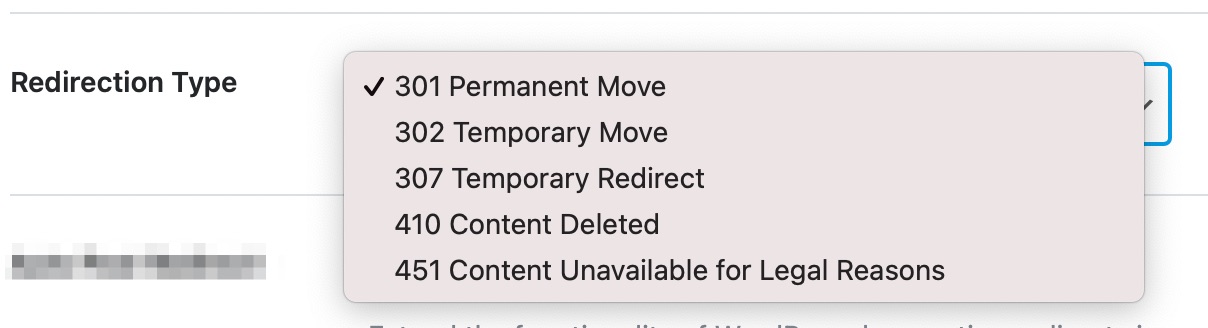
12.4 Redirection Type
Redirections can be of many types, and each type serves a specific purpose. The Redirection Type setting helps configure the default redirection type that Rank Math will use when creating a new redirection. You can also override the redirection type when you’re actually creating a redirect. Here is a detailed article that explains the different redirect types and their uses.
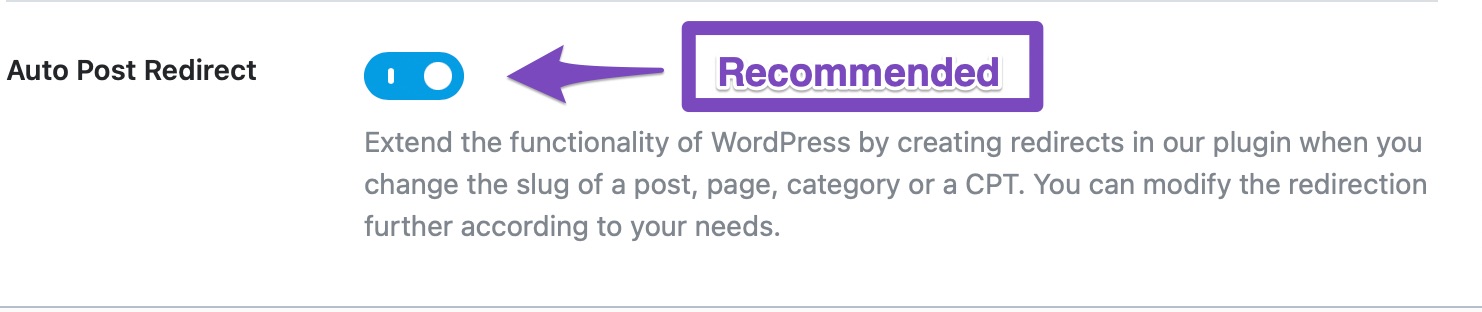
12.5 Auto Post Redirect
WordPress, by default, creates auto-post redirects whenever you change the slugs of posts.
Rank Math extends this feature and makes it available for posts, pages, taxonomies, and CPTs. Thus automatically creating a redirect from the old URL to the new URL whenever you change the URL (slug) of a post of any type.
Auto Post Redirect option is only needed if the default feature is not working for some reason. It will create a new redirect (301 Permanent Move) for each slug change. We recommend that you enable this feature.
That covers all the options in the Redirections section. Let us move on to the next section, the Analytics section.
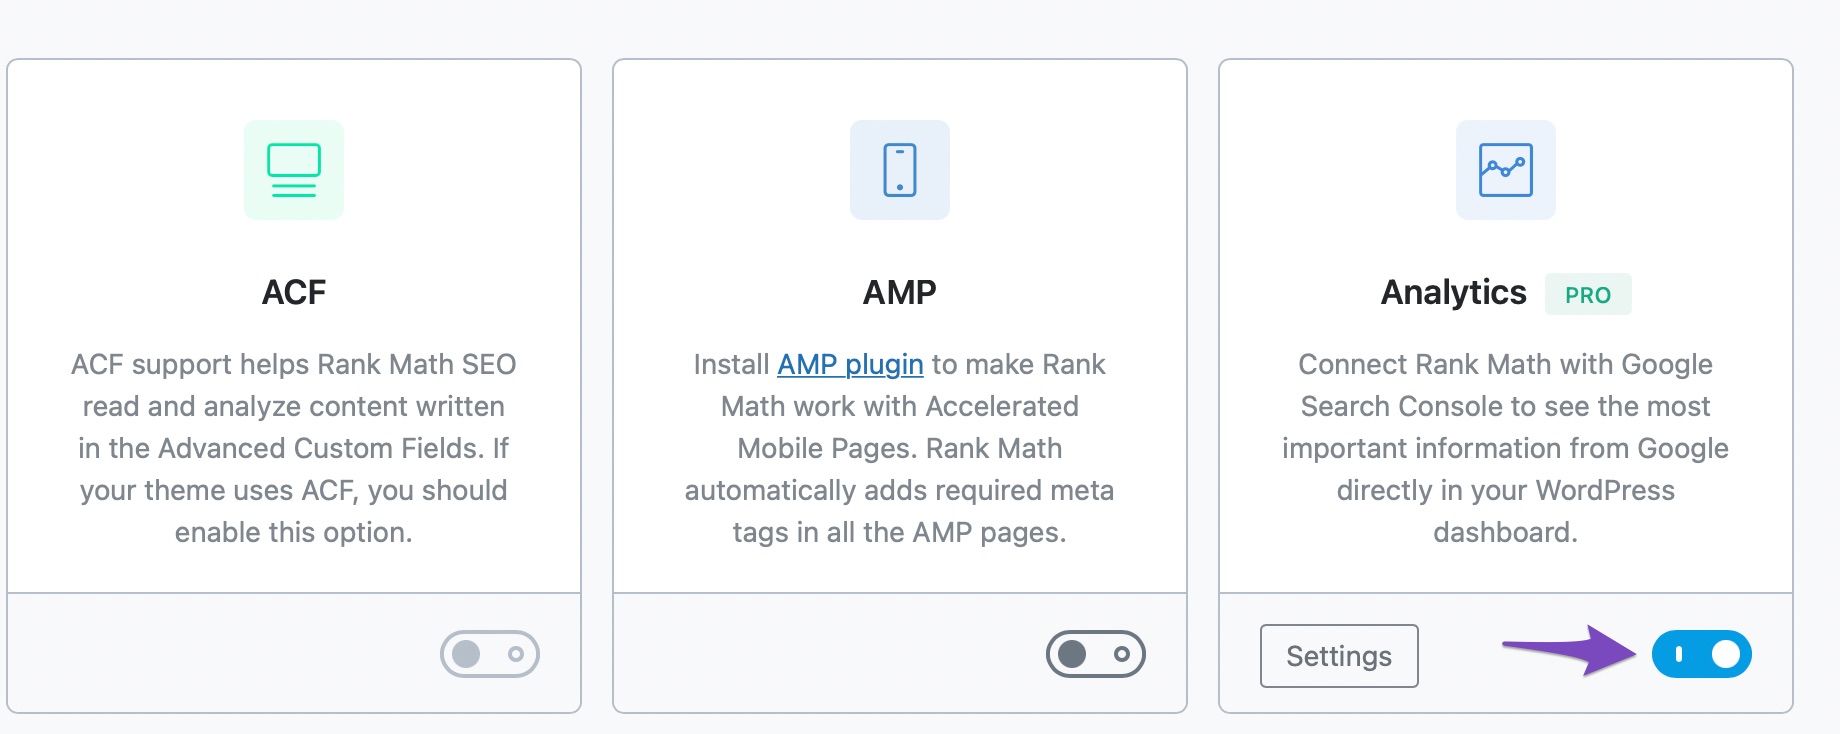
13 Analytics
The Analytics section comprises connecting your account with Google Analytics, AdSense, and Google Search Console. To view this setting, you need to enable the Analytics module at WordPress Dashboard → Rank Math SEO → Dashboard.
At first, you need to connect your Rank Math account, and the process is simple. Just click on Connect Your Rank Math Account, choose your correct account on the next screen, and simply follow the on-screen instructions.
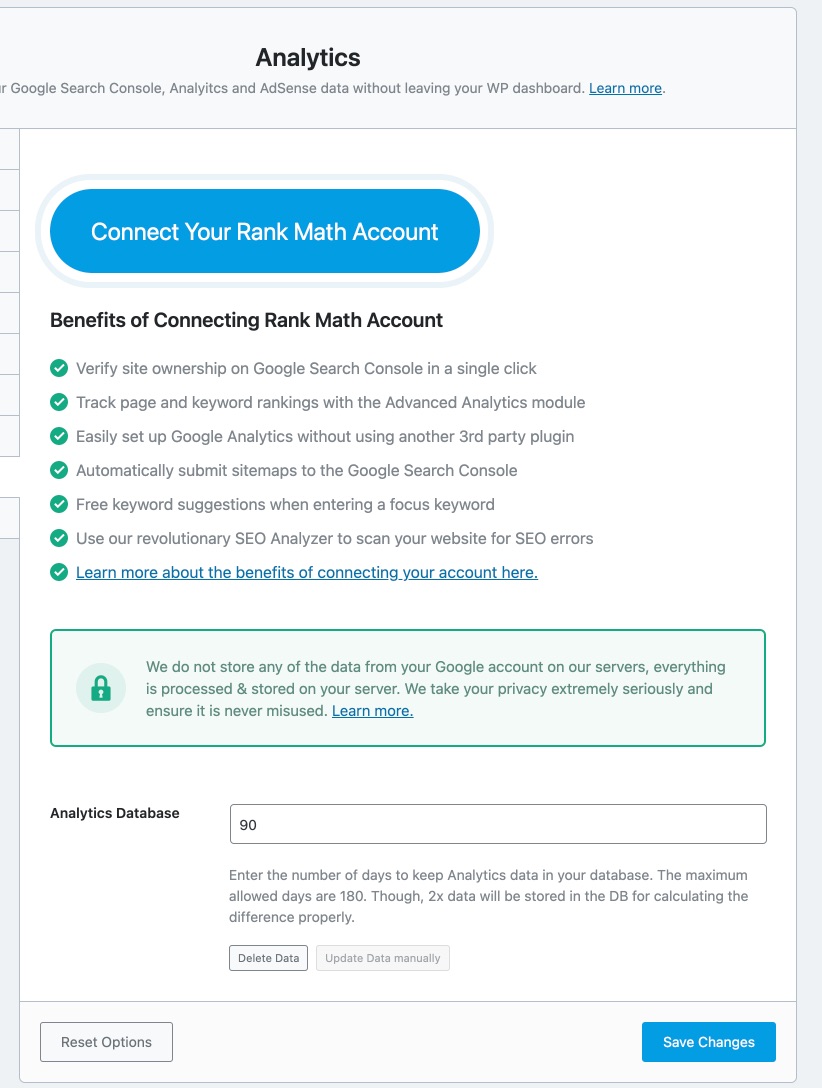
Once you have connected your account, this is how the Analytics settings will look like:
Let us now look at each setting in detail.
13.1 Search Console
This option helps to connect your Google Search Console directly in Rank Math. In case you haven’t already created and verified your website property in Google Search Console, then Rank Math does all the heavy lifting work for you. Your website property should now be readily available to connect.
Select your website and country from the dropdown list and monitor your search console data easily in Rank Math. The option to choose Country is available only for Rank Math PRO users.
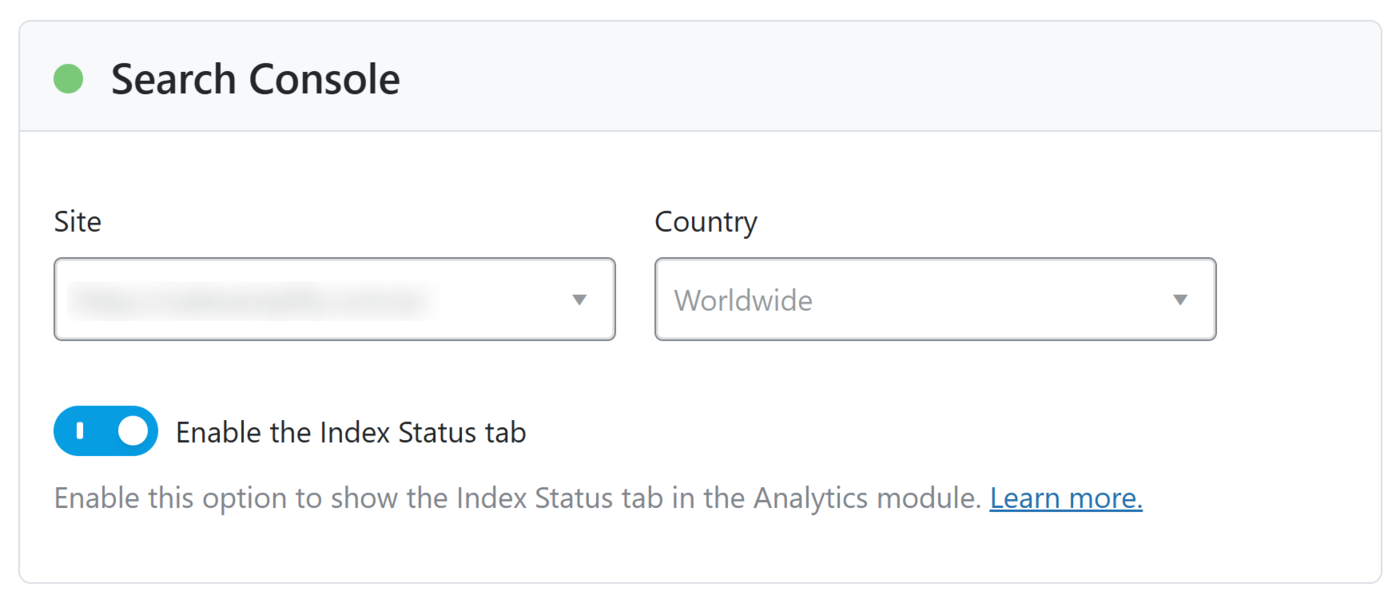
13.2 Enable the Index Status Tab
The Enable the Index Status tab option is available in the Search Console settings.
When enabled, the option displays the Indexing Status tab, which is available in the Analytics module at Rank Math SEO → Analytics → Index Status, as shown below.
The Index Status tab provides detailed information about the indexing status of your webpages. Here, you can see which pages Google has indexed and which ones it has not, along with additional details such as whether Google has discovered or crawled the unindexed URLs.
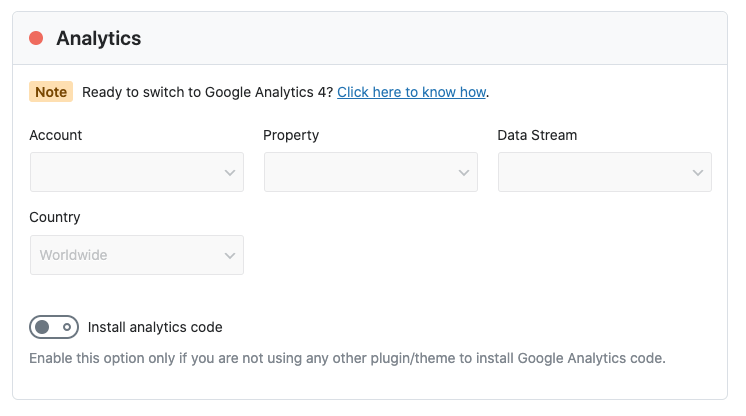
13.3 Analytics
Analytics helps you connect your website with Google Analytics. This is what the Analytics setting will look like:
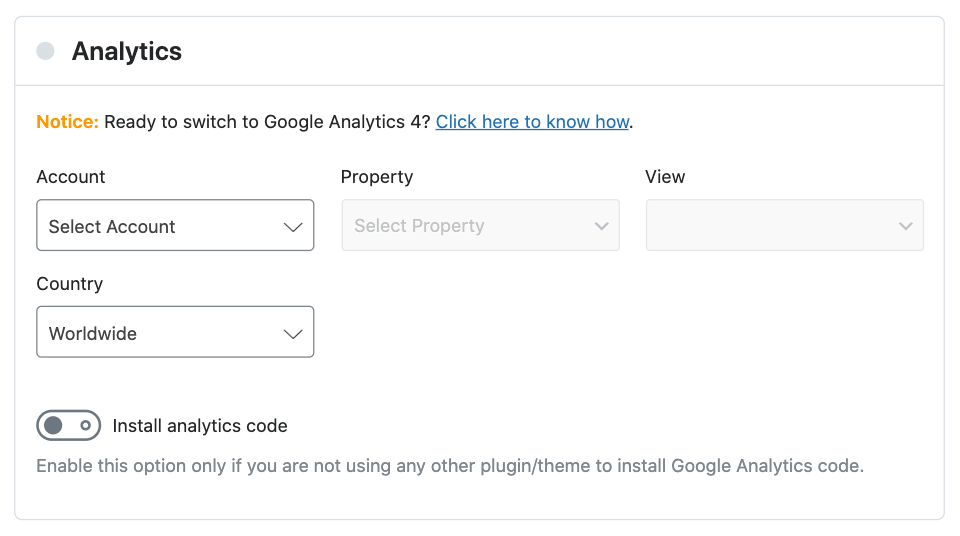
Rank Math provides support for integrating with Google Analytics 4. In order to connect the Analytics of your website, select your Account, Property, View, and Country from the dropdown list. The option to choose Country is available only for PRO users.
To learn more about integrating with Google Analytics 4, you can refer to its dedicated knowledgebase article.
13.4 Install Analytics Code
Rank Math makes it easier to install the Google Analytics code to your website with a single click. However, we recommend you enable this option only if you are not using any other plugin or theme to add the same code to your website.
Once you’ve selected the correct account and property for the website, you can enable the Install Analytics Code option as shown, and you’ll notice some other options on the screen.
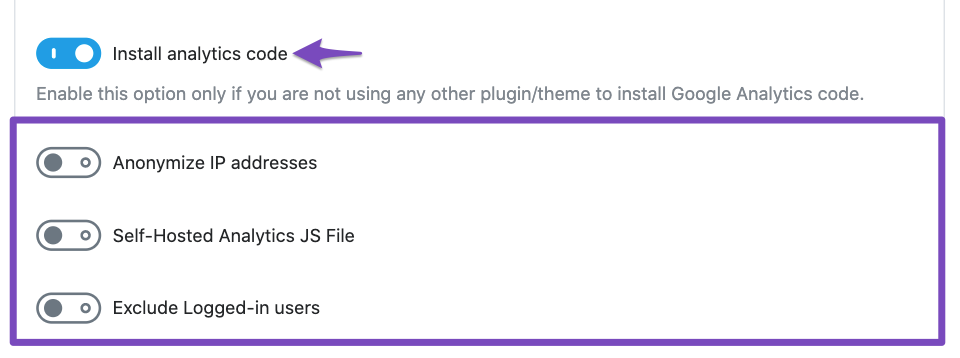
That’s it. Your Google Analytics tracking code will now be added to all pages without the need for yet another additional plugin or inserting the code manually. Now we’ll discuss the other Analytics options that appeared on the screen.
13.5 Anonymize IP Addresses PRO
You can enable this option if you want all your visitors’ IP addresses to be anonymized in your Analytics data. Once you have enabled this feature, Google Analytics sets the last octet of IPv4 user IP addresses and the last 80 bits of IPv6 addresses to zero. Thus the full IP address of the visitor will never be saved and remains anonymous.

13.6 Self-Hosted Analytics JS File PRO
When you enable the Self-Hosted Analytics JS file, Rank Math will host the Google Analytics tracking file locally (automatically updating the script every 12 hours), and it can help accelerate the speed of your website since an external request is no longer needed.

13.7 Exclude Logged-in users
You can enable the toggle to exclude logged-in users, which will prevent internal traffic from showing up in your analytics.

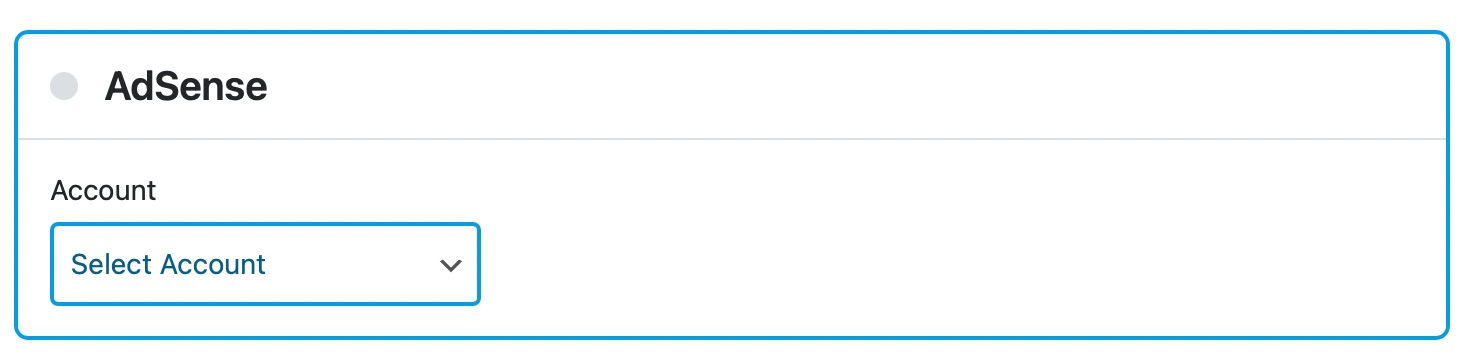
13.8 AdSense PRO
You can see all your AdSense data once you connect your account with this option.
13.9 Analytics Database
The Analytics Database lets you set the number of days that the Analytics data of your website will be stored for. Rank Math will automatically fetch data from Google Analytics at a defined interval, but you can also fetch the data manually.
In the Analytics Database settings, you can configure the number of days for which you want the data to be visible inside WordPress. The default of 90 days is sufficient in most cases, but you can also change it.
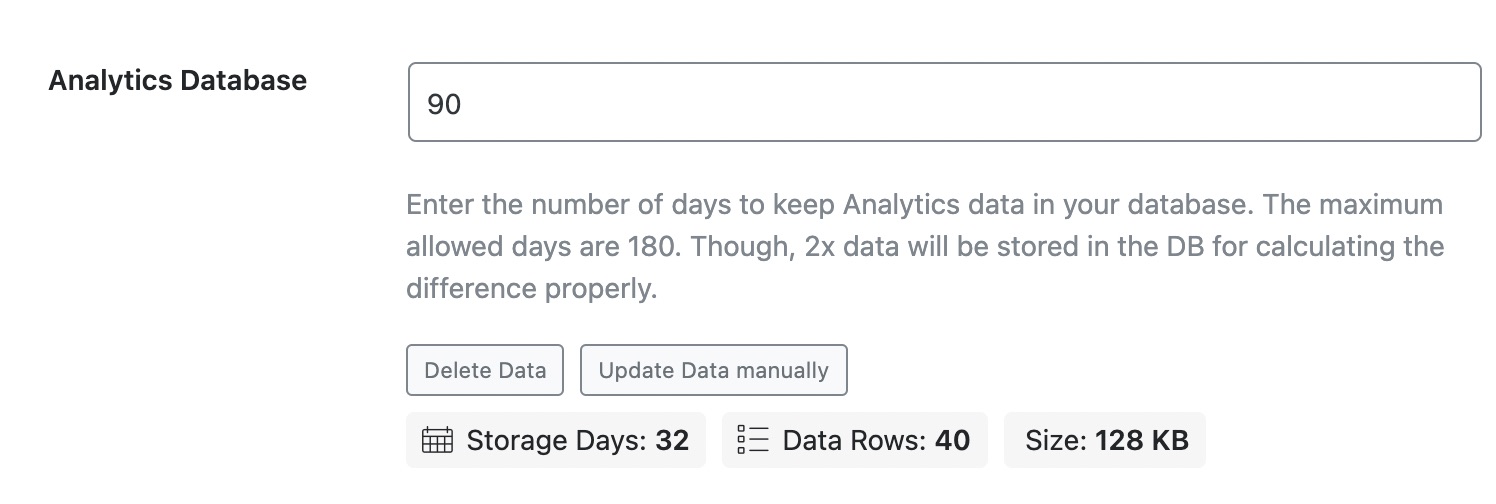
When you connect your website, Rank Math has obviously fetched no data from the Search Console. So, we would recommend that you manually fetch the data for the first time.
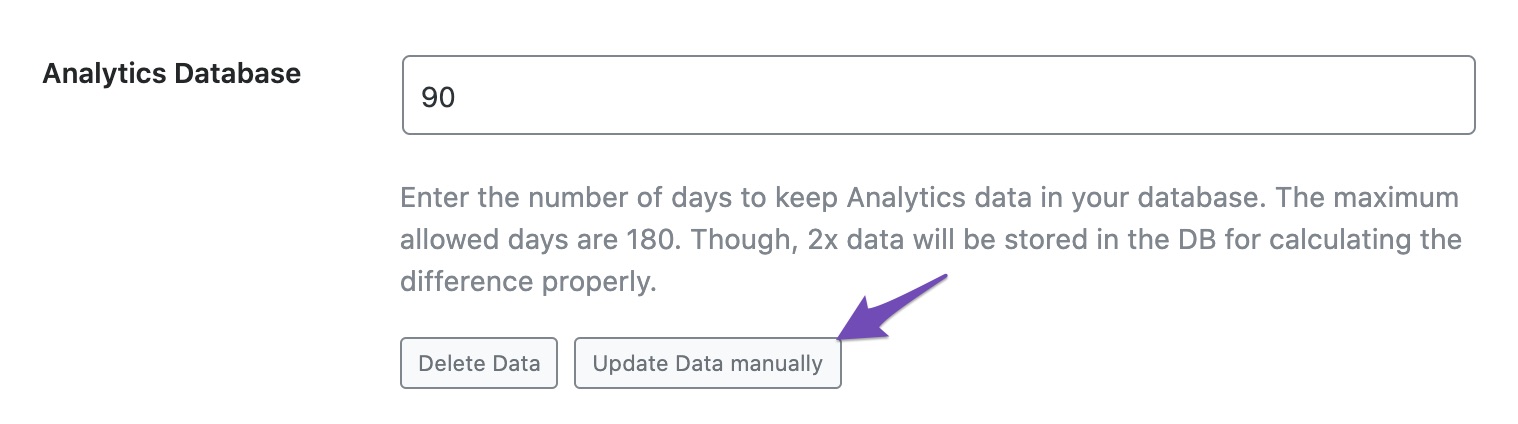
Rank Math will fetch the data, and once the fetch is complete, the meta-data should appear updated.
13.10 Monitor SEO Performance Business
You can enable this option to monitor the SEO performance of all your websites installed with Rank Math to appear on one centralized dashboard, making it easier for you to manage multiple websites. By default, the option to monitor SEO performance is enabled for all Business and Agency users so that they can monitor the performance of their client websites.

By enabling or disabling this option on each website, Business and Agency users can decide which websites they need to monitor the performance. While this feature to enable or disable monitoring SEO performance is available only for Business and Agency users, PRO users will still be able to change this setting for all their websites in one go.
Note: It might take up to 24 hours for data to start appearing.
To change this setting globally to all your websites, you can navigate to your Rank Math Account area and click on the Websites tab in your left sidebar menu.
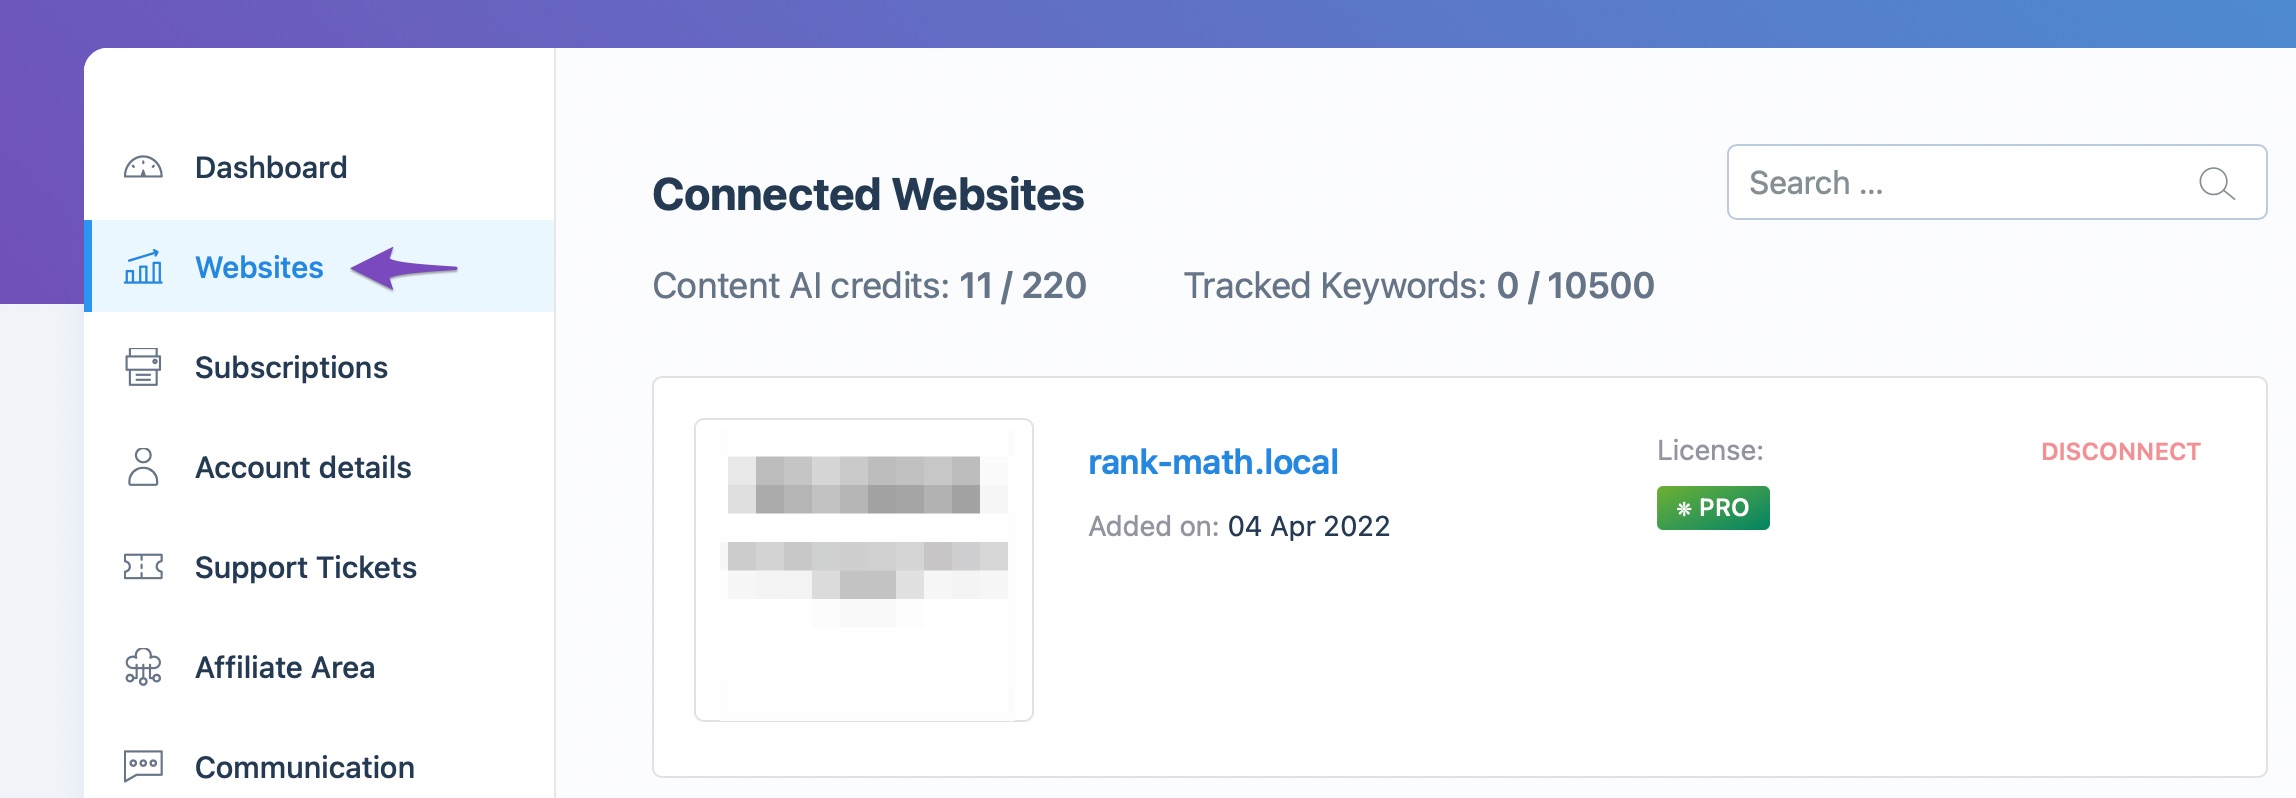
And in the Websites page, scroll down a bit to find the option which lets you enable/disable the Display Analytics Stats option.
In this way, Business and Agency users will be able to select and monitor the performance of individual sites, while PRO users will be able to check the stats of all their websites in a dashboard like this.
13.11 Google Core Updates in the Graphs Business
Rank Math PRO by default comes with the Google Core Updates timeline integrated with the Analytics graphs. Business and Agency users will get the opportunity to enable/disable Google Core Updates in Graphs so that if the service they offer to the clients doesn’t involve this feature, then they can easily disable it.

13.12 Frontend Stats Bar
You can toggle this option to enable/disable the analytics stats bar on the frontend of your website.
When enabled, Rank Math displays the analytics data of the posts, such as search traffic, search impressions, page speed, etc, so you could have a quick overview of the performance of the posts without having to switch between tabs.

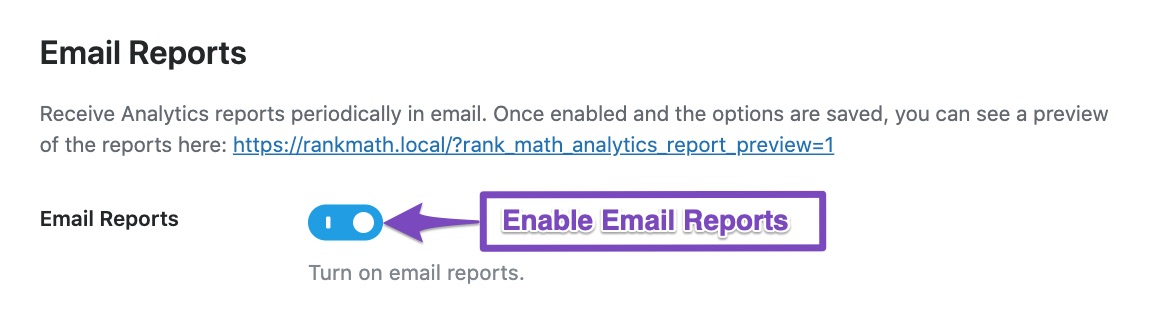
13.13 Email Reports
This option lets you enable or disable the Email Reporting feature of Rank Math. When enabled, you will get an SEO Performance Report delivered straight to your inbox with changes related to your website traffic, impressions, total keywords & average position.
Note: To take advantage of this feature, you’d need to connect your website with Google Account services and configure your Search Console settings in this same Analytics section. In addition, PRO, Business, and Agency users should connect their site with Google Analytics as well.
13.14 Email Frequency
By default, the Email Frequency is set to set 30 days. PRO, Business, and Agency users can change the frequency of their email reports.
- Free users – will receive Email Reports every 30 days
- PRO – can set email frequency to 15 or 30 days
- Business – can set email frequency to 7, 15, or 30 days
- Agency – can set email frequency to 7, 15, or 30 days

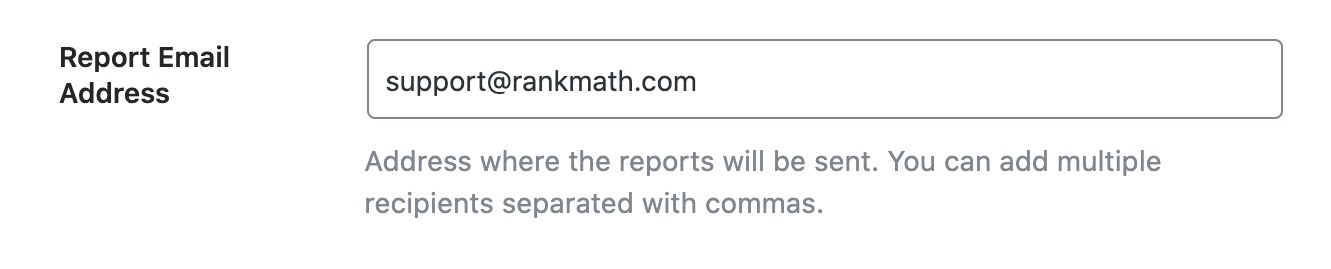
13.15 Report Email Address Business
This option lets you enter the email address where you want the email reports to be sent. You can also add multiple email recipients to this field, but make sure they are separated with a comma. This option is available only for Business and Agency users to configure.
13.16 Report Email Heading Business
Enter the heading of the email report. Make sure to use a heading your client can easily recognize.

13.17 Report Email Subject Business
Enter the Subject of the Email Reports. We recommend using a Subject line that is recognizable, making it easy for your clients to identify the SEO Reports.

13.18 Report Logo Business
By default, the Report Logo is set to the Rank Math logo. Business and Agency users get the option to Whitelabel the SEO Performance reports with their brand’s logo. Click the Add or Upload File button to include your business logo, and it will appear in the header part of the report.
13.19 Logo Link Business
The Logo Link option lets you enter the URL where you want your users to be taken when they click the logo in the Email Report’s header.
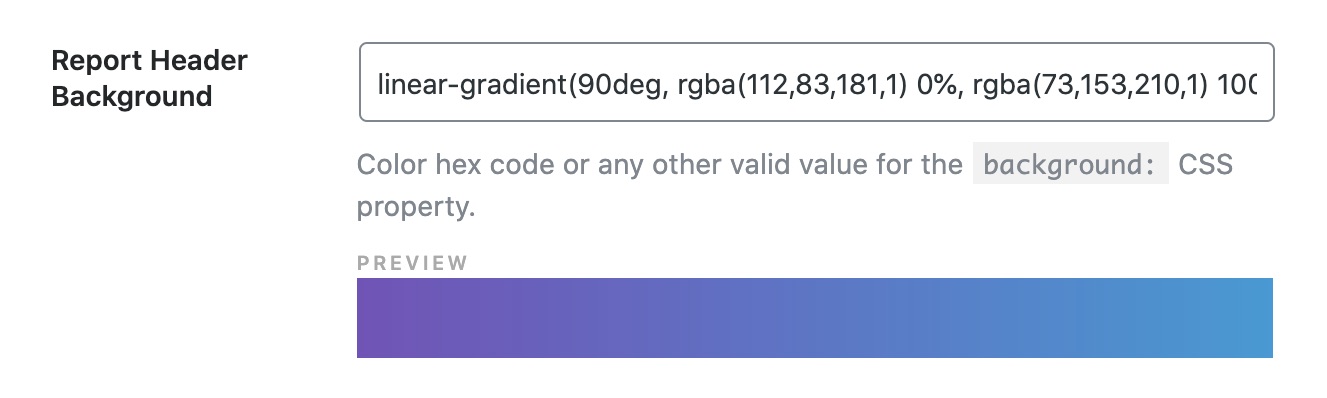
13.20 Report Header Background Business
When you Whitelabel the Email Report with your brand logo, you can customize the email Header Background to resonate with your brand. Add a valid value for the background CSS property, and you can quickly visualize the header background with the preview shown below.
13.21 Link to Full Report Business
Enable this option if you want to include a CTA at the end of the Email report that will lead to the Rank Math SEO → Analytics page in the WordPress admin area.

13.22 Report Top Text Business
Enter any custom text that you would like to display below the title. You can use either text or basic HTML here.

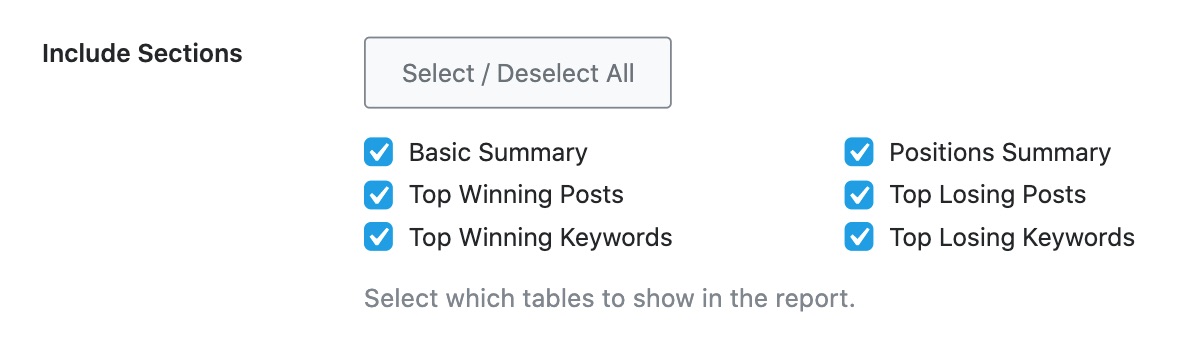
13.23 Include Sections Business
The Include Sections option lets you select the tables that you want to feature in your Email report.
13.24 Include Only Tracked Keywords PRO
The option to Include Only Tracked Keywords is available for PRO, Business & Agency users and is disabled by default. When you enable this option, the Winning Keywords and Losing Keywords section in your Email Reports will include only the keywords you tracked with Rank Tracker.

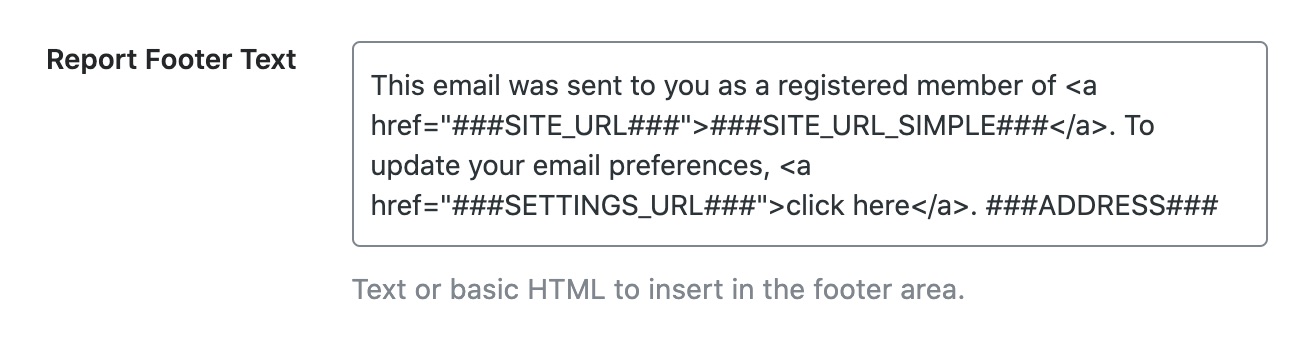
13.25 Report Footer Text Business
Similar to the Report Top Text, you can add a custom text at the footer of your report using the Report Footer Text field. Feel free to customize this field with text or basic HTML.
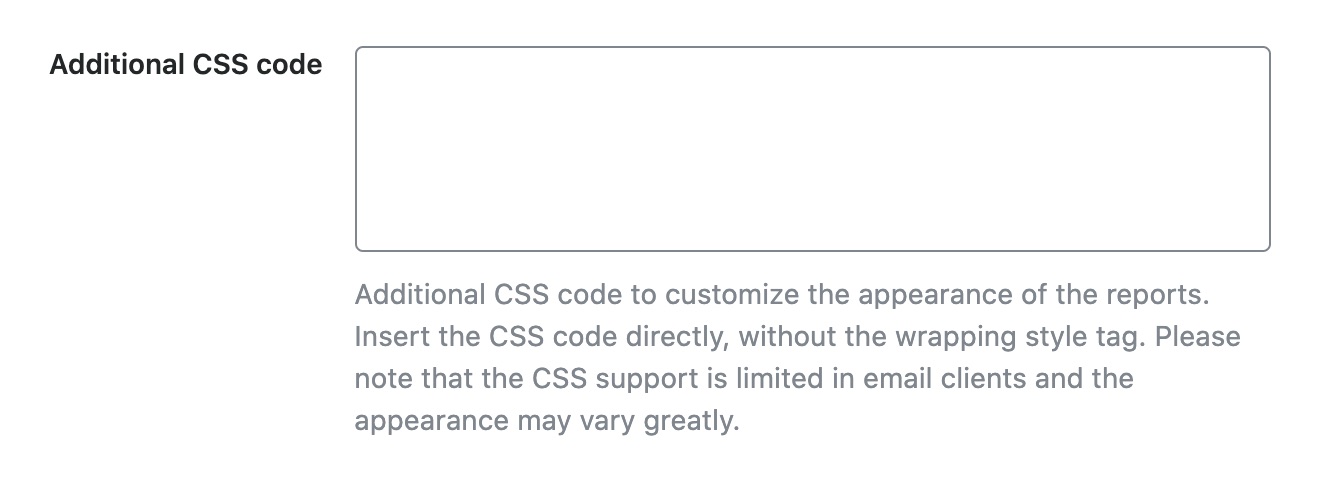
13.26 Additional CSS Code Business
Further, you can customize the entire appearance of your email reports by adding CSS code to this field. Please note, the support for CSS code in email clients(like Outlook, etc.) are limited, and hence the appearance may vary.
13.27 Test Connections
In case you notice any delay in fetching Analytics data, you may need to test Rank Math’s connections with your Google account. To do so, simply click the Test Connections option at the top right of the Analytics settings, as shown below.
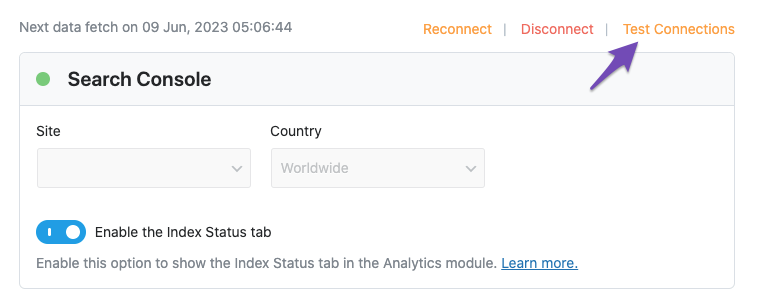
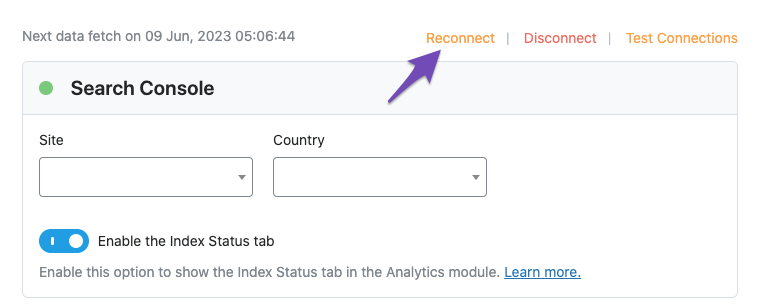
Once you click the option, Rank Math will start to validate the existing connections. A green signal indicates a valid connection. And a red signal, as shown below, indicates a glitch in the corresponding connection.
To fix this, simply reconnect with your Google account.
Note: If you are unable to see the Test Connections option, please ensure that you’re using Rank Math in the Advanced Mode.
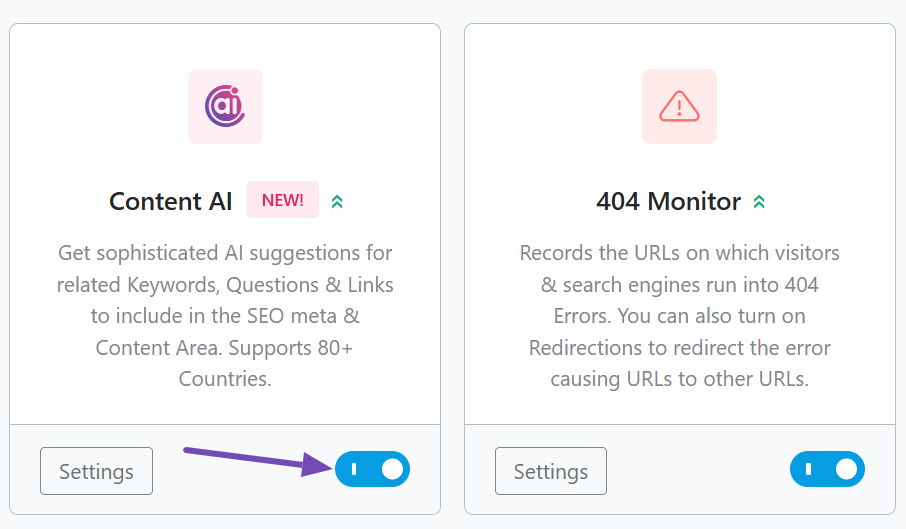
14 Content AI
The Content AI section lets you configure site-wide configurations for Rank Math’s Content AI, an AI-based writing assistant to help you optimize your content around the focus keyword. This option would be available only if you had enabled the Content AI module from the WordPress Dashboard → Rank Math SEO.
Here are all the options that you’d find under the Content AI tab.
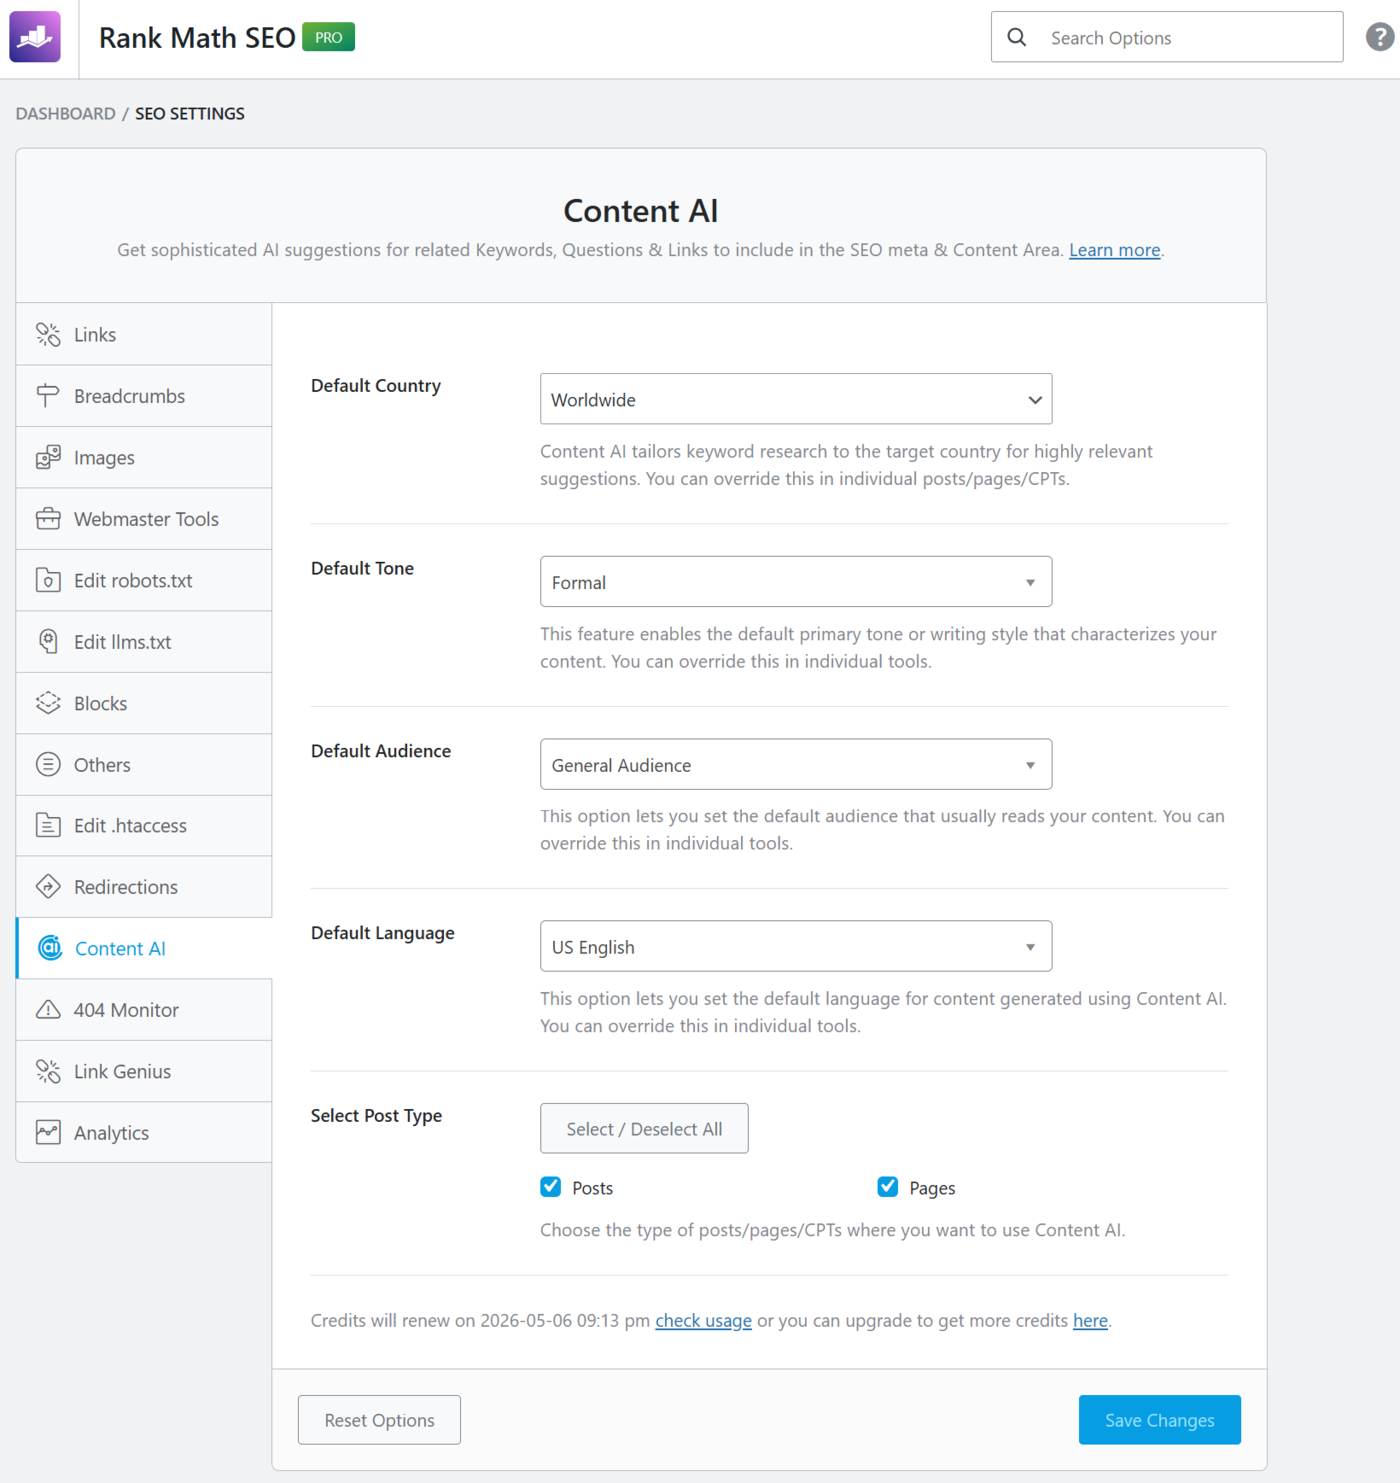
14.1 Default Country
Rank Math’s Content AI can research keywords based on the target country and offer more relevant suggestions. Here is the complete list of countries that Rank Math currently supports.
| Worldwide | Ghana | Paraguay |
| Algeria | Greece | Peru |
| Argentina | Guatemala | Philippines |
| Armenia | Hong Kong | Poland |
| Australia | Hungary | Portugal |
| Austria | India | Romania |
| Azerbaijan | Indonesia | Russian Federation |
| Bahrain | Ireland | Saudi Arabia |
| Bangladesh | Israel | Senegal |
| Belarus | Italy | Serbia |
| Belgium | Japan | Singapore |
| Bolivia, Plurinational State Of | Jordan | Slovakia |
| Brazil | Kazakhstan | Slovenia |
| Bulgaria | Kenya | South Africa |
| Cambodia | Korea, Republic Of | Spain |
| Canada | Latvia | Sri Lanka |
| Chile | Lithuania | Sweden |
| Colombia | Macedonia, The Former Yugoslav Republic Of | Switzerland |
| Costa Rica | Malaysia | Taiwan |
| Croatia | Malta | Thailand |
| Cyprus | Mexico | Tunisia |
| Czechia | Morocco | Turkey |
| Denmark | Myanmar | Ukraine |
| Ecuador | Netherlands | United Arab Emirates |
| Egypt | New Zealand | United Kingdom |
| El Salvador | Nicaragua | United States Of America |
| Estonia | Nigeria | Uruguay |
| Finland | Norway | Venezuela, The Bolivarian Republic Of |
| France | Pakistan | Viet Nam |
| Germany |
The option available here allows you to set a default country, and that said, you can always change that on a per-post basis. Click the dropdown list to choose your target country, or if you’re targeting a global audience, leave the field with the default Worldwide option.

14.2 Default Tone
This option allows you to set a default tone for all content generated by Content AI. Once configured, Content AI will use this tone across all your content generation tasks, ensuring a consistent voice throughout your website.

The available tones include:
- Analytical: Breaks down complex topics using data, evidence, and logical reasoning
- Argumentative: Presents a strong stance on a topic, backed by evidence and reasoning to persuade the reader toward a specific viewpoint
- Casual: Uses relaxed, everyday language to communicate in a laid-back, approachable manner
- Conversational: Mimics natural human dialogue, making content feel like a friendly, two-way exchange with the reader
- Creative: Employs imaginative language, original ideas, and expressive writing to produce engaging and unique content
- Descriptive: Uses vivid, sensory-rich language to paint a detailed picture of a subject, scene, or concept
- Emotional: Evokes feelings and connects with readers on a personal level
- Empathetic: Acknowledges the reader’s feelings and perspectives, crafting content that feels understanding and compassionate
- Expository: Explains a topic clearly and straightforwardly, focusing on delivering information without personal bias
- Factual: Sticks strictly to verified information and objective truths, leaving no room for opinion or speculation
- Formal: Adheres to professional language standards, making it ideal for official, academic, or business-oriented content
- Friendly: Adopts a warm, welcoming tone that makes readers feel comfortable and at ease
- Humorous: Uses jokes and lighthearted language to entertain readers while delivering your message
- Informal: Uses colloquial language and a relaxed structure, making content feel personal and unpretentious
- Journalese: Adopts the concise, news-style writing common in journalism, prioritizing clarity and brevity
- Narrative: Tells a story with a clear structure, drawing readers in through characters, events, and a compelling tale
- Objective: Presents information impartially, avoiding personal bias or emotional influence to give a balanced view
- Opinionated: Confidently expresses a personal point of view, offering commentary and judgment on a subject
- Persuasive: Crafts content designed to influence the reader’s beliefs or actions through compelling arguments and emotional appeal
- Poetic: Uses literary devices such as rhythm, metaphor, and imagery to create expressive, aesthetically rich content
- Satirical: Uses irony, humor, and exaggeration to critique or parody a subject, often with an underlying serious message
- Story-telling: Weaves information into an engaging narrative, making content more relatable and memorable
- Subjective: Reflects personal opinions, interpretations, and feelings, offering a distinctly individual perspective on a topic
- Technical: Delivers precise, specialized information using industry-specific terminology, ideal for expert or professional audiences
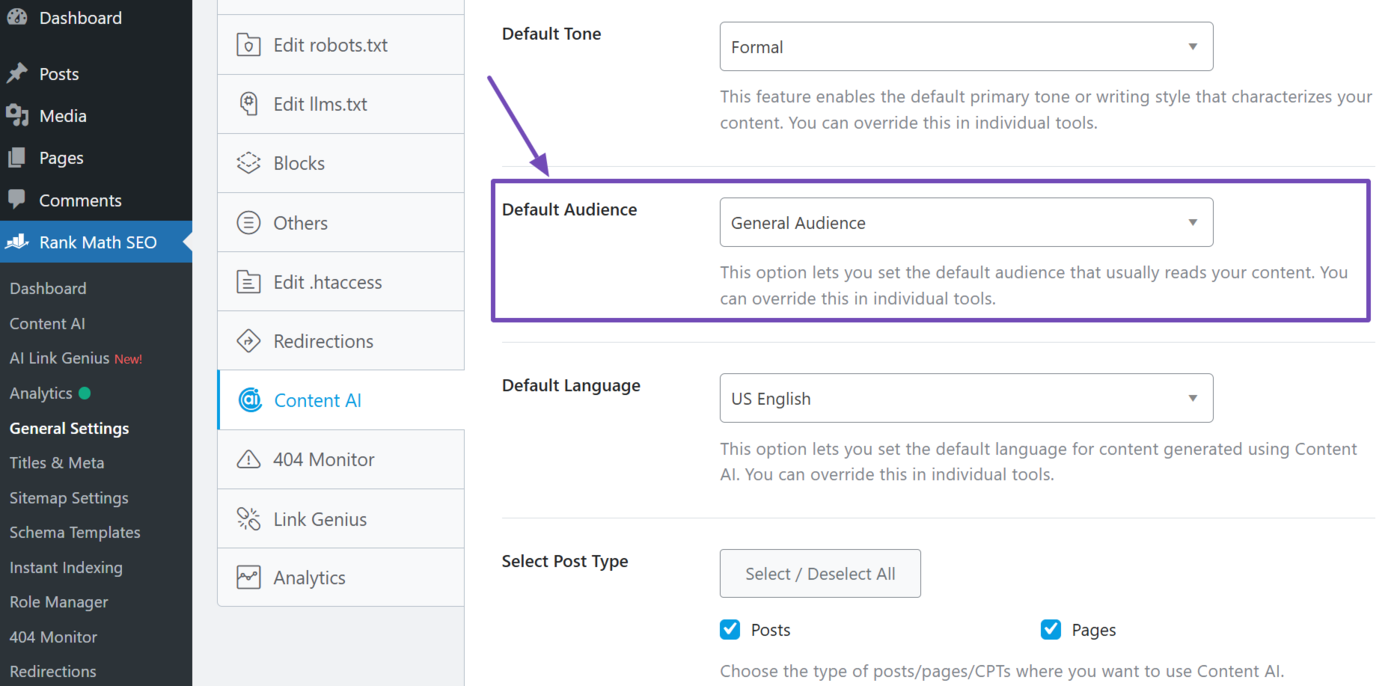
14.3 Default Audience
This option allows you to set a default target audience for all content generated by Content AI. This ensures the tone, language, and complexity of your content are always tailored to the relevant group of readers.
The available options include:
| Activists | Artists | Authors |
| Bargain hunters | Bloggers | Crafters |
| Dancers | DIYers | Designers |
| Educators | Engineers | Entrepreneurs |
| Environmentalists | Fashionistas | Fitness enthusiasts |
| Foodies | Gaming enthusiasts | Gardeners |
| General audience | Health enthusiasts | Healthcare professionals |
| Indoor hobbyists | Investors | Jobseekers |
| Movie buffs | Musicians | Outdoor enthusiasts |
| Parents | Pet owners | Photographers |
| Podcast listeners | Professionals | Retirees |
| Russian | Seniors | Social media users |
| Sports fans | Students | Tech enthusiasts |
| Travelers | TV enthusiasts | Video creators |
| Writers |
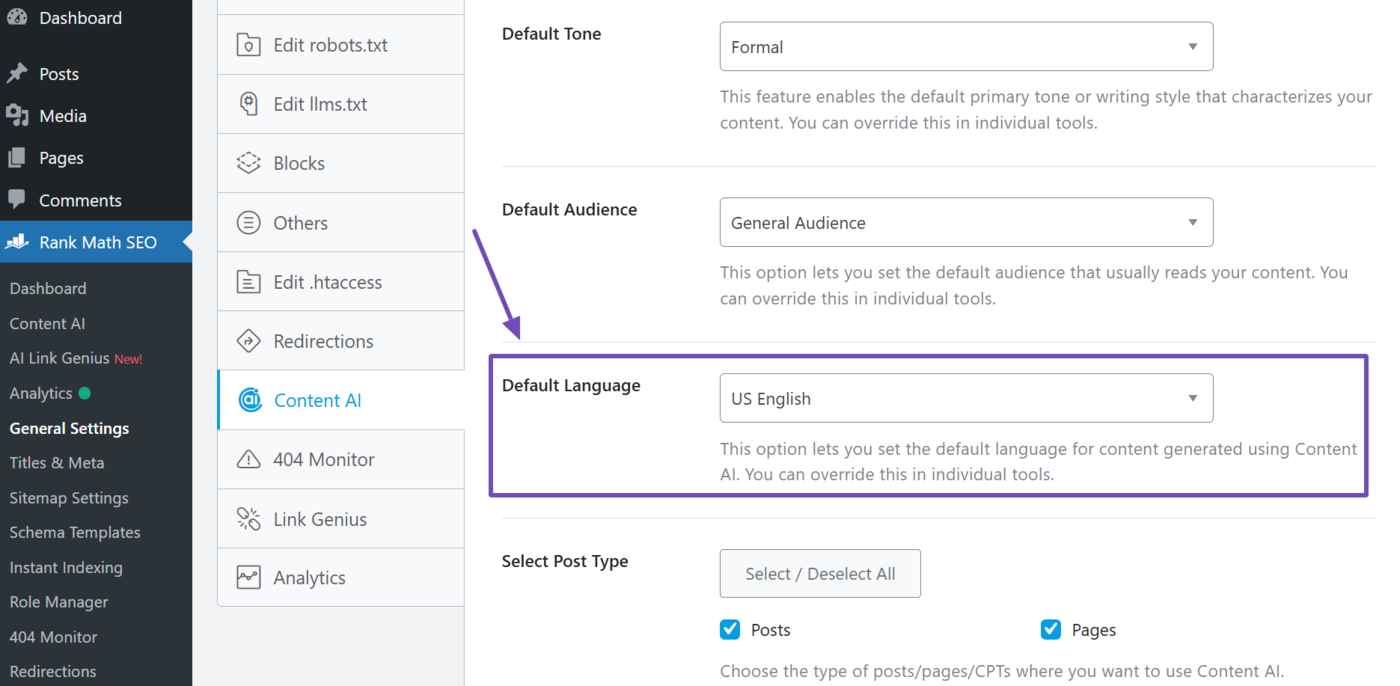
14.4 Default Language
This option lets you set the default language for Content AI to generate your content. This ensures your content is consistently produced in your preferred language without having to manually select it each time.
The available languages include:
| US English | UK English | Arabic |
| Bulgarian | Chinese | Czech |
| Danish | Dutch | Estonian |
| Finnish | French | German |
| Greek | Hebrew | Hungarian |
| Indonesian | Italian | Japanese |
| Korean | Latvian | Lithuanian |
| Norwegian | Polish | Portuguese |
| Romanian | Russian | Slovak |
| Slovenian | Spanish | Swedish |
| Turkish |
14.5 Select Post Type
This option lets you select the post types for which you want to use Content AI.

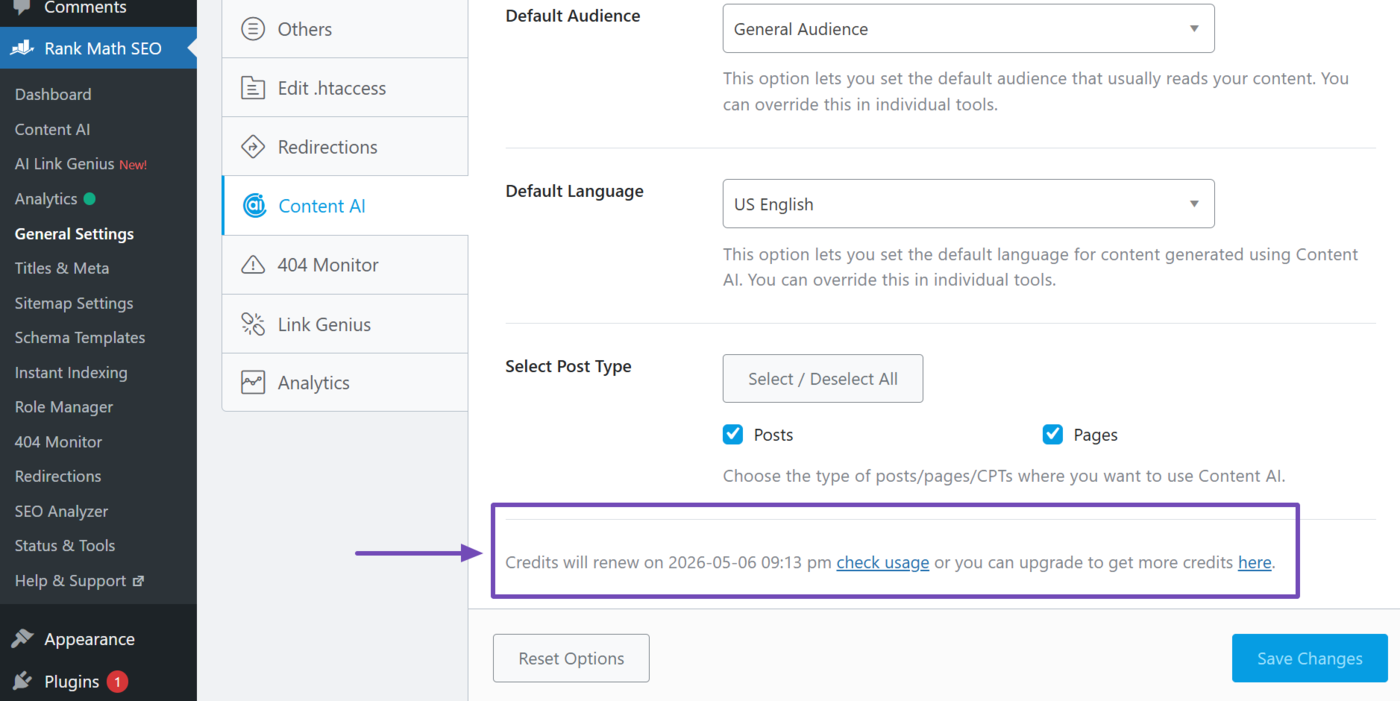
14.6 Feature Uses and Renewal Date
Rank Math assigns a set of feature uses to Content AI users. Free users receive between one and five uses for most Content AI features, while paid users receive more uses and access to additional AI features.
Feature uses renew every month, and the exact date and time of your next renewal will be displayed here. To view your current feature usage, click Check usage, as shown below.
If you have exhausted your feature uses, you can upgrade to a higher Content AI plan here.
15 Podcast
The Podcast module of Rank Math allows you to launch your own Podcast without the need for any external plugins. To get started, you need to enable the Podcast module from the WordPress Dashboard → Rank Math SEO, as shown below.
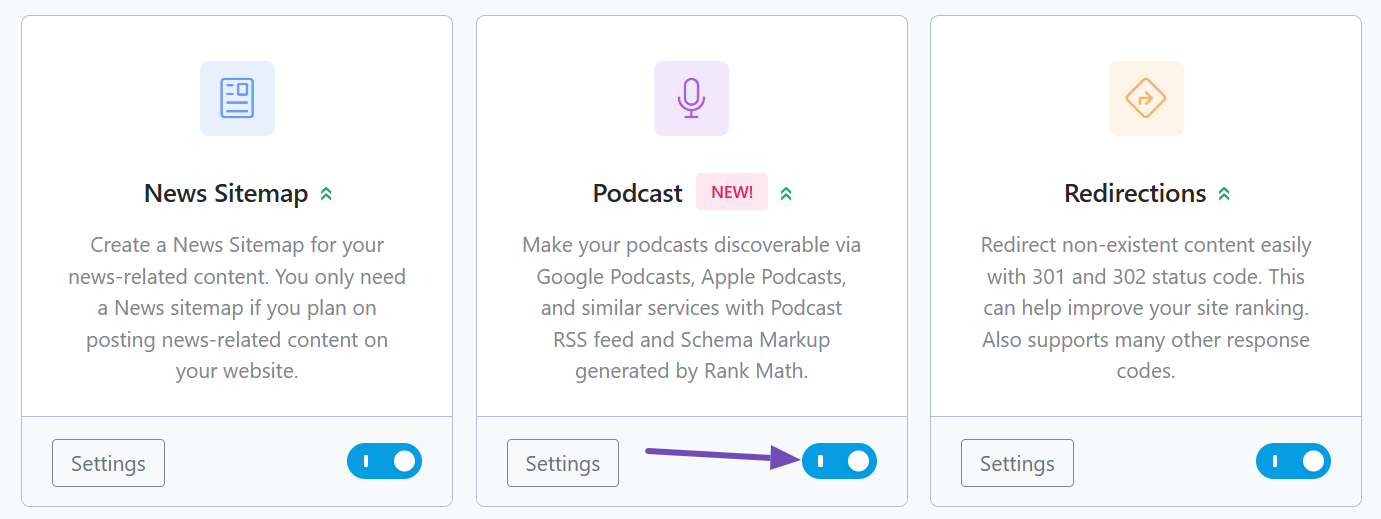
Since the Podcast module makes use of the Schema, you need to ensure that the Schema (structured data) module is also enabled.
Now that the essential modules are enabled, you can configure the Podcast Settings — here are all the settings available to configure.
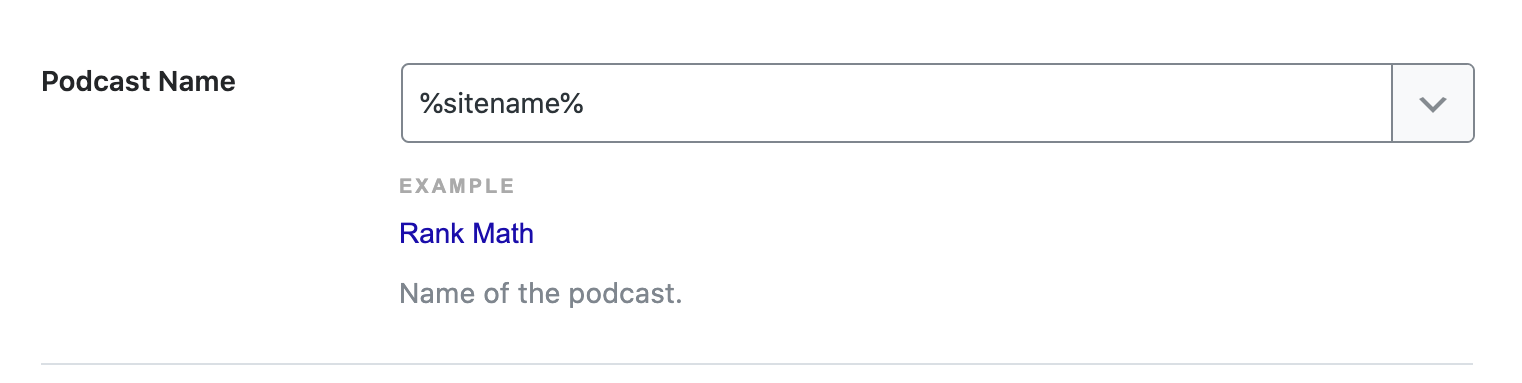
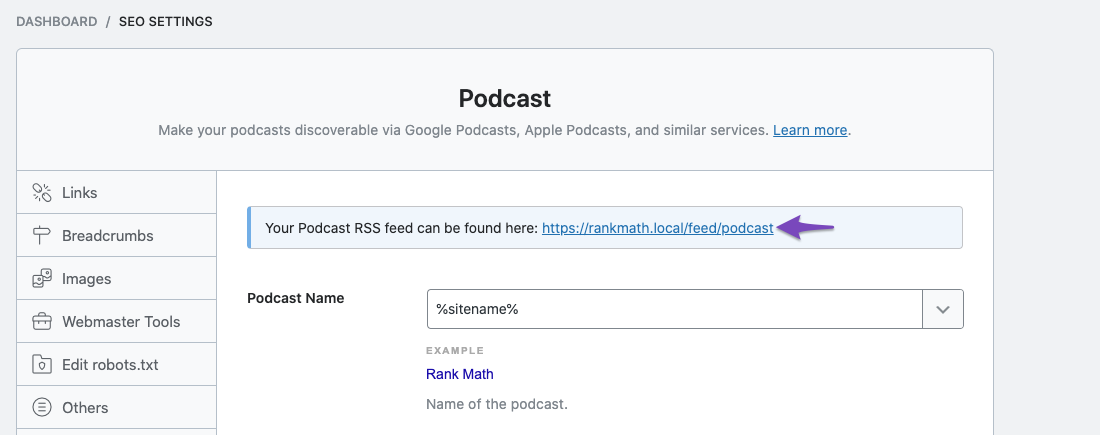
15.1 Podcast Name
Enter the name of the podcast in this field. By default, Rank Math adds your site name as the Podcast Name, but you can always change it.
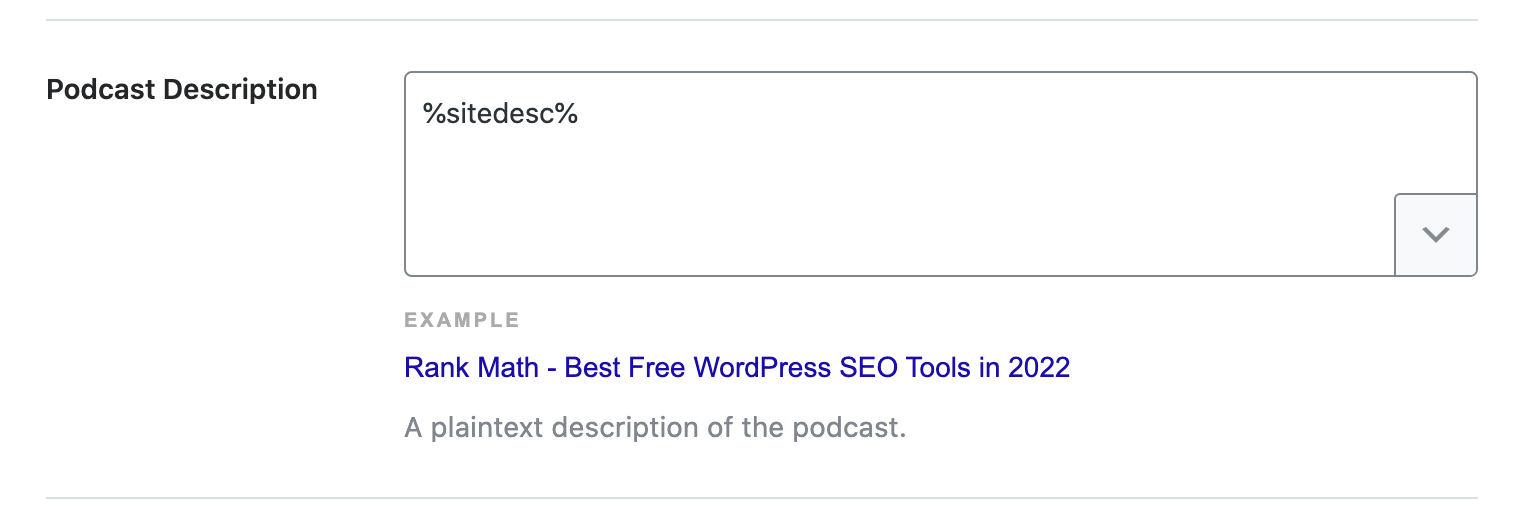
15.2 Podcast Description
In the next field, enter the description for your podcast here. Rank Math also supports adding variables and enables you to create a dynamic description.
To add one, click the down arrow in the lower-right corner, and the list of all available variables will be displayed. You can click and add any required variable from here.
15.3 Owner Name
Here, enter the name of the podcast owner.

15.4 Owner Email
Add the email of the podcast owner here in this field.
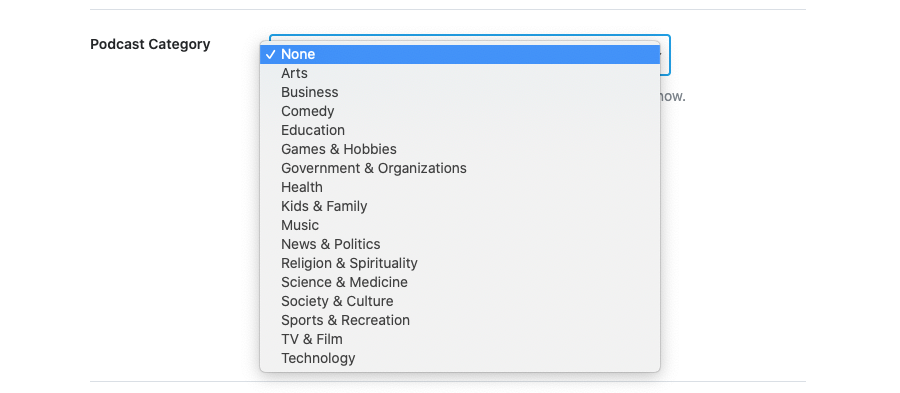
15.5 Podcast Category
This field allows you to select a category where your podcast better fits in. If your podcast does not belong to any of the listed podcast categories, then choose None.
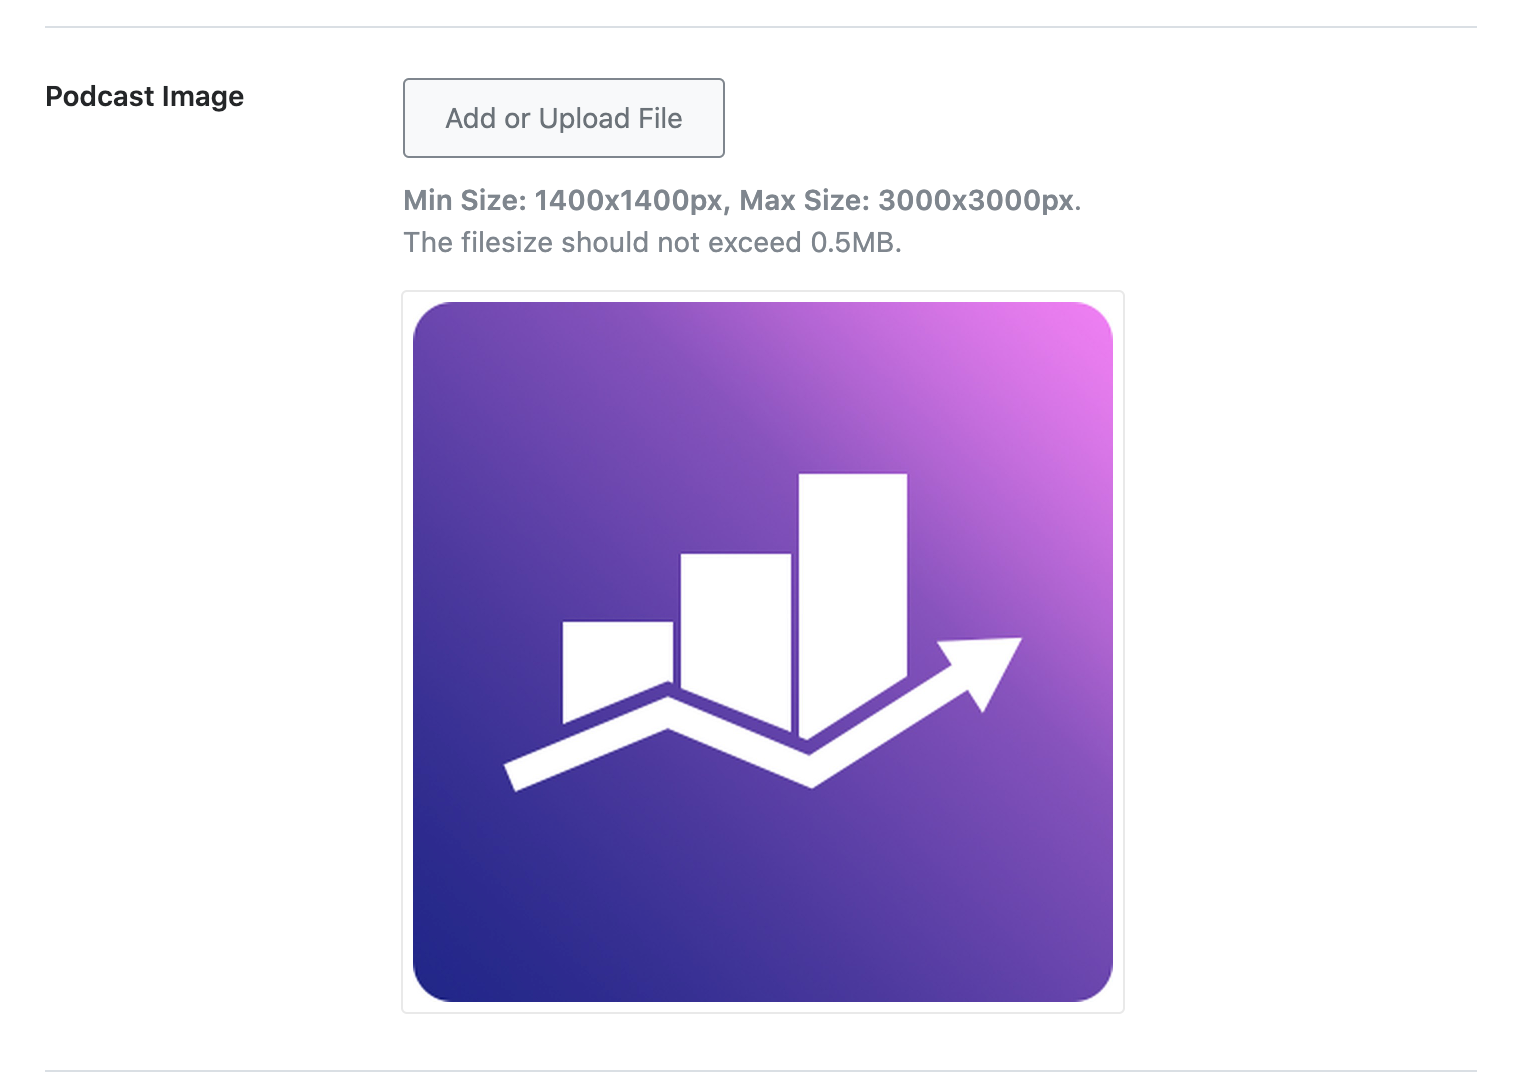
15.6 Podcast Image
In the next field, select an image for the podcast. A squared image is the preferred one by search engines.
15.7 Tracking Prefix
If you want to make use of any tracking service, Chartable, Podsights, Podtrac, or any other, then enter the tracking prefix here. For instance, https://trackingurl.com/prefix/
Rank Math would add this prefix in front of your Podcast URL in the RSS feed.
15.8 Is Explicit
Does your podcast include explicit language or adult content? If so, enable this option.

15.9 Copyright Text
In the last field, enter the details of the Copyright text.

15.10 Podcast RSS Feed
Once you’ve configured the Podcast settings, you can start to add podcast episodes on your website using the Podcast Episode Schema from Rank Math. You can also find the Podcast RSS feed available in the Podcast Settings, which can help you distribute your Podcast feed across various Podcast services.
16 Saving Your Settings
Once you’ve made all the changes to the General Settings, it’s important that you save your settings. Rank Math does not save your settings automatically to avoid accidental changes, but the downside is that you have to save your settings manually.
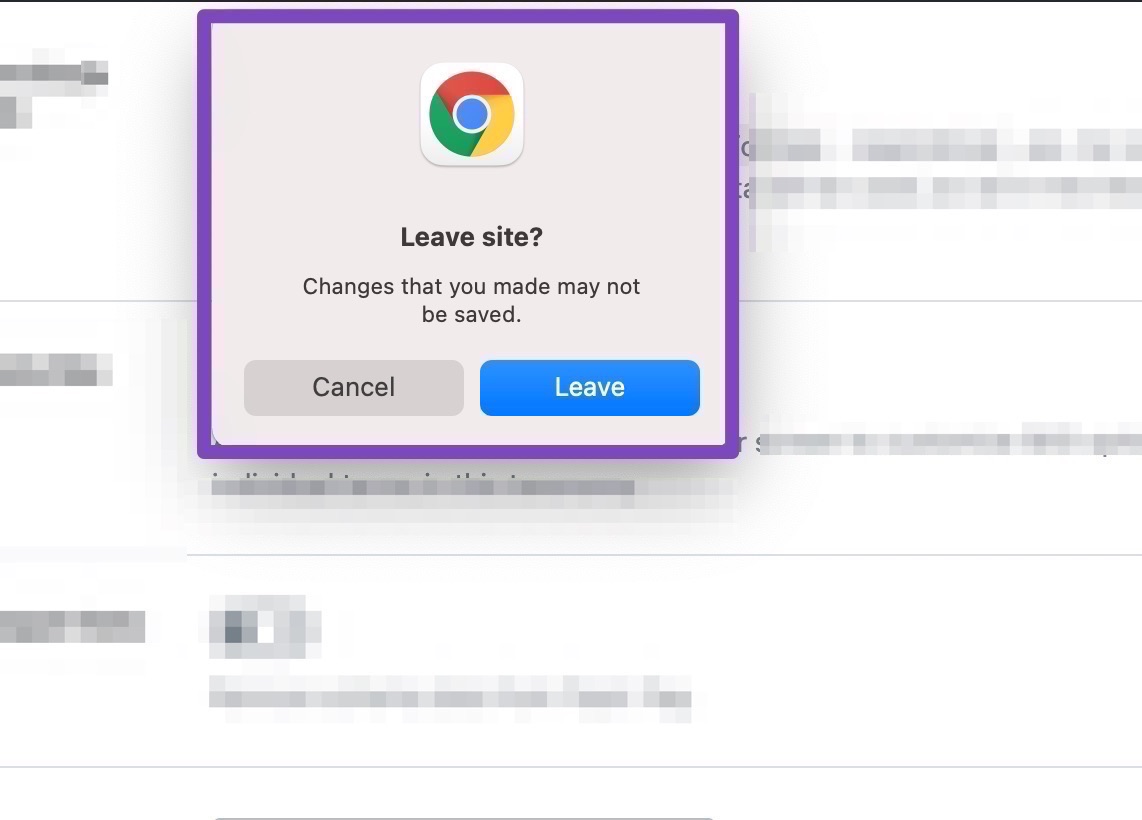
If you haven’t saved your changes and you accidentally navigate away from the General Settings, Rank Math will attempt to notify you of your unsaved changes.
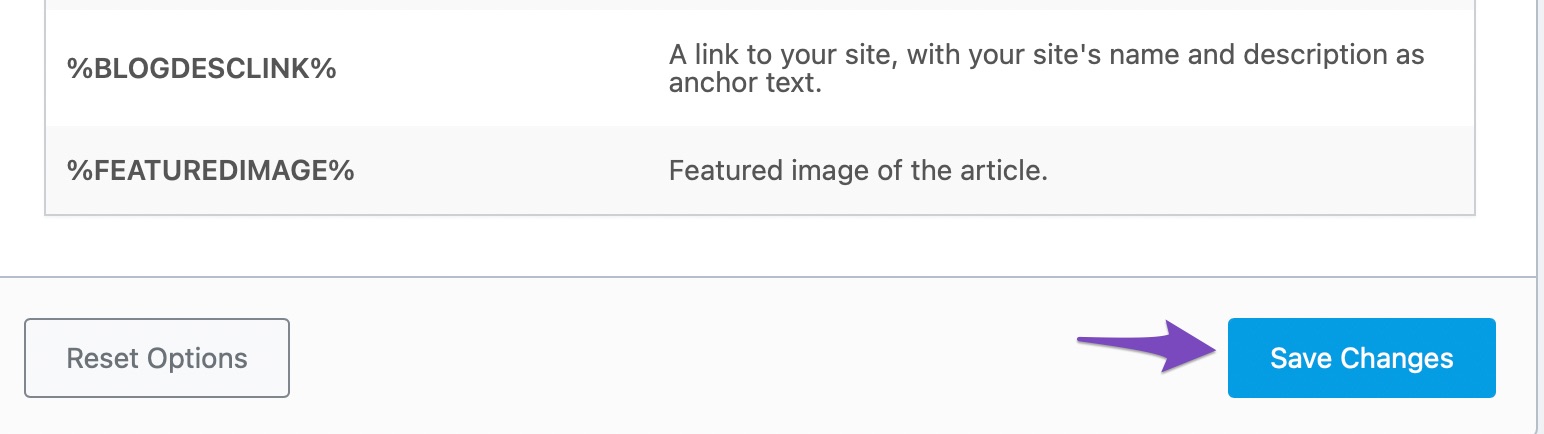
To save your settings, click the “Save Changes” button that is present at the bottom right of the screen.
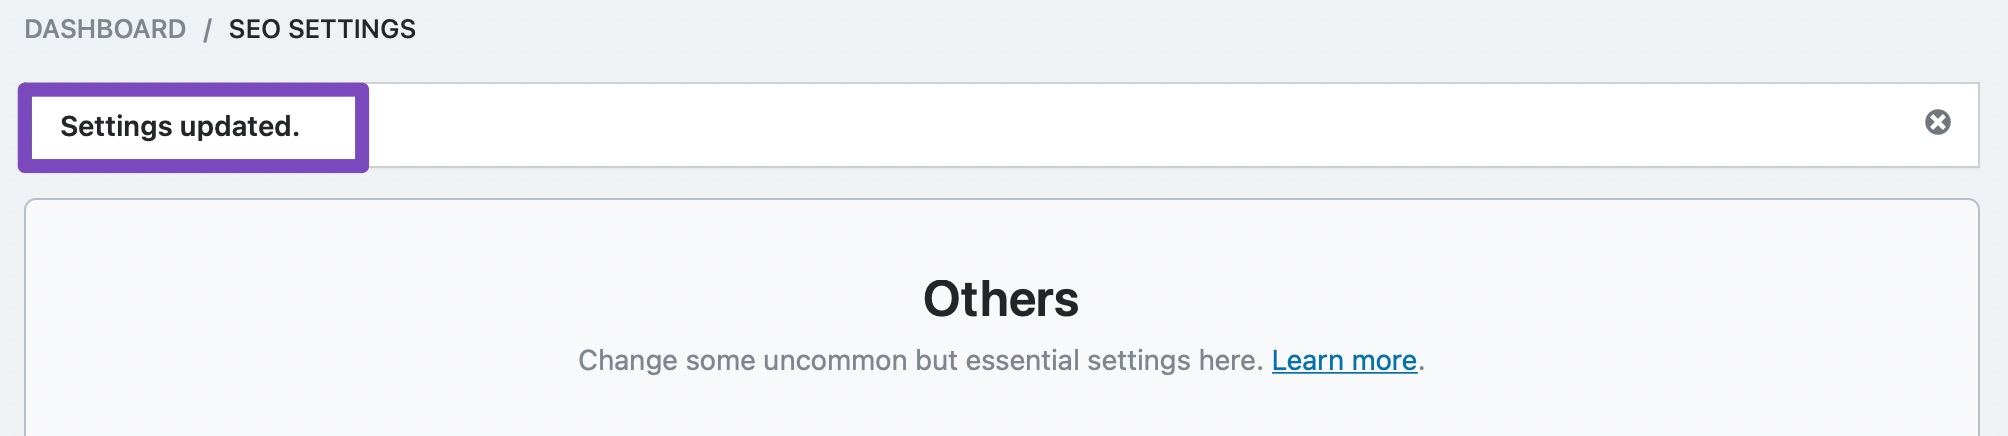
It might take a couple of seconds, but the page will refresh, and your settings will be saved. You will also see a confirmation message on the screen.
17 Resetting Your Settings
If there arises a need to go back to the default settings, then you don’t need to remember the default settings—Rank Math has the capability built in.
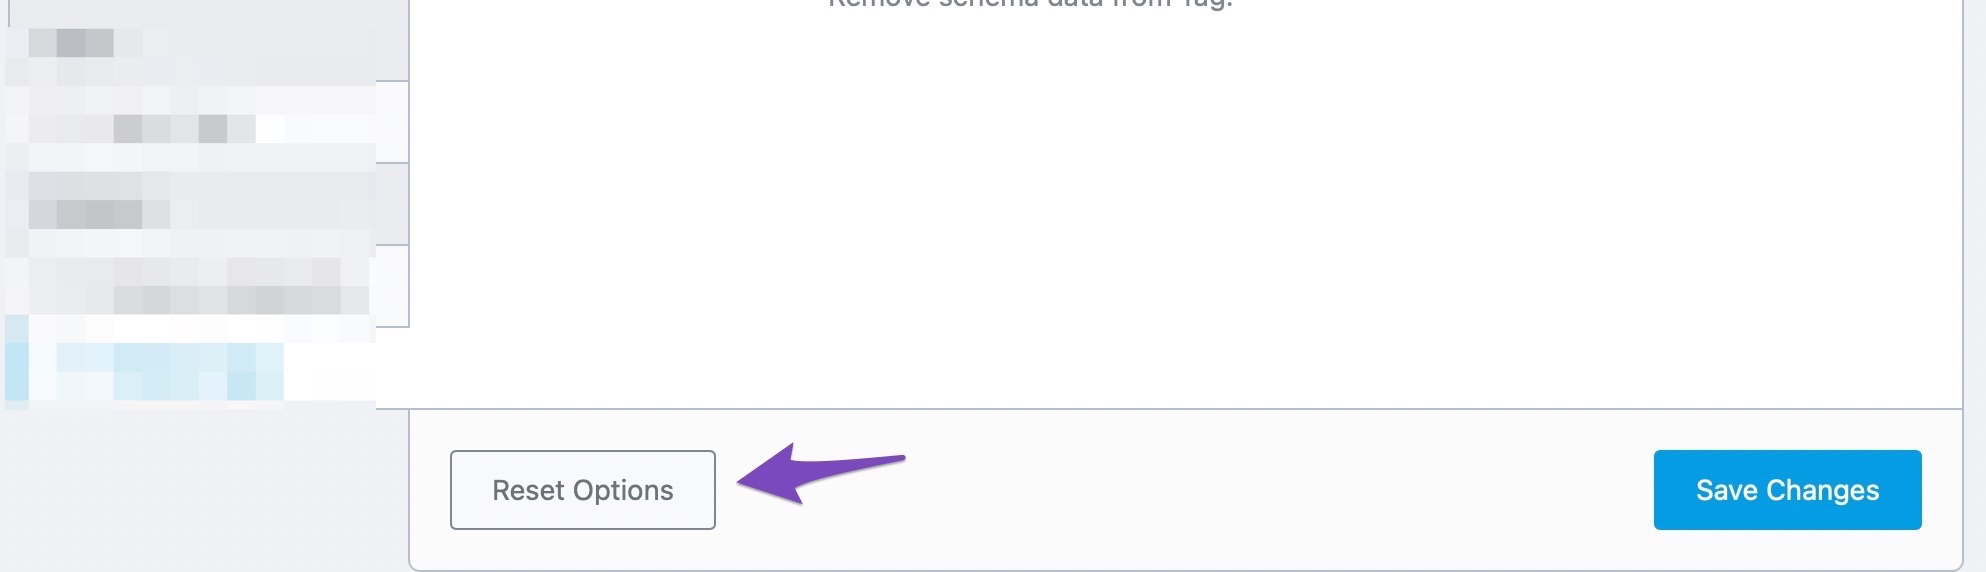
To “Reset” or go back to your default settings, just click the “Reset” button that is present at the bottom of any page.
Since this is a big step, Rank Math will ask for confirmation before it resets your setting. Click “Ok” on the confirmation dialog box that appears on the screen.
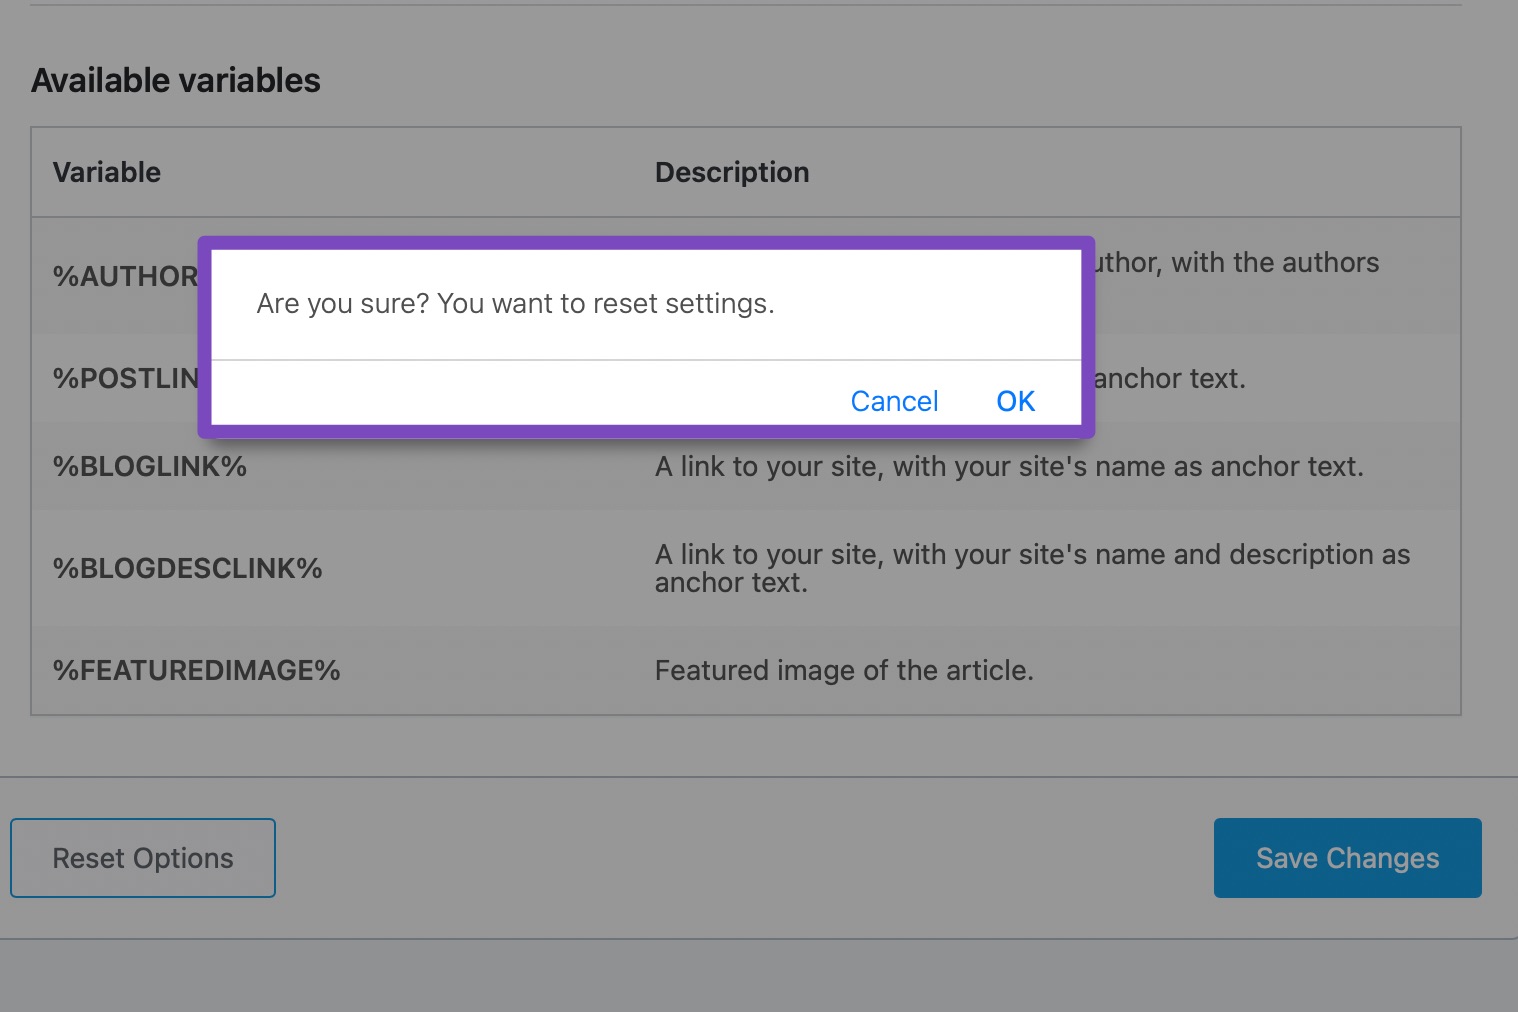
The page will refresh, and in a few seconds, your settings will be reset. There is no confirmation message on the screen, so take the page refresh as your cue.
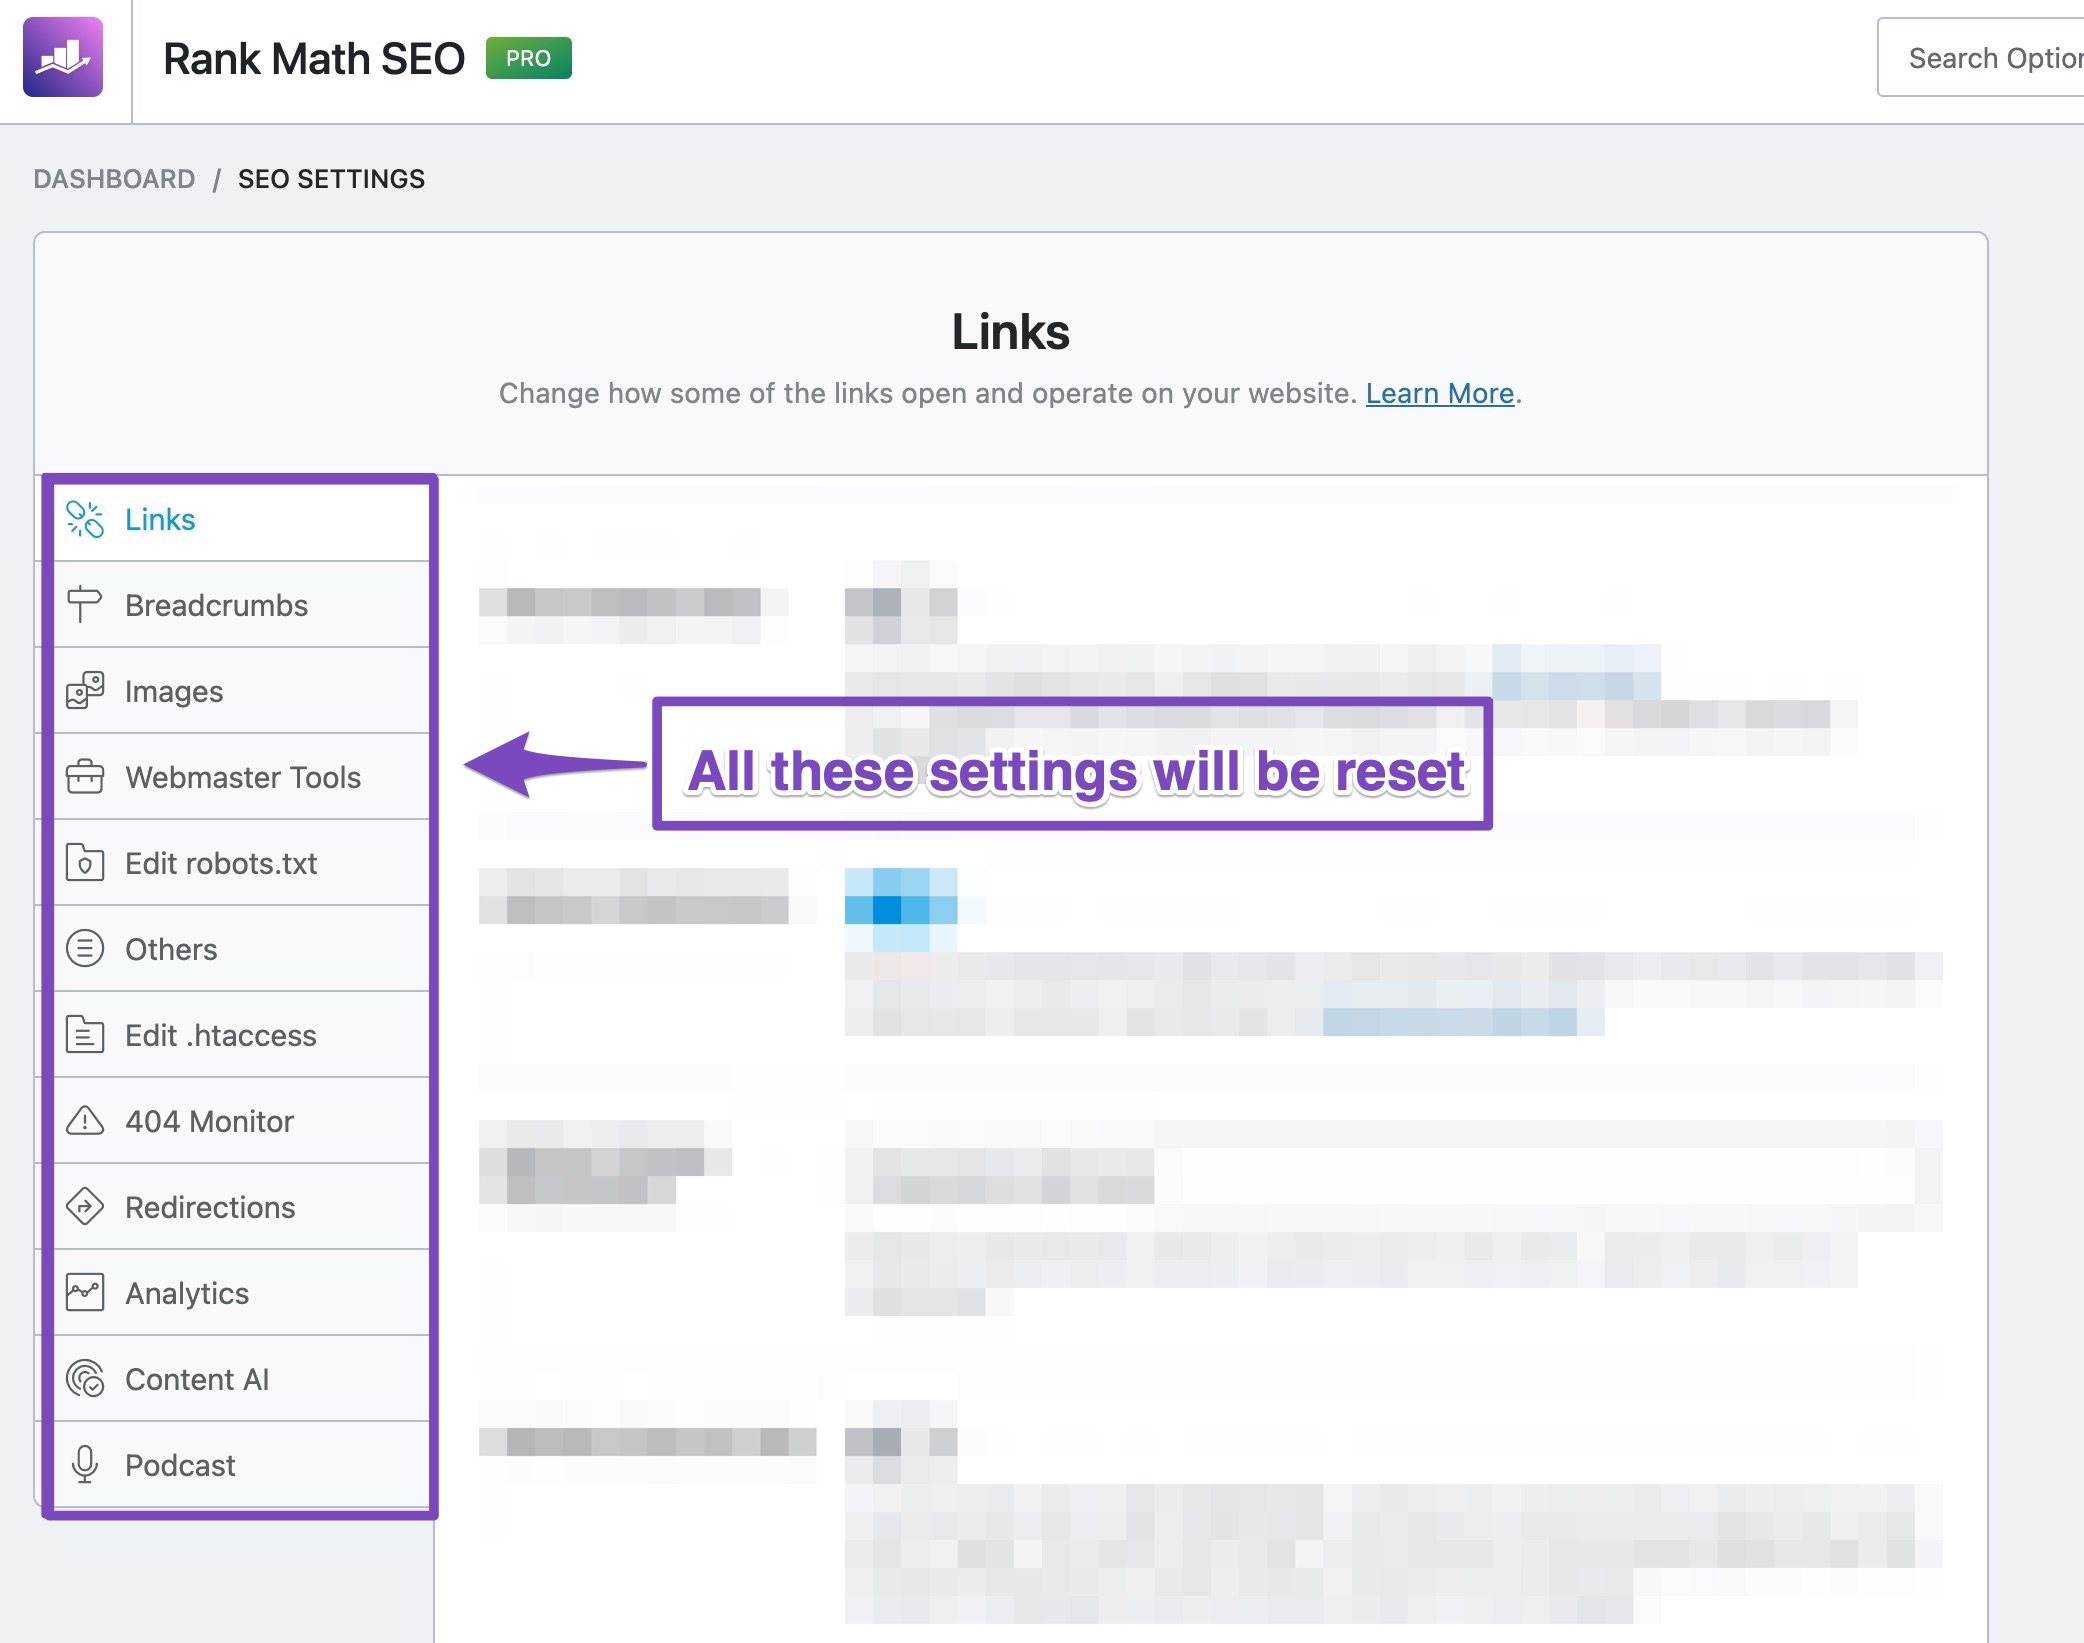
17.1 Important Thing To Understand About the Reset Process
When you reset your settings, it affects the entire section. To put that into context, if you reset your settings while you were navigating the General Settings, then all your general settings will be reset. Without a backup, all your custom settings will be lost. If you have the slightest of doubts, make sure to take a backup by following the instructions in this article. You’ve been warned.
18 Frequently Asked Questions
How Can I Add the Featured Image to RSS Feed
To include the featured image to the RSS feed, navigate to your WordPress Dashboard → Rank Math SEO → General Settings → Others and add the %FEATUREDIMAGE% variable in RSS Before Content.
Please note that some options are only available when you enable the Advanced Mode in Rank Math. If it’s not showing, you must have chosen to use Easy Mode.
You can follow the steps in this KB to switch to Advanced Mode.
I Can’t Find Out Edit Robots Under General Setting
If the option is not showing, please check if there’s a conflicting plugin or if your active theme is already generating your robots.txt.
Please use the latest version of all the plugins and themes (please update if not yet). You can follow this troubleshooting guide to check for any conflicts.
How Do I Align Breadcrumbs to the Left or Right
You can add this additional CSS to the website: .rank-math-breadcrumbs { text-align: left; // Or right, depending on your need }
Can We Remove a Link From the Website Using Rank Math?
No, Rank Math doesn’t have the option to remove the links from the site.
19 Conclusion
Finally, we’ve covered all the sections in the General Settings in Rank Math. There were a lot of settings, so we hope that you’ve understood them all. If you haven’t, go back to that section again. If you still have doubts or have issues while using Rank Math, feel free to open a support ticket, and our support team will help you out in the best way they can.