In this knowledgebase article, we’ll walk you through how to set up Rank Math and configure the most important SEO settings on your website – the ones that are truly necessary for optimal SEO performance, which our setup wizard makes extremely easy to configure.

Table of Contents
1 Connect Your Account
When you install and activate Rank Math for the first time, you will automatically be taken to a page where you can connect your Rank Math account.
To proceed, click the Connect Your Account button. You can also click Enable Usage Tracking to anonymously share usage data with Rank Math. Optionally, if you prefer to skip this step, click the Skip Now button.
Now, let’s assume you clicked the Connect Your Account button, as shown below.
Clicking the button will take you to a page where you can sign up for a Rank Math account. However, if you already have an account, simply click the OK, ACTIVATE NOW button to activate it.
Once your account is successfully activated, you will be redirected to the Setup Wizard page.
2 Starting the Setup Wizard
On the Setup Wizard page, you can configure essential settings quickly. However, if you prefer, you can cancel the setup by clicking the Return to Dashboard link and configure the settings manually at a later time.
If you didn’t use the Setup Wizard during the initial installation, you can run it again by navigating to WordPress Dashboard → Rank Math SEO → Dashboard → Setup Wizard tab
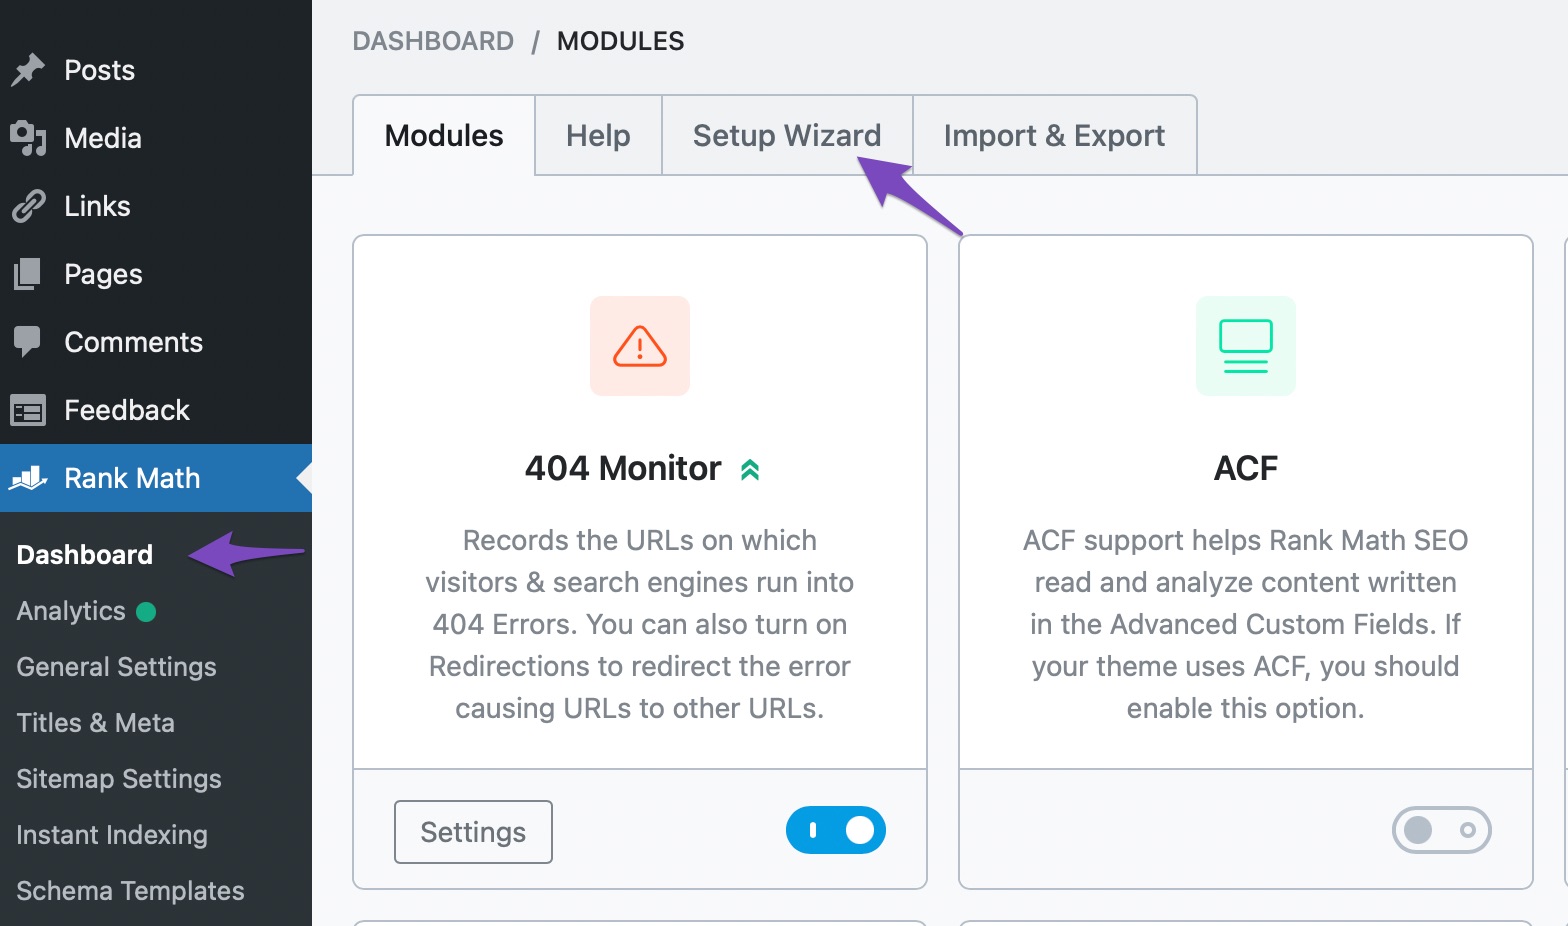
Once you open the tab, the setup process will begin.
There are a few steps to follow, so let’s go through them in detail.
The first section is where you see the setup steps. In each step, Rank Math will ask you some basic questions. Based on your answers, Rank Math will configure the SEO settings.

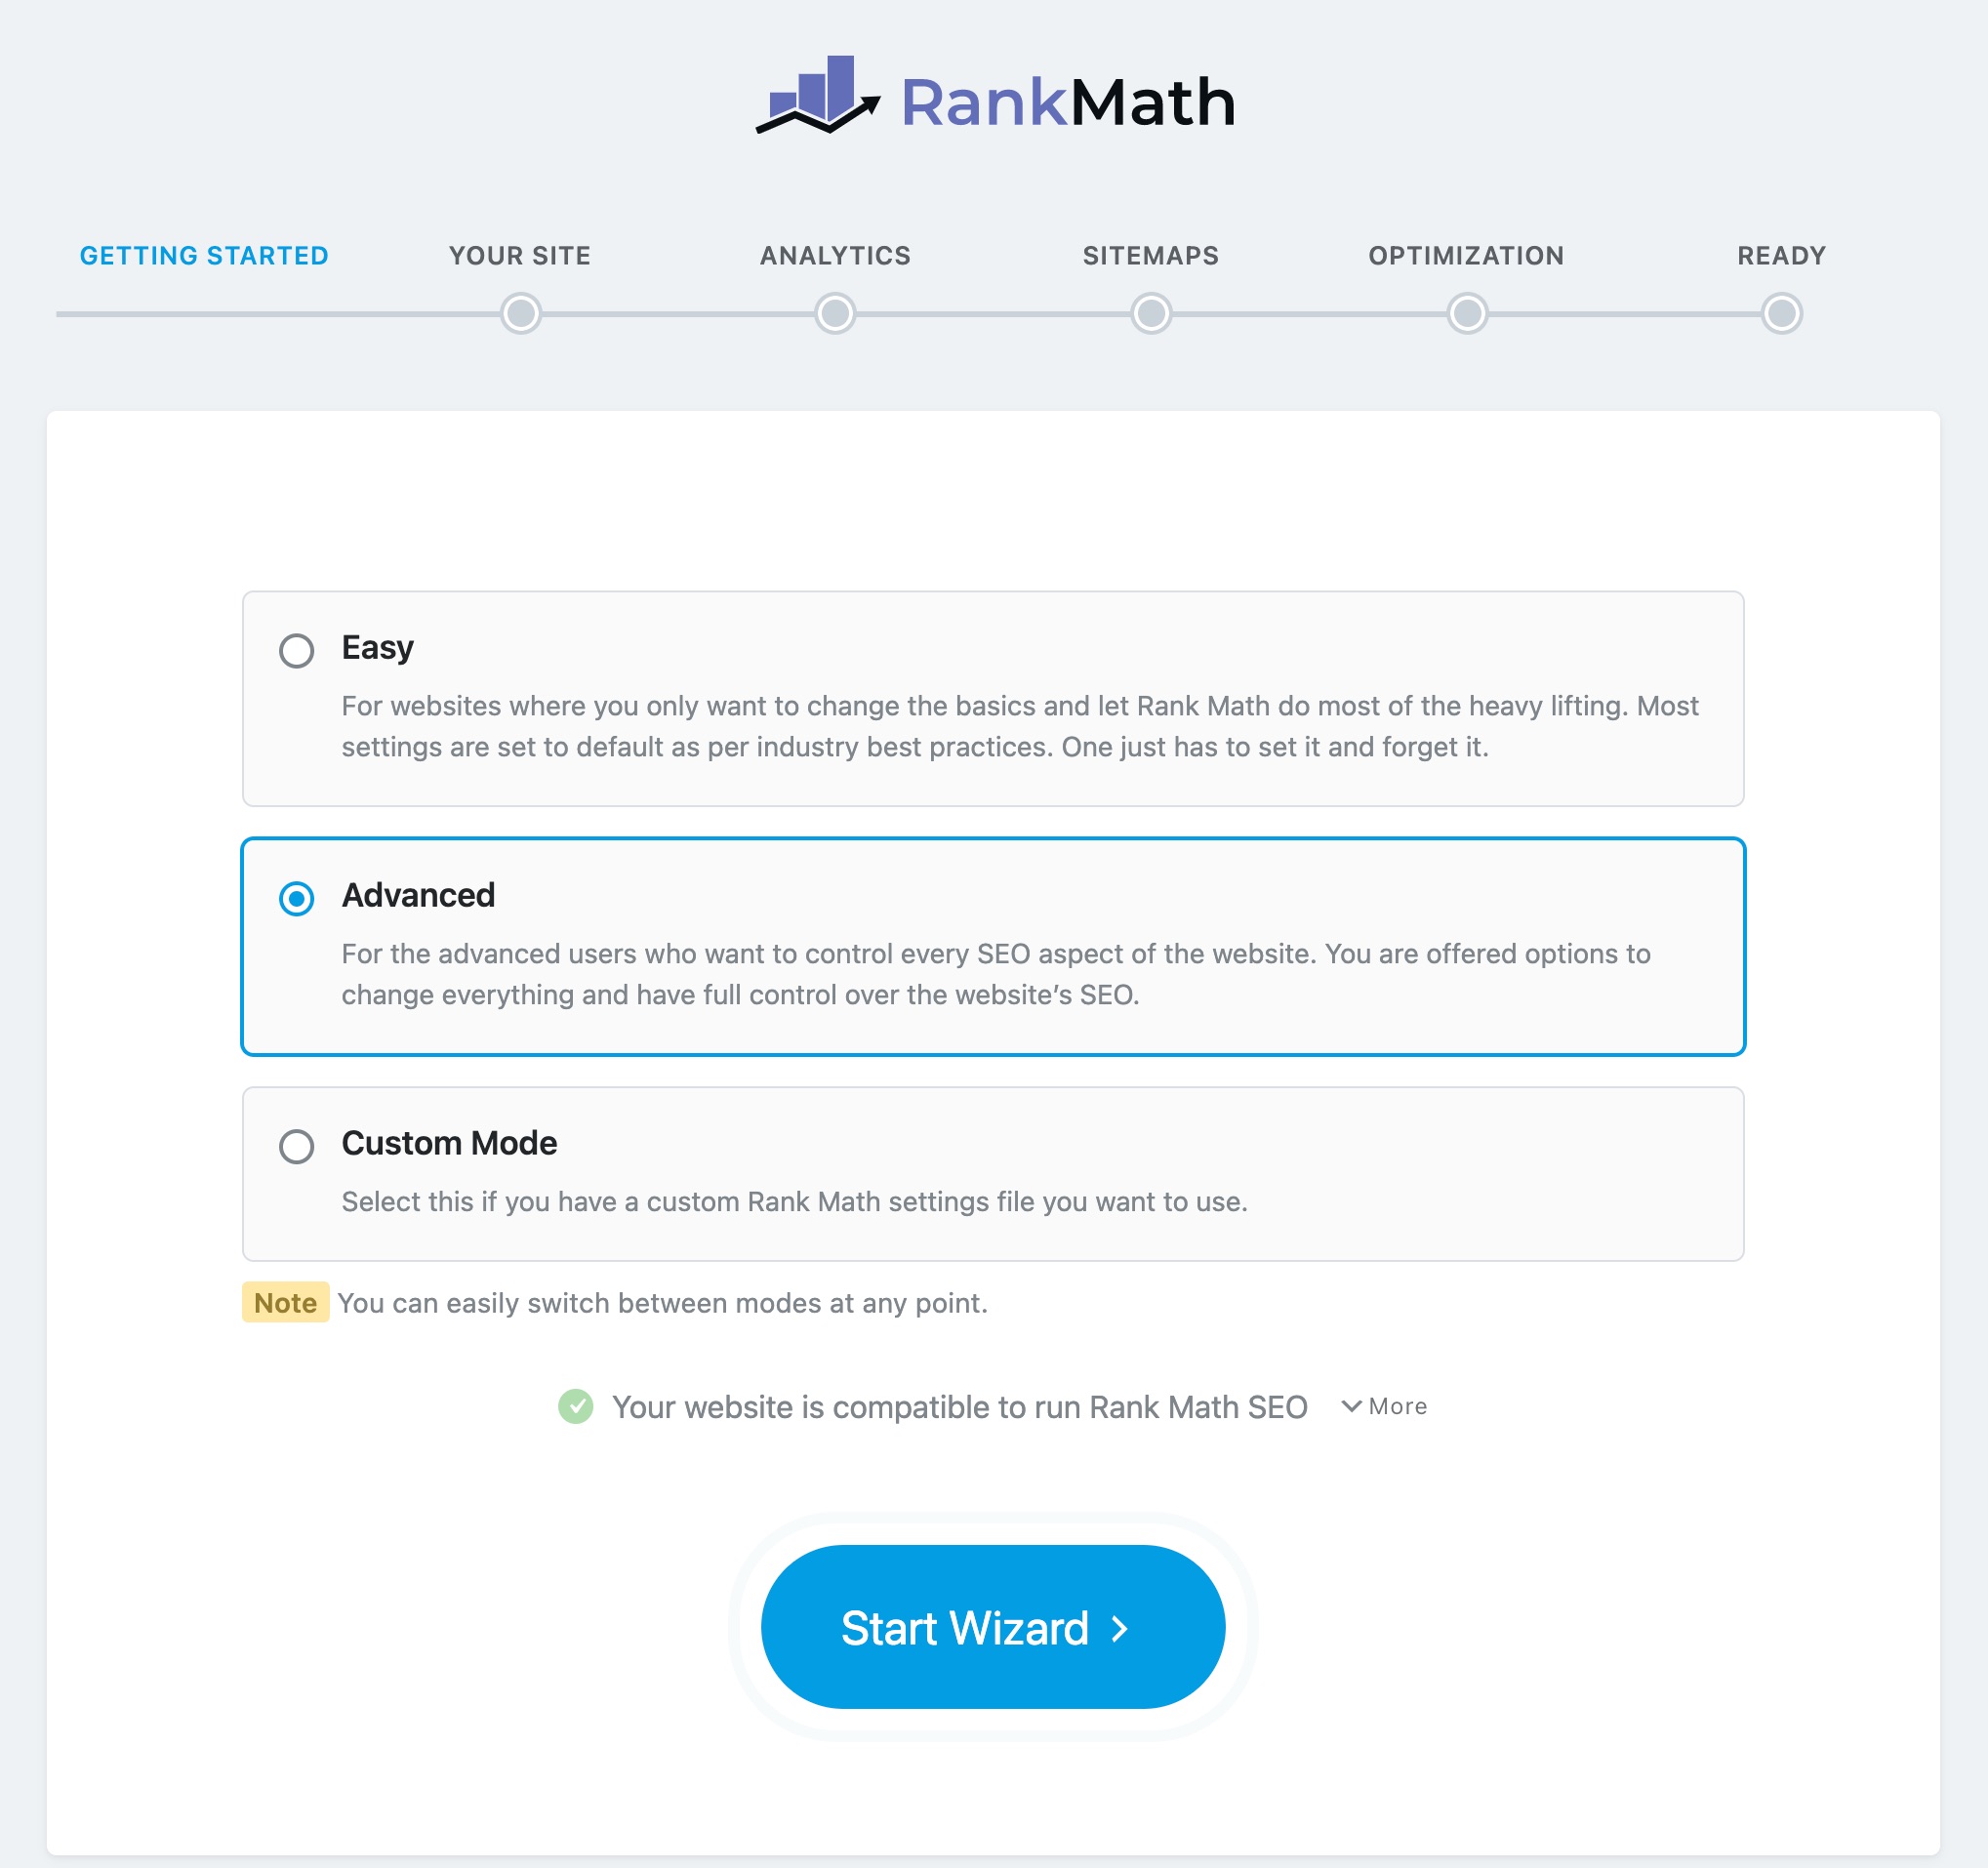
The next section is the mode selection. As you can see, Rank Math supports 3 modes currently.
- Easy
- Advanced
- Custom Mode PRO
You can select any of the 3 modes, and the Custom mode is currently limited to Rank Math PRO users only. As for the easy and advanced steps, they are not entirely different. The advanced mode has more steps that have some additional advanced settings to configure. We’re going to use the setup on the Advanced Mode, then mark each step based on if it appears in easy or advanced mode.
Please note: You can switch modes any time, so even if you’re not sure if you’ll be able to follow the steps in the advanced mode, choose it. You can always switch to the easy mode.
Custom Mode
In Custom Mode, you can select a previously saved Rank Math settings file (mostly in .txt,.json formats) from your computer and upload it to use the custom settings.

Note: Only Rank Math settings can be reused on multiple websites, and no meta for the posts or pages will be imported through this feature.
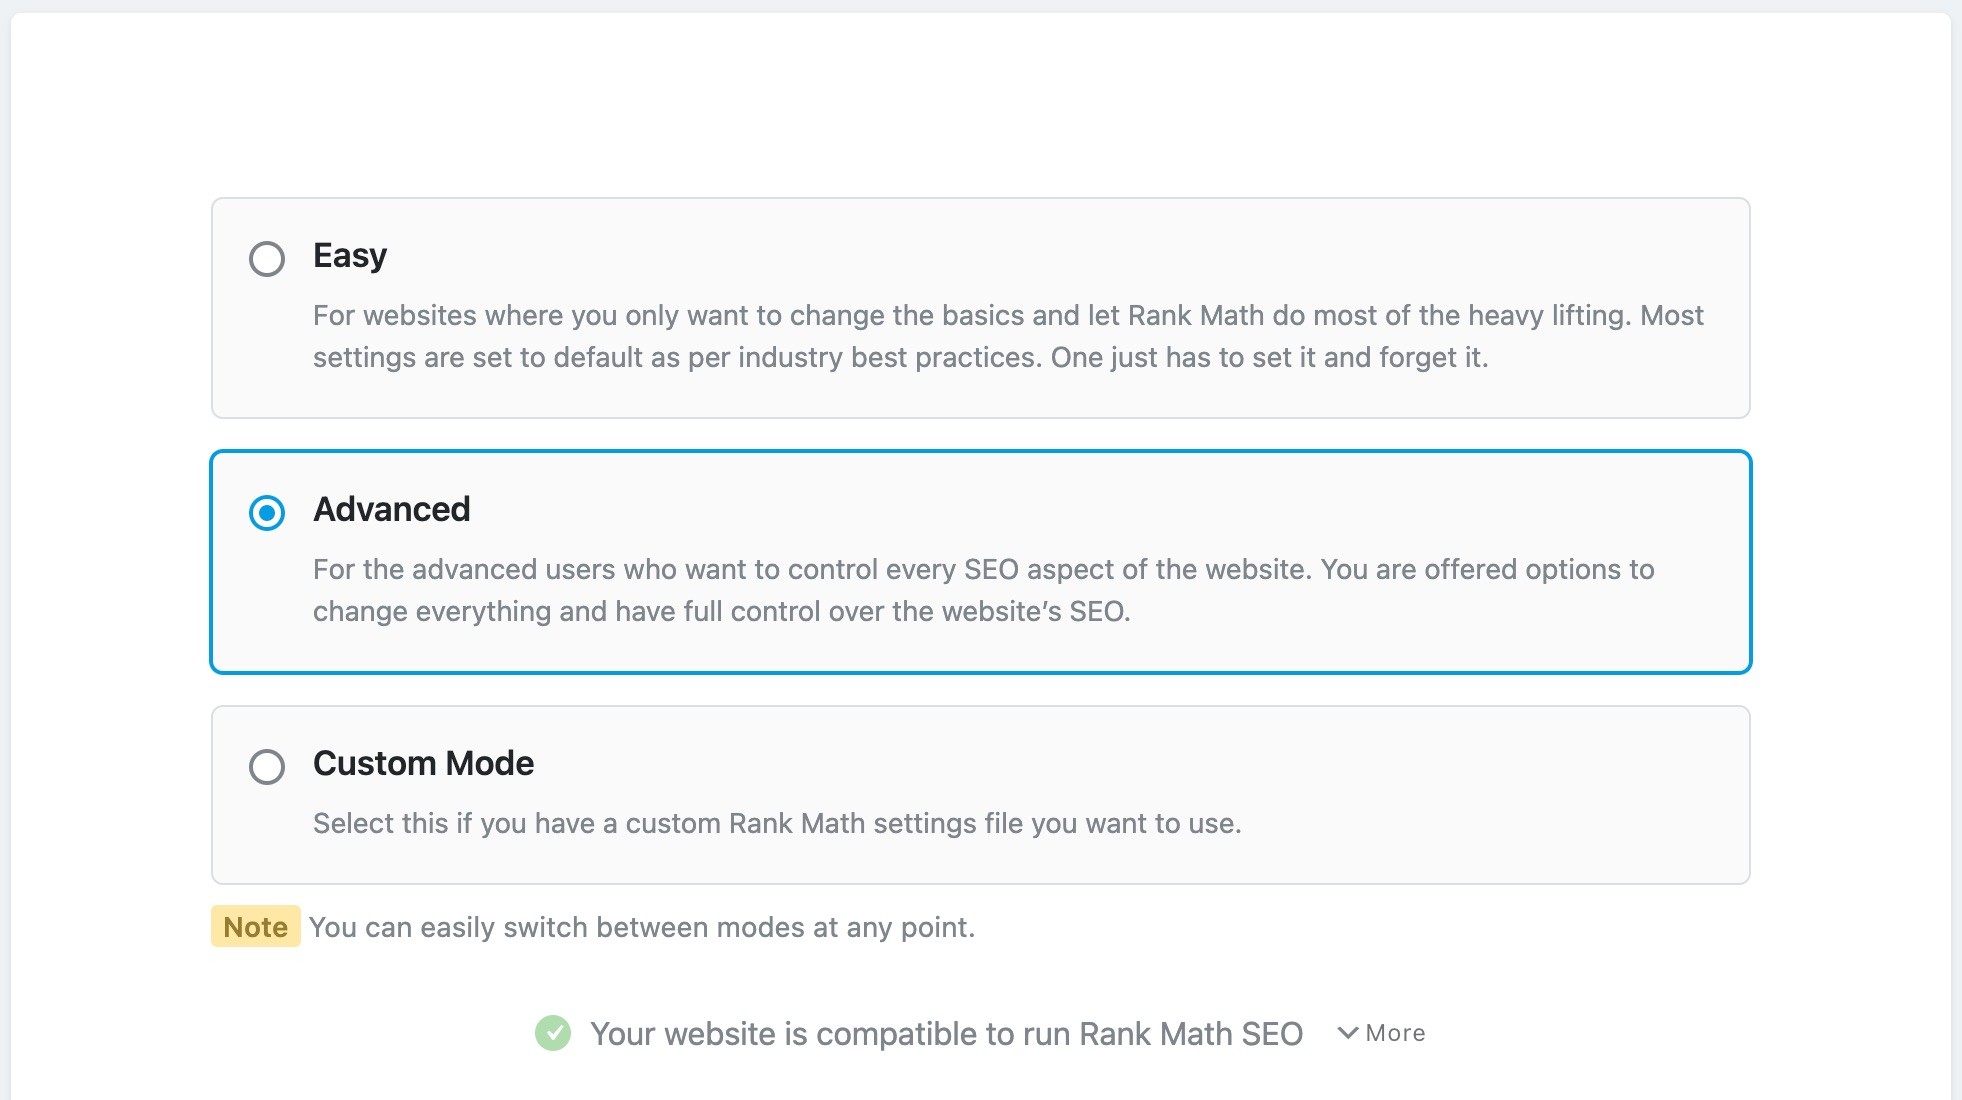
Compatibility Check
The next section is a compatibility check. Rank Math performs a compatibility check before the setup process begins so that there are no issues while setting it up. If there are no issues, you see the message as follows:

You can click the More button to see what tests were performed.
You’ll also be able to see any conflicting plugins here if Rank Math finds them — you can safely deactivate them as we would import the data from these plugins to Rank Math in the next step.
Next, and the last option you will see is the Start Wizard button. Click it to see the start of the setup wizard.
3 Import
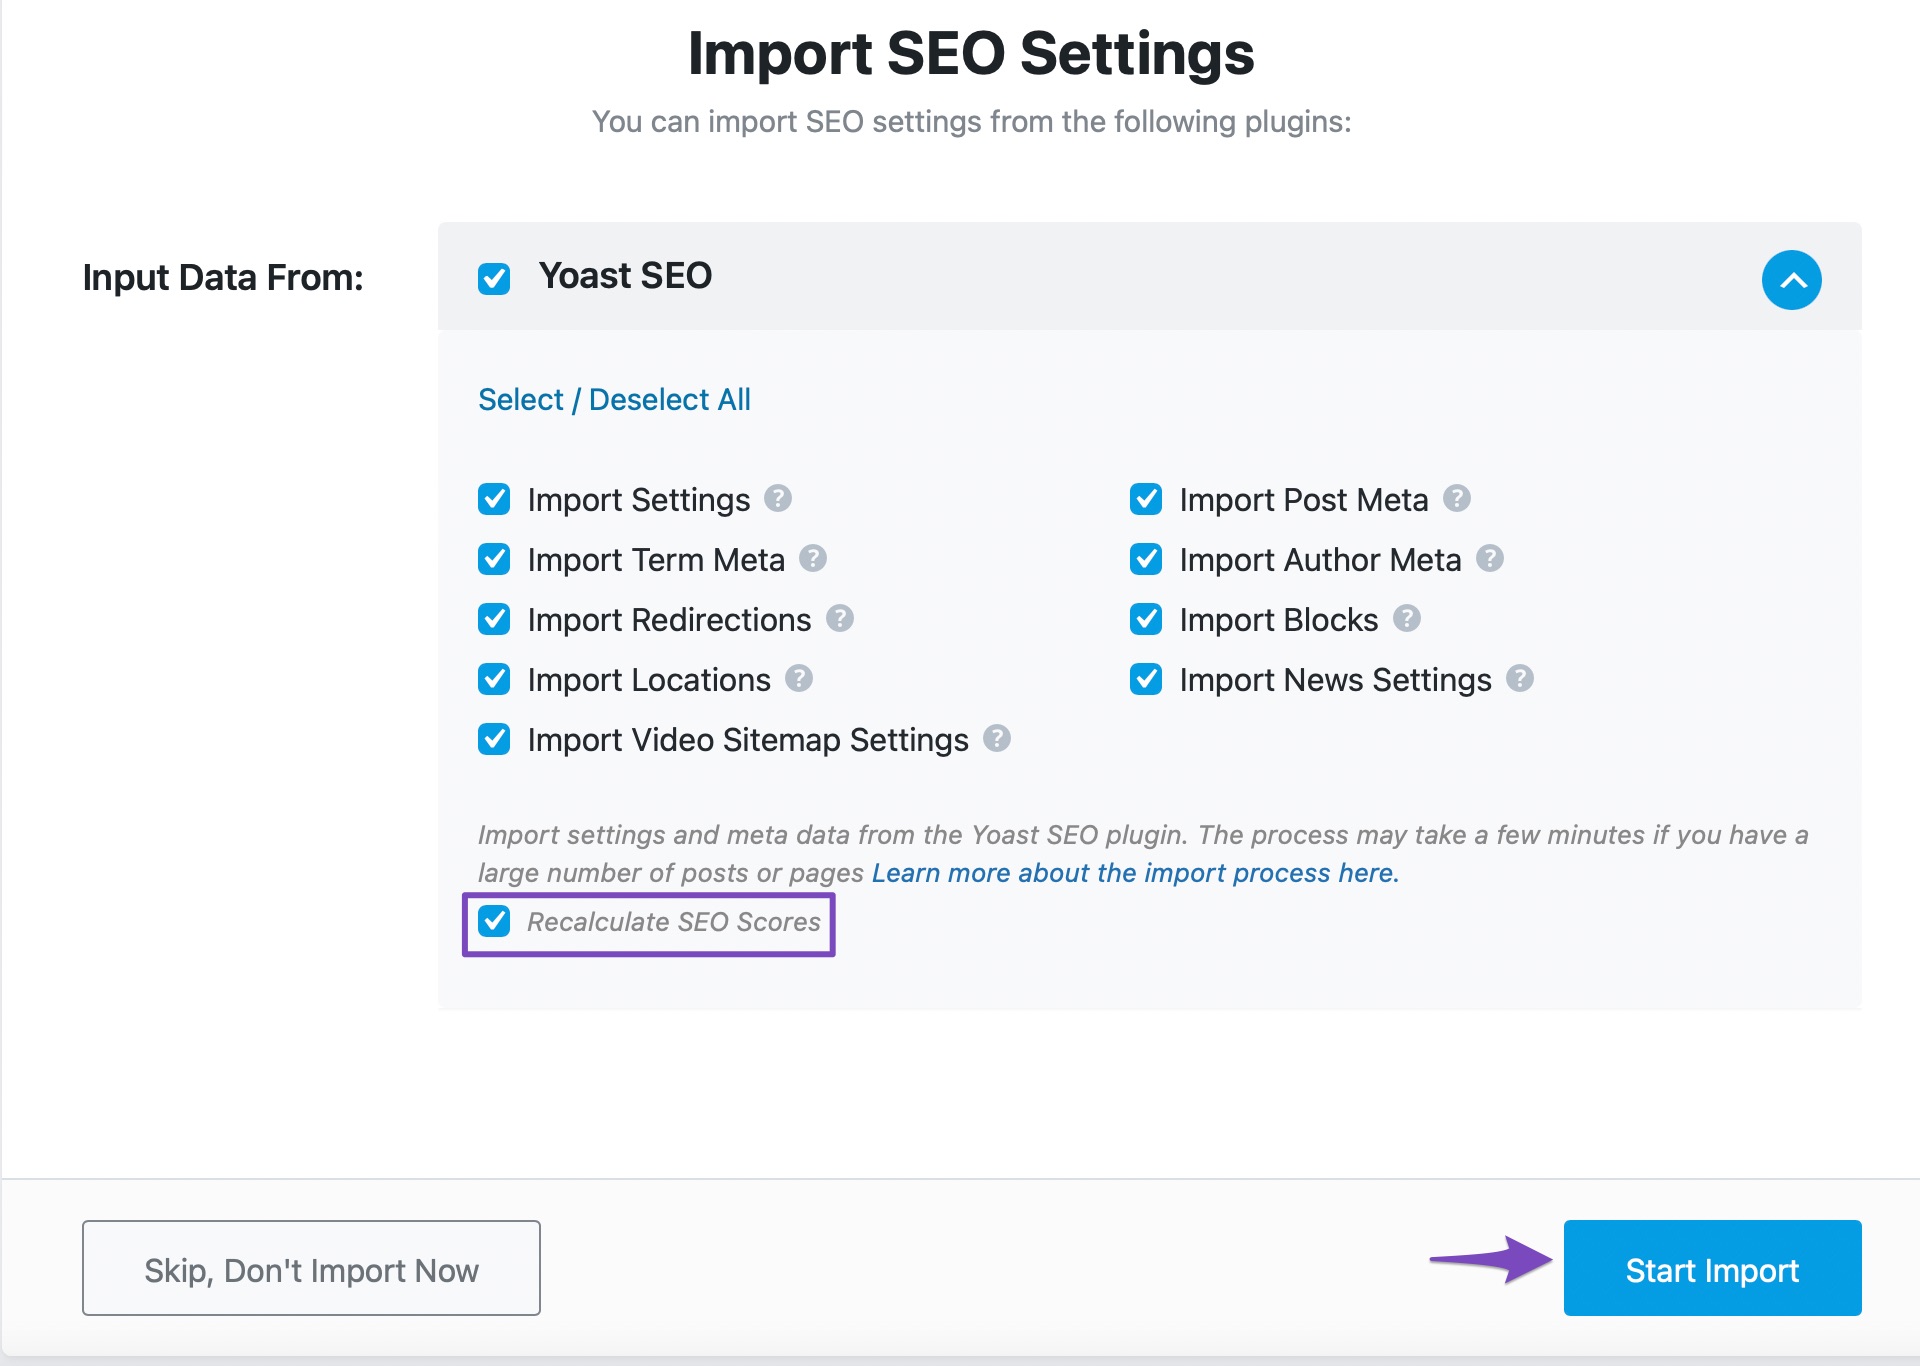
This tab shows all the input data available on your website from other SEO plugins, which you can import to Rank Math.
Rank Math ensures that you don’t lose anything while migrating to Rank Math by importing the other plugins’ data. You can also easily update SEO scores for your posts set as N/A with Recalculate SEO Scores option in Rank Math SEO.
Note: If you missed or skipped importing data during the Setup Wizard, you can always import the data from other plugins as you navigate to WordPress Dashboard → Rank Math SEO → Status & Tools → Import & Export → Other Plugins.
Click the Start Import button and wait until the importing process gets completed.
When you notice that importing data is 100% completed, click the Continue button to proceed to the next tab.
Rank Math supports the following plugins for importing your data:
- Yoast SEO plugin
- All In One SEO plugin
- SEOPress plugin
- Redirection plugin
- Schema Pro plugin
- All In One Schema plugin
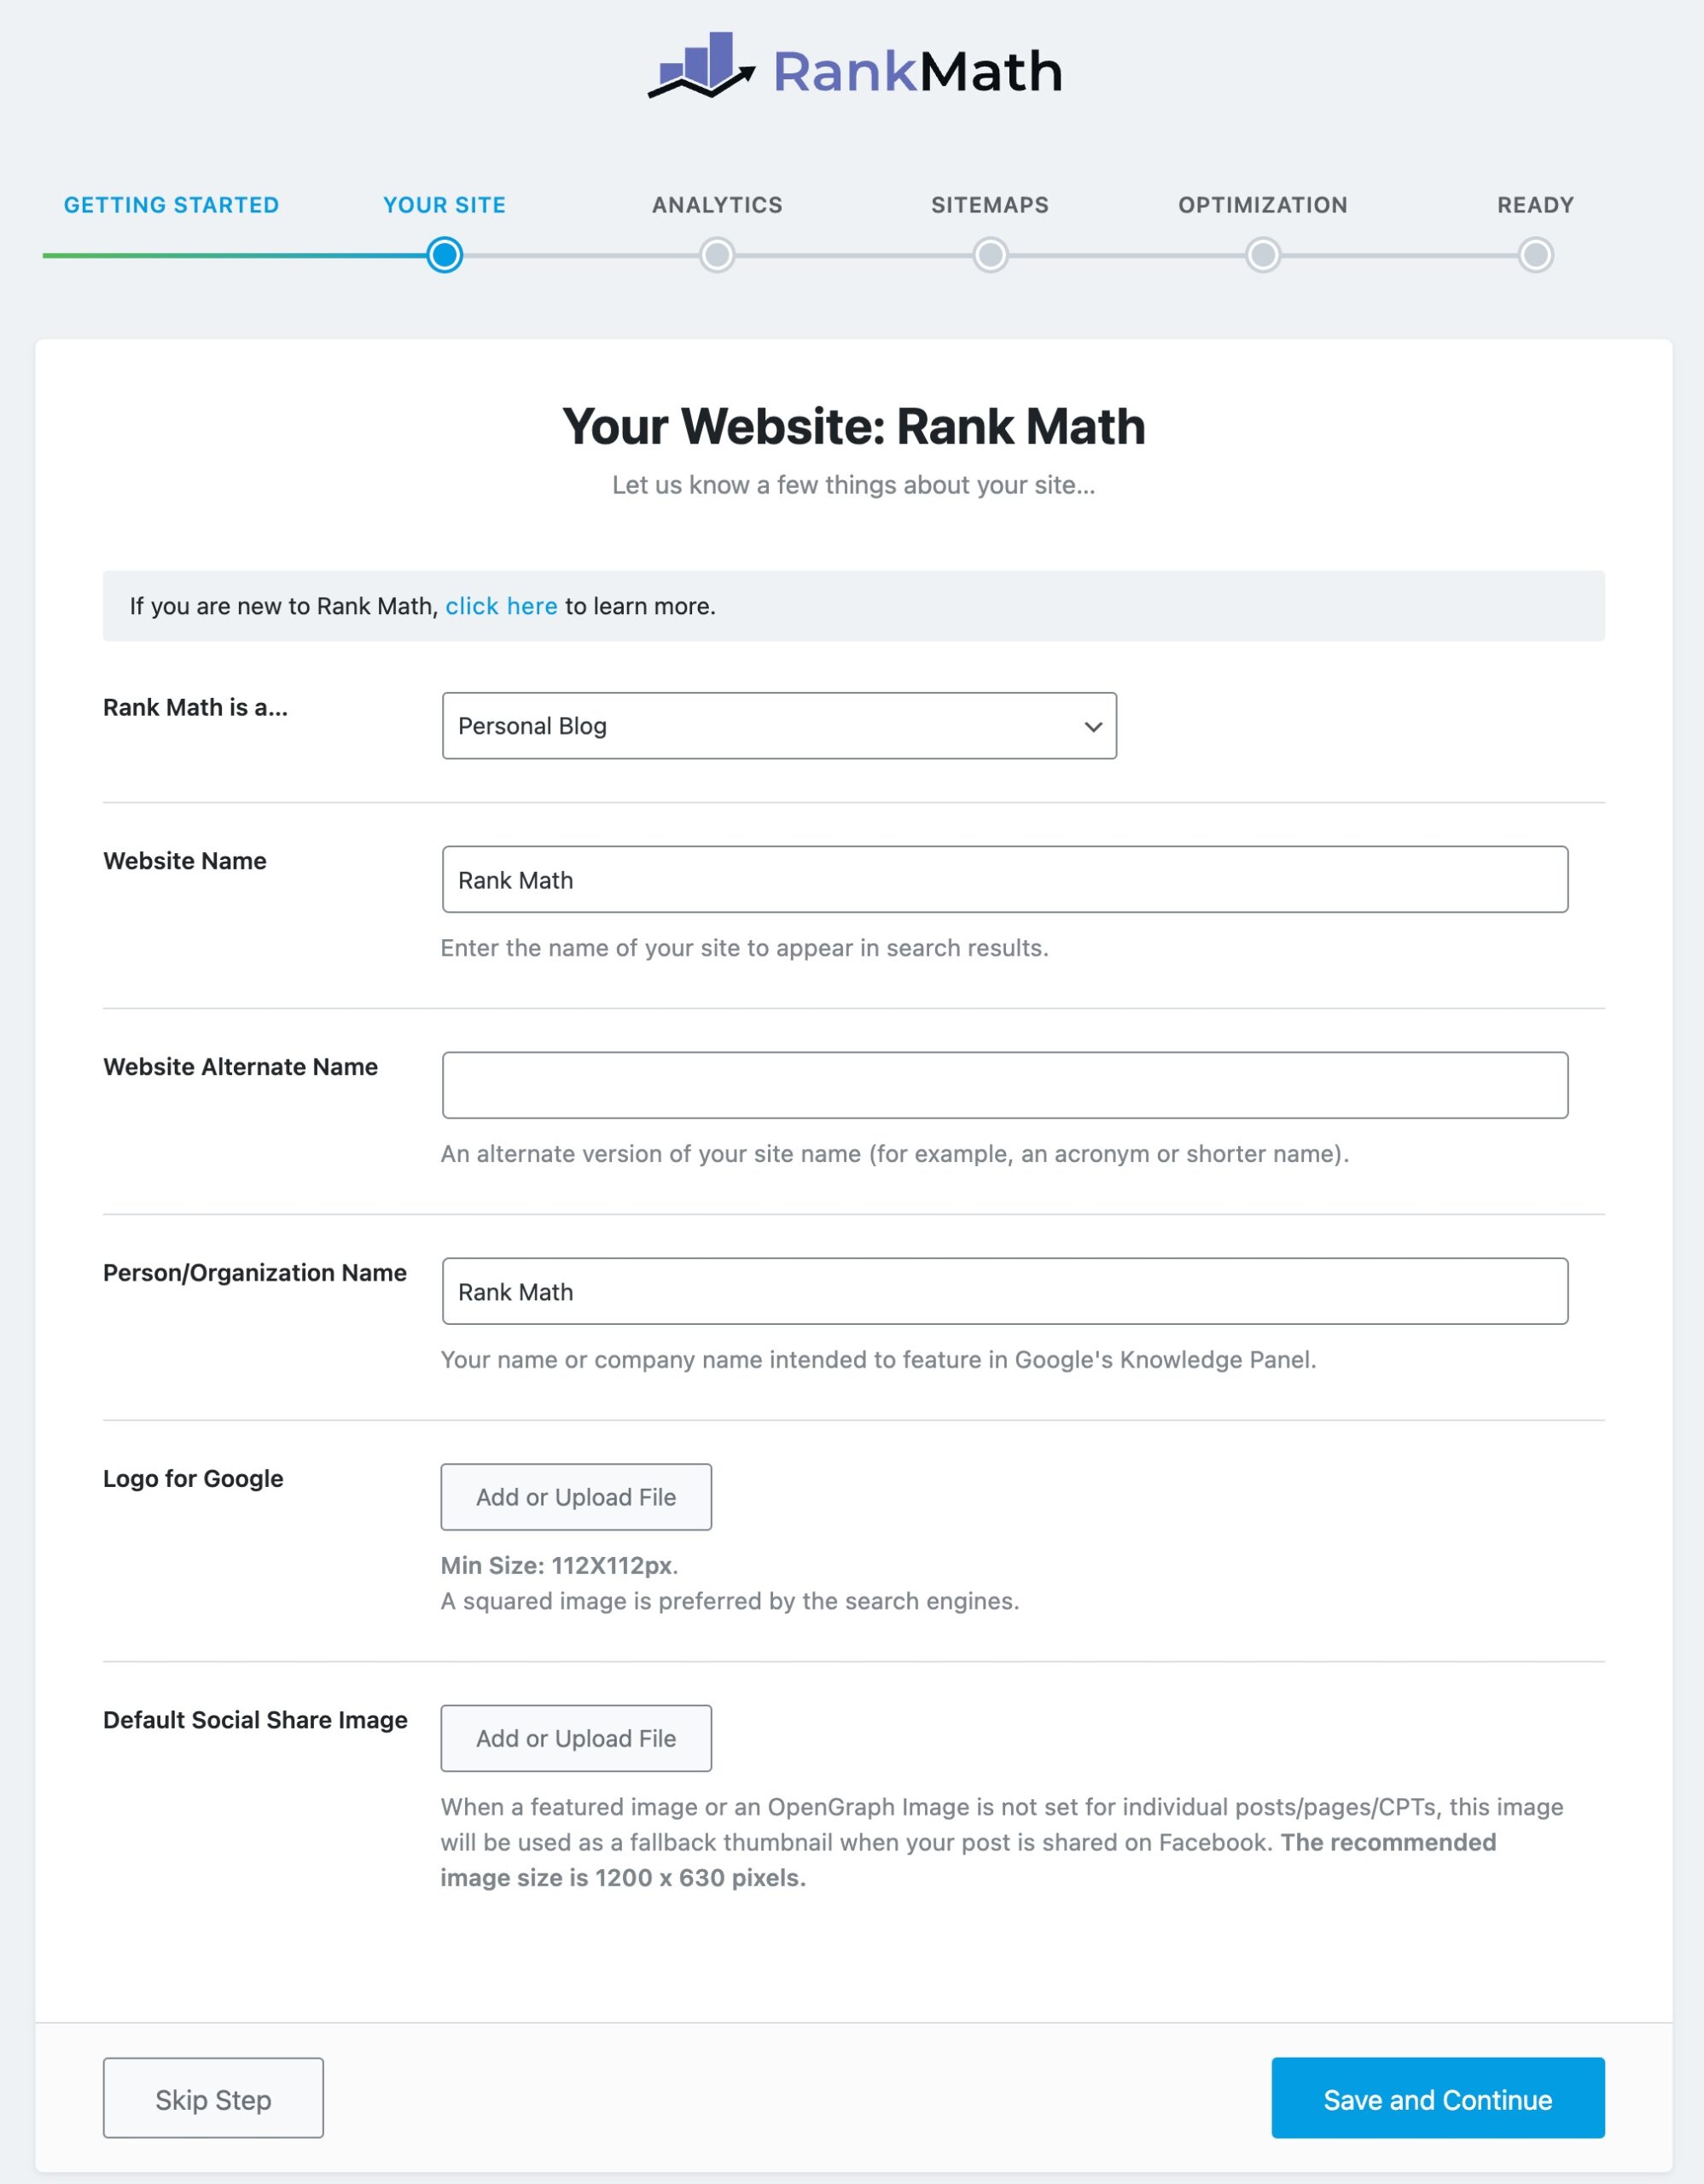
4 Your Site
This tab lets you tell Rank Math what your website is about. Whether it is a hobby blog, an online store, a website for an organization, or something else. Based on your response, Rank Math adds the appropriate code to your website so that Google also understands this about your website. These are all the options that you’ll see under this setting:
4.1 Learn More About the Setup Wizard
Rank Math offers some helpful links so that you’re up to date on how to configure Rank Math using the setup wizard. Of course, if you’re reading this article, that means you either clicked the link in the setup wizard or reached here some other way. Anyways, we wanted to share that information so that you know how to find the right information from right within the setup wizard.
If you click the click here link in the first section, you will see links to the important sections in Rank Math.
The link under the Setup Tutorial tab will take you to the documents that explain the setup process (mostly this one), and the Knowledge Base tab will show you a search box that will let you search the Rank Math Knowledge Base from right within Rank Math.
4.2 Your Website is
This option is called Your Website is, and in the image, you see “Rank Math is a…” because that is the name of our website, which we’re using to write this tutorial. Here, you can tell Rank Math what type of website you are operating. You’ll see these options in the drop-down menu.
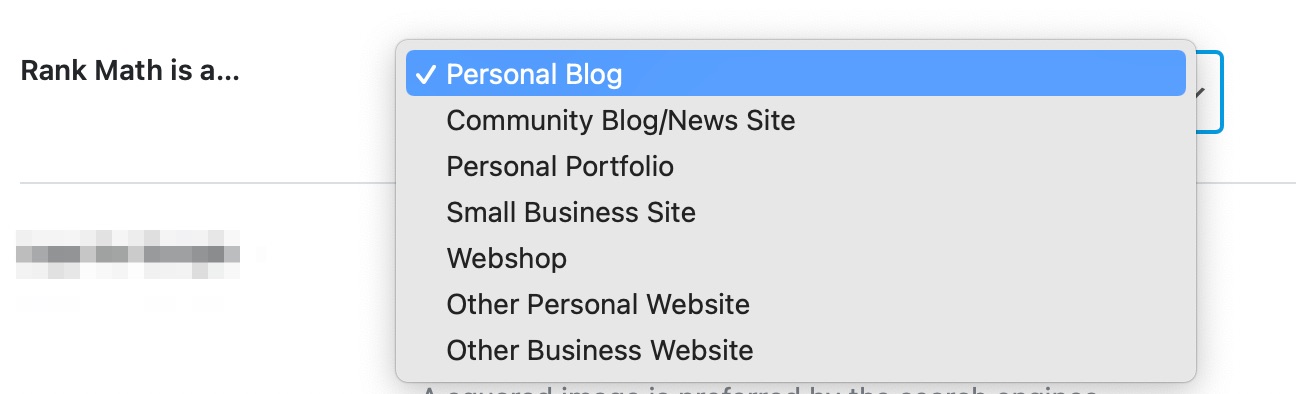
Here is what each option represent:
| Personal Blog | Suitable for personal blogs, where you share your knowledge & experience |
| Community Blog/News Site | For news websites and other journal publishing sites |
| Personal Portfolio | To showcase your works so far & your abilities |
| Small Business Site | Sites to improve the online presence of small businesses |
| Webshop | For sites of eCommerce nature, where you sell products & services online |
| Other Personal Site | Personal websites apart from the types we’ve listed above |
| Other Business Site | Business websites apart from the types we’ve listed above |
All these options can be classified into 2 types — Personal or Business.
- Personal – Personal Blog, Personal Portfolio & Other Personal Site
- Business – Community Blog/News Site, Small Business Site, Webshop & Other Business Site
Choosing the appropriate option here will allow Rank Math to add the correct metadata that would help Google understand if this website is representing a person or a company and can use them in Knowledge Graph. If your exact business category is not shown here, don’t worry, as you’ll be able to choose it next from our extensive list of business types.
Since the personal option was selected earlier, the other options you saw on the page were related to the personal option. If you select a business option, as a small business site, for example, then you’ll see some other options (Business Type) come up on the screen.

4.3 Business Type
This is where you get specific and tell Rank Math what kind of business your website represents. There are many options to choose from, so spend a few minutes to find the one that matches your business the most. You can also search for the right name.
Even with all these options, it is possible that you won’t find the perfect business type that describes your business. In that case, choose the Organization option.
4.4 Website Name
Google uses site names to make it easier for users to identify the specific website in the search results. Google uses the WebSite structured data type, specifically the name property, to understand what the site name of a website is. This is available in Rank Math SEO, and here you can enter the name of the site.

4.5 Website Alternate Name
This is where you’ll need to enter an alternate name i.e. an acronym or a potentially shorter name for your website which Rank Math outputs as alternateName in structured data. This is an optional field.

4.6 Person/Organization Name
This is where you’ll need to enter your name or the company name that you wish to feature in Google’s Knowledge Panel.

4.7 Logo For Google
This is where you will need to upload your business logo or the logo of your personal website. Rank Math will then add the appropriate code to your website so that Google and other search engines will know your logo. The benefit of doing this is that your logo will start appearing in the knowledge graph alongside other information about your website or business. Please note that whether your website or business appears in the knowledge graph is up to Google’s discretion.
To add your logo, click the Add or Upload file button.
The WordPress media manager will open up. There, drag and drop your logo, or select it if it is already uploaded.
Click the Use this File button once you select the logo.
Then, your logo will start appearing just below the option itself. The minimum supported resolution is 112X112 px. If you have a square variation of your logo, then we would recommend using that.
4.8 Default Social Share Image
When any of your posts are shared on social media, it is accompanied by an image. In other words, when your post shows up on Facebook, it is not a simple link; it contains an image, meta-description, and other things. By default, the image shared with your post is the featured image of your post, but Facebook can also pick up images from your post itself. If you don’t have a featured image or any other images, the image section of your post shows up empty, which doesn’t look good.
This option lets you select a default image that can be used whenever a post is shared on Facebook, which does not have any images.

The process of setting this up is similar. Just click the Add or Upload button, and select or upload your image from the WordPress media manager. The recommended resolution is 1200X630px.
4.9 Moving to the Next Step
Once you’ve configured all the settings in this section, click the Save and Continue button to move to the next step.

5 Analytics
You cannot improve what you cannot measure. This is a common saying in business. Whether you’re operating a traditional business or a business entirely on the Interwebs, numbers are important.
That is why we included a powerful analytics module in Rank Math that will give you access to all the important numbers in your business right inside your WordPress admin. We have a complete guide on this specific feature, as it’s amazing. You can read all about it here. For now, let us see what options do we get to configure.
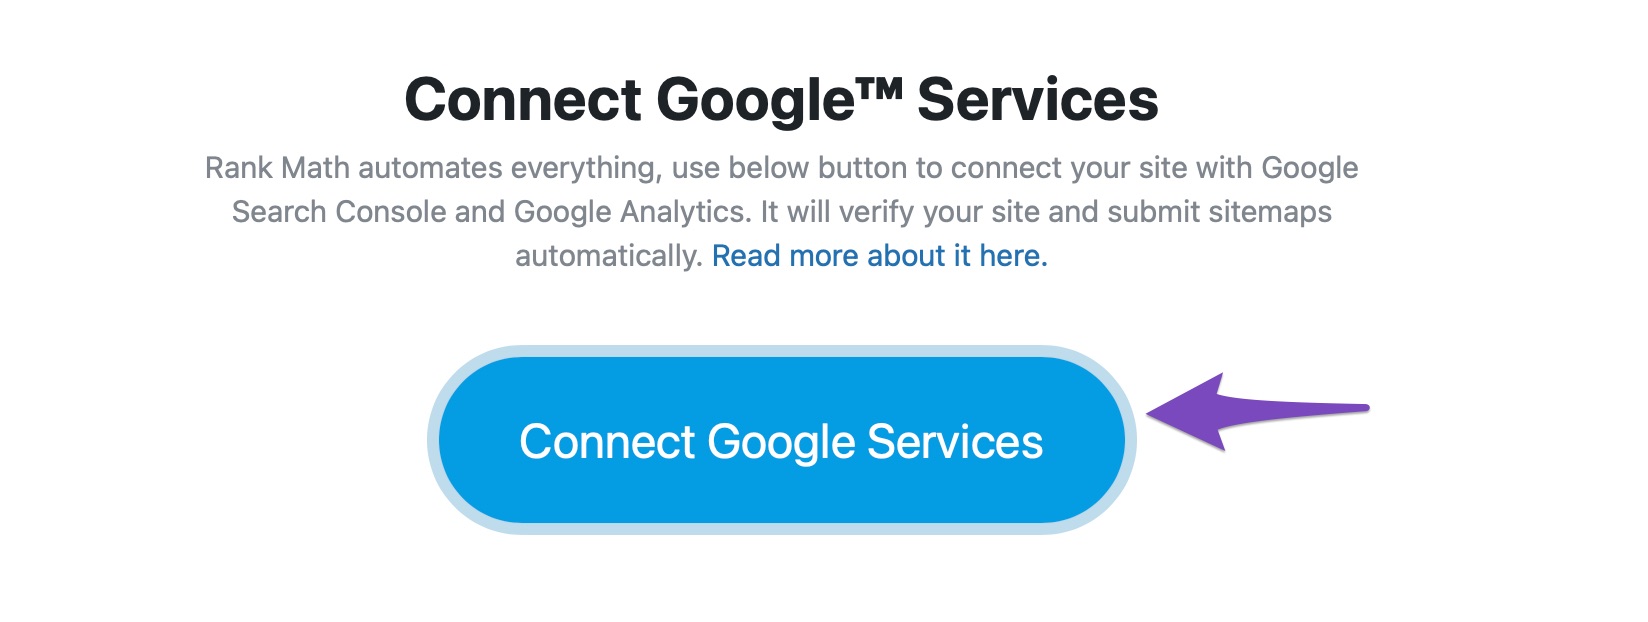
First things first, here is what you will see on the page when you open it.
As you can see, there is a giant button in the middle of the page asking you to connect to Google Services. That is because once you do, Rank Math can bring in tons of data from Google Analytics, Google Search Console, and even AdSense.
Before we continue, we want to clarify that none of the data Rank Math fetches is seen or stored by us. We do not intend to sell your information—that’s not our business model. Rank Math just acts as an intermediary to fetch the data from Google and show it to you, nothing else. You can read more about how we process this data here.
So, let us show you how you would connect Rank Math with your Google account, and then we’ll discuss some other important details. Start by clicking the giant Connect Google Services button.
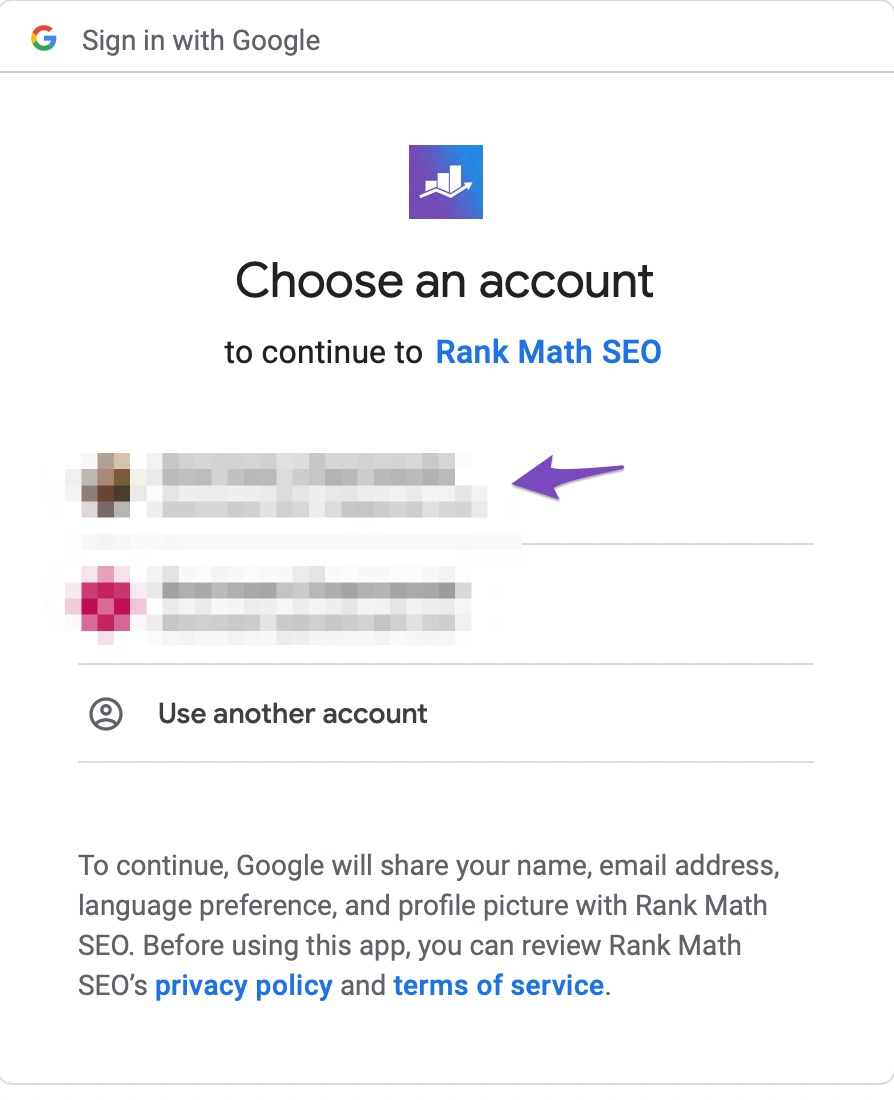
On the next page, select the account that you use for your Google services, or add it.
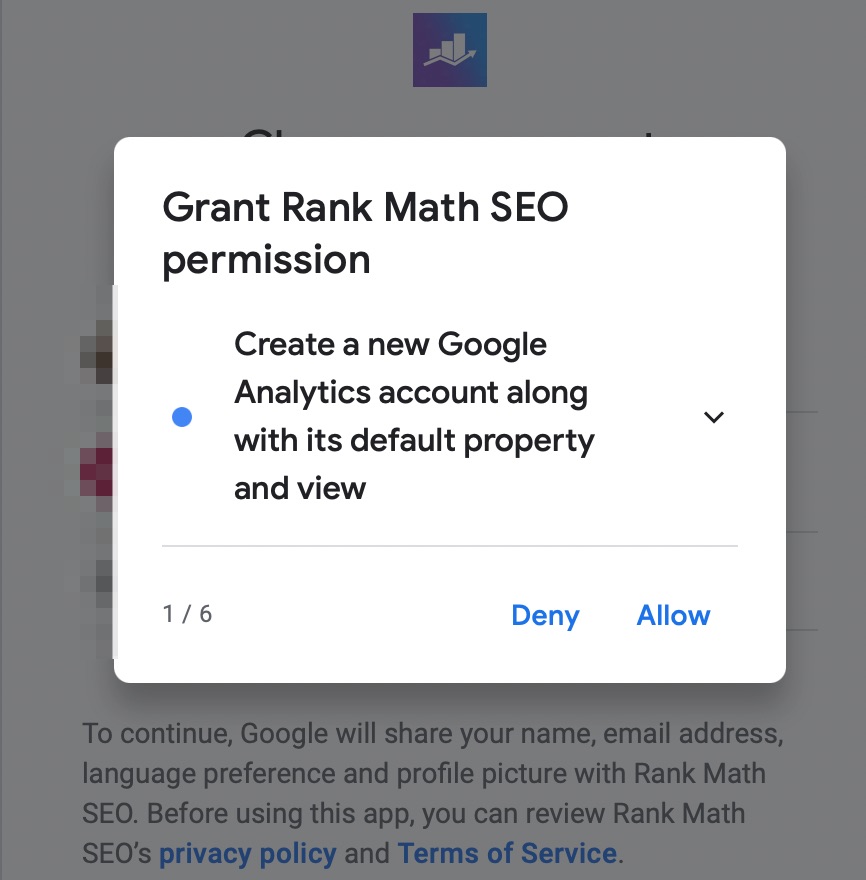
The next step is to grant permissions. Since Rank Math will perform many tasks for you (more on this at the end of this module), it does require permissions for many things. Here are the requested permissions, one by one.
Create a new Google Analytics Property. This is useful if you haven’t set up Google Analytics on your website.
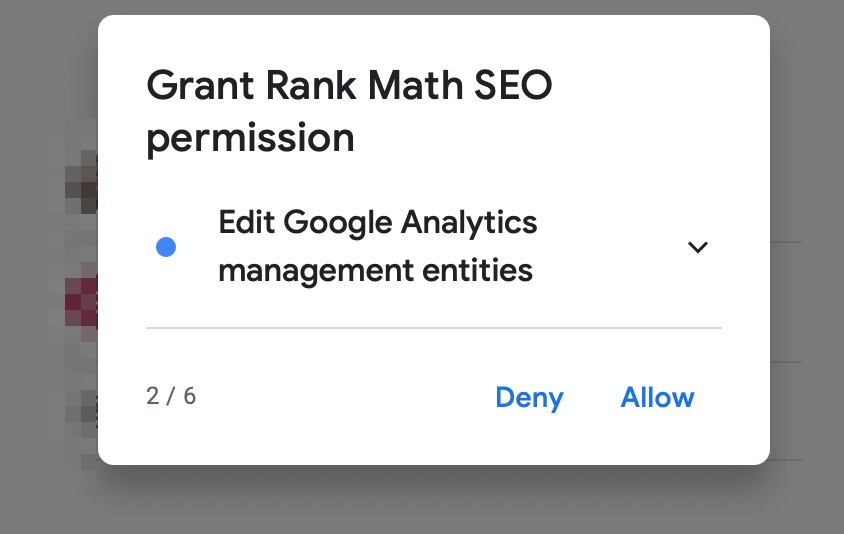
Edit Google Analytics management entities. Again, this is needed if Rank Math sets up your analytics account for you.
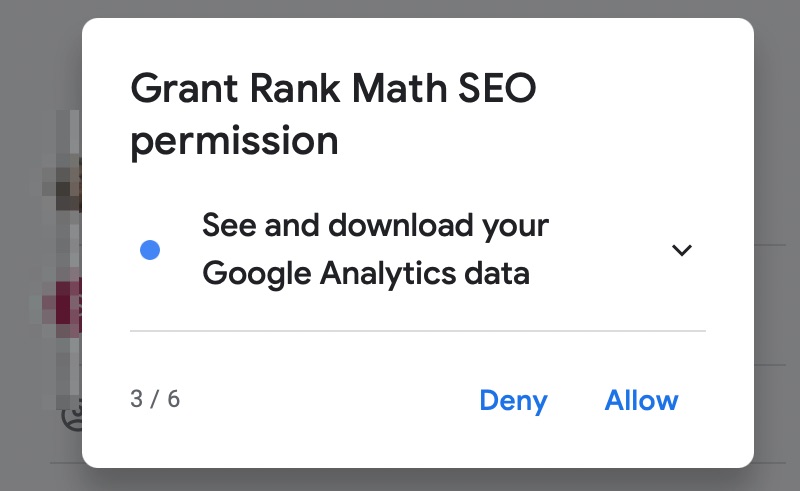
See and download your Google Analytics data. This one is obviously needed to fetch the data and display it on your website.
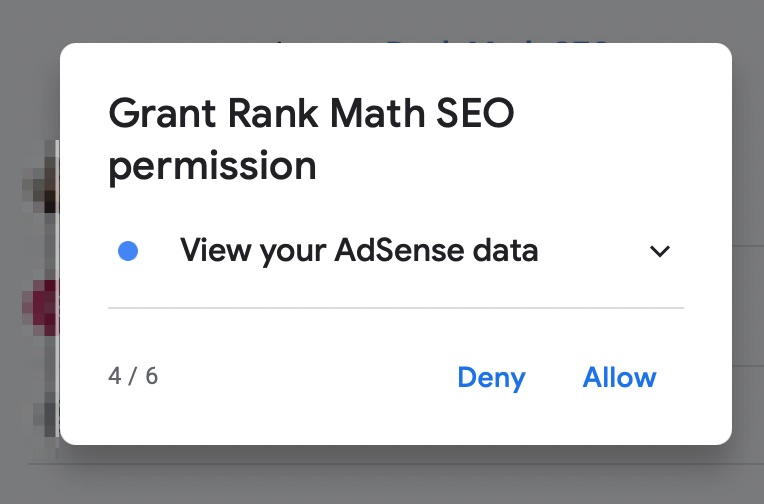
View your AdSense data. As we mentioned earlier, Rank Math can fetch your AdSense data as well, if you’re using the same email. So, this permission is needed for that.
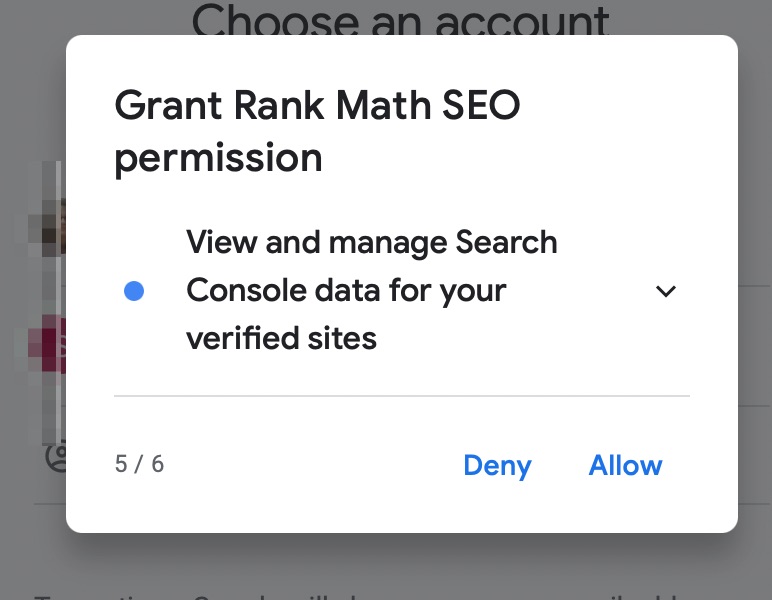
View and manage Search Console data for your verified sites. Again, this is needed to fetch and display your search console data.
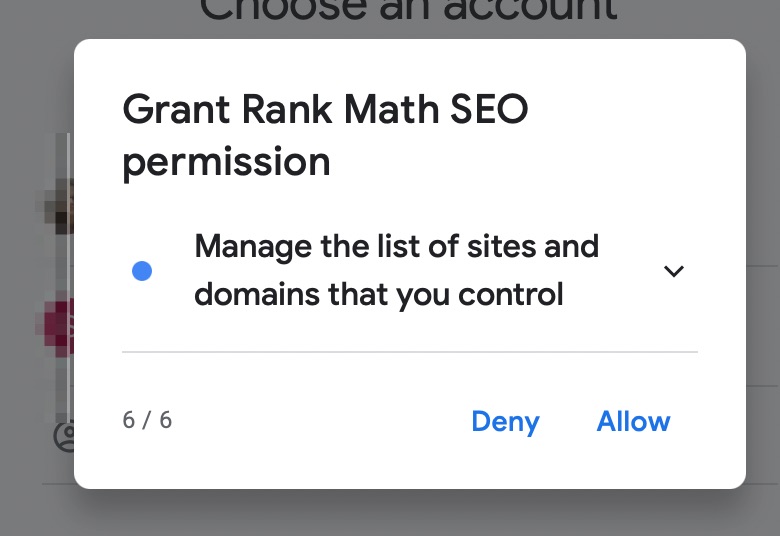
Manage the list of sites and domains that you control. This permission is needed to verify your website with Google Search Console automatically.
5.1 Which Permissions Should I Allow
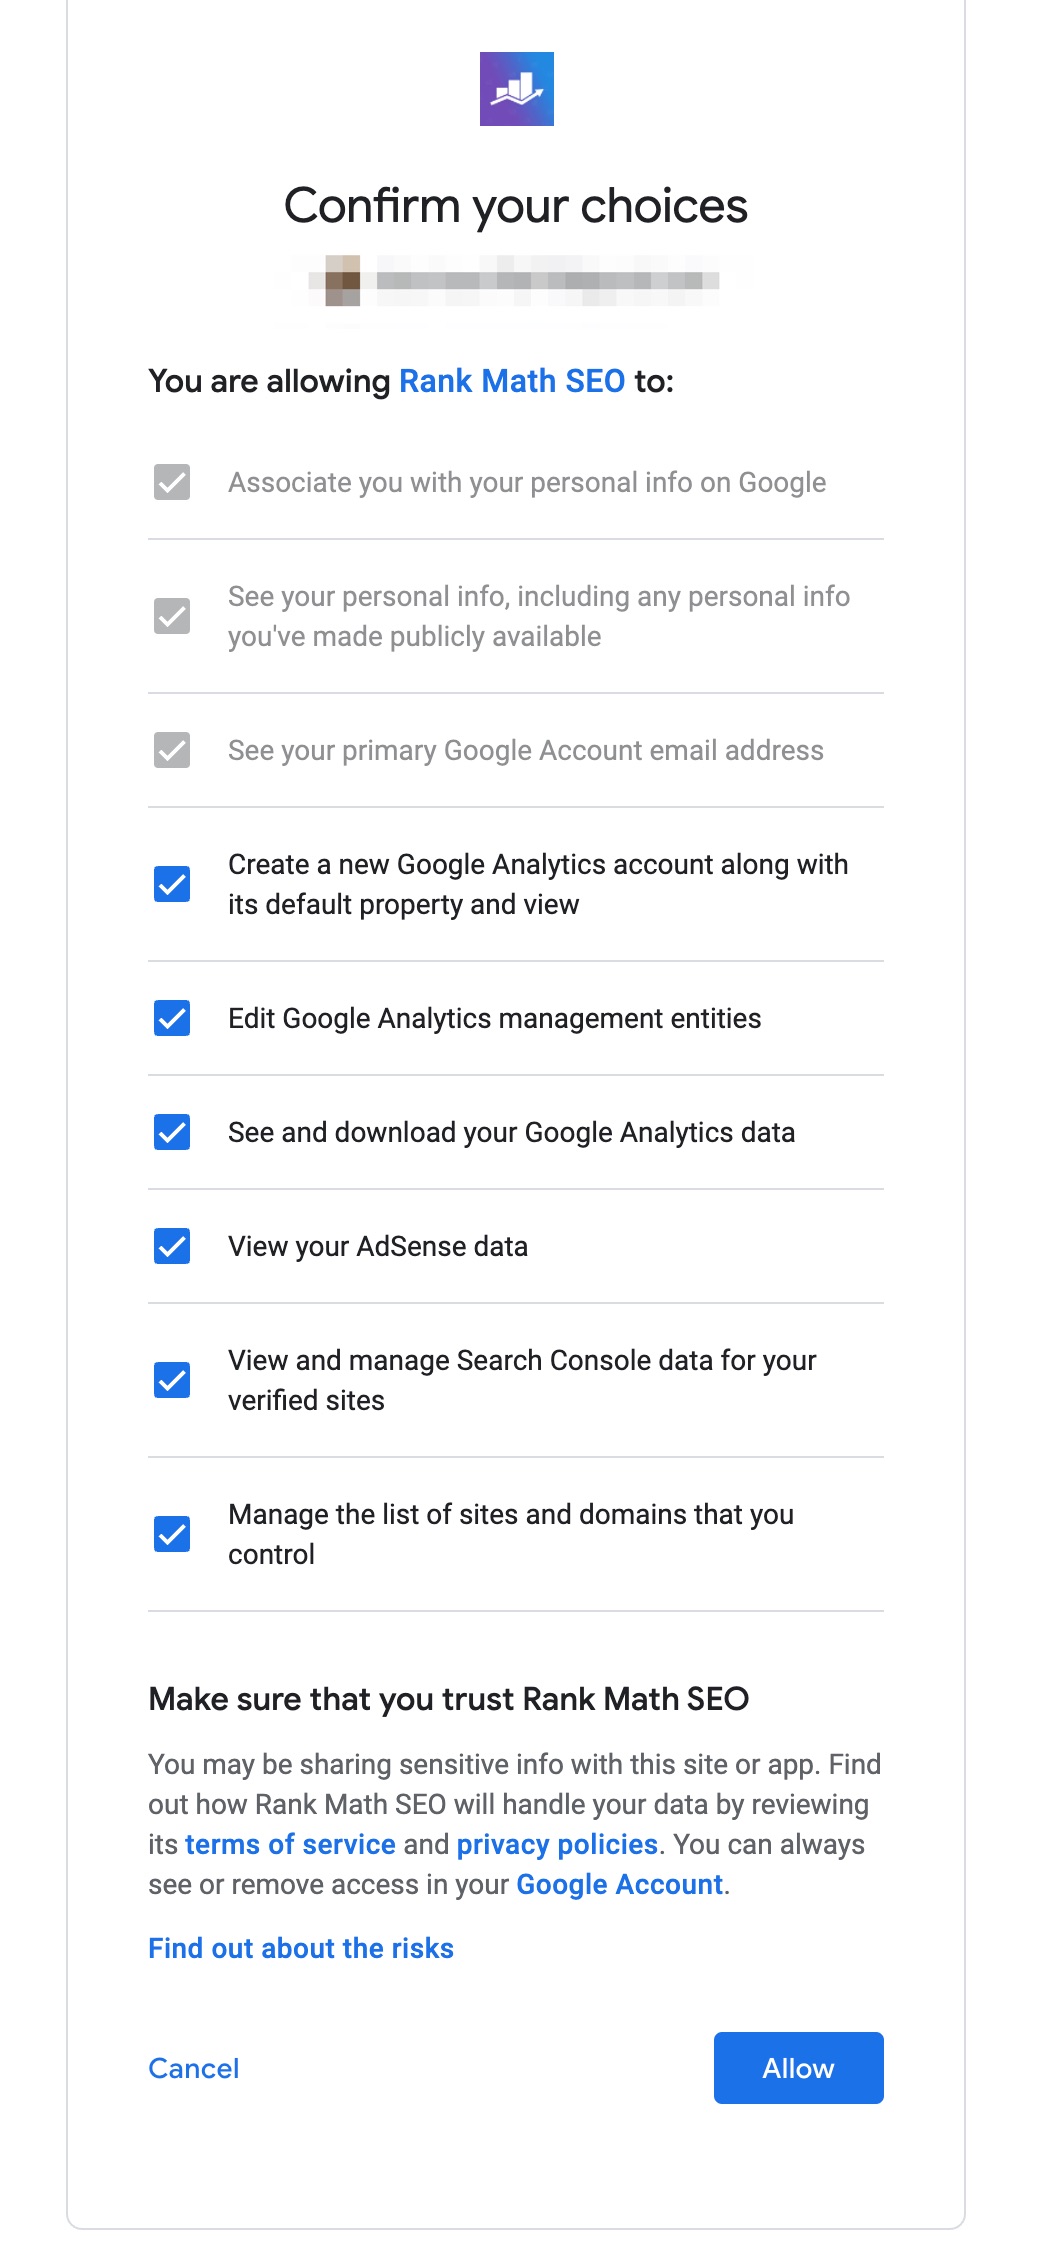
As we mentioned, we don’t store any of this information, nor do we aggregate it or sell it. We use it only to display your information on your website. For getting the maximum value out of Rank Math, we recommend that you enable all the permissions, but you can skip some if you like. Obviously, denying some permissions might hinder some functionality, and you should be all right with that.
Once you go through all the dialog boxes, you will see a summary of all the requested permissions. Verify all this information and permissions, and hit the Allow button to proceed.
You will be returned to the Setup Wizard, but now you will see these options.
Now, you will be able to configure your Search Console, Analytics, AdSense, and your SEO Email Reports. Let us give you a quick overview.
5.2 Search Console
Inside the Search Console section, you need to select your website from the Site dropdown and your target country in the Country dropdown. You can also toggle on the Enable the Index Status tab option.
Note: Only Rank Math PRO users will see the option to choose the target country.
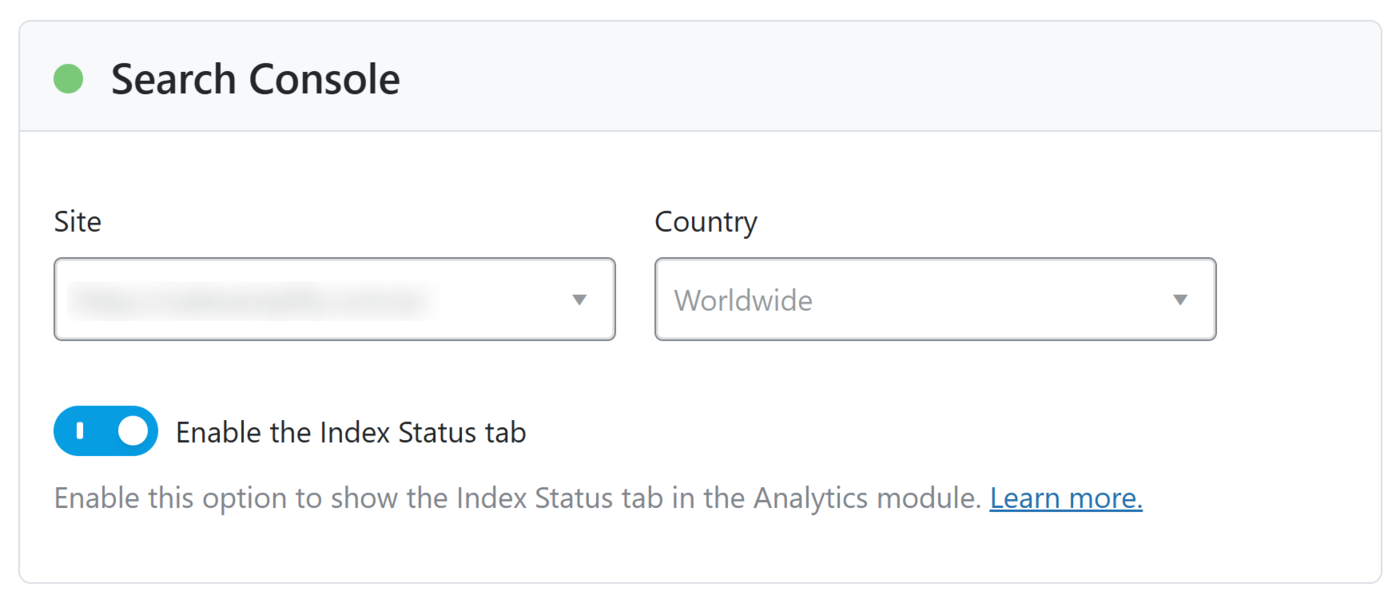
When you enable the ‘Enable Index Status Tab’ option, Rank Math will include the Index Status tab in your Analytics module. This tab will be available at Rank Math SEO → Analytics → Index Status, as shown below.
The Index Status tab shows you the index status of your webpages right inside Rank Math. To be more specific, it shows your indexed and unindexed webpages, along with additional details, such as whether Google has discovered or crawled your unindexed webpages.
5.3 Analytics
In the Analytics section, you will select your Account, Property, and View. If you’ve used Google Analytics, this should be familiar. Rank Math PRO users will also be able to choose the Country from the drop-down list.
If this is a new site and you haven’t installed Google Analytics yet, you can use the toggle option to let Rank Math do it for you. Rank Math can also create Google Analytics 4 property on behalf of you and you can get to know more about it in its dedicated knowledgebase article.
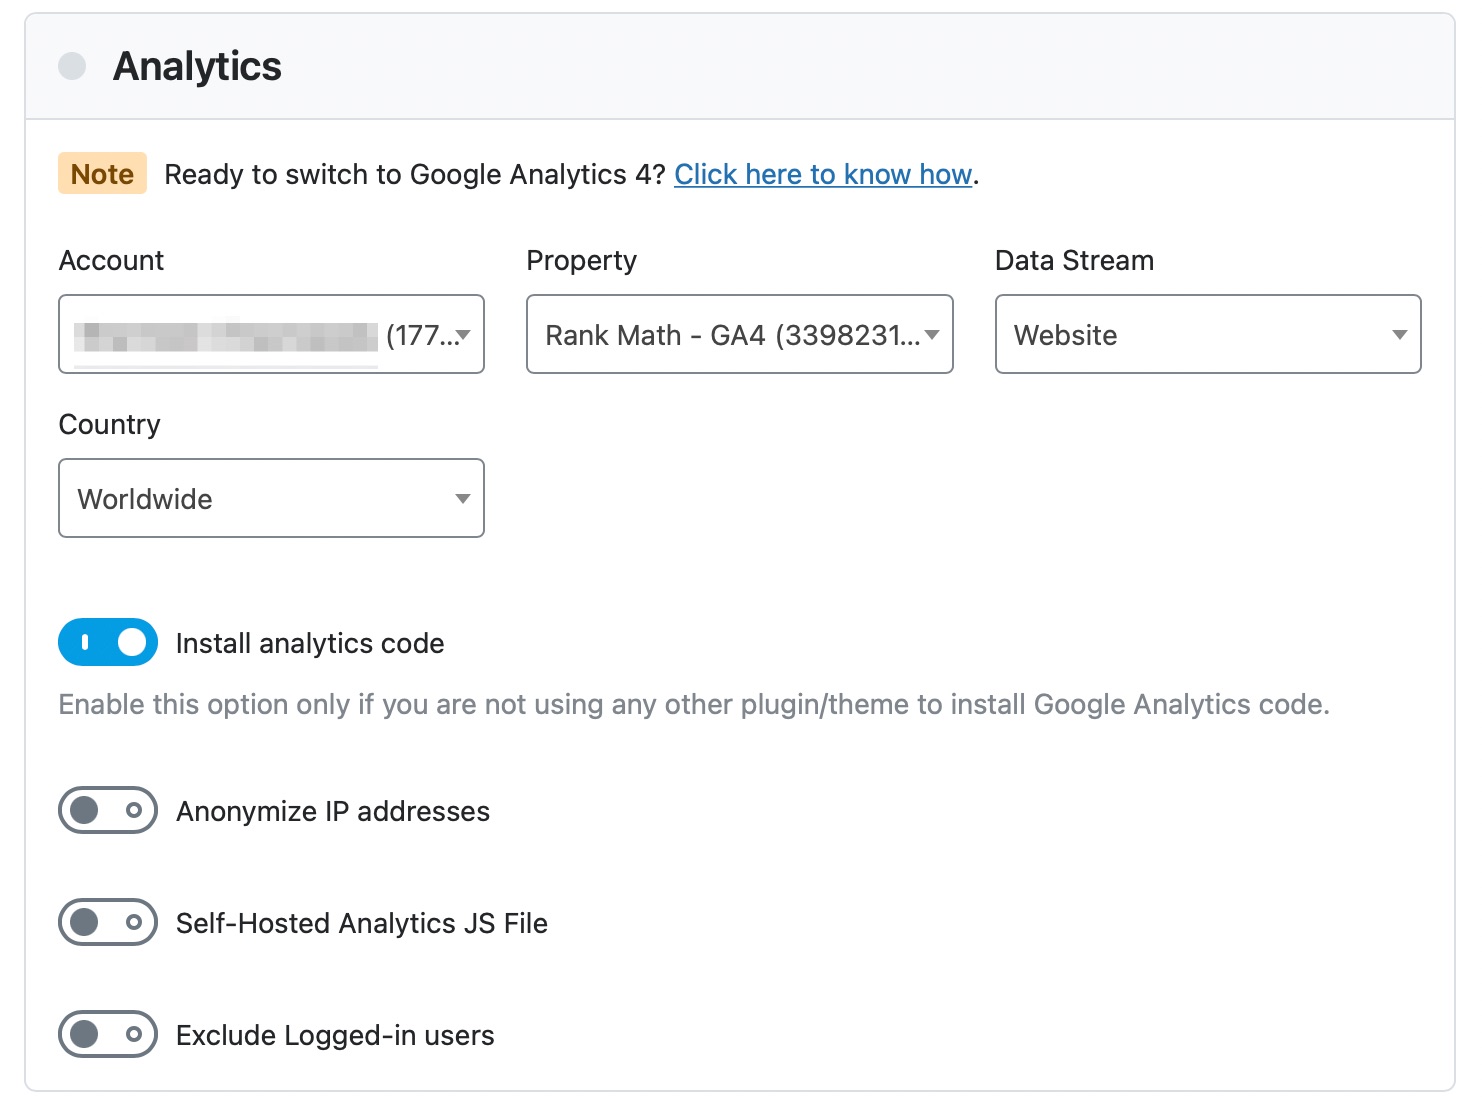
If you enable the toggle, you will see some additional options. The option to anonymize IP addresses, and use a self-hosted analytics JS file are all available only in Rank Math PRO. You can enable the toggle to exclude logged-in users, which will prevent internal traffic from showing up in your analytics.
Note: If the Search Console options are grayed out and unclickable, or your Google Analytics 4 settings do not save after you click the Save Changes button, switch to Google Chrome or another Chromium-based browser.
5.4 AdSense PRO
The AdSense data module is available only for Rank Math PRO users. If you’re using the PRO version, you’ll be able to select the AdSense account from the drop-down menu. Rank Math will then display that data inside your Analytics dashboard.
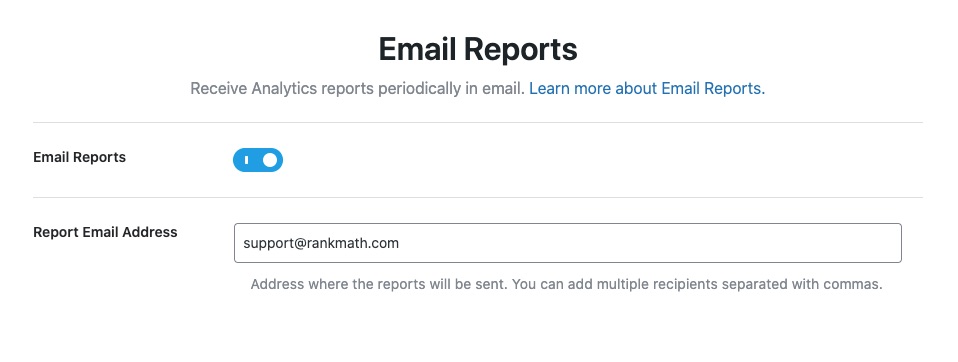
4.5 Email Reports
The last section in this tab is for configuring Email Reports. Once you’ve configured your Analytics and Search Console property, Rank Math can track changes related to your website’s traffic, impressions, total keywords, and average position.
These insights are neatly presented as an SEO Report and delivered straight to your inbox every month. PRO, Business, and Agency users can further change the frequency of these reports. Business and Agency users get more Whitelabel options to customize these Email Reports and send them directly to their clients. All these amazing features are available only when you enable Email Reports, and you can read more about the Email Reporting feature here.
Initially, you’ll only see a single option to enable or disable Email Reports. But when Business and Agency users enable the Email Reports option, they will see an additional option here that lets them add the email address(es) where they would like to deliver the SEO Reports.
Note: More Whitelabel options are available for Business and Agency users to configure when they navigate to WordPress Dashboard → Rank Math SEO → General Settings → Analytics → Email Reports.
5.6 Paraphrasing the Benefits of the Analytics Module
With the Analytics module, Rank Math can not only fetch and display GA and GSC data; it can also verify your website with Google Search Console automatically. If you followed the exact steps we demonstrated above, your website would be verified with Google Search Console. The entire process is now automated by Rank Math.
Apart from GSC, you can also add the Google Analytics code to your website in an automated way—no copy-paste of code needed. If you haven’t used GA before, you can even set up a view from right inside Rank Math.
One more. When your account is verified, Rank Math will also submit your sitemaps to Google Search Console automatically—you don’t even need to raise a finger.
Once you’ve configured all these settings, click the Save and Continue button to proceed to the next step.
6 Sitemap
Sitemaps are indexes for search engines to quickly find the pages and posts on your website. You can think of sitemaps as indexes that you’d find in a book. Rank Math has a built-in, Google compliant sitemap generator that will create your website’s sitemap automatically. That means you won’t have to use any other plugin just to create your sitemap.
These are all the options that you’ll find in the sitemaps section of Rank Math.
Let us explain each of the options.
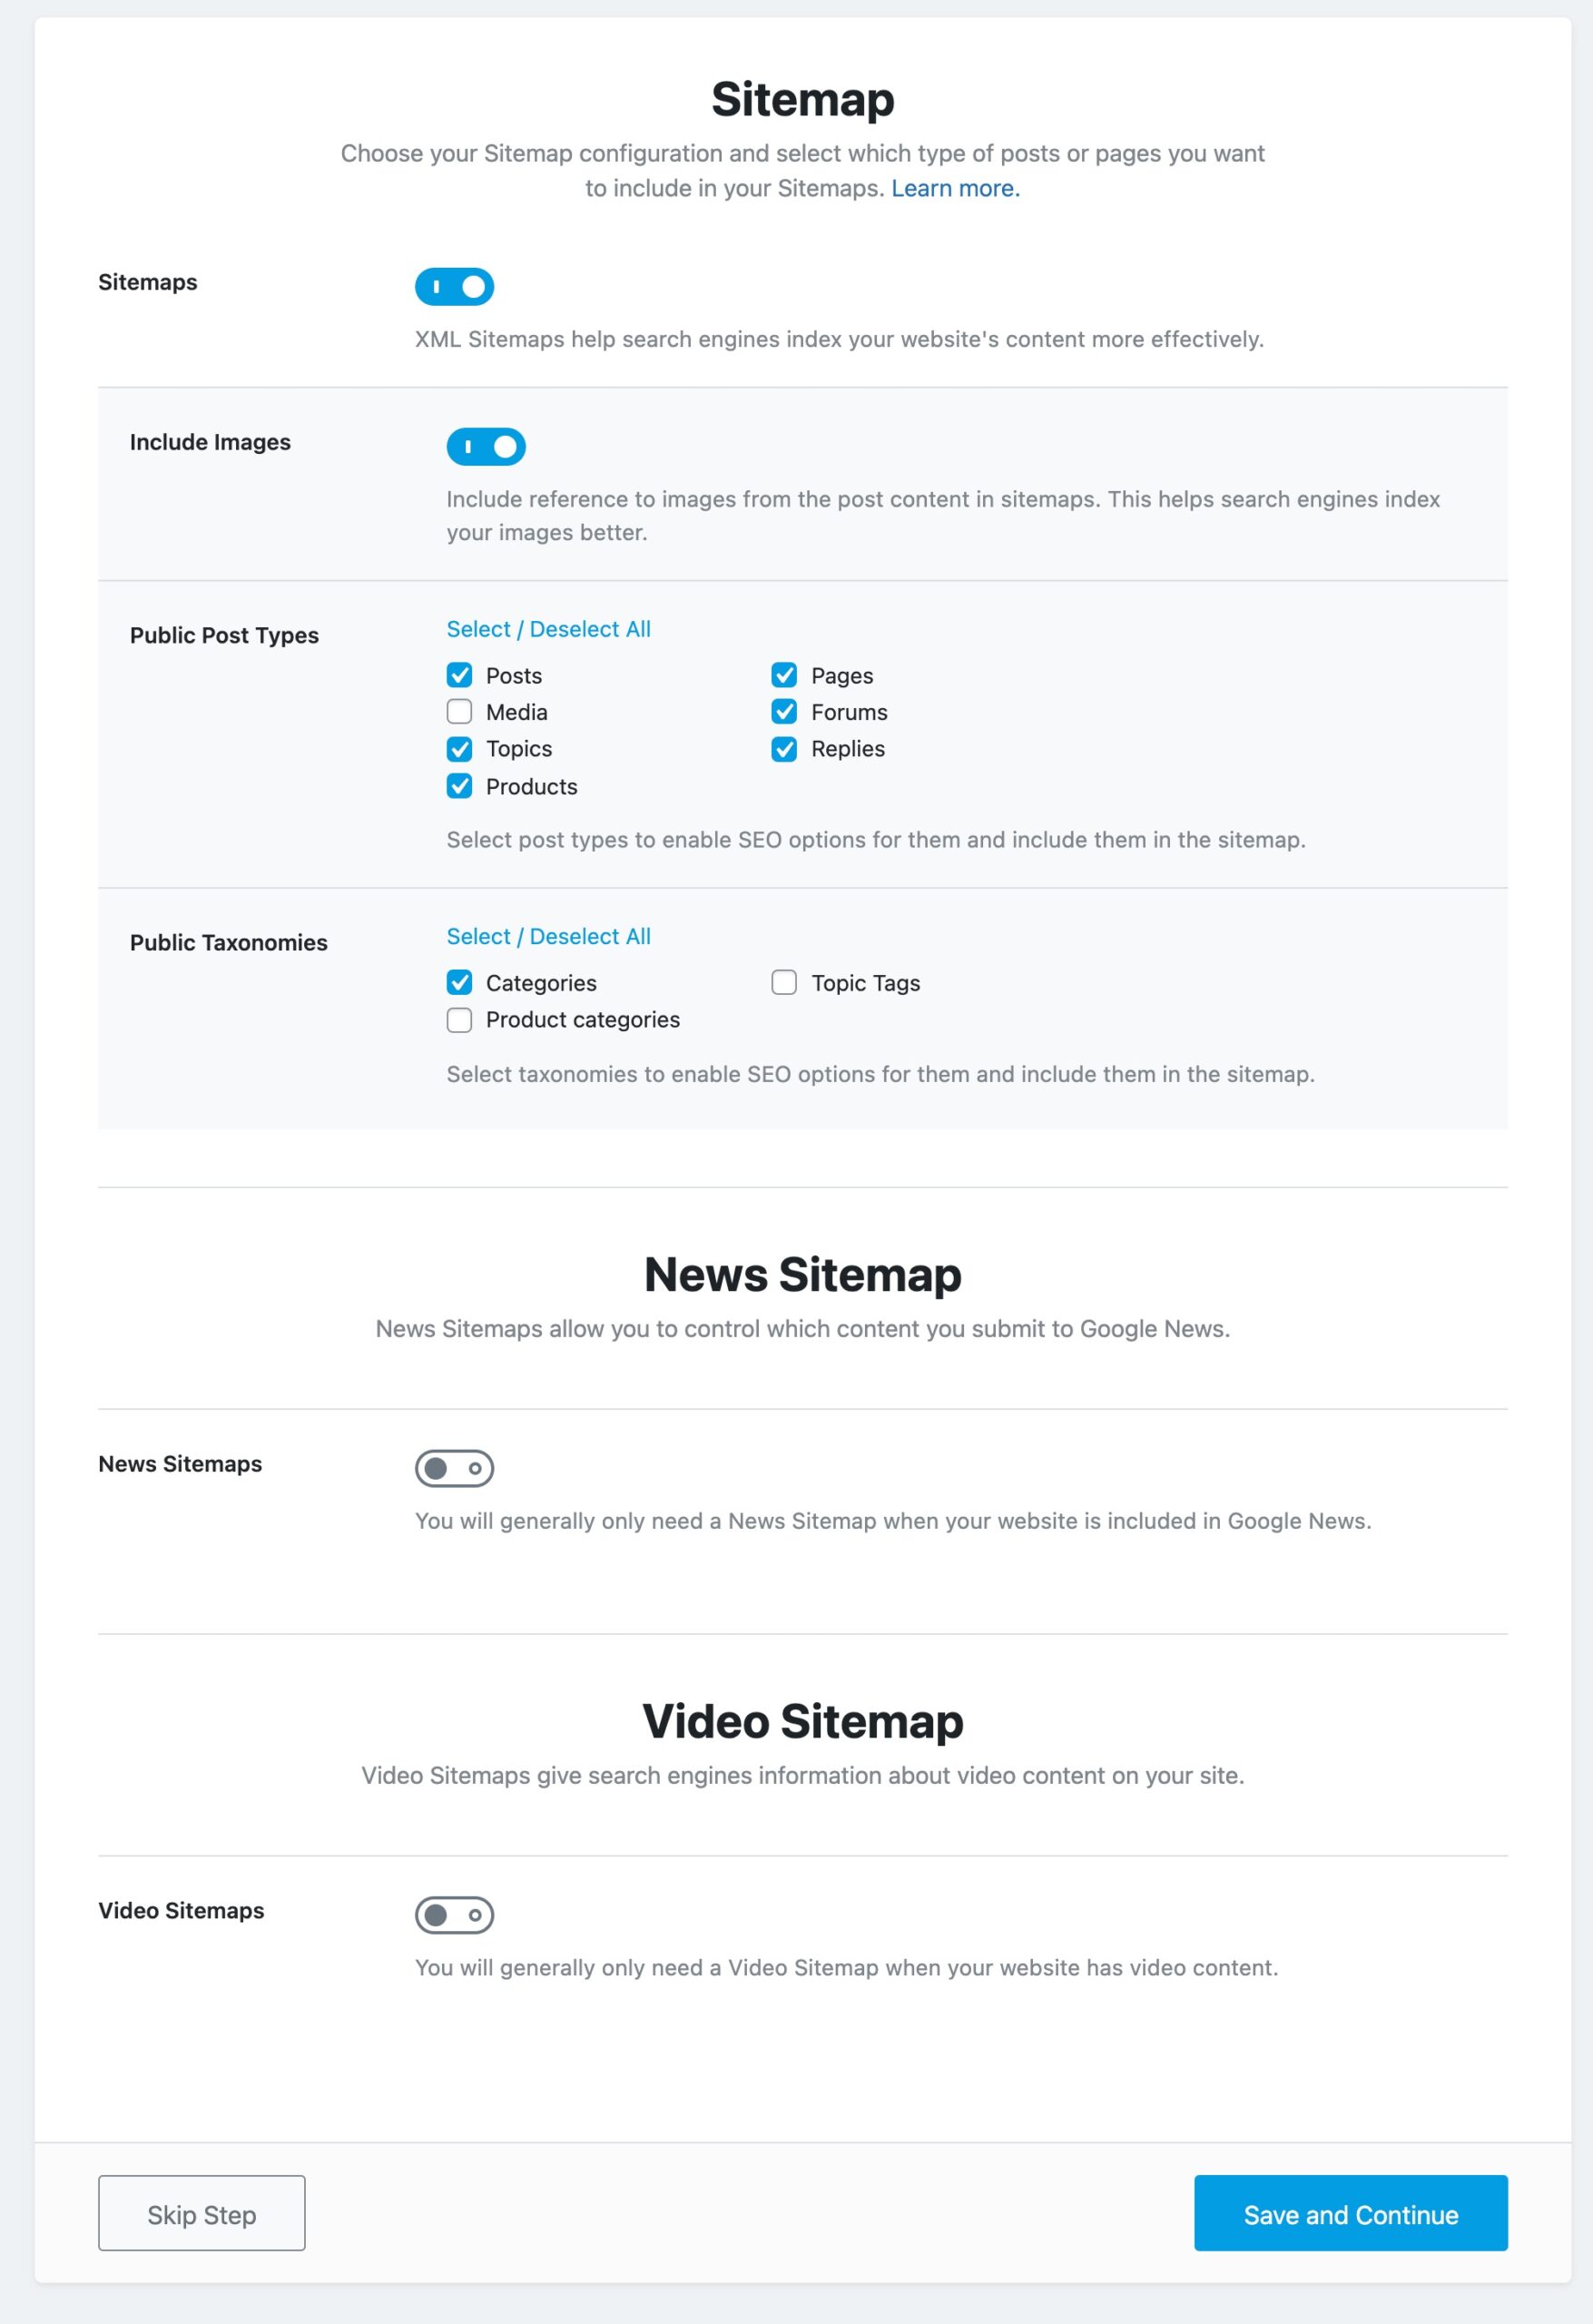
6.1 Sitemaps
This option lets you enable or disable the sitemap feature altogether. If you’re already using a sitemap plugin, then you can choose to do so. However, we would highly encourage you to use the sitemap feature. Using a large number of plugins is bad for load speed and can also leave your website vulnerable when not updated frequently.
The option is turned on by default, and if you disable it, the rest of the settings will disappear.
6.2 Include Images
This option lets you choose if you want to include images in your sitemap. It is turned on by default, and we would recommend that you keep it that way. The only time we would recommend you turn this off is when you have thousands of images on your website, as it will affect your website indexing in most cases.

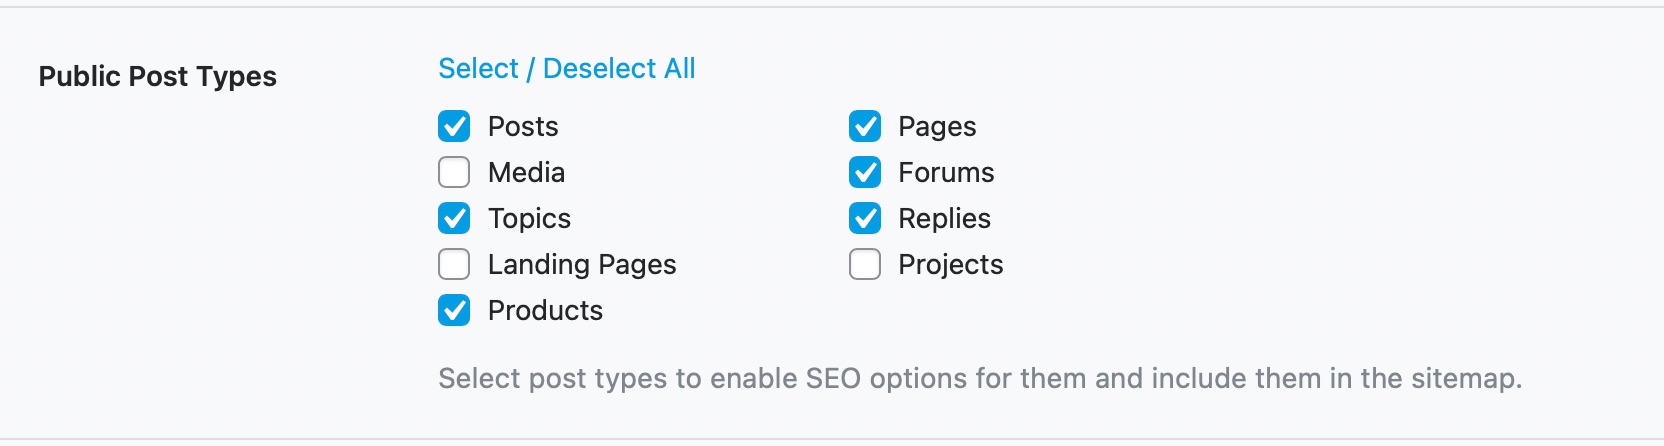
6.3 Public Post Types
This option lets you select which post types should be included in the sitemap. Posts and Pages will be displayed and selected by default, and if you’re using any custom post types (WooCommerce Products, Elementor, etc.), they will show up here too.
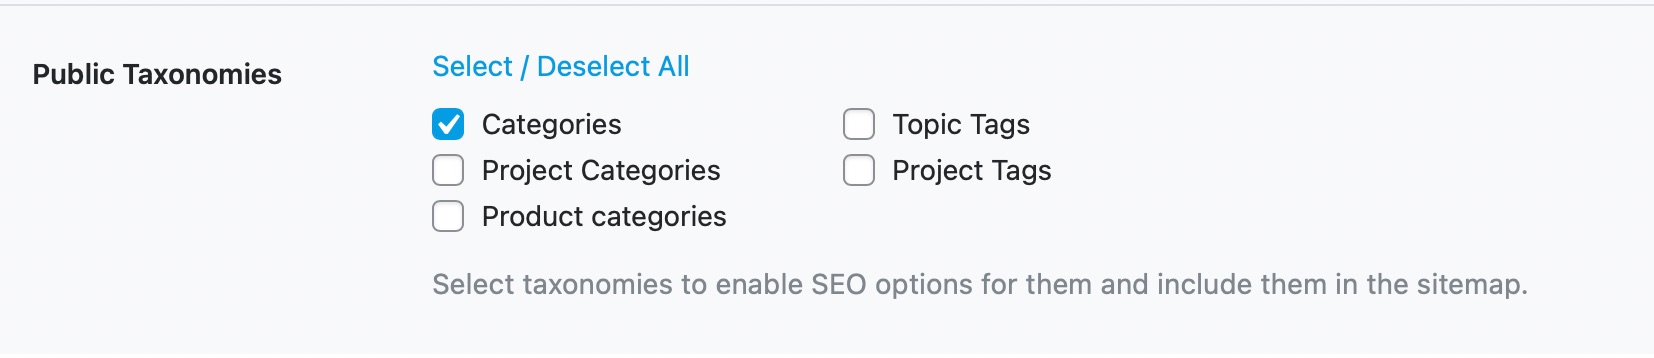
6.4 Public Taxonomies
This option lets you select which taxonomies will be included in the sitemap. You will see all the taxonomies that your website is using in this area, and you will need to select the ones you want to include in the sitemap.
6.5 News Sitemap PRO
This option lets you enable or disable News Sitemap, and only Rank Math PRO users can see this. Rank Math lets you create a fully compliant News Sitemap, which is required for featuring your news articles in Google News, Google Discover, and a push for other time-sensitive content in search results. Based on Google’s guidelines, the News Sitemap will include all the news articles you’ve published in the last 2 days.
Initially, you will only see the option to enable or disable the News Sitemap, but when you enable the News Sitemap, other options related to News Sitemap will appear, as shown below.
Let’s discuss both these options in detail.
6.6 Google News Publication Name PRO
In this field, you’ll need to enter the name of your news publication exactly as it appears in your news articles. For example, if we named our publication “Rank Math,” we would enter that here. Please note that you’ll have to match the name that appears in Google News, exactly.

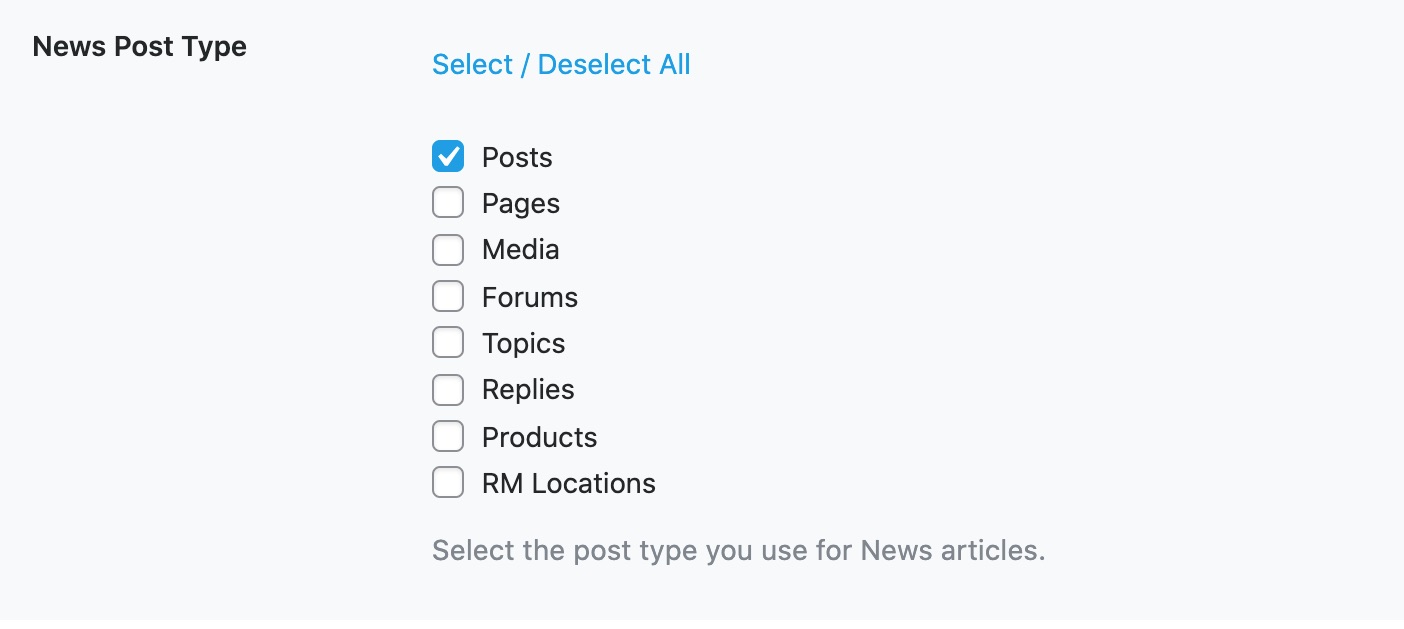
6.7 News Post Type PRO
This option lets you select the post types that you want to include in the News Sitemap. You will find all the post types your website is using, and you can select the ones that you need to include in the News Sitemap.
6.8 Video Sitemap PRO
This option lets you enable or disable Video Sitemap, which is again a Rank Math PRO feature. Video Sitemaps help search engines find more easily where your videos are placed and can help rank your videos better in the Video search.
Initially, you will only find the option to enable or disable Video Sitemap, but when you enable Video Sitemap, you’ll also be able to select the Video Post Type, as shown below.
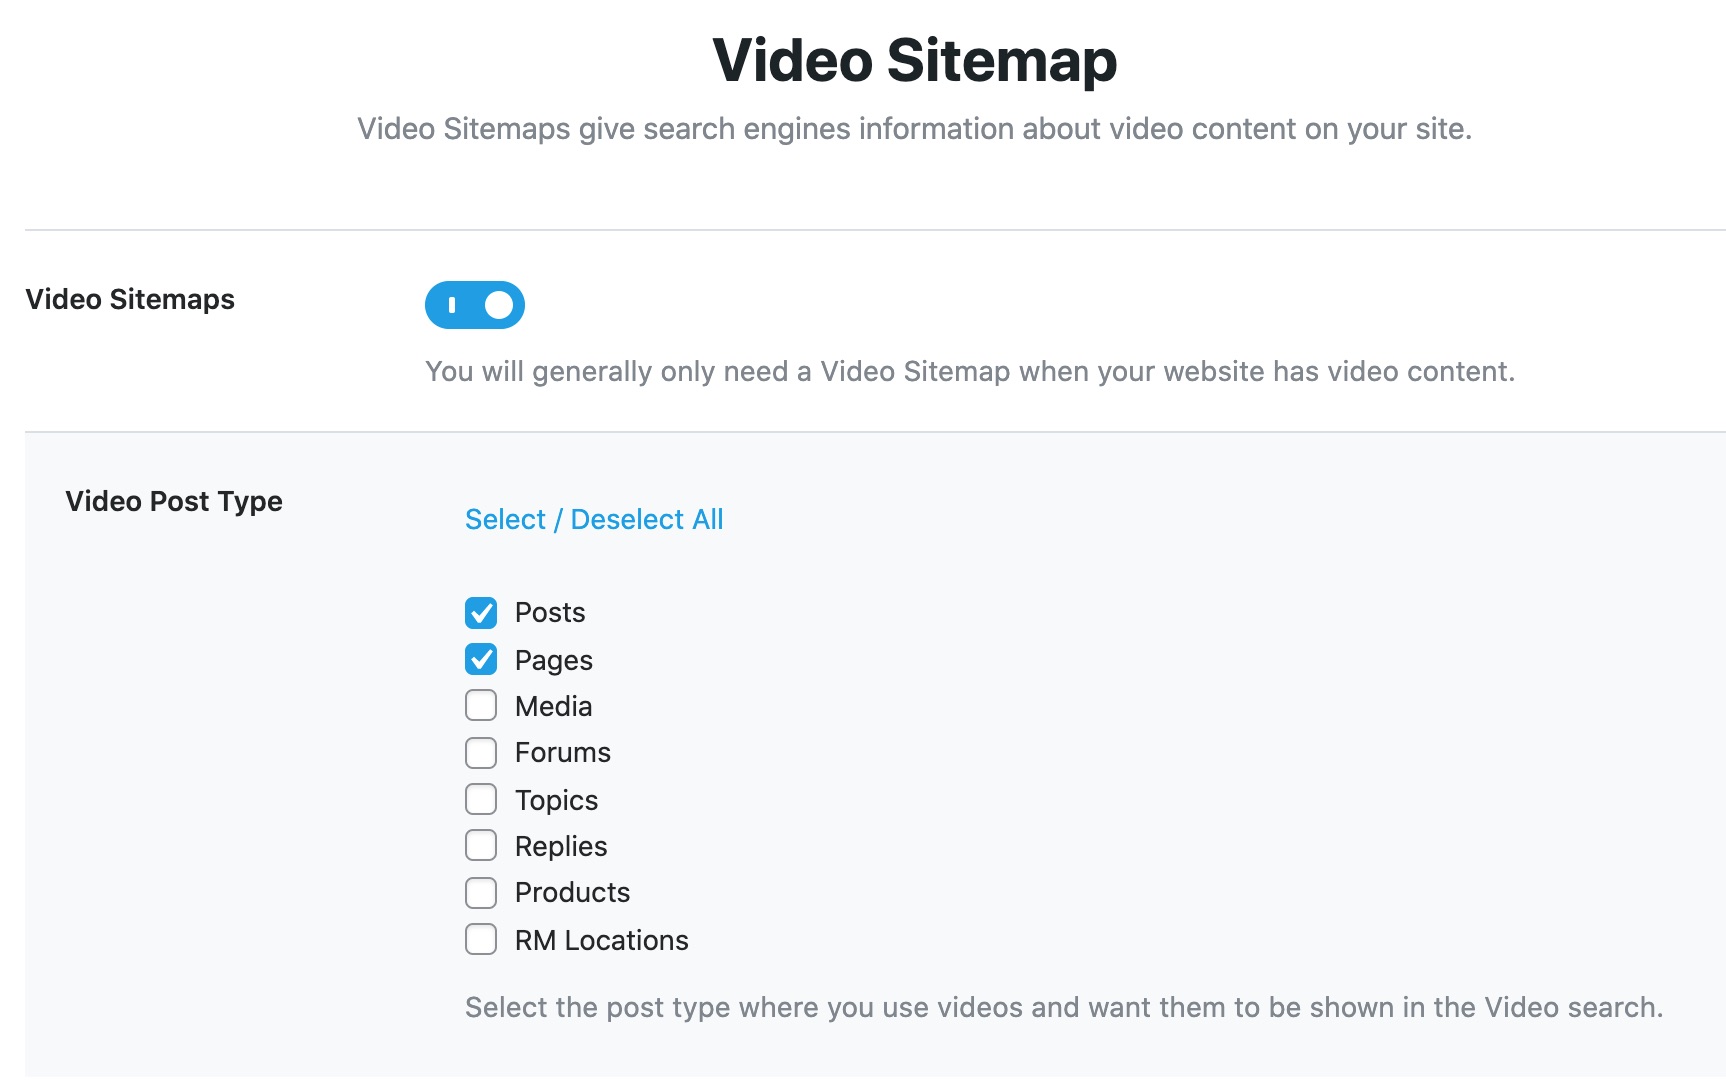
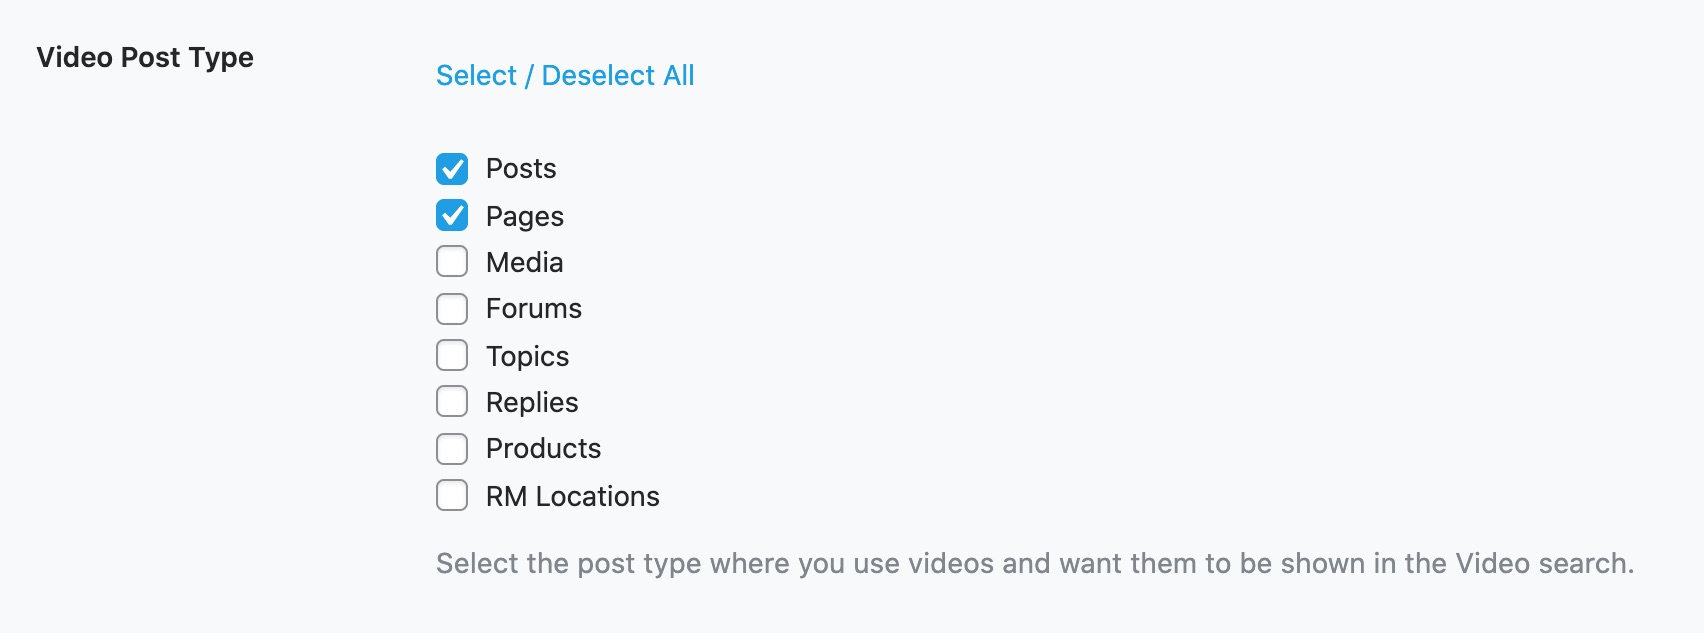
6.9 Video Post Type PRO
This option lets you select the post types that need to be included in the Video Sitemap. You can find all the post types your website uses and select only the post types where you want Rank Math to look for videos automatically and include them in the Video Sitemap.
6.10 Moving to the Next Step
Once you’ve configured all the settings in the sitemap section, click the Save and Continue button to move to the next step.

7 Optimization
In the optimization step, we are going to tweak some simple SEO settings on your website that make a big impact. Here are all the options that you will find in this section.
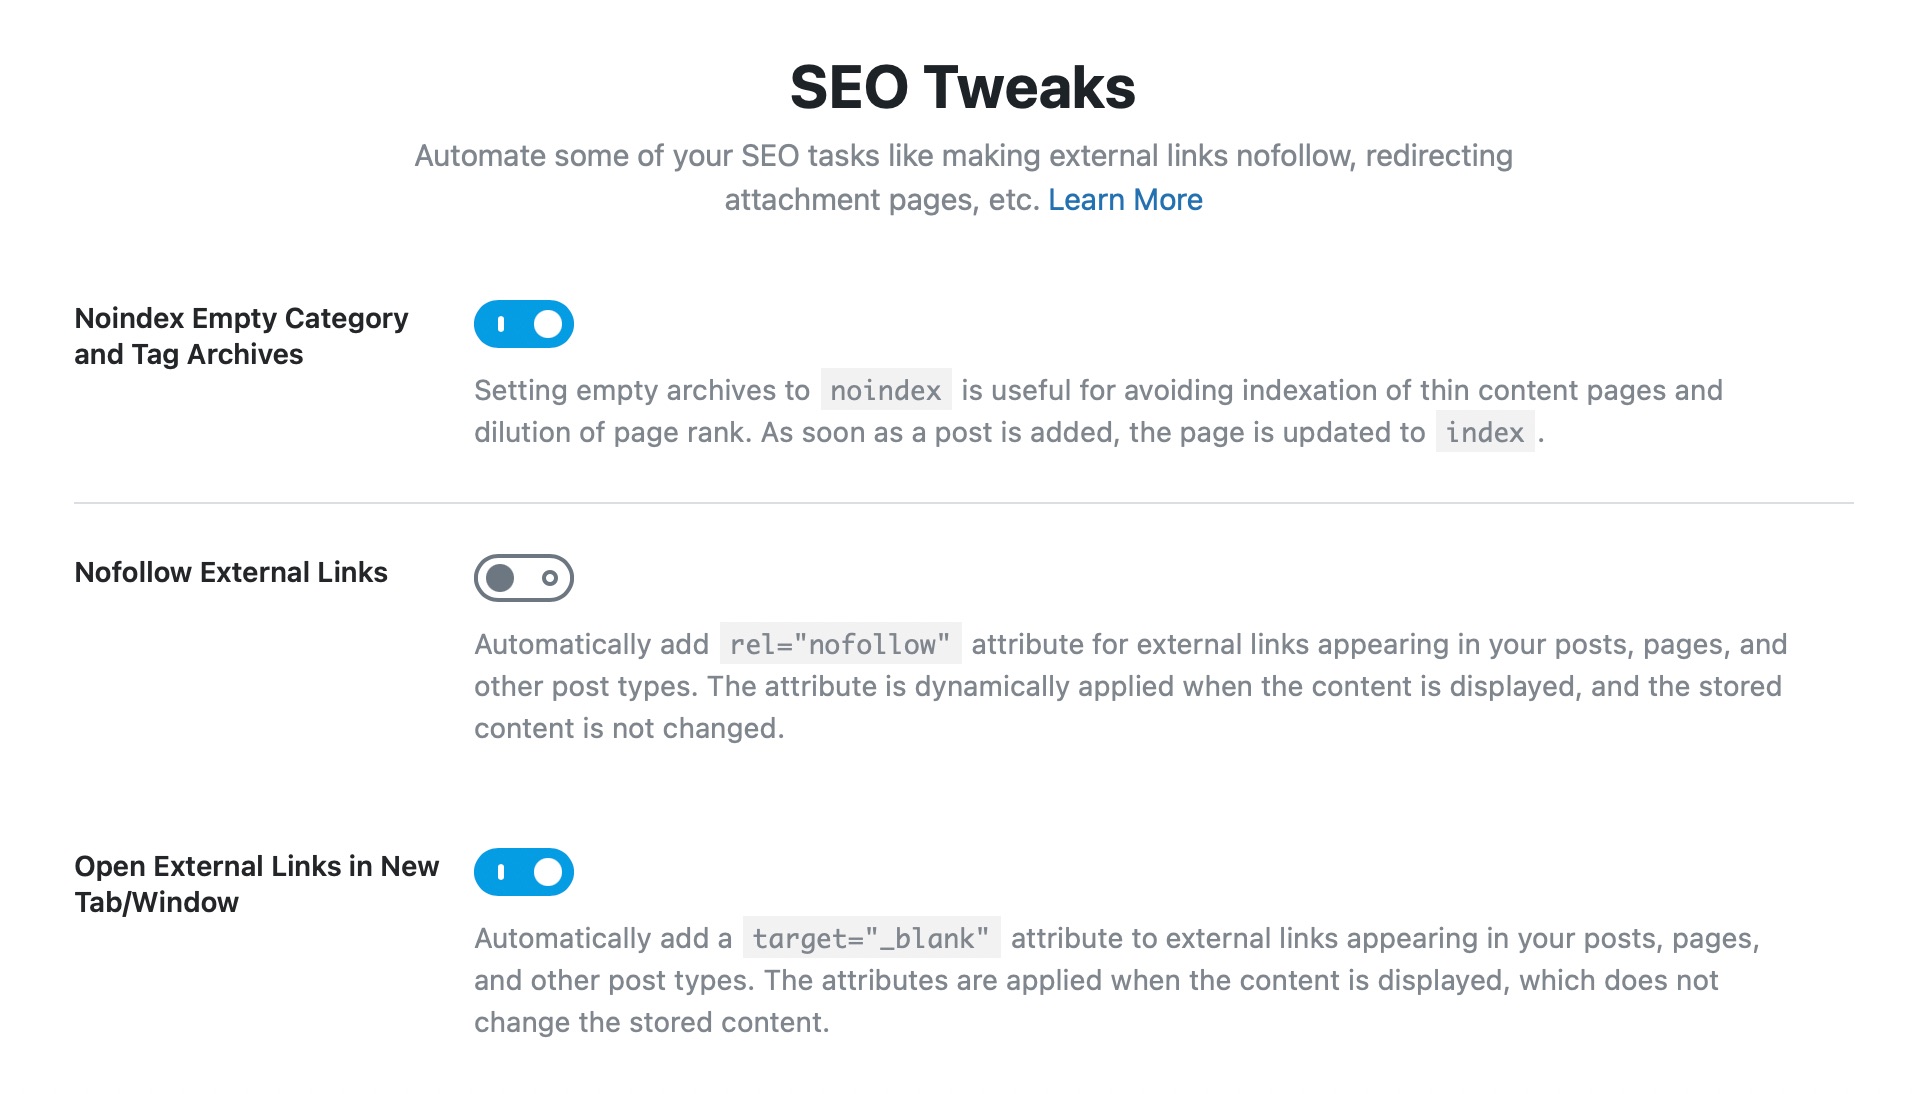
7.1 Noindex Empty Category and Tag Archives
Many times, you add many categories and tags to your website, hoping to use them in the future, but they don’t get used at all. In WordPress, each category, taxonomy, and tag has an archive page—which is a collection of all the posts in that taxonomy.
By default, these archive pages are indexed, which is fine. But, for the categories and tags that do not have any posts, having them indexed is a waste of Page Rank and your crawl budget.
This option, when enabled, automatically “no-indexes” the categories and tags that do not have any posts in them, thus saving your SEO juice. We recommend that you enable this setting.

7.2 Nofollow External Links
Normally, you can use nofollow on any link by adding the rel="nofollow"attribute to it by using WordPress’s link manager. But, if you’re adding a lot of links to your posts, no-following them individually can be time-consuming. Enabling this setting will make all external links nofollow by default, which will save you quite a bit of time.
Even when you enable this option, you will still retain complete control over your links. Rank Math has another important link management feature, which we call Link Blacklist and Whitelist. Using those options, you can blacklist or whitelist domains or URLs that will override the default behavior you set here.
For now, we would recommend that you enable this option.

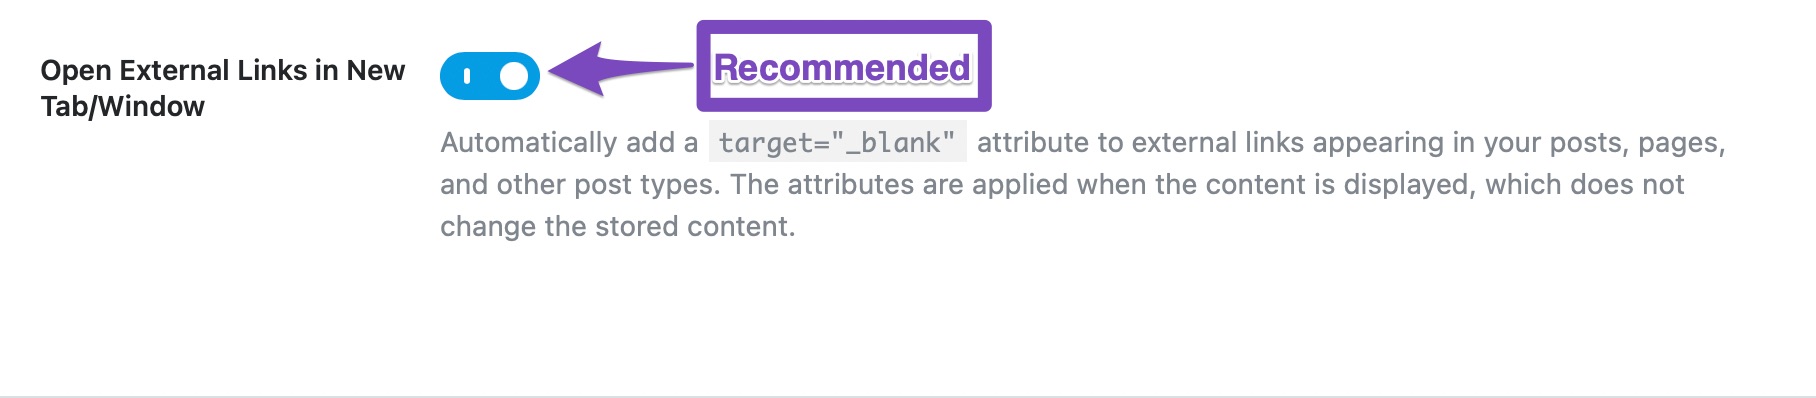
7.3 Open External Links in New Tab/Window
When you’re adding external links to your website, you wouldn’t want a user to leave your website and go to the link, right? To avoid this, you can set up the link with the target="_blank" code to force the link to open in a new tab.
While it is possible to add the target attribute manually to links, you still need to bear that in mind every time you insert an external link. If you enable this option, then Rank Math will add the attribute to all your external links & saves you a bunch of time.
7.4 Moving to the Next Step
Once you’ve made all the changes to the optimization settings, click the Save and Continue button to move to the next page.

8 Ready
As you probably guessed, the Ready tab does not contain any settings, but it is just a confirmation page for you to complete the steps until now. Here is how it looks like and what the different sections and links point to. If you’re using the Easy Setup Mode, then you won’t see the advanced setup option, and you should see the setup completion button instead.
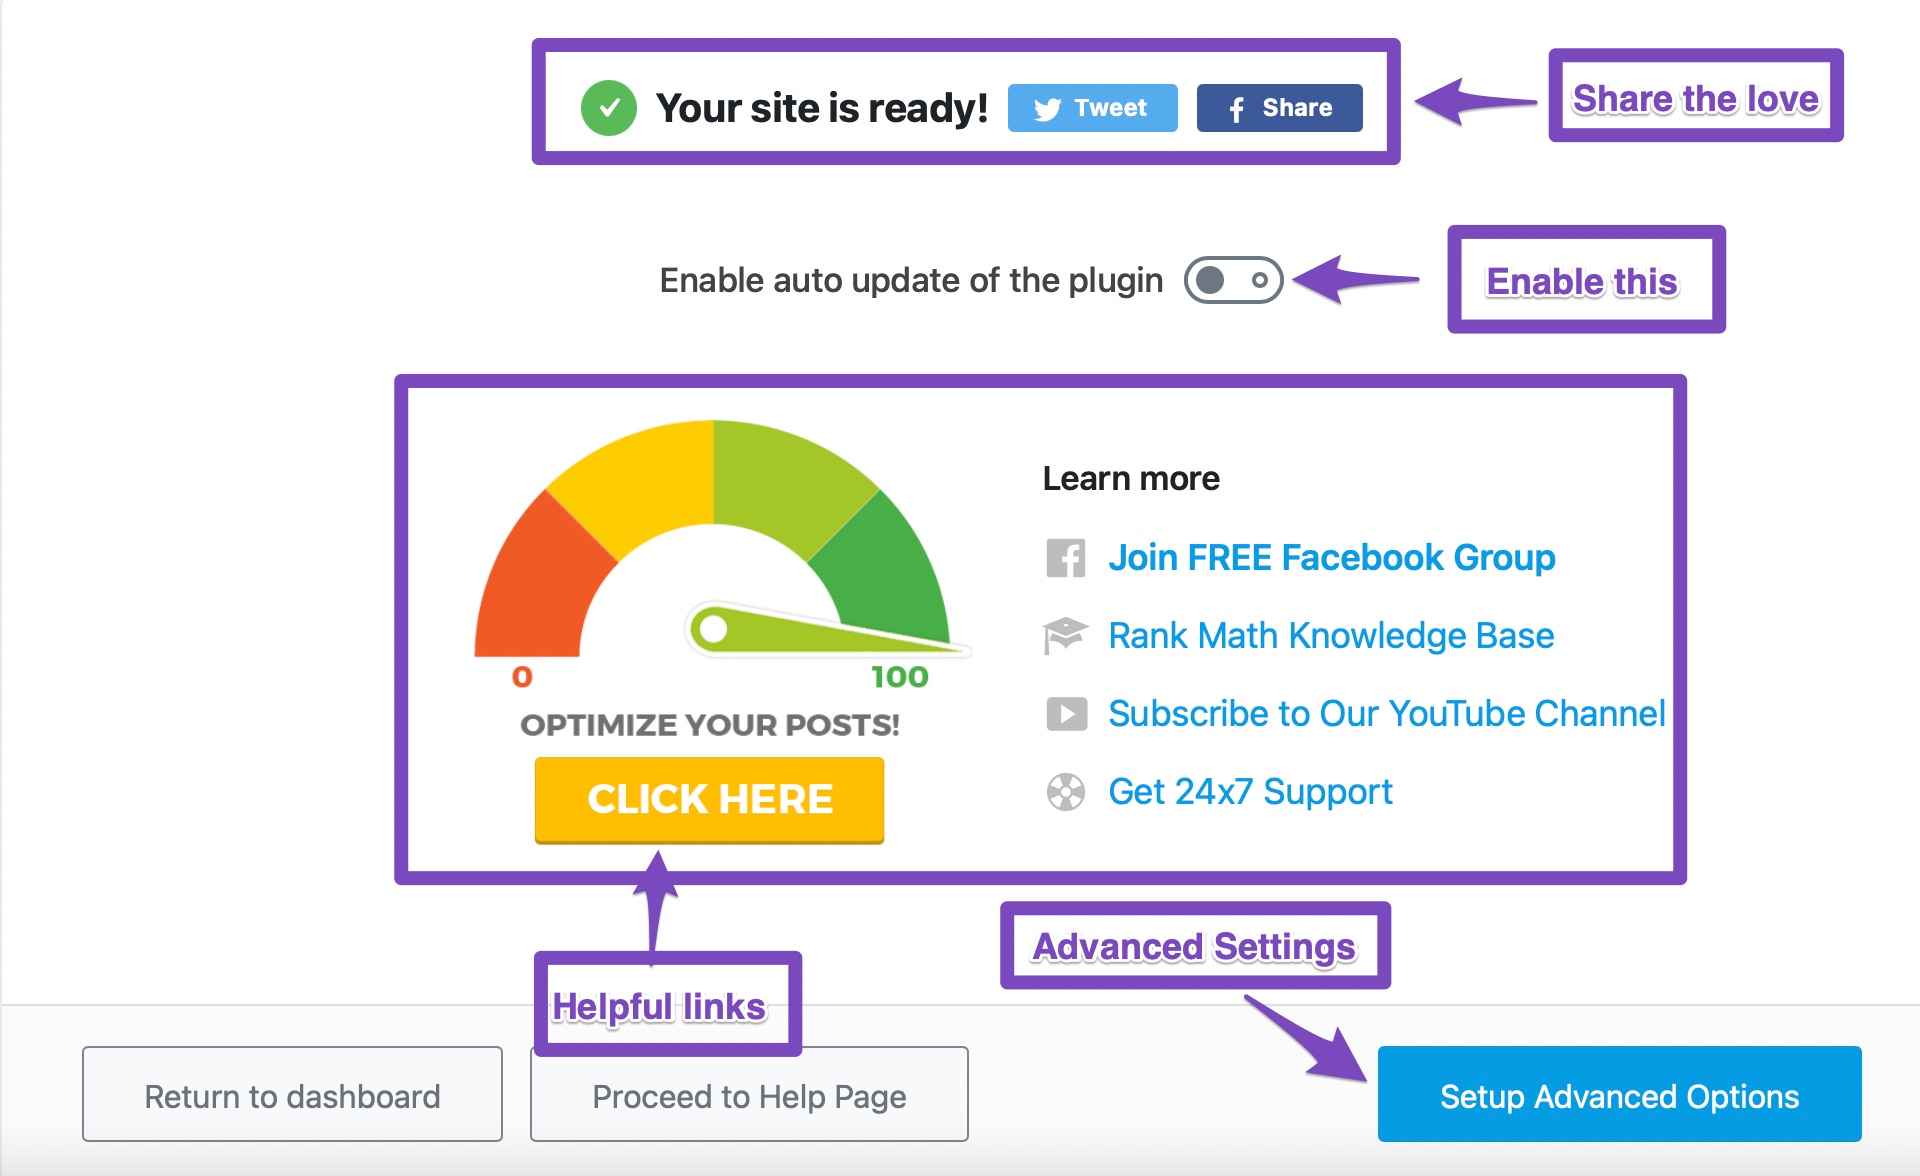
Though this is just a confirmation page, and it does not contain any settings, you might have noticed an option called Enable auto-update of the plugin. We suggest you turn on this feature. Because Google keeps on changing its algorithm several times a year, and if you are still using the older version of Rank Math (without updates) you might not be able to take advantage of the latest recommendations.
With Rank Math’s Auto Update feature, you’ll always stay up-to-date with the latest version and the best features.

Besides, you can notice so many helpful links here.
- When you click “Click Here” it will take you to our KB on How to Score 100/100 With Rank Math Post Tests.
- Likewise, you will be able to join our free Facebook community, where you can meet other SEO professionals and Experts to help you solve your SEO issues.
- Rank Math’s Knowledgebase to improve your technical knowledge on how to implement the technical side of SEO
- Our dedicated YouTube Channel, where you can subscribe & continue to learn more about SEO
- Finally, to our 24×7 online support forum. If you have a Business/ Agency license, then you will receive extra care from our support team.
Now, let us click the Setup Advanced Options to start configuring advanced options.
9 Advanced Settings
Once you start with the advanced tab, you will reach a completely new page, and the old tabs will be gone. If you chose the easy mode, you wouldn’t even see this section. But, there is nothing to worry about, as you can always start the setup process once again in the advanced mode. You can also configure the advanced mode settings from the Rank Math settings without the setup process. So, you have plenty of options.
Here are all the tabs that you will see in the advanced tab.
10 Role Manager
Rank Math features extensive role management features, which you can configure on this page. Here is what you should see by default.
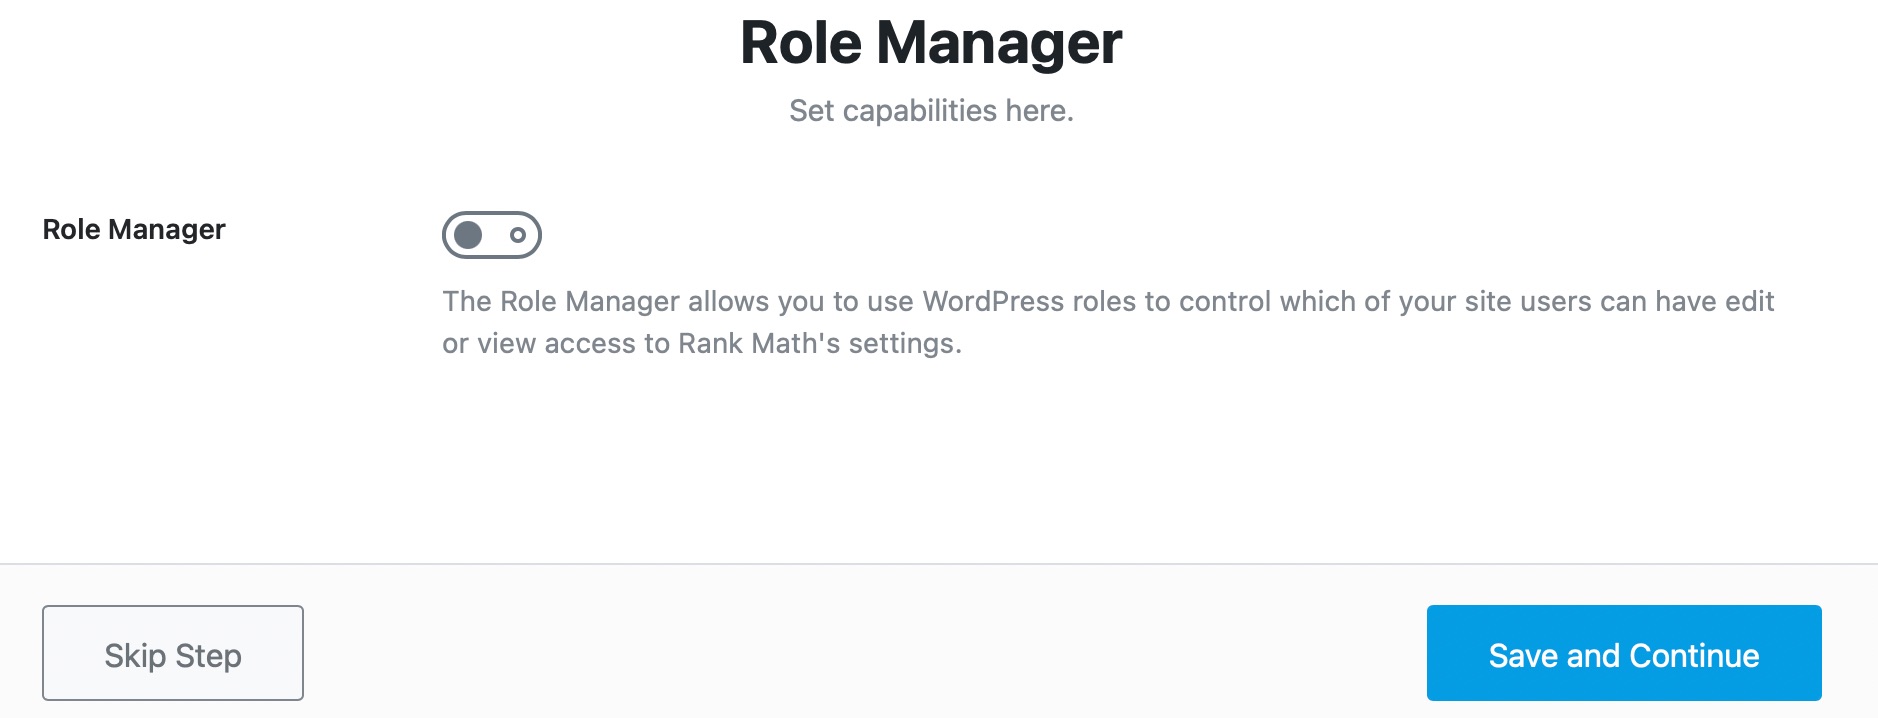
If you intend to use the role management features, i.e., you work with a team and want to assign specific responsibilities to them; you can enable this option. Once you do, you will see a lot of settings open up for each role. Here is an example with only 1-row showing.
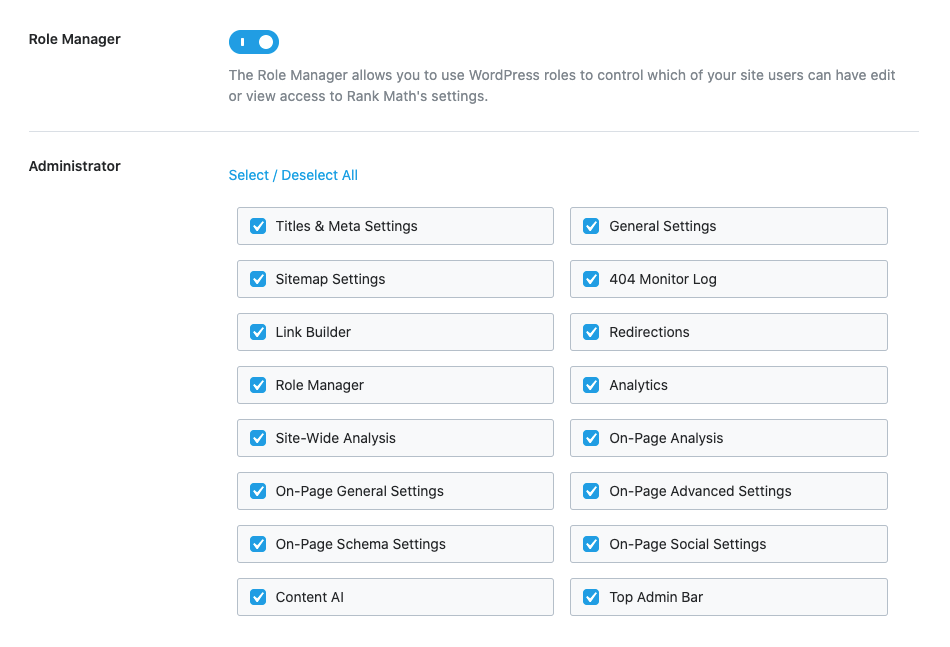
Here are all the roles you will see the permissions for.
- Administrator
- Editor
- Author
- Contributor
- Subscriber
- Customer
- Shop Manager
- Shop Accountant
- Shop Worker
- Shop Vendor
Please note that you may see more or fewer roles depending on what roles you’ve created and the plugins that you’re using on your website have created.
Configuring, this is simple. For all the roles on your website, select only the permissions that you want them to access. Then, save your settings. You can always change these permissions later, so don’t worry about being 100% accurate the first time.
Once you configure these options, save your settings to move to the next page.
11 404 + Redirections
Rank Math features a powerful 404 error monitor and also an amazing redirect manager, which means you can say goodbye to broken links. Here, you have the option to enable or disable these modules. Again, if you’re already using other plugins for these features, you can disable them and use Rank Math instead.

Don’t forget to save your settings and proceed to the next step.
12 Schema Markup
The next step deals with Schema Markup. If you don’t know what it is, here is a brief introduction.
Schema is metadata about your website and your posts that you can add to your website to give context to the search engines. For example, if you have a page about a widget, Google and other search engines don’t know if you are reporting news about the widget, talking about the widget, reviewing the widget, or selling the widget. By adding Schema to your post, you can help search engines understand your page better.
Schema has been gaining importance for the past few years, and it will become even more important in the coming years. Rank Math includes a comprehensive Schema manager that allows you to add Schema metadata to all your posts, and on the page, you will configure some defaults. Here are the settings on the page.
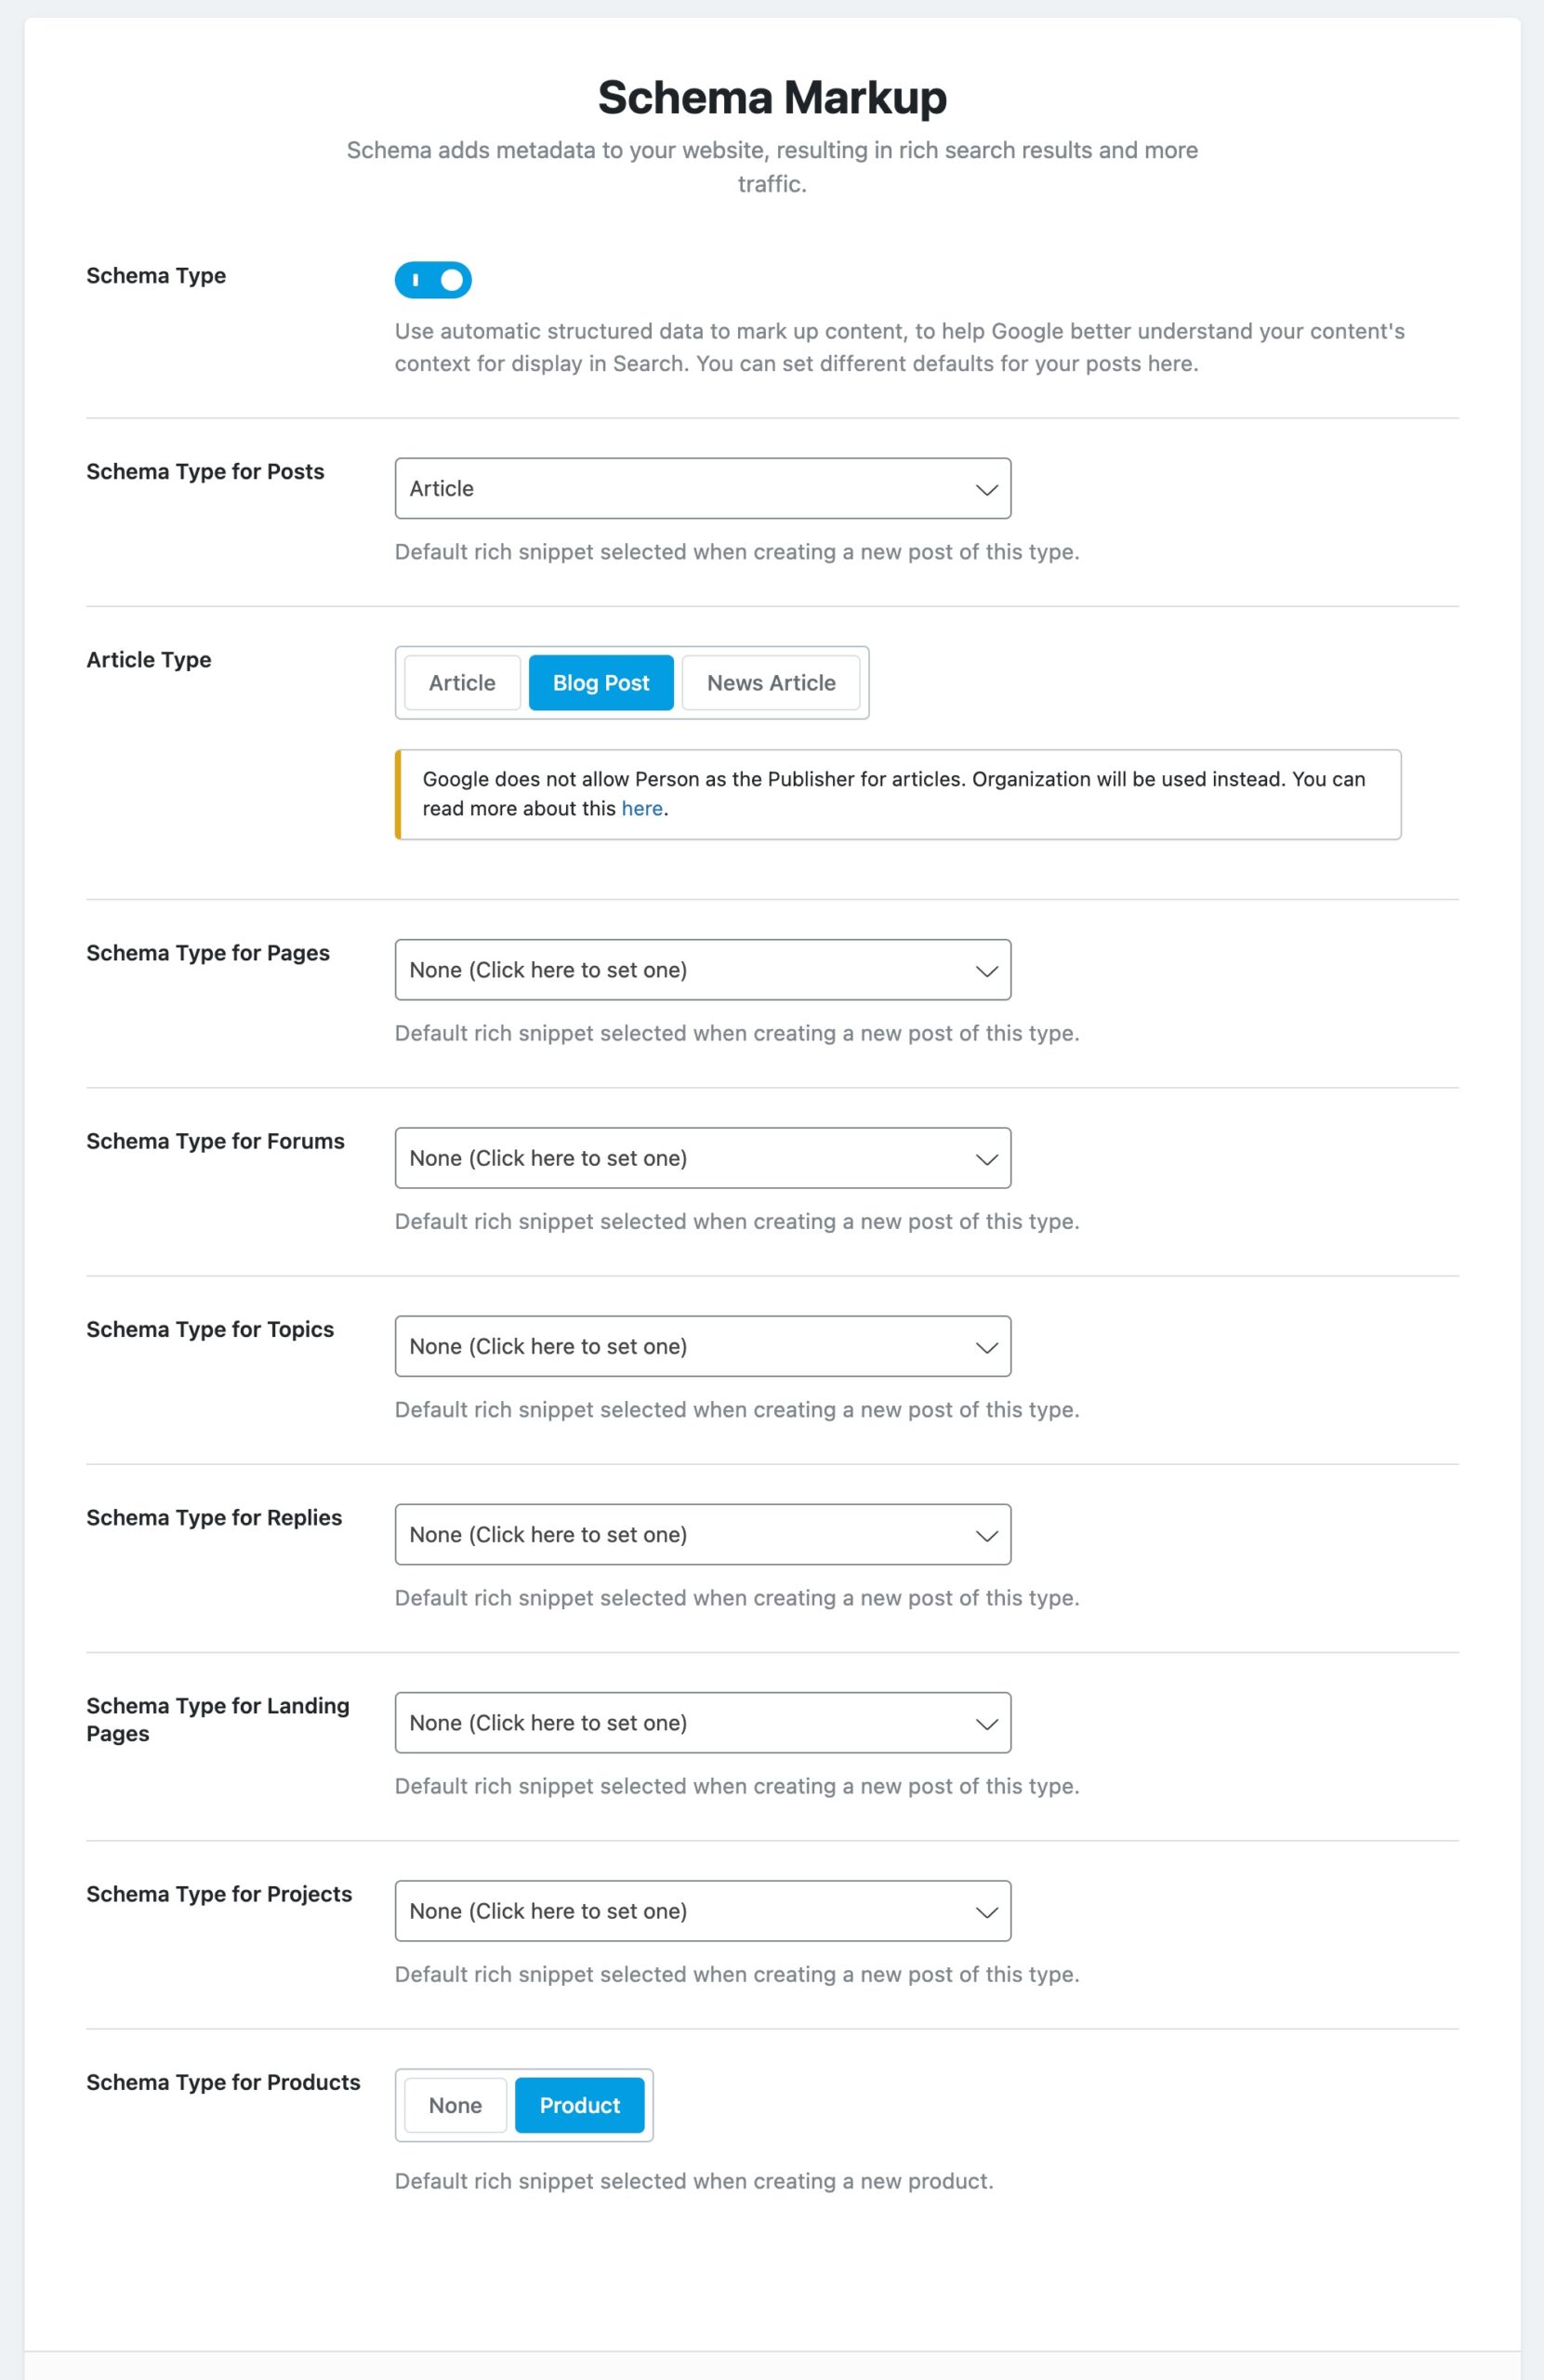
As you see, Schema is enabled by default, as it is very important. Apart from that, you get to configure the default Schema for posts, pages, and custom posts (if you created them). There are plenty of options available, and with each Schema type, you can configure the details inside the post.
Keep in mind that these are simply the default settings that apply to each post when you create it. You can obviously go into the post and change the Schema type and the different settings for the Schema. We won’t get into those details here as we’ve already covered it comprehensively in an article about Schema Markup. We suggest that you go through it to understand the Schema options better. For now, you can leave the settings at the default values.
Once you’re ready, click the Save and Continue button to finish the setup and return to the dashboard.
Conclusion
We hope that you’ve now understood how to set up Rank Math from scratch and also what the various settings mean. We’ve tried to keep this tutorial as simple as possible, and even included a simple mode in the setup process that will help you out if you’re a beginner. If you still have questions, help is just a click away. Create a ticket on the support forum, and one of our helpful staff members will reach out to help.