In this knowledgebase article, we are going to discuss one of the most amazing features of Rank Math — the Role Manager.
You may have started your website alone, but as it grows, you will have to hire help or outsource certain tasks to keep your website growing. When you get more people working on your website, it poses a significant problem. You have to give them access to your backend. But as you probably understand, giving someone else full access to your website can lead to accidents, disasters, and fraud.
To prevent that from happening, we created the Role Manager in Rank Math. It’s an innovative feature that lets you restrict Rank Math’s individual features for each user, depending on what roles you give them on your website. If you didn’t understand that, do not worry. You will understand once we get into the details.
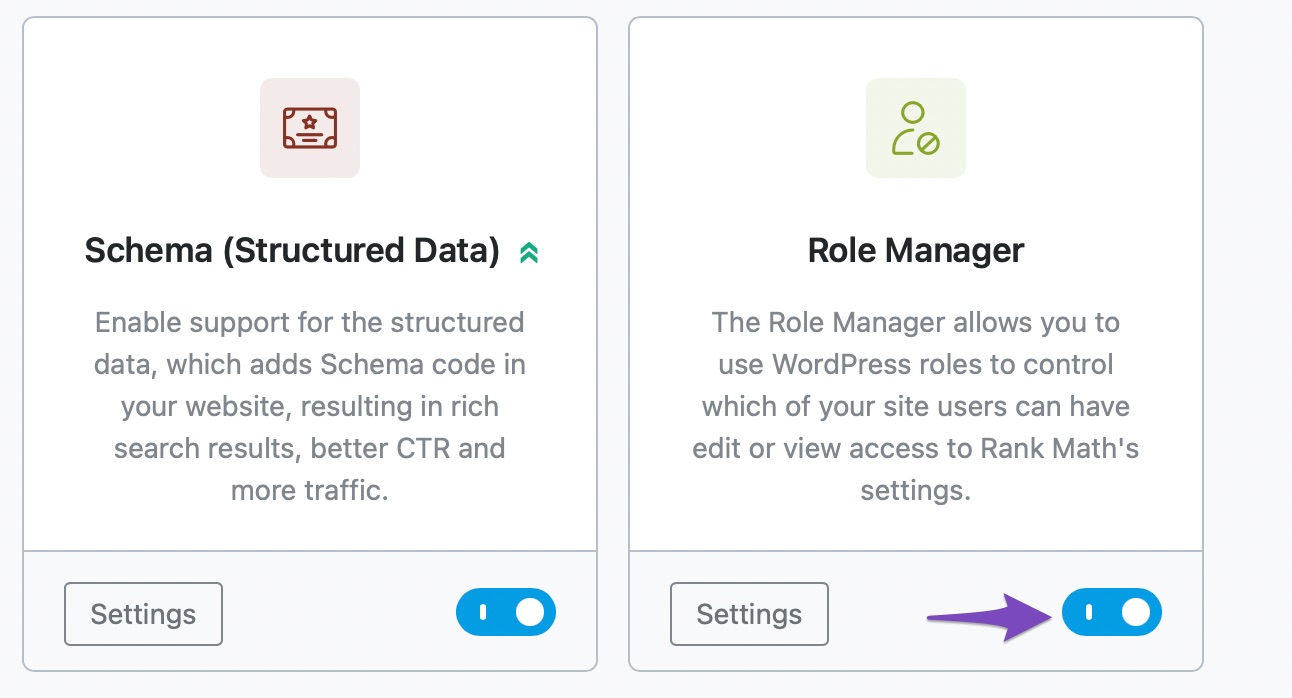
To enable the Role Manager feature in your website, head over to the WordPress Dashboard → Rank Math SEO → Dashboard → Modules and then enable the Role Manager module from the list.
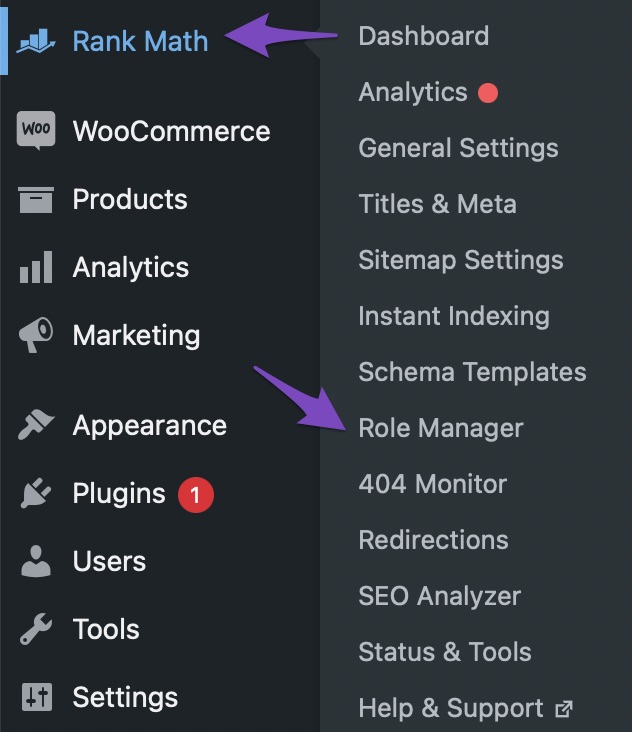
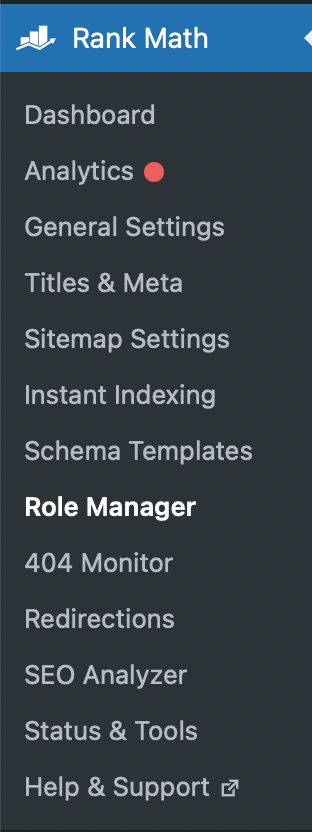
To start using the Role Manager, hover over Rank Math’s menu entry in the WordPress menu and then click Role Manager in the submenu that appears.
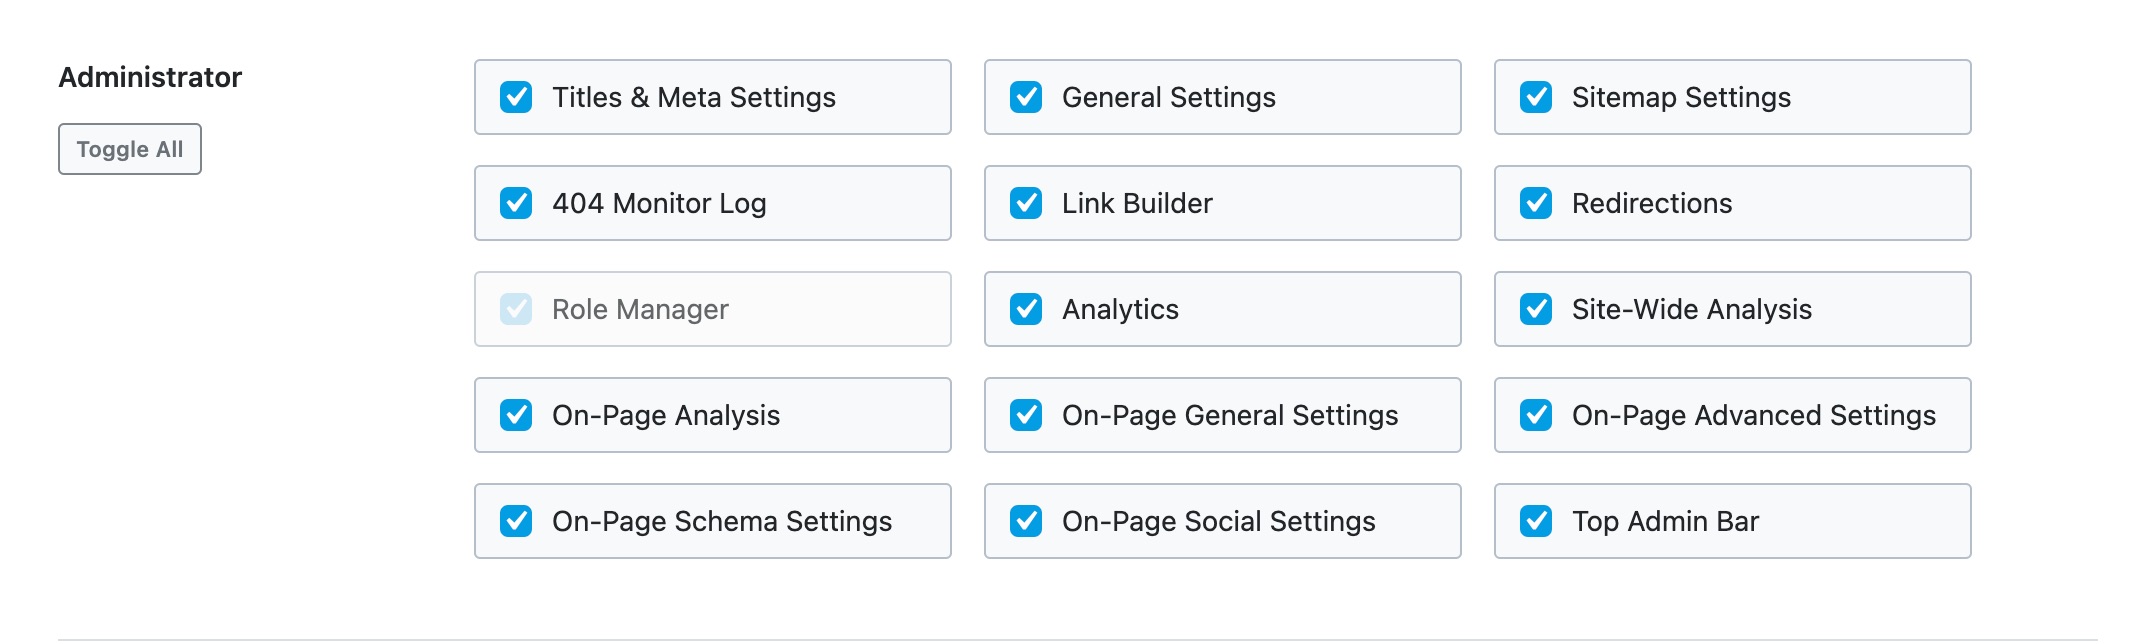
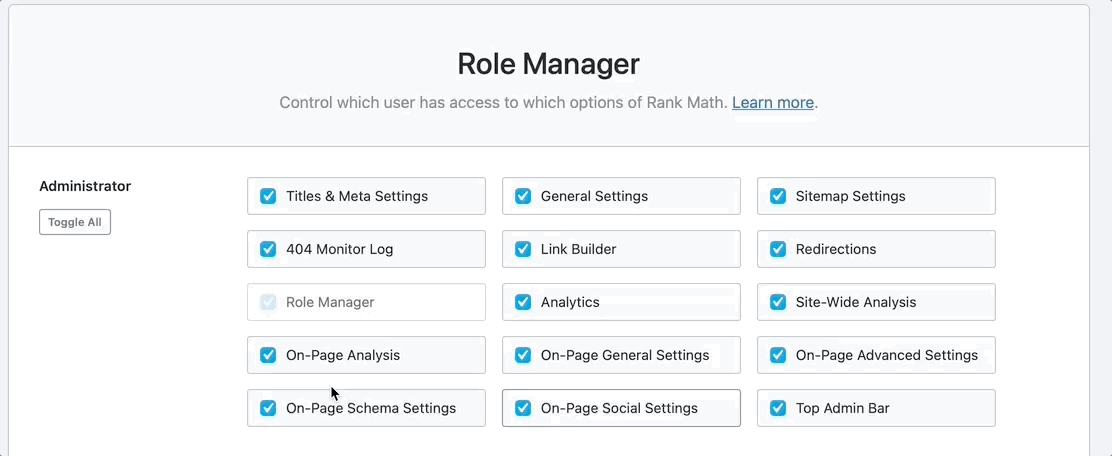
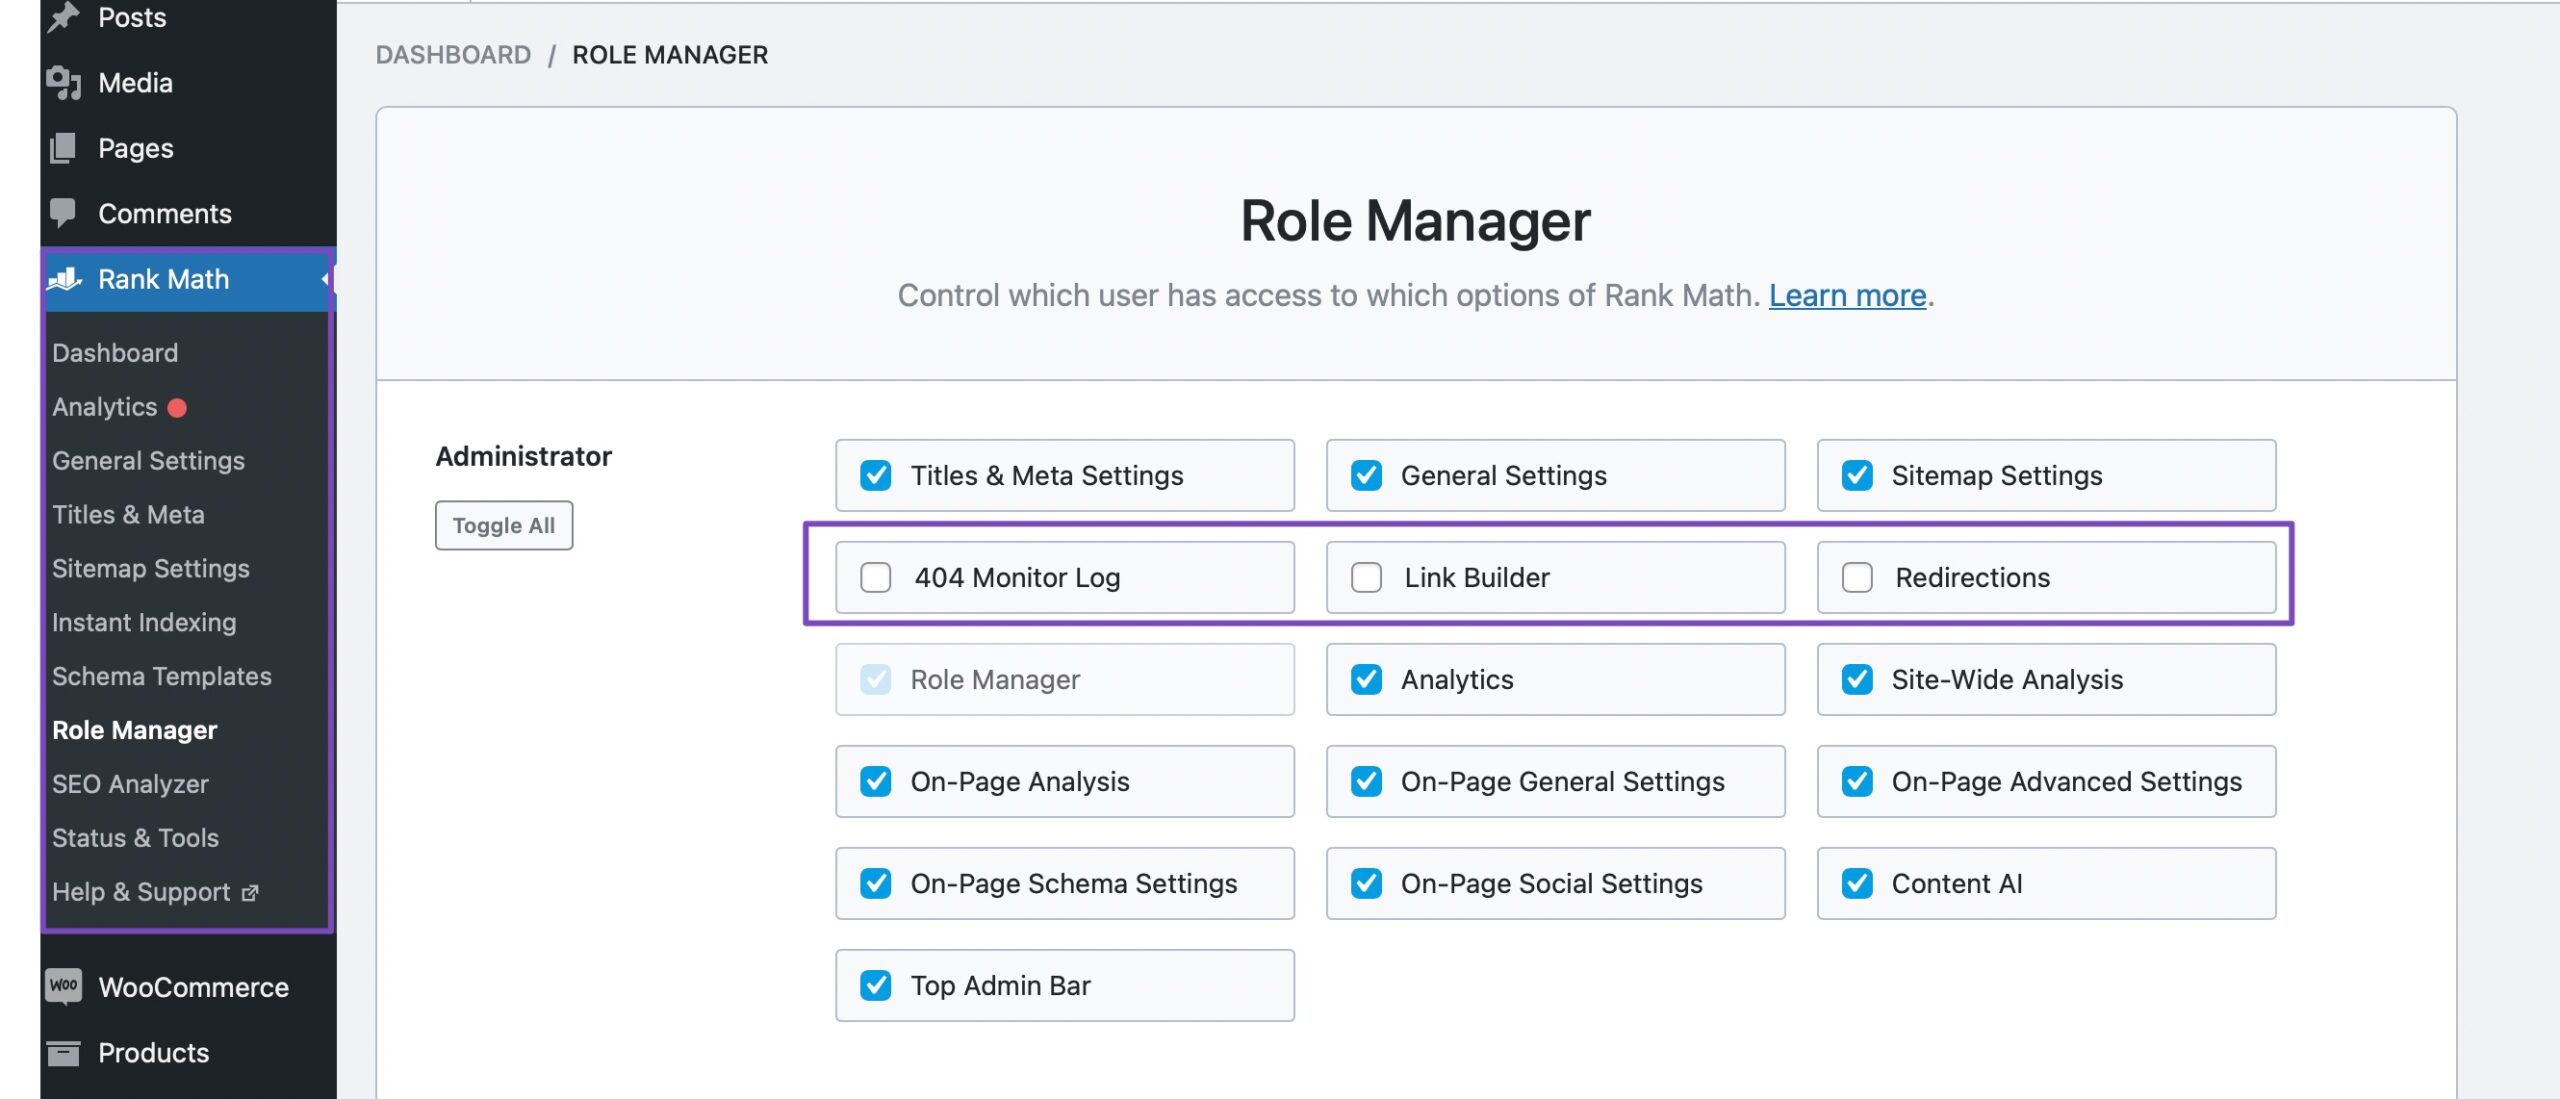
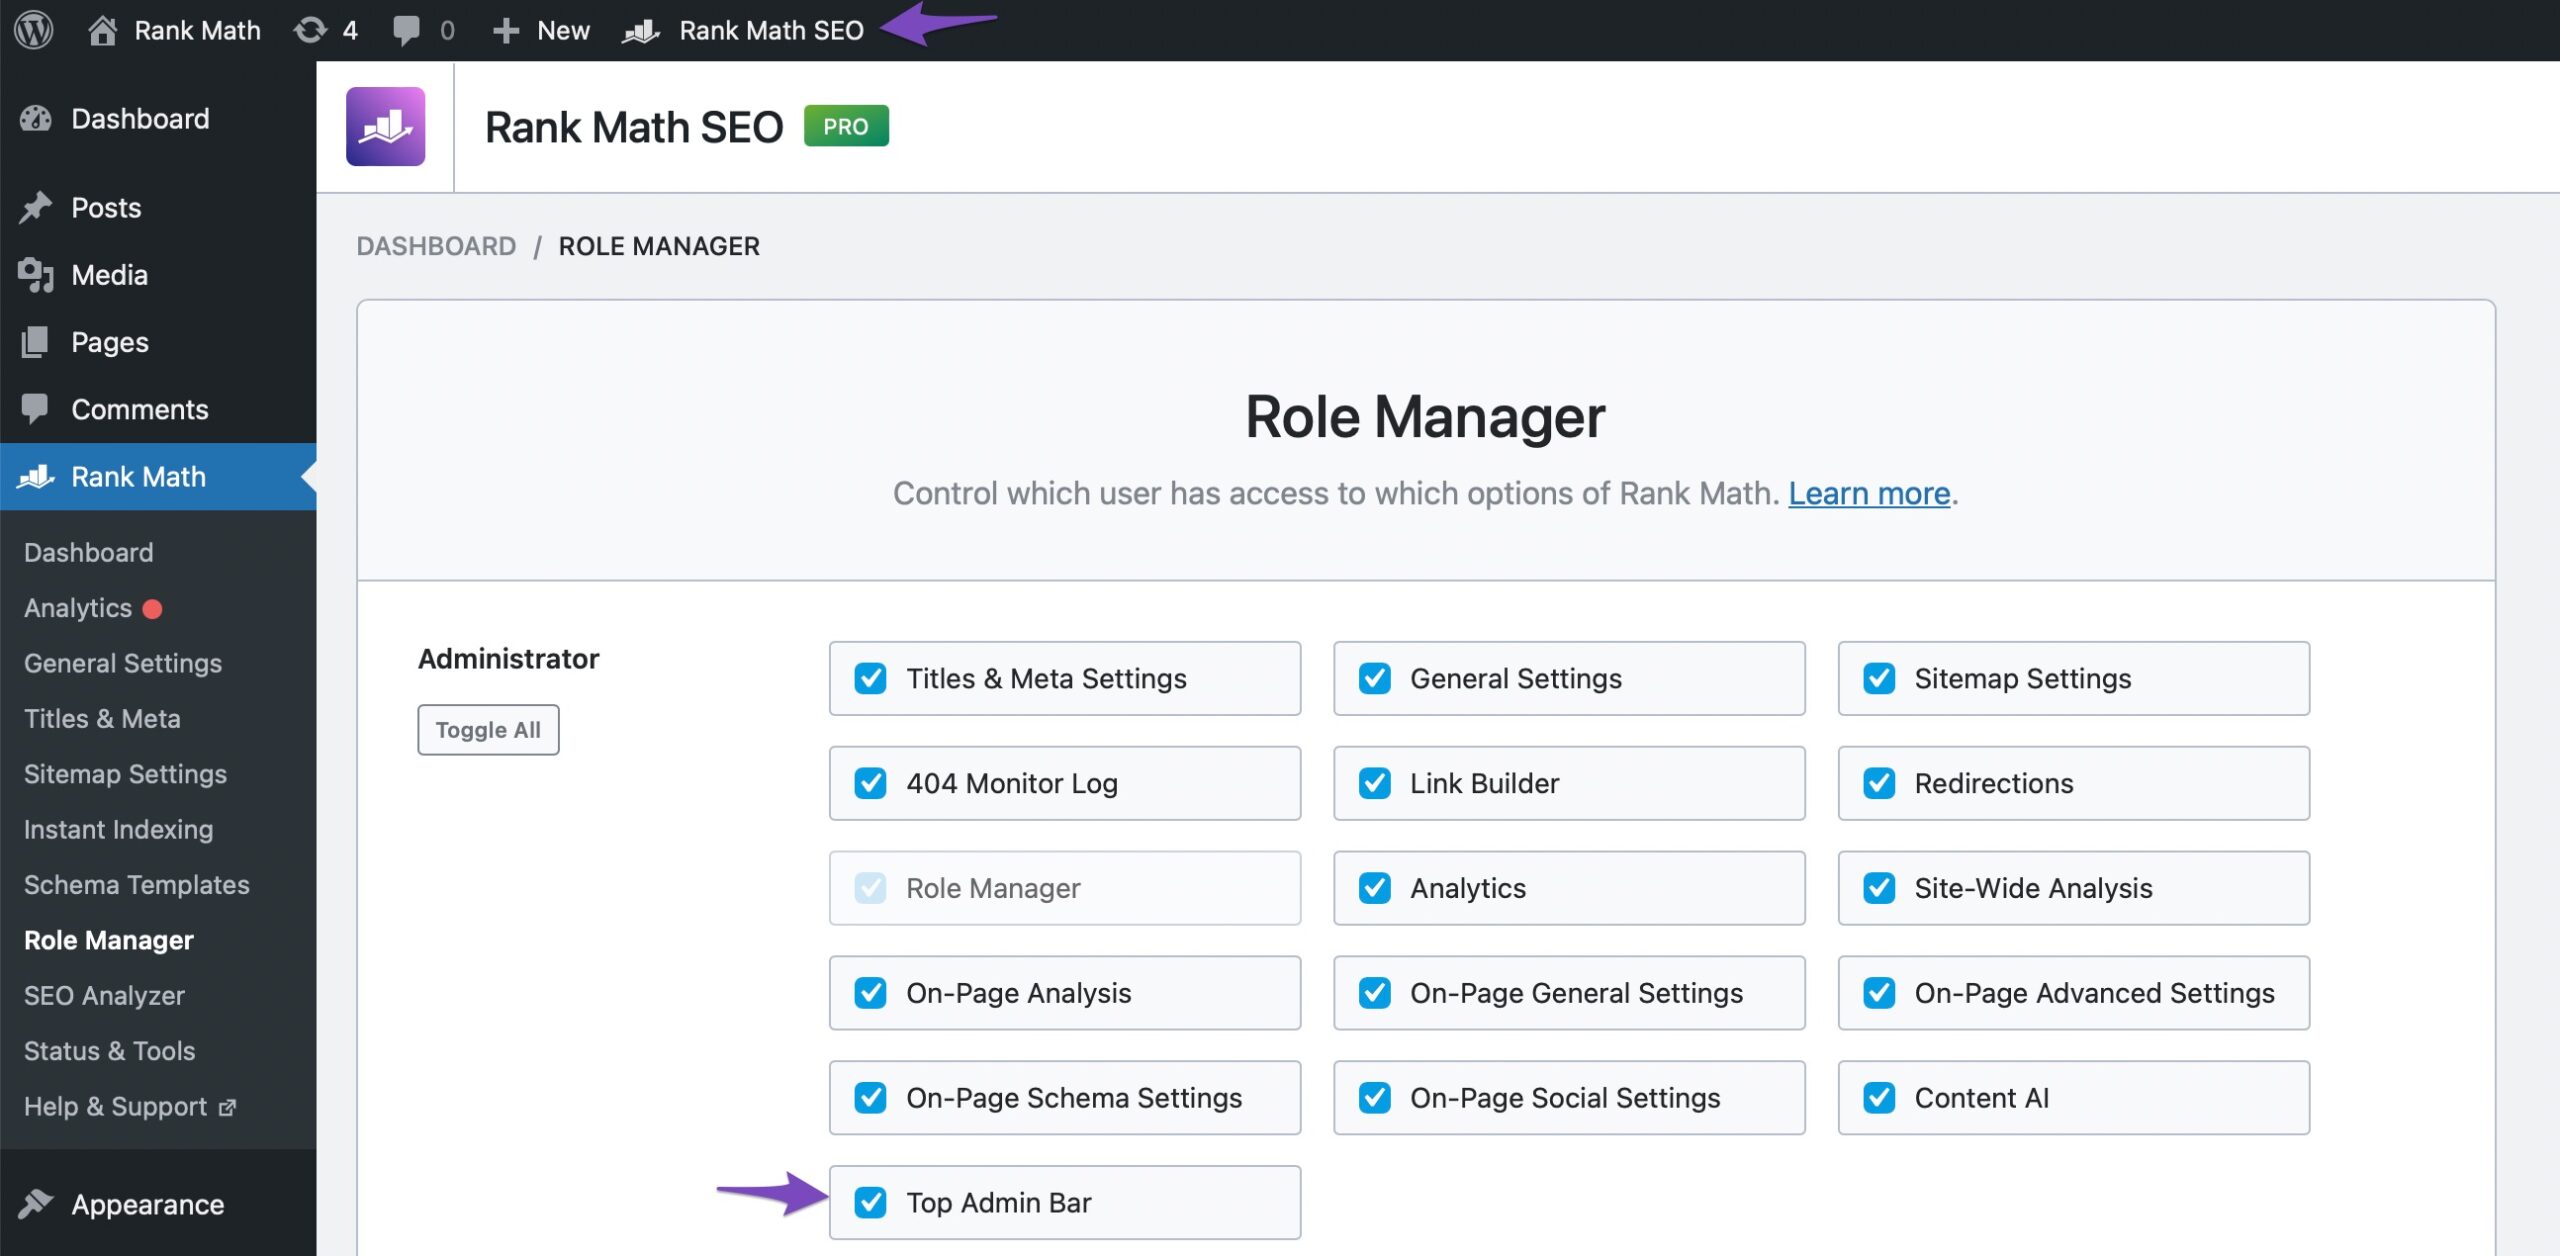
You will reach Rank Math’s Role Manager. It might seem intimidating at first, as all you’ll see is a bunch of options. Here is a view that shows some of the options.

To understand how the Role Manager works, you’ll need to know the roles and the settings supported in it. Here is a list of all the roles supported in Role Manager.
- Administrator
- Editor
- Author
- Contributor
- Subscriber
- Customer
- Shop Manager
- Keymaster
- Spectator
- Blocked
- Moderator
- Participant
In addition, if you’ve created any custom user roles on your website, you will also find them in the Role Manager. And here is a list of all the functions of Rank Math that you can restrict per role.
- Titles and Meta Settings
- General Settings
- Sitemap Settings
- 404 Monitor Log
- Link Builder
- Redirections
- Role Manager
- Analytics
- Site-Wide Analysis
- On-Page Analysis
- On-Page General Settings
- On-Page Advanced Settings
- On-Page Schema Settings
- On-Page Social Settings
- Content AI
- Top Admin Bar
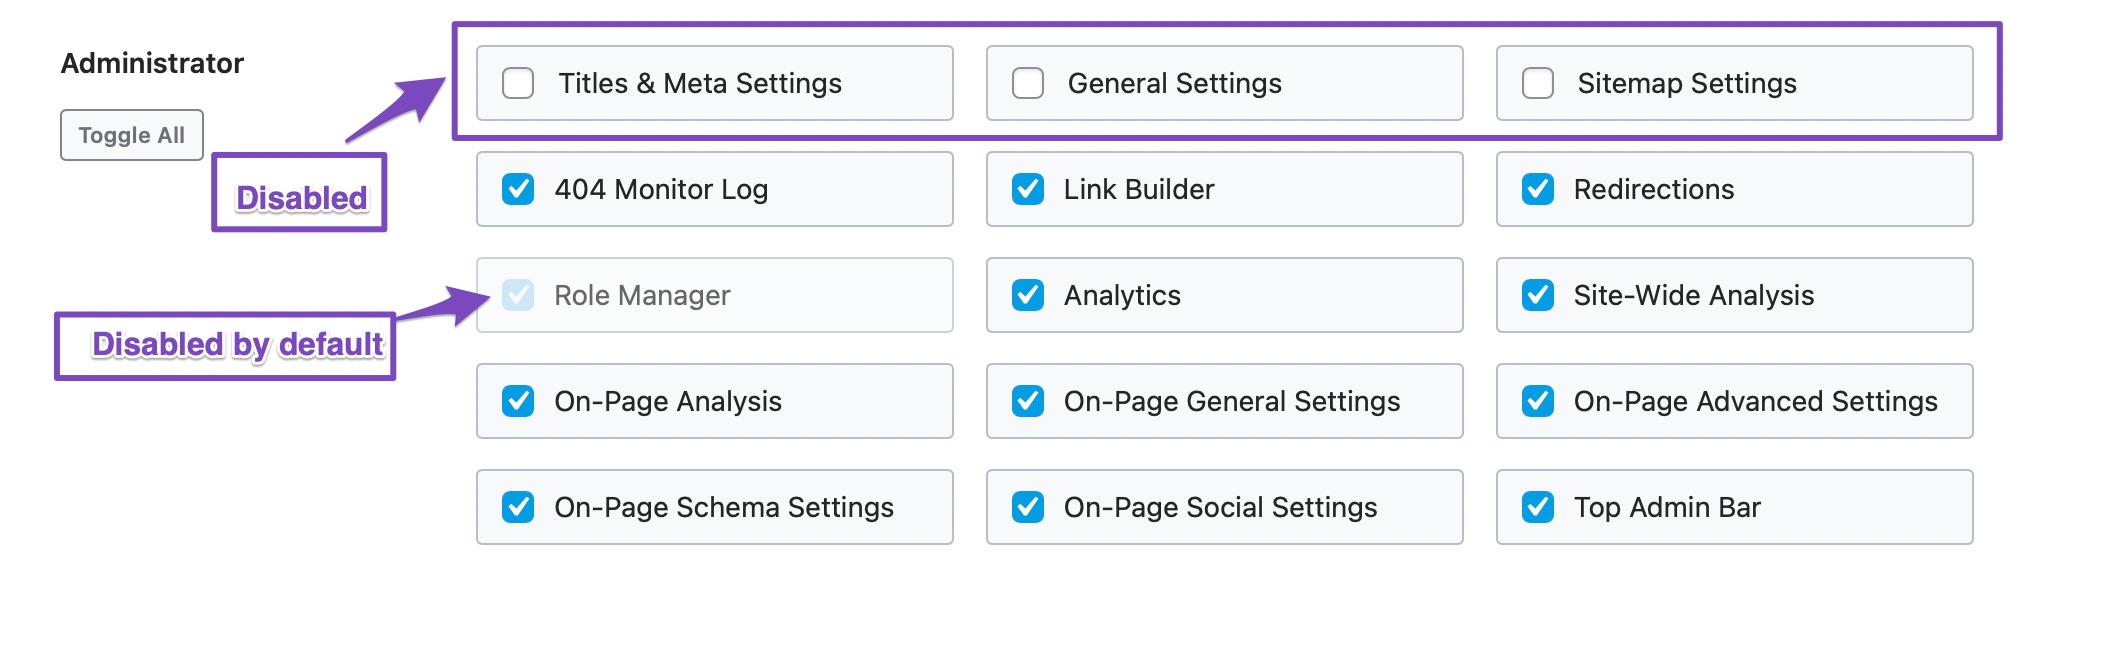
The way the Role Manager works is pretty simple. With each role, you’ll see a list of Rank Math functions that are enabled or disabled. Enable or disable the specific functions that you would want a role to have or not have. For example, an Administrator should have all the rights to a site.
Based on those settings, Rank Math displays all the functions in the WordPress menu.
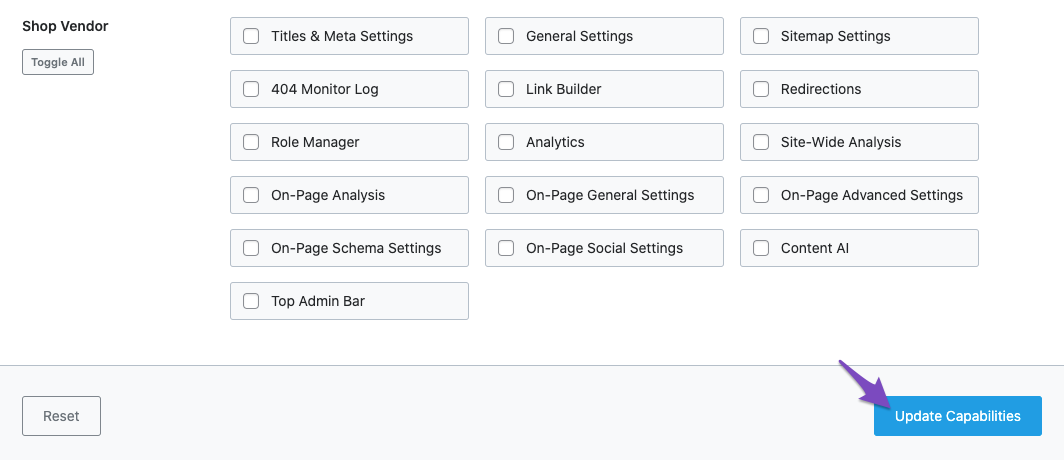
Now, let us see what happens if we disable a few settings. For the sake of this example, we will disable the Title and Meta Settings, the General Settings, and the Sitemap Settings. Also, the Role Manager setting for the Administrator user role is disabled by default to prevent accidental clicking.
To reflect the changes, we will need to save our changes by clicking the “Update Capabilities” button.
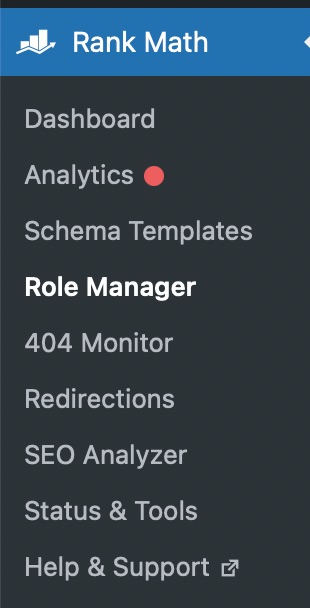
Then, the settings will disappear from Rank Math’s WordPress menu as well.
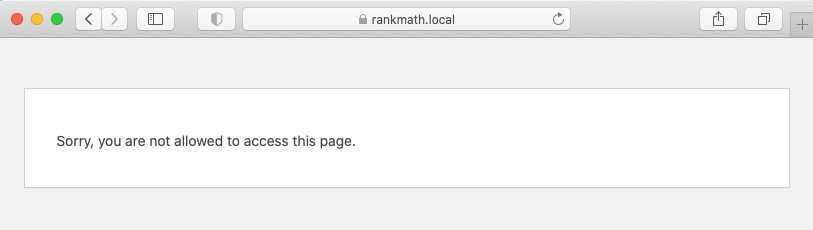
Even if we try to access the page using the URL directly, we will be greeted with an error “Sorry, you’re not allowed to access this page“.
Now, we can return to the Role Manager settings and enable the user capabilities we disabled earlier.
To help you select the user capabilities more easily, we’ve also added a Toggle All button under each user role. So you can easily select/unselect all capabilities for a user role at the click of a button.
Similarly, if we disable 404 Monitor, Link Builder, and Redirections Settings and save the changes, they will disappear from Rank Math’s WordPress menu for the specific user role.
The Role Manager settings can be disabled for the non-admin users so that only the admin can manage this capability.
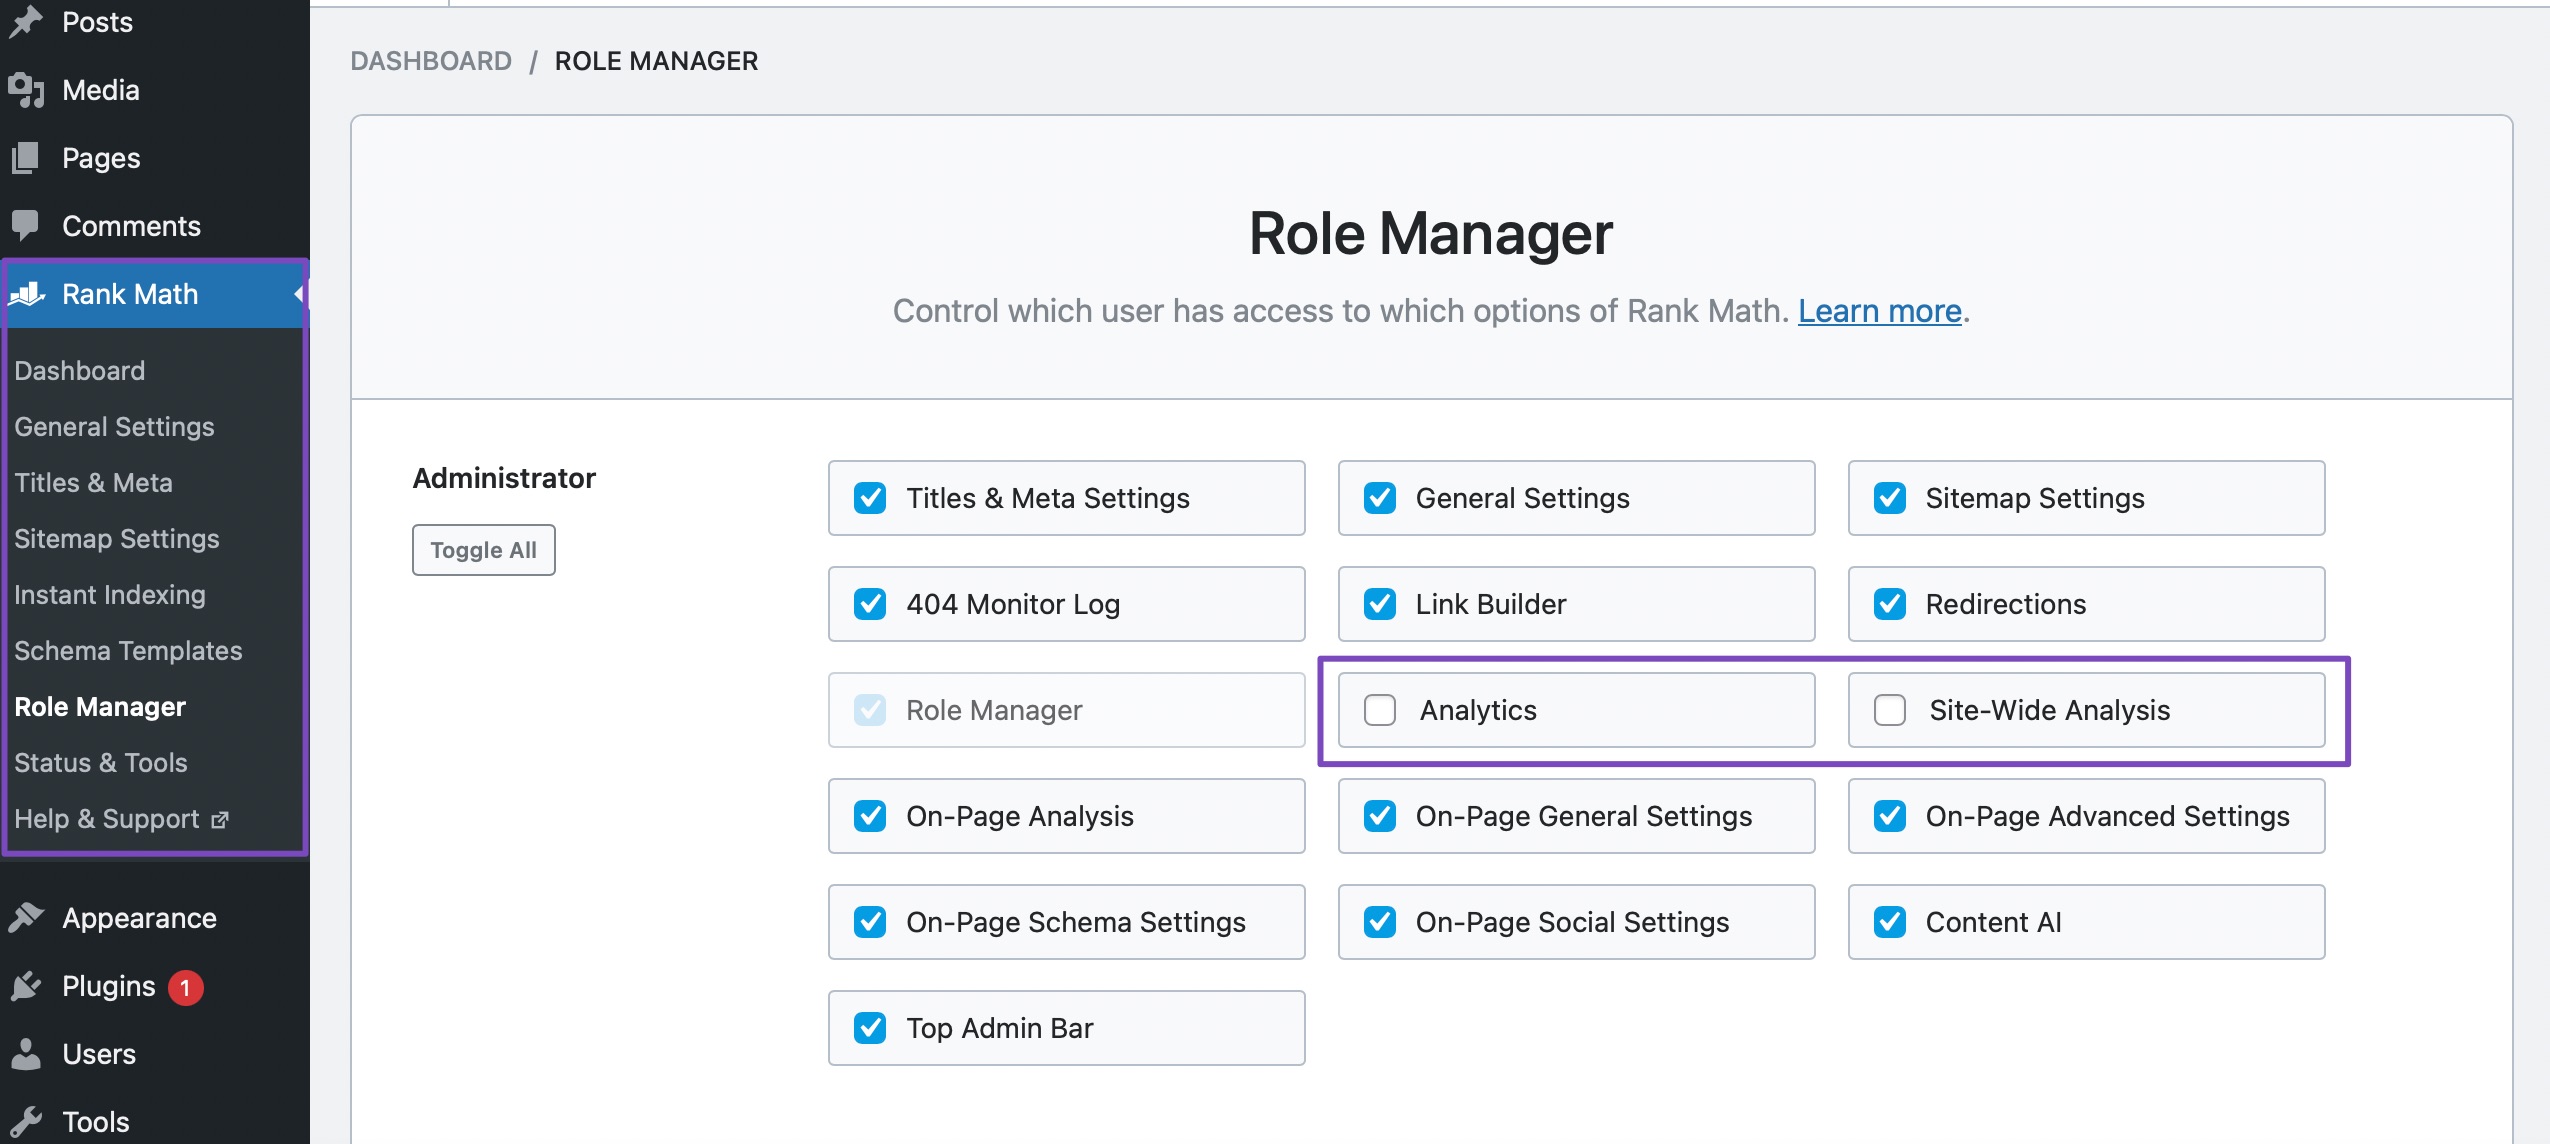
The Analytics settings are shown to the users who have access to the Analytics through Role Manager. If we disable Analytics, and Site-Wide Analysis, all the Analytics and Site-Wide Analysis options will not be available for the specific user role.
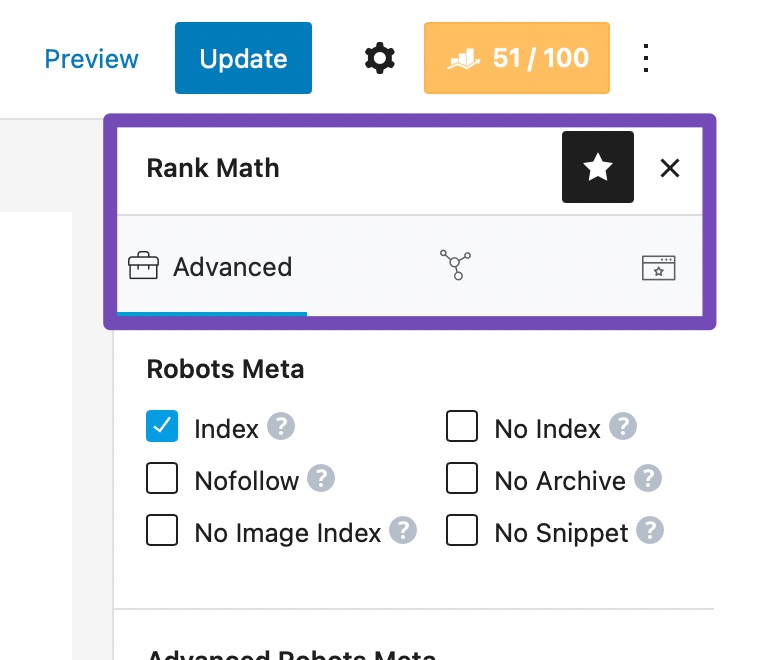
If we disable the On-Page General Settings, then the general settings of the page will not be available for the user-specific role, as shown below:
Similarly, the On-Page Advanced Settings, the On-Page Schema Settings, and the On-Page Social Settings will disable the Advanced, Schema, and Social settings from the page for a specific user role.
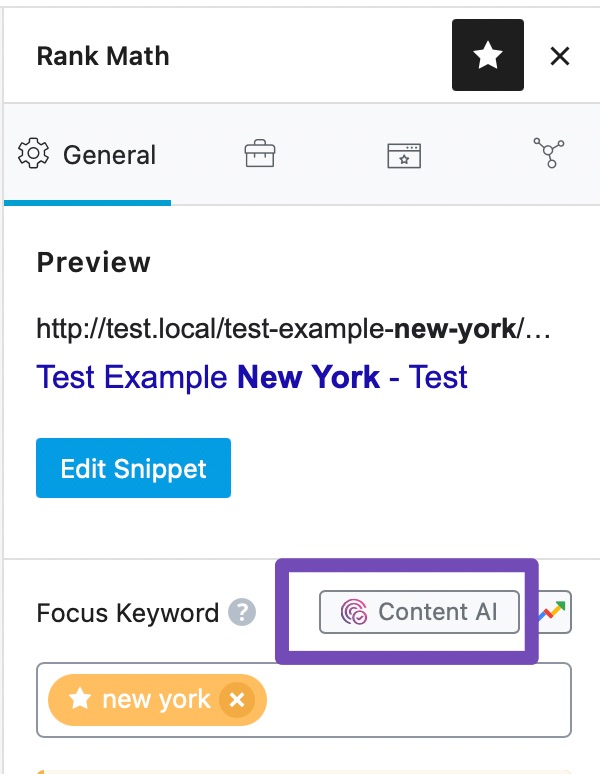
If we disable Content AI, all the Content AI options will not be available for the specific user role, as shown below.

If we enable Content AI capability, then Content AI options will be available for the given user-specific role.
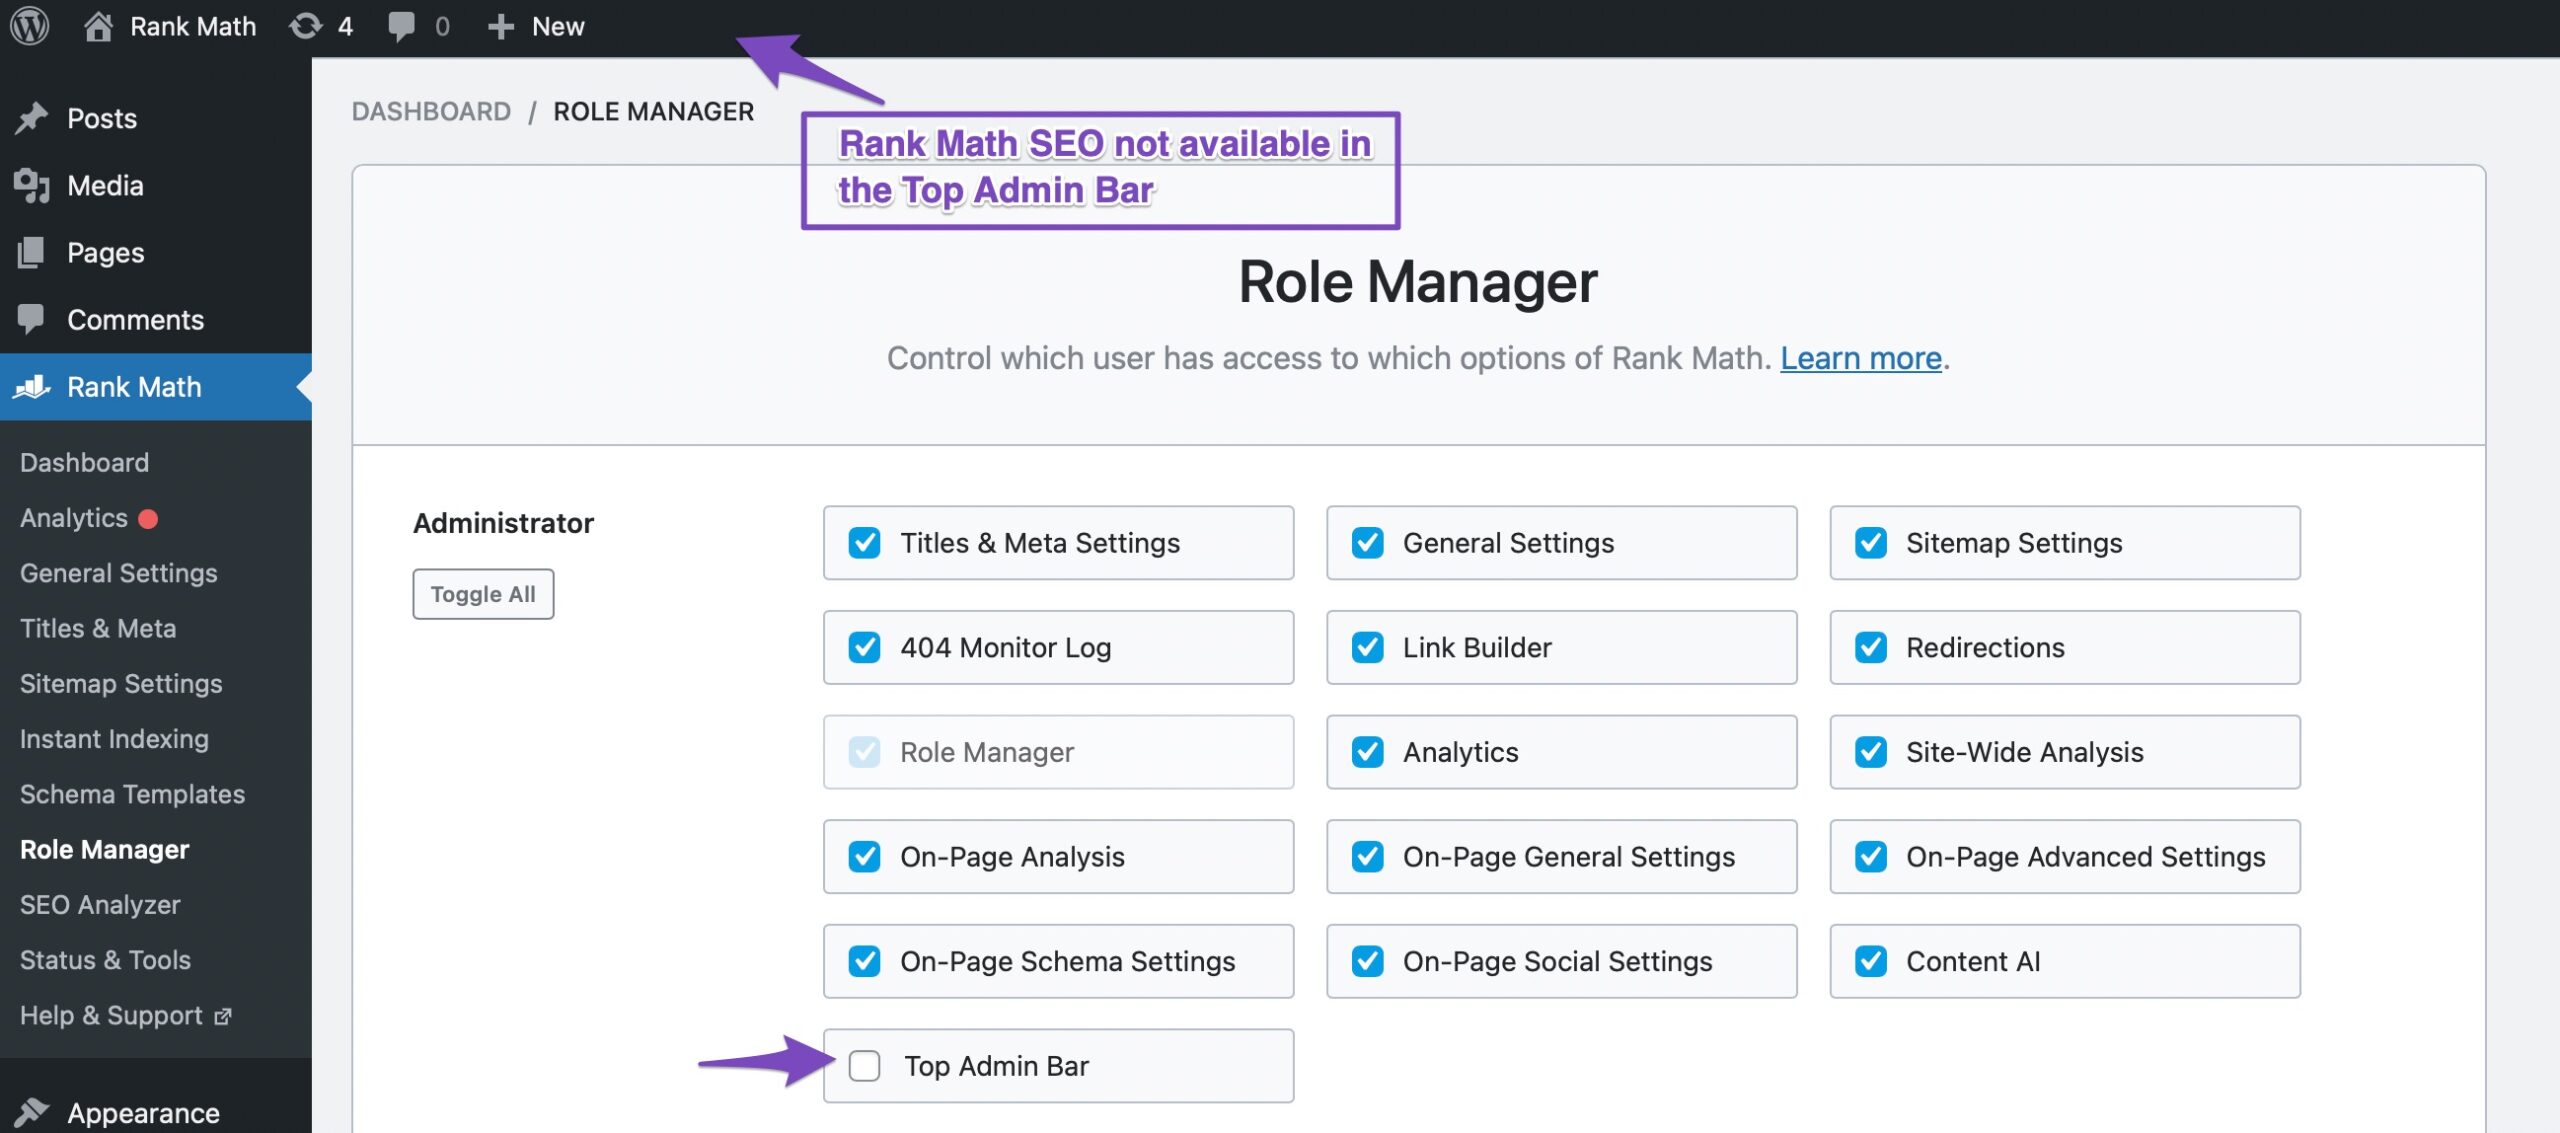
If we enable the Top-Admin Bar, Rank Math SEO will be added to the admin bar, as shown below.
If we disable the Top-Admin Bar, Rank Math SEO will disappear from the admin bar for the user-specific role, as shown below.
This way, you can restrict or allow access to Rank Math’s features to any user role on your website.
Using the Role Manager to Set Up Your Website
As you saw in the example above, Rank Math’s Role Manager gives you granular control over what each of your user roles can do on your website. To set it effectively, all you have to do is look at your team and their responsibilities.
First, consider this: how many of these roles do you actually use on your website? You should disable all the rights of all the roles you do not use.
Second, clearly define each of your team member’s responsibilities. What tool do they need access to? What are their day-to-day responsibilities? What tool is a must-have, or what can they do without? If you have formally written up job descriptions, use them. You can also sit down with each team member and discuss what rights would be the most useful for them.
Once you have a clear idea about what level of access you want to give each of your roles, all you have to do is enable only those roles and disable the rest. Don’t forget to save your settings so the change takes effect immediately.
Saving the Role Manager’s Settings
After you’ve made changes to Role Manager’s settings, it’s vital that you save your settings. If you accidentally navigate away from the page, then your settings will not be saved, which could lead to all sorts of trouble. That is why it is important that you save your settings by clicking the Update Capabilities button present in the bottom right of the page.
Once you click the button, the changes will be saved.
Resetting the Role Manager Settings
For any reason, should you decide to reset all Role Manager settings to the default, you can use the Reset option to do that.
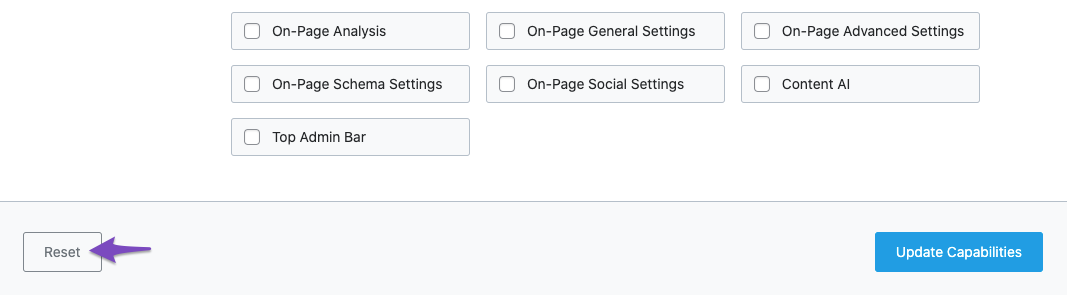
Using the Reset option will change all Role Manager settings to the default settings that the Rank Math plugin comes with.
Conclusion
We hope you understand how to use the Role Manager feature in Rank Math and how it can make your life easier. We believe using the Role Manager is easy, but if you face any troubles while setting it up, feel free to contact the support team. They are available 24x7x365 and will help you out with any issue that you might face.