If you’ve ever come across a poorly optimized URL on your website and decided to change it to a more user-friendly URL — it’s great! But what if your visitor lands at your old URL and sees a 404 error instead of your well-written piece of content?
So it is important to ensure that your old URL gets redirected to the modified one whenever you change it. And guess what — when you’re redirecting your URL, you’re also passing the link juice to the new one. Although you’ll lose some link juice in this redirection process, it is relatively better than a new URL with no backlinks.
In this knowledgebase article, we’ll show you how to redirect posts after changing URLs that can help your visitors and search engines to visit the right page.
Redirecting Posts After Changing URLs
Table of Contents
1 Automatic Redirection by WordPress
If you’re changing your blog post’s slug, then WordPress will automatically redirect the URL of your old post to the new one without any extra effort from your side.
However, the WordPress automatic redirection feature is limited only to posts and cannot be used to redirect pages, taxonomies, or CPTs.
2 Rank Math Auto Post Redirect
If for some reason, WordPress doesn’t automatically redirect your old URLs to the new ones, thankfully, Rank Math can help you redirect your posts automatically.
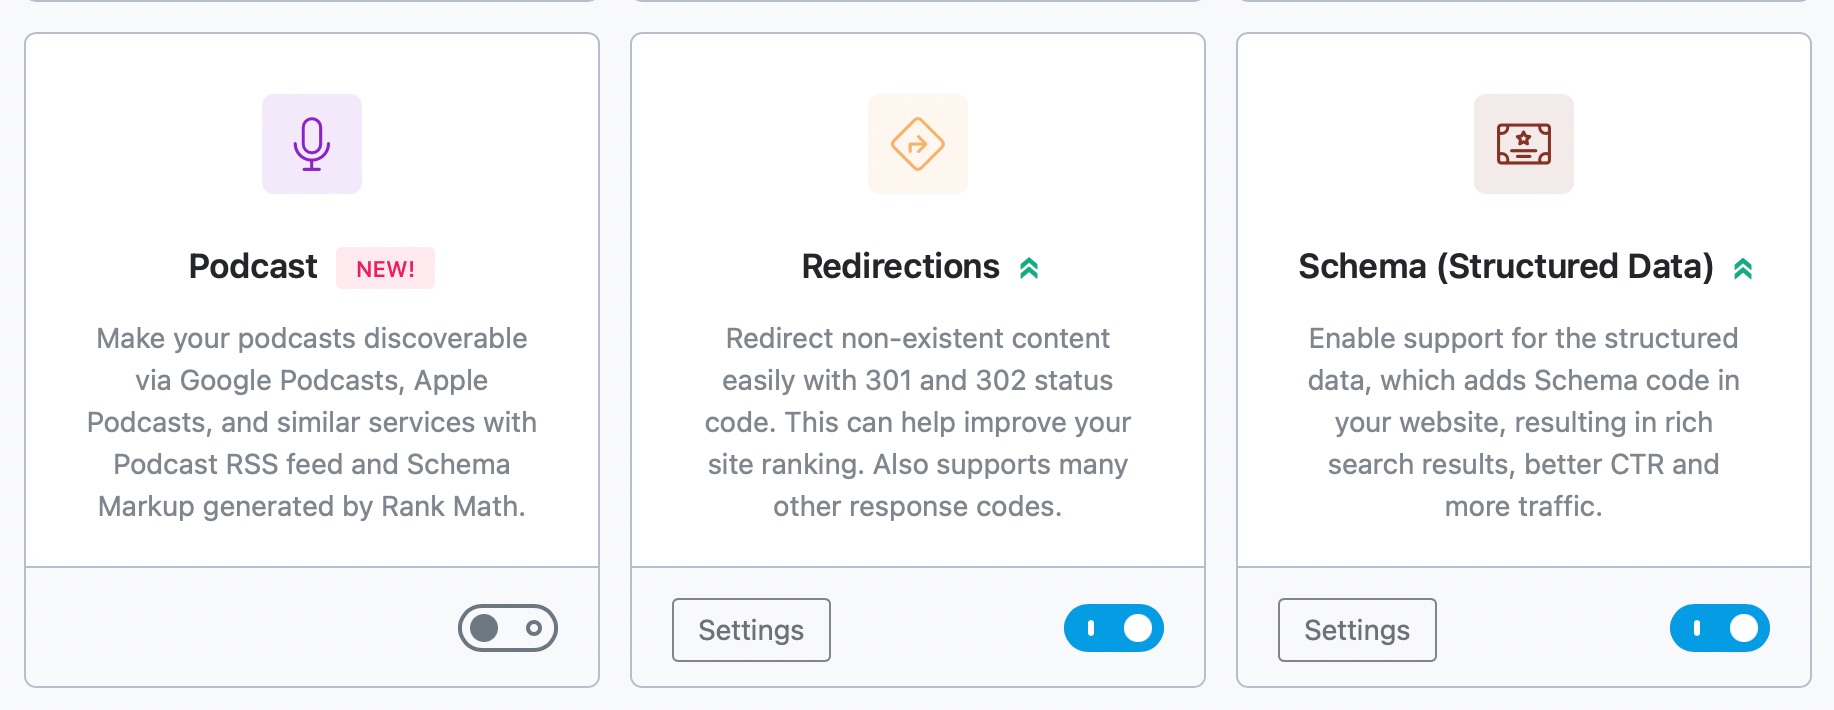
To enable this automatic post redirection feature of Rank Math, you must ensure that you’ve activated the Redirections module by navigating to WordPress Dashboard → Rank Math SEO → Dashboard.
Once you’ve activated the Redirections module, head over to the WordPress Dashboard → Rank Math SEO → General Settings → Redirections → Auto Post Redirect and enable the option.
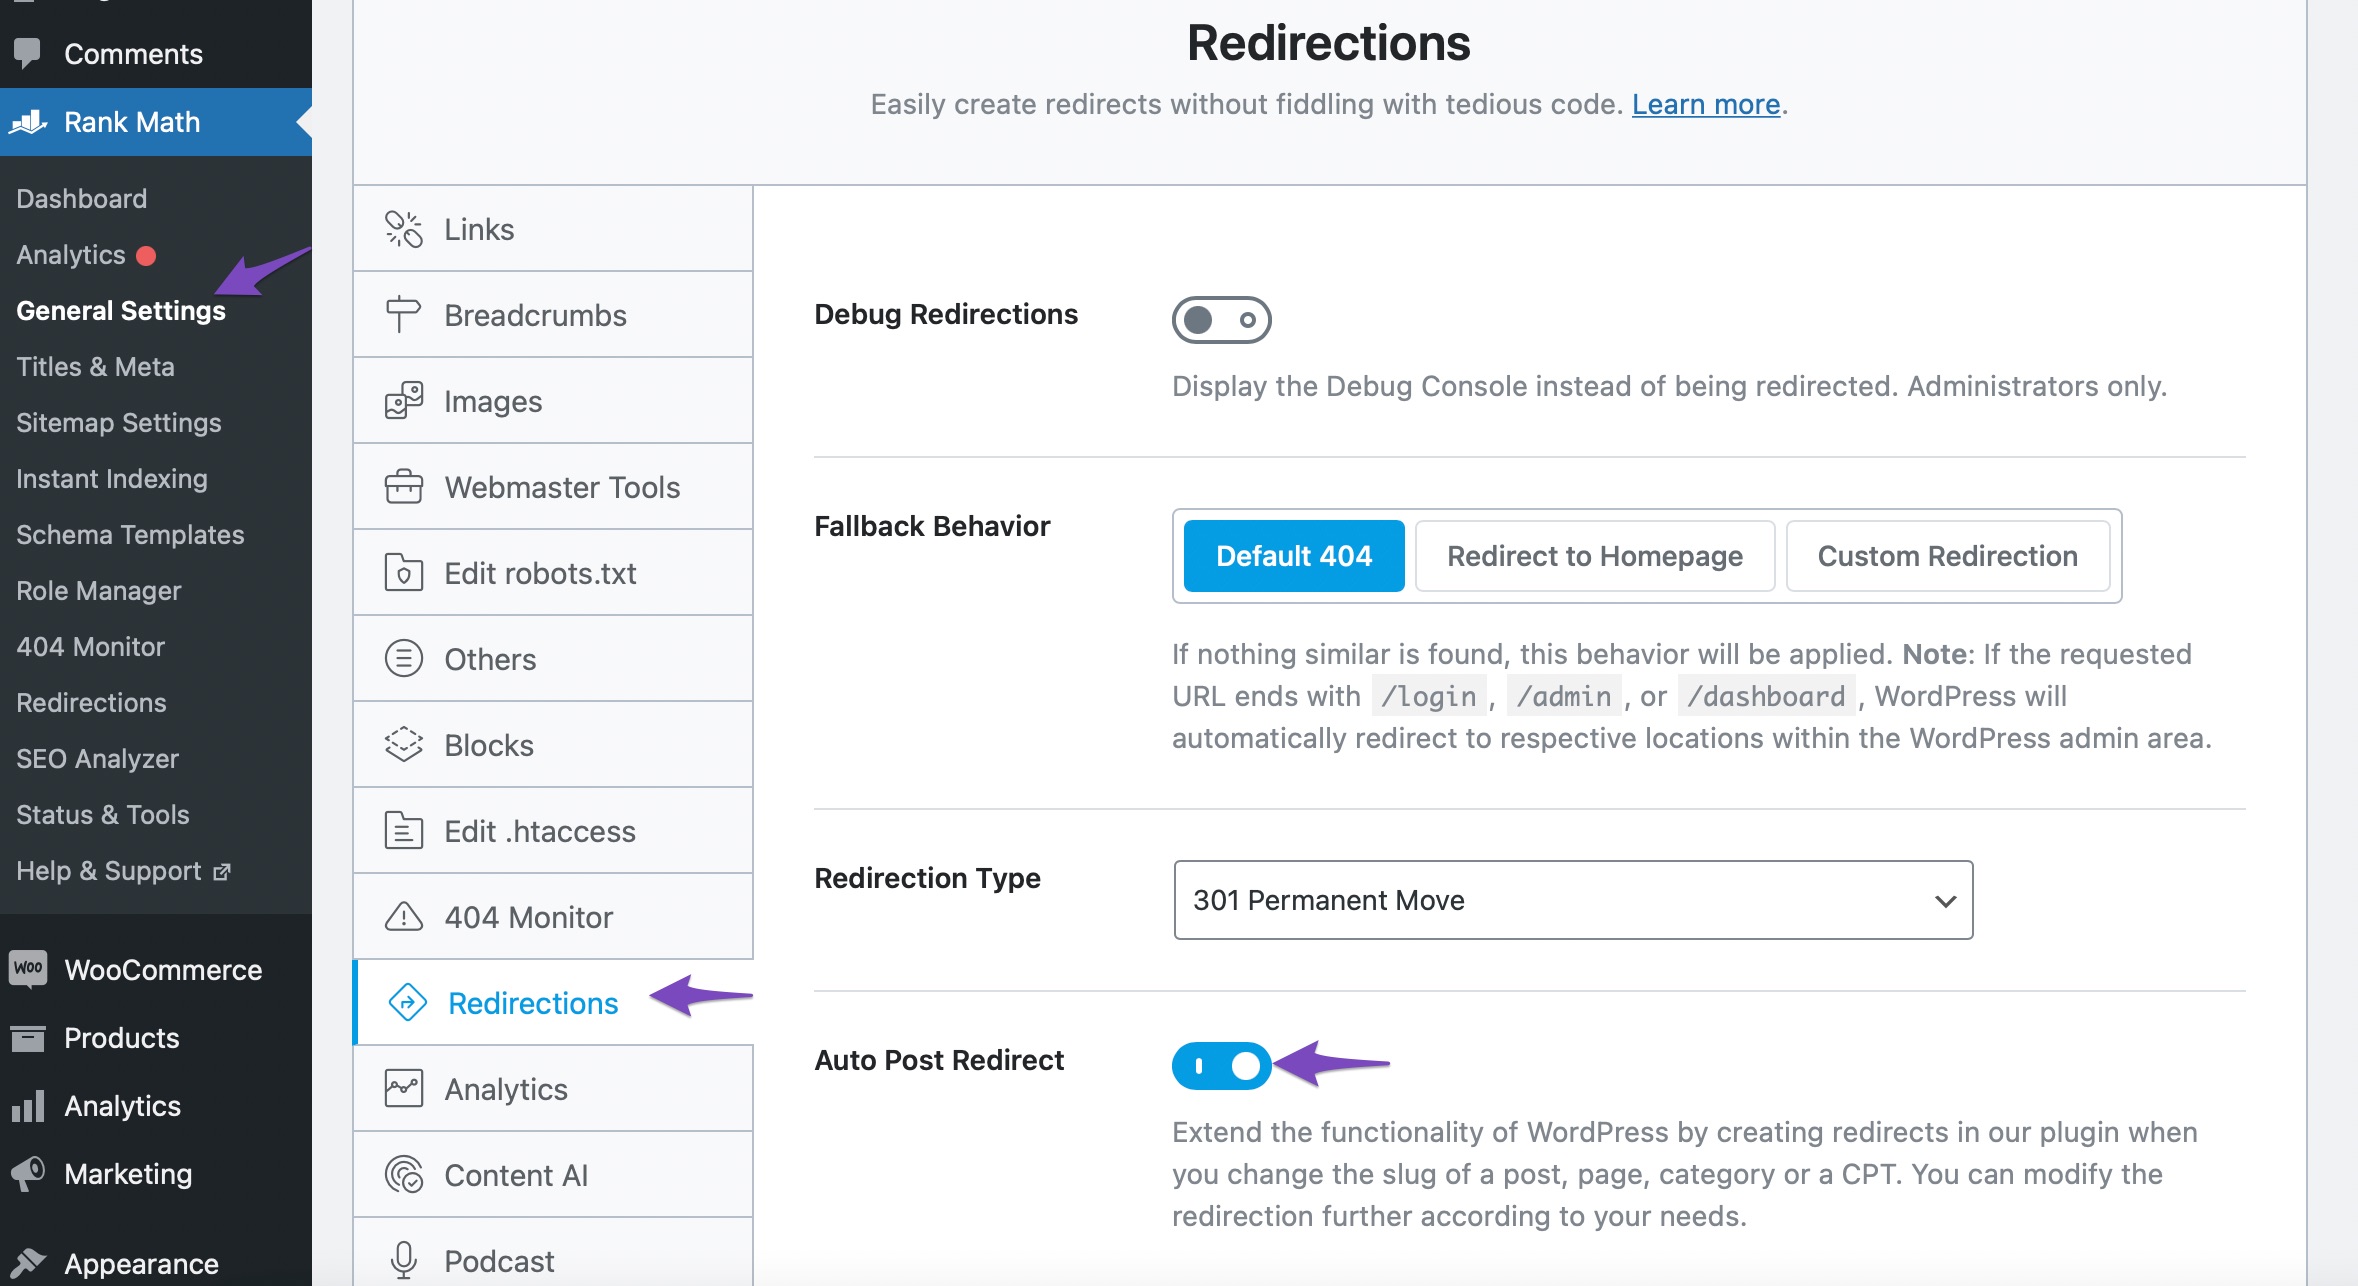
Once you’ve enabled this option, click the Save Changes button for the configurations to take effect.
Rank Math’s Auto Post Redirect is not limited to Posts and helps create automatic redirections for posts, pages, taxonomies, and CPTs. But, please note these redirects are always of type 301 Permanent Redirection.
3 Set up Manual Redirection with Rank Math
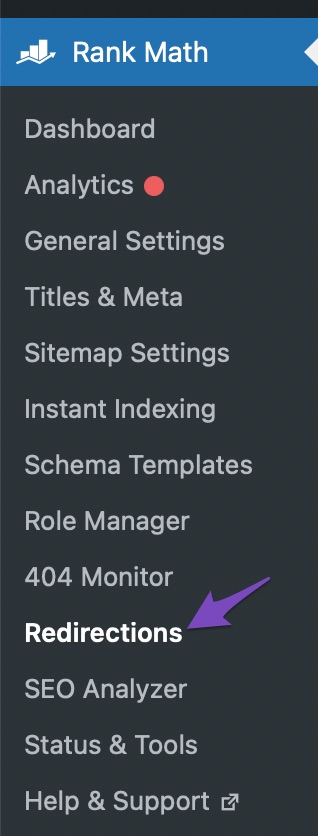
Alternatively, you can also set up a manual redirection with Rank Math. To create a manual redirection with Rank Math, navigate to WordPress Dashboard → Rank Math SEO → Redirections.
You will reach the Redirections page, which would look like this.
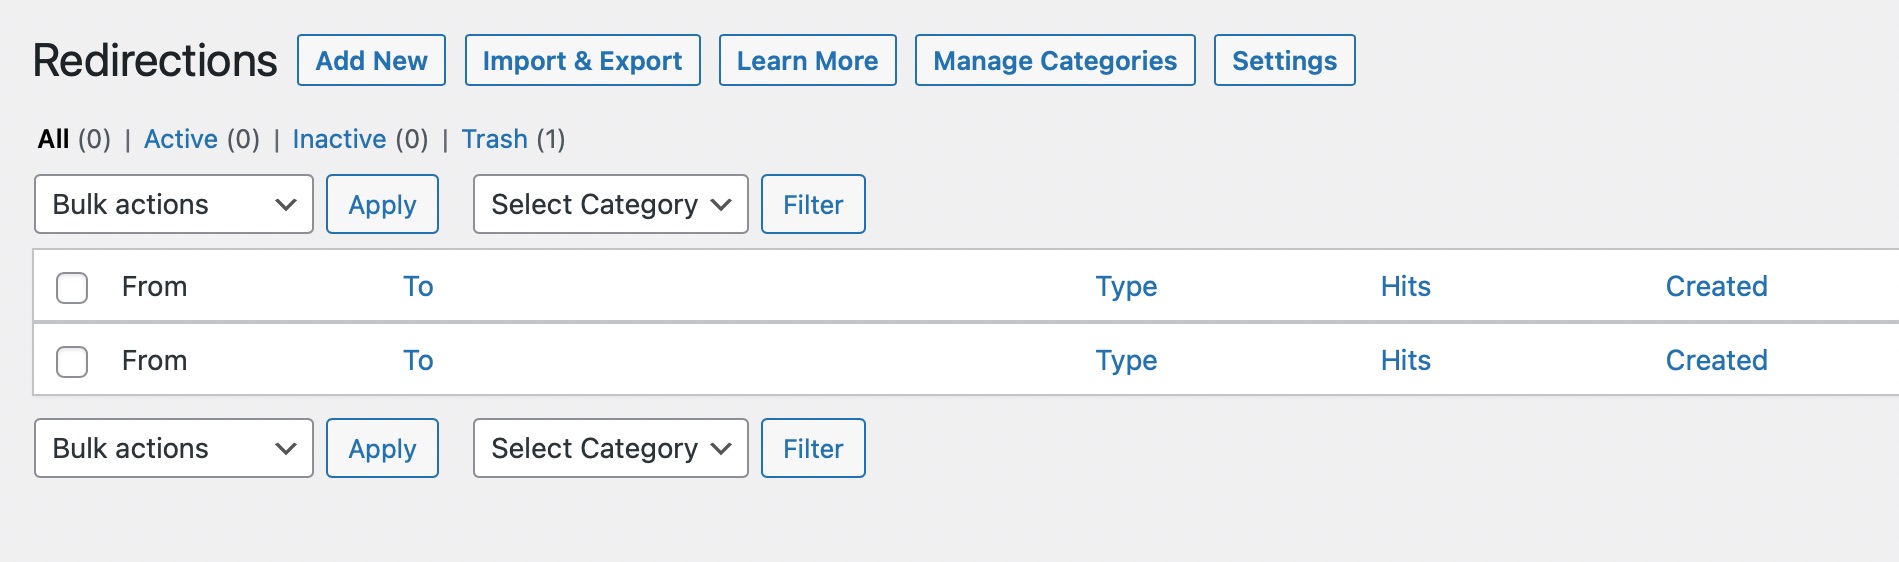
Now, click on the Add New button so that you can create a redirection. When you click the button, you’ll be prompted with a form like this at the top of your list.
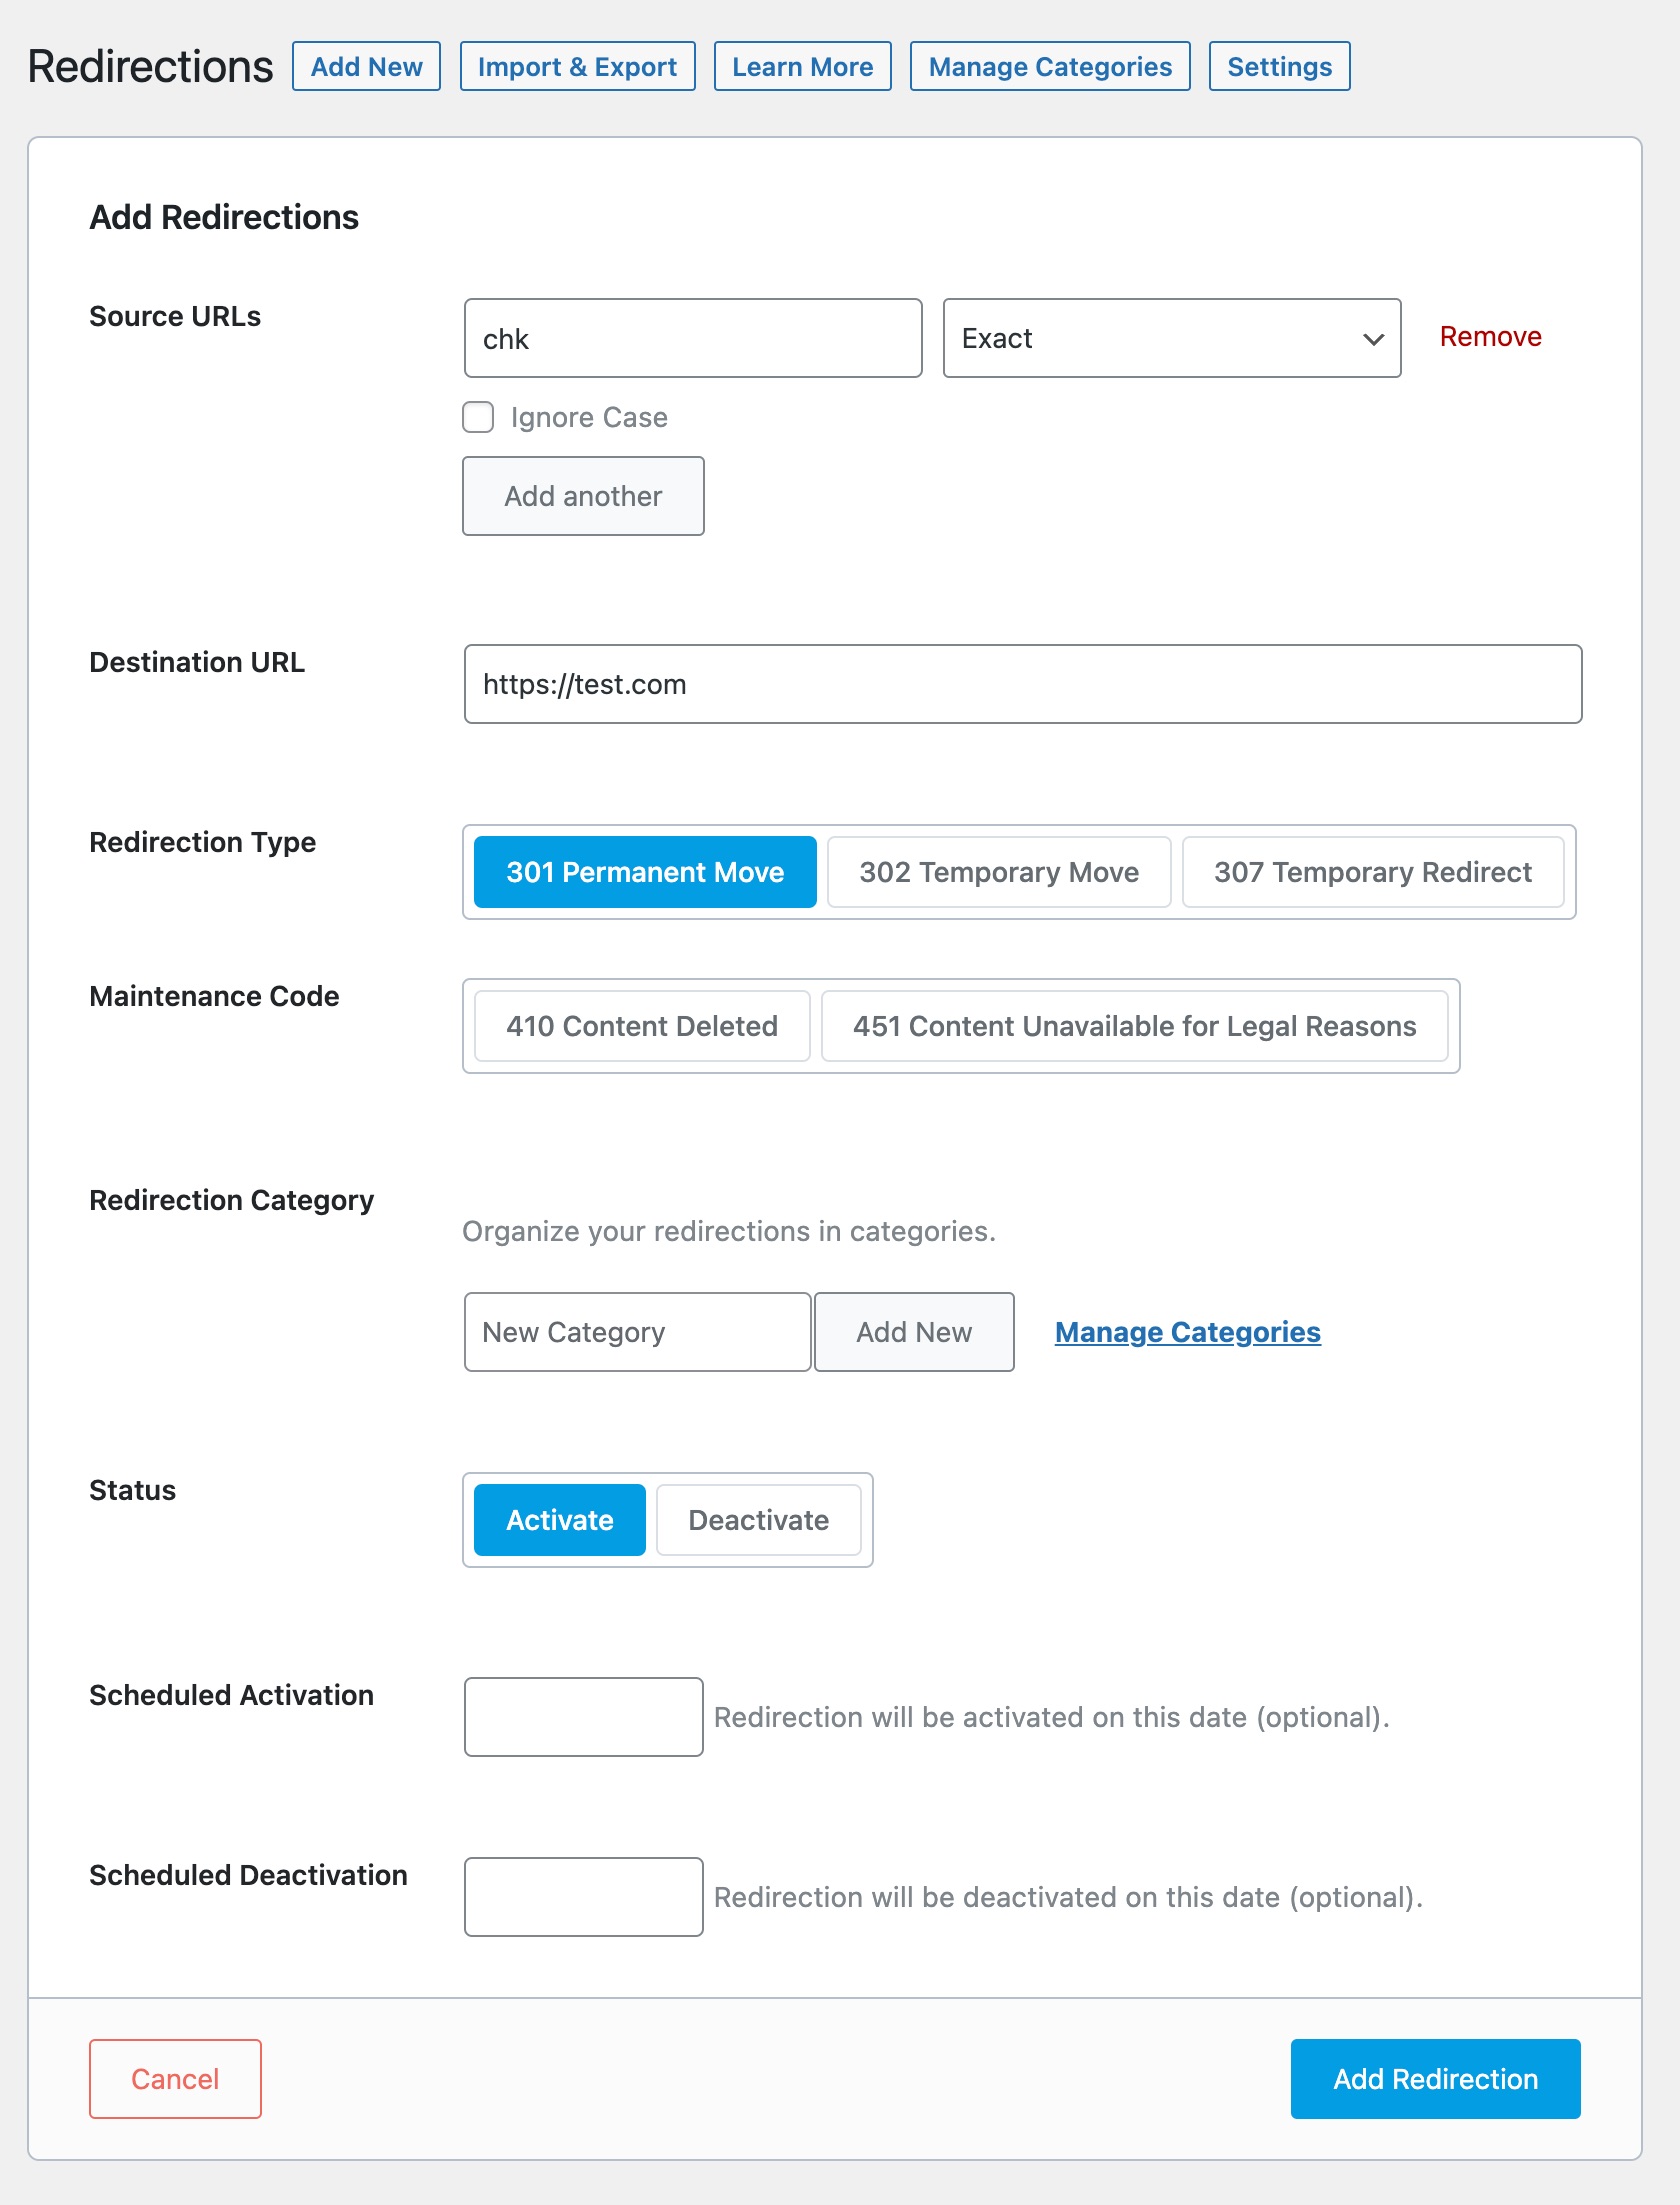
There are plenty of options available here and we’ll go through the importance of each option:
3.1 Source URLs
Enter the URL or URLs (in case, if you’ve more than one URL) from where you want your visitors to redirect from.
You can either add your Source URLs with their full URL(with the https protocol and the domain name) or just add the address from the document root (the first “/” after your domain name) — and let Rank Math automatically add the domain name and slashes in the source URL.
3.2 Match Type
By selecting the Match Type, you can let Rank Math know how you wanted the Source URLs to be matched with the URL a visitor would use to land on your website.
You can use any one of the following:
- Exact Match — To match the URL exactly with the one your visitor would be using to land on your website.
- Contains — The URL will be matched and redirected when it contains a particular term you’ve added to the Source URLs field.
- Start With — To match all those URLs that start with the keyword you’ve entered in the Source URLs field.
- End With — To match all those URLs that end with the keyword you’ve entered in the Source URLs field.
- Regex — To match all those URLs with the regular expression pattern you’ve used in the Source URLs field.
3.3 Destination URL
The Destination URL is where you want to redirect your visitors. You can either enter the full URL or only the address after the document root to this Destination URL field.

3.4 Redirection Type
The Redirection Type you’re setting here would help communicate the redirection type to the search engines.

Although there are various types of redirection, you’ll find only the commonly used redirection codes listed here:
- 301 Permanent Move — A 301 code represents that the old URL has been permanently moved to the new URL and will not be coming back again
- 302 Temporary Move — A 302 code represents that the redirection is only temporary and hinting the search engines that you will use the original URL once again
- 307 Temporary Redirect — A 307 code indicates another temporary redirect, but technically a bit different from 302, as it communicates search engines to use the same HTTP method as earlier.
Select the redirect type from these options or from the maintenance code (which we’ll cover next). By default, 301 Permanent Move is chosen as the Redirection Type.
If you want to change the default redirect for the manual redirection from 301 Redirection to other types of redirection like (302, 307, 410, 451). You can change it under Rank Math SEO → General Settings → Redirections → Redirection Type.
3.5 Maintenance Code
A maintenance code is technically not a redirection code, but it would be more relevant to set one in cases where you need to inform search engines that the old content is no longer available.

Currently, you can find these two maintenance codes available:
- 410 Content Deleted — If your content is deleted, you can set the maintenance code to be 410
- 451 Content Unavailable for Legal Reason — If the content on your website has to be restricted to a demographic or age group or any other legal reason, you can set the maintenance code 451.
3.6 Redirection Category PRO
Rank Math understands the difficulties of managing many redirections, so it has a feature that allows you to categorize your redirections. Although it is optional to add a redirection category, it would be useful to classify them if you’re planning to create many redirections.
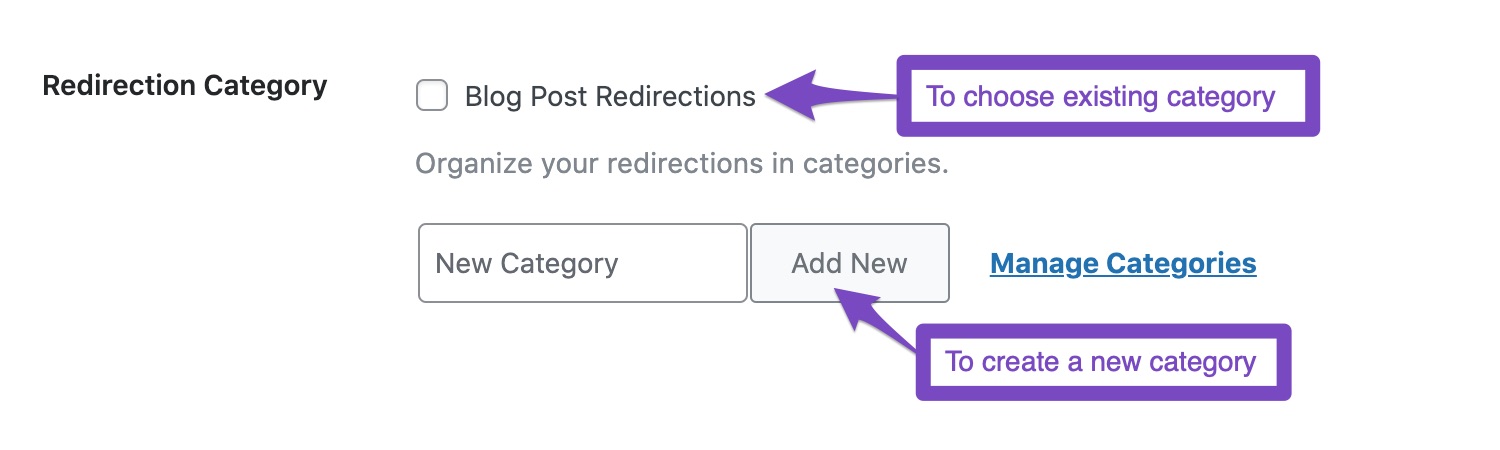
You can either choose an existing Redirection Category (if you’ve already created one) or click Add New button to create a new redirection category.
3.7 Status
Managing redirections with Rank Math is a lot easier. You can easily activate and deactivate redirections by toggling on/off the Status option.

3.8 Scheduled Activation PRO
This option allows you to set a date when the redirection should be activated. On the set date, the redirection would be activated on its own. This is an optional feature; you don’t need to set it up if you want to activate the redirection immediately.

3.9 Scheduled Deactivation PRO
While the previous option is meant to enable activating a redirection on a specific date, Scheduled Deactivation lets you deactivate a specific redirection at the set date. Click the field to set a date for deactivation.
However, this field is optional and you don’t need to set it if you don’t want to deactivate the redirection.

Once you’ve configured the redirection settings, click the Add Redirection option to create your redirection.

4 Using Regex for Change in Permalink Structure
If you’re changing the permalink structure to a more clear and user-friendly one, you may have to create as many URLs on your website, depending on your website’s size. But creating all those redirections manually would be a tedious task and unnecessary.
However, creating redirections for a change in permalink structure couldn’t be easier than using Regex (Regular expression) with Rank Math.
For instance, if you’ve removed a specific term from the permalink structure (say wordpress-tutorials) and you want to redirect your website visitors to the modified URLs, then you should add the following regex in the Source URLs field.
^wordpress-tutorials/(.*)And the following regex should be added in the Destination URL field — don’t forget to replace your domain name.
https://example.com/$1This would look something like this.
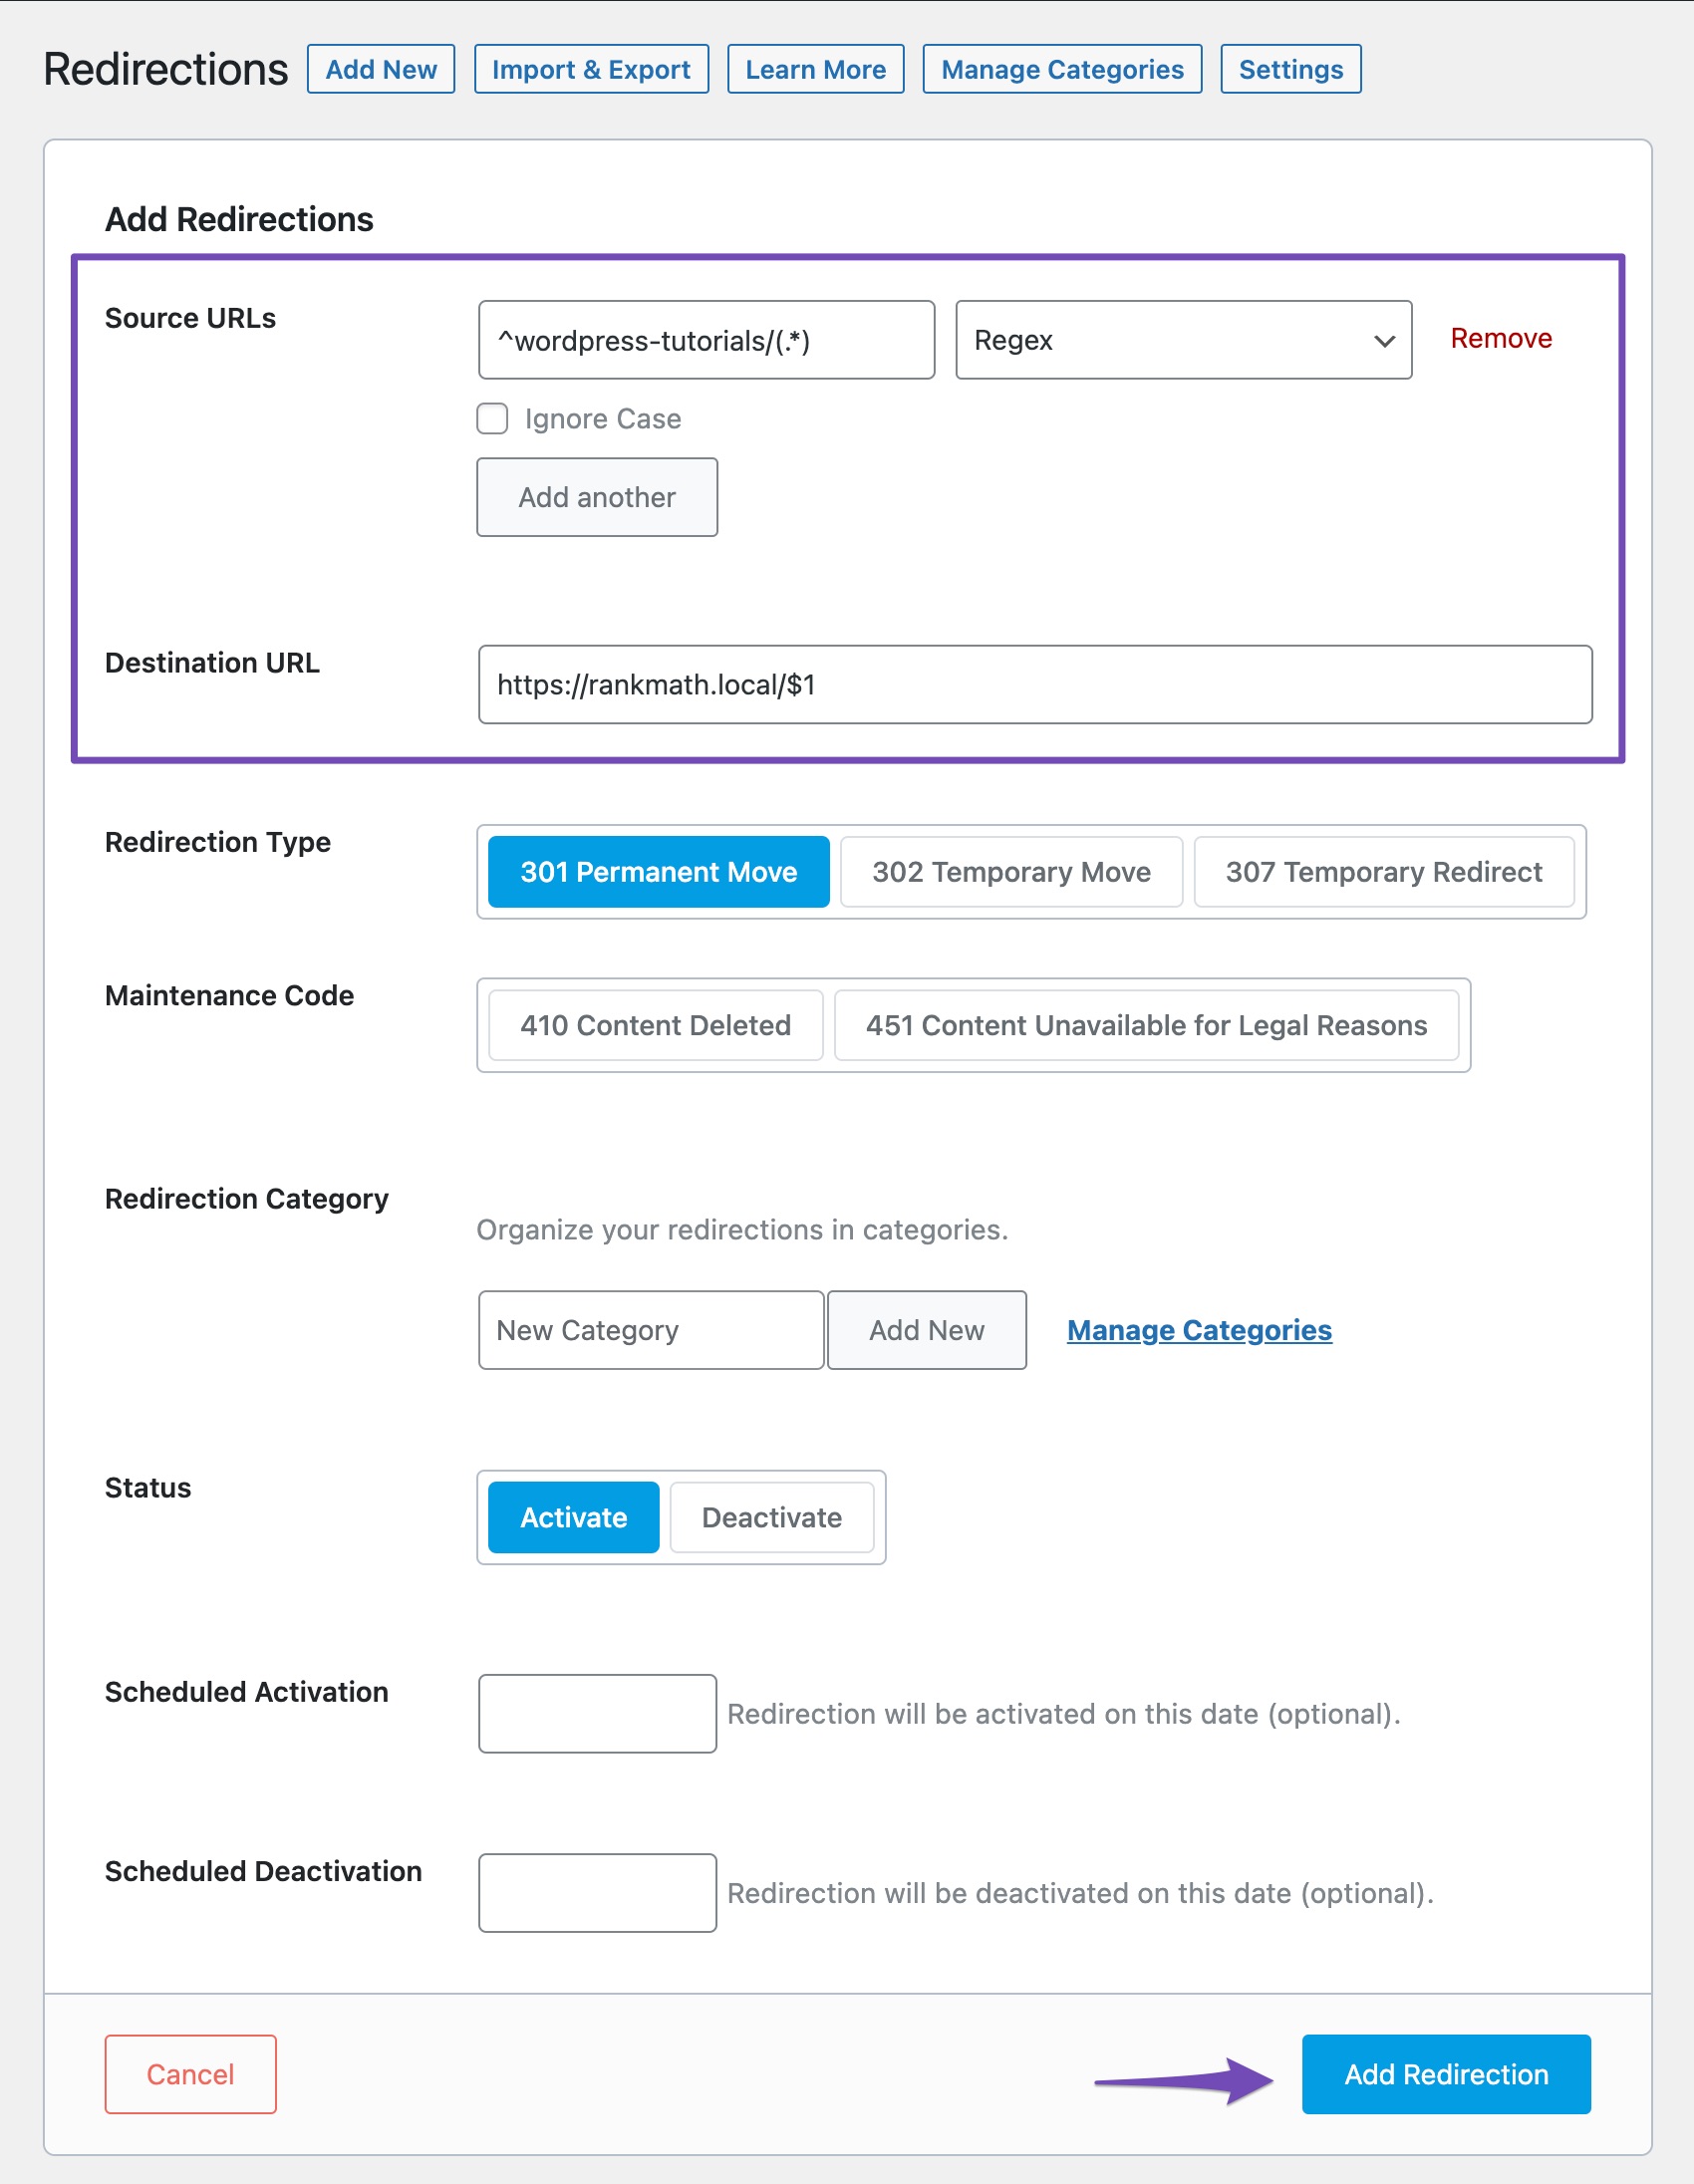
Once you’ve added the settings, click Add Redirection button for the changes to take effect.
Now, when a visitor lands on a page with a URL https://example.com/wordpress-tutorials/install-plugin/, it would be redirected automatically to https://example.com/install-plugin/ and the same happens for all URLs with this permalink structure.
This is a simple use case for regex — however, you can use regex for even more complicated patterns. For a deeper understanding of using these regular expressions, you can refer to this documentation.
And that’s it! If you have any questions about redirections, we recommend reading through our detailed knowledgebase articles on redirection settings and solving redirection issues. If you’re still facing any redirection issues, feel free to contact our support team – we’re always happy to help.