Do you have deleted pages on your WordPress site and don’t intend to redirect or restore them even in the future?
In that case, you may want to set up a 410 HTTP status code on those pages. This will help users and search engines understand that the pages are gone permanently.
But what if you have many deleted pages? Setting a 410 code manually for each one can take forever.
In this knowledgebase article, we’ll show you a quick and easy way to set a 410 status code in bulk across your WordPress site.
1 What is a 410 Gone Status Code?
A 410 Gone status code is a type of HTTP response that indicates the requested resource is no longer available on the server and has no forwarding address.
In simpler terms, the server has determined that the requested resource is permanently gone and will not be available again.
Let’s clarify things. Suppose you have a page on your website, and for some reason, you intentionally delete it without wanting to redirect it or bring it back later. This is when you should use the 410 status code.
This error will appear on the client side for users who try to access the page, not on the server. On the other hand, you’re telling search engines never to crawl and index the page again, signifying it’s gone for good.
So, you can see that it’s different from the typical 404 Not Found code, which suggests the resource might be temporarily unavailable or simply never existed at that location.
2 Should You Use a 404 or 410 on Your WordPress Website?
Well, it depends. Matt Cutts from Google said in one of the Google Search Central videos:
“If a page is gone and you think it’s temporary, go ahead and use a 404. If the page is gone and you know no other page that should substitute for it, you don’t have anywhere else that you should point to, and you know that that page is gonna be gone and never come back, then go ahead and serve a 410”.
Using a 404 status code can cause search engines like Google to wait up to 24 hours before removing the page from the index, as they check that you intentionally did it.
However, if you use the 410 status code, you are signaling to Google that you are sure about your action, and they will remove the page immediately from being indexed.
Therefore, before deciding to use the 410 status code on your WordPress website, carefully consider it, as it permanently removes the page from search engine indexes.
But what if there are many pages to deal with? In the next section, we’ll discuss how to set them to a 410 status code in bulk.
3 Steps to Set a 410 Status Code in Bulk for WordPress
Follow these steps to set up a 410 status code in bulk using the Rank Math SEO plugin. Just ensure it’s already set up on your WordPress website.
3.1 Enable the Redirection Module
Navigate to the Rank Math SEO → Dashboard. On that page, you will see various modules. Scroll down and enable the Redirection module, as shown below.

This module will only appear if your dashboard is in advanced mode. If not, you can learn to switch to advanced mode from this guide.
3.2 Access Redirections
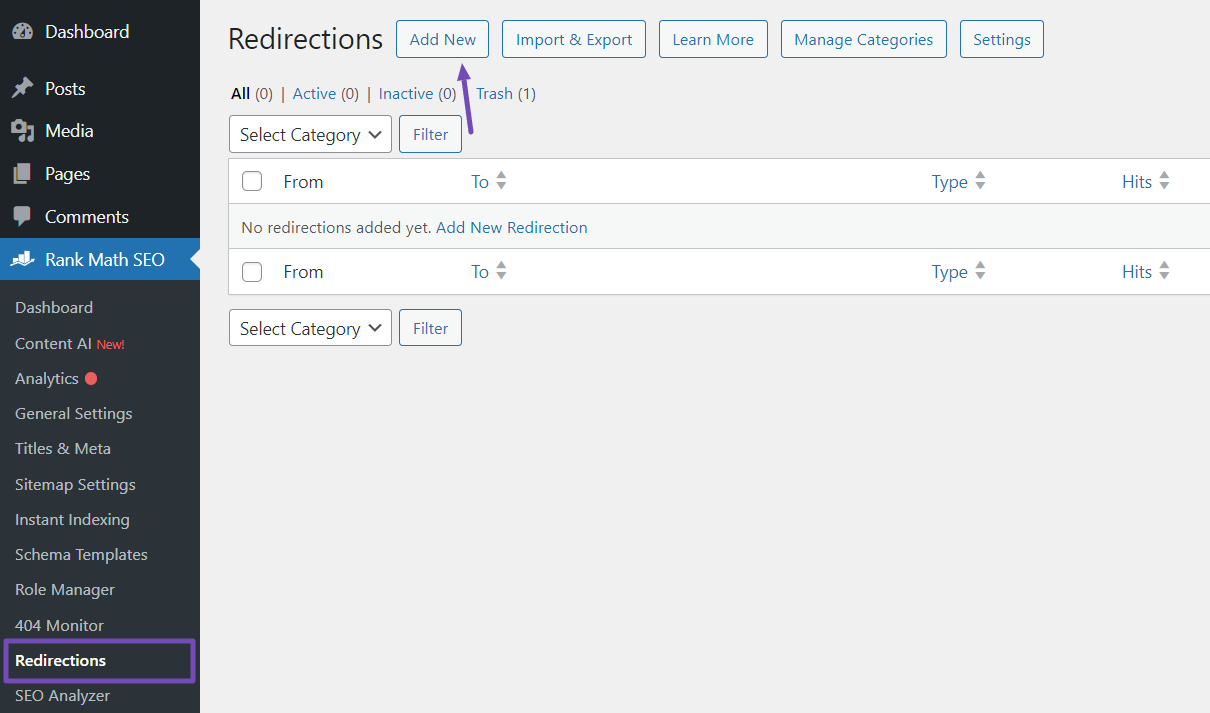
After enabling the Redirections module, navigate to the Redirections section, which is still under the Rank Math SEO menu.
On the Redirections page, click the Add New button at the top. This will bring you to the page where you can set up your bulk 410 status code changes.
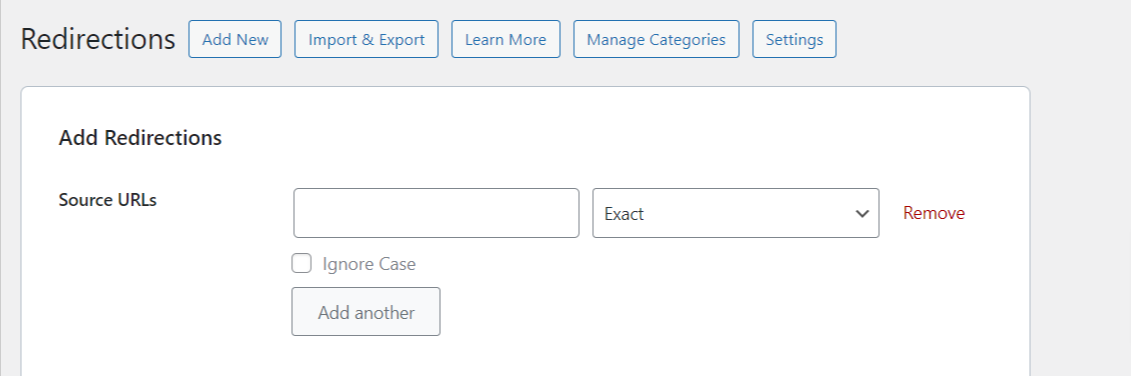
3.3 Configure the Redirection
On the Redirections page, you’ll see various options for setting up redirections, including the Source URLs field. This is where you’ll provide the URLs of the pages you want to set to the 410 status code.
To set these URLs to 410 status code in bulk, first arrange all the URLs you want to set in a text editor or notepad, with each URL on a separate line, as shown below.
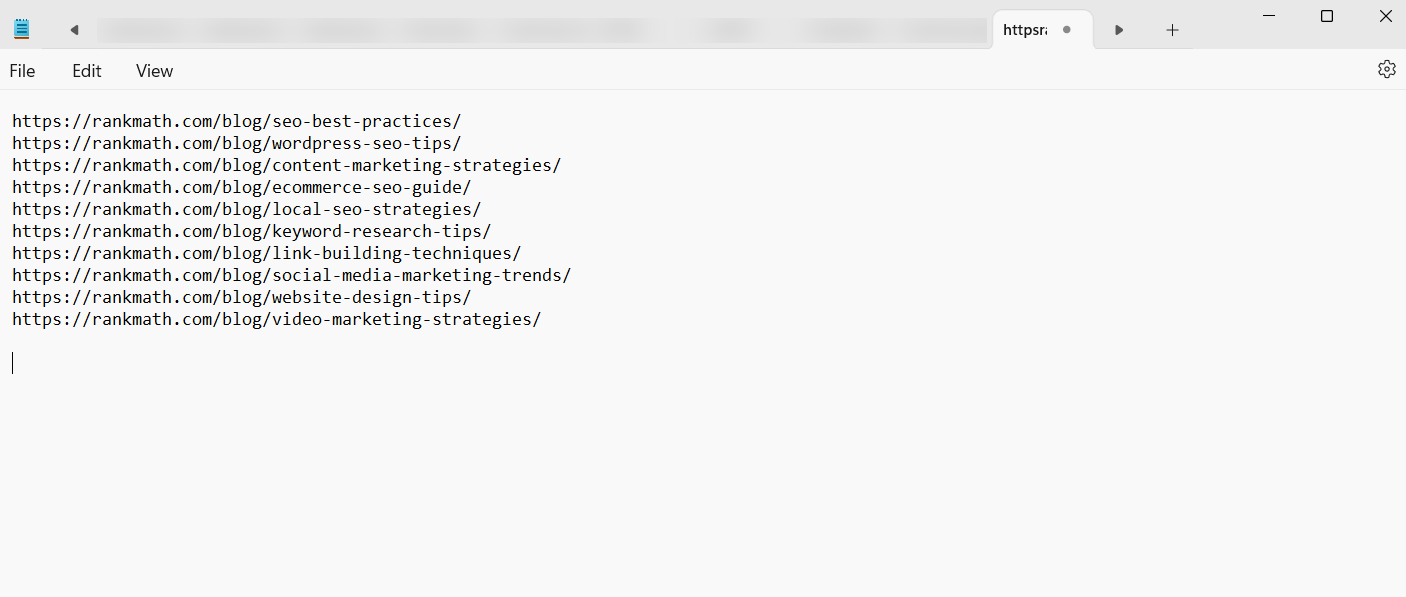
Once you’ve compiled the list, highlight and copy all the URLs.
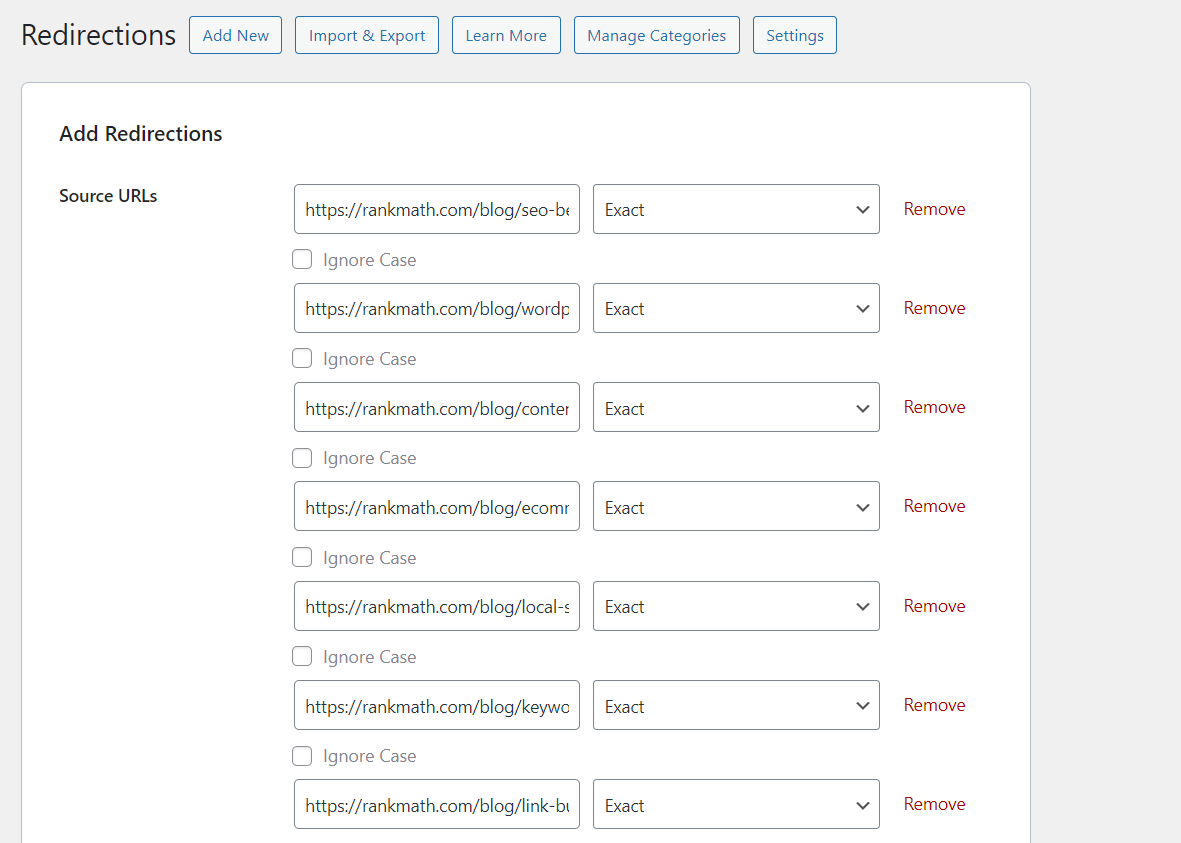
Then, return to the Redirections page and paste the copied URLs into the Source URLs field. You’ll see the field expand to display all the URLs you want to set to the 410 status code.
Next, skip the Destination URL and Redirection Type options and move directly to the Maintenance Code option. Click the 410 Content Deleted button, and you’ll notice the Destination URL option disappear.
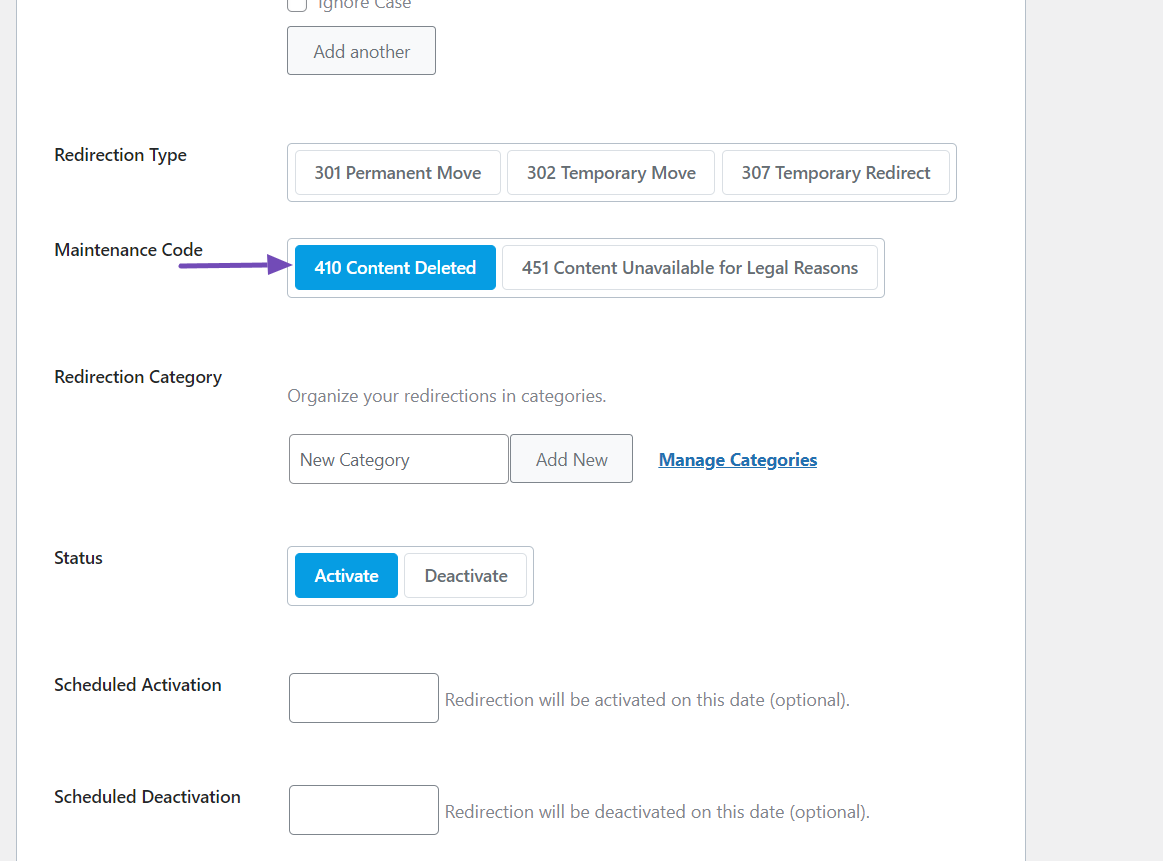
After that, you can set a category for the redirection and the status and schedule the activation as needed.
Once you’re satisfied with the configurations, scroll down to the bottom of the page and click the Add Redirection button to save your changes.
Once you’ve done that, all the pages you provided in the Source URLs field will automatically be set to the 410 status code immediately. You can confirm this by visiting the pages or using a header-checking tool.
4 Benefits of Using a 410 Status Code
Here are the key benefits of using a 410 status code for permanently deleted pages on your WordPress website:
4.1 Avoids Wasting Search Engine Resources
When search engines encounter a 404 Not Found code for a deleted page, they may continue to check if the page reappears periodically.
This wastes valuable crawling resources. A 410 status code clearly communicates to search engines that the page is gone permanently, eliminating this unnecessary crawling.
4.2 Improved Website Performance
When you inform search engines about permanently deleted pages, you can reduce the server load associated with them being repeatedly crawled and improve the overall performance of your WordPress website.
4.3 Improved User Experience
It can be frustrating when users click on a search result and land on a Not Found page. The 410 status code removes the page from appearing on search results, providing a better user experience.
That’s it! We hope you have learned how to set a 410 status code in bulk for your WordPress site. If you still have questions regarding the 410 status code and Rank Math, you are free to reach out to our support team from here. They are always happy and willing to assist you.