The Couldn’t fetch error is a confusing status message you may encounter in Google Search Console.
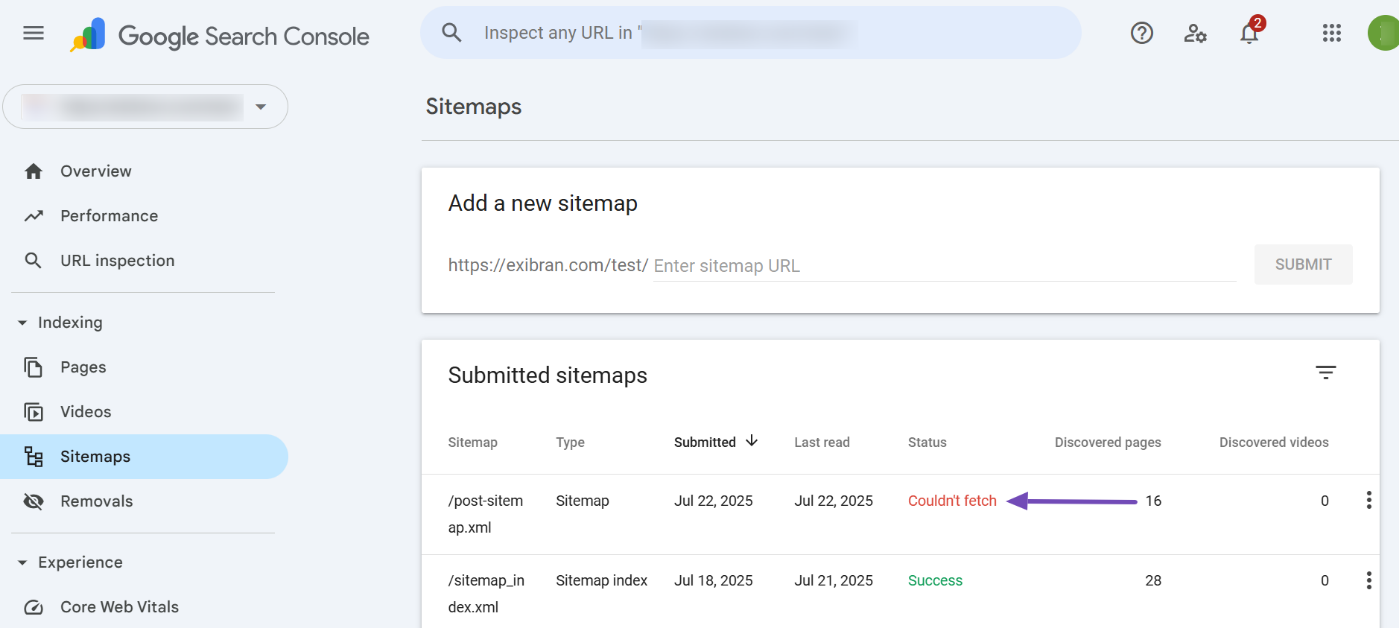
The status message may indicate Google is yet to fetch your sitemap. Alternatively, it could mean Google cannot fetch your sitemap because of an error in the sitemap. However, since you cannot tell both apart, it is a good idea to ensure it does not result from an error in your sitemap.
In this knowledgebase article, we will show you how to diagnose and fix any potential sitemap error that may have caused the Couldn’t fetch error in Google Search Console.
Table Of Contents
1 Rename the Sitemap File
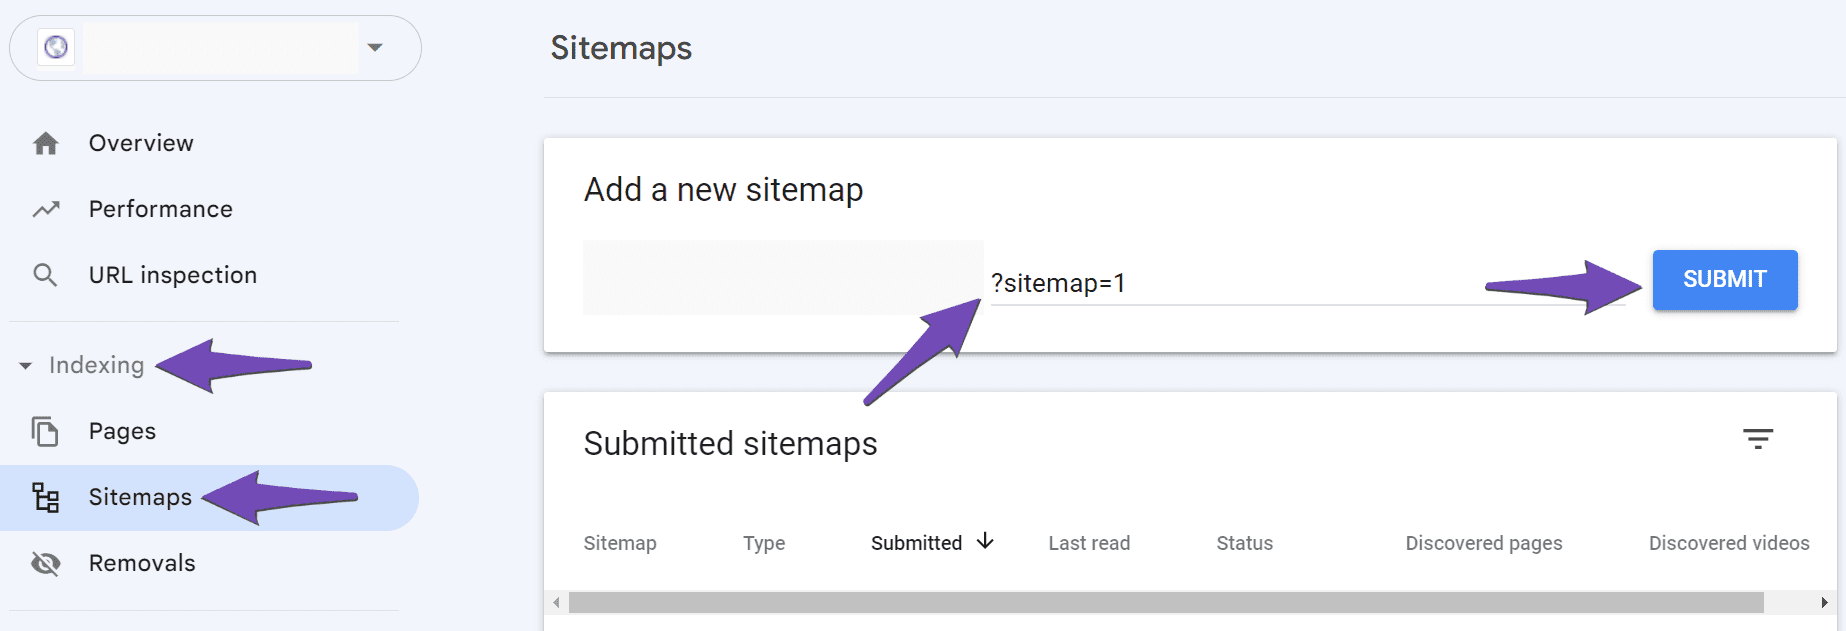
According to John Mueller, if the sitemaps are valid and still aren’t functioning or couldn’t be read, then changing the name of the sitemap file can do the magic.
In Google Search Console, head over to Indexing → Sitemaps. In the Add a new sitemap setting, paste the below sitemap URL and click SUBMIT.
https://yourdomain.com/?sitemap=1
2 Fix Sitemap Issues
If the sitemap still returns a Couldn’t fetch error, follow the below steps to ensure the sitemap is set up correctly.
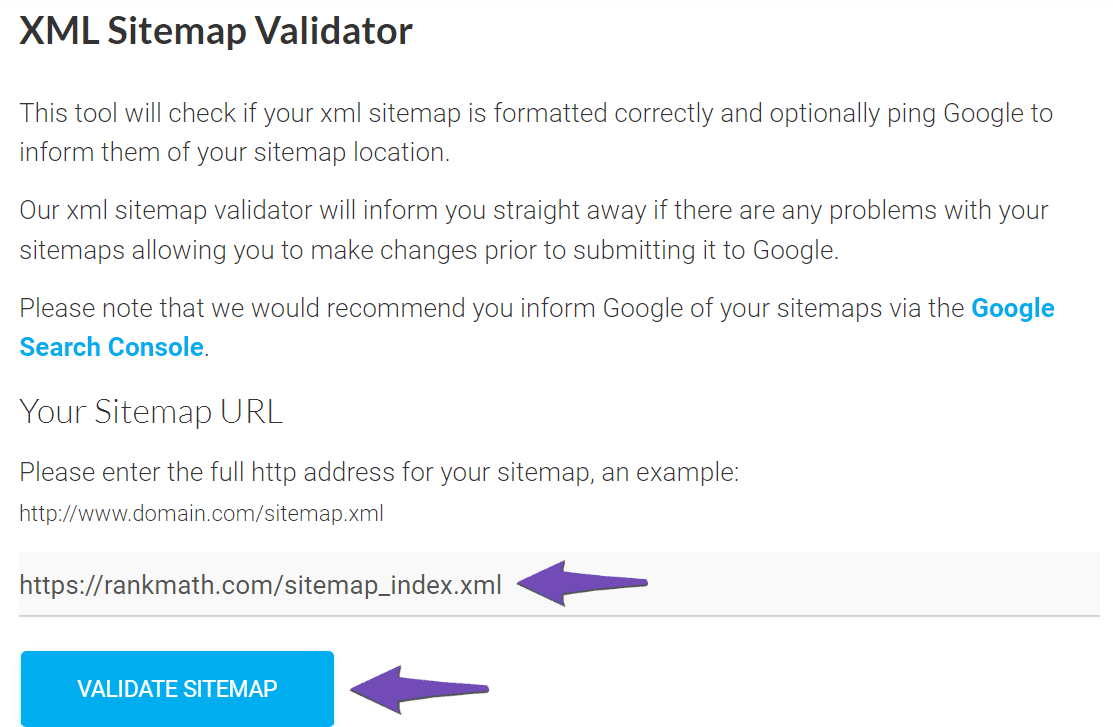
2.1 Validate Your Sitemap
The next step is to confirm your sitemap is correctly configured. To do that, enter your sitemap URL into the Validate XML Sitemap tool. Once done, click VALIDATE SITEMAP, as shown below.
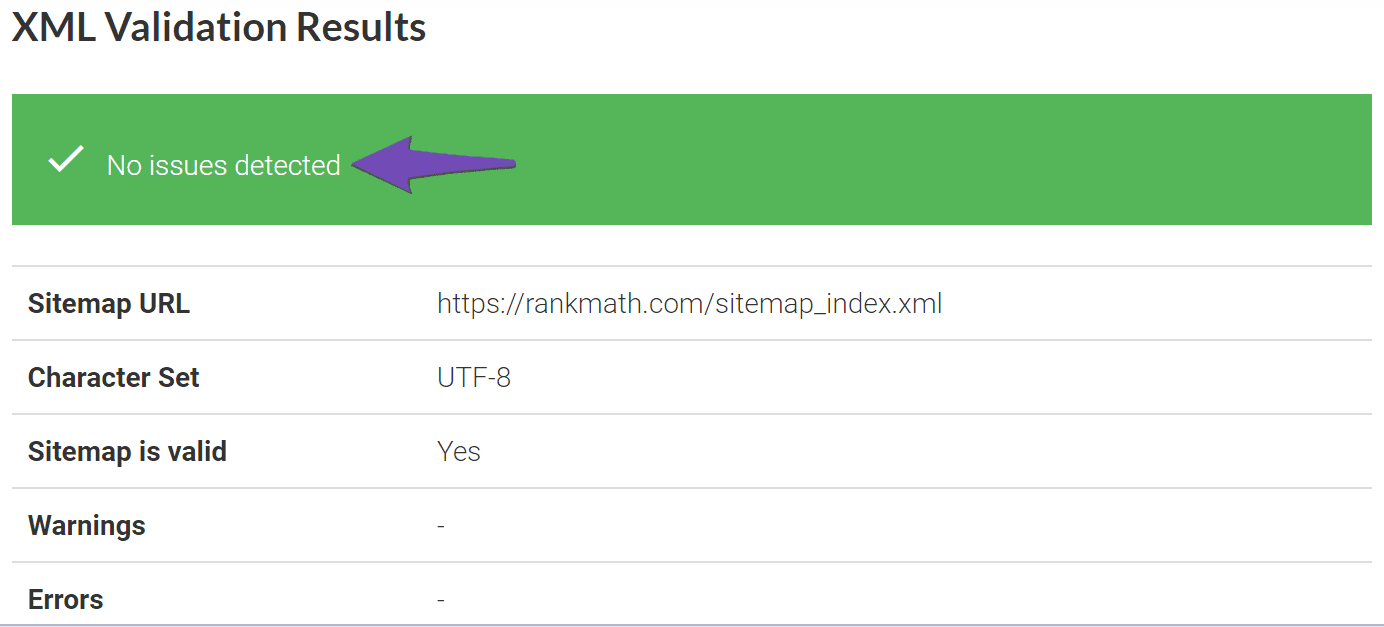
If your sitemap is correctly configured, the tool will return a No issues detected success message, as shown below.
2.2 Ensure the Sitemap is Located in the Root Folder
If you manually created the sitemap, ensure it is installed in the root folder of your WordPress installation. That means there should only be one forward slash between your domain name and sitemap path, as shown below.
https://yourdomainname.com/sitemap_index.xml
2.3 Ensure Your Posts Are Set to Index
Your sitemap will become empty if all your posts are set to noindex. To set your posts to index, head over to Rank Math SEO → Titles & Meta. In the Robots Meta settings, enable the Index checkbox, as shown below.
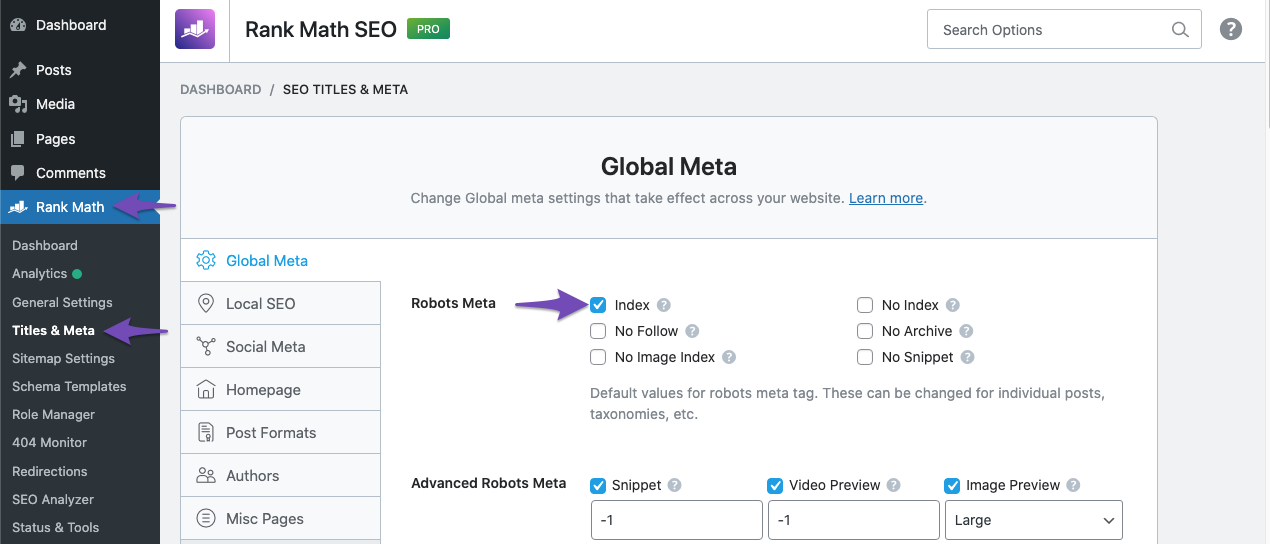
Once done, scroll down and click Save Changes.

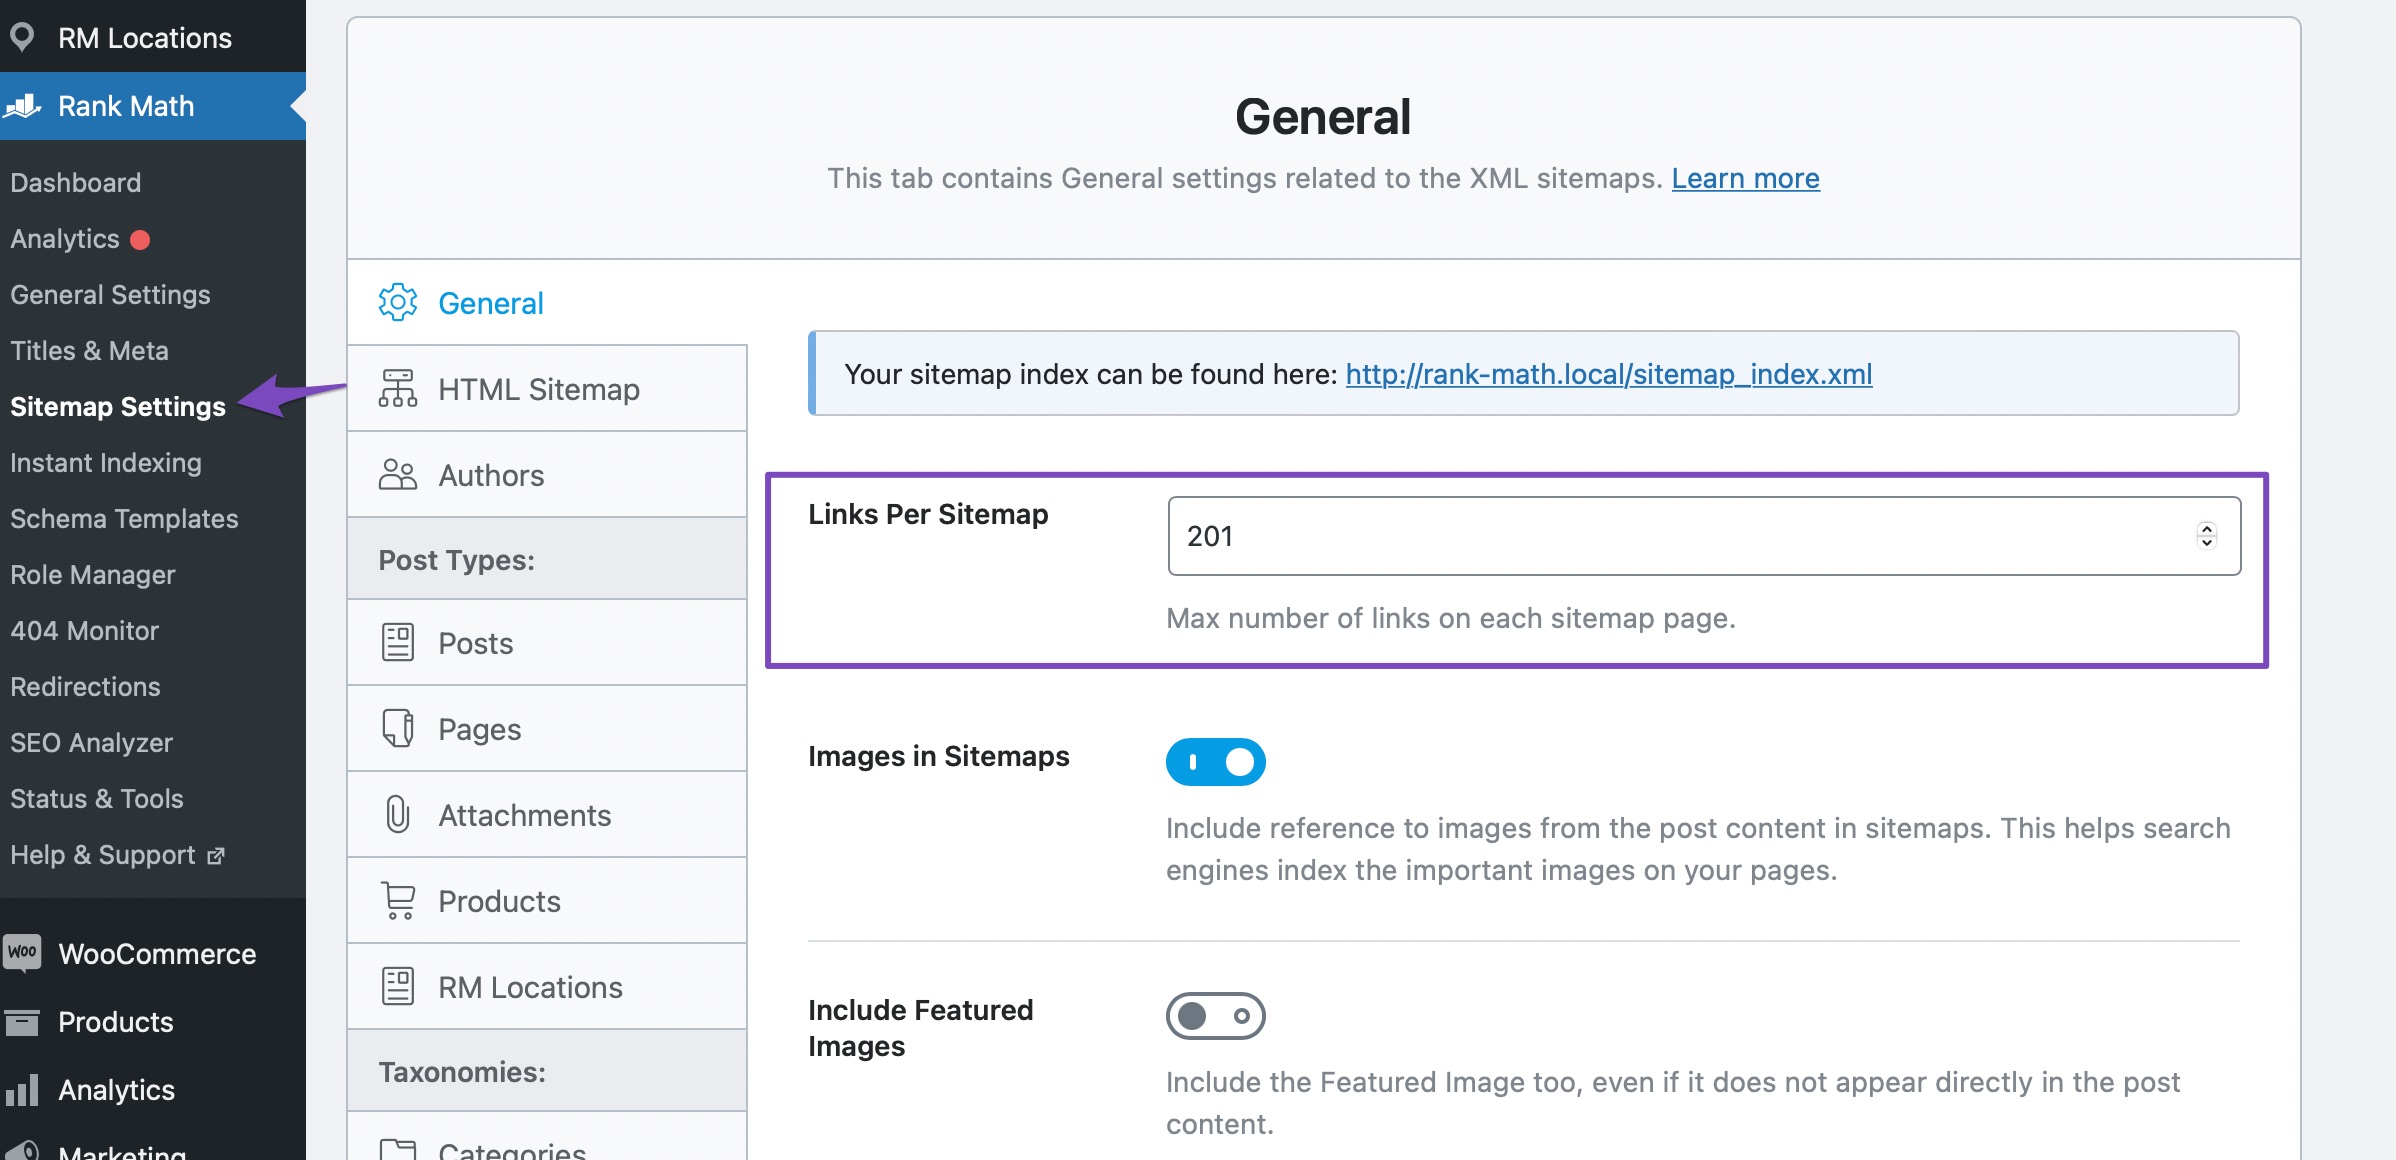
2.4 Flush the Cache
If it looks like your sitemap is outdated, you need to flush the sitemap cache. To do so, simply navigate to Rank Math SEO → Sitemap Settings.
In this field, increase the value of the Links Per Sitemap by one and then save your settings by clicking the Save Changes button at the bottom of the page.
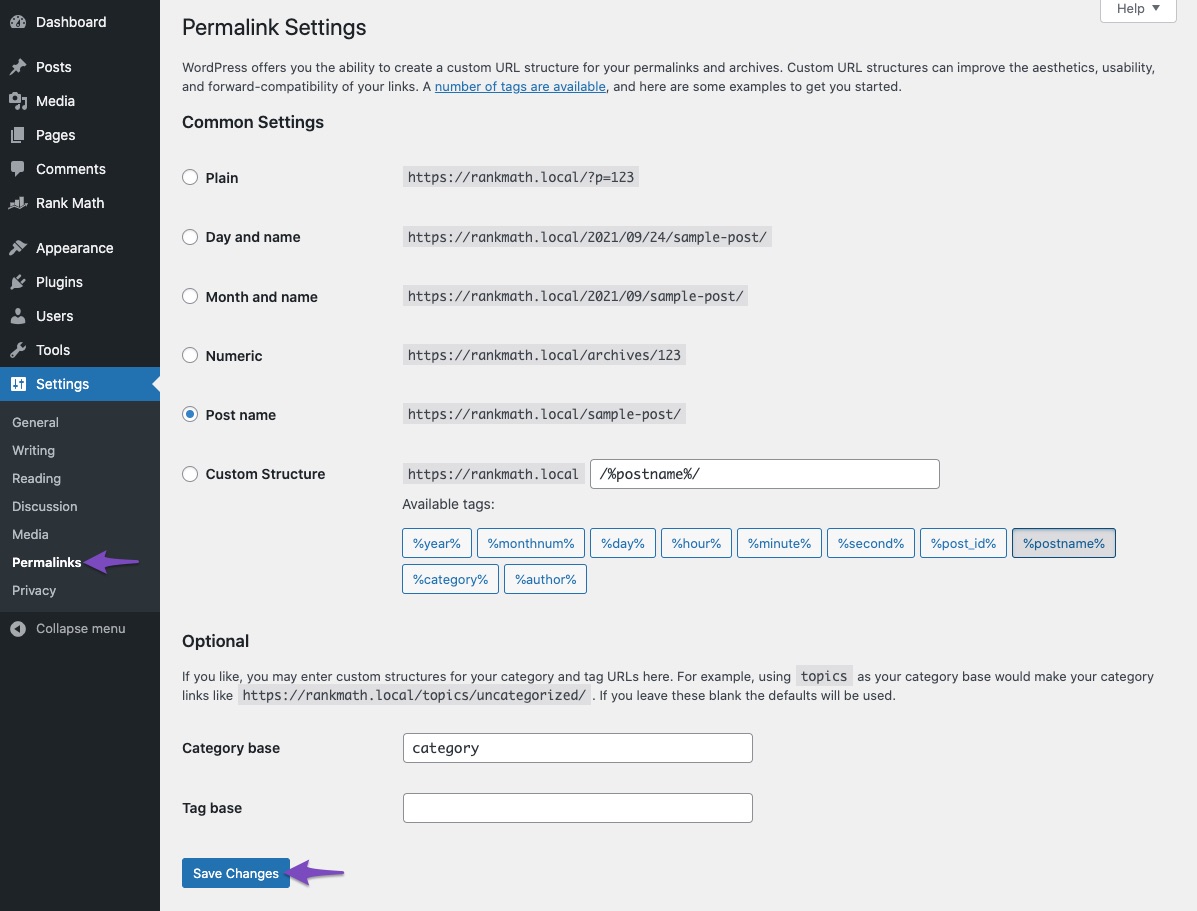
Once done, navigate to Settings → Permalinks and click Save Changes to ensure the current settings are applied.
2.5 Exclude the Sitemap From Caching
Once done, the next step is to ensure your sitemap is not being cached. Refer to the following knowledgebase article to ensure that your sitemaps are excluded from caching.
Once you complete these steps, you should submit your sitemap URL to Google Search Console again.
3 Add the Correct Version of Your Sitemap to Google Search Console
If Google Search Console still returns the Couldn’t fetch error, follow the below steps to continue troubleshooting.
3.1 Determine the Correct Variation of Your Site
Your site has four possible URL variations:
http://yourdomain.com
http://www.yourdomain.com
https://www.yourdomain.com
https://yourdomain.com
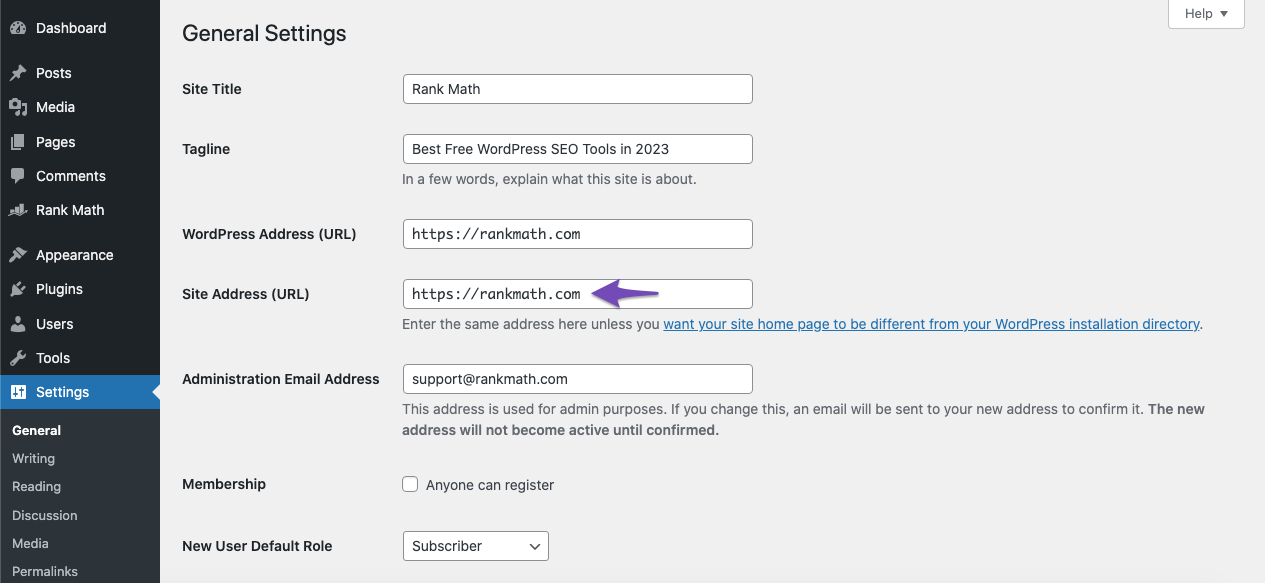
You should ensure you added the correct URL variation to Google Search Console.
To do that, navigate to Settings → General from your WordPress dashboard. The correct variation of your site will be displayed in the Site Address (URL) field, as shown below.
3.2 Add the Correct Site URL to Google Search Console
The next step is to add this variation as URL property to Google Search Console and verify it, if you haven’t already done so. You can refer to this knowledgebase article on adding a URL property to the Search Console.
3.3 Add the Sitemap to Google Search Console
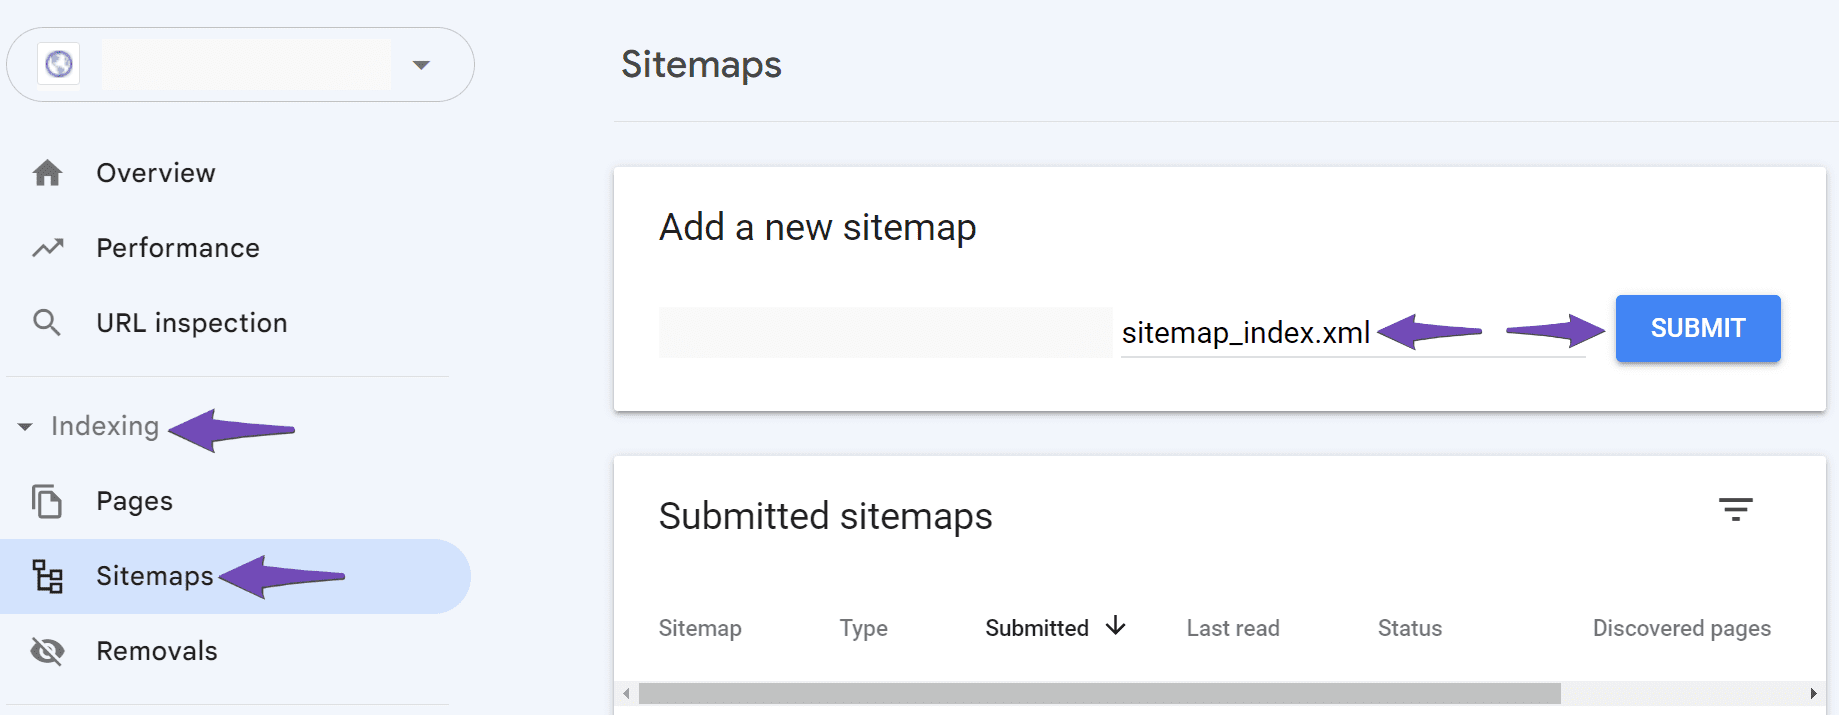
Once done, navigate to Indexing → Sitemaps in the Search Console. Then, paste the correct sitemap URL in the Add a new sitemap field and click SUBMIT.
Note: Ensure no spaces are in the sitemap URL, as it can prompt a Couldn’t fetch error.
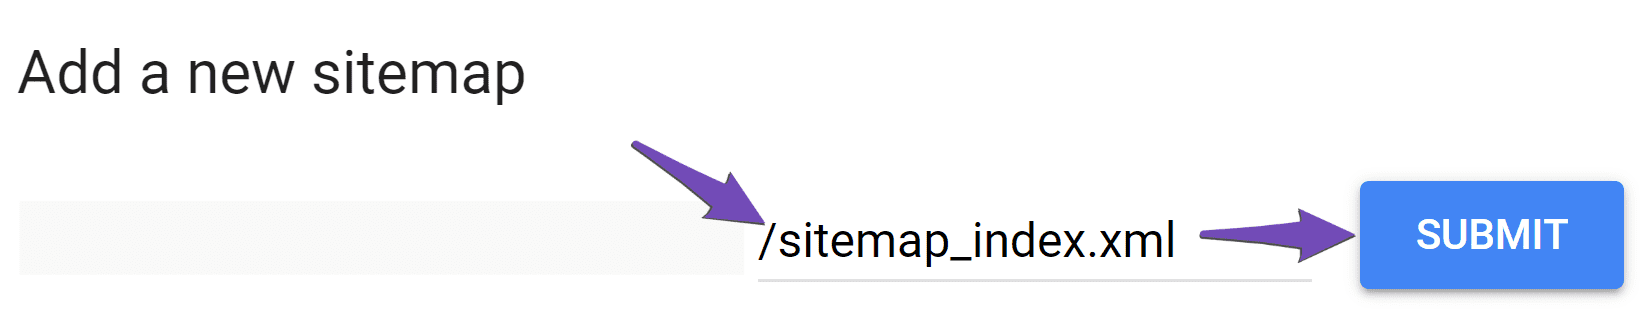
If the sitemap still returns a Couldn’t fetch error, add a forward slash before the sitemap URL and click SUBMIT.
If the error persists, it appears that Google is yet to fetch the sitemap. You can do nothing but wait for Google to fetch it. This may be deliberate from Google’s end, as Google can find and fetch your URLs without a sitemap.
And, that’s it! We hope the above steps have helped you resolve the issue. If you’re still facing the issue or if you have any other questions, please feel free to reach our support team directly from here, and we’re always here to help.