When a URL is shared on social media, it will display a preview consisting of an image, meta title, and description, as shown below. Social media apps extract these data from your Open Graph meta tag.
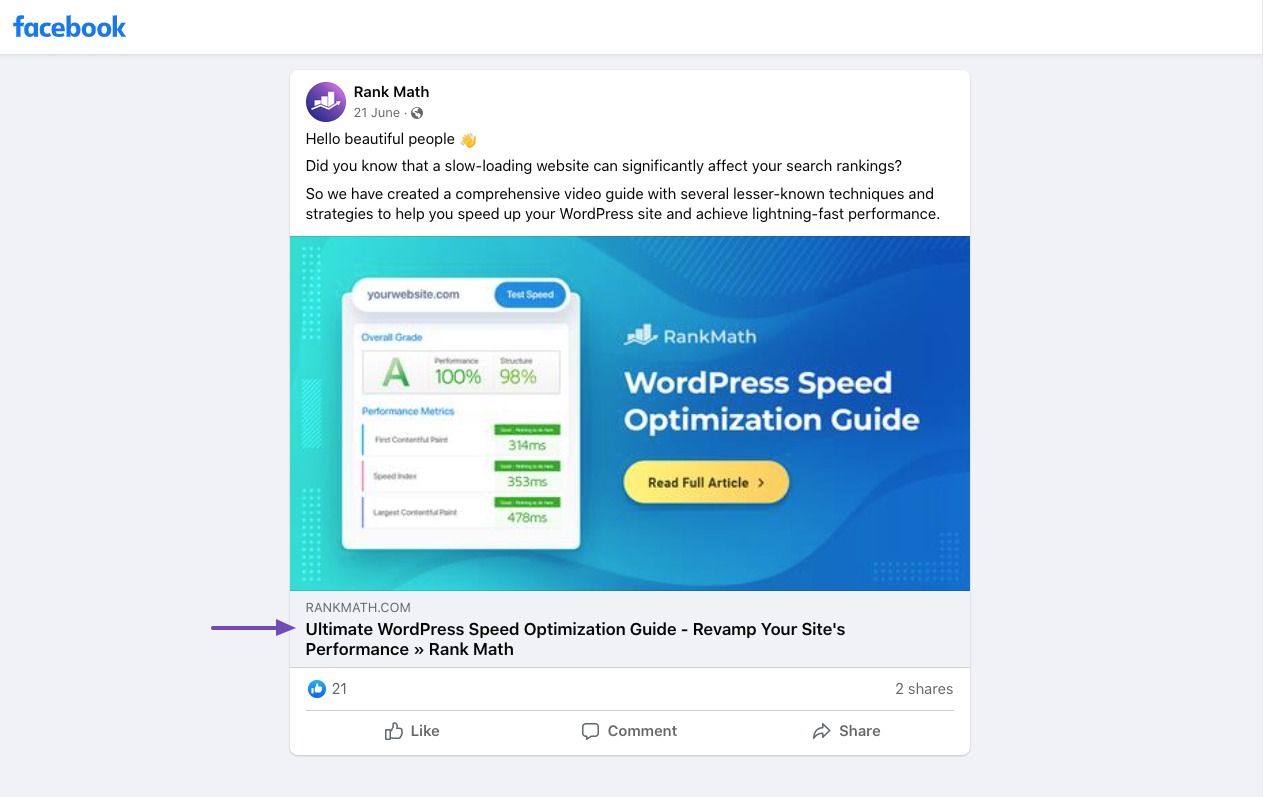
Now, you can create your Open Graph meta tags with Content AI. You only need to enter a few instructions into Content AI and watch it develop your meta tag in seconds.
The top benefit of using AI tools? Saving time! In fact, 71% of users say it’s their #1 advantage. That’s a huge productivity boost for anyone looking to streamline the content workflow.
In this knowledgebase article, we will show you how to create an Open Graph meta title and description with Content AI.
Table Of Contents
Note: If you run out of credits, you can upgrade to a higher Content AI plan that aligns with your requirements.
Head to WordPress Dashboard → Rank Math SEO and enable the Content AI module, as shown below.

1 Using the Content Editor
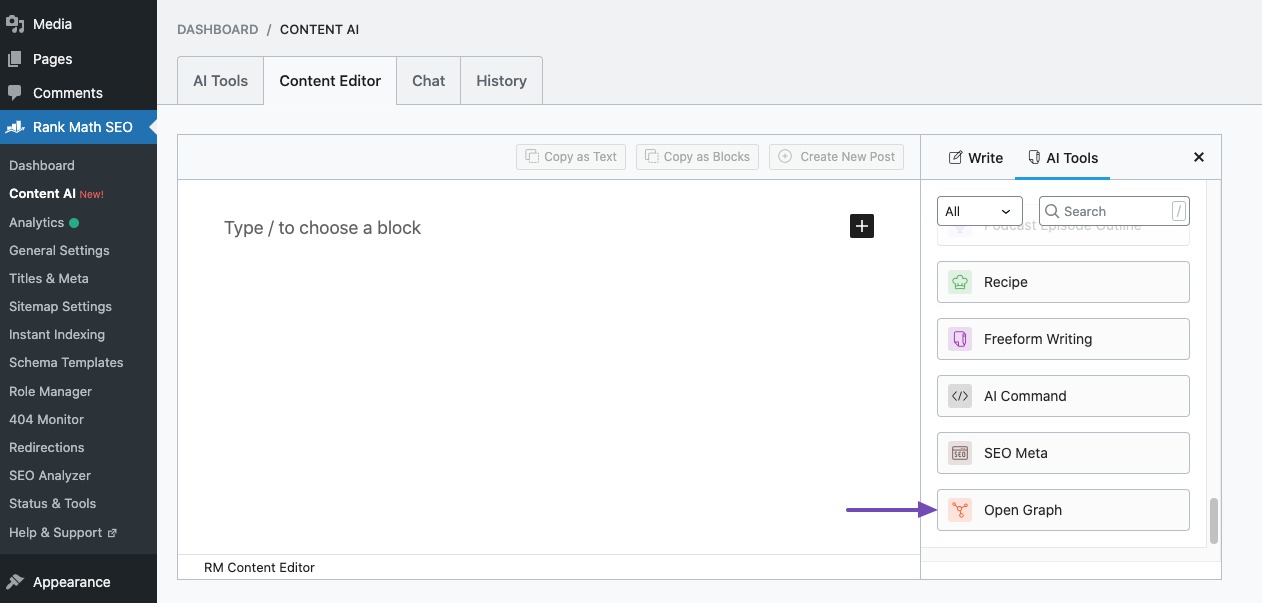
Next, head over to Rank Math SEO → Content AI → Content Editor from your WordPress dashboard.

In the Content Editor, click AI Tools and select Open Graph. You will be presented with the Open Graph AI tool settings.
2 Using the WordPress Editor
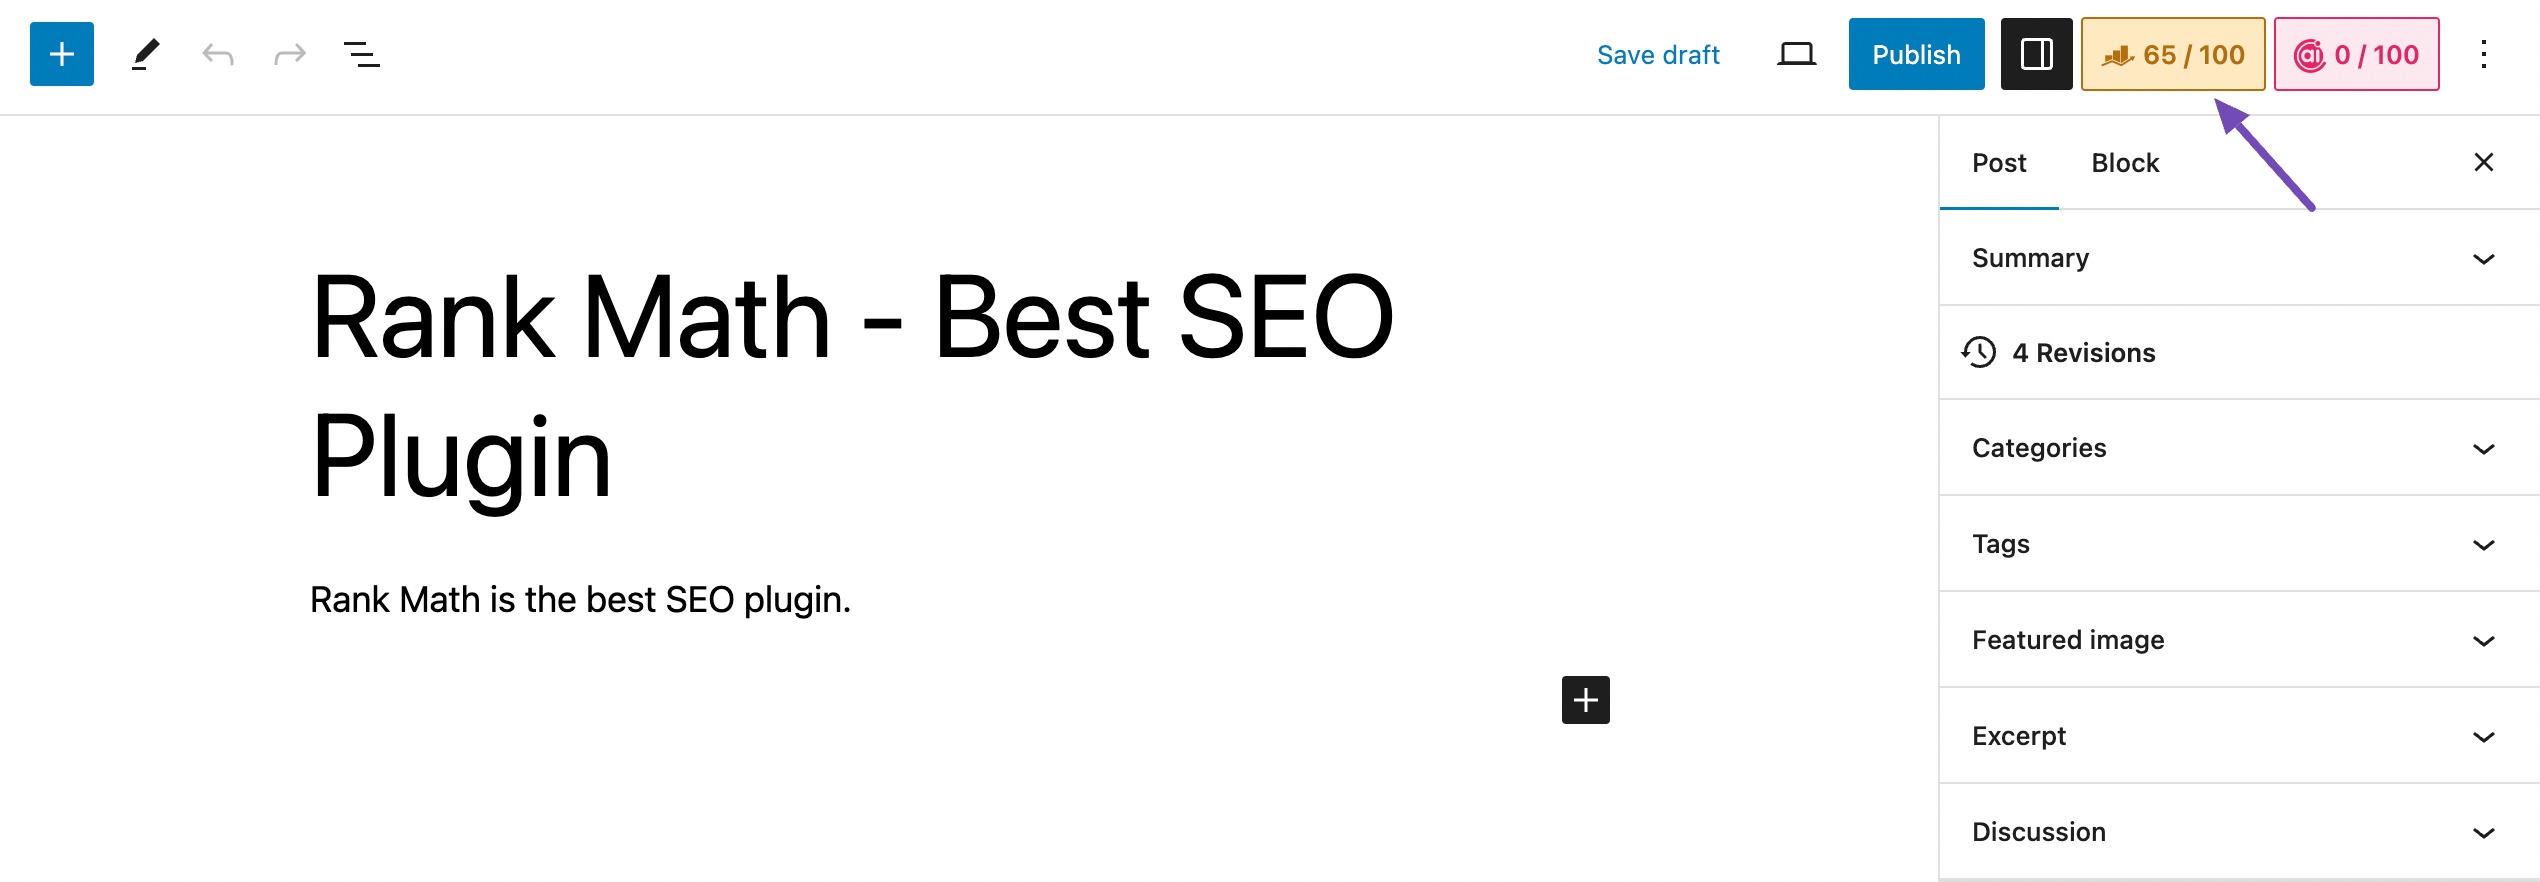
If you’re using the WordPress Editor, head over to the post or page you want to add the Open Graph meta tag. Once done, click the Rank Math SEO icon at the top-right corner of the Editor screen.
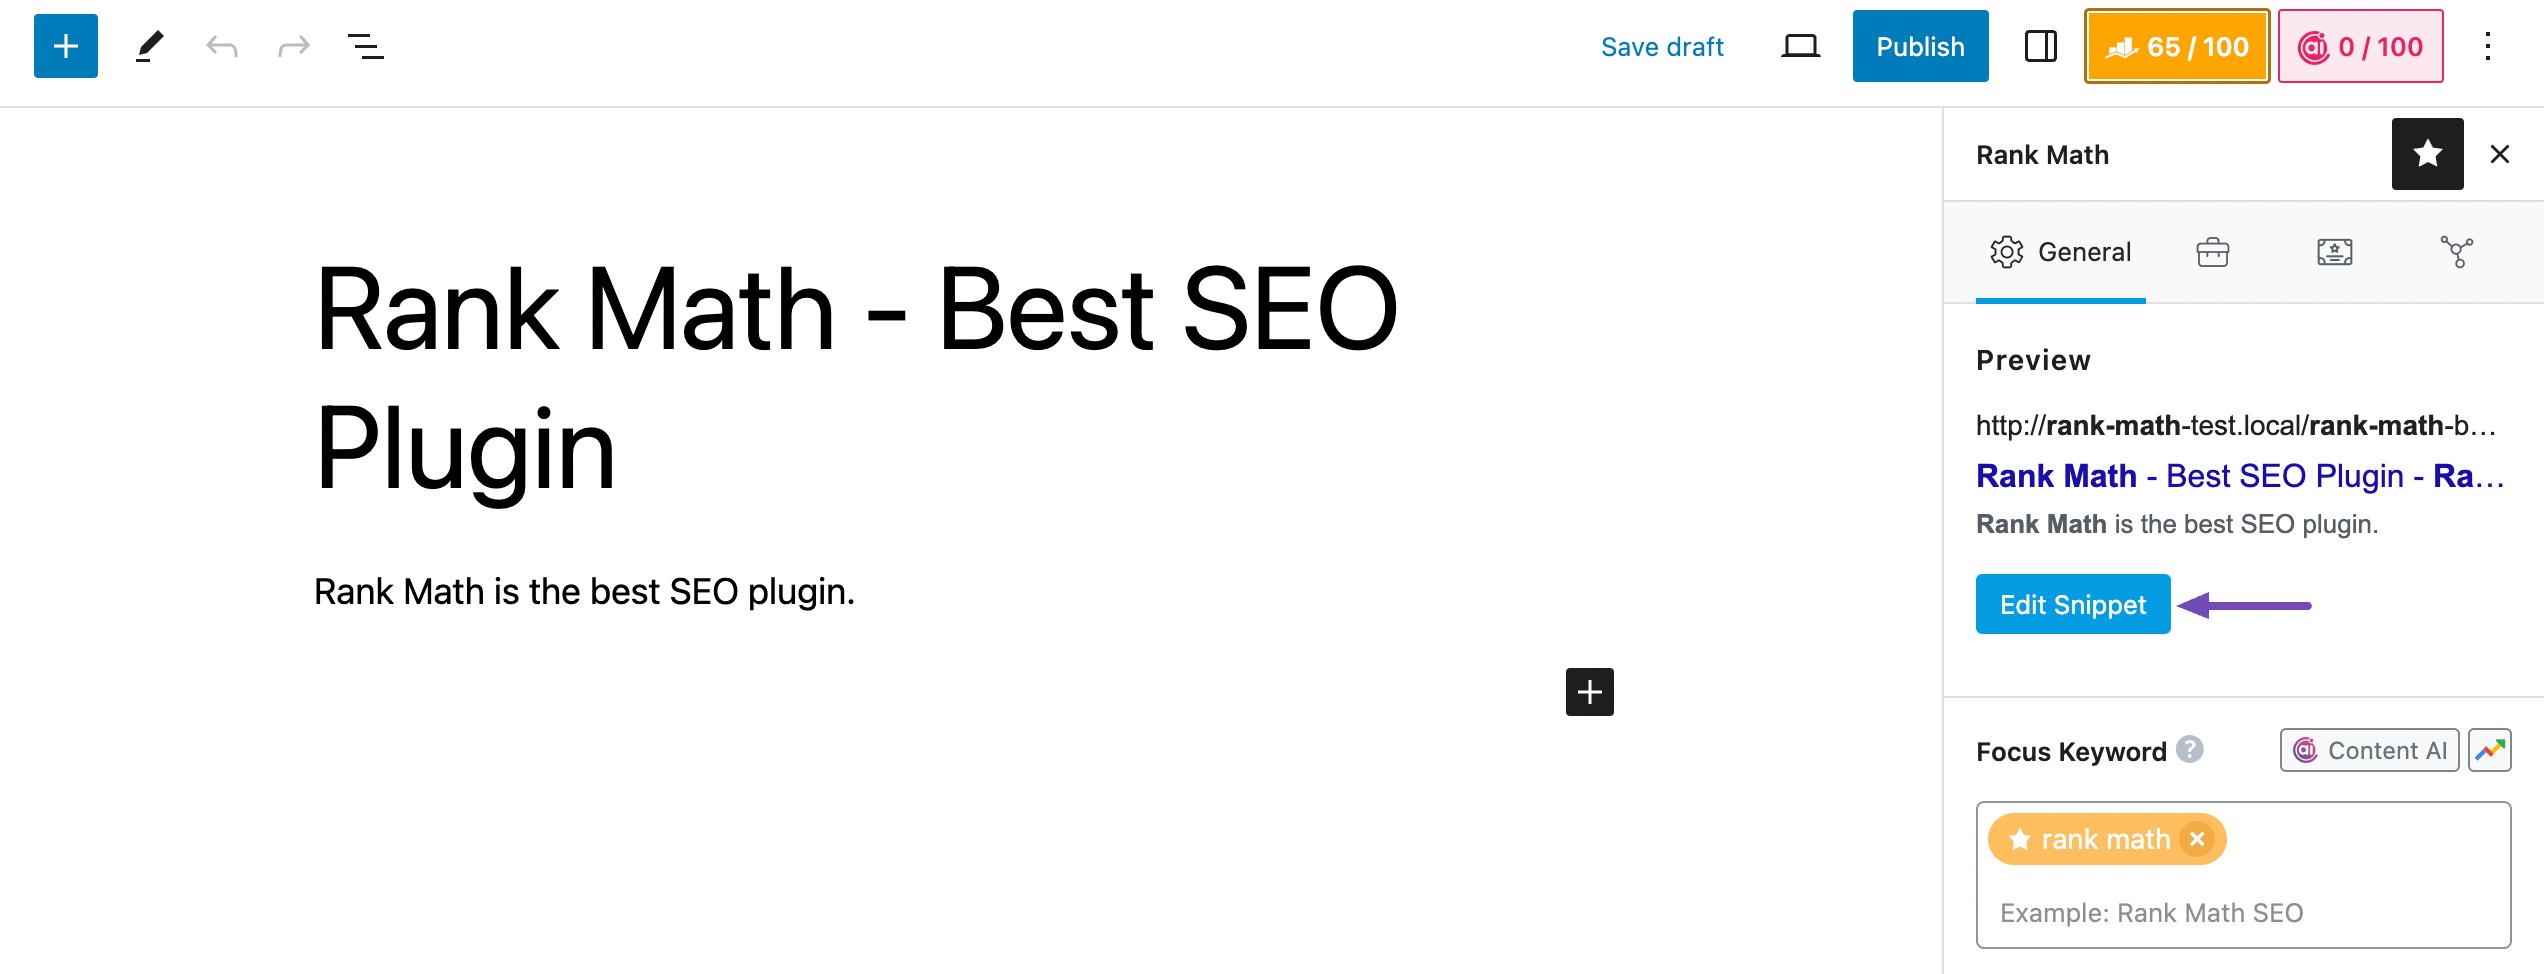
Next, click Edit Snippet, as shown below.
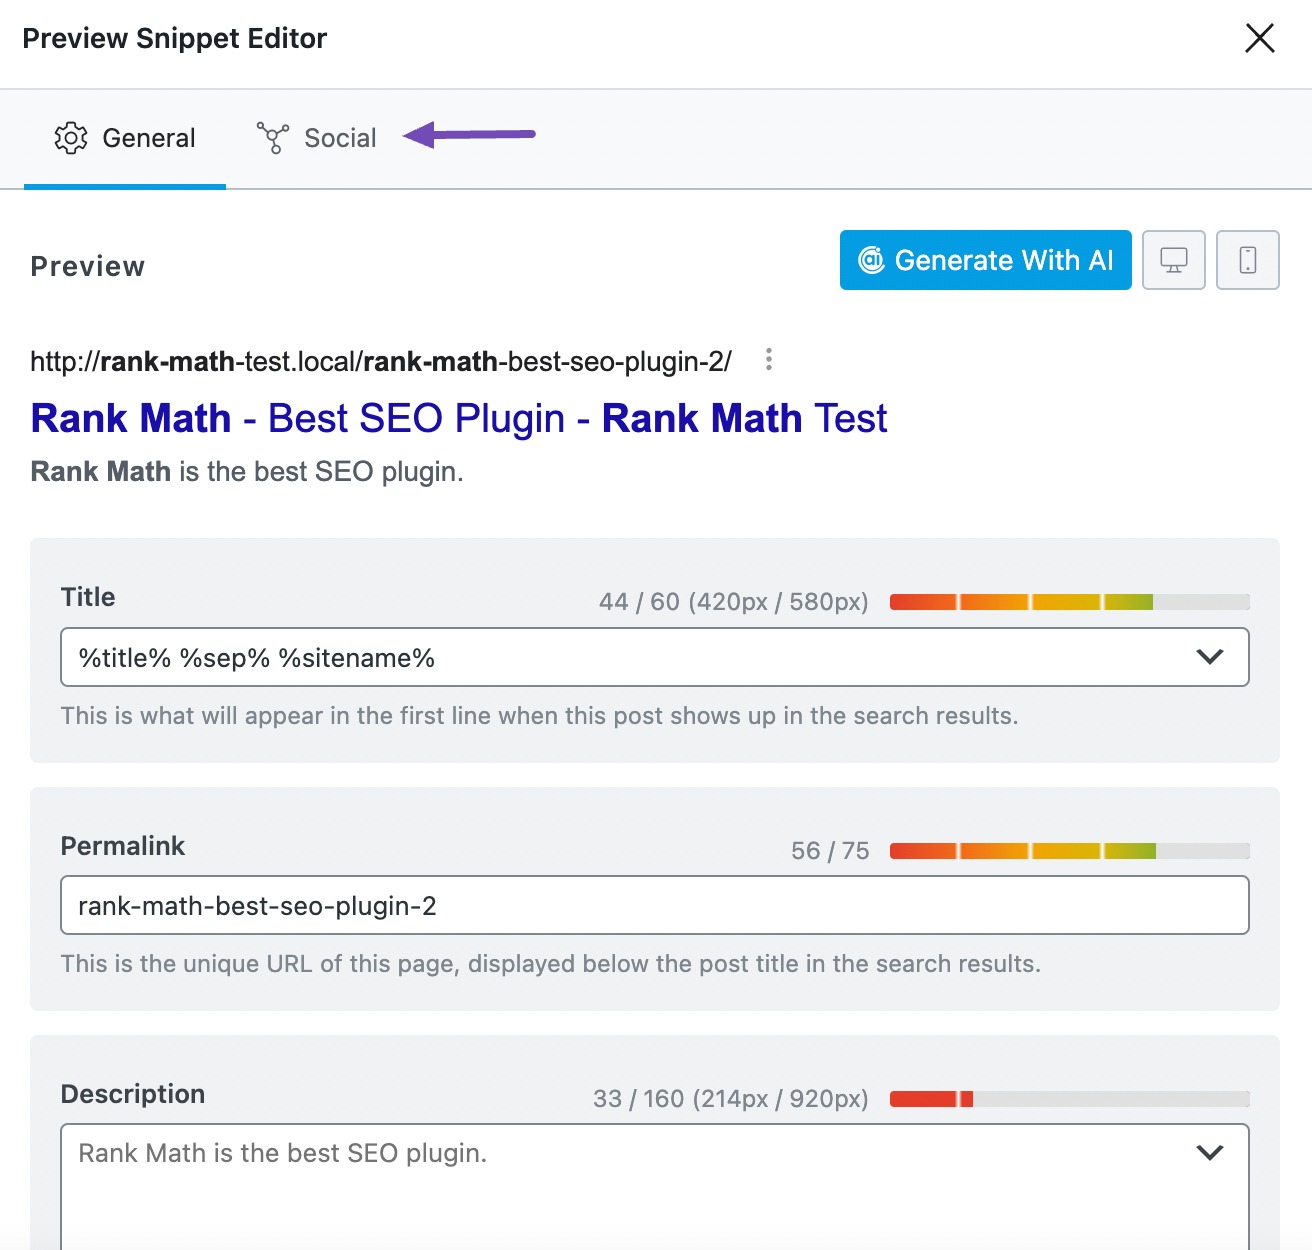
In the Preview Snippet Editor, click the Social tab.
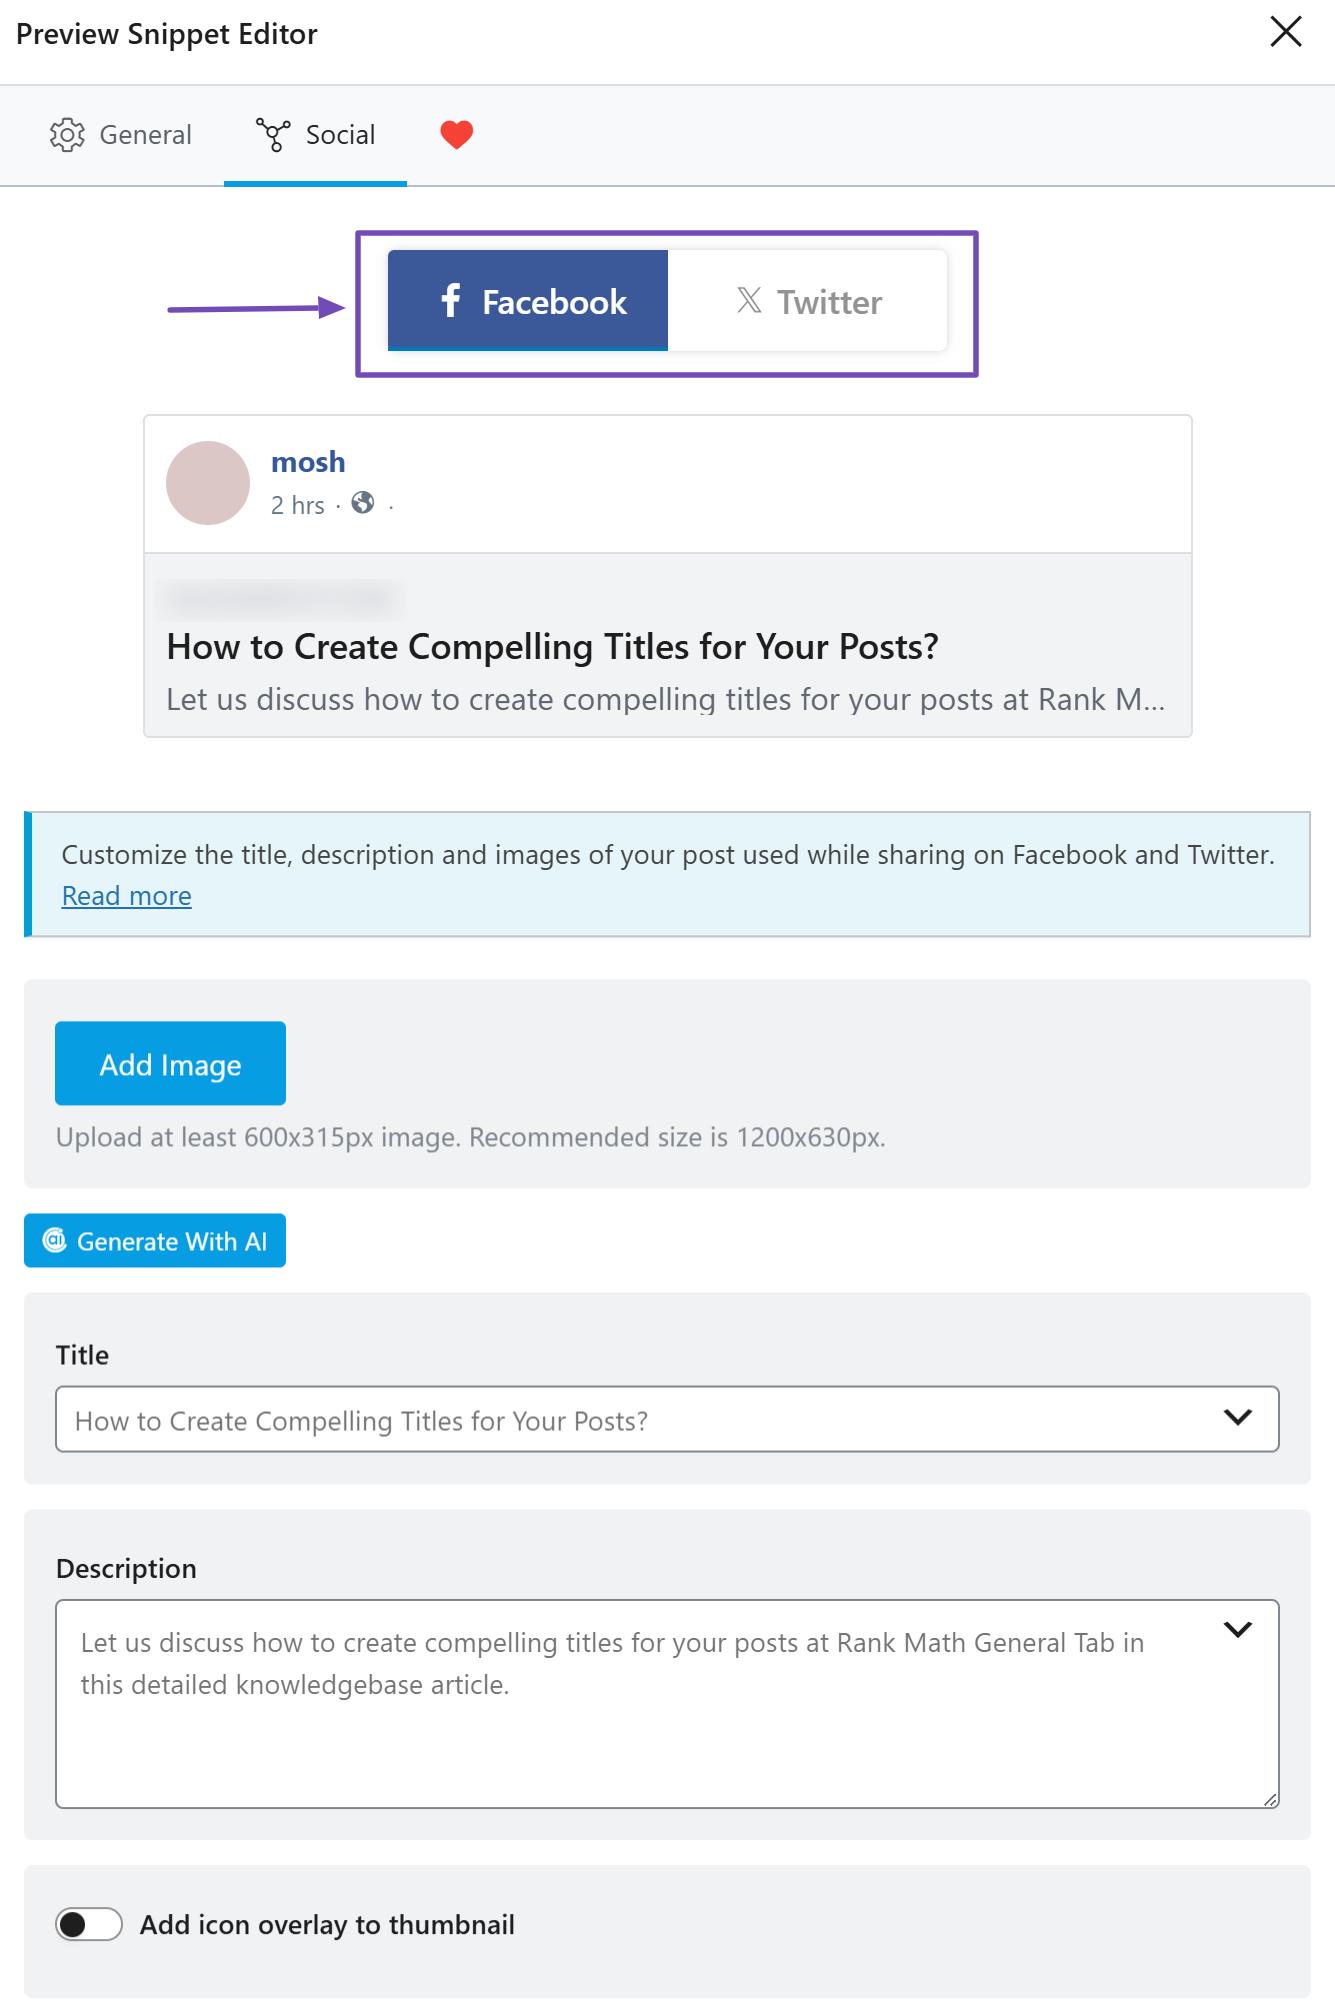
Select Facebook to create your Open Graph meta tags. If you want to generate Twitter Cards metadata, select Twitter.
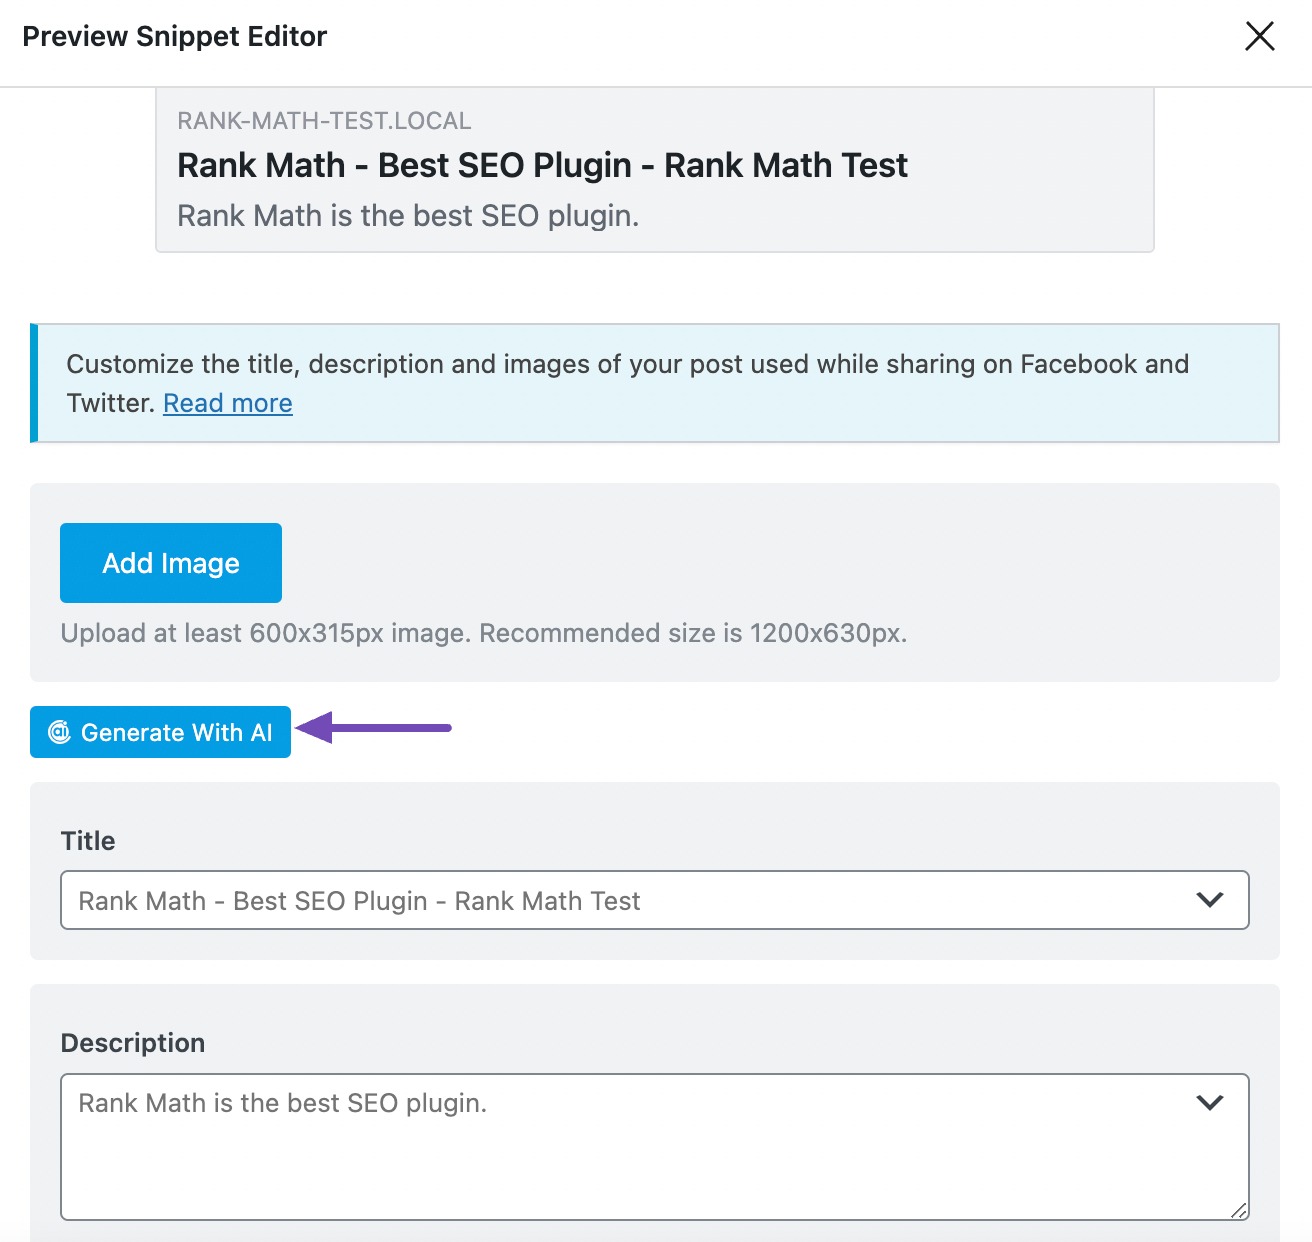
Then, scroll down and click Generate With AI, as shown below.
The Open Graph AI tool settings will display. Let’s discuss them one by one.
3 Available Options in the Open Graph AI Tool
We’ll now discuss the available options in the Open Graph AI tool in detail.
3.1 Topic
In 200 characters or less, enter the title/headline of your content into this field. This is a required field.
Note: You can quickly create a title/headline using the Post Title AI tool.

3.2 Post Brief
In 400 characters or less, summarize your content and enter it into this field.

3.3 Audience
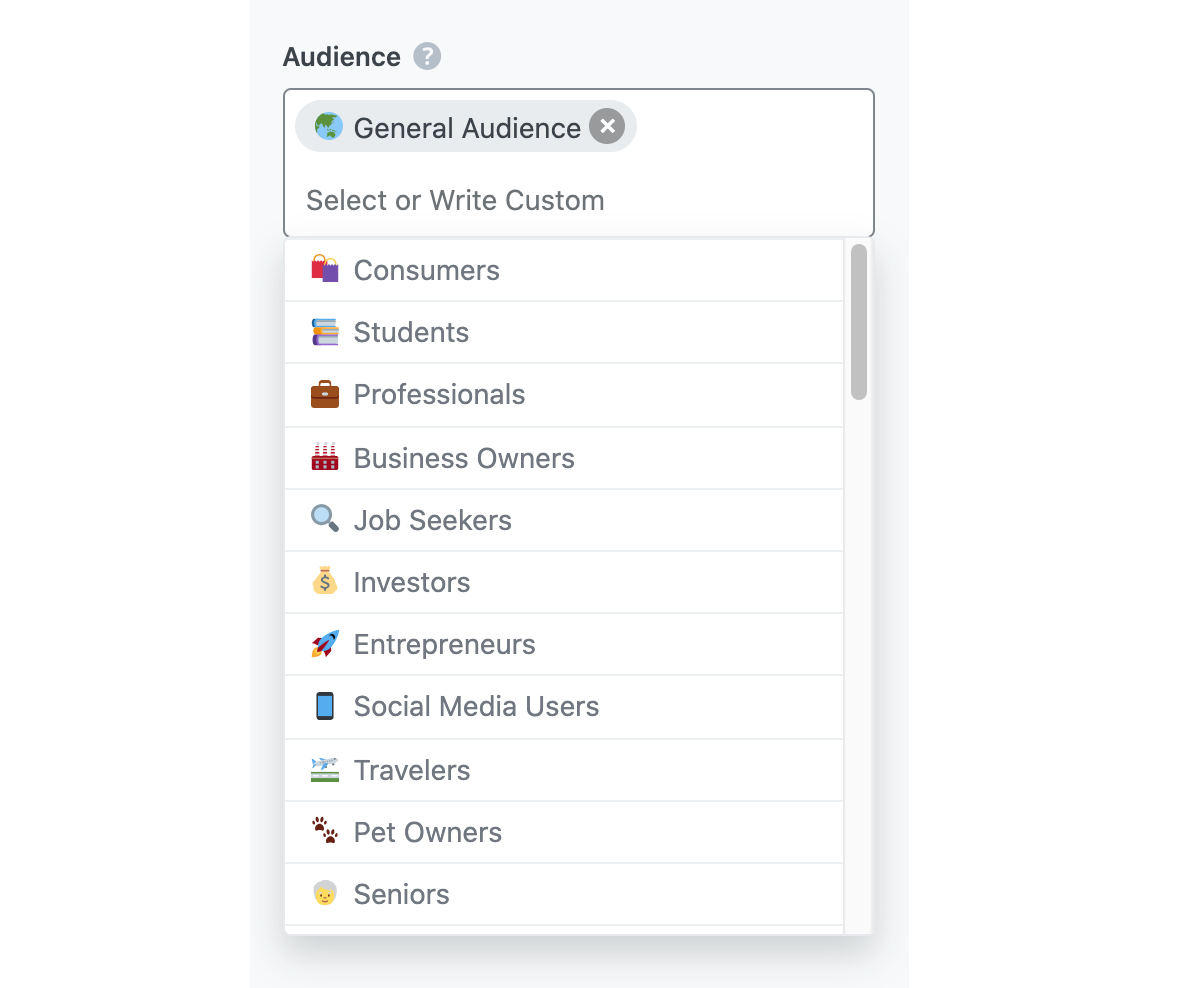
Select the option that best describes your target audience in this field. You can type in the word or select from the dropdown menu. You can enter multiple audiences.
See the full list of all the Audience options we offer ➜
3.4 Focus Keyword
Enter your primary focus keyword, followed by any other keyword you want to rank for in this field. The keywords should be no longer than 200 characters. Remember to separate multiple keywords with a comma.

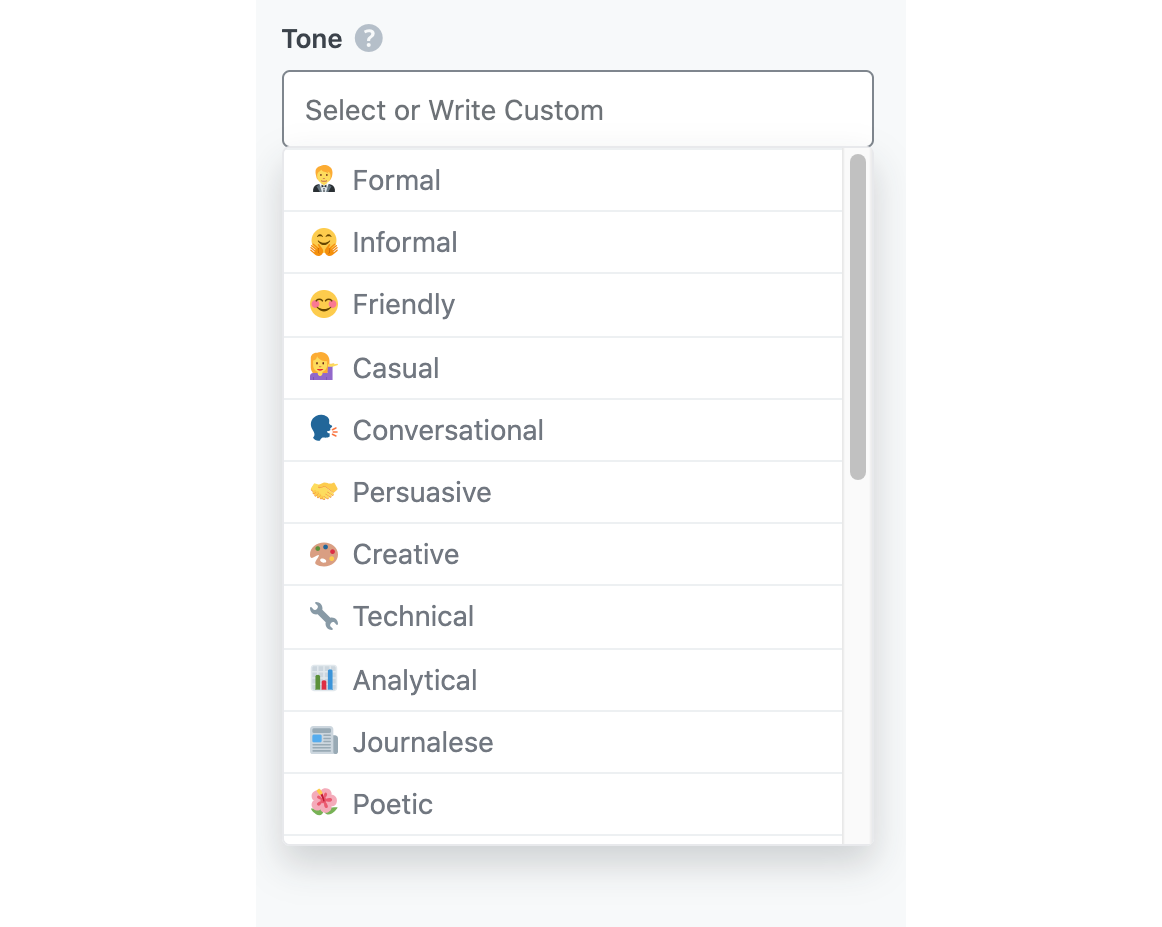
3.5 Tone
Select the option that best describes your writing tone in this field. You can type in the word or select from the dropdown menu. You can enter multiple tones.
See the full list of all the Tone options we offer ➜
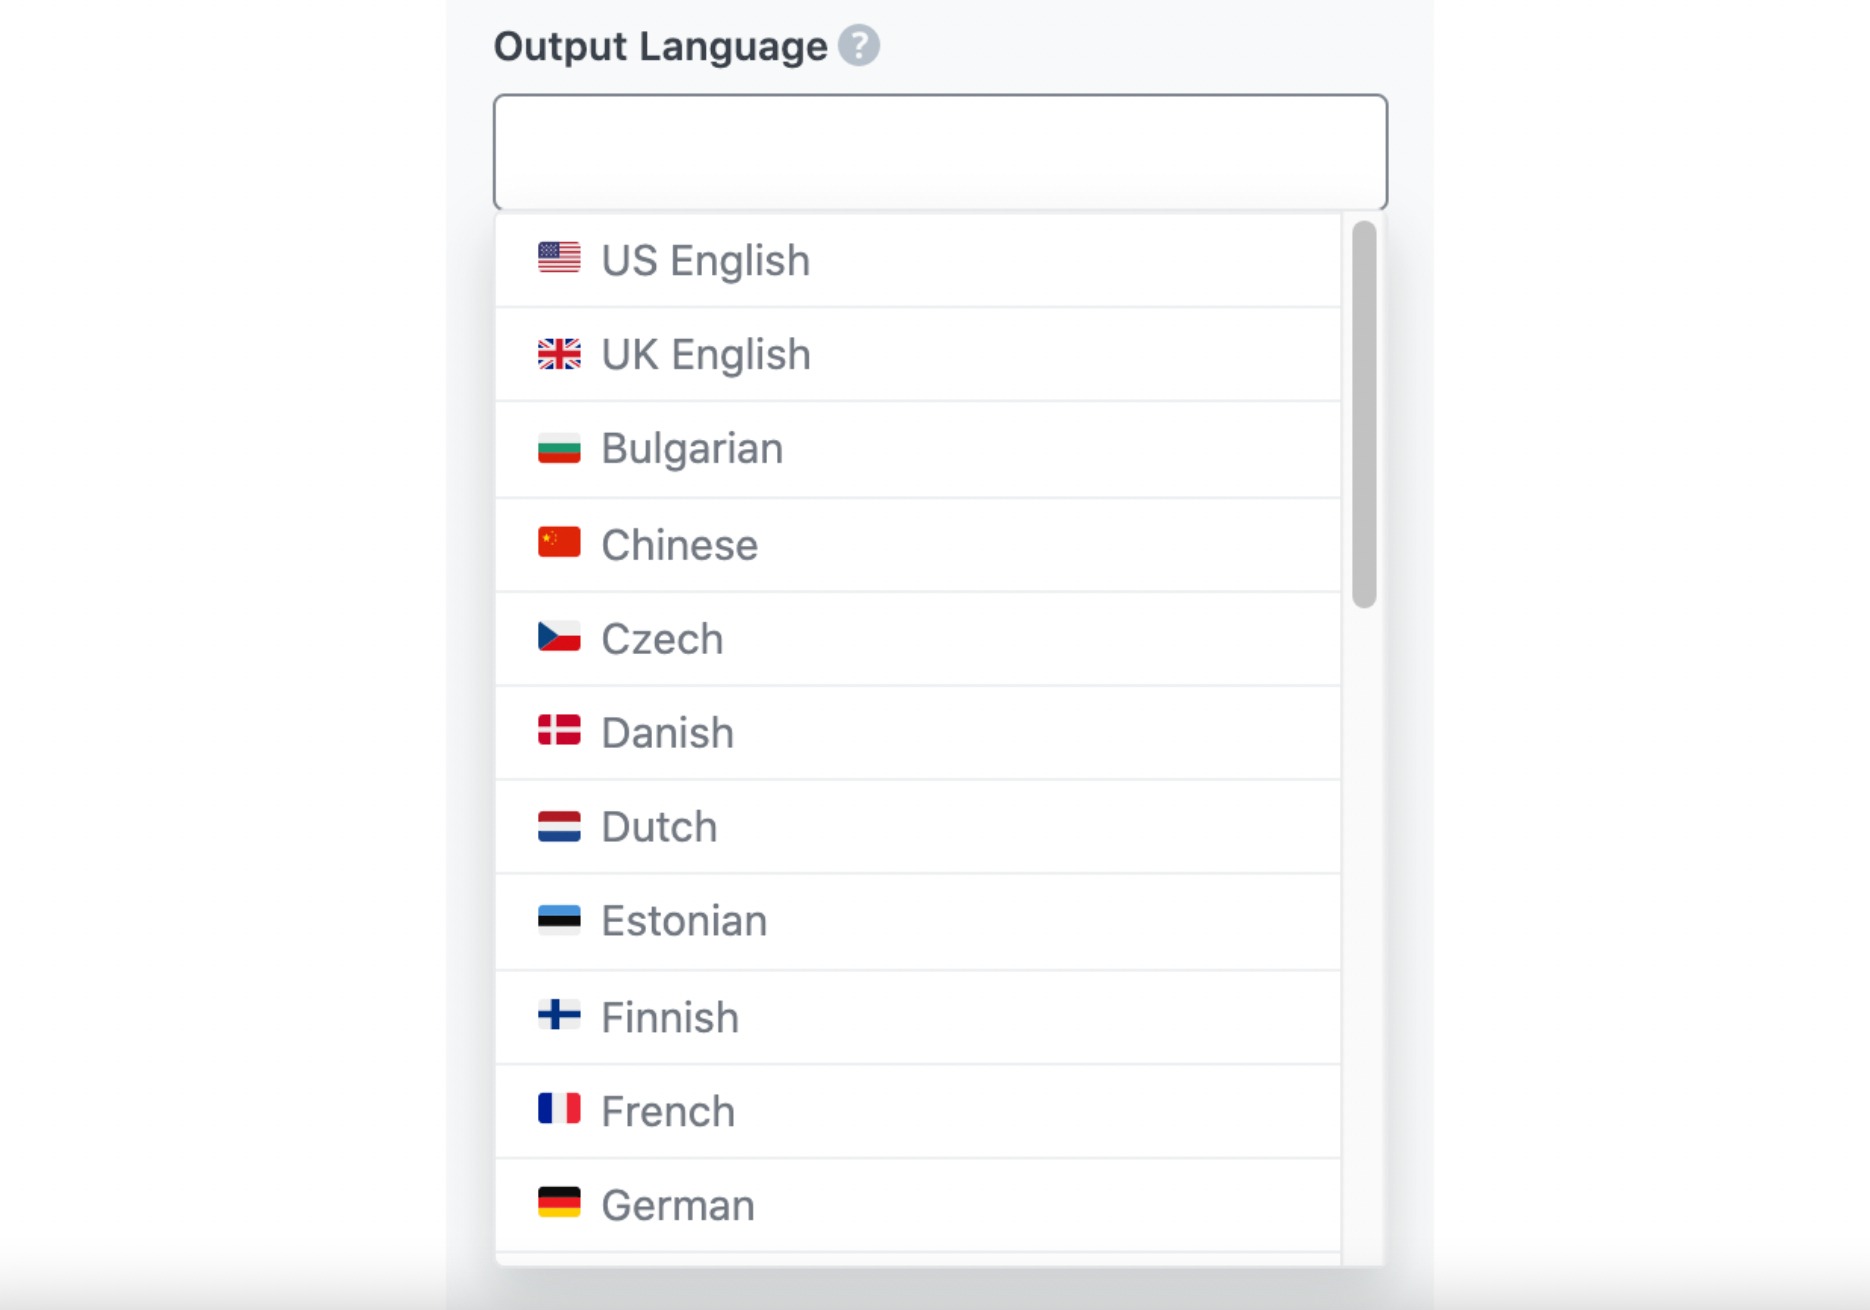
3.6 Output Language
Select the output language in which you want Content AI to generate the Open Graph meta tag. You can only add one language here. If the field already contains a language, delete it and select a new one.
See the full list of all the Output Language options we offer ➜
3.7 Number of Outputs
Enter a number between one and five into this field, depending on how many Open Graph meta tags you want to create.

3.8 Generate
Click Generate after filling in the required fields. Content AI will begin creating your Open Graph meta tags.
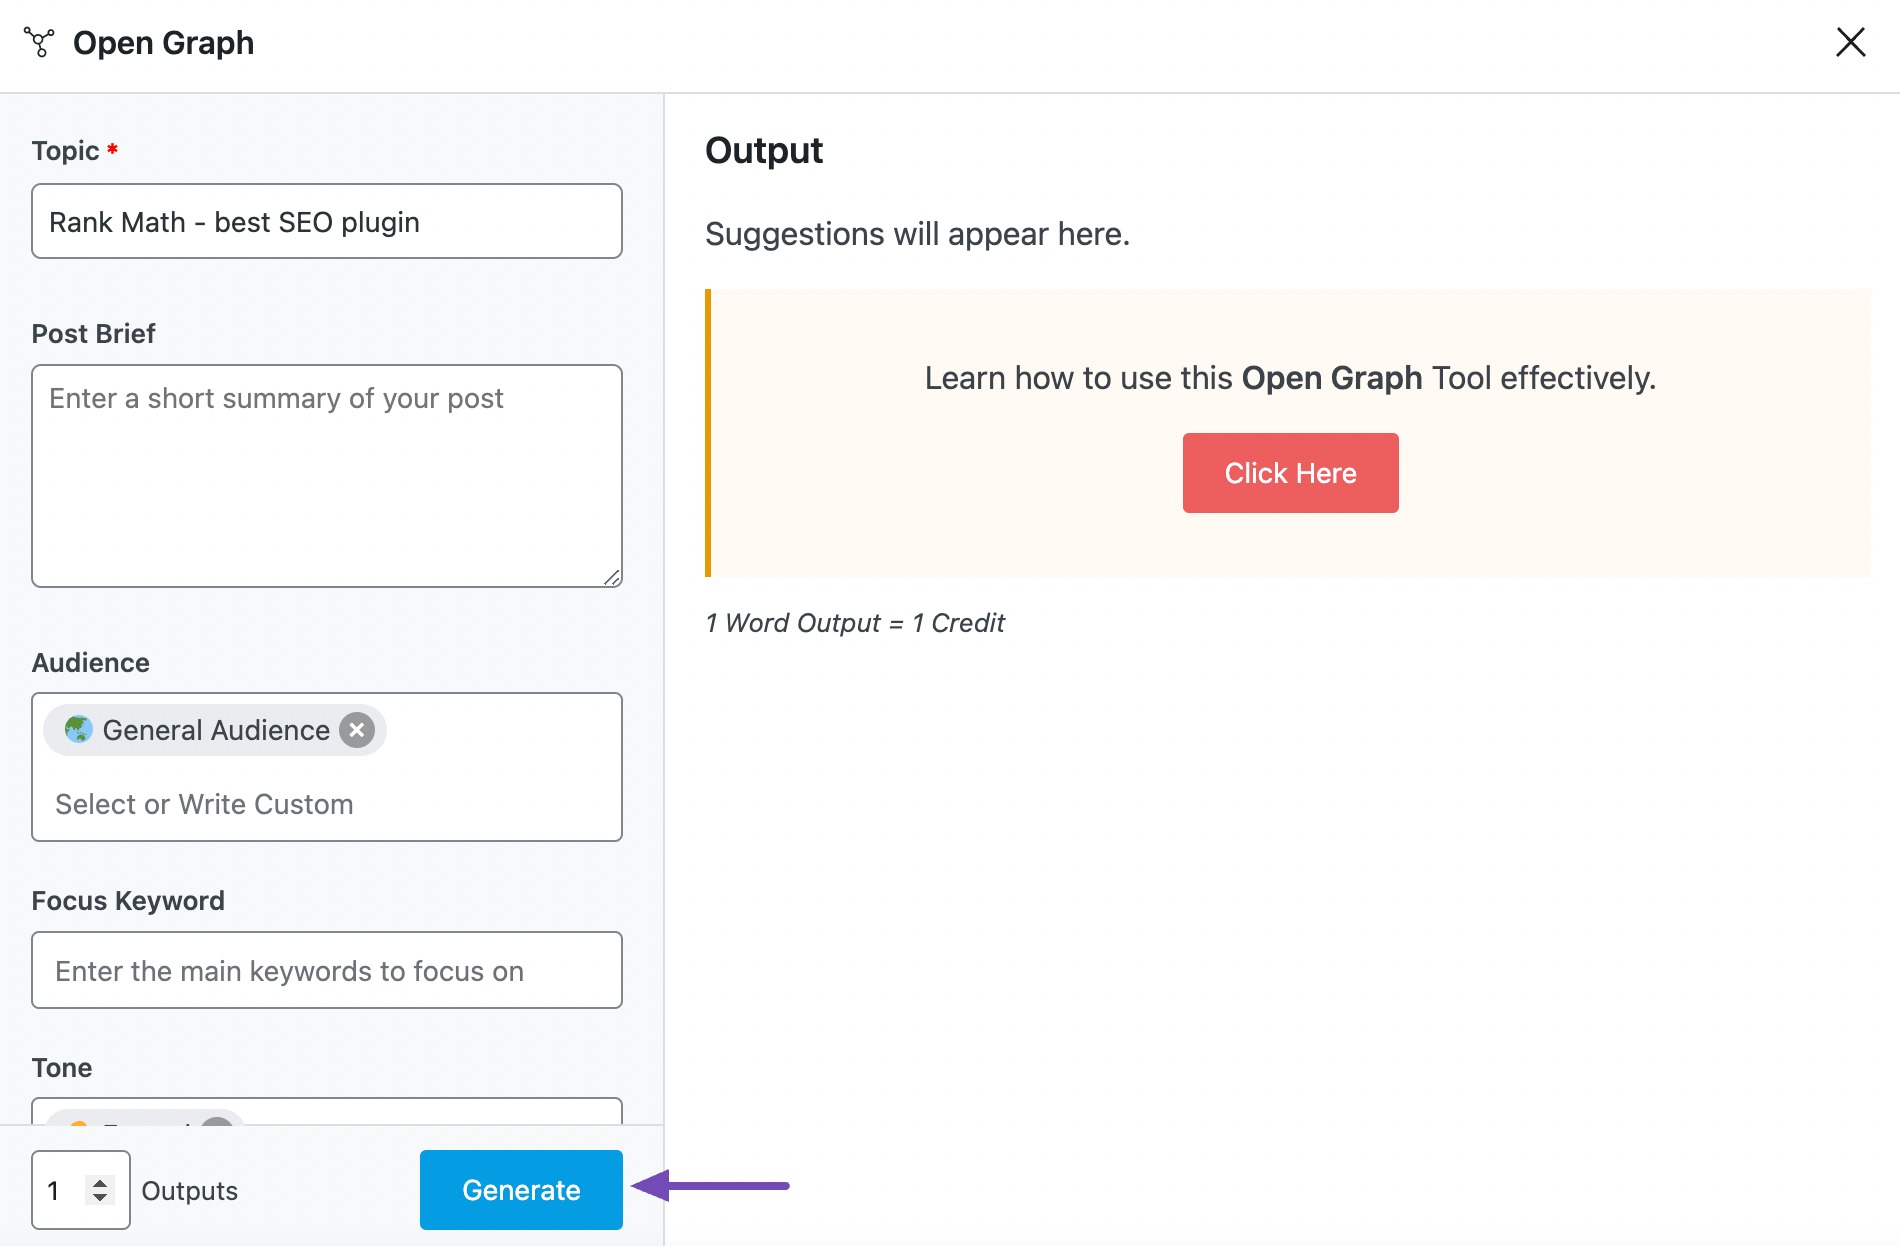
If you need more suggestions, click Generate More.
3.9 Copy
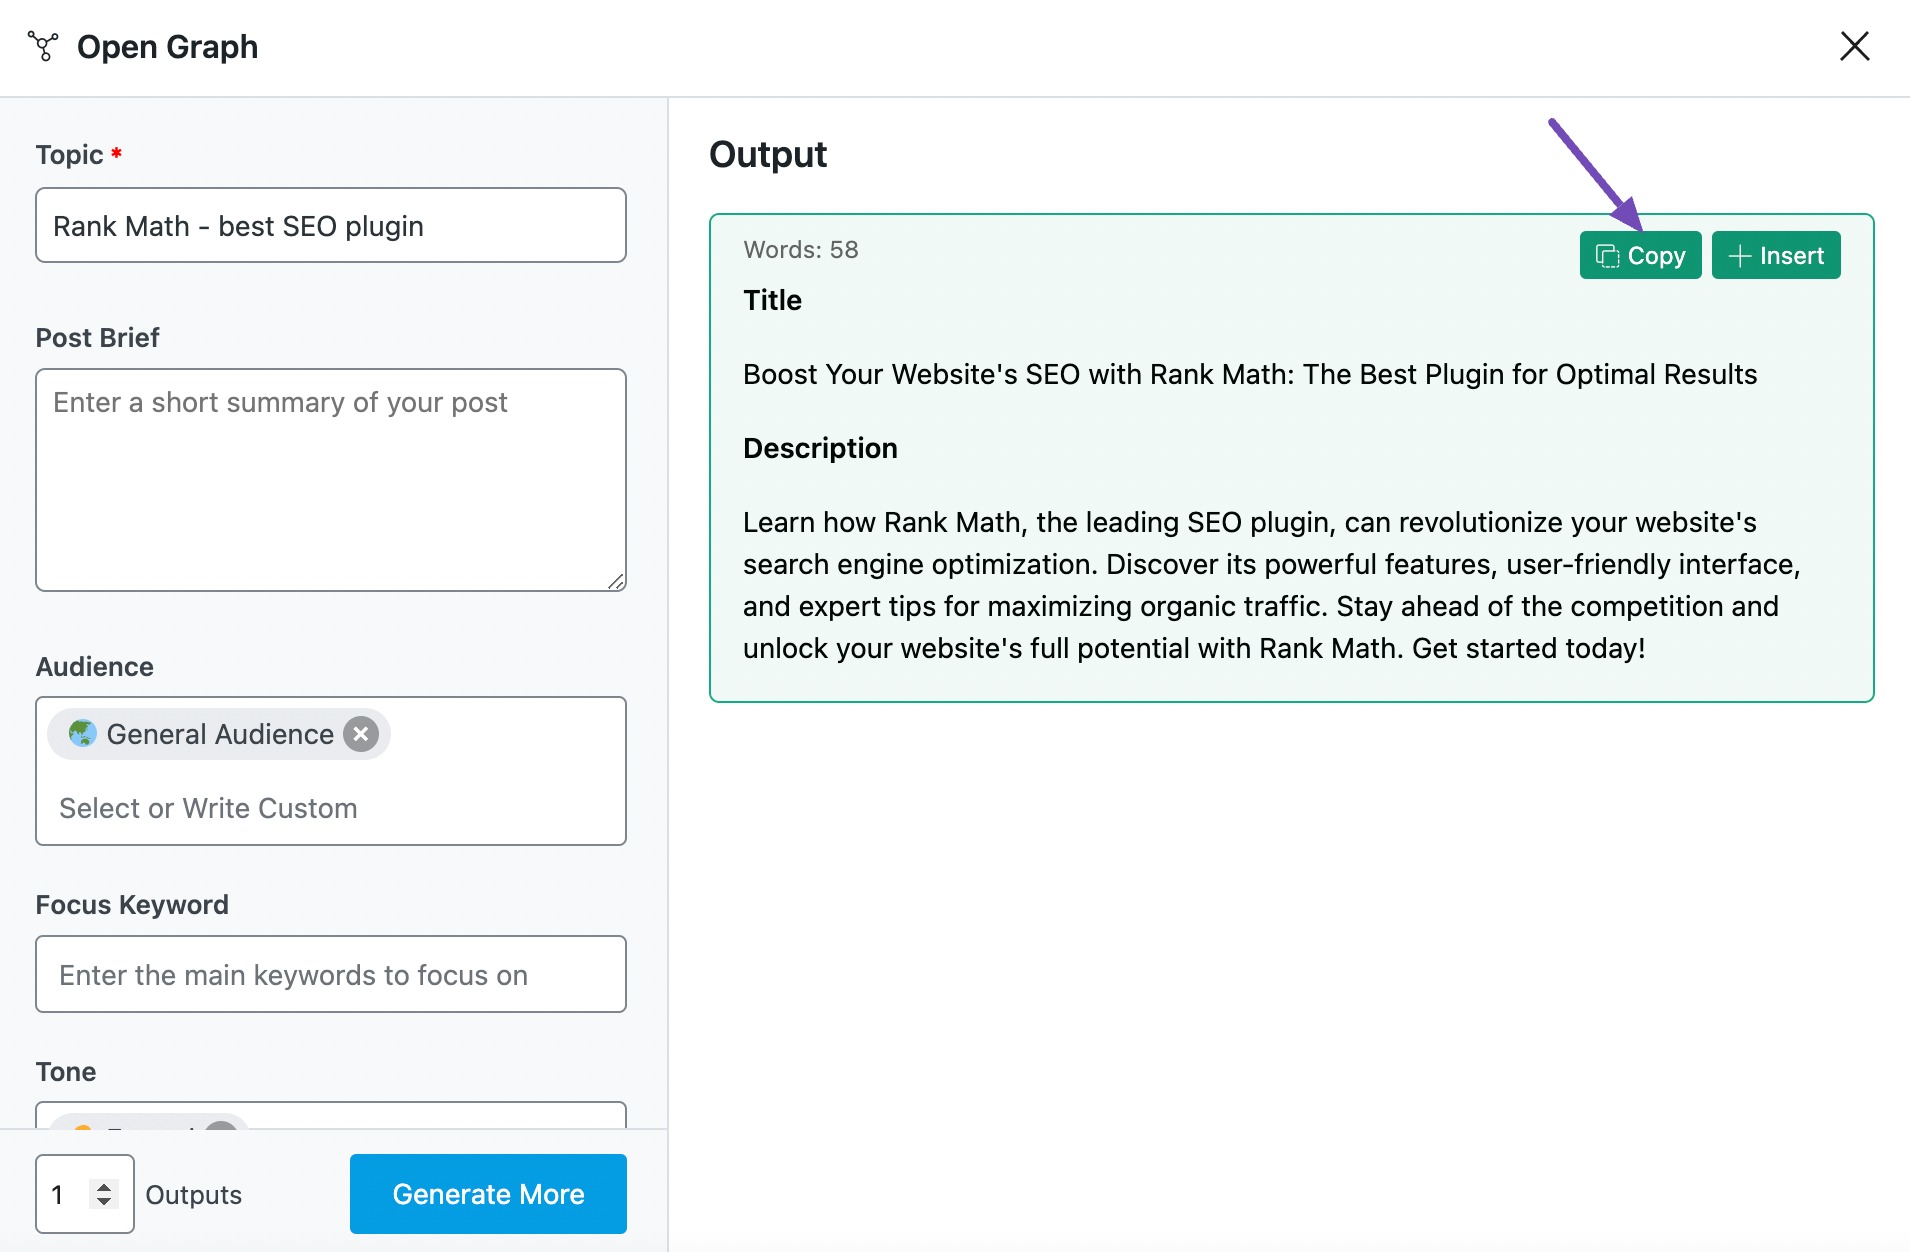
After generating Open Graph meta tags, hover over the desired output. It will display two new options: Copy and Insert.
If you created the Open Graph meta using the Content Editor, click Copy. The meta will be copied to your clipboard. You can then proceed to paste it wherever you want.
If you created the Open Graph meta using the WordPress Editor, click Insert. The meta will be inserted into the Snippet Editor.
4 Use Cases for the Open Graph AI Tool
The Open Graph AI tool helps generate attention-grabbing Open Graph (OG) metadata, which you can share on social media platforms, making your posts more engaging, professional, and share-worthy. Here’s how you can use it effectively:
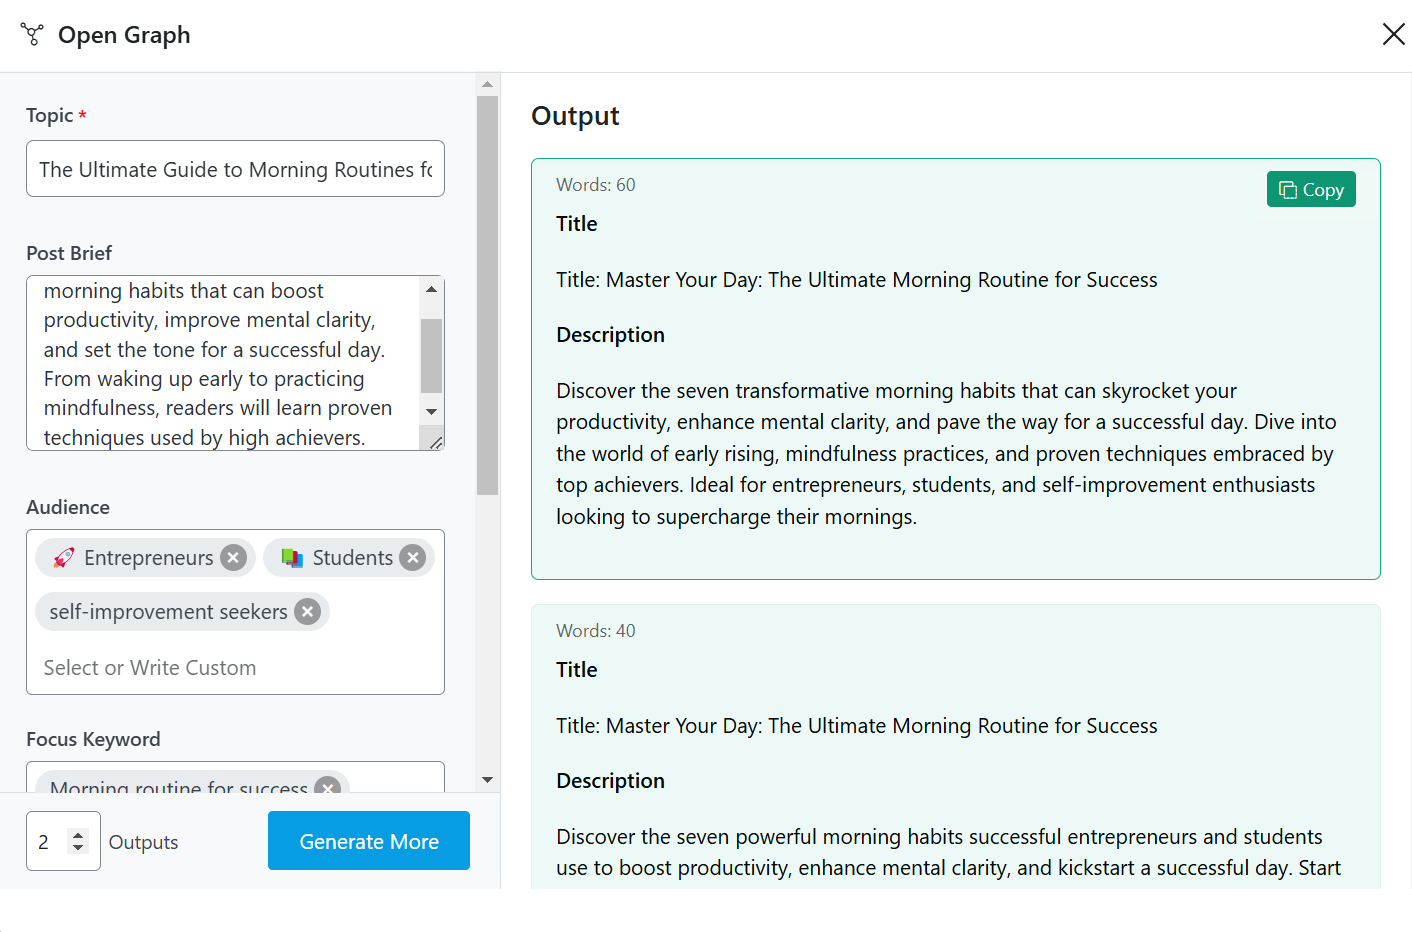
4.1 Making Blog Posts Stand Out on Social Media
A blog post is only as effective as its visibility. When shared on social platforms, a post’s title and description influence whether users engage with it. This AI ensures your post doesn’t get overlooked by generating well-crafted Open Graph metadata that makes your article clear, engaging, and compelling.
Instead of a generic preview, it highlights key takeaways, ensuring your post grabs attention instantly. With a strong OG title and description, click-through rates (CTR) improve, and more people engage with your content.
4.2 Optimizing Product Pages for More Social Shares
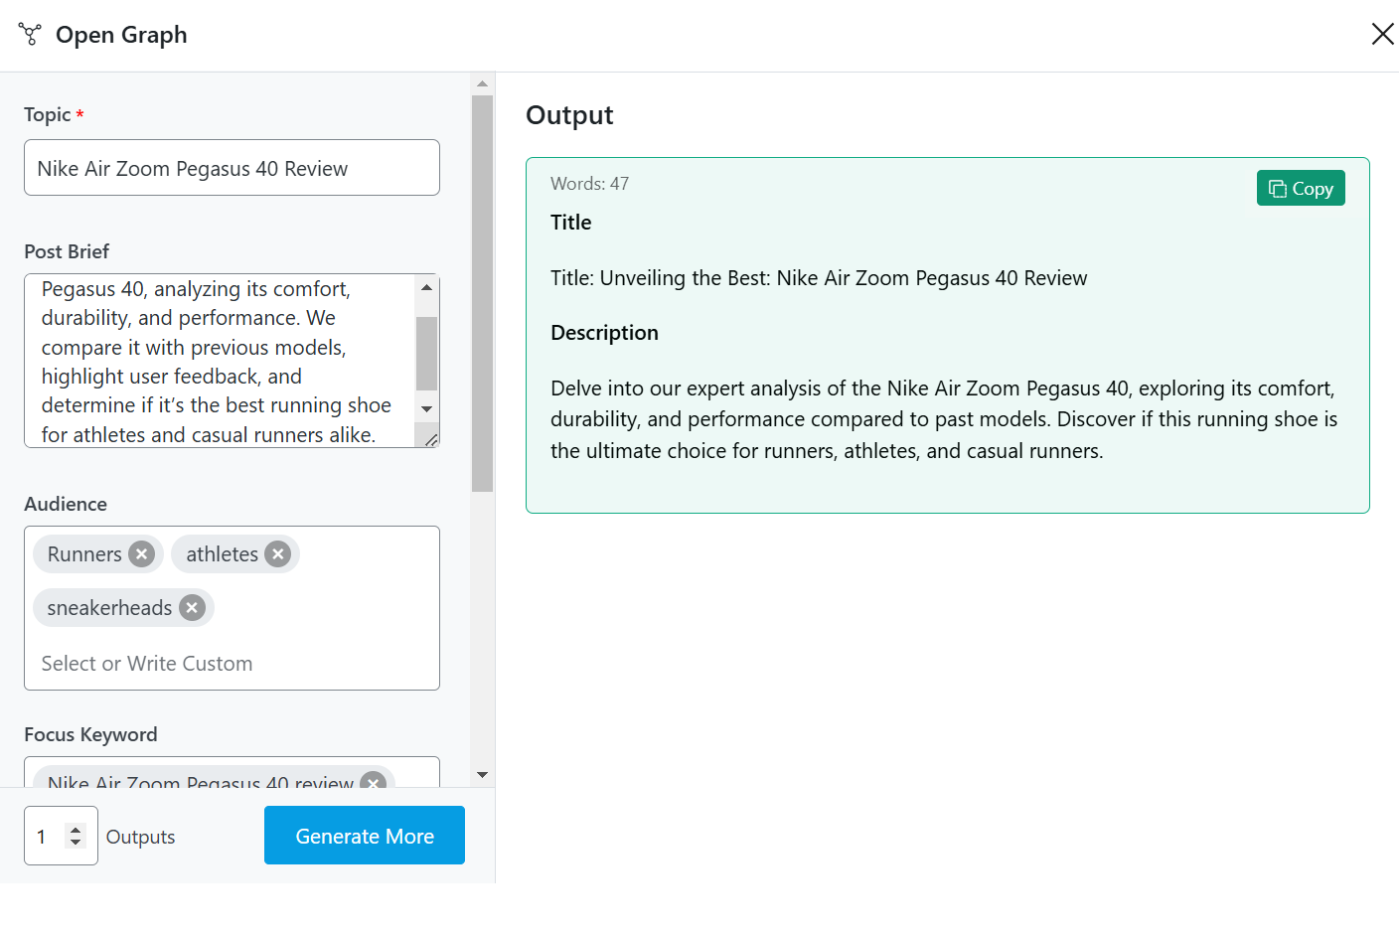
E-commerce businesses rely on social traffic to boost product visibility. A poorly optimized product page preview can mean lost sales, as users won’t click on a dull or unclear product description.
This AI creates precise, engaging OG metadata that highlights the product’s best features and benefits while maintaining clarity. With compelling OG titles and descriptions, users get a reason to click, explore, and buy.
4.3 Increasing Engagement for News Articles & Trending Topics
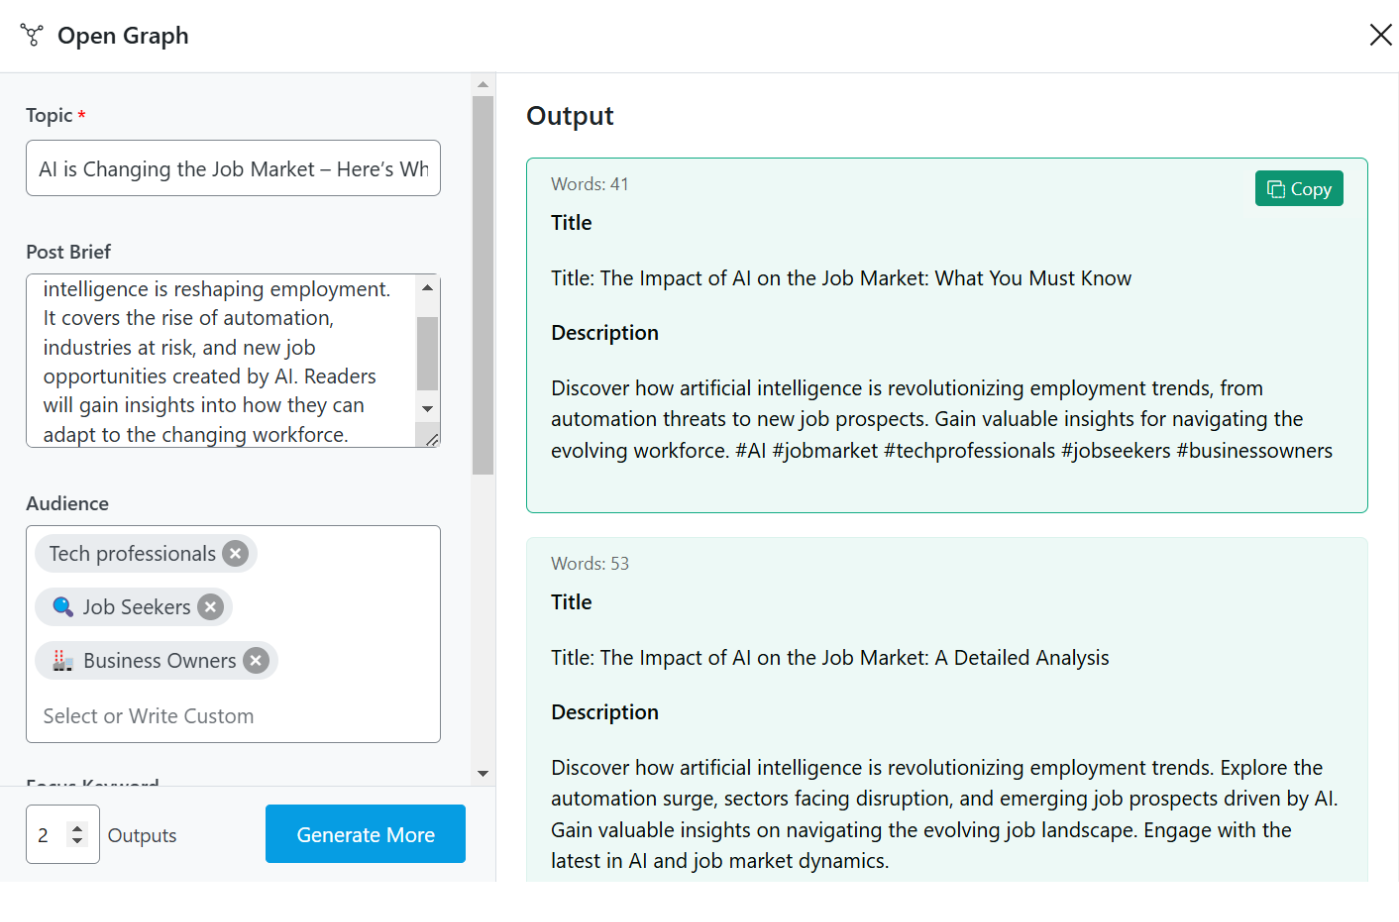
News articles and trending content need strong OG metadata to stand out in a fast-moving digital space. If a news article’s title and description fail to spark curiosity, people may ignore it.
This AI generates OG metadata that makes news content sound relevant, timely, and engaging.
5 Conclusion
That’s it. We hope you are able to generate Open Graph meta tags using Content AI. If you still have any questions about using the Open Graph AI tool or any other AI tool available in Content AI – you’re always more than welcome to contact our dedicated support team. We’re available 24/7, 365 days a year…