Job descriptions are vital for communicating the exact requirements for the role and attracting top talent. However, most businesses struggle to craft them and are often prone to inconsistencies or lack of clarity.
Using Content AI’s Job Description AI tool, you can eliminate these issues and create customized job descriptions highlighting key responsibilities, qualifications, and company culture, ensuring you attract the perfect candidates for your organization.
And it’s worth noting that the most significant advantage of using AI tools is saving time; 71% of users cite it as their number one benefit.
In this knowledgebase article, we will show you how to create a job description with Content AI.
Table Of Contents
1 Creating a Job Description
Creating a job description is a crucial step in the hiring process. It serves as a comprehensive guide for potential candidates, outlining the responsibilities, qualifications, and expectations for the role.
By utilizing our Job Description AI tool, you can efficiently generate accurate and detailed job descriptions, ensuring a clear and concise representation of the position.
1.1 Enable the Content AI Module
The first step is to head over to Rank Math SEO → Dashboard → Modules from your WordPress dashboard. Here, scroll down to find the Content AI module and enable it as shown below if you haven’t already.
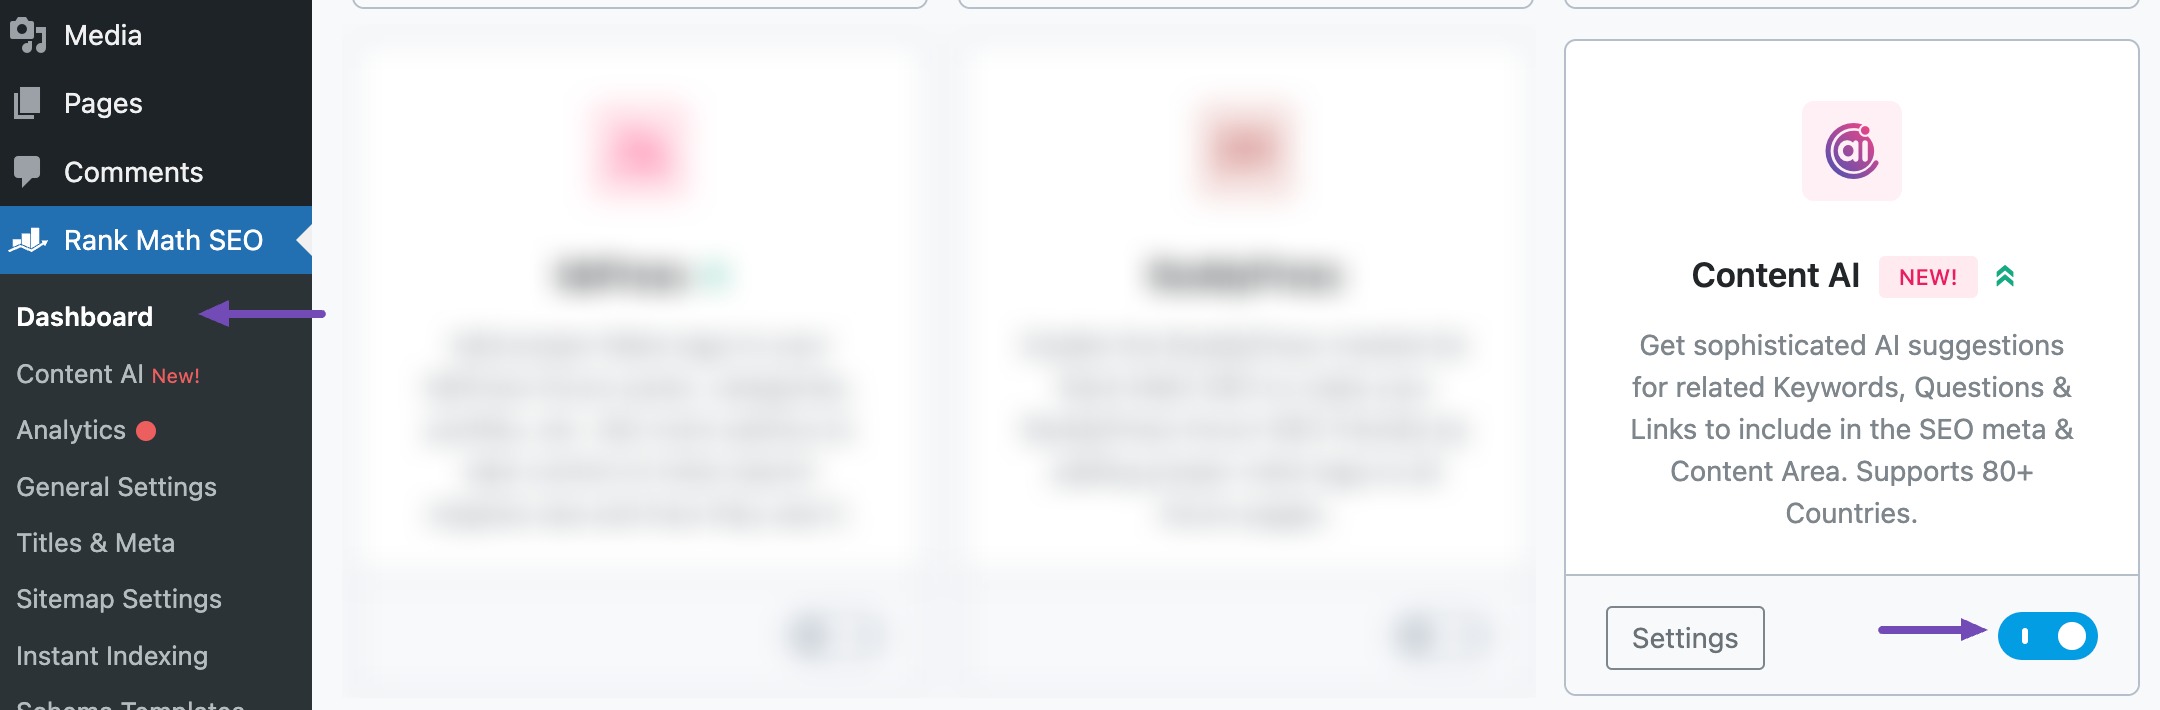
Note: If you exhaust your feature usage limits, you can easily upgrade to a higher Content AI plan that aligns with your requirements.
1.2 Select the Job Description AI Tool
Next, head over to Rank Math SEO → Content AI → Content Editor, as shown below.
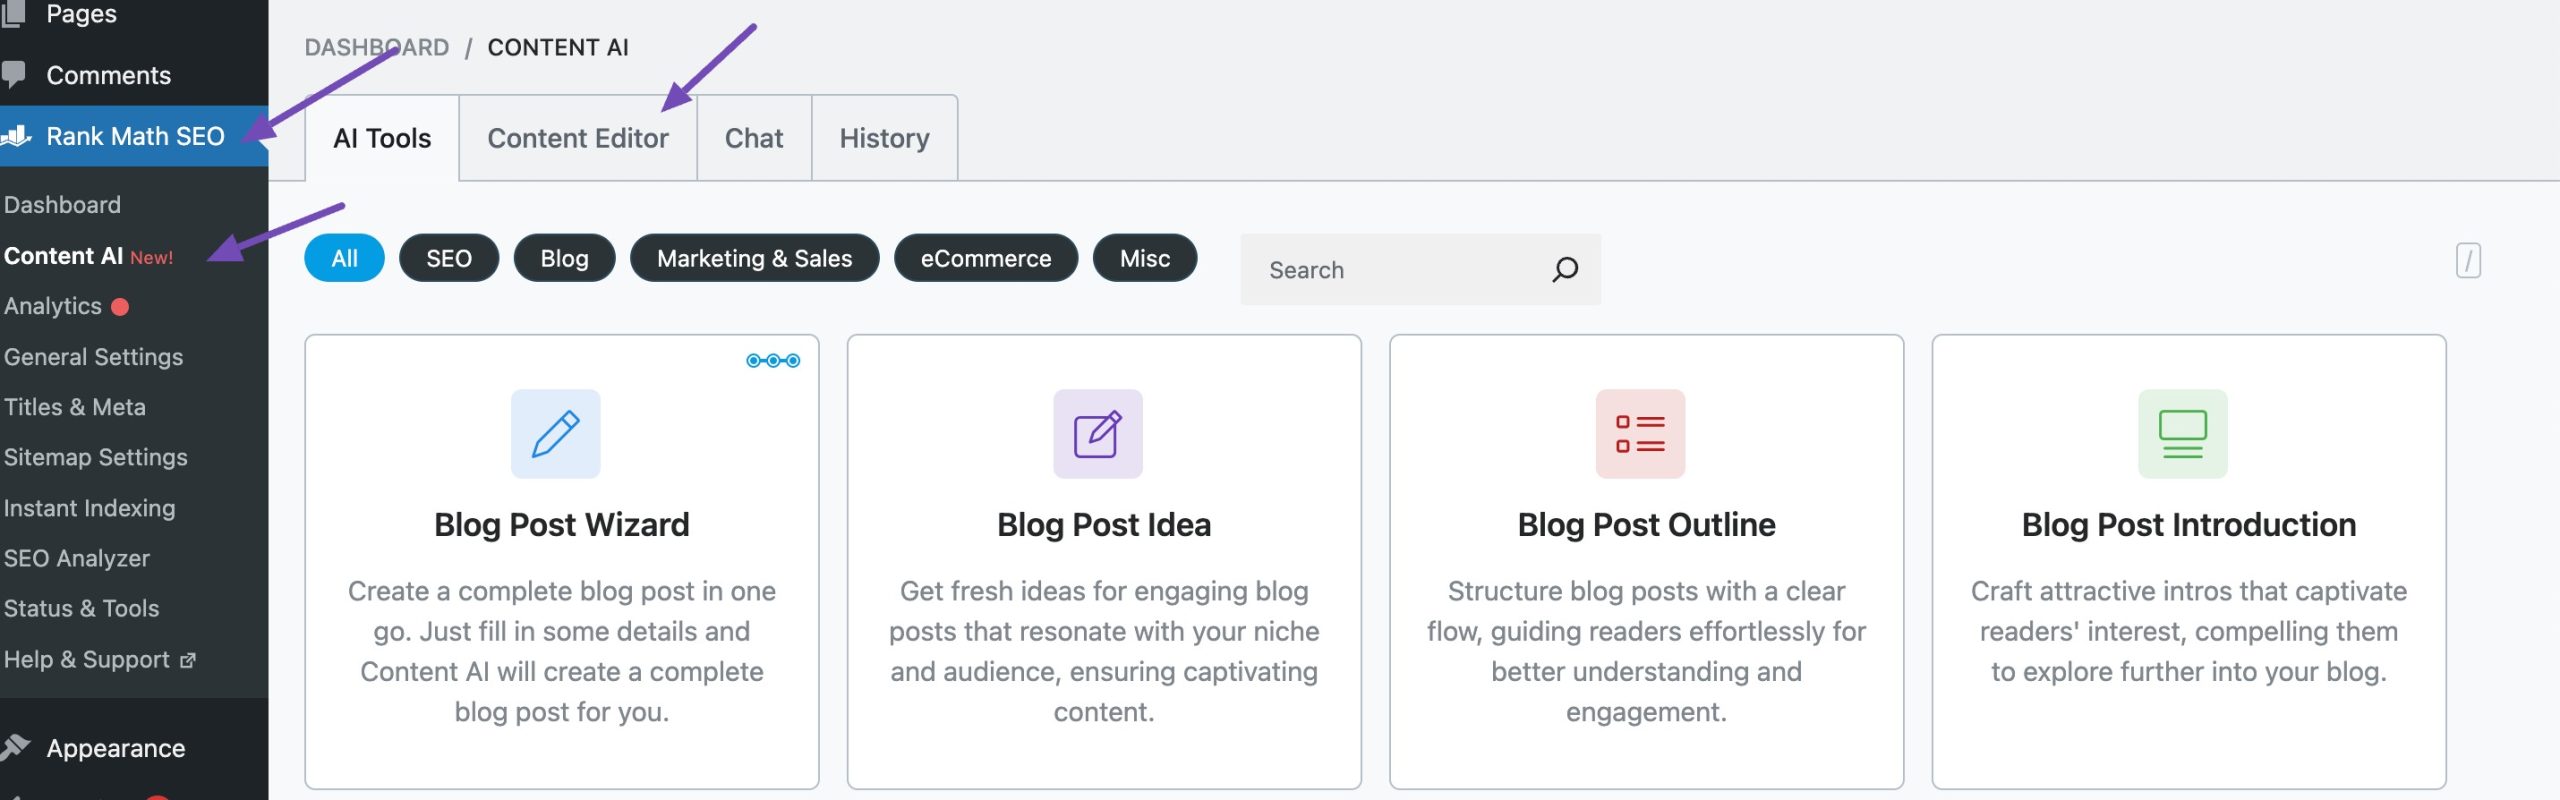
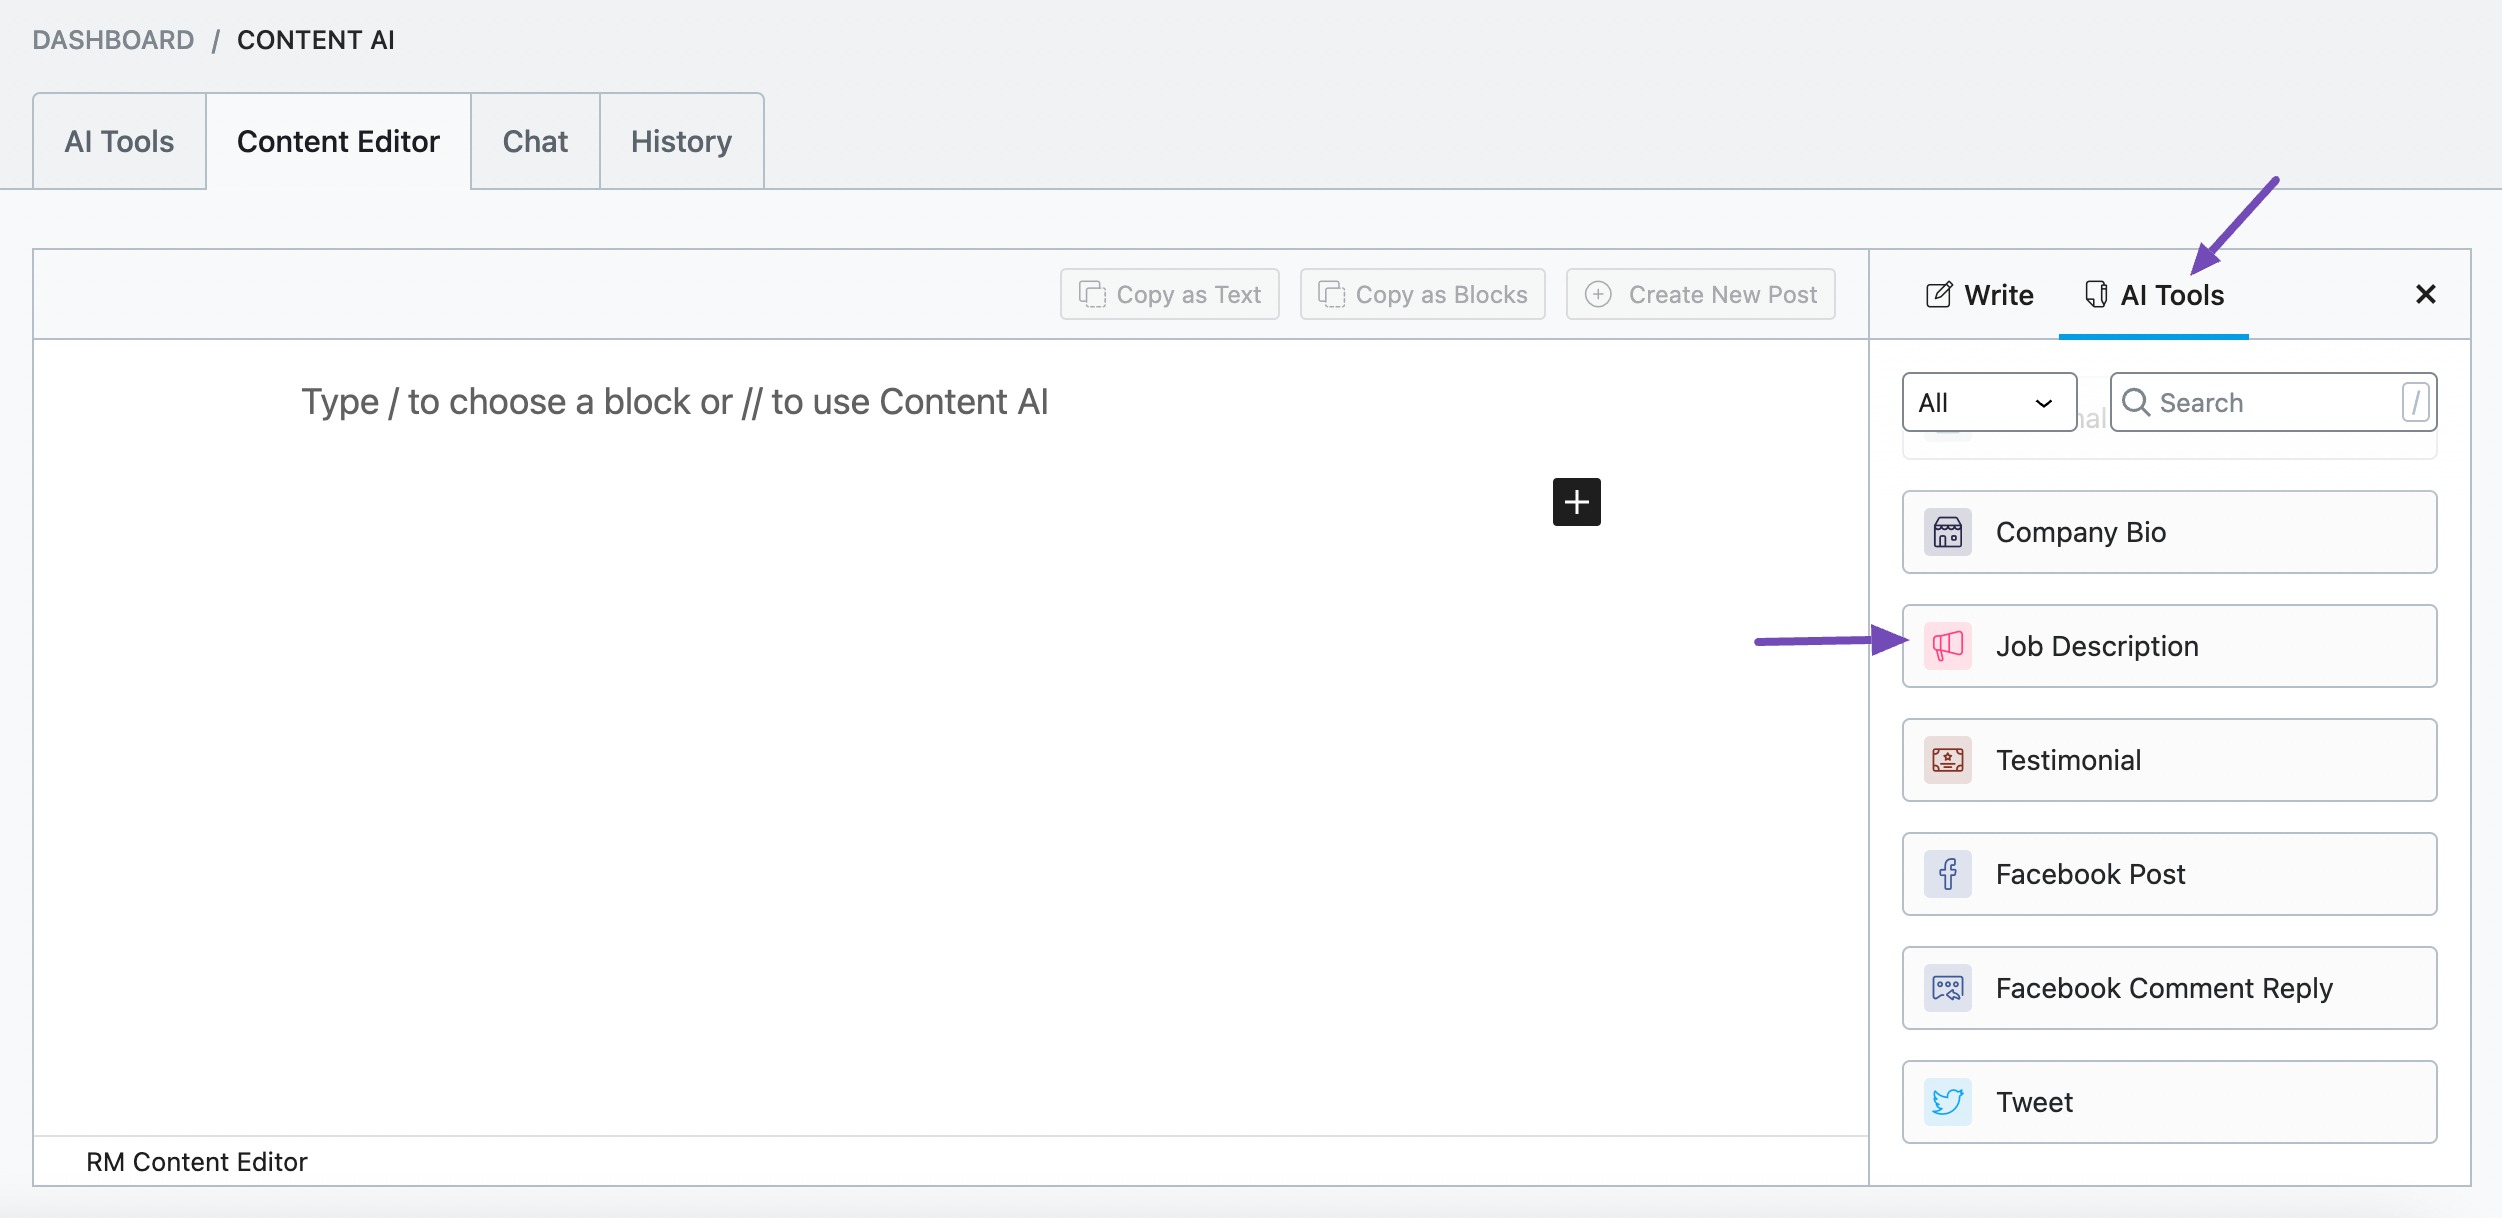
In the Content Editor, click AI Tools and select Job Description. Alternatively, you can choose the Job Description AI tool from your favourite WordPress Editors or from the AI Tools tab, whichever suits your writing flow.
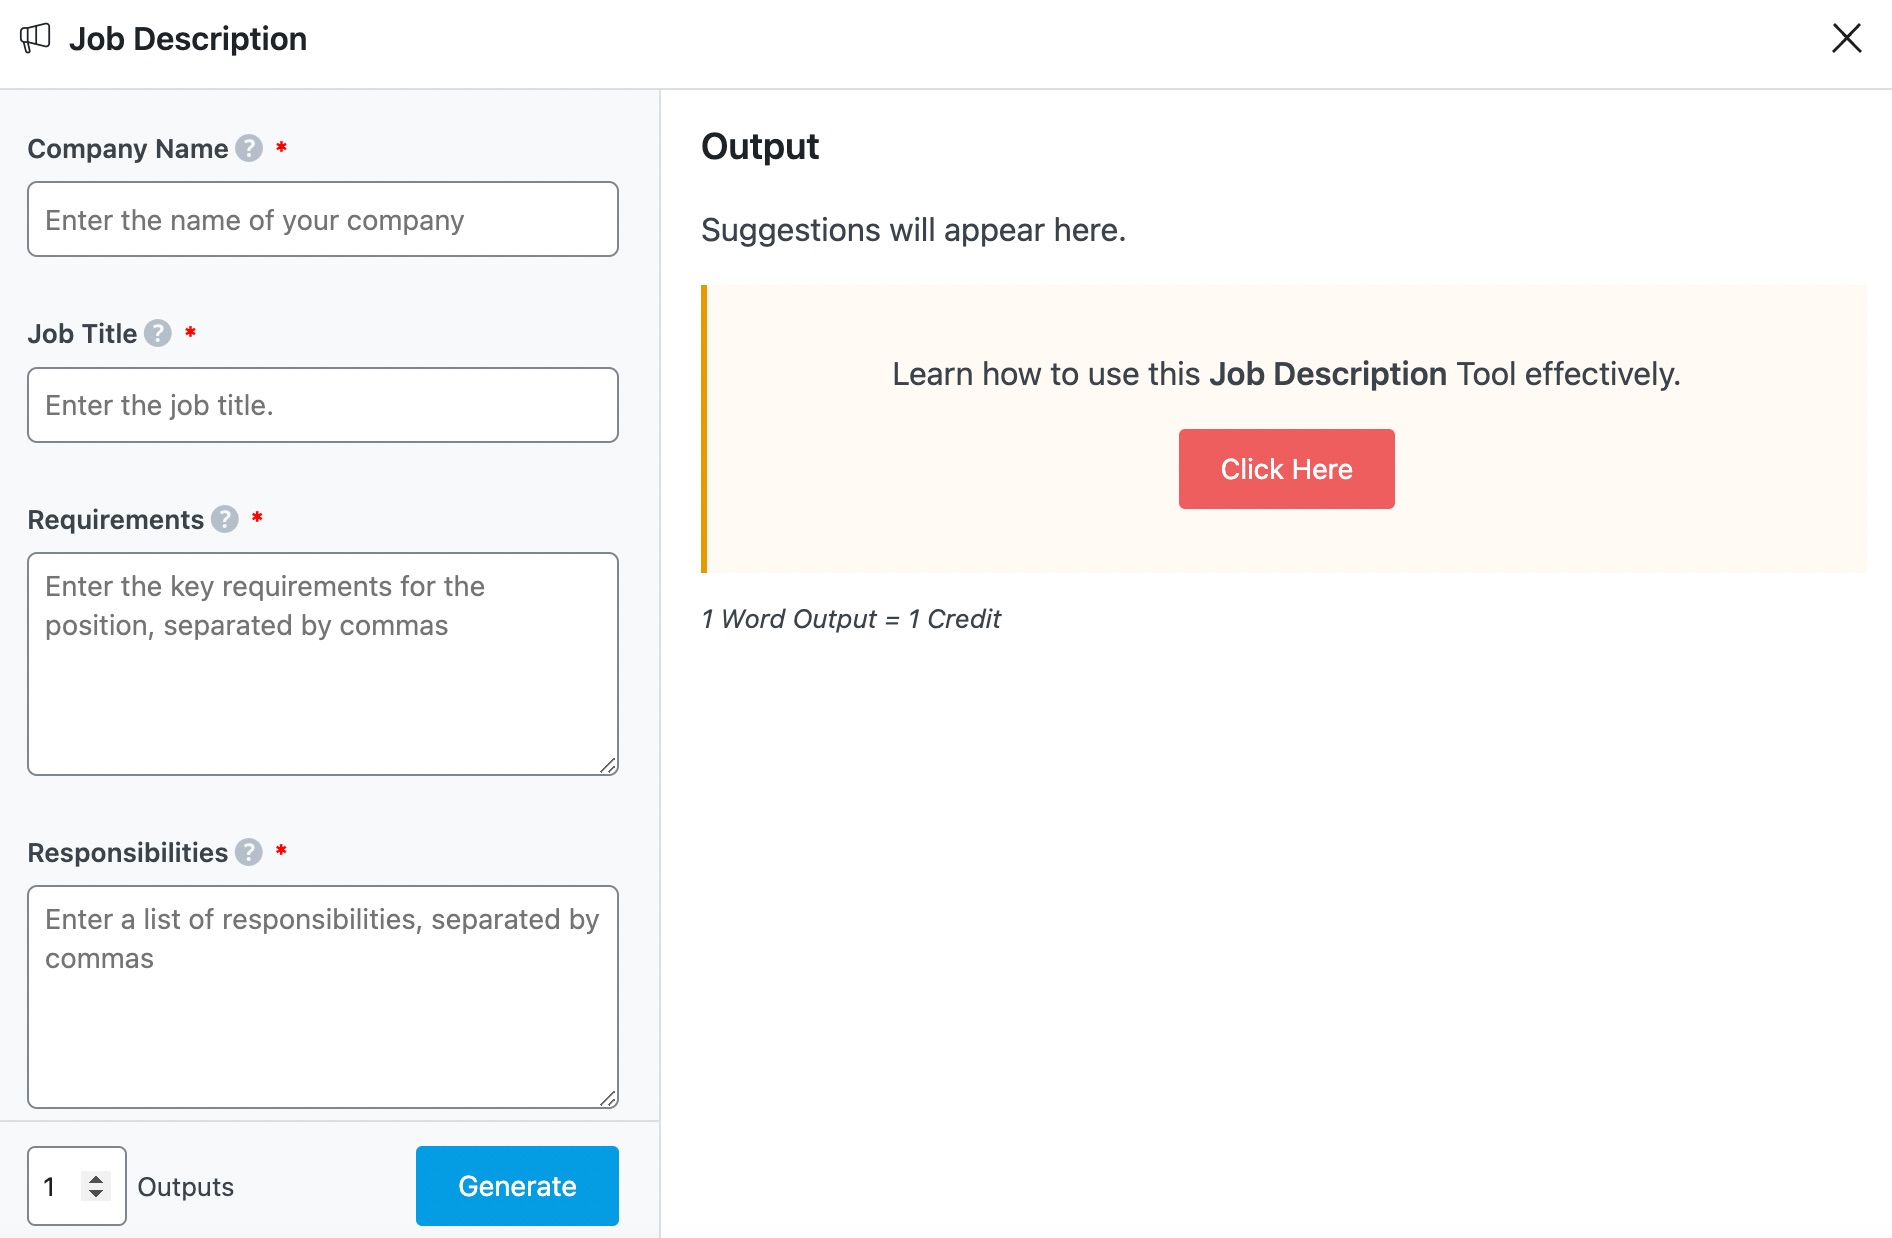
You will be presented with the Job Description AI tool settings. Let’s discuss each of these fields one by one.
2 Available Options in the Job Description AI Tool
We’ll now discuss all the available options in the Job Description AI tool.
2.1 Company Name
Enter the company name exactly as you want it to appear in the job description. This is a required field and should contain 200 characters or less.

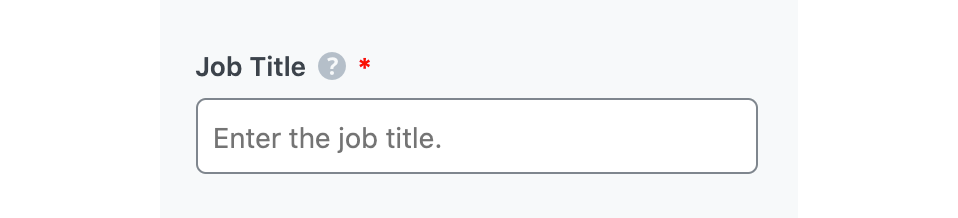
2.2 Job Title
Enter the job title exactly as you want it to appear in the job description. This is a required field and should contain 200 characters or less.
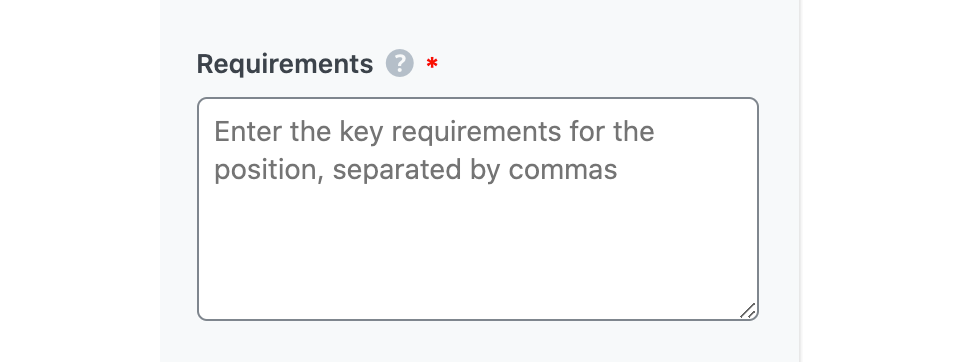
2.3 Requirements
In 400 characters or less, enter the skills, experience, and qualifications you require from anyone applying for the job. This is a required field. Remember to separate multiple requirements with a comma.
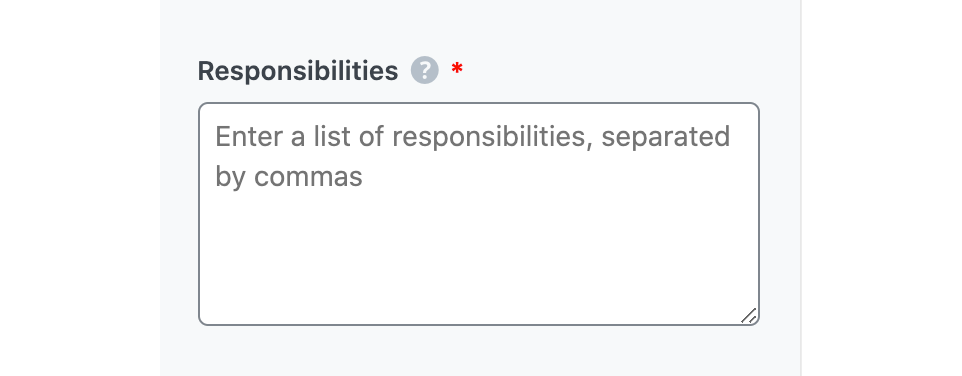
2.4 Responsibilities
In 400 characters or less, enter the tasks the applicant will be expected to perform if they get the job. This is a required field. Remember to separate multiple responsibilities with a comma.
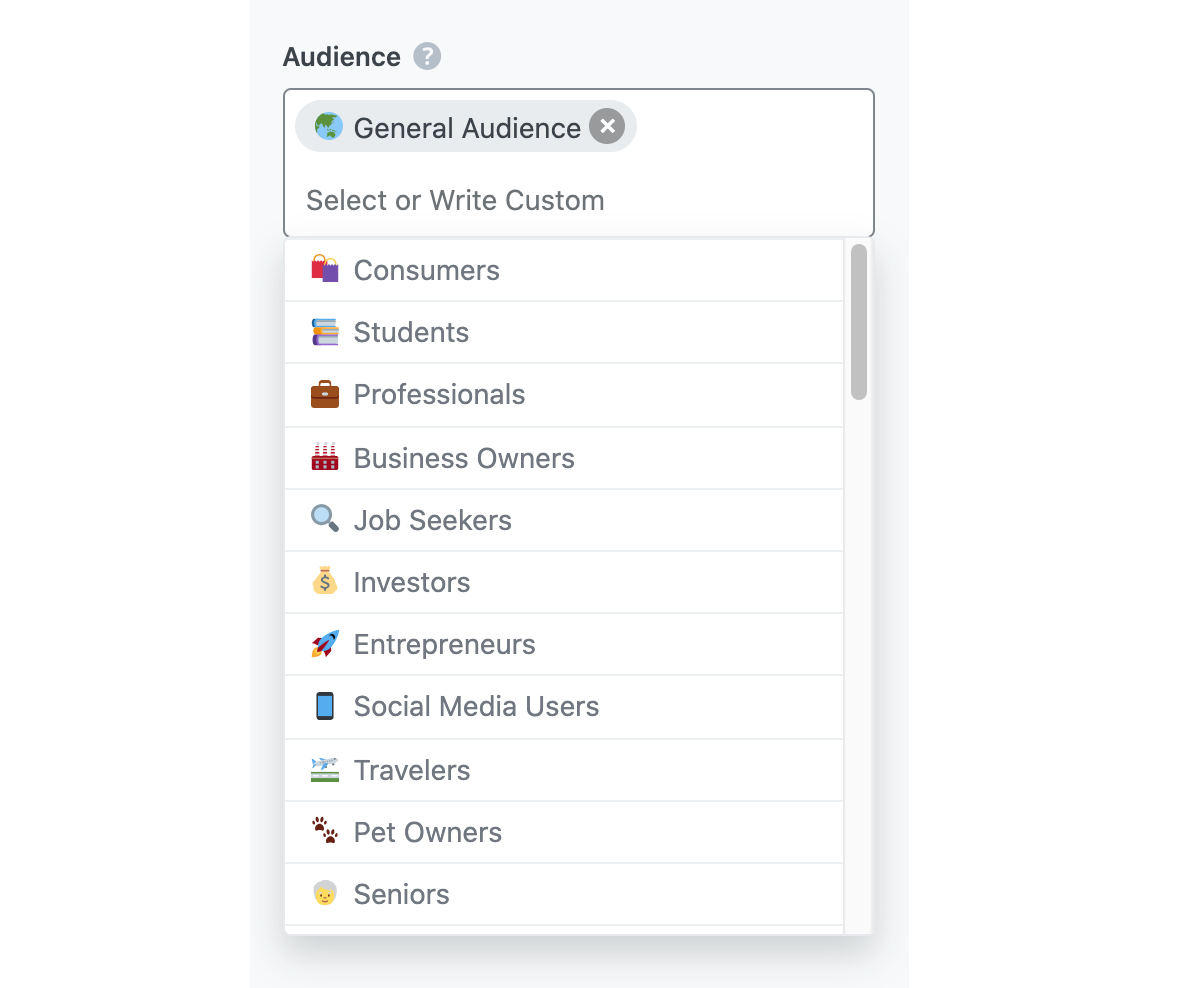
2.5 Audience
Select the option that best describes your target audience in this field. You can type in the word or select from the dropdown menu. You can enter multiple audiences.
See the full list of all the Audience options we offer ➜
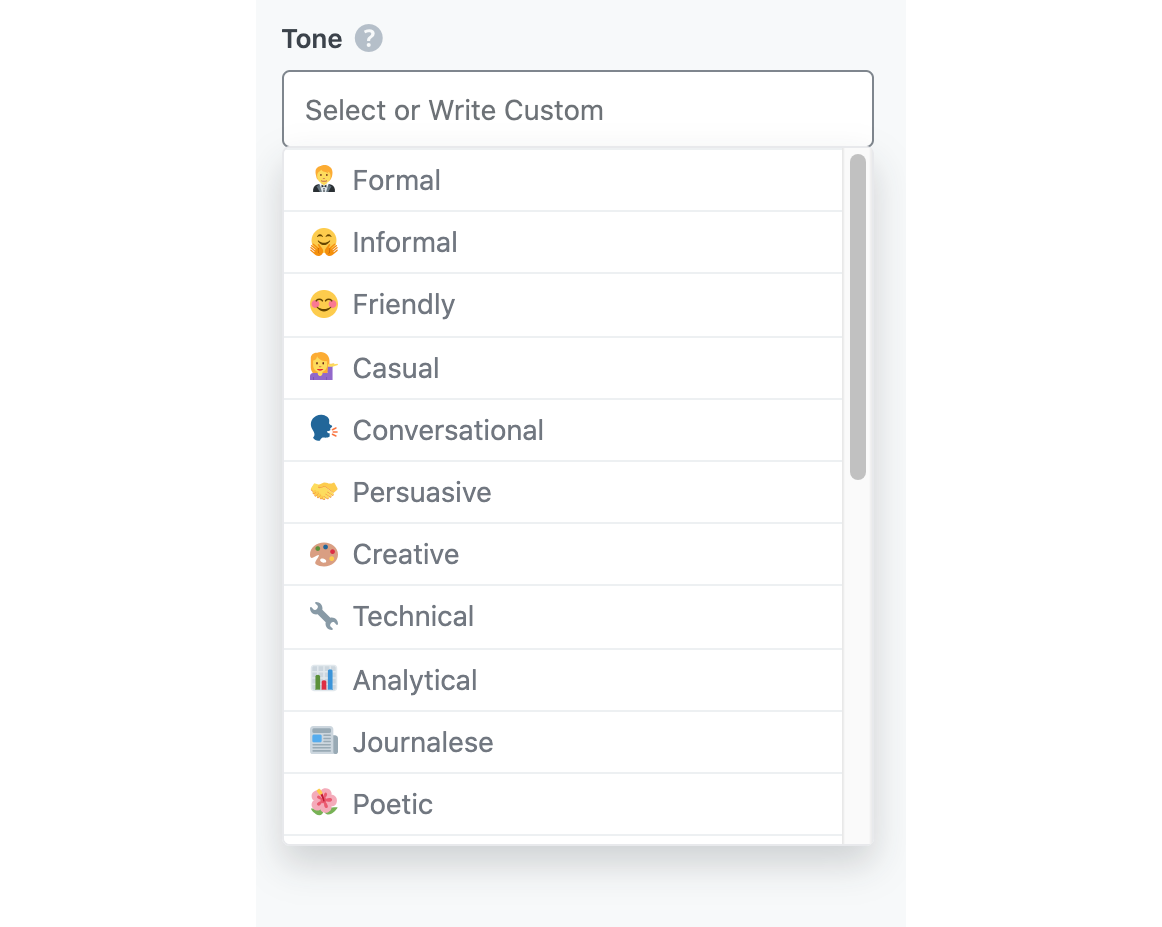
2.6 Tone
Select the option that best describes your writing tone in this field. You can type in the word or select from the dropdown menu. You can enter multiple tones.
See the full list of all the Tone options we offer ➜
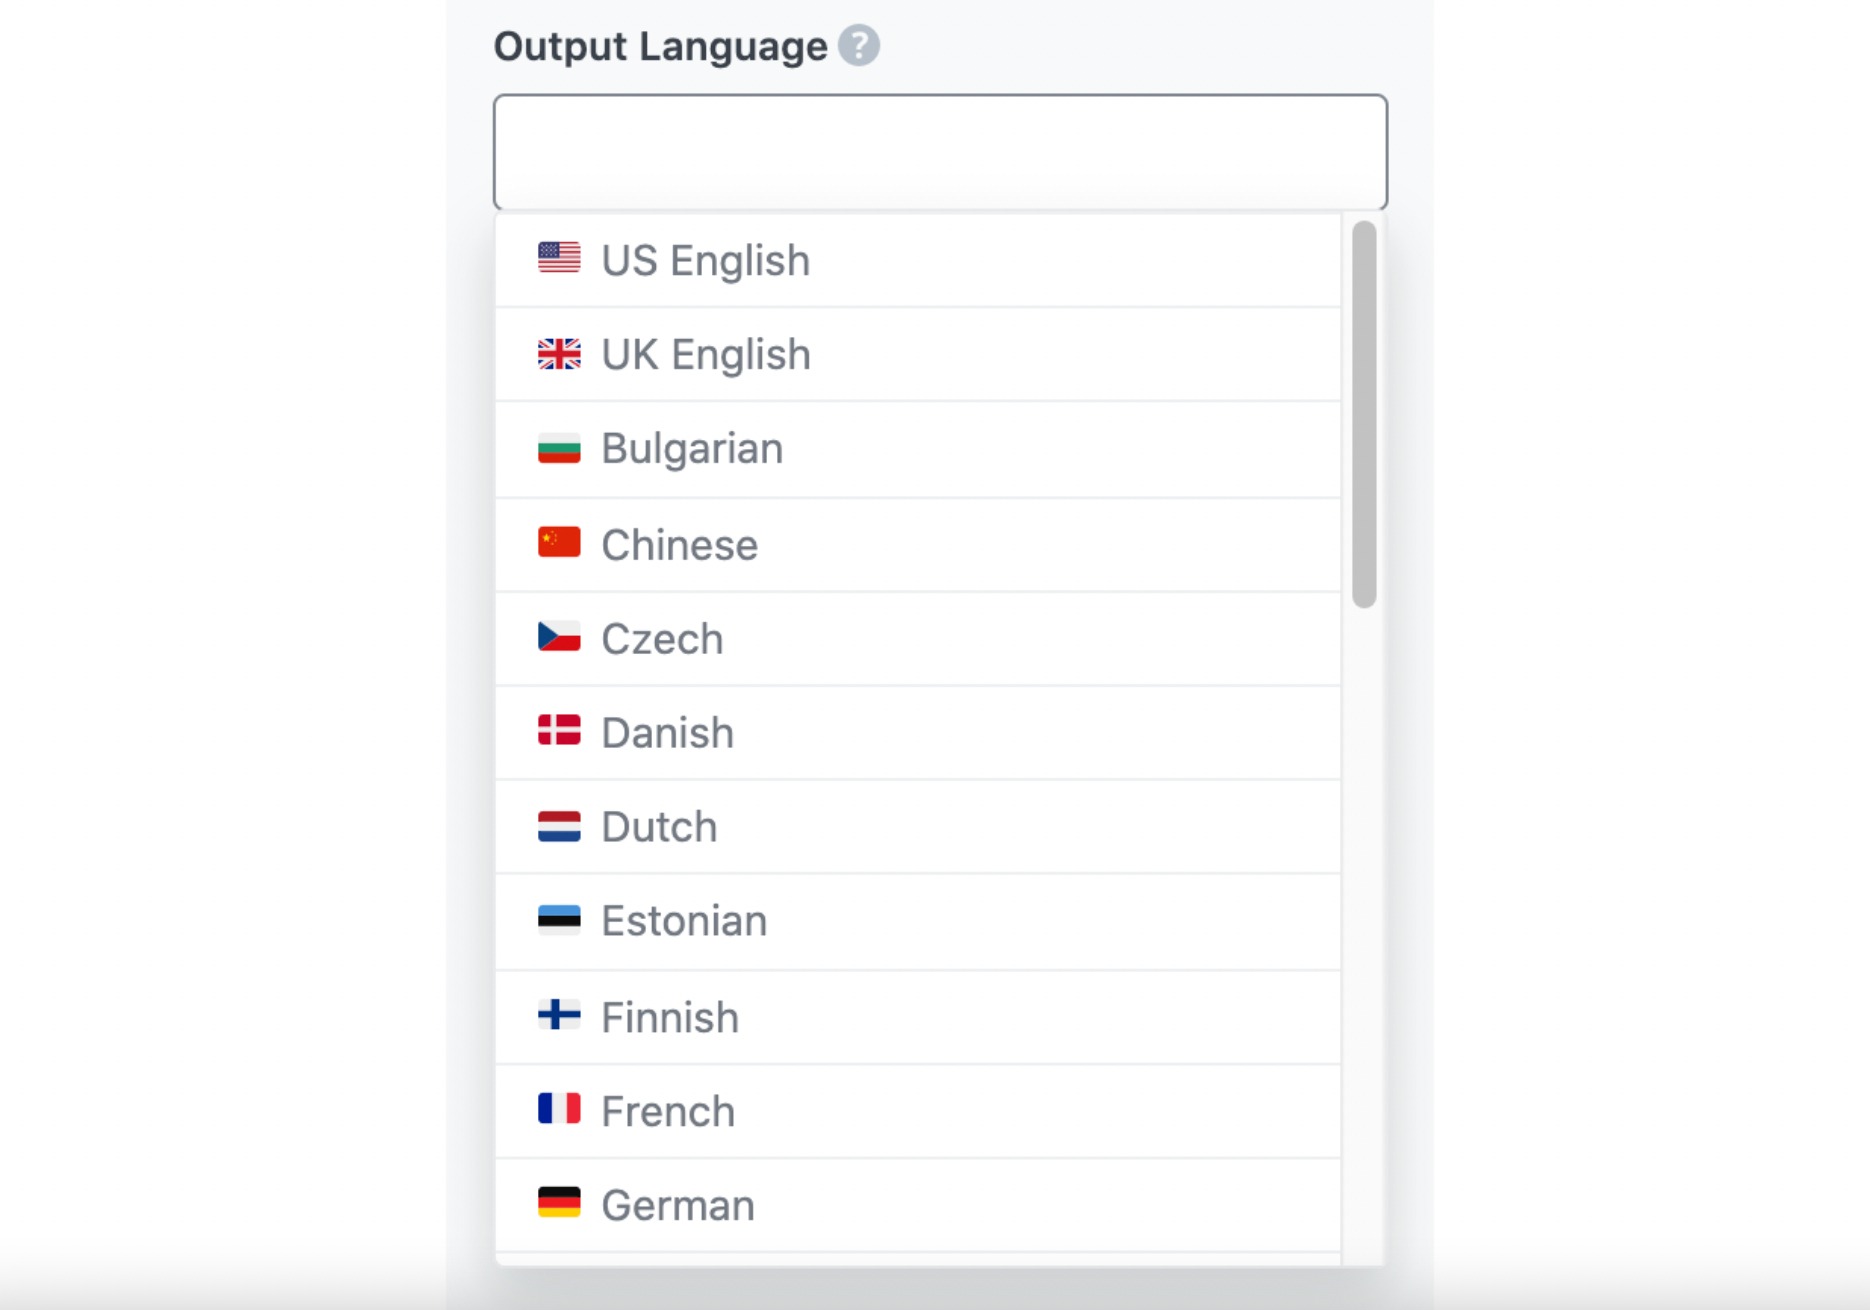
2.7 Output Language
Choose the output language in which you want Content AI to create the job description. You can only enter one language. If the field already contains a language, delete it and select a new one.
See the full list of all the Output Language options we offer ➜
2.8 Number of Outputs
Enter a number between one and three into this field, depending on how many job description suggestions you want to create.

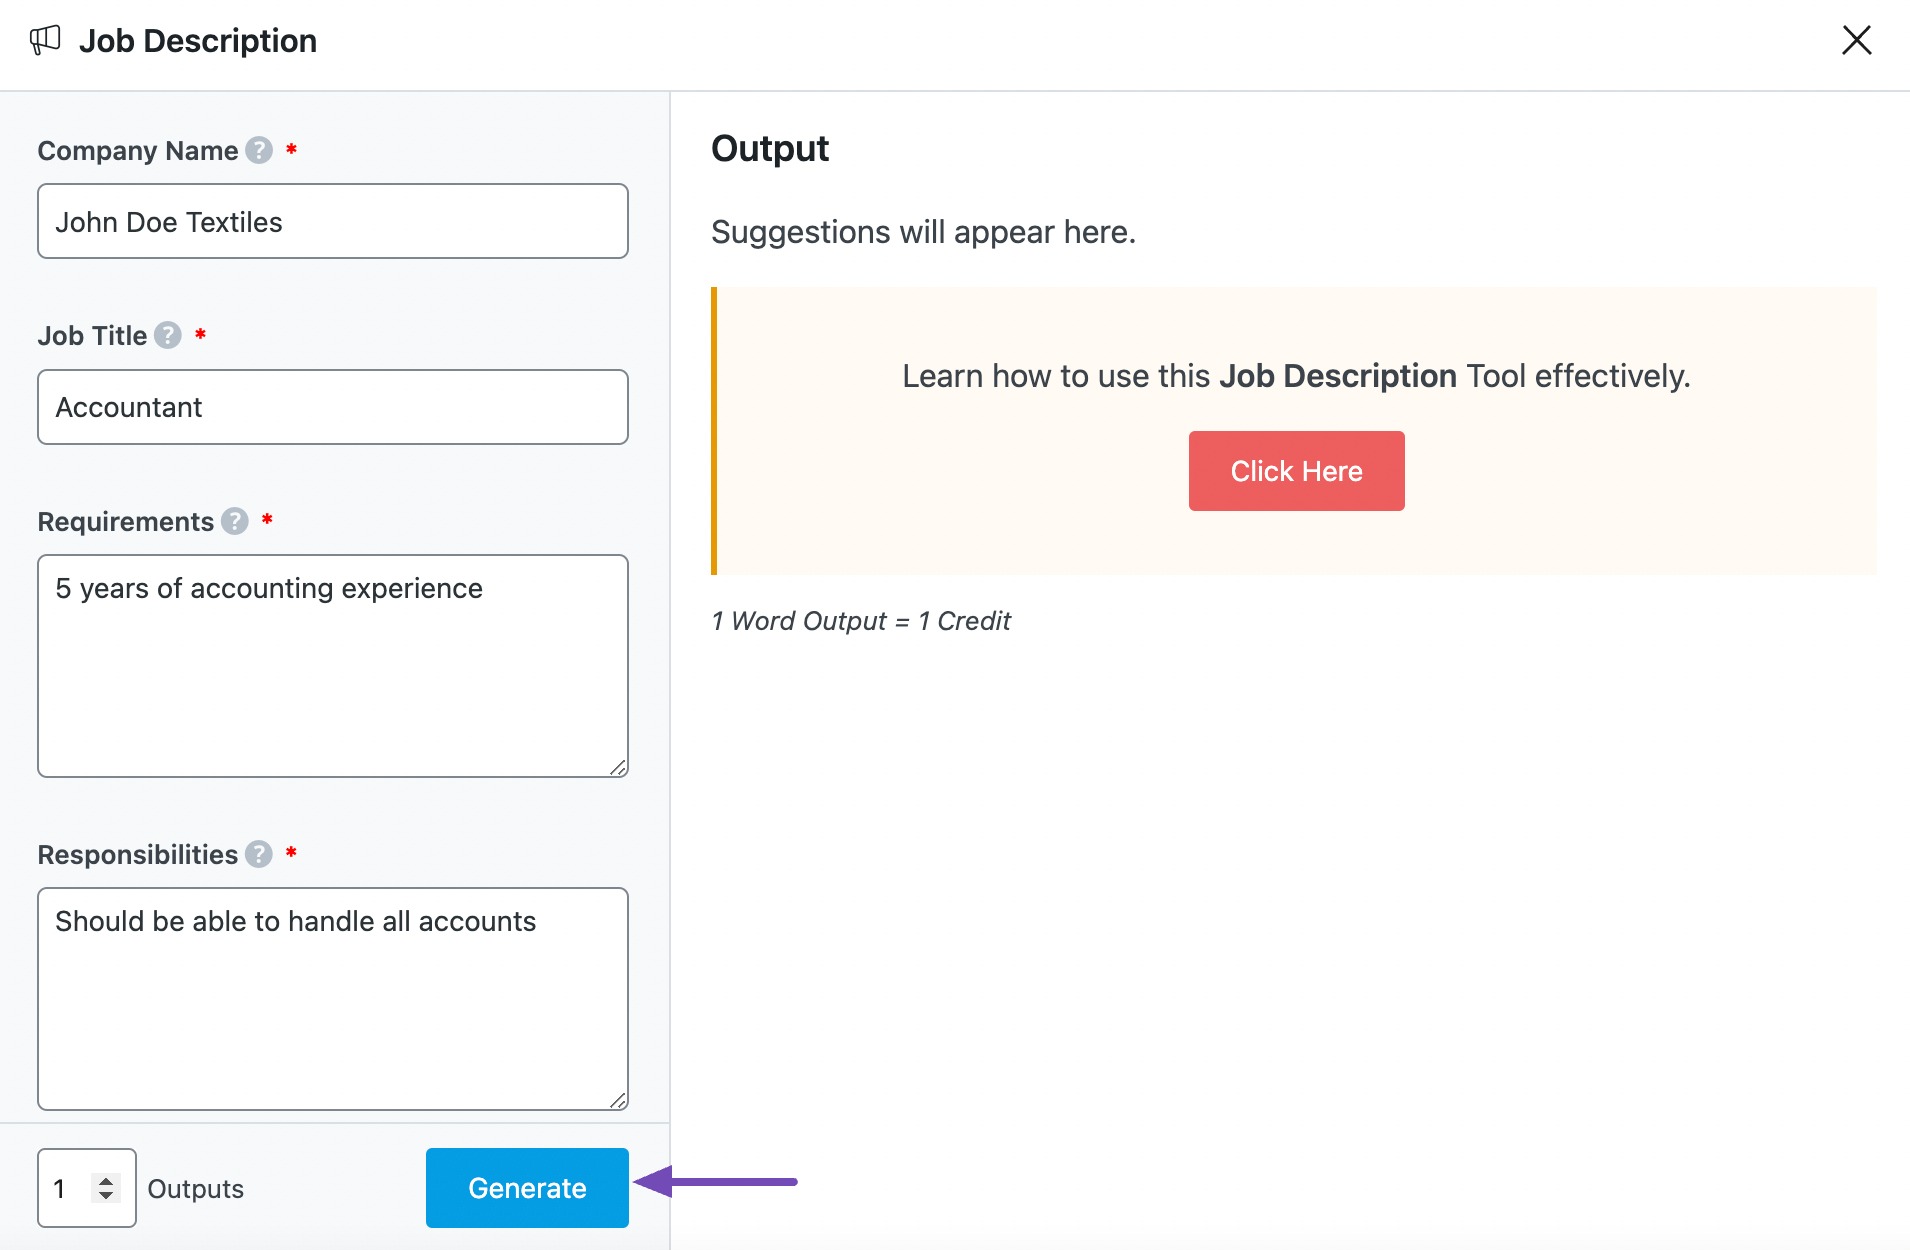
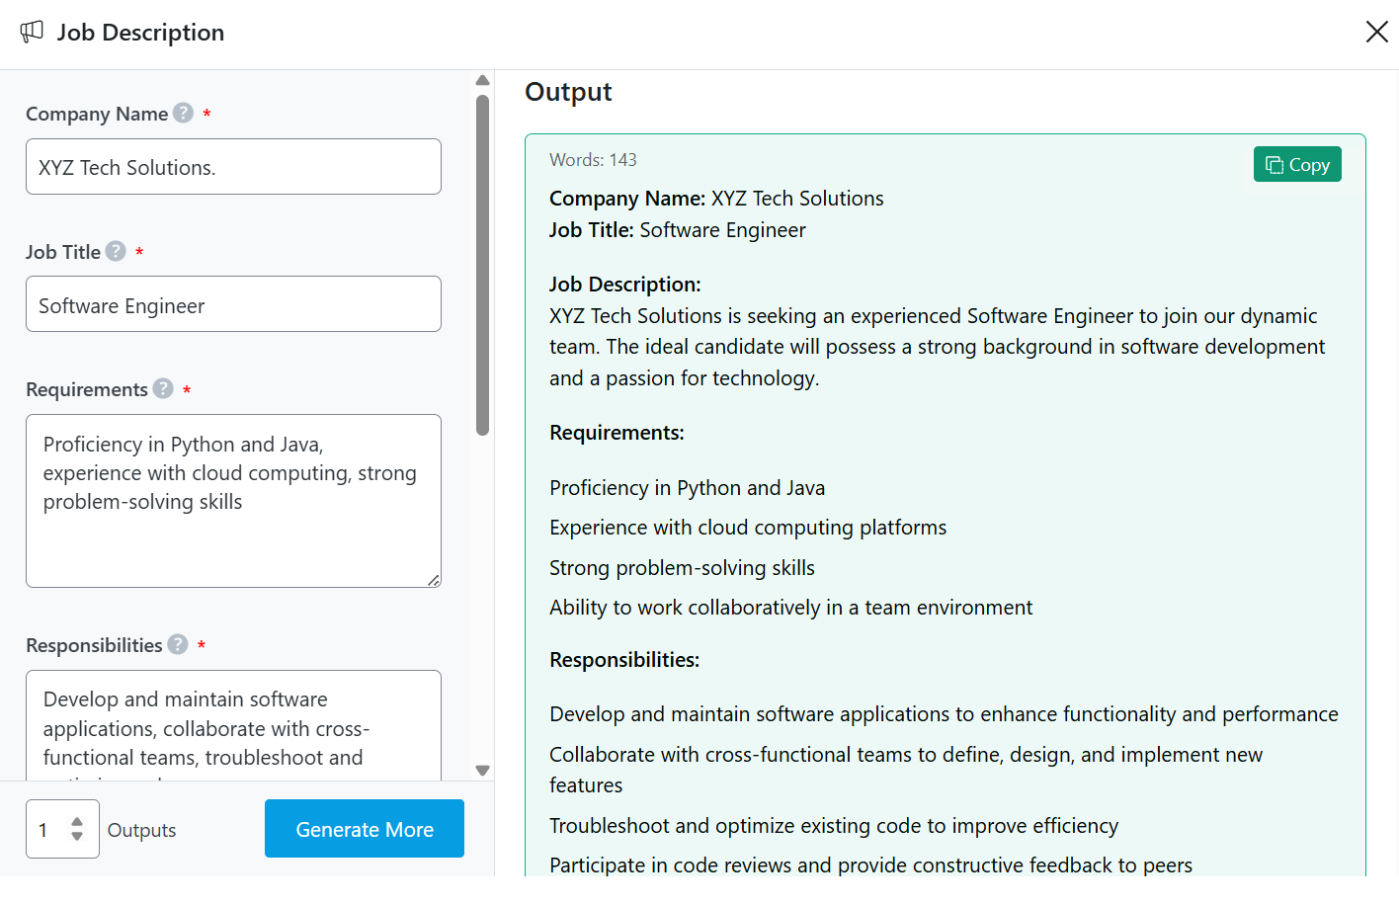
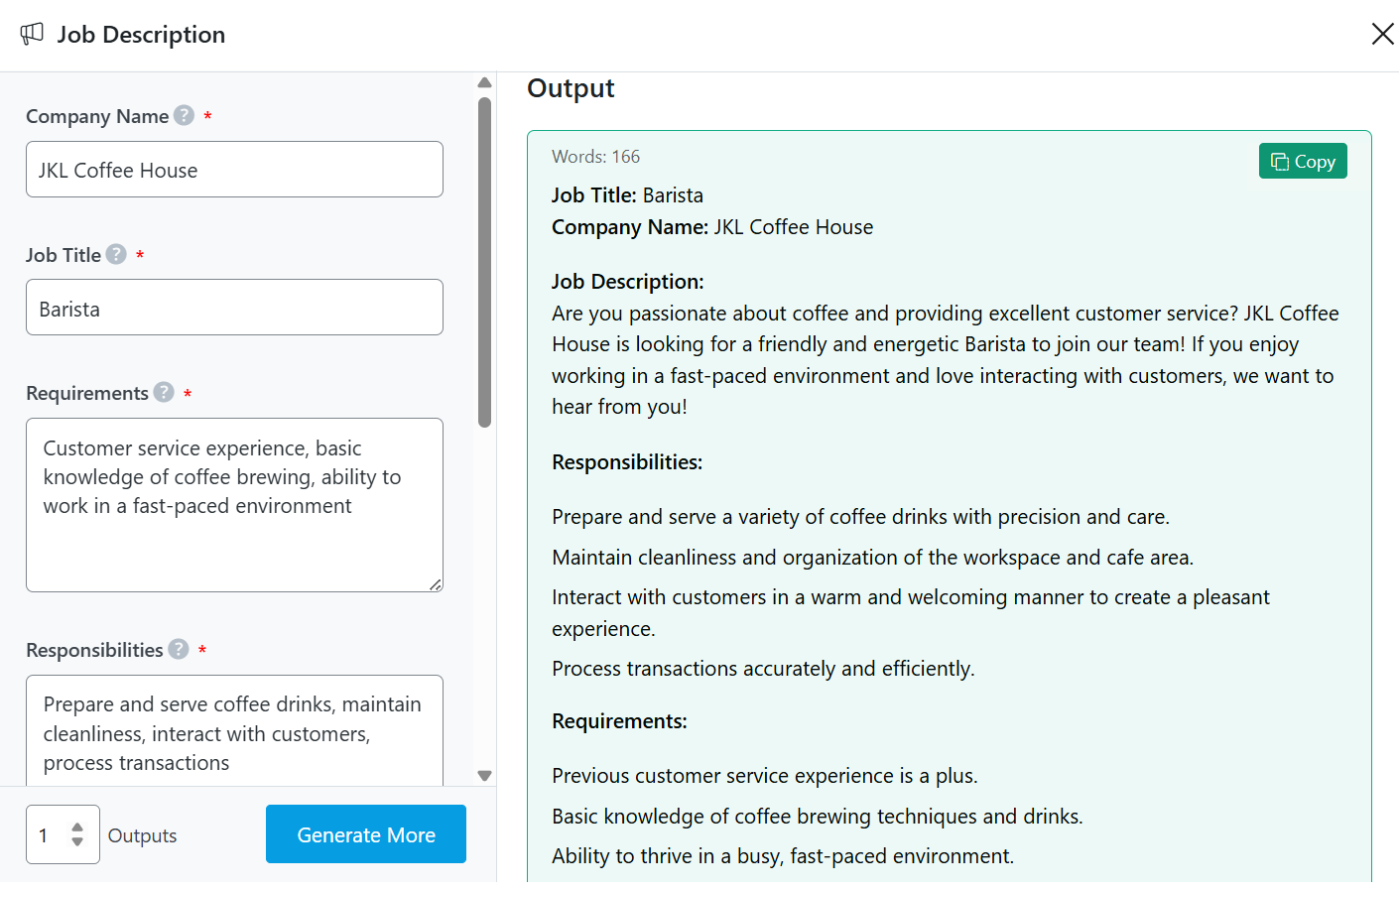
2.9 Generate
Click Generate after filling in the required fields. Content AI will begin creating your job description.
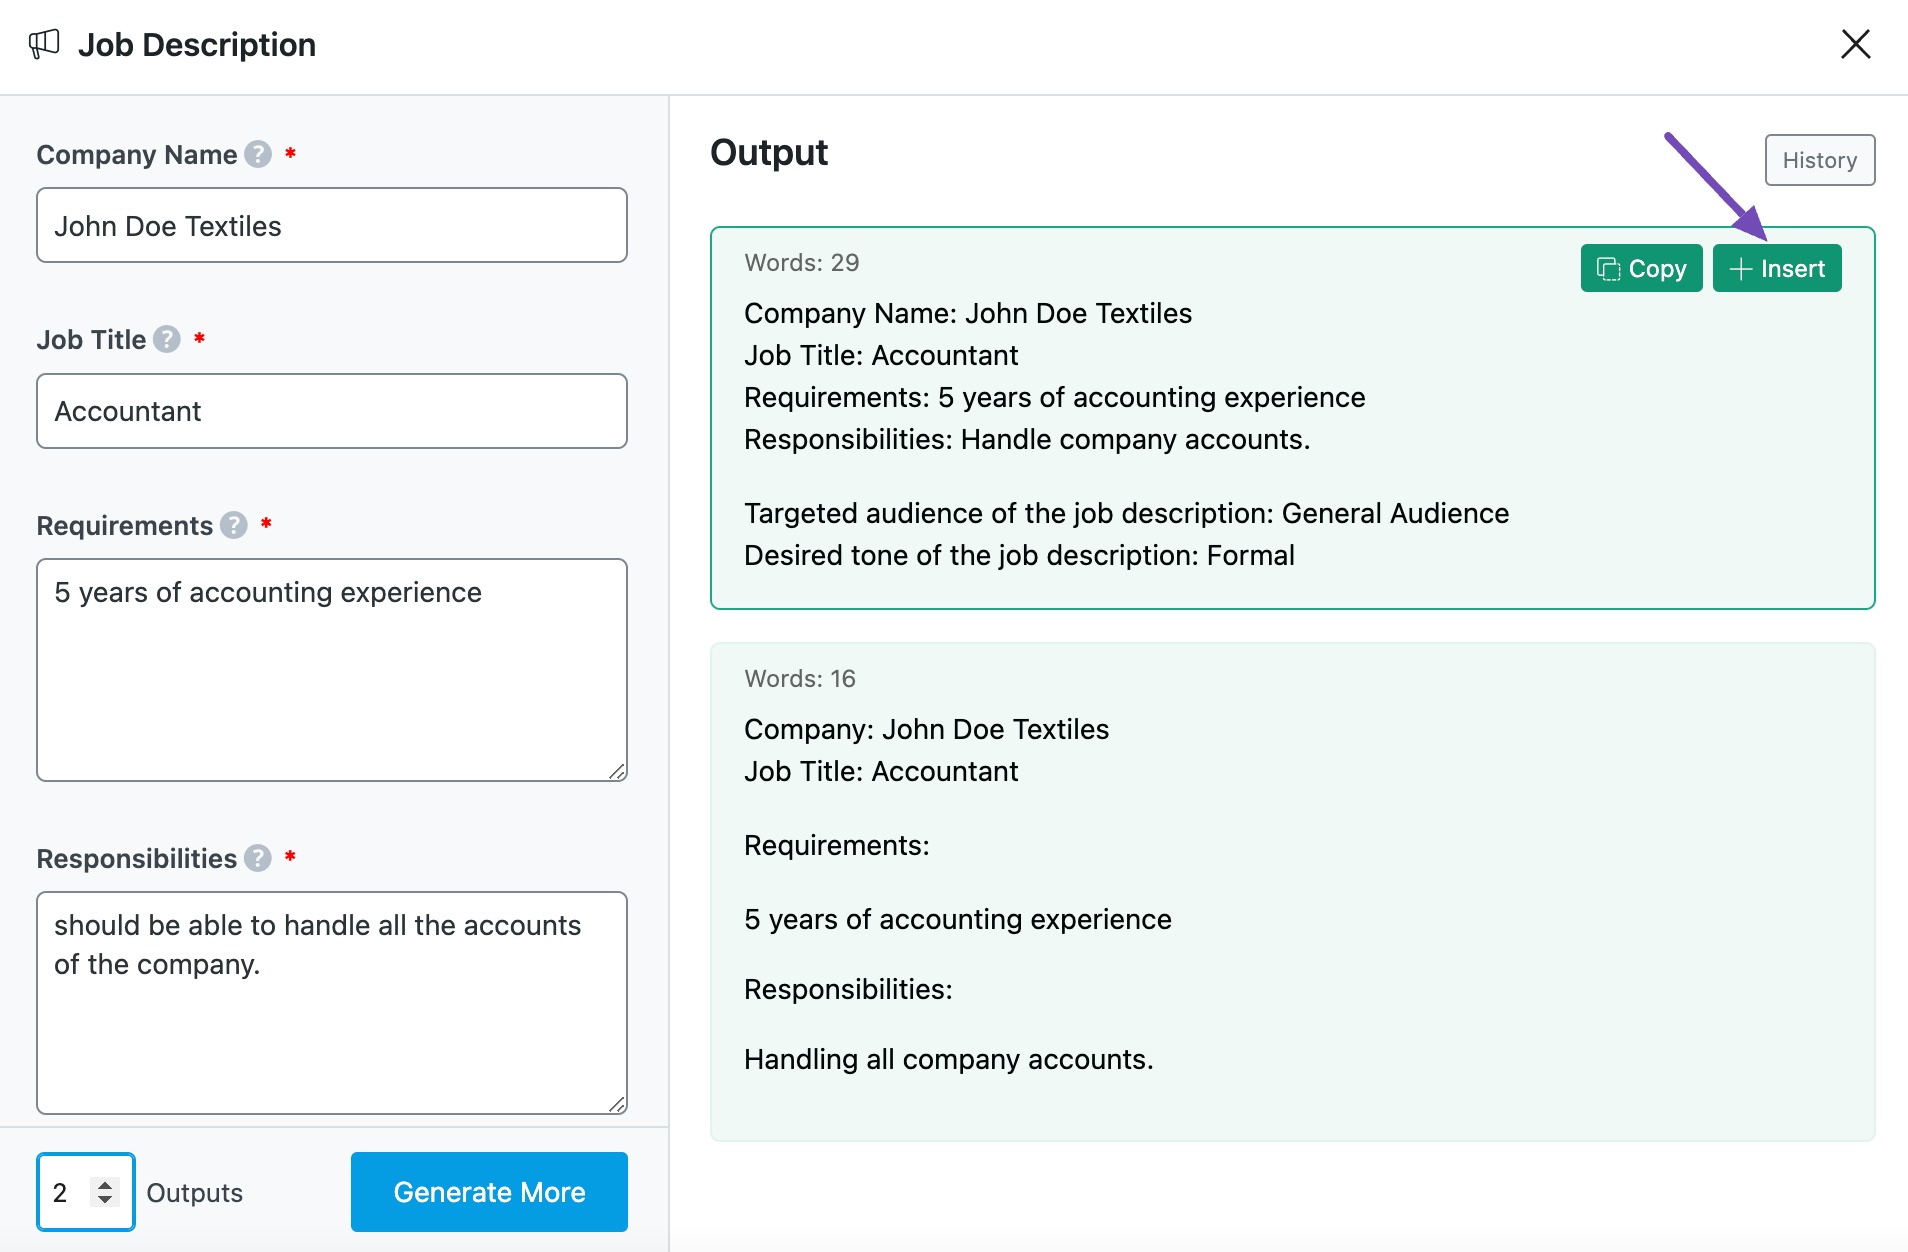
If you need more suggestions, click Generate More.
2.10 Insert
Once you identify a job description you wish to use, hover over it and click Insert. It will be inserted into your Content Editor. You can further develop it using the other AI tools available in Content AI.
3 Use Cases for the Job Description AI Tool
The Job Description AI tool helps HR teams, recruiters, and businesses create clear, engaging, and standardized job descriptions effortlessly. Here are some scenarios you can use it:
3.1 Standardizing Job Postings Across Departments
Ensuring uniformity in job descriptions across different departments can be difficult, especially for large organizations. The Job Description AI tool helps create standardized descriptions that maintain company branding, use consistent language, and align with hiring policies.
This prevents miscommunication and ensures all job postings reflect the company’s values and expectations.
3.2 Attracting Diverse Talent Pools
Creating inclusive job descriptions is essential for building a diverse workforce. You can use this tool to generate job postings with bias-free, inclusive language, encouraging applications from candidates of all backgrounds. It ensures that job ads don’t unintentionally discourage qualified candidates from applying.

3.3 Supporting Small Businesses Without Dedicated HR Teams
Many small businesses lack a dedicated HR department, making it difficult to create polished job descriptions. This AI tool helps business owners craft professional-quality job postings that clearly communicate job expectations, making it easier to attract skilled applicants.
4 Conclusion
That’s it. We hope you are able to create a job description using Content AI. If you still have any questions about using the Job Description AI tool or any other AI tool available in Content AI – you’re always more than welcome to contact our dedicated support team. We’re available 24/7, 365 days a year…