Even if you have great content, a visitor may leave your site when your introduction does not indicate your content will address whatever reason got them to it. Search engines also check your introductions for your keywords.
This means you should include a top-notch introduction with every blog post.
Fortunately, writing introductions just got easier with Content AI. With just a few details about your post, Content AI will generate a blog post introduction that works for your human visitors and search engines.
The primary advantage of using AI tools is time savings. In fact, 71% of users identify it as their top benefit.
In this knowledgebase article, we will show you how to write a blog post introduction using Content AI.
Table Of Contents
1 Using the Blog Post Introduction AI Tool
Let us now see how to use the Introduction AI tool effectively in Rank Math.
1.1 Enable the Content AI Module
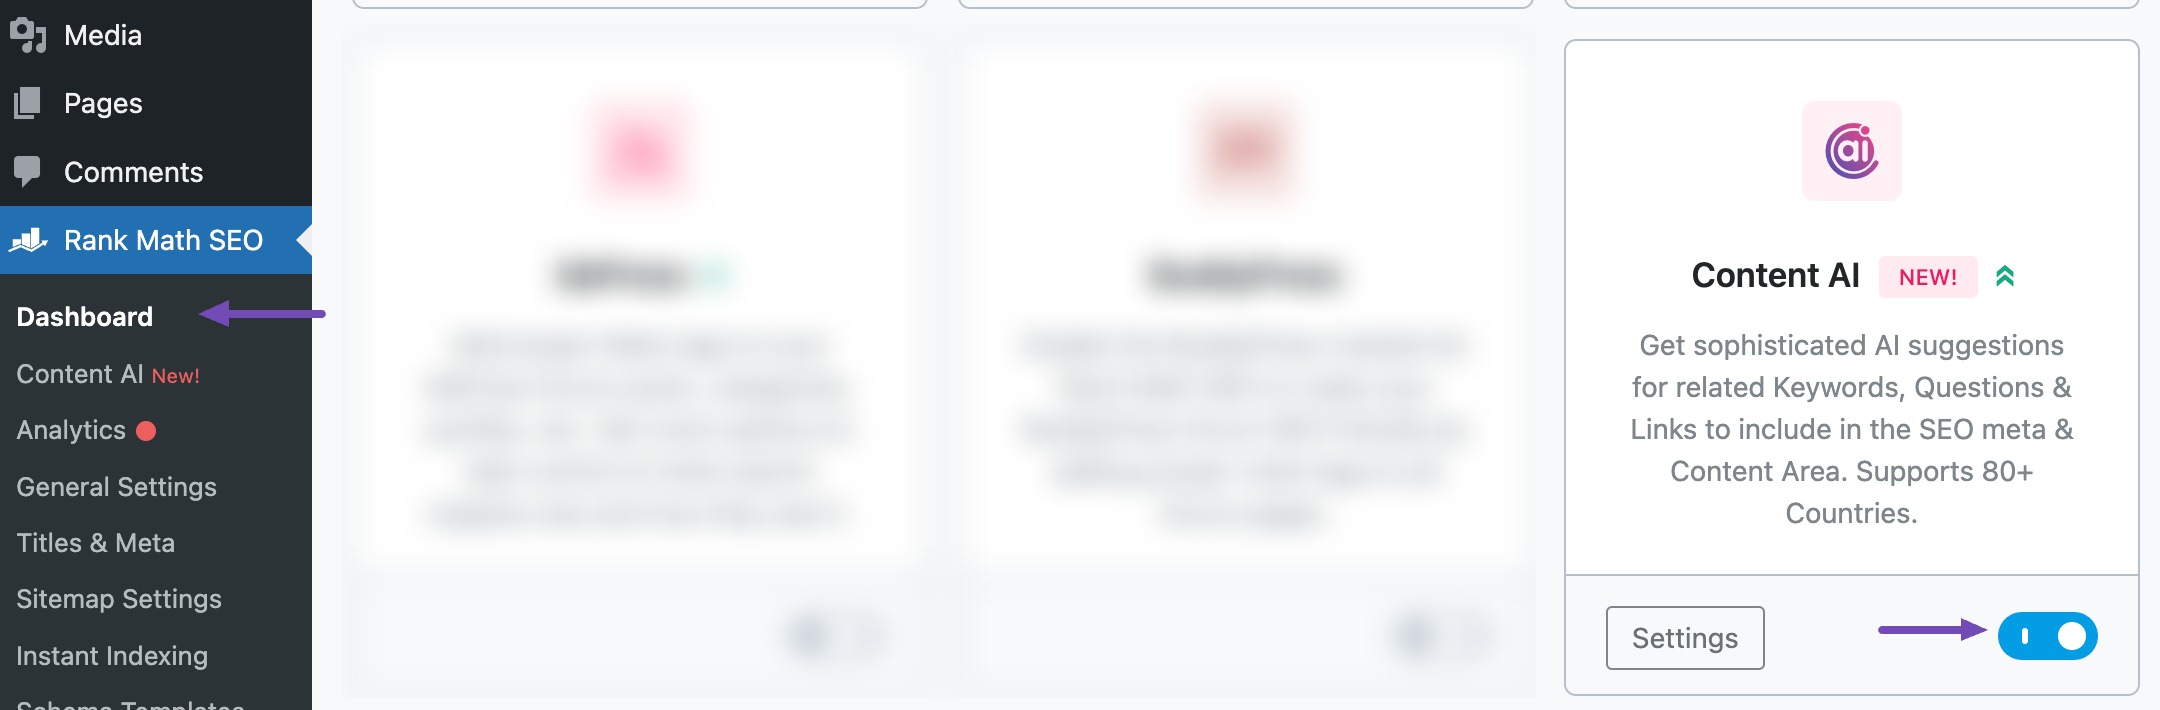
The first step is to head over to Rank Math SEO → Dashboard from your WordPress dashboard. Once done, scroll down to Content AI and enable it, as shown below.
Note: If you ever run out of credits, you can easily upgrade to a higher Content AI plan that aligns with your requirements.
1.2 Select the Blog Post Introduction AI Tool
Next, head over to Rank Math SEO → Content AI → Content Editor, as shown below.
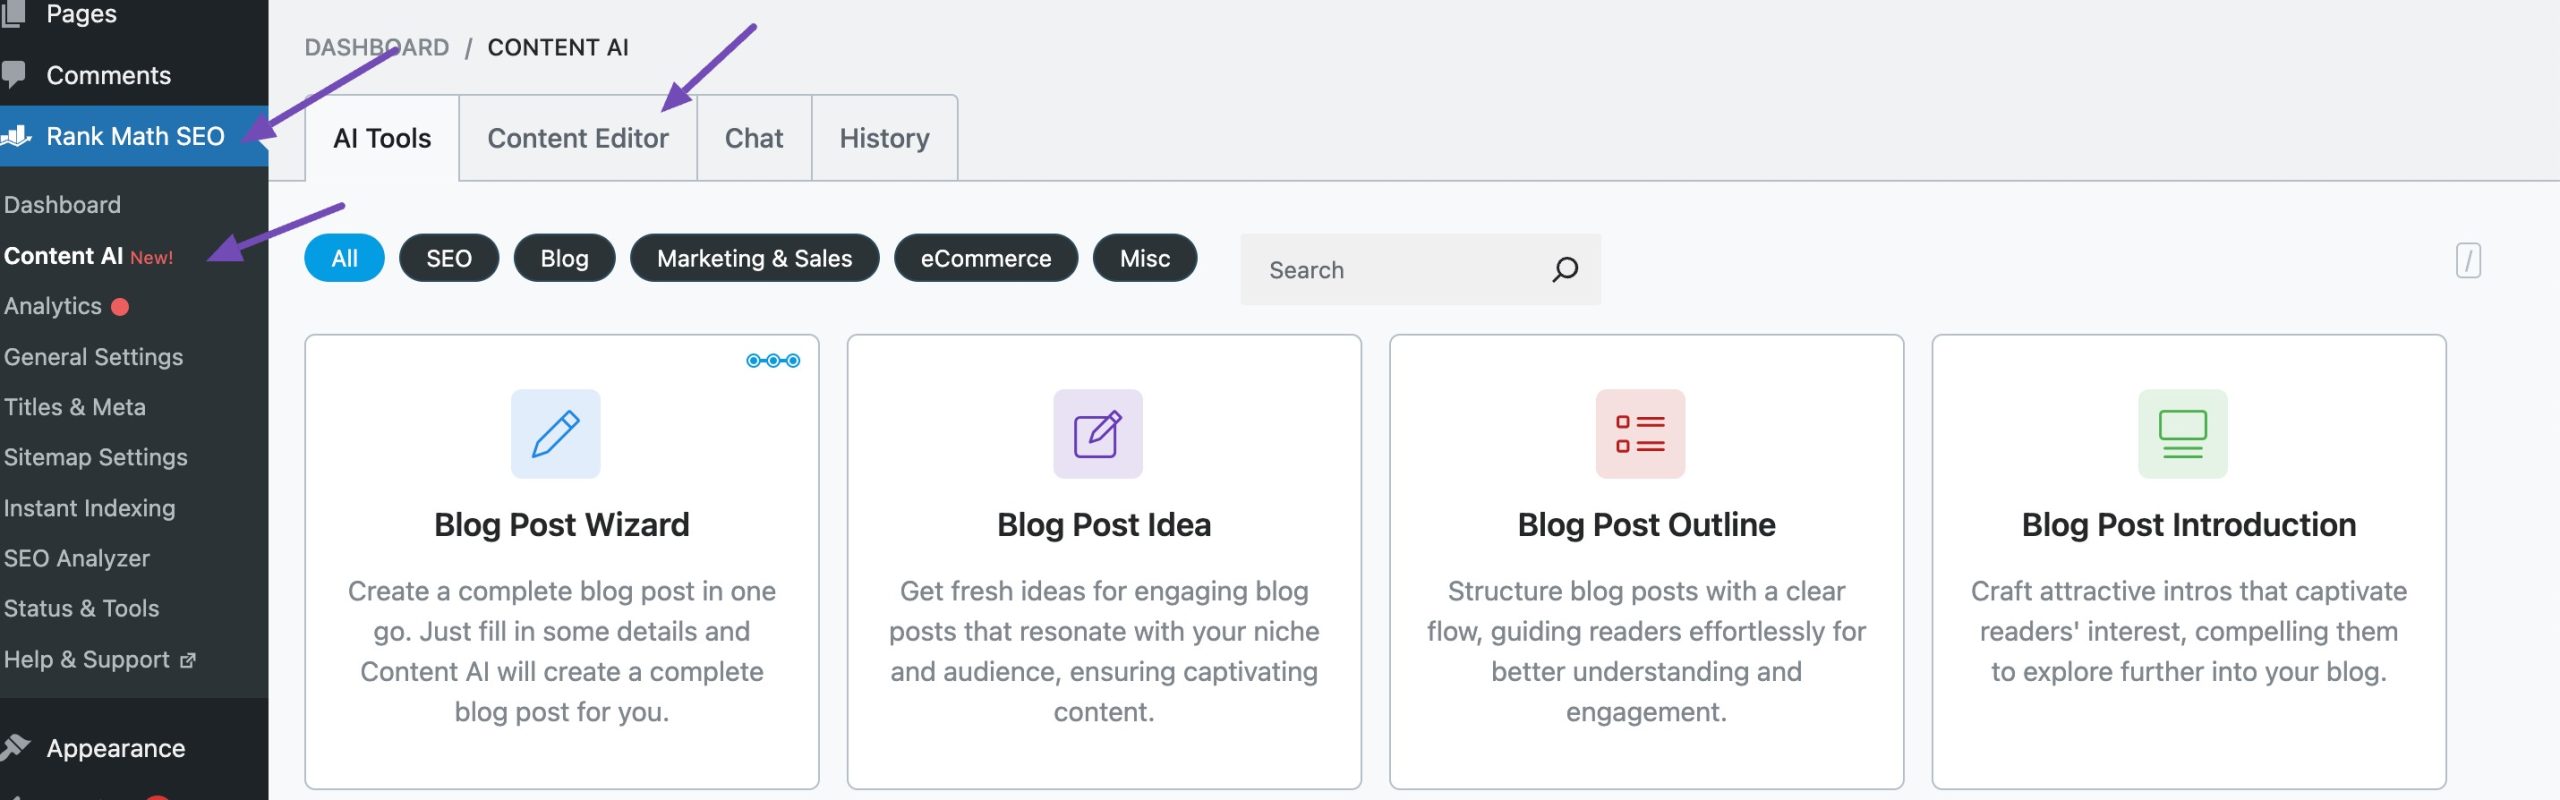
In the Content Editor, click AI Tools and select Blog Post Introduction, as shown below. Alternatively, you can choose the Blog Post Introduction AI tool from your favourite WordPress Editors or from the AI Tools tab, whichever suits your writing flow.

You will be presented with the Blog Post Introduction AI tool settings. Let’s go after the fields one by one.
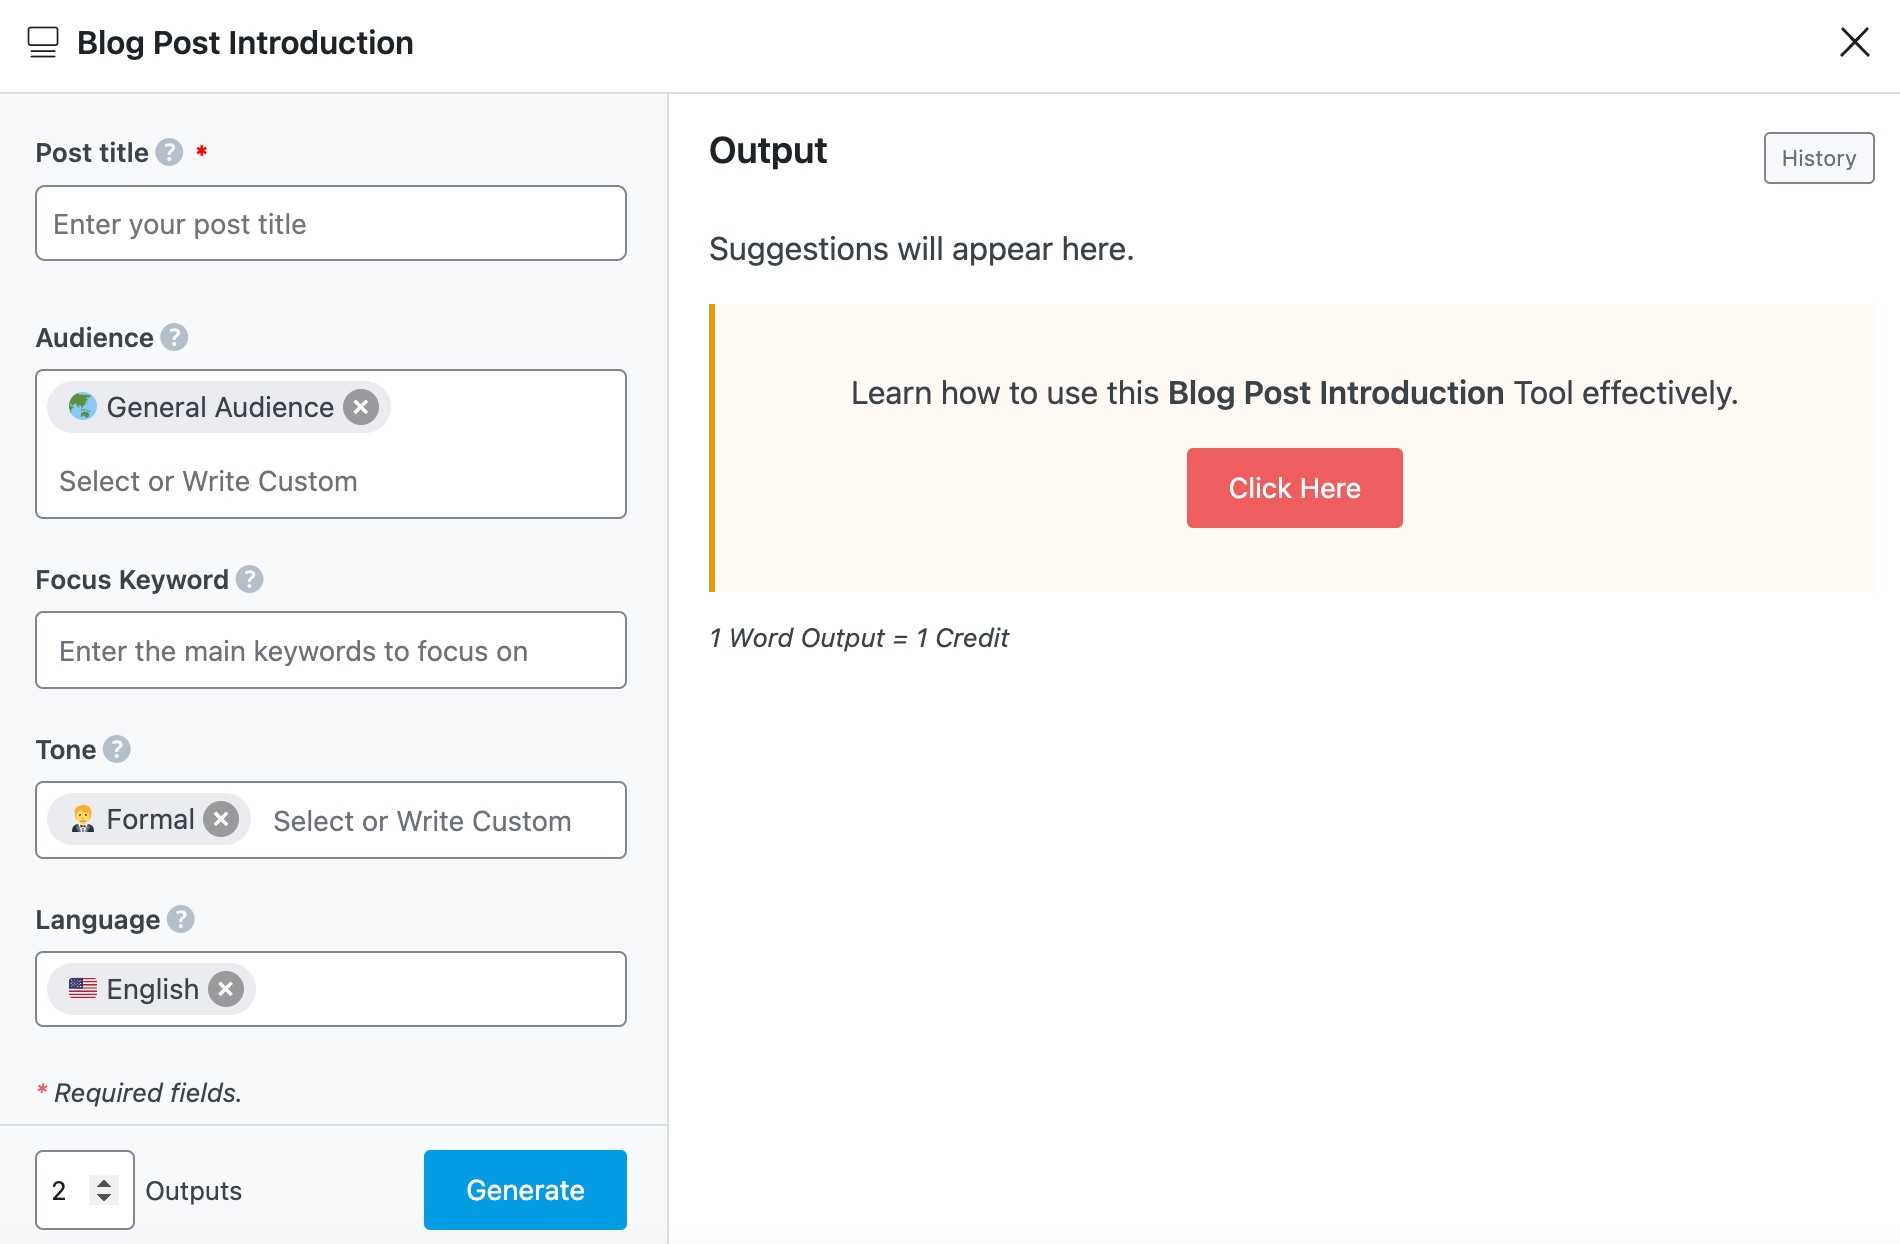
2 Available Options in the Blog Post Introduction AI Tool
Let us look closely at the options in the Introduction AI tool.
2.1 Post Title
Enter your post title into this field. This is a required field and should contain 200 characters or less.
Note: If you don’t have a post title, you can create one using the Post Title AI tool.

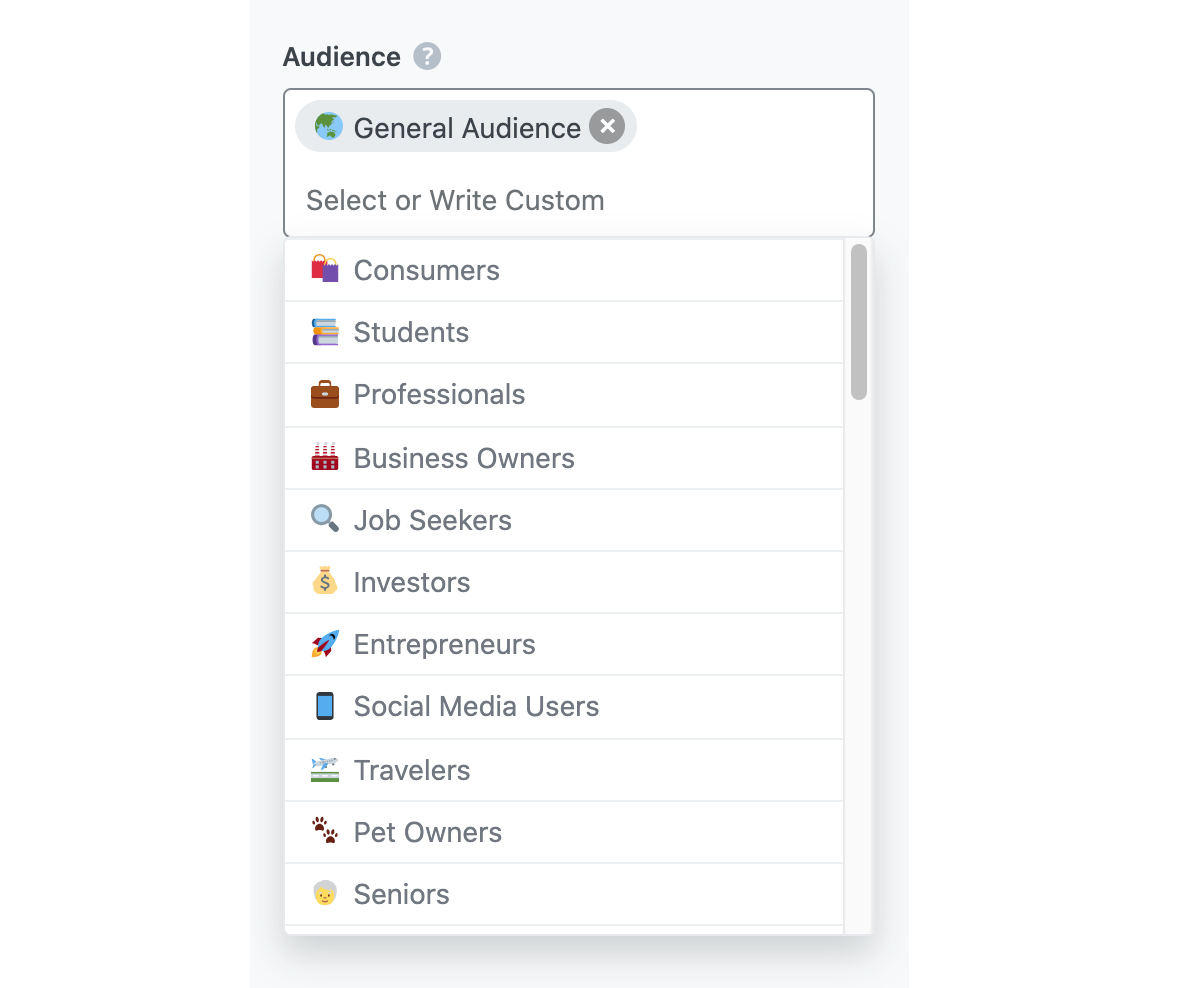
2.2 Audience
Select the option that best describes your target audience in this field. You can type in the word or select from the dropdown menu. You can enter multiple audiences.
See the full list of all the Audience options we offer ➜
2.3 Focus Keyword
Enter your primary focus keyword, followed by any other keyword you want to rank for in this field. Remember to separate multiple keywords with a comma. The keywords should be at most 200 characters.

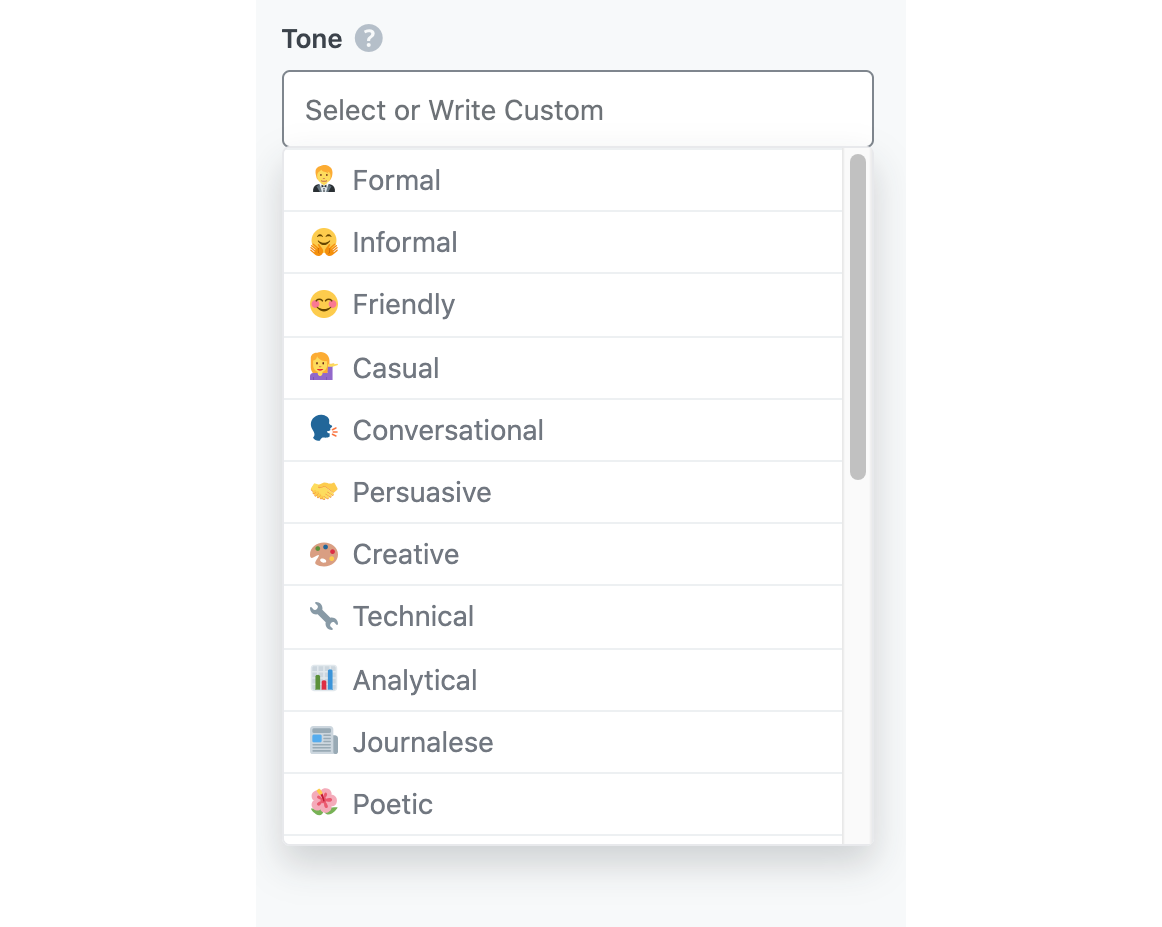
2.4 Tone
Select the option that best describes your writing style in this field. You can type in the word or select from the dropdown menu. You can enter multiple tones.
See the full list of all the Tone options we offer ➜
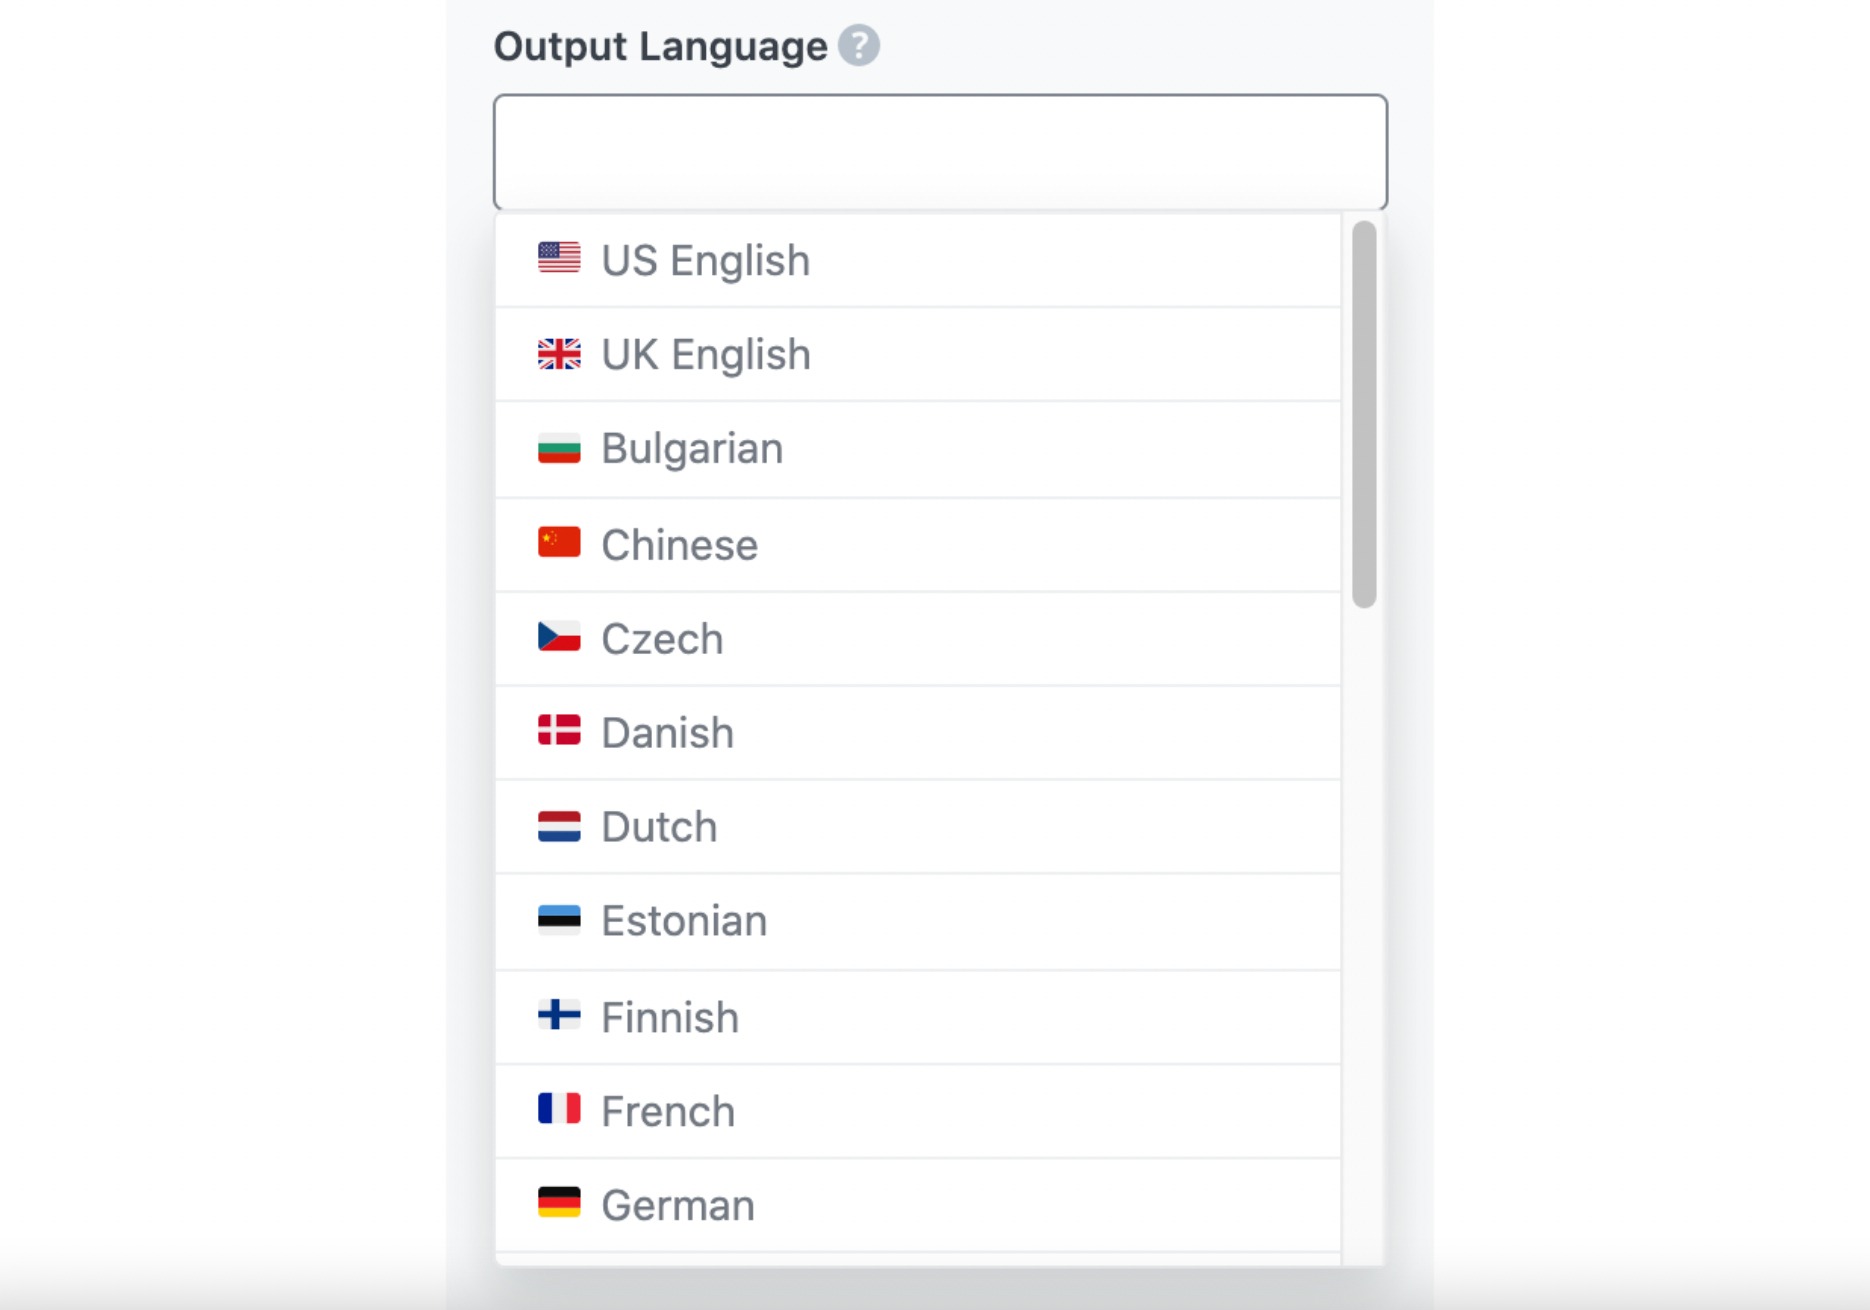
2.5 Output Language
Choose the output language in which you want Content AI to generate the introduction. You can only enter one language. If the field already contains a language, delete it and enter a new one.
See the full list of all the Output Language options we offer ➜
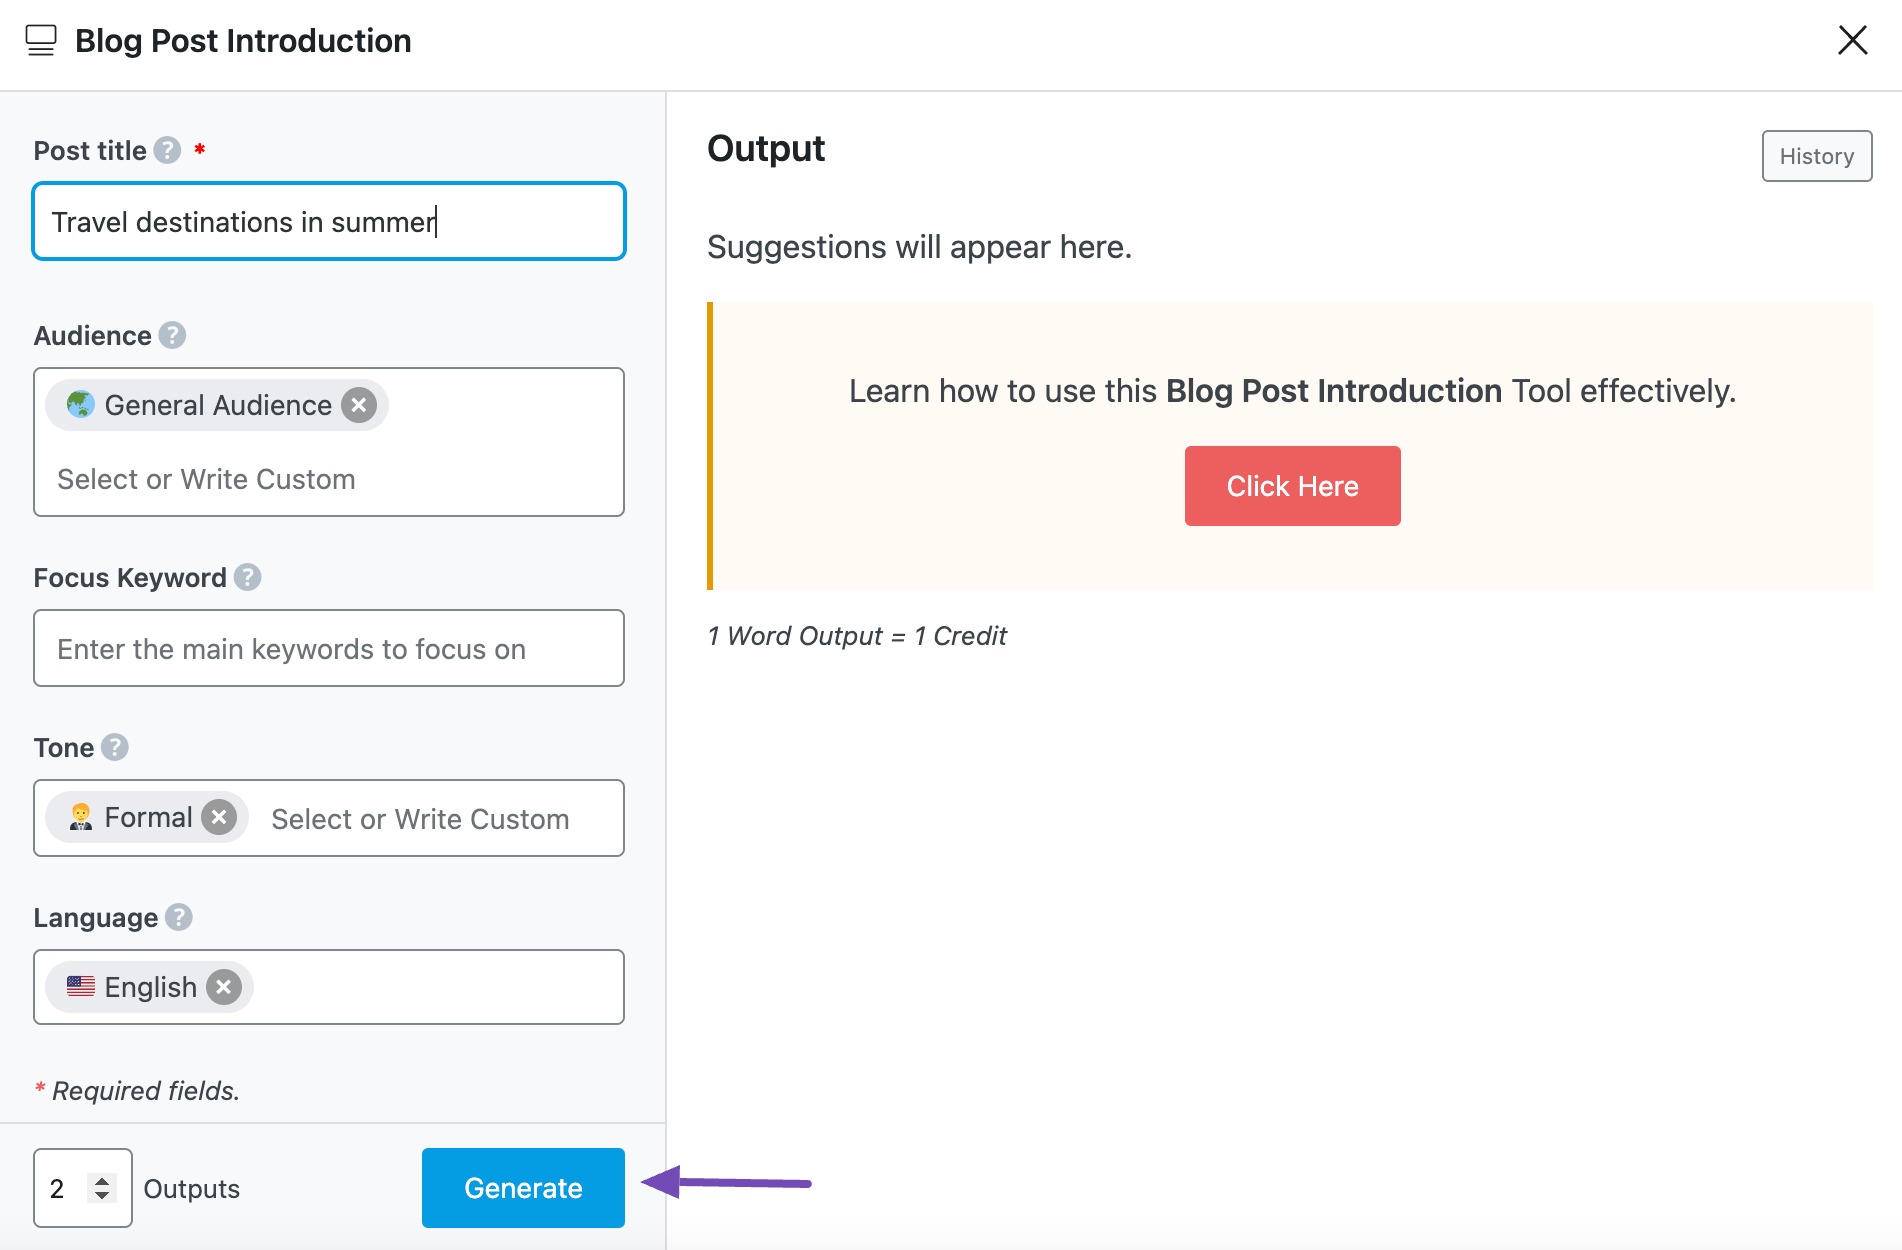
2.6 Number of Outputs
Enter a number between one and five into this field, depending on how many introductions you want Content AI to suggest.

2.7 Generate
When you are ready to create your introductions, click the Generate button.
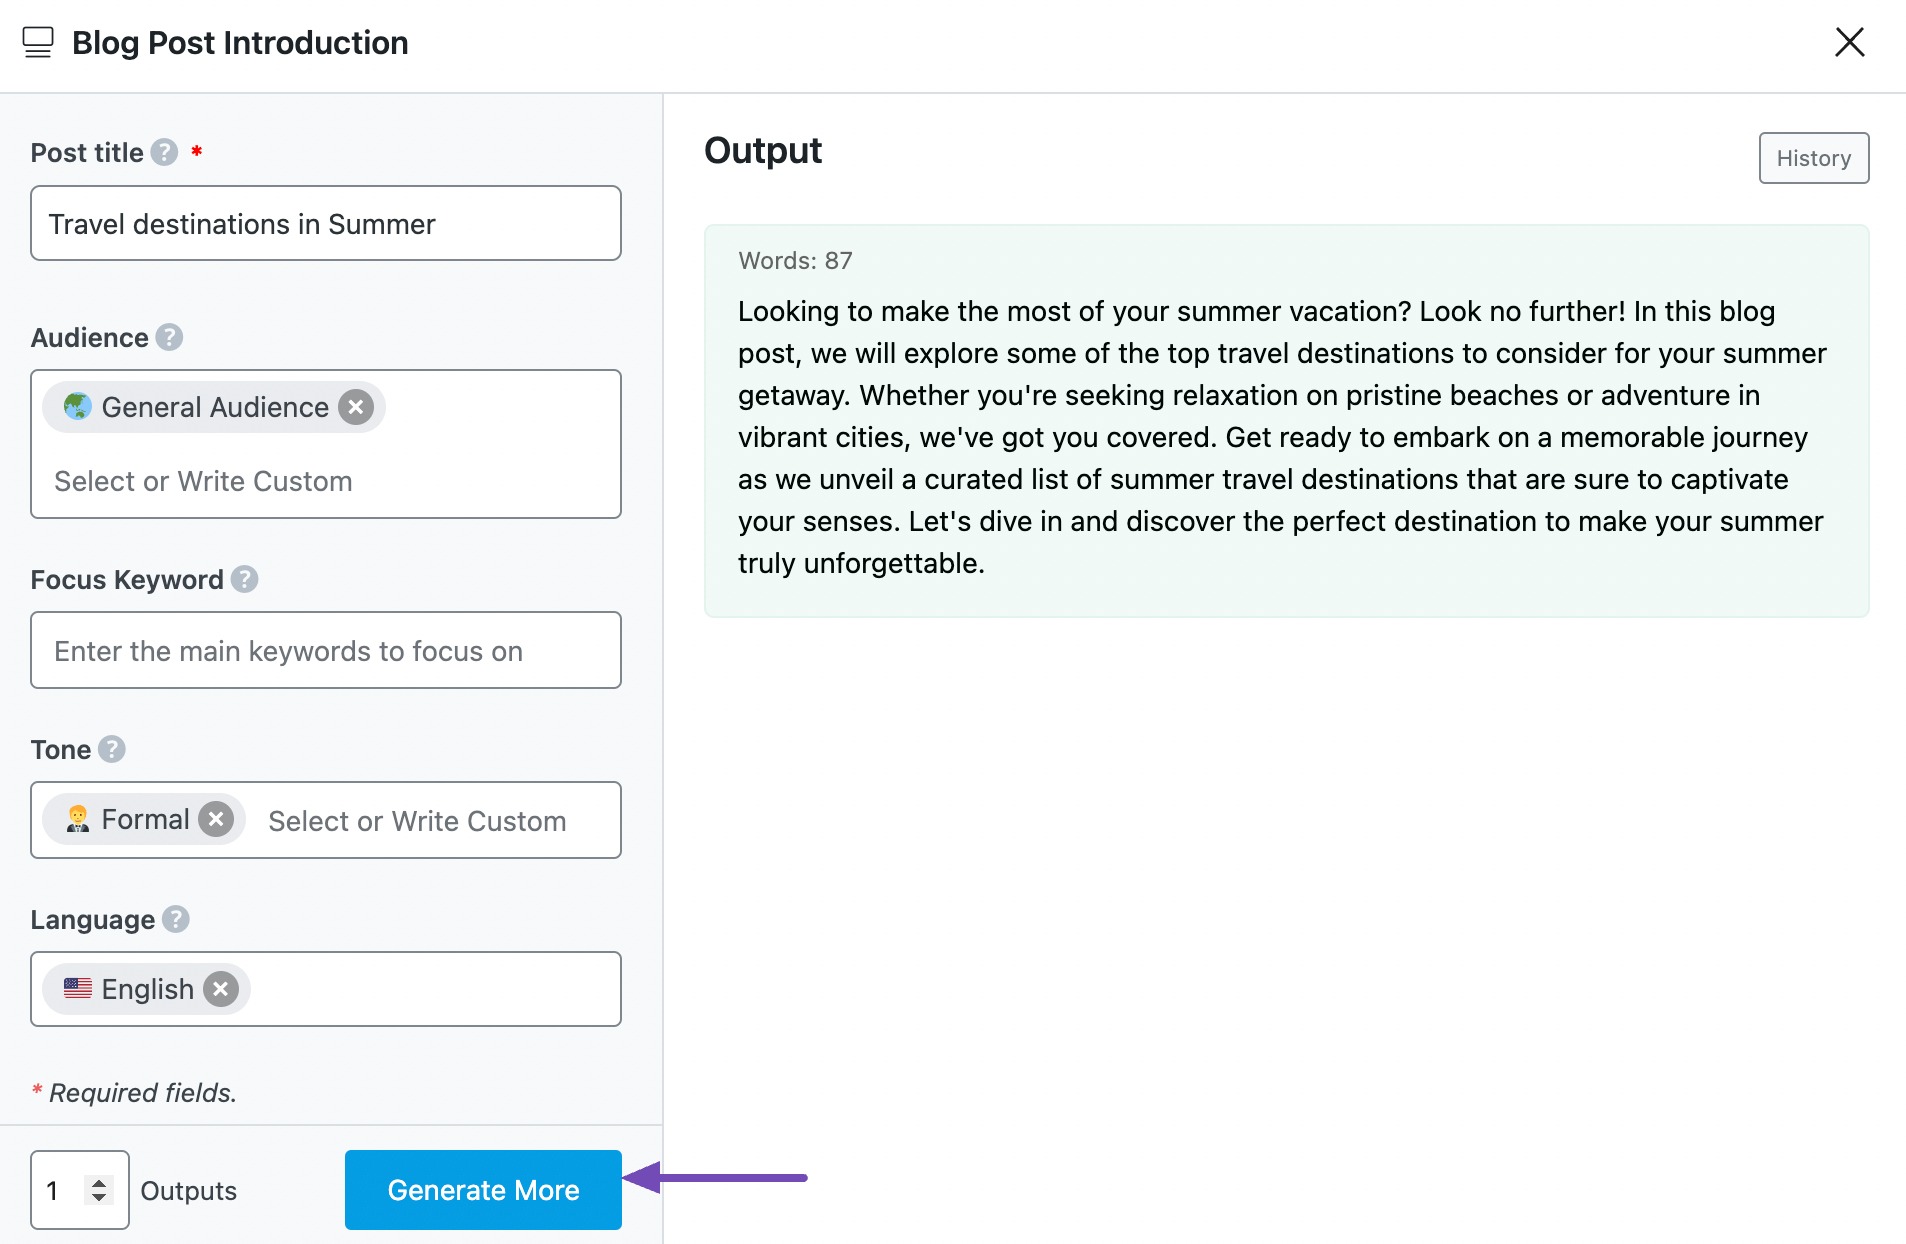
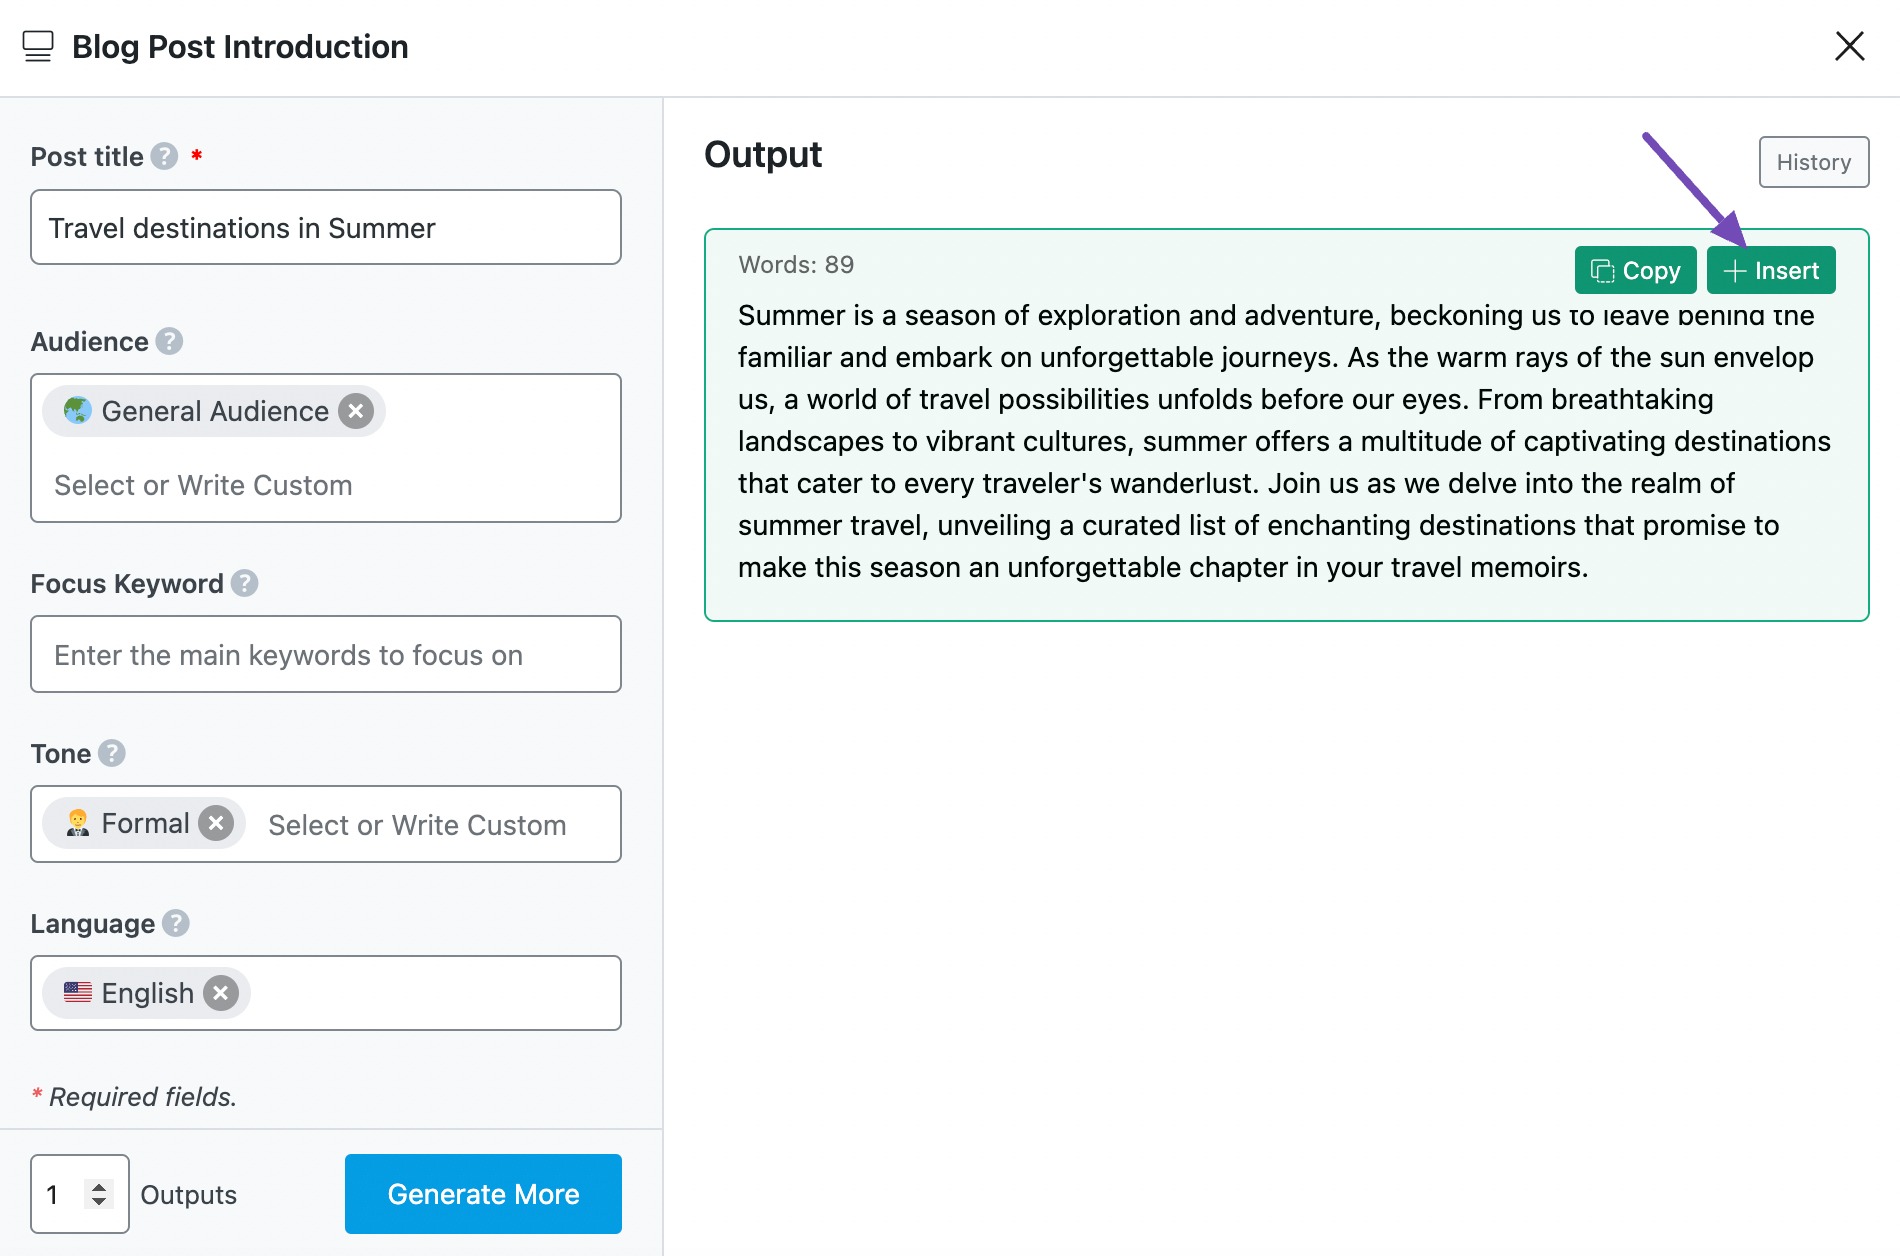
Content AI will generate your blog post introductions and display them in the Output section. You can click Generate More if you want it to create more introductions.
2.8 Insert
Hover over the introduction and click Insert. The introduction will be inserted into the Content Editor. You can further develop it using the other AI tools available in Content AI.
3 Use Cases of the Blog Post Introduction AI Tool
A compelling blog post introduction is crucial for grabbing readers’ attention and keeping them engaged. The Blog Post Introduction AI tool helps you craft powerful openings that draw readers in, set expectations, and encourage them to continue reading. Here are some practical ways you can use this tool:
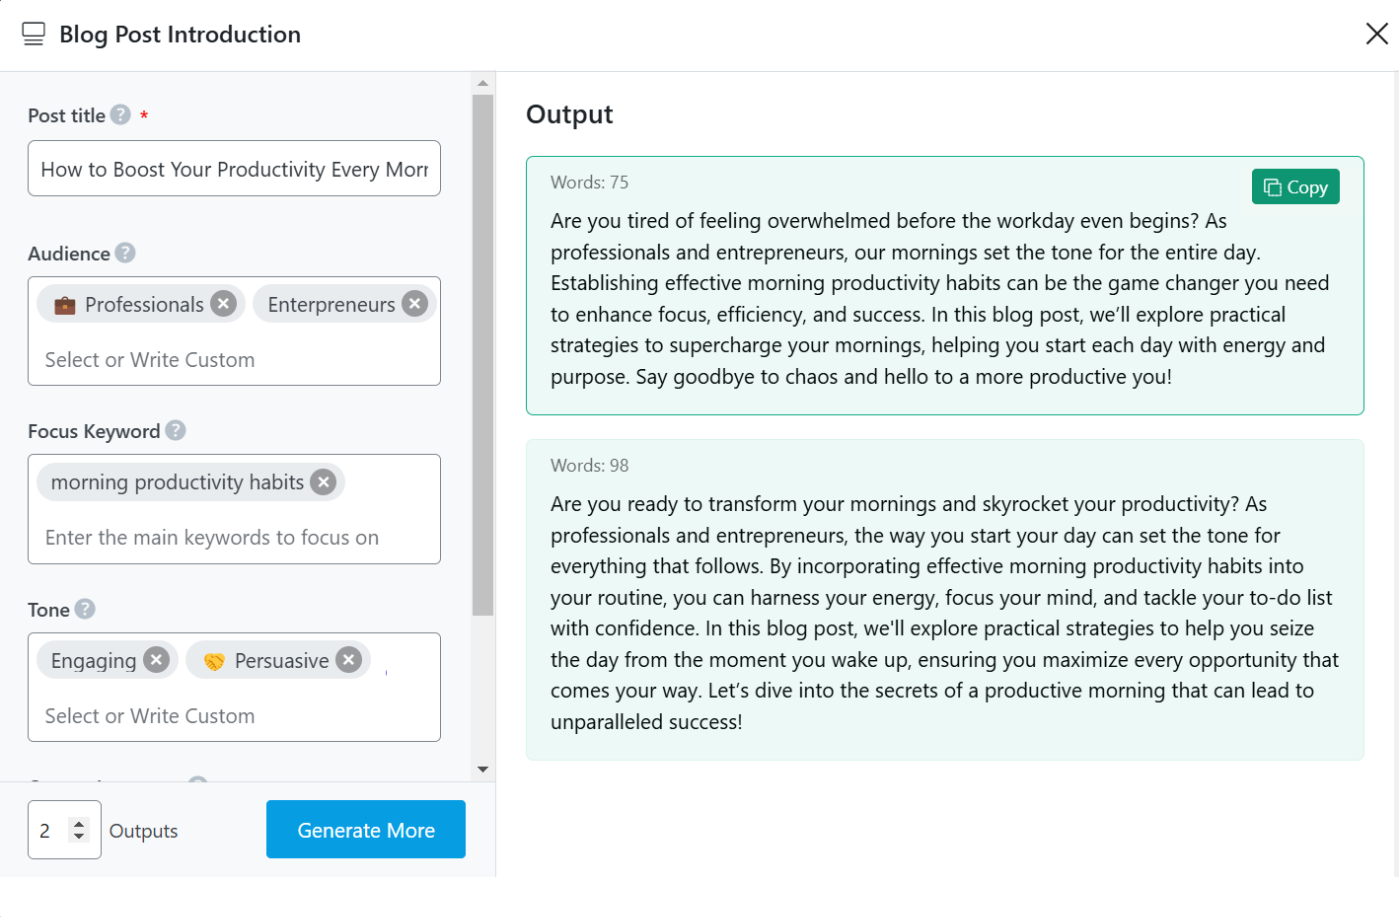
3.1 Crafting an Attention-Grabbing Introduction
With countless blog posts published daily, standing out is a challenge. A compelling introduction needs to immediately capture attention and make the reader feel that the content is worth their time.
This AI tool helps structure introductions that spark curiosity, create intrigue, or tap into the reader’s emotions. It ensures that the first few lines are engaging enough to keep the reader invested in the rest of the post.
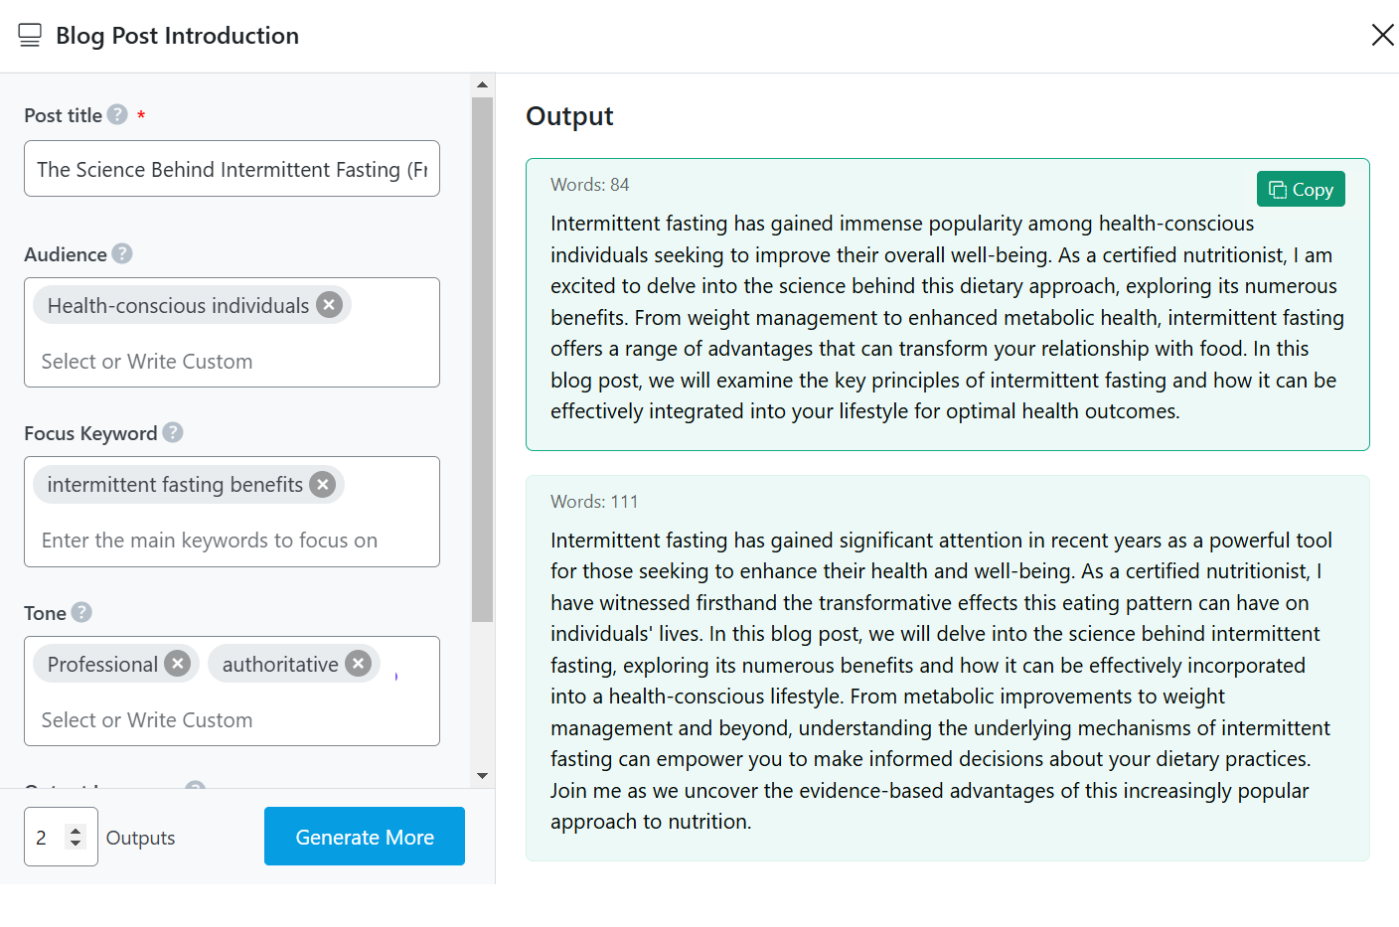
3.2 Writing an E-E-A-T Worthy Introduction
In industries where experience, expertise, authority, and trustworthiness (E-E-A-T) are essential—such as healthcare, finance, or law—the introduction needs to instantly establish credibility. Readers are more likely to trust and engage with content when they know it’s coming from a knowledgeable source.
This AI tool helps structure introductions that highlight relevant credentials, industry experience, or authoritative insights, reinforcing the writer’s expertise. By positioning the author as a trusted figure, it ensures the content resonates with the audience and meets high-quality standards.
To achieve this, rather than simply using “The Science Behind Intermittent Fasting” in the Post Title field, try “The Science Behind Intermittent Fasting (From a Certified Nutritionist).” This small but powerful tweak prompts the AI to generate a more authoritative and trust-building introduction, as shown below.
4 Conclusion
We hope you are able to write a blog post introduction with Content AI. Content AI is your AI-powered SEO specialist and writing assistant with 40+ AI tools to research, write, and improve your content.
If you still have any questions about using the Blog Post Introduction AI tool or any other AI tool available in Content AI – you’re always more than welcome to contact our dedicated support team. We’re available 24/7, 365 days a year…