Updating WordPress is essential to keeping your website secure, fast, and compatible with the latest plugins and themes.
While most updates can be done automatically with just a click, there are times when you may need to update WordPress manually.
This can be due to a failed auto-update, compatibility concerns, or simply because you prefer having more control over the process.
By learning how to update WordPress manually, you ensure your site stays safe and functional at all times.
In this post, you’ll learn simple methods: updating through the WordPress dashboard, updating via FTP, and via cPanel. You can pick the option that feels most comfortable for you.
So, without any further ado, let’s get started.
Table Of Contents
1 Why Update WordPress Manually?
WordPress makes it easy to update automatically whenever a new version is released. This saves you from logging into your dashboard every time and lets WordPress handle the updates for you.
However, automatic updates aren’t always risk-free. They can sometimes create compatibility issues, overwrite your customizations, or introduce bugs. That’s why taking control and updating WordPress manually can be a smarter choice. It gives you flexibility, control, and peace of mind.
Here are the key reasons why manual updates are worth it:
1.1 Ensures Compatibility
When you update manually, you can check if your themes, plugins, and customizations are fully compatible before going live.
For example, if your site relies on a gallery plugin for your photography portfolio, you can confirm it works with the new version before your visitors see any errors.
1.2 Testing and Quality Assurance
Manual updates let you test safely in a staging environment before making changes on your live site. If you run an online store with WooCommerce, this means you can test transactions, product listings, and checkout flows to ensure your customers won’t face issues.
1.3 Fine-tuning Customizations
If you’ve customized your theme or edited core files, auto-updates can overwrite your work. Manual updates give you the chance to review your changes and make adjustments.
For instance, if you styled your theme with custom CSS, you can make sure those designs remain intact.
1.4 Security Enhancements
Updating manually ensures you apply security patches as soon as they’re available. If a critical vulnerability is discovered, you can update right away to protect your data and your visitors.
1.5 Full Control and Planning
Manual updates let you choose when and how the update happens. You can schedule updates during low-traffic hours, back up your site beforehand, and roll out changes with minimal disruption.
2 Essential Steps Before You Manually Update WordPress
Before you update WordPress manually, taking a few precautionary steps will help ensure a smooth process.
Always back up your website files and database before starting the update. This gives you a safety net if anything goes wrong.
Next, take a moment to verify that your web hosting environment aligns with the minimum requirements for the latest WordPress version. This includes checking the compatibility of your server’s PHP version, database version, and other technical specifications.
Check that your themes and plugins are compatible with the new WordPress release. If any plugin or theme hasn’t been updated recently or lacks compatibility information, contact the developer for clarification.
Consider testing the update on a staging site first. This separate environment lets you identify and fix potential issues without affecting your live website.
Read the release notes for the latest WordPress version. Look for new features, bug fixes, and any changes that could affect your site. This helps you stay informed and plan your update carefully.
3 How to Update WordPress Manually to the Latest Version
Now that you have a clear picture of why you should update WordPress manually and what to do before executing the updates, let’s learn how to update WordPress.
3.1 Using the One-Click Update
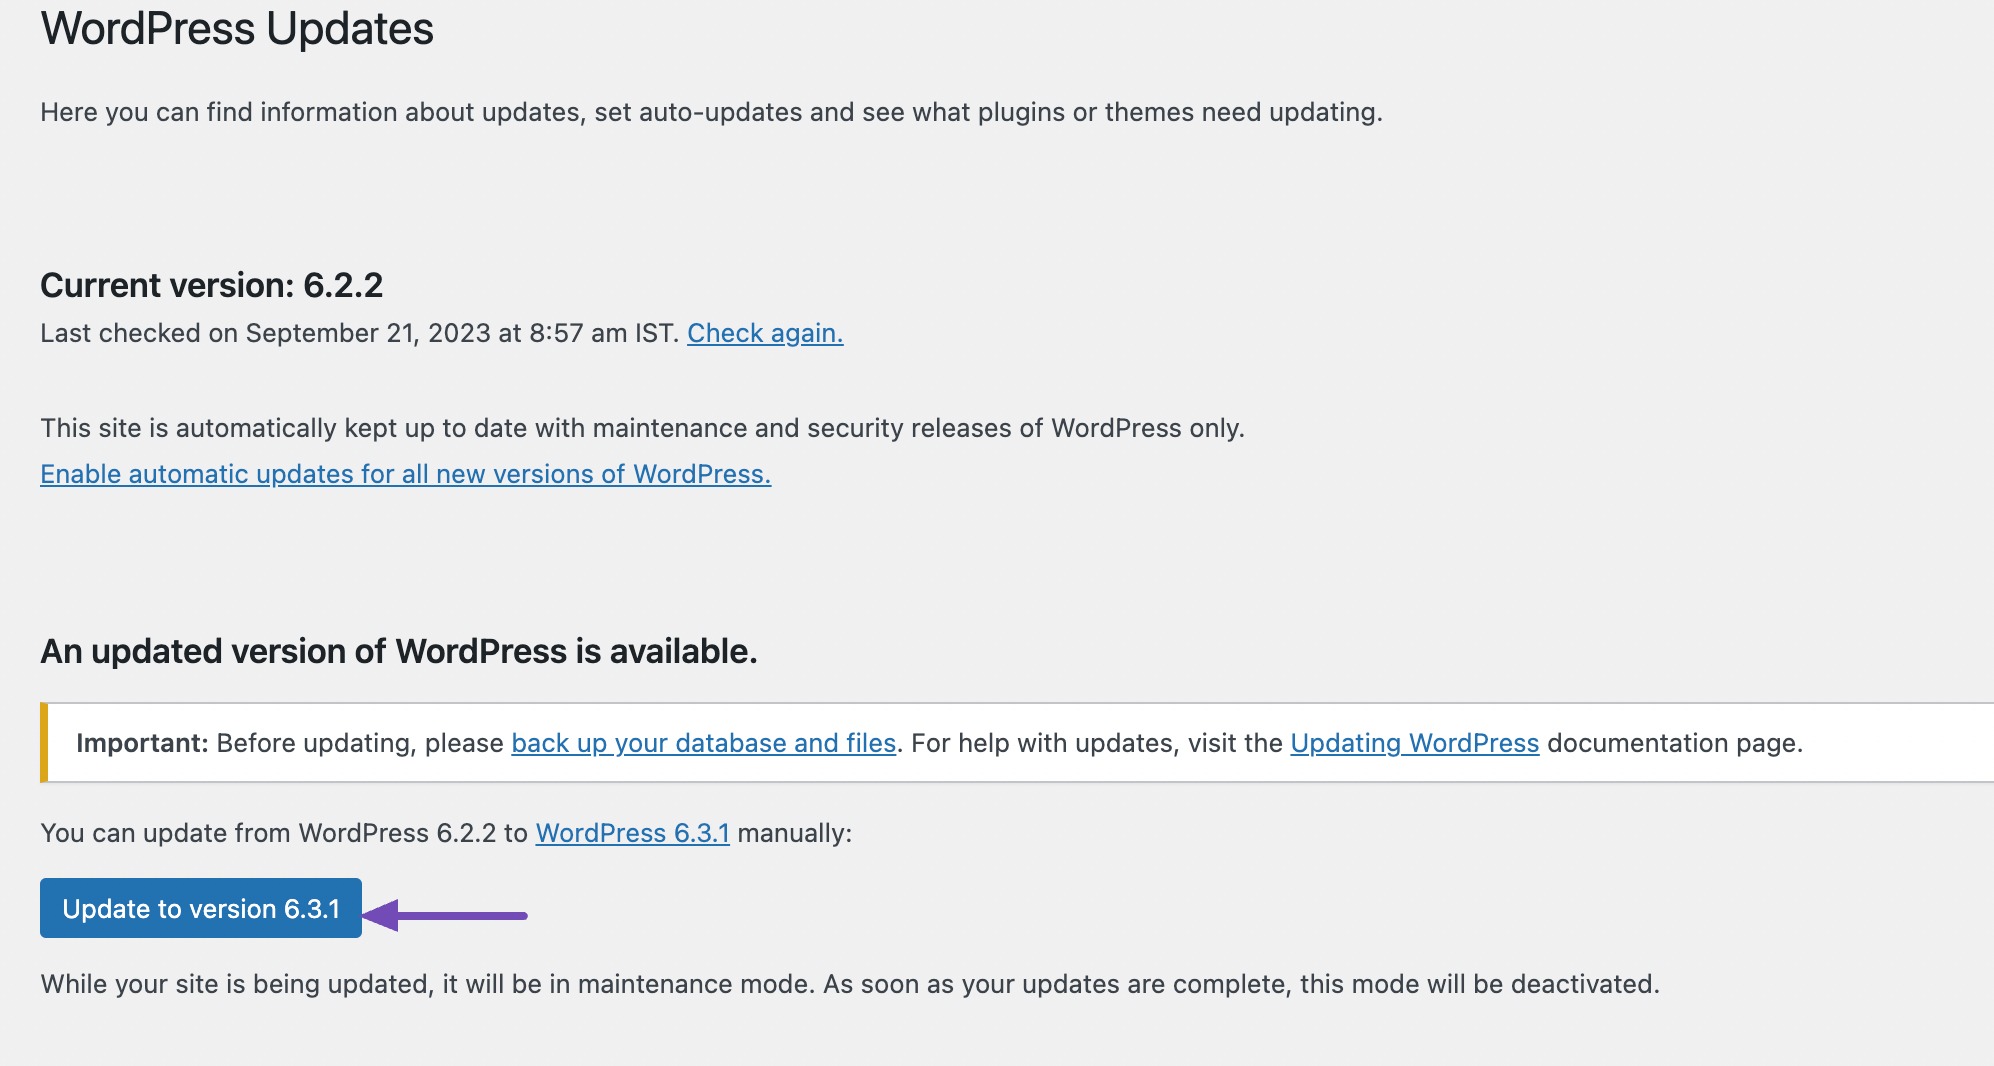
This is the most straightforward method to update WordPress. Whenever there’s a new release, WordPress will list it in the Updates section in your WordPress dashboard. It’ll also display a message, as shown below.

Click the Please update now link to update the WordPress core files.
Alternatively, you can navigate to the Updates section from your WordPress dashboard and click the Update to version (current version) button.
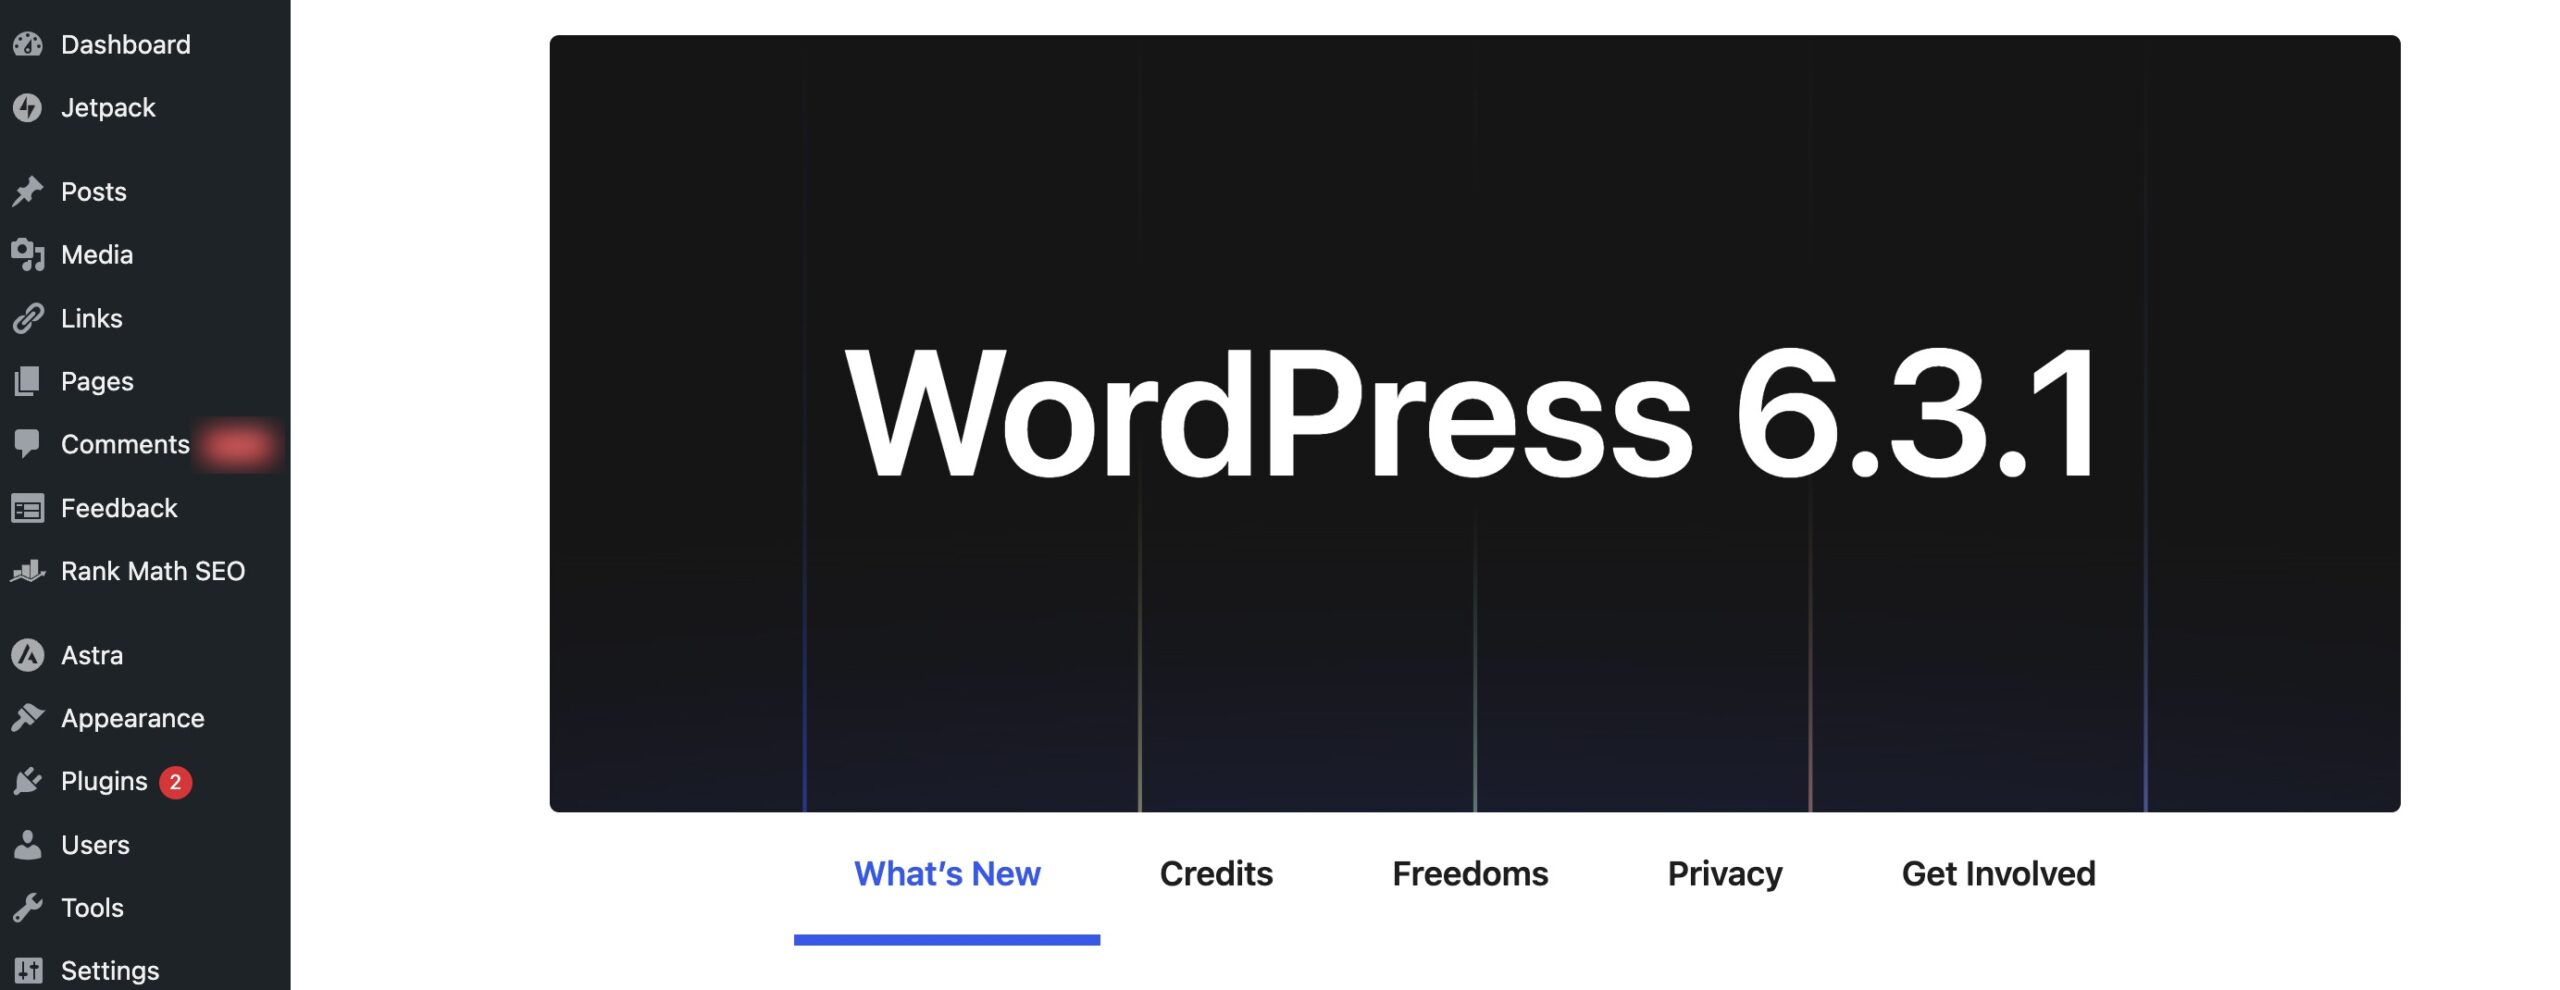
During the upgrade, WordPress will put your site into maintenance mode. Once the update is completed, you’ll be redirected to the WordPress welcome screen. Depending on each release, you may see a page explaining what’s new in WordPress and the features you can explore.
3.2 Update WordPress Manually via FTP
If WordPress fails to update using the one-click method, you can use an FTP client to update WordPress manually.
In this case, we’ll use the FileZilla Client as it’s fast, reliable, and available for multiple operating systems, including Windows, macOS, and Linux.
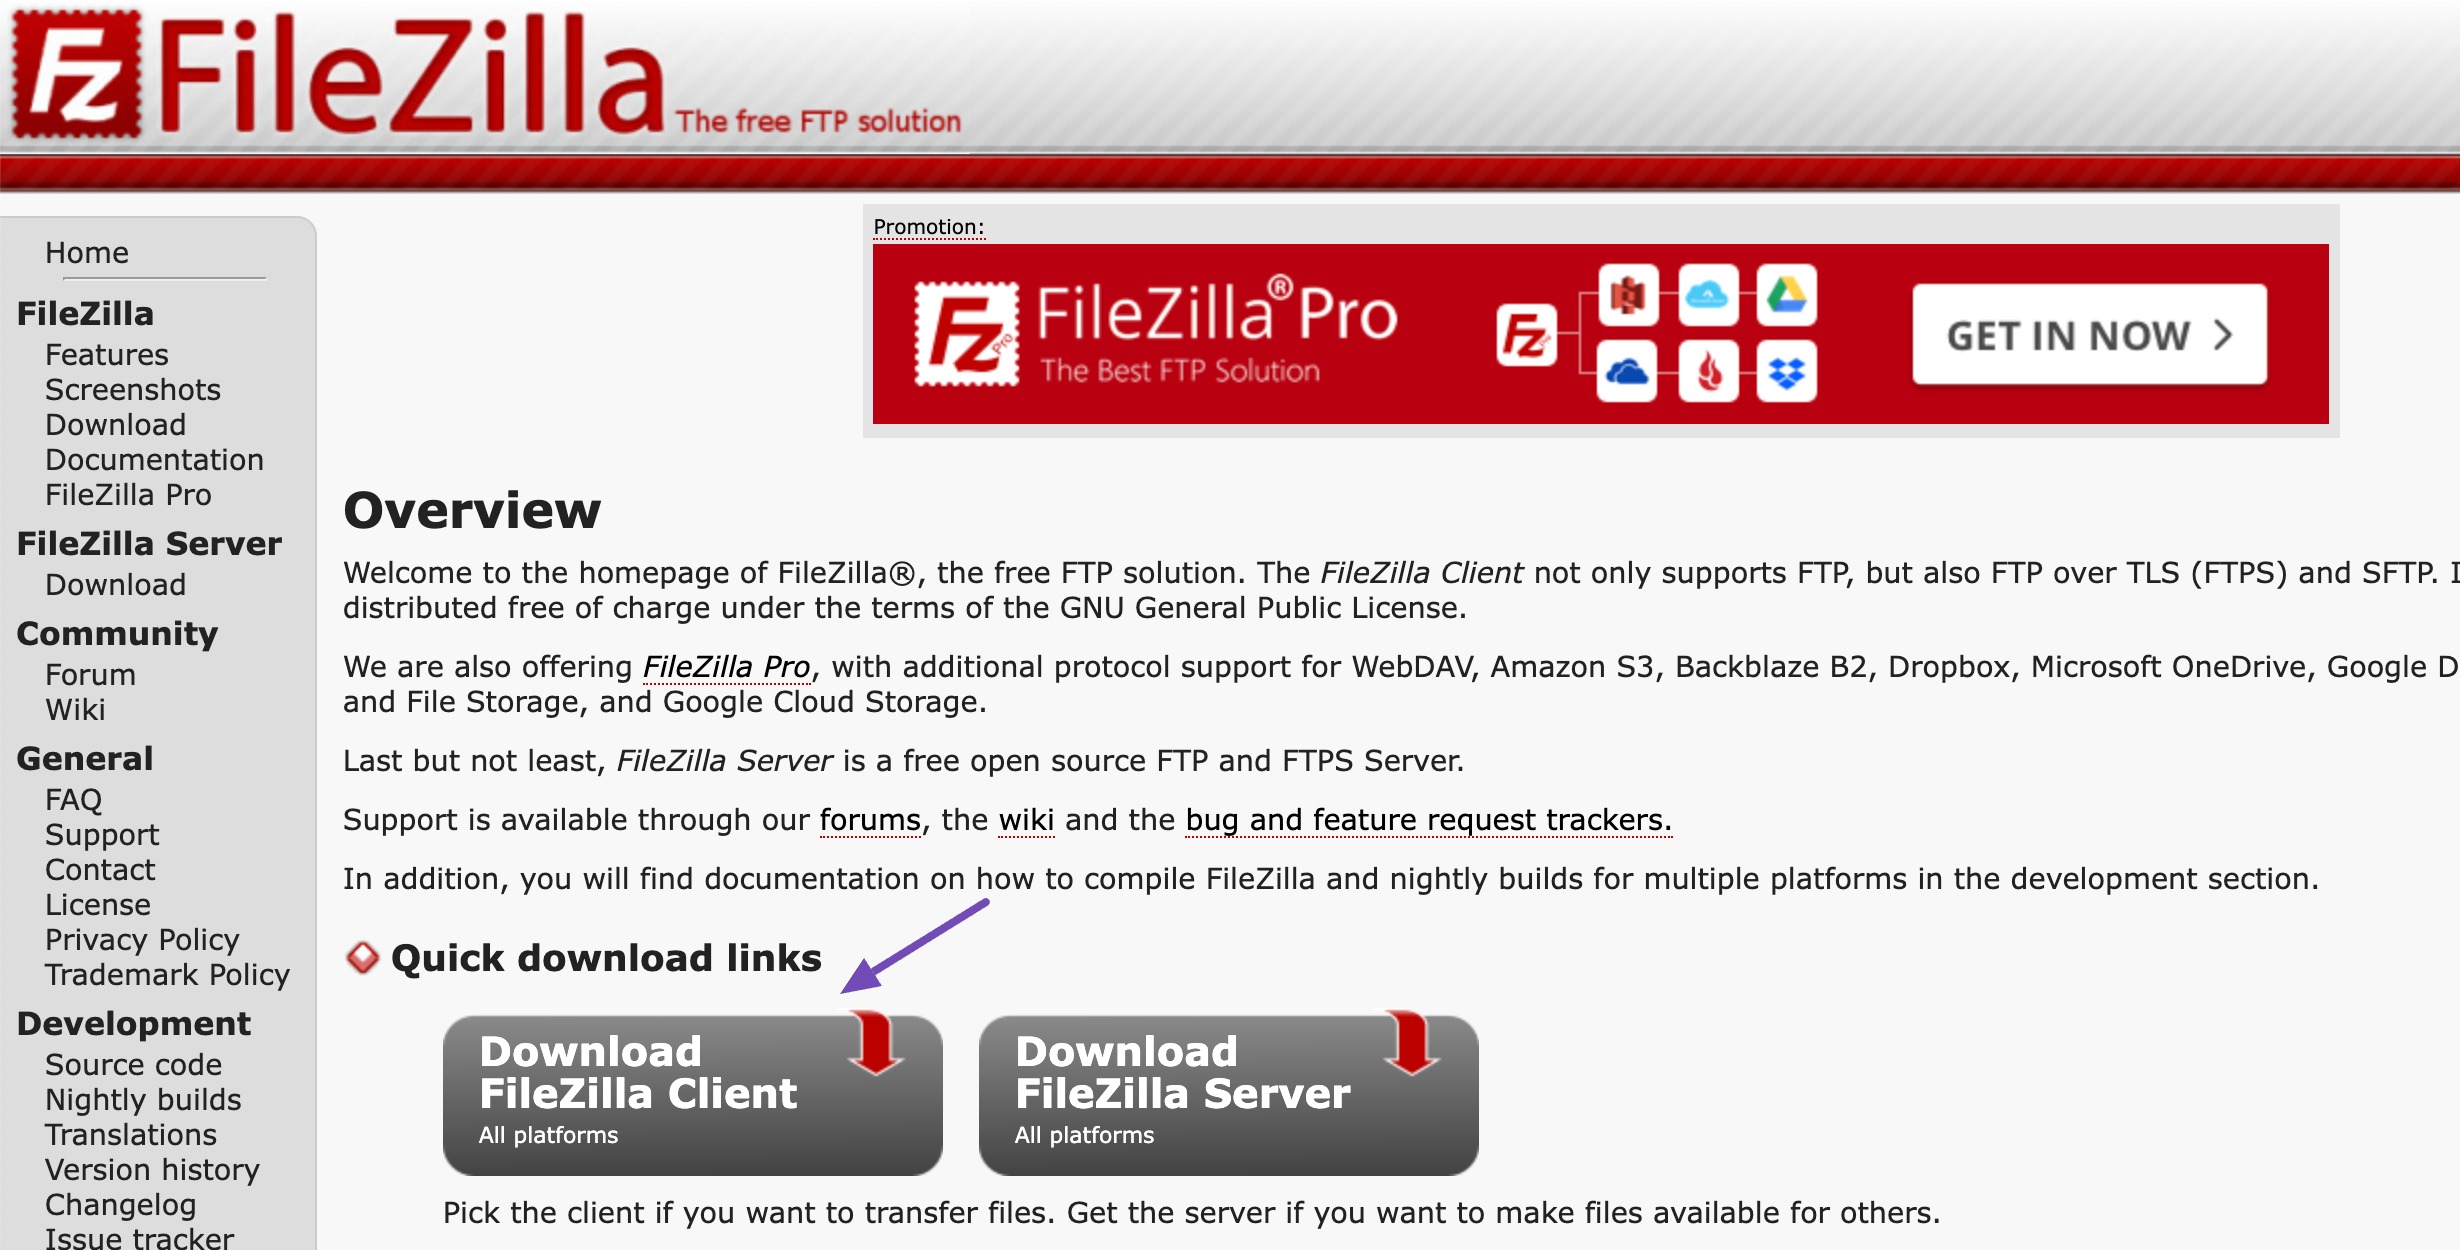
3.2.1 Install FileZilla
Install FileZilla by visiting the FileZilla website and clicking the Download FileZilla Client button.
Once the download is complete, locate the installation file in your Downloads folder or wherever you saved it and follow the onscreen instructions to install FileZilla. Once done, you can find FileZilla as an application on your computer.
3.2.2 Download the Latest Version of WordPress
Next, navigate to the WordPress download page and download the latest version.
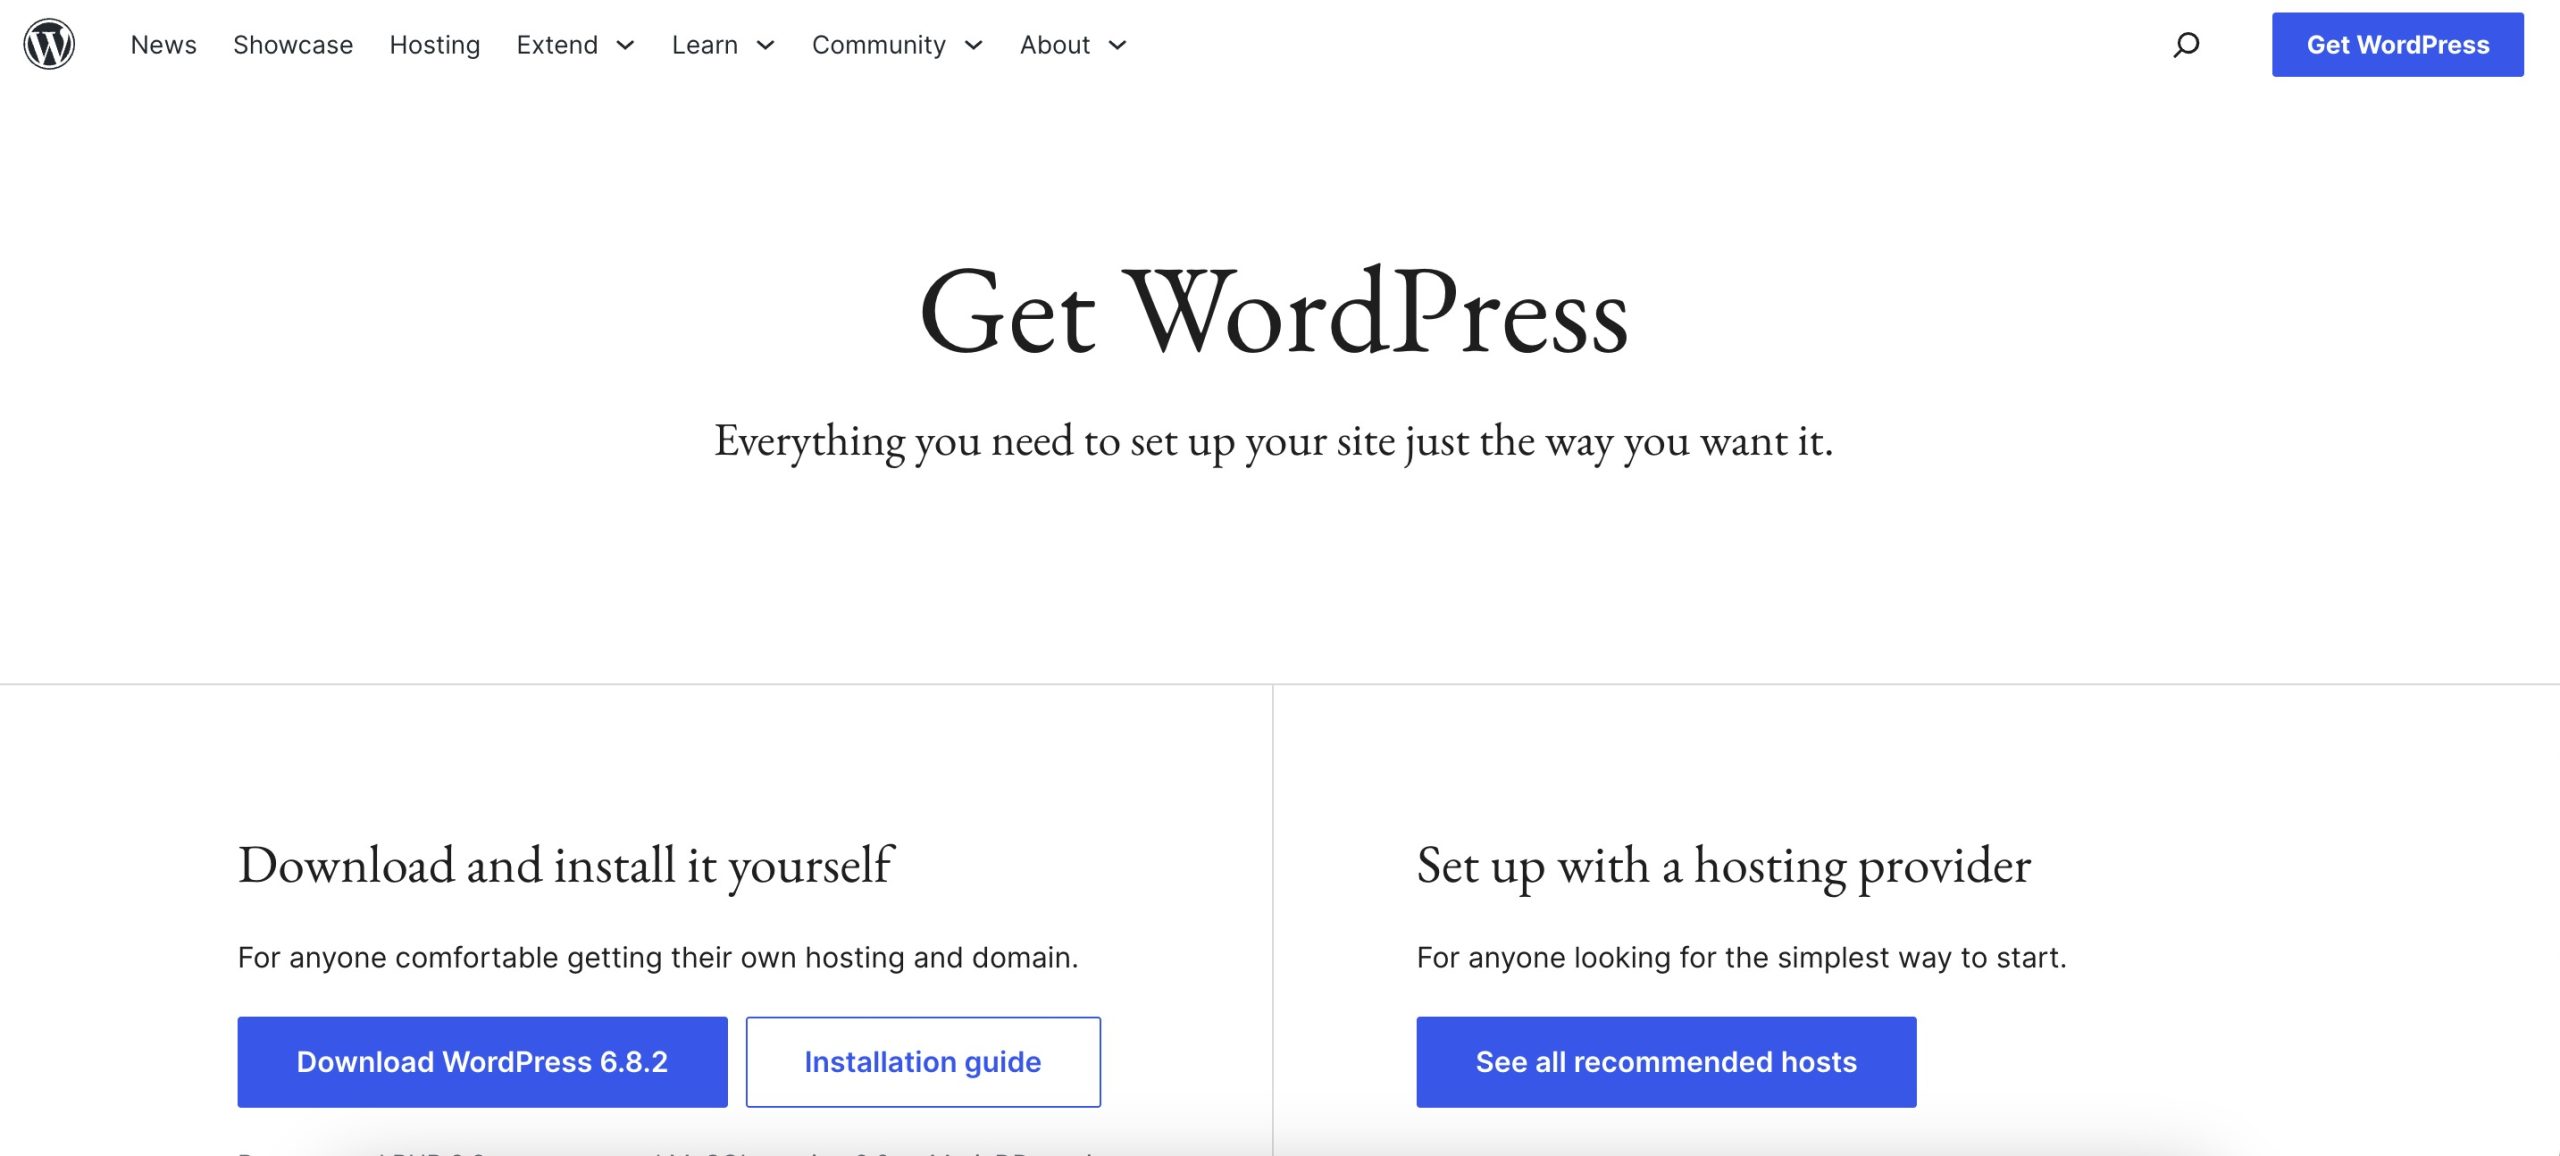
Once the download is complete, proceed to extract the folder contents.
3.2.3 Upload the WordPress Files using FTP
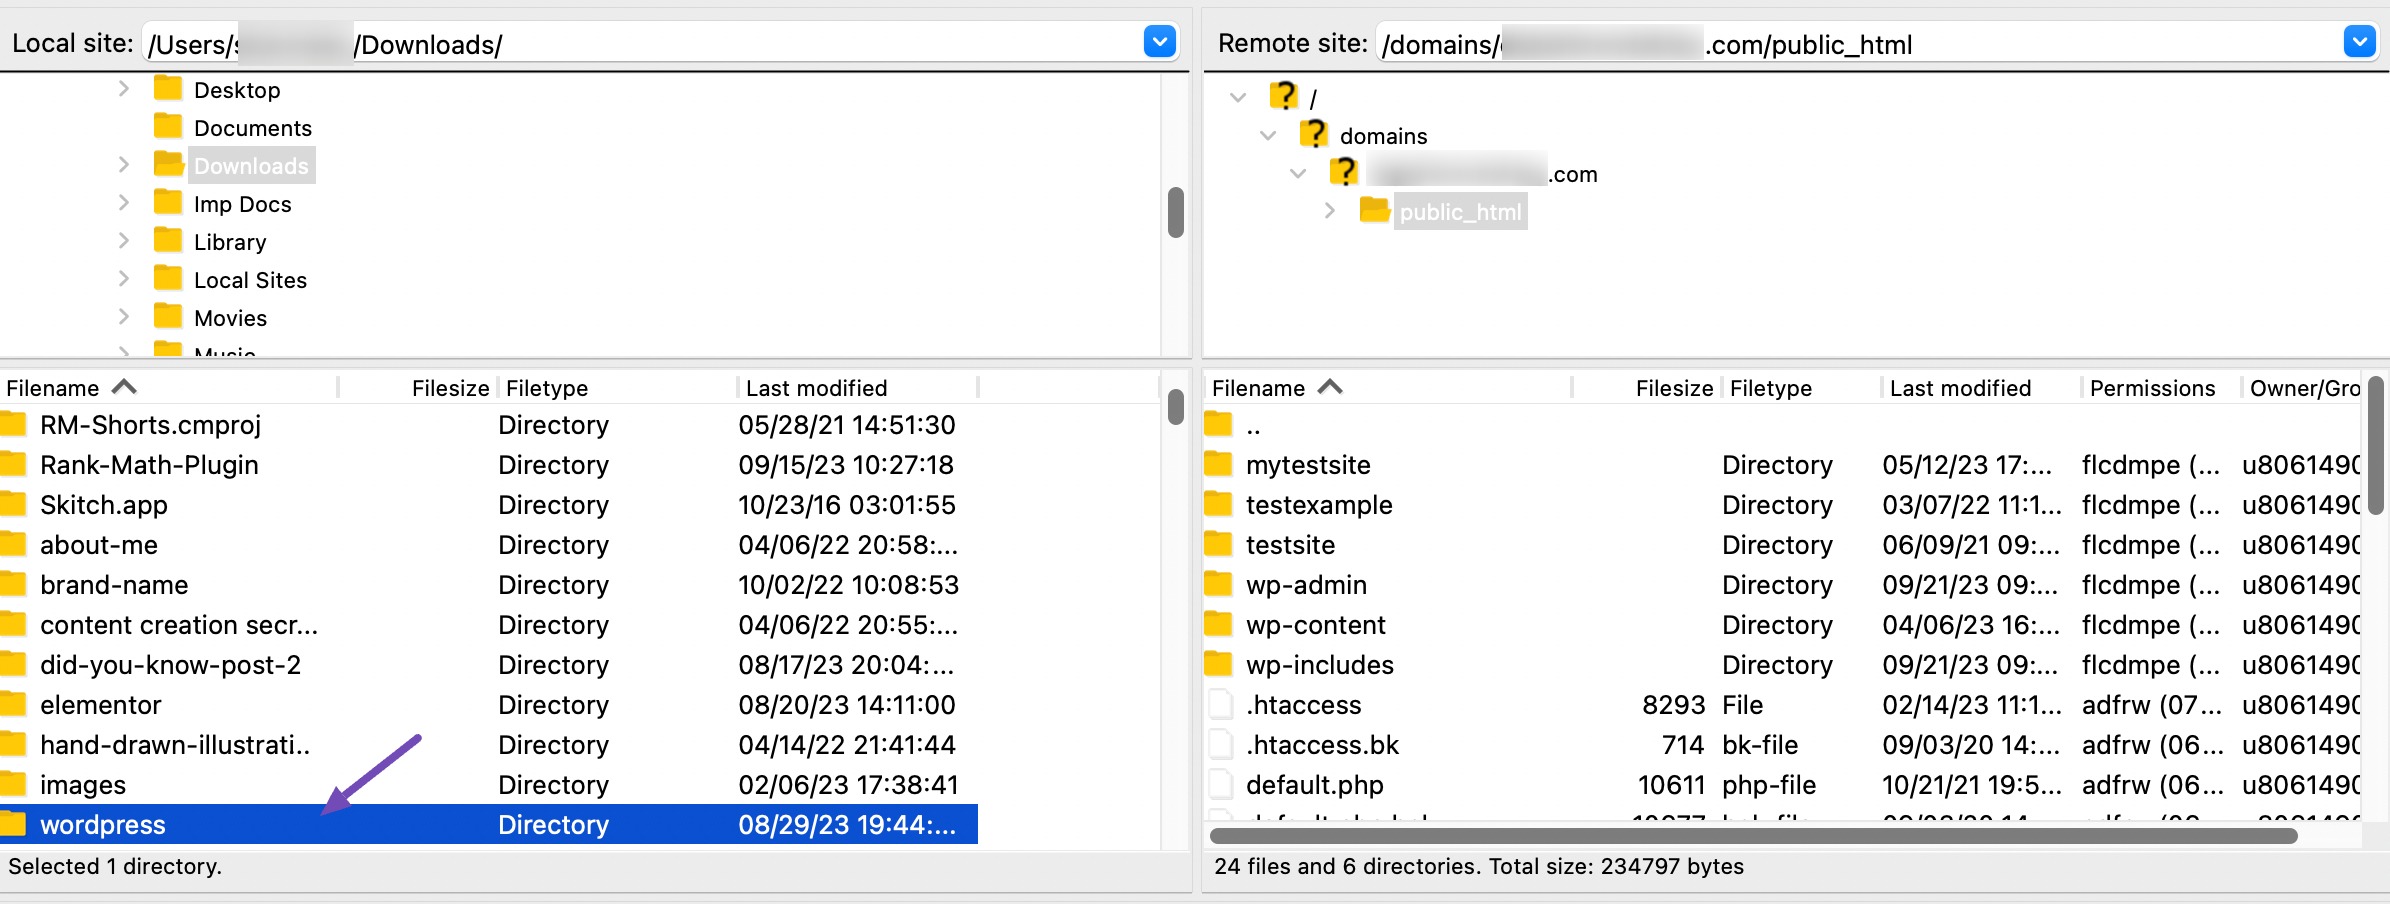
Now, connect your website to the FTP client. Once connected, navigate to the wordpress folder you just extracted from the zip file in the Local site column, as shown below.
Continue by selecting all the files from the wordpress folder in the Local site section and selecting the Upload option to add the files to your site’s root directory.
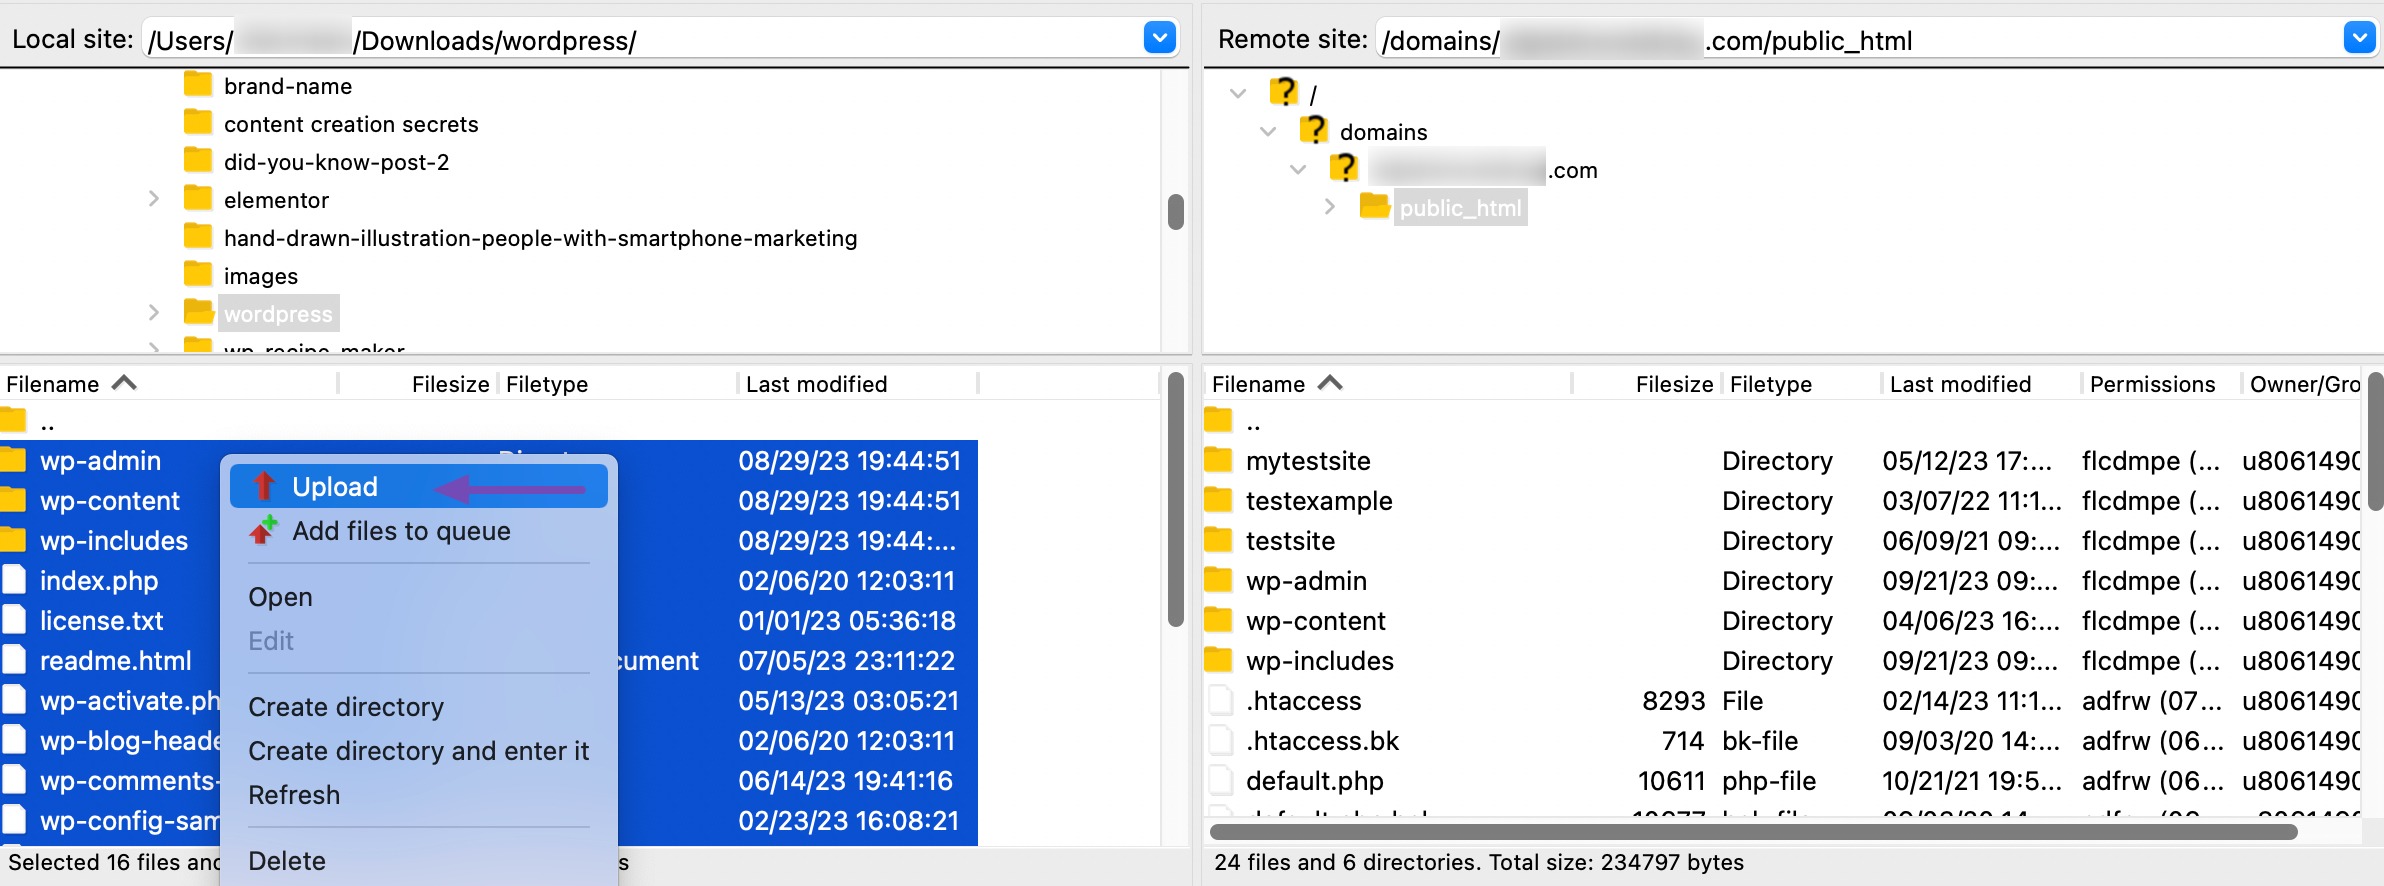
Your FTP client will now start uploading WordPress files from your computer to your website.
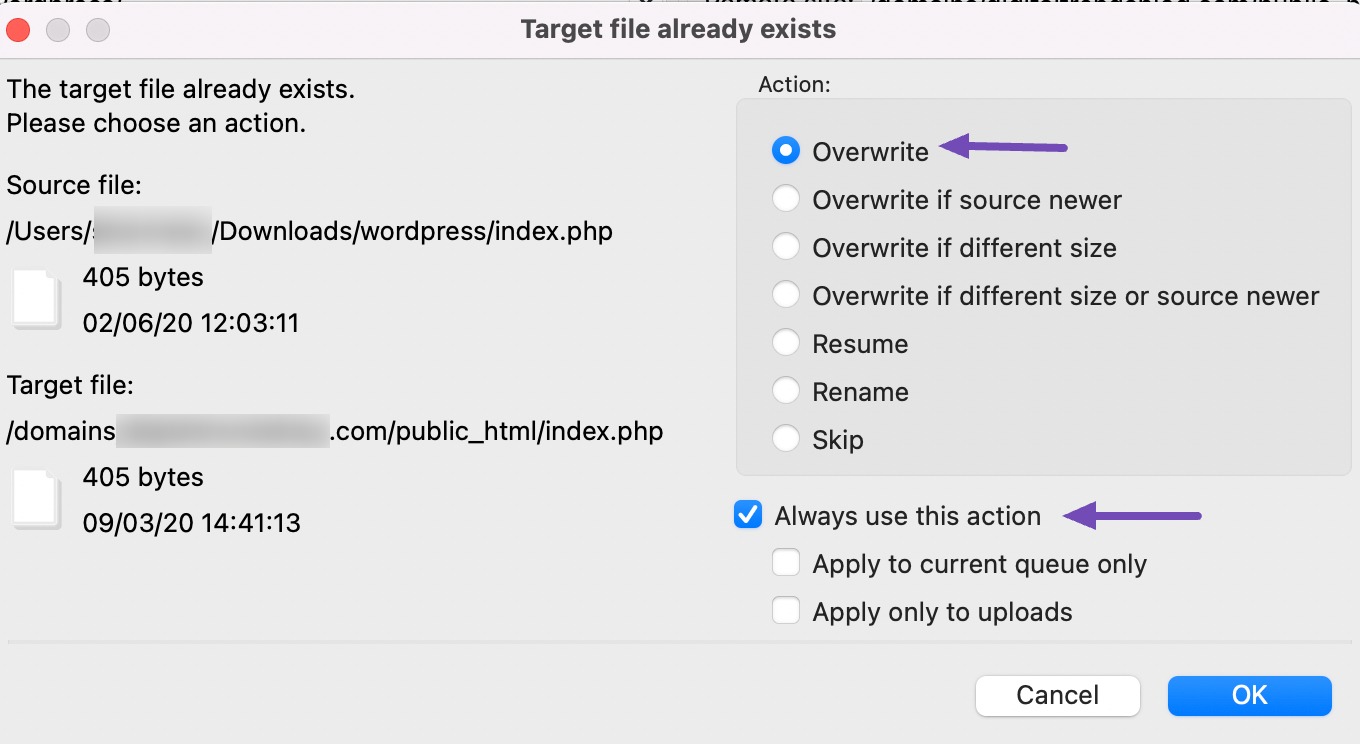
However, your website already has older versions of the files with the same name. You’ll be asked what you want to do with those files. Select Overwrite, check the box next to Always use this action, and click the OK button. This ensures that all the necessary files are updated.
Note: Be careful while copying the wp-content directory. Your themes and plugins reside here, so you might want to keep them. If you have customized the default or classic themes without renaming them, don’t overwrite those files; otherwise, you might lose your changes. Exercise caution while performing this step, and double-check that you have a recent backup of the wp-content folder.
Once the upload is finished, log in to your WordPress dashboard. If the database also needs to be updated, you must follow the onscreen instructions.
That’s it; you’ve successfully updated your WordPress website.
3.3 Update WordPress Manually Using the cPanel
Most web hosting companies use cPanel as their web host management software; chances are yours is too. You can also use cPanel to update WordPress.
To do so, log in to your cPanel account and navigate to the File manager folder.
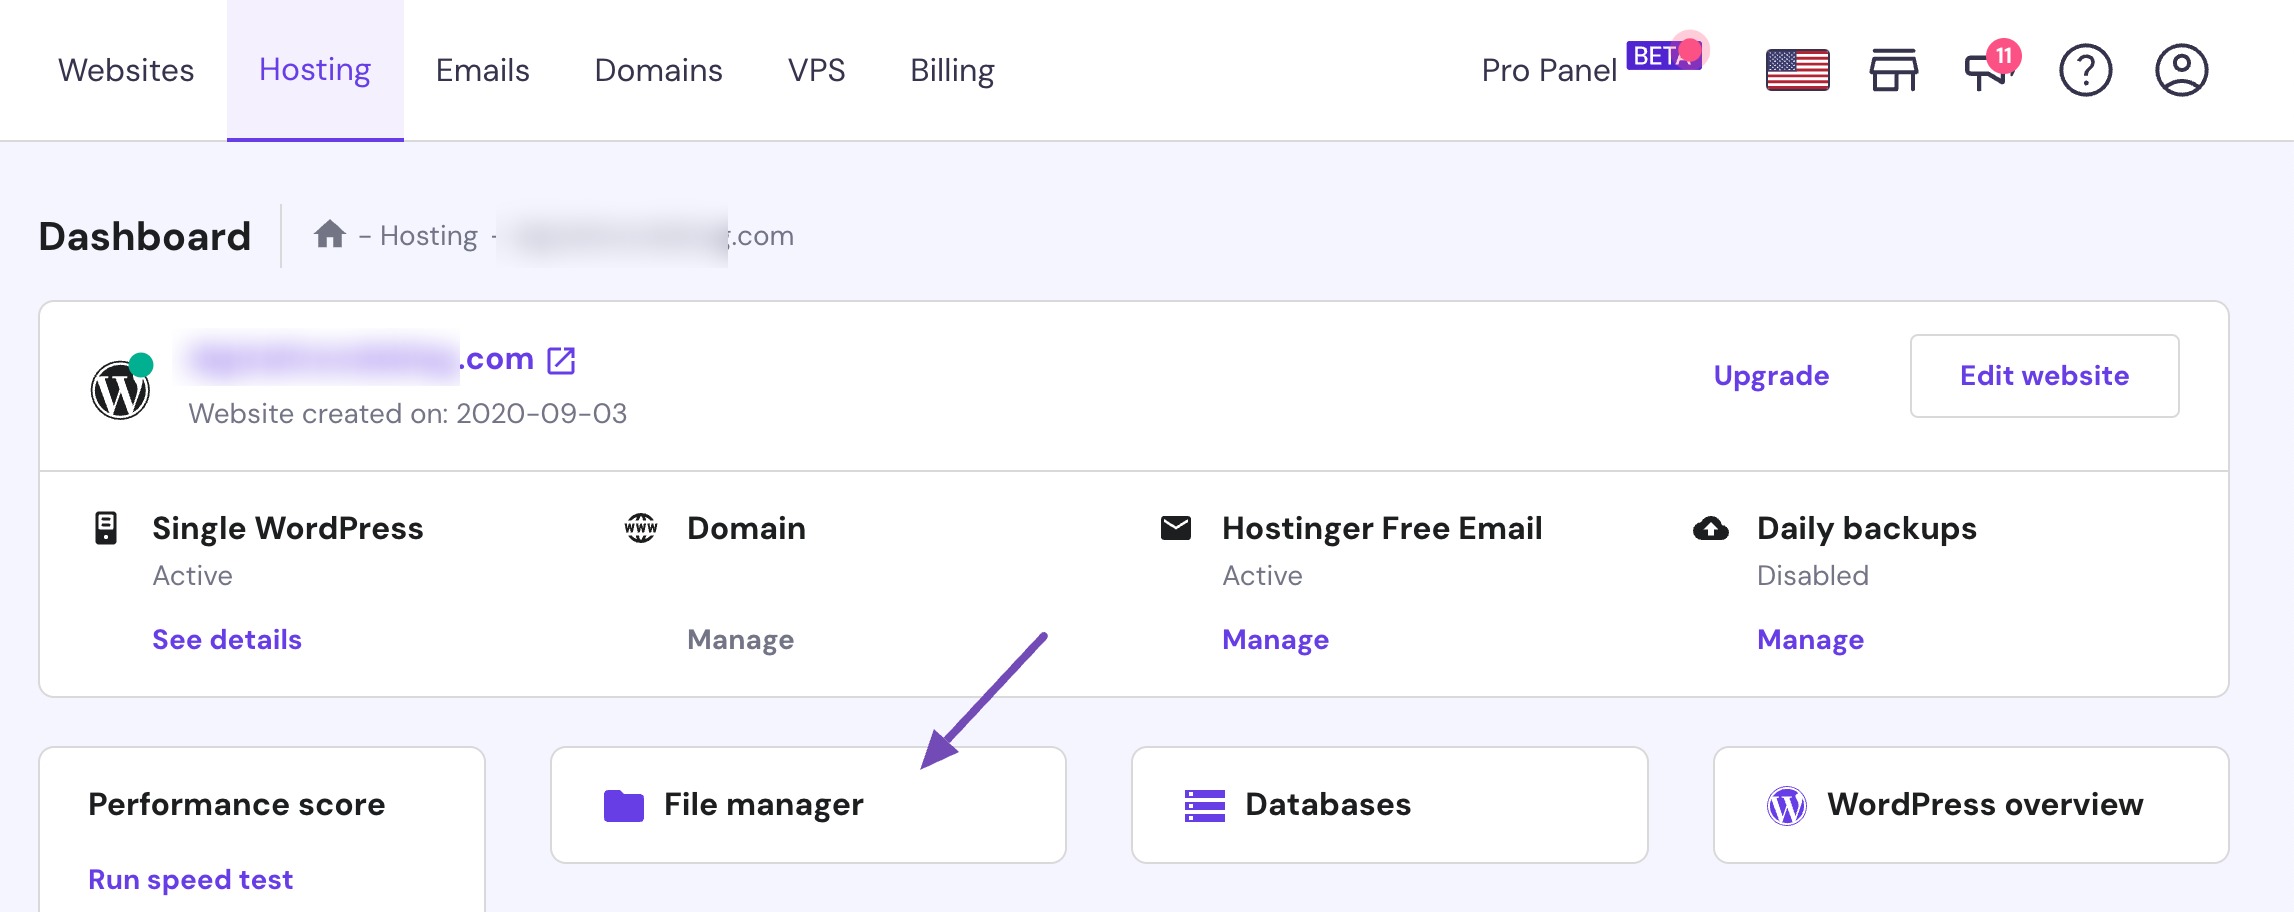
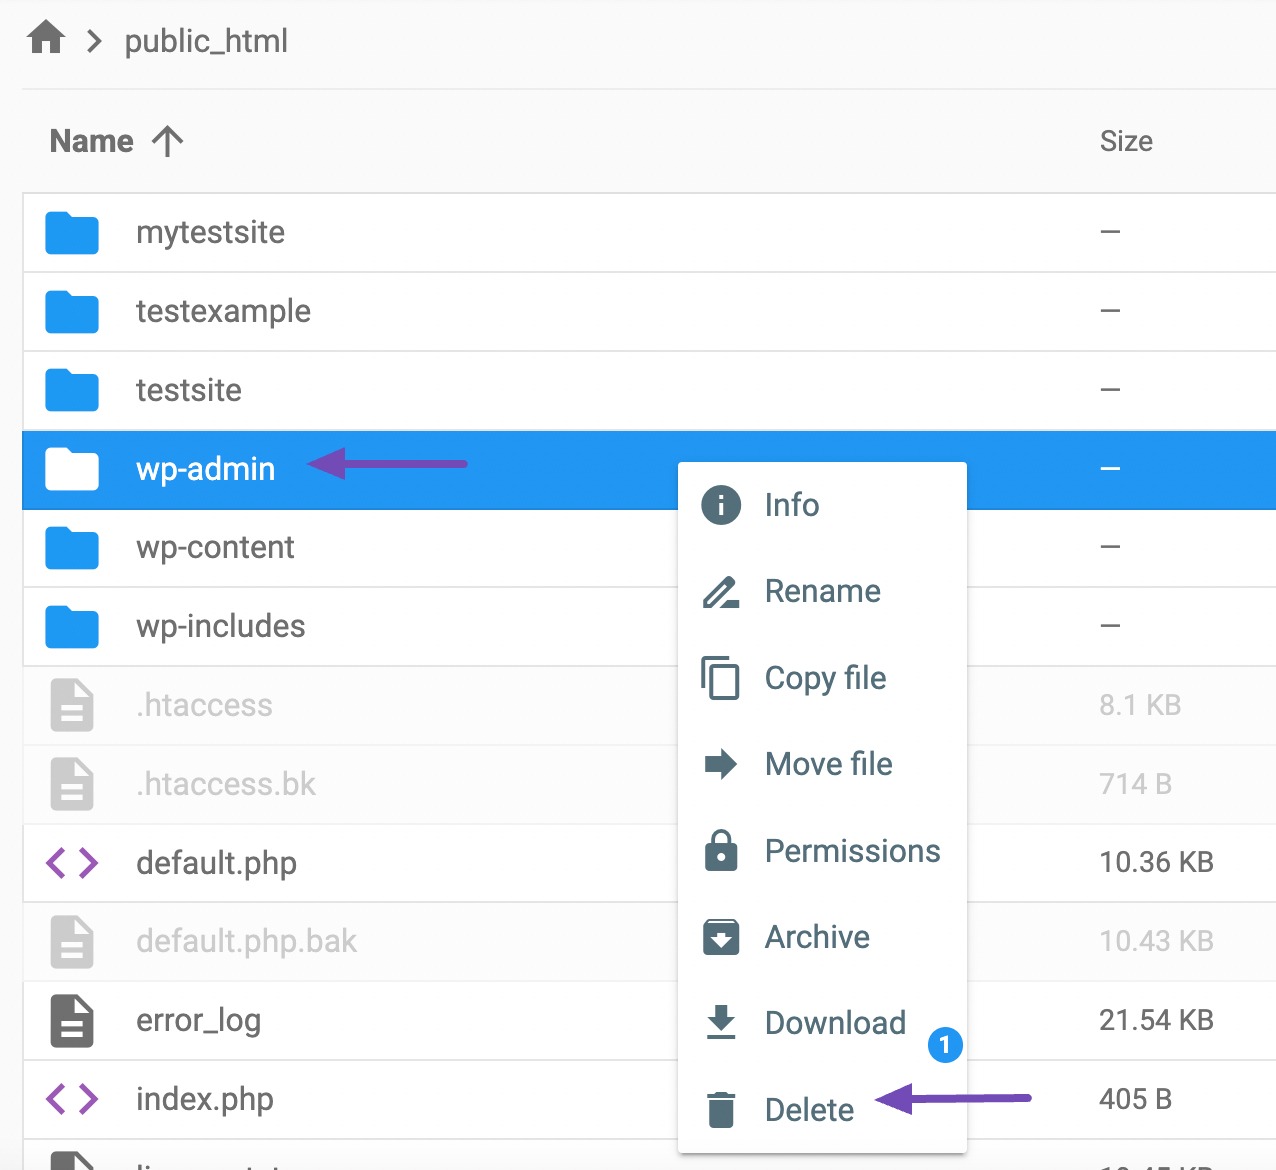
Open the root folder of your WordPress website. Mostly, it’s labelled as the public_html.

Next, locate the wp-includes and wp-admin folders and delete them. Don’t delete the wp-content from your existing WordPress core files.
Once done, click the upload button icon at the top toolbar, and it’ll open a new window. Proceed by selecting the File option.
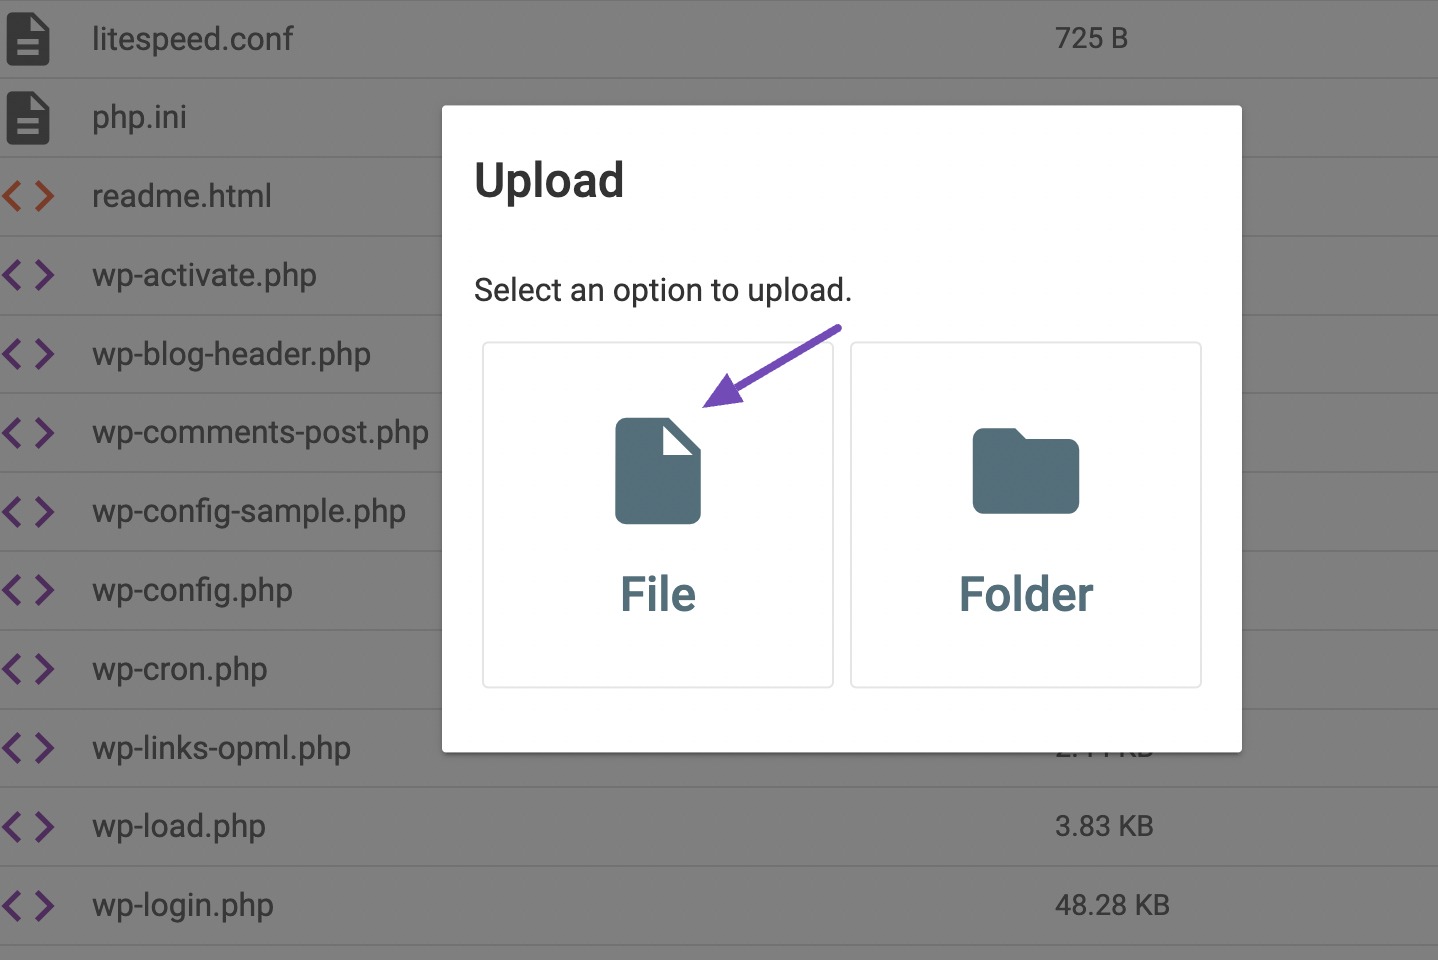
Select the zipped WordPress file you downloaded before (mentioned in step 3.2.2) from your computer and upload it.
Once the upload is complete, return to your root directory and locate the WordPress zip file. Right-click on the file and then select the Extract option.
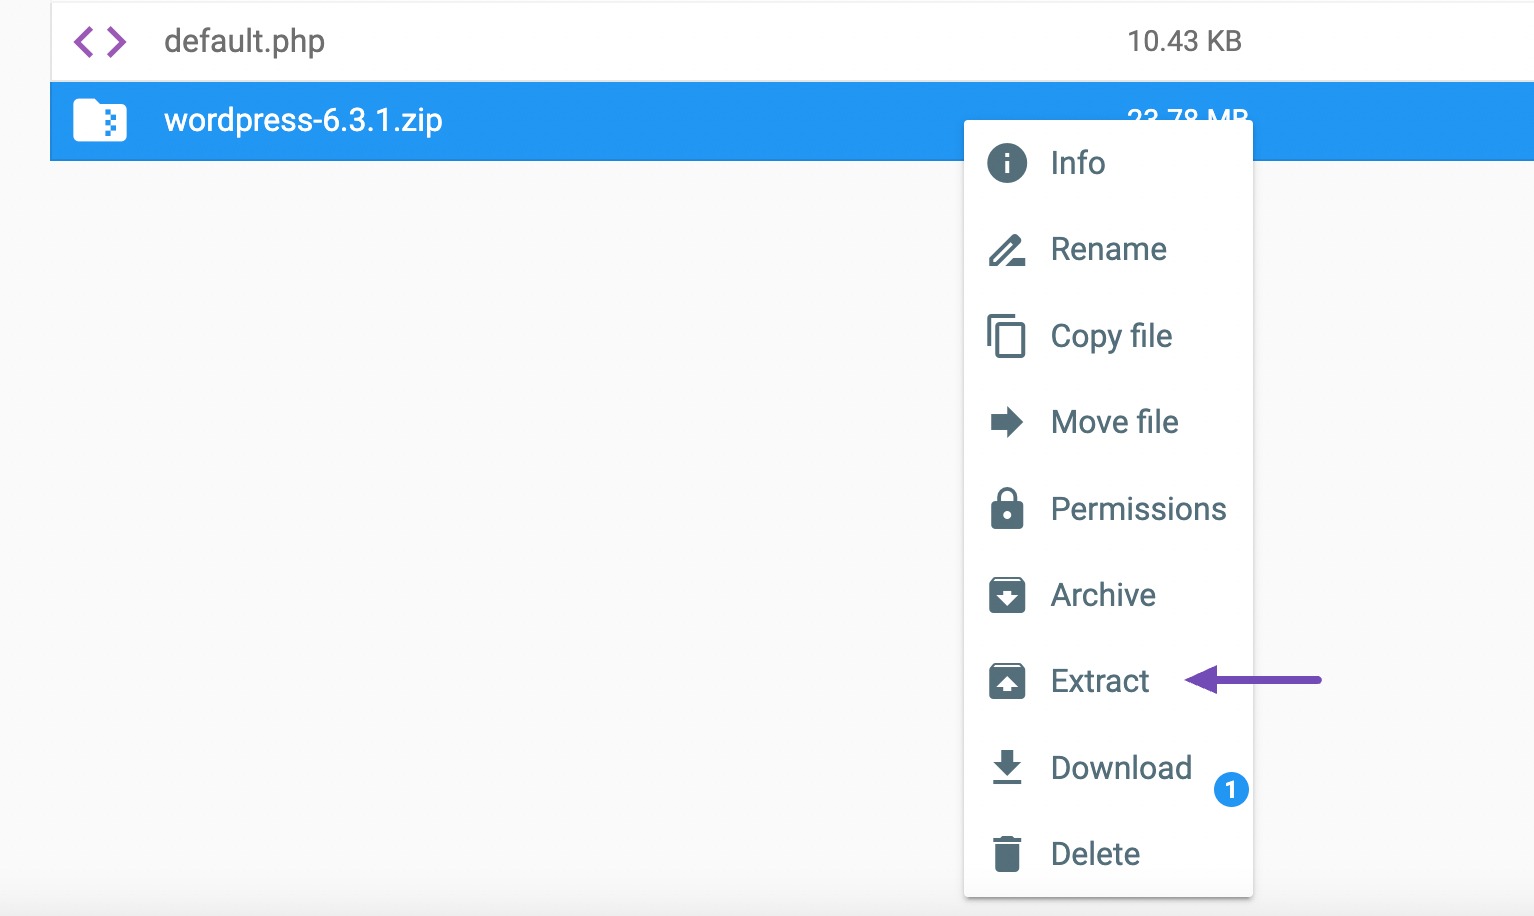
Once the extract is done, you’ll notice one of the folders that will be extracted is the wordpress folder. Now open the folder, and it’ll display all the folders and files.
Move the wp-admin and the wp-includes files to your website’s root folder path. Do the same with any loose files in the folder. Now, just the wp-content folder should remain. Compare the two wp-content folders, and only move the files and folders that do not already exist on your site. This protects your plugins, themes, and uploaded media from being deleted inadvertently.
Once the upload is finished, log in to your WordPress dashboard. If the database needs to be updated as well, you need to follow the onscreen instructions and update it.
That’s it; you’ve successfully updated your WordPress website.
4 Conclusion
WordPress updates are essential for keeping your site secure and running smoothly. They help you minimize security risks while unlocking new features to enhance your website’s functionality.
Before performing manual updates, make sure to back up your site and keep your themes and plugins up to date. These steps protect your hard work and ensure your visitors enjoy a good experience.
With these precautions in place, you can confidently update your WordPress site and enjoy the peace of mind that comes with knowing your website is secure, up to date, and performing at its best.
Did either of the methods above help you update your WordPress site? Let us know by tweeting @rankmathseo.