Tables and charts are excellent tools for organizing and presenting information to your readers in a logical and aesthetically appealing way. By reducing the effort required to comprehend the facts they carry, an effectively designed WordPress table enhances user experience.
But how do you create tables in WordPress?
Tables can be easily created in WordPress posts or pages with or without using plugins.
In this post, we’ll discuss everything you need to know about tables and how you can add them to your posts/pages. So without further ado, let’s get started.
Table Of Contents
1 Why Add a Table in WordPress?
You can present important information in a table in a way that is simple to read. This is why so many websites add them.
WordPress tables can present various structured information, like price details for a product or service you provide, a list of persons (staff, clients, partners), along with their contact information, or for sports fans, the position of teams on league tables.
There are often several variations of a product. Each one differs in both its pricing and its features. This is easy to show on a table, and your page will also look cleaner if you add a table. They immediately grab the attention of your visitors, perhaps increasing the percentage of those who stay on your site.
Now that you’re aware the importance of tables and why you should add them to your site, let’s look at how you can create tables in WordPress.
2 How to Create Tables in WordPress?
Let us now discuss how to create tables in WordPress.
2.1 Create Tables in WordPress Using WordPress Block Editor
WordPress is a one-stop-shop for all of your customization needs. With its integrated Gutenberg block editor, you can easily create tables in WordPress.
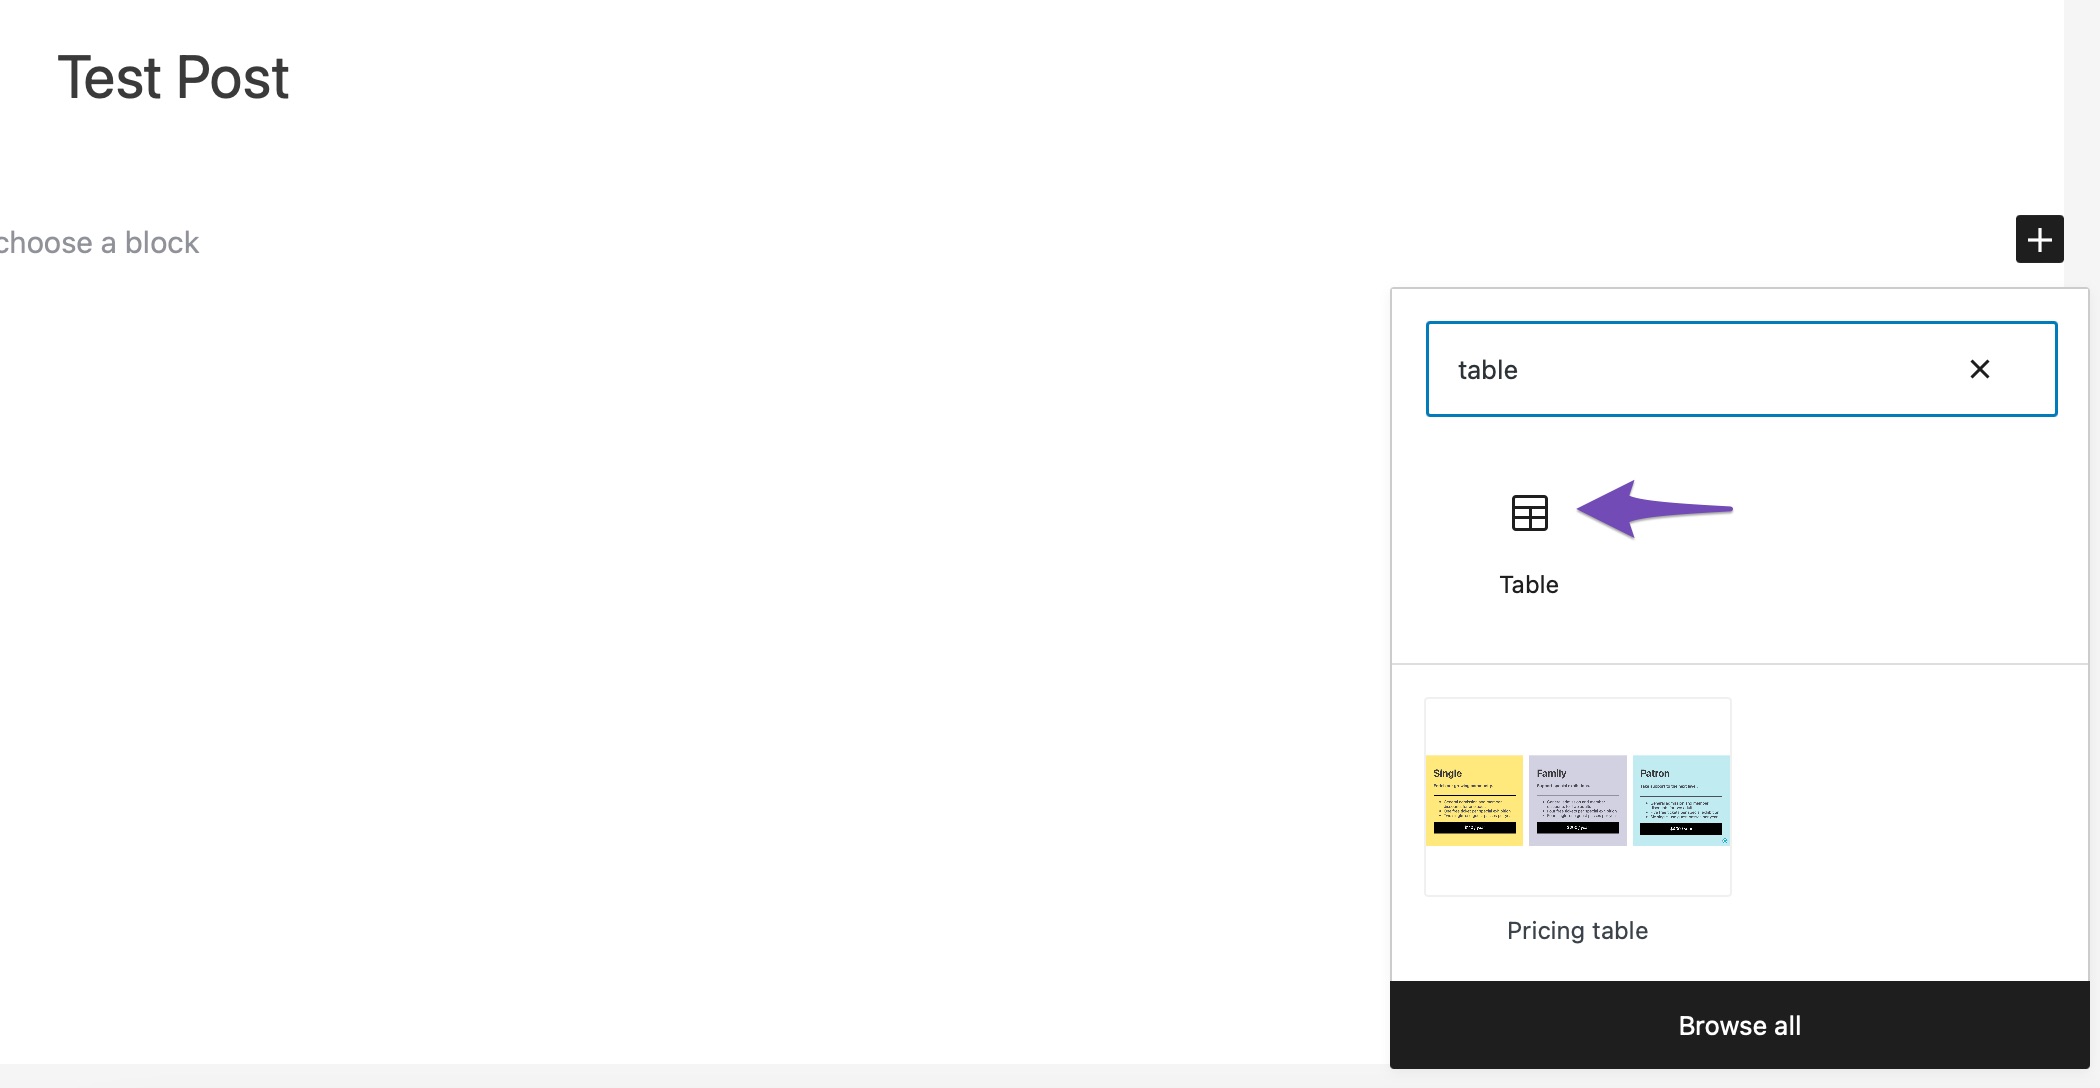
Navigate to your post or page where you want to add a table. In the post-editing screen, click on the plus icon ‘+’ to add a new block, search for a table and then select Table as shown below.
You will be prompted to set the number of rows and columns for your table in the editor.
Don’t worry; the rows and columns can always be changed later.
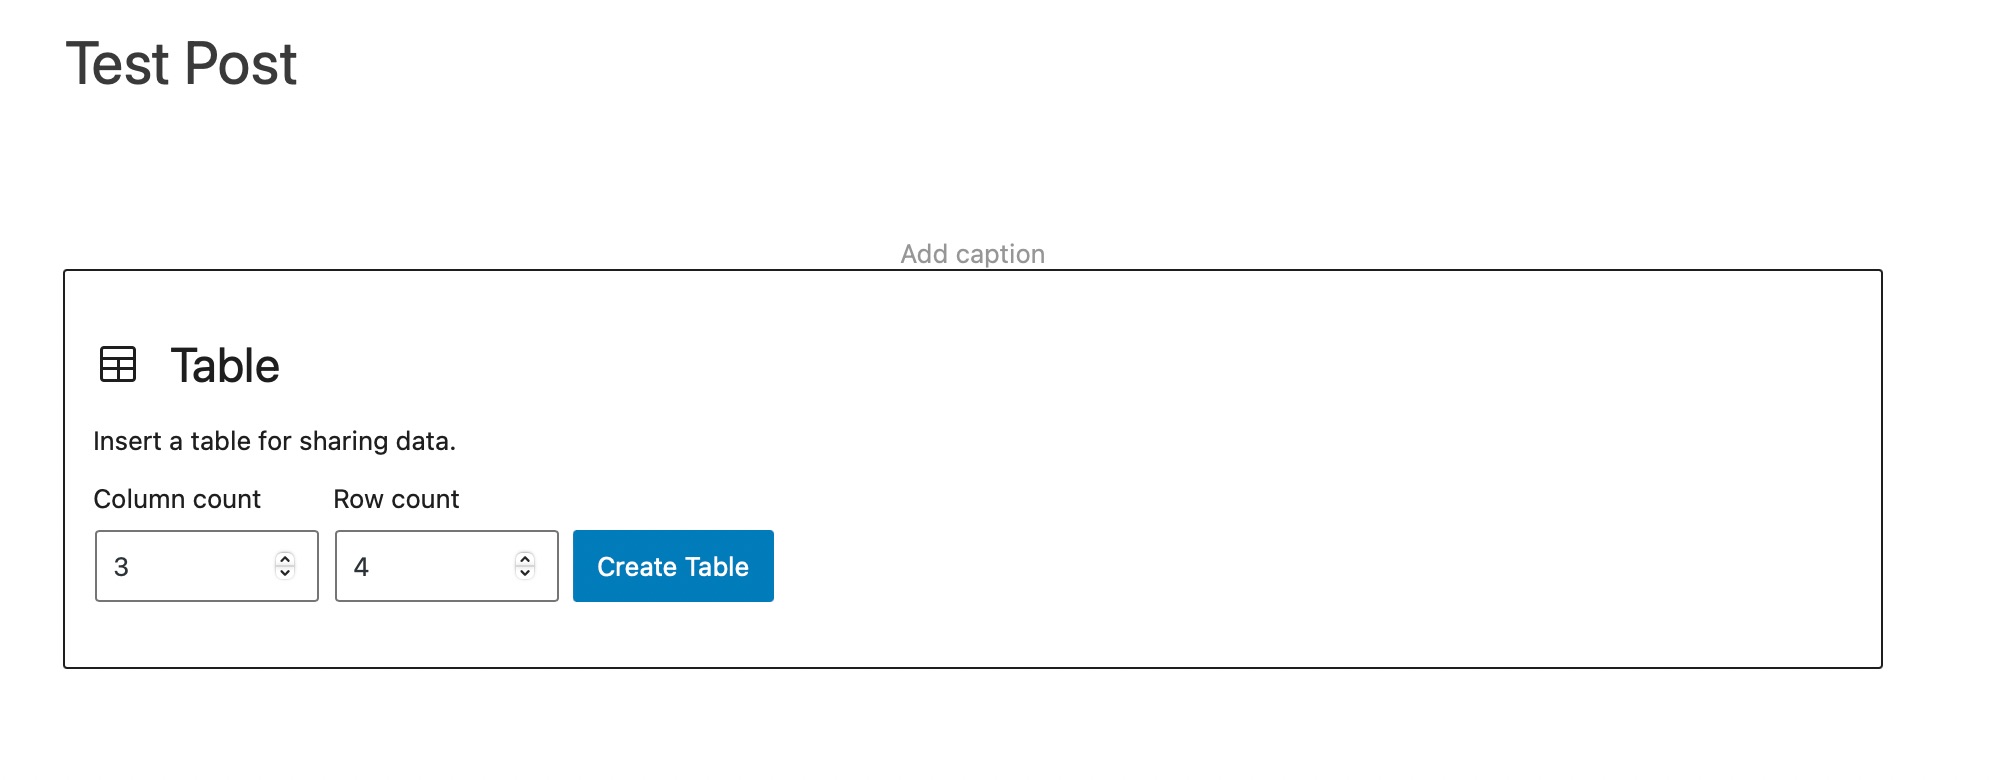
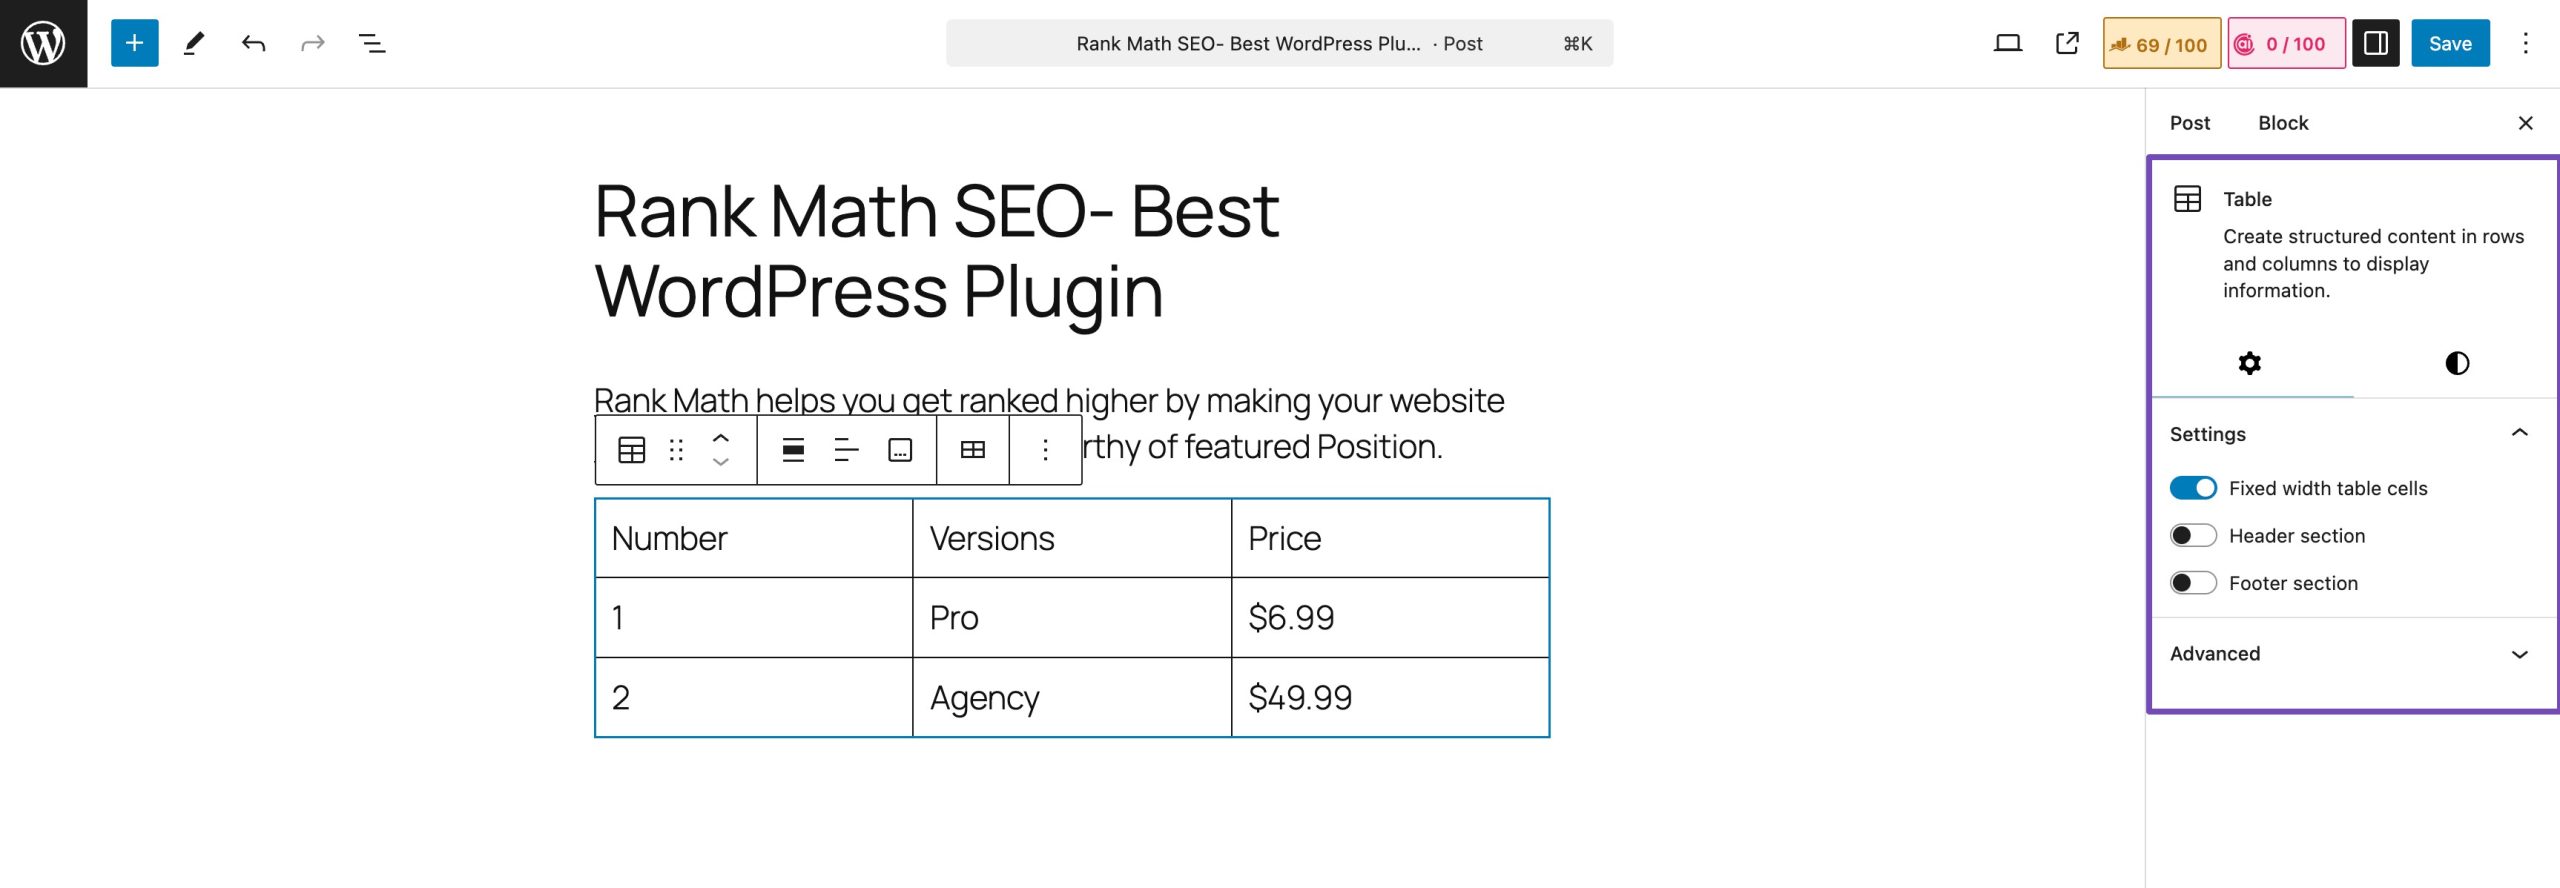
For example, we’ve created a table with four rows and three columns. The editor will automatically resize the table based on the contents as you type in the table cell number. The table’s right-side corner even allows you to specify a fixed width. You can include a header section, a footer section, or even change the table’s background colour.
To add a new row or column, click on a cell where you want to add it. Next, click the Edit Table button. We’ve added a new column on the left-hand side, as shown below.
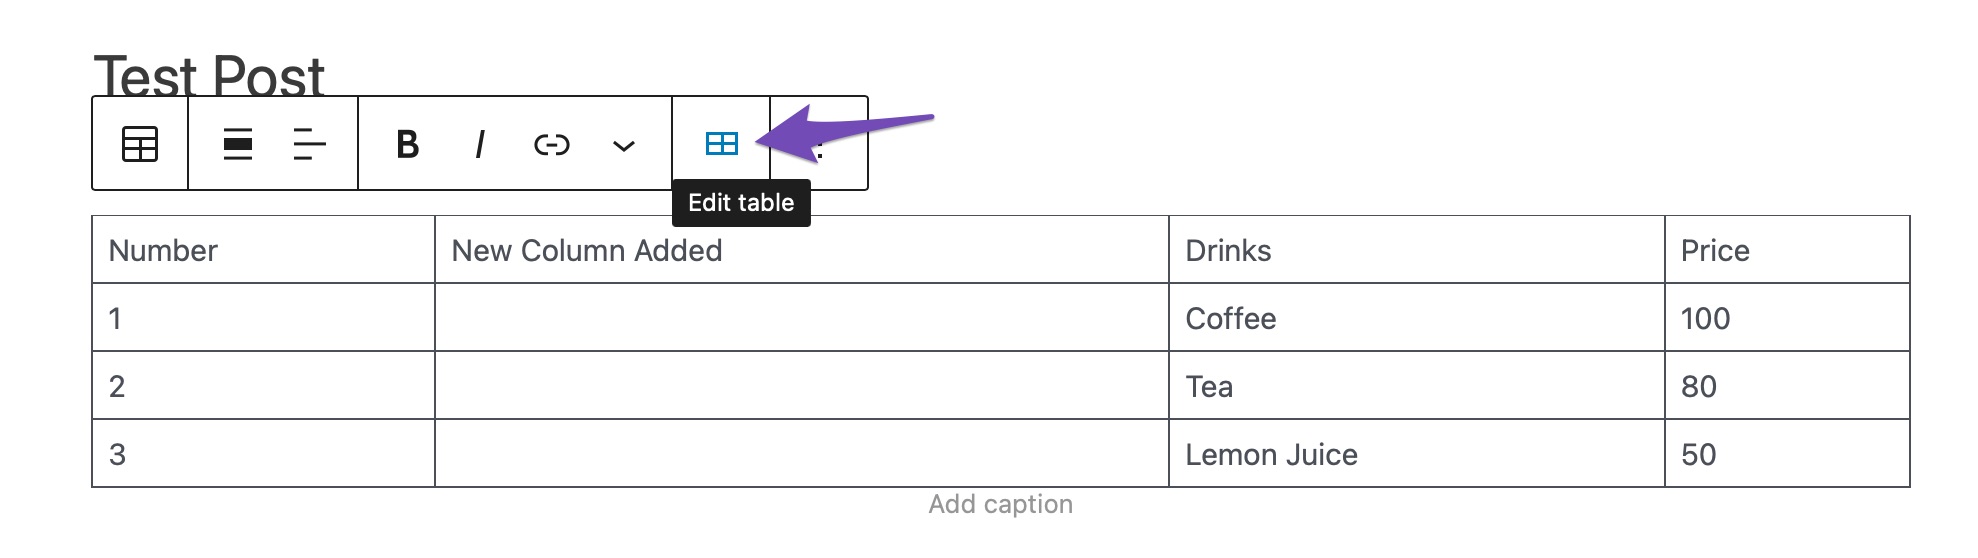
Similarly, you can delete the rows and columns. To do so, click on a cell you want to remove and select Delete Row or Delete Column option from the Edit Table menu.
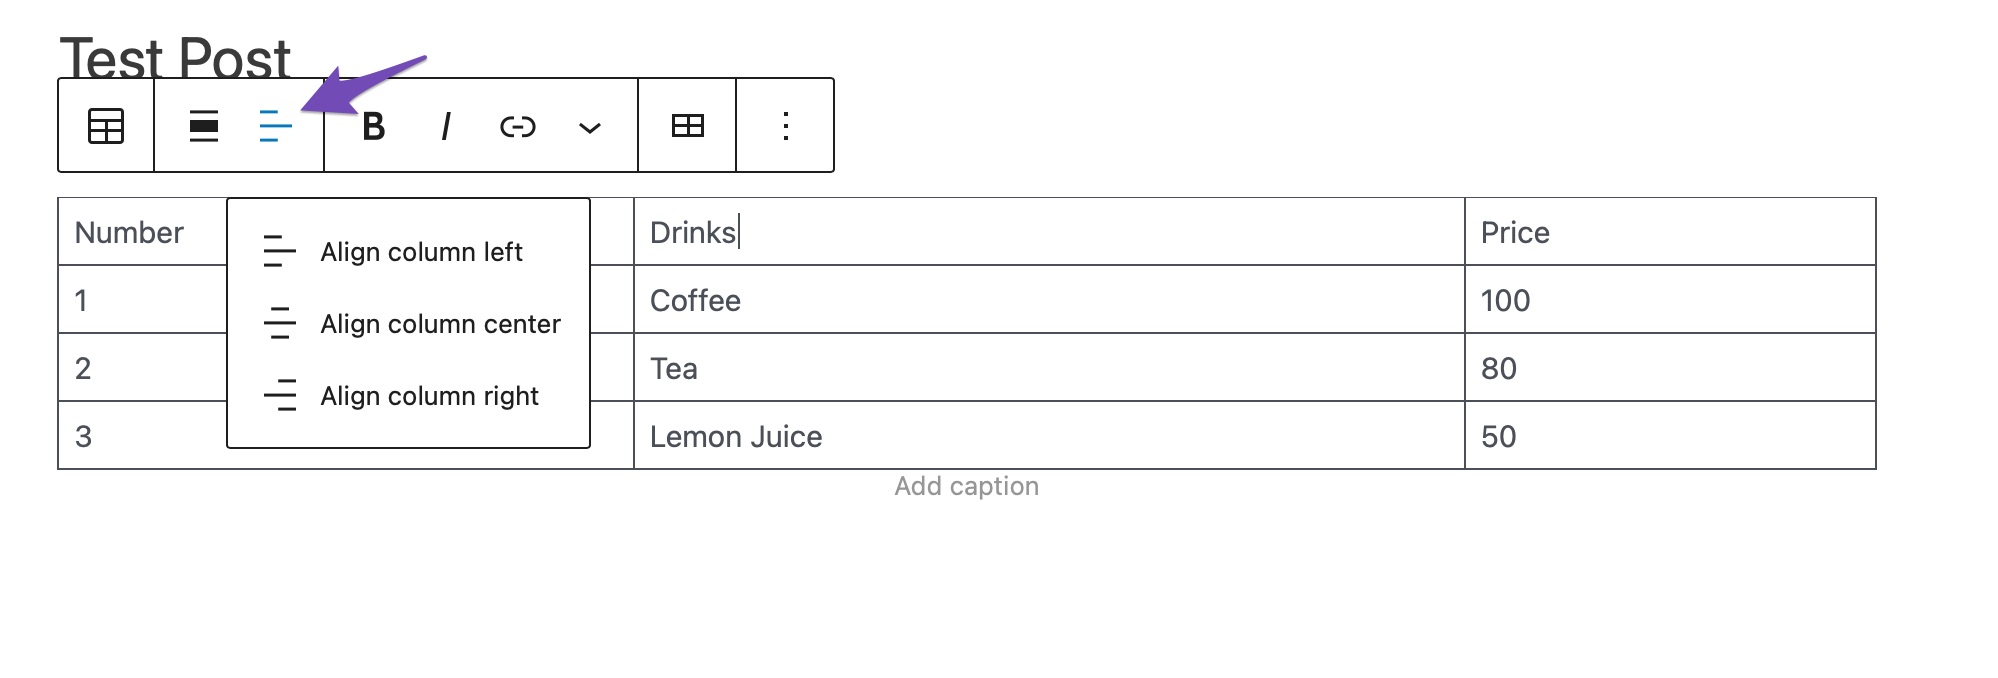
By default, the content of your table is aligned to the left. If you want to change that, click on the Change text Alignment option.
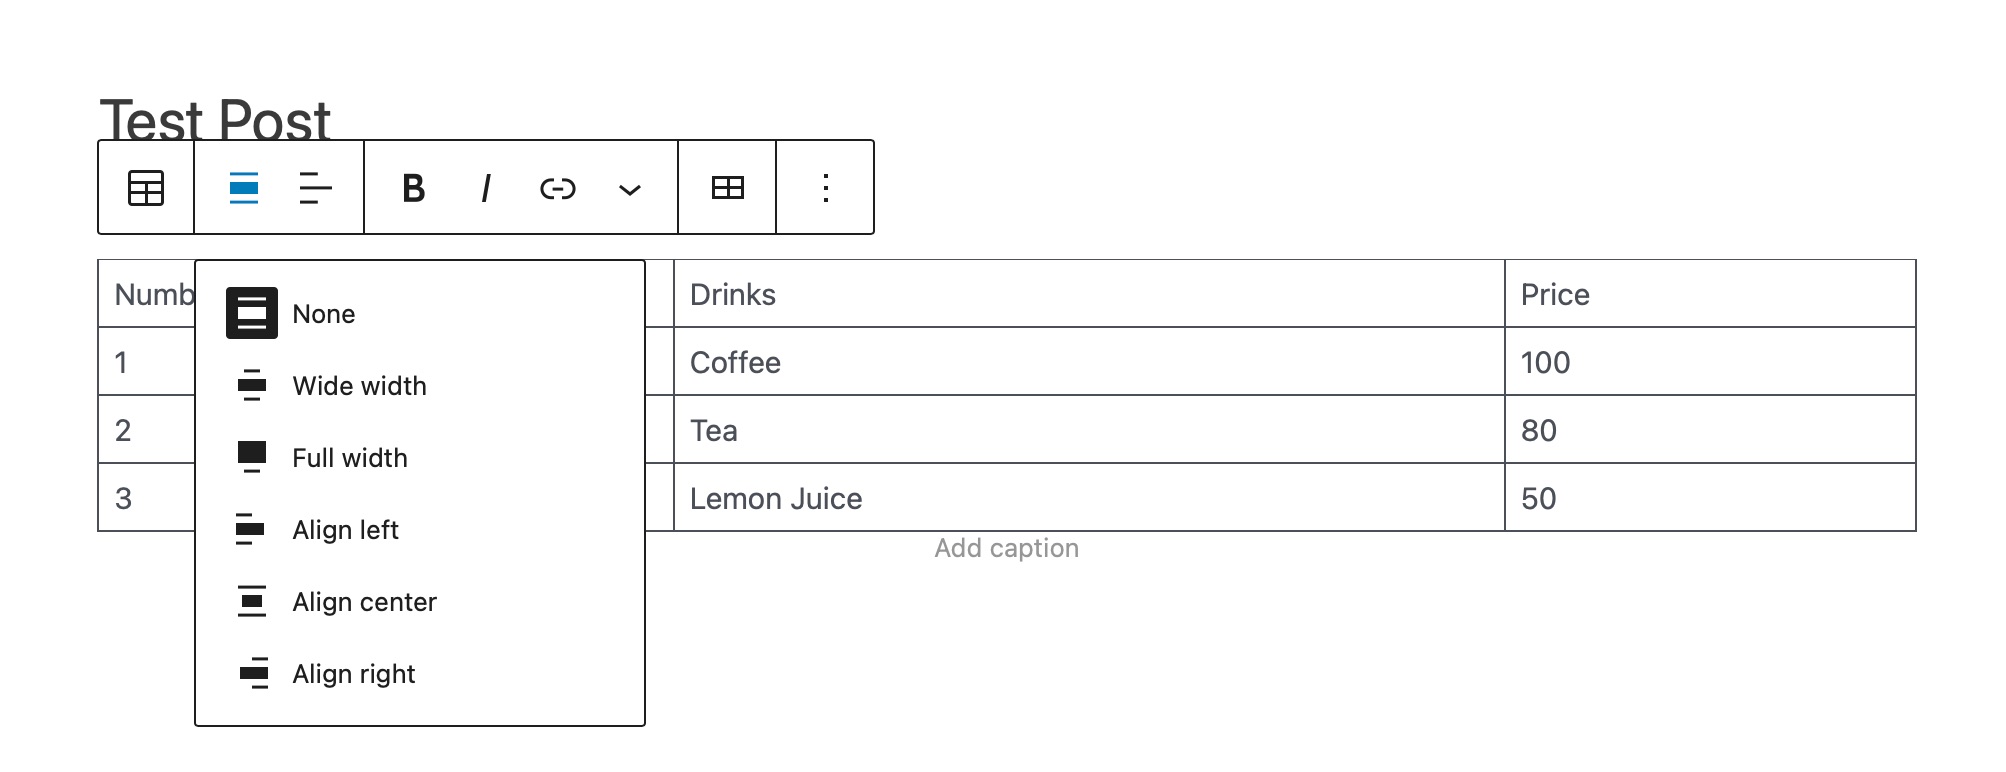
You can also change the alignment of the entire table. To do so, click the Change alignment option and select an option from the list.
With the help of the table tools included in the Gutenberg editor, you can control how your tables are displayed.
You can use it to present your data to readers in an approachable manner. However, the table block lacks several sophisticated functions, such as search filtering, custom sorting, etc. You can then use a plugin to add advanced tables to the WordPress site.
2.2 Create Tables in WordPress Using the TablePress Plugin
You can easily create tables in WordPress with the help of plugins. Additionally, plugins provide limitless customization opportunities to build unique and responsive tables.
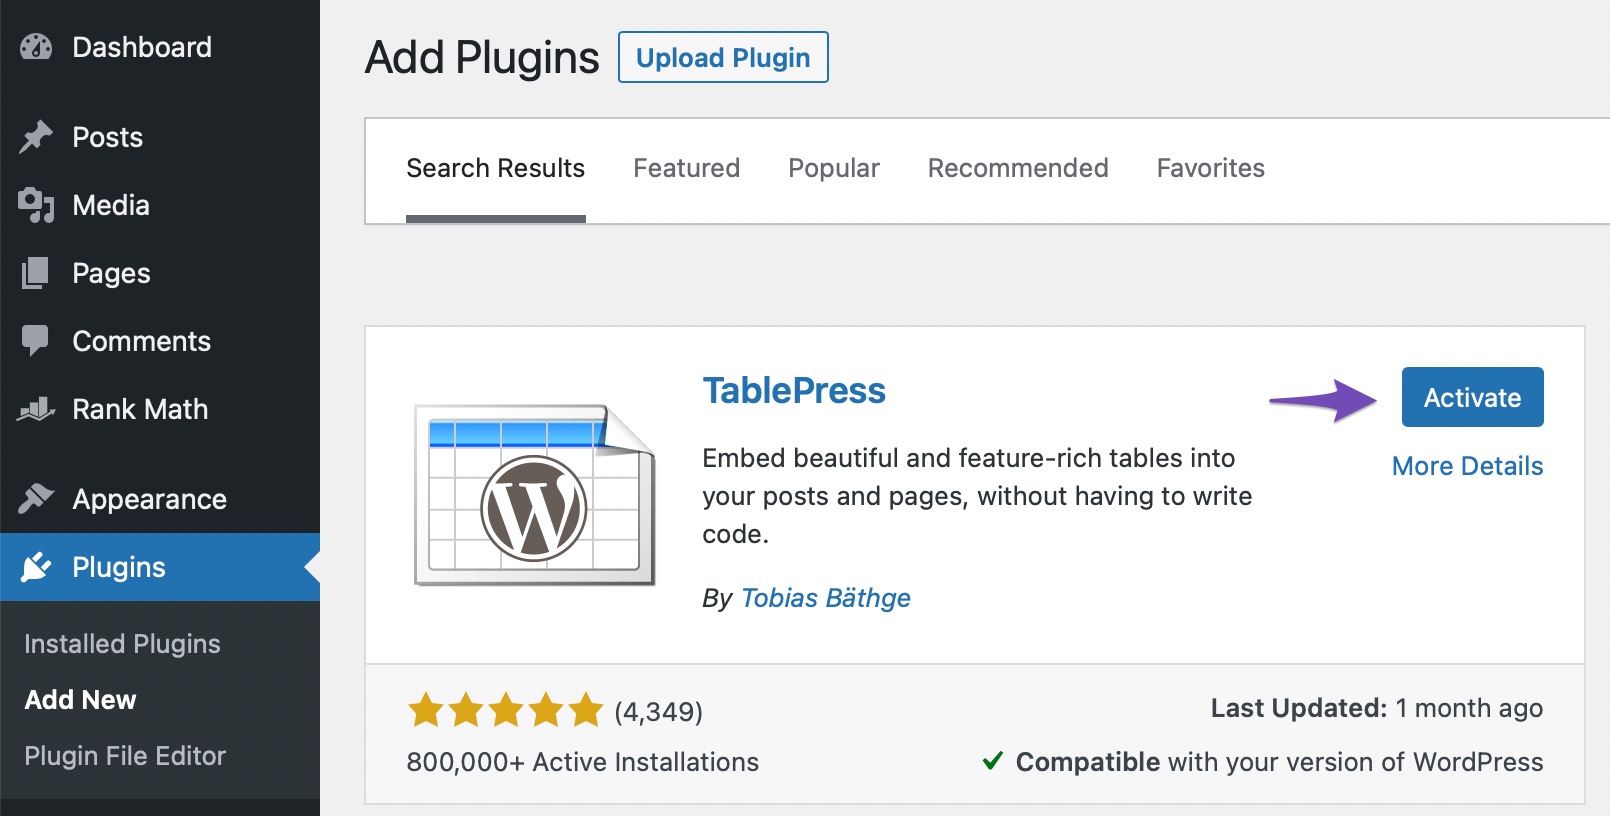
One of the best WordPress table plugins available is TablePress. With this plugin, you can easily create and manage tables, which is entirely free.
First, install and activate the TablePress plugin from your WordPress dashboard. To do so, navigate to Plugins → Add New section from your WordPress dashboard. Please search for the TablePress plugin, and install and activate it, as shown below.
Once the plugin is installed and activated, navigate to TablePress → Add New to create a new table.
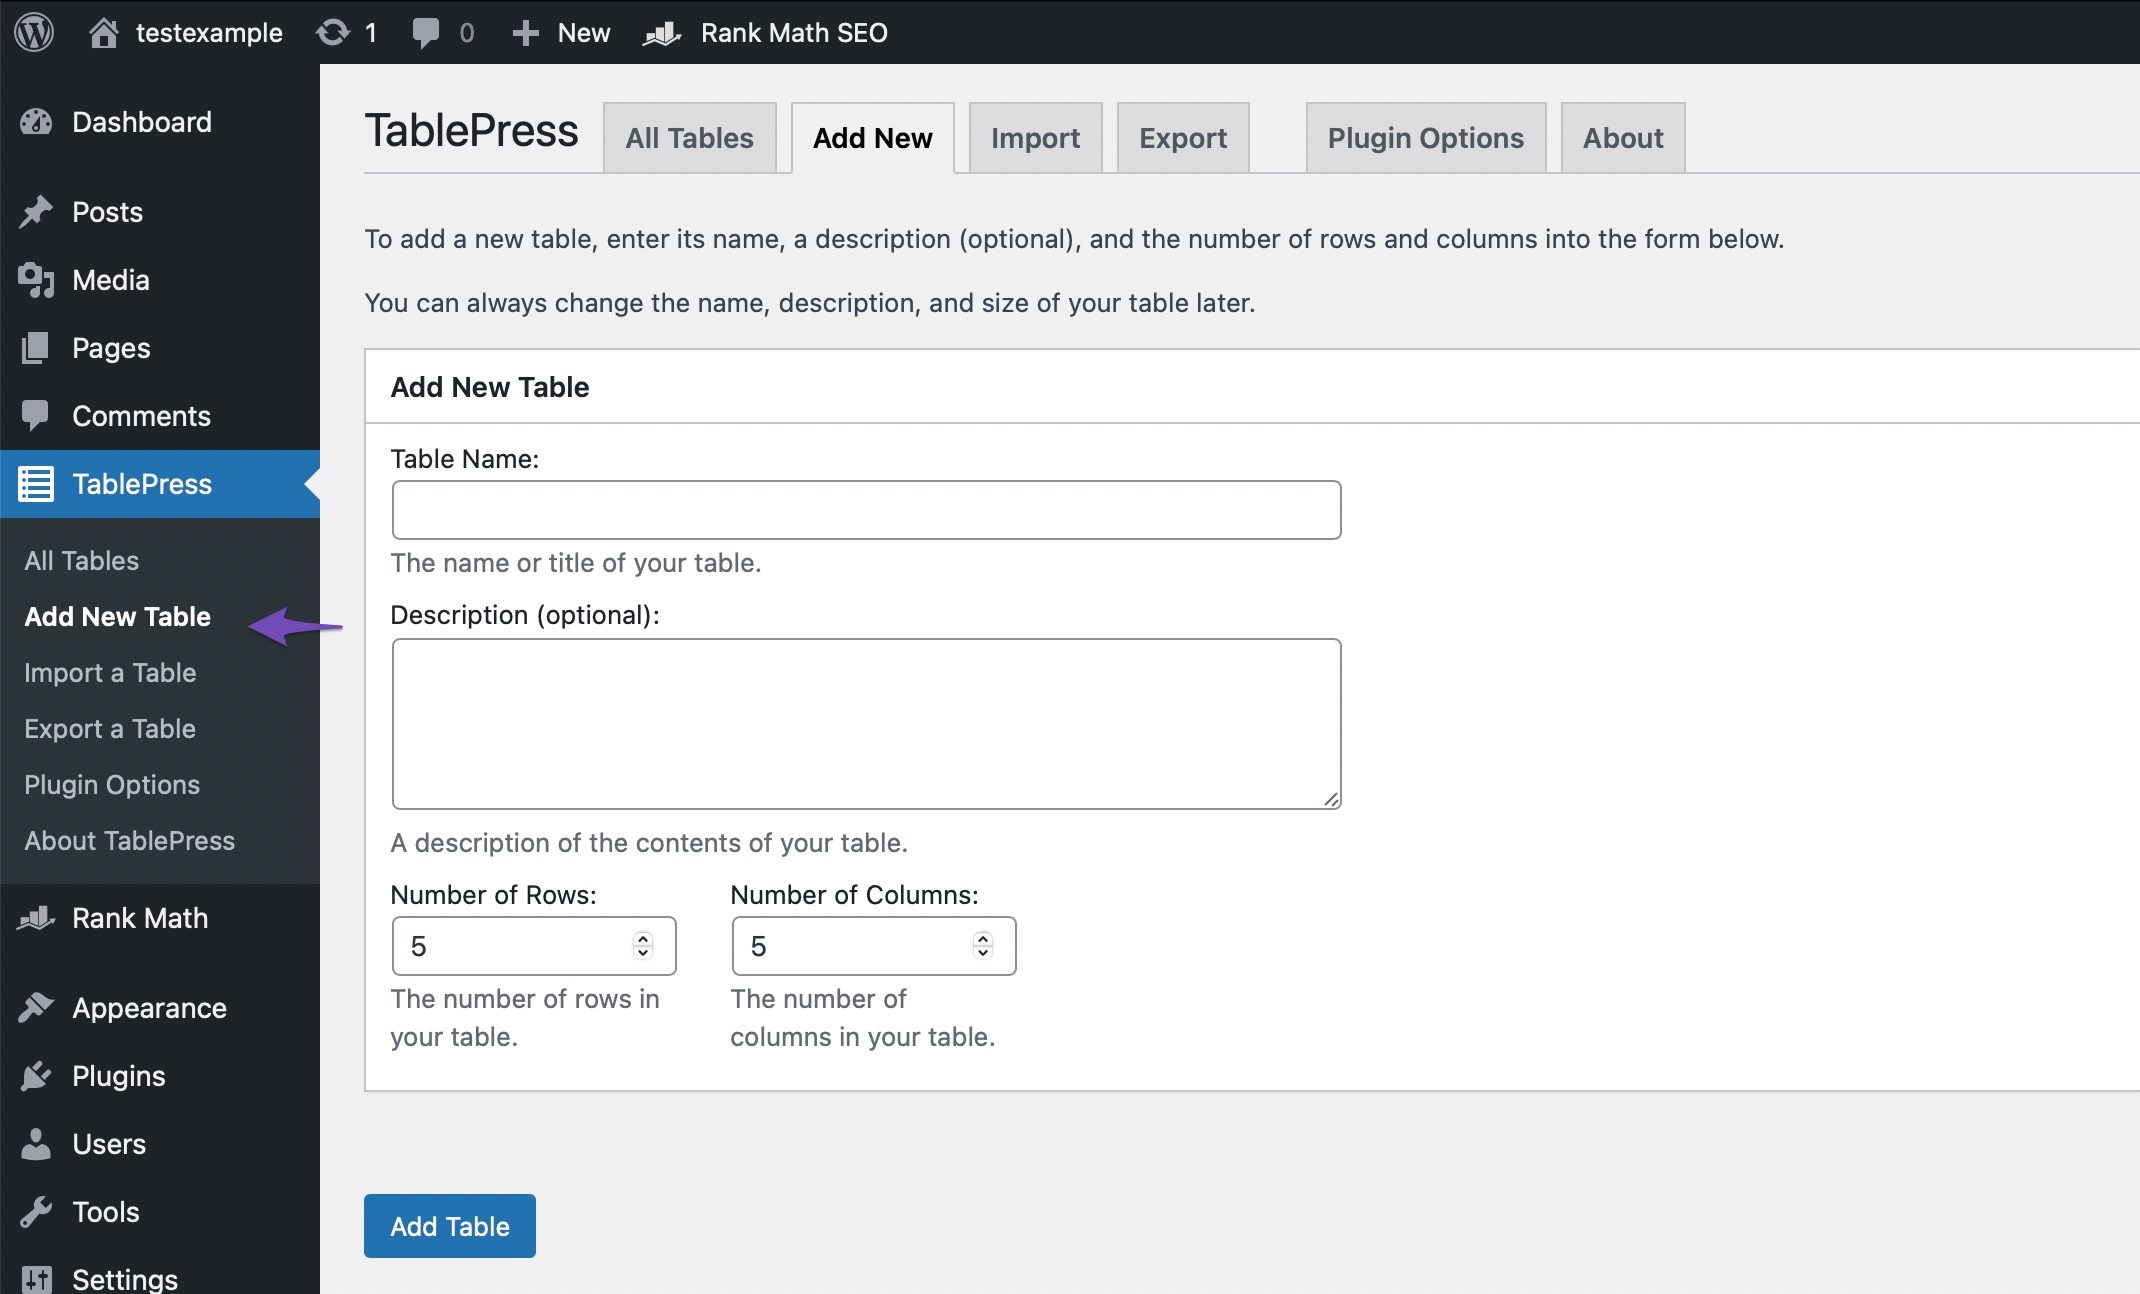
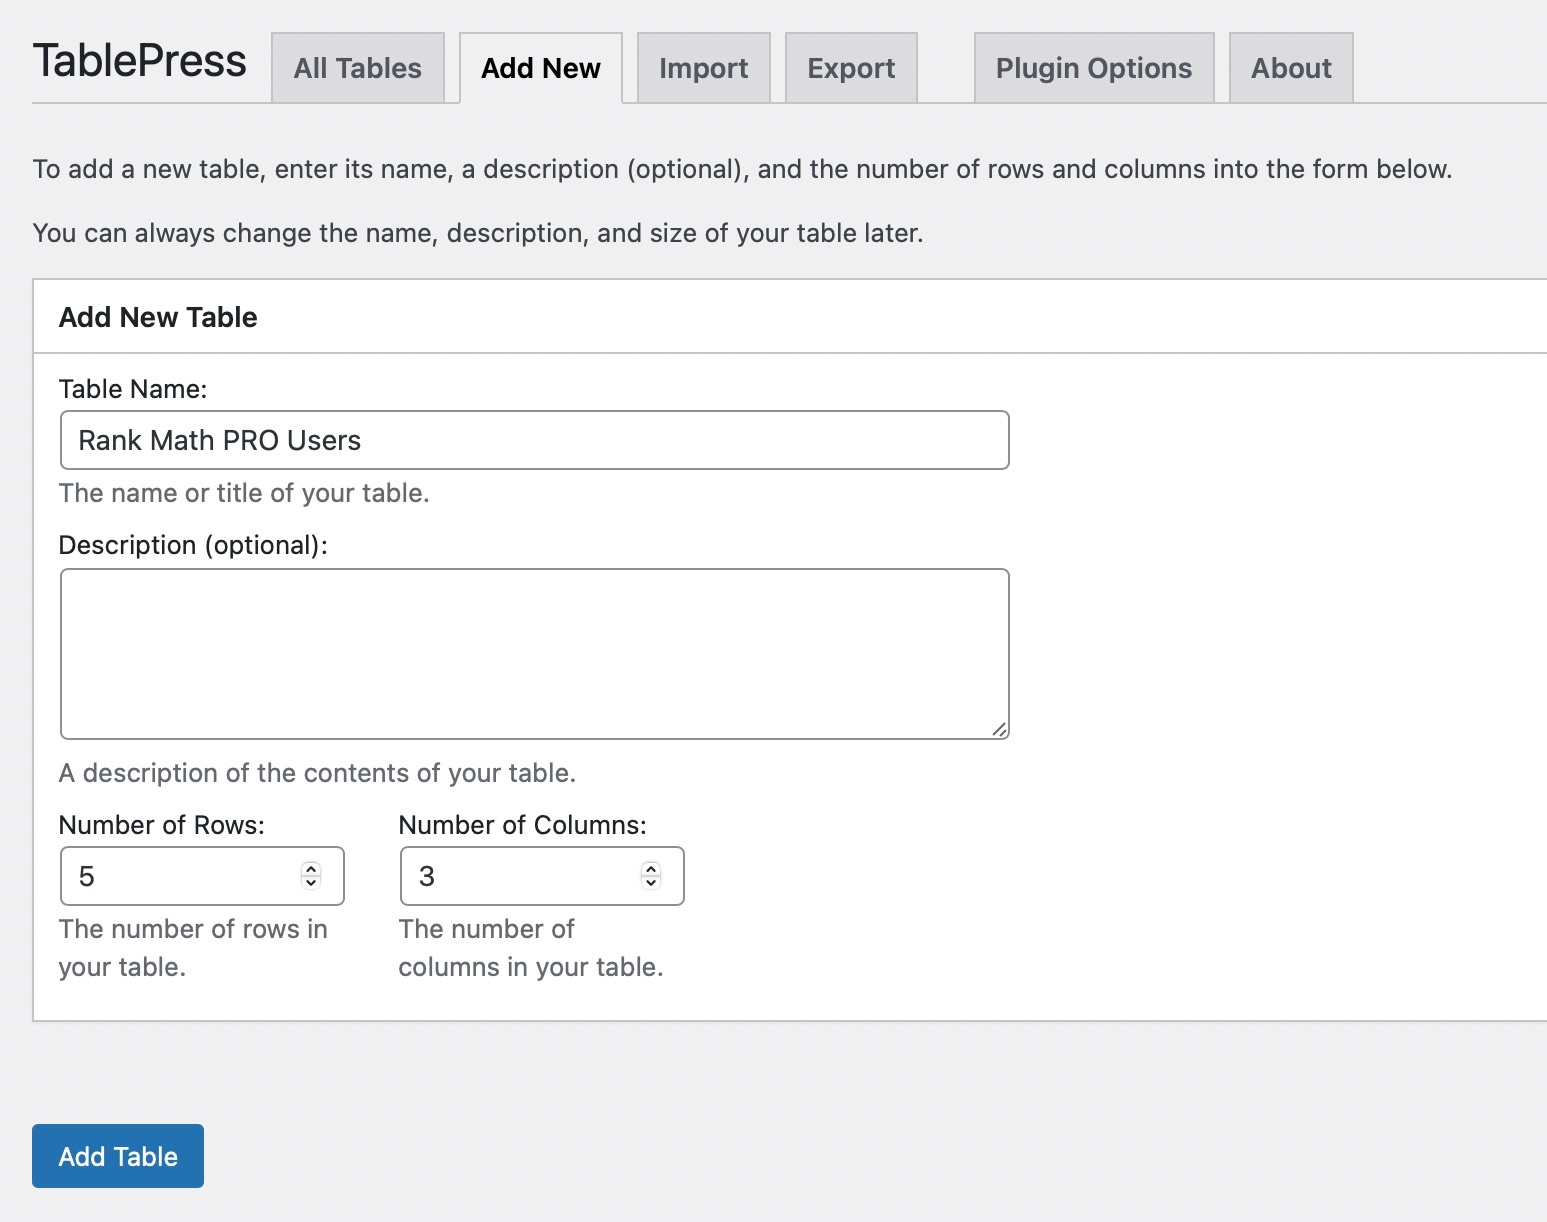
Next, enter a table name in the Table Name field and select the number of rows and columns for your table. You can always add/remove table rows and columns later. Click on Add Table button to create the table.
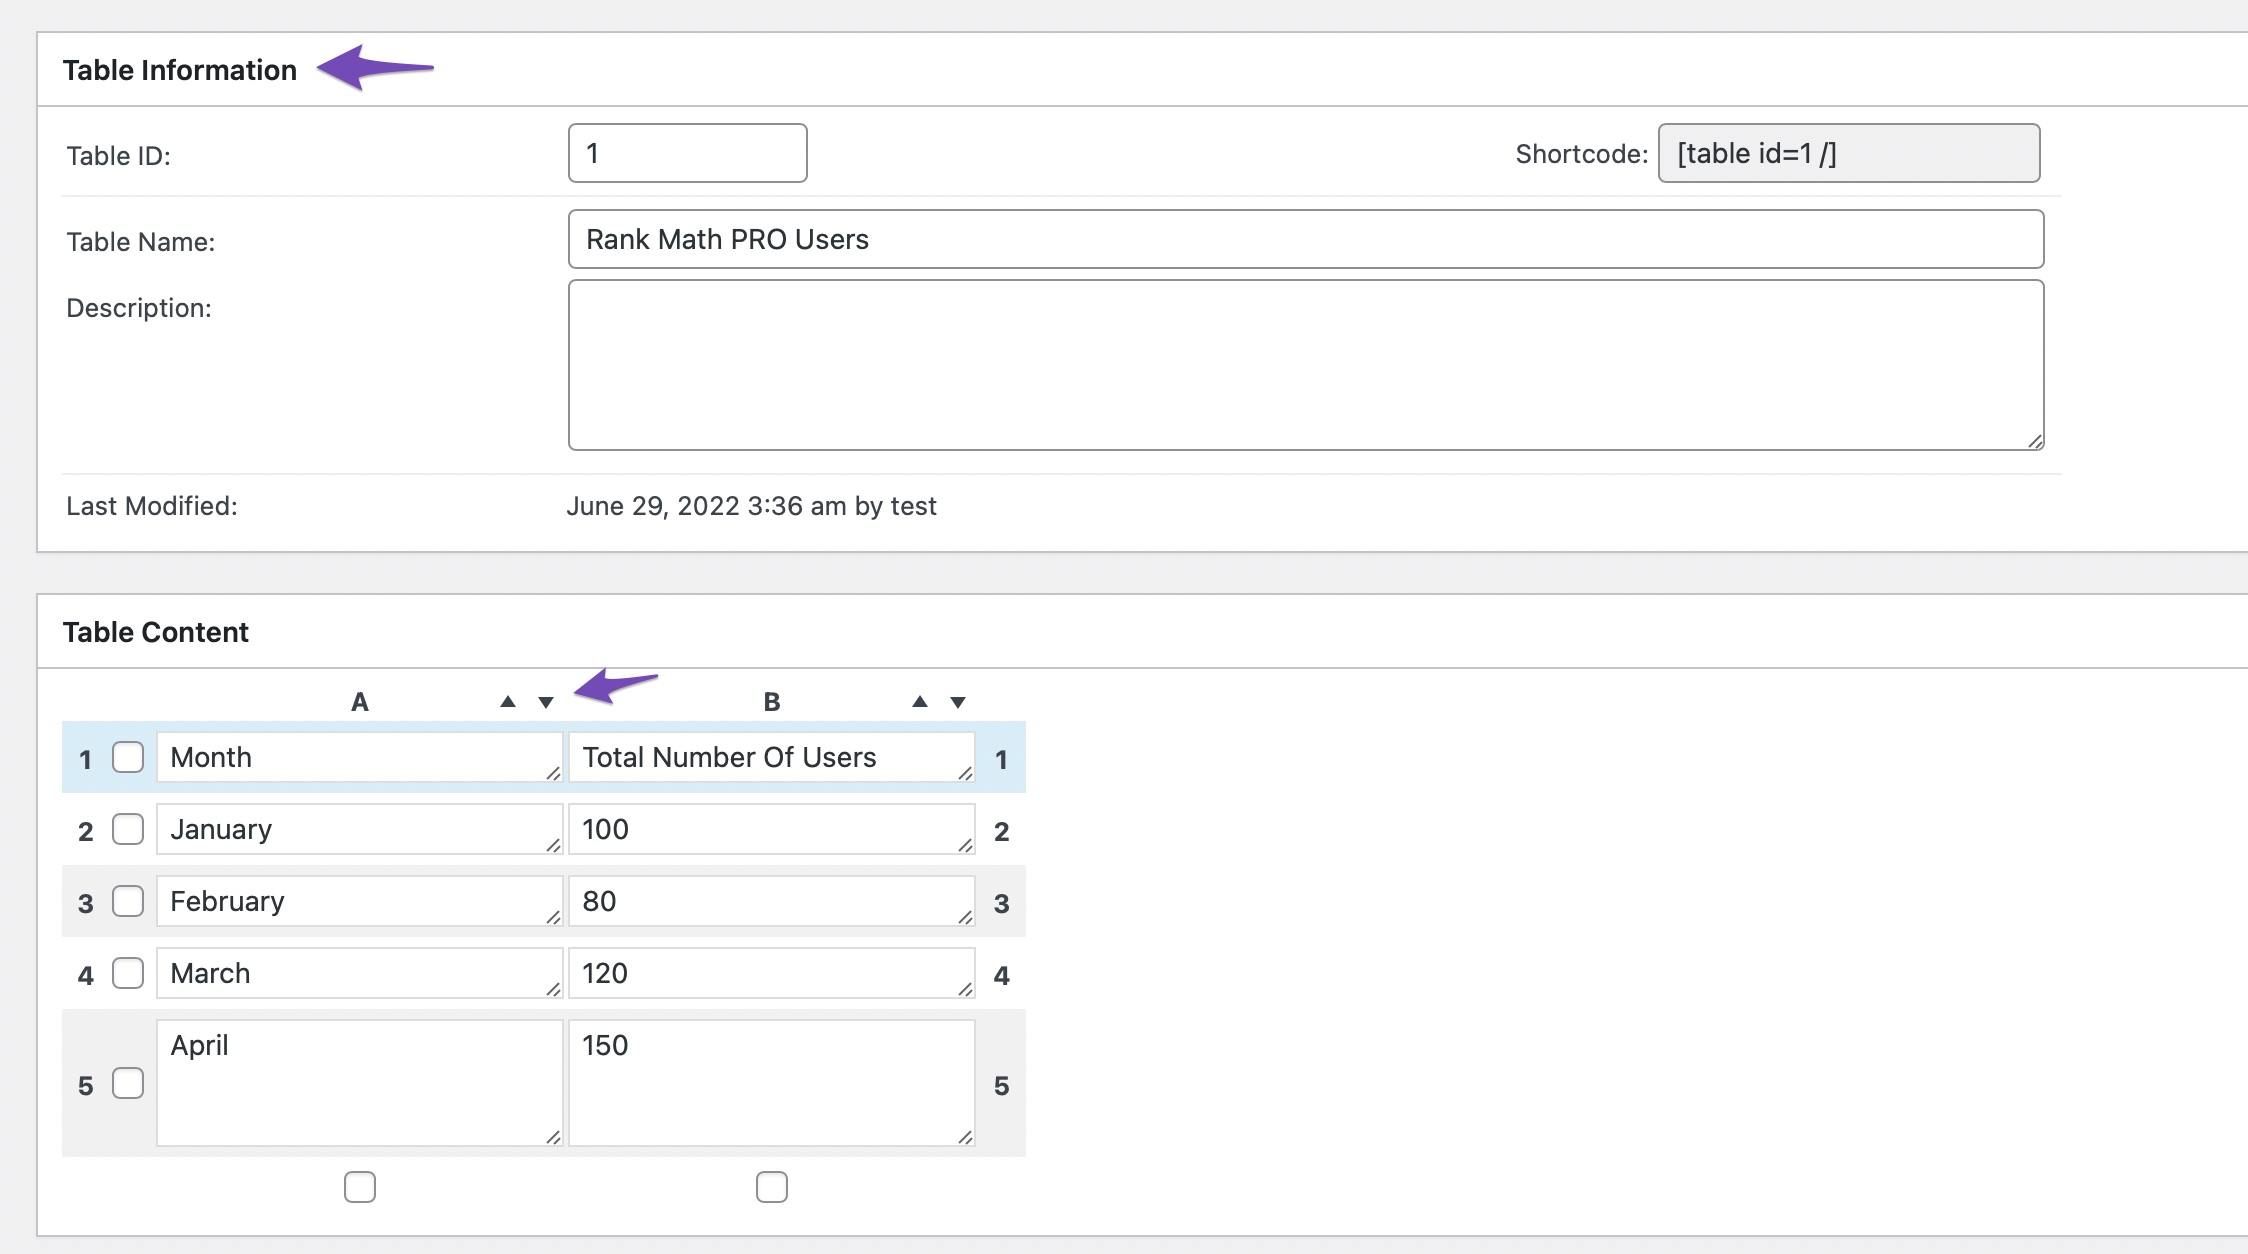
Next, you’ll see your table’s information and an area where you can add content. Your table will be assigned an ID and a shortcode you can use to add the table to your posts and pages.
Enter the desired data into the table’s cells. The arrows above the data columns can be used to sort them alphabetically or numerically.
On the same page, you can experiment with some simple options. You can add links or images to your cells, duplicate or delete selected rows and columns, combine cells, alter the color of a row, allow sorting and pagination, add CSS classes for styling, and more.
In the Table Options, you can even alter the last row to a table footer if you don’t want the plugin to automatically presume that your first row is the table’s header row.
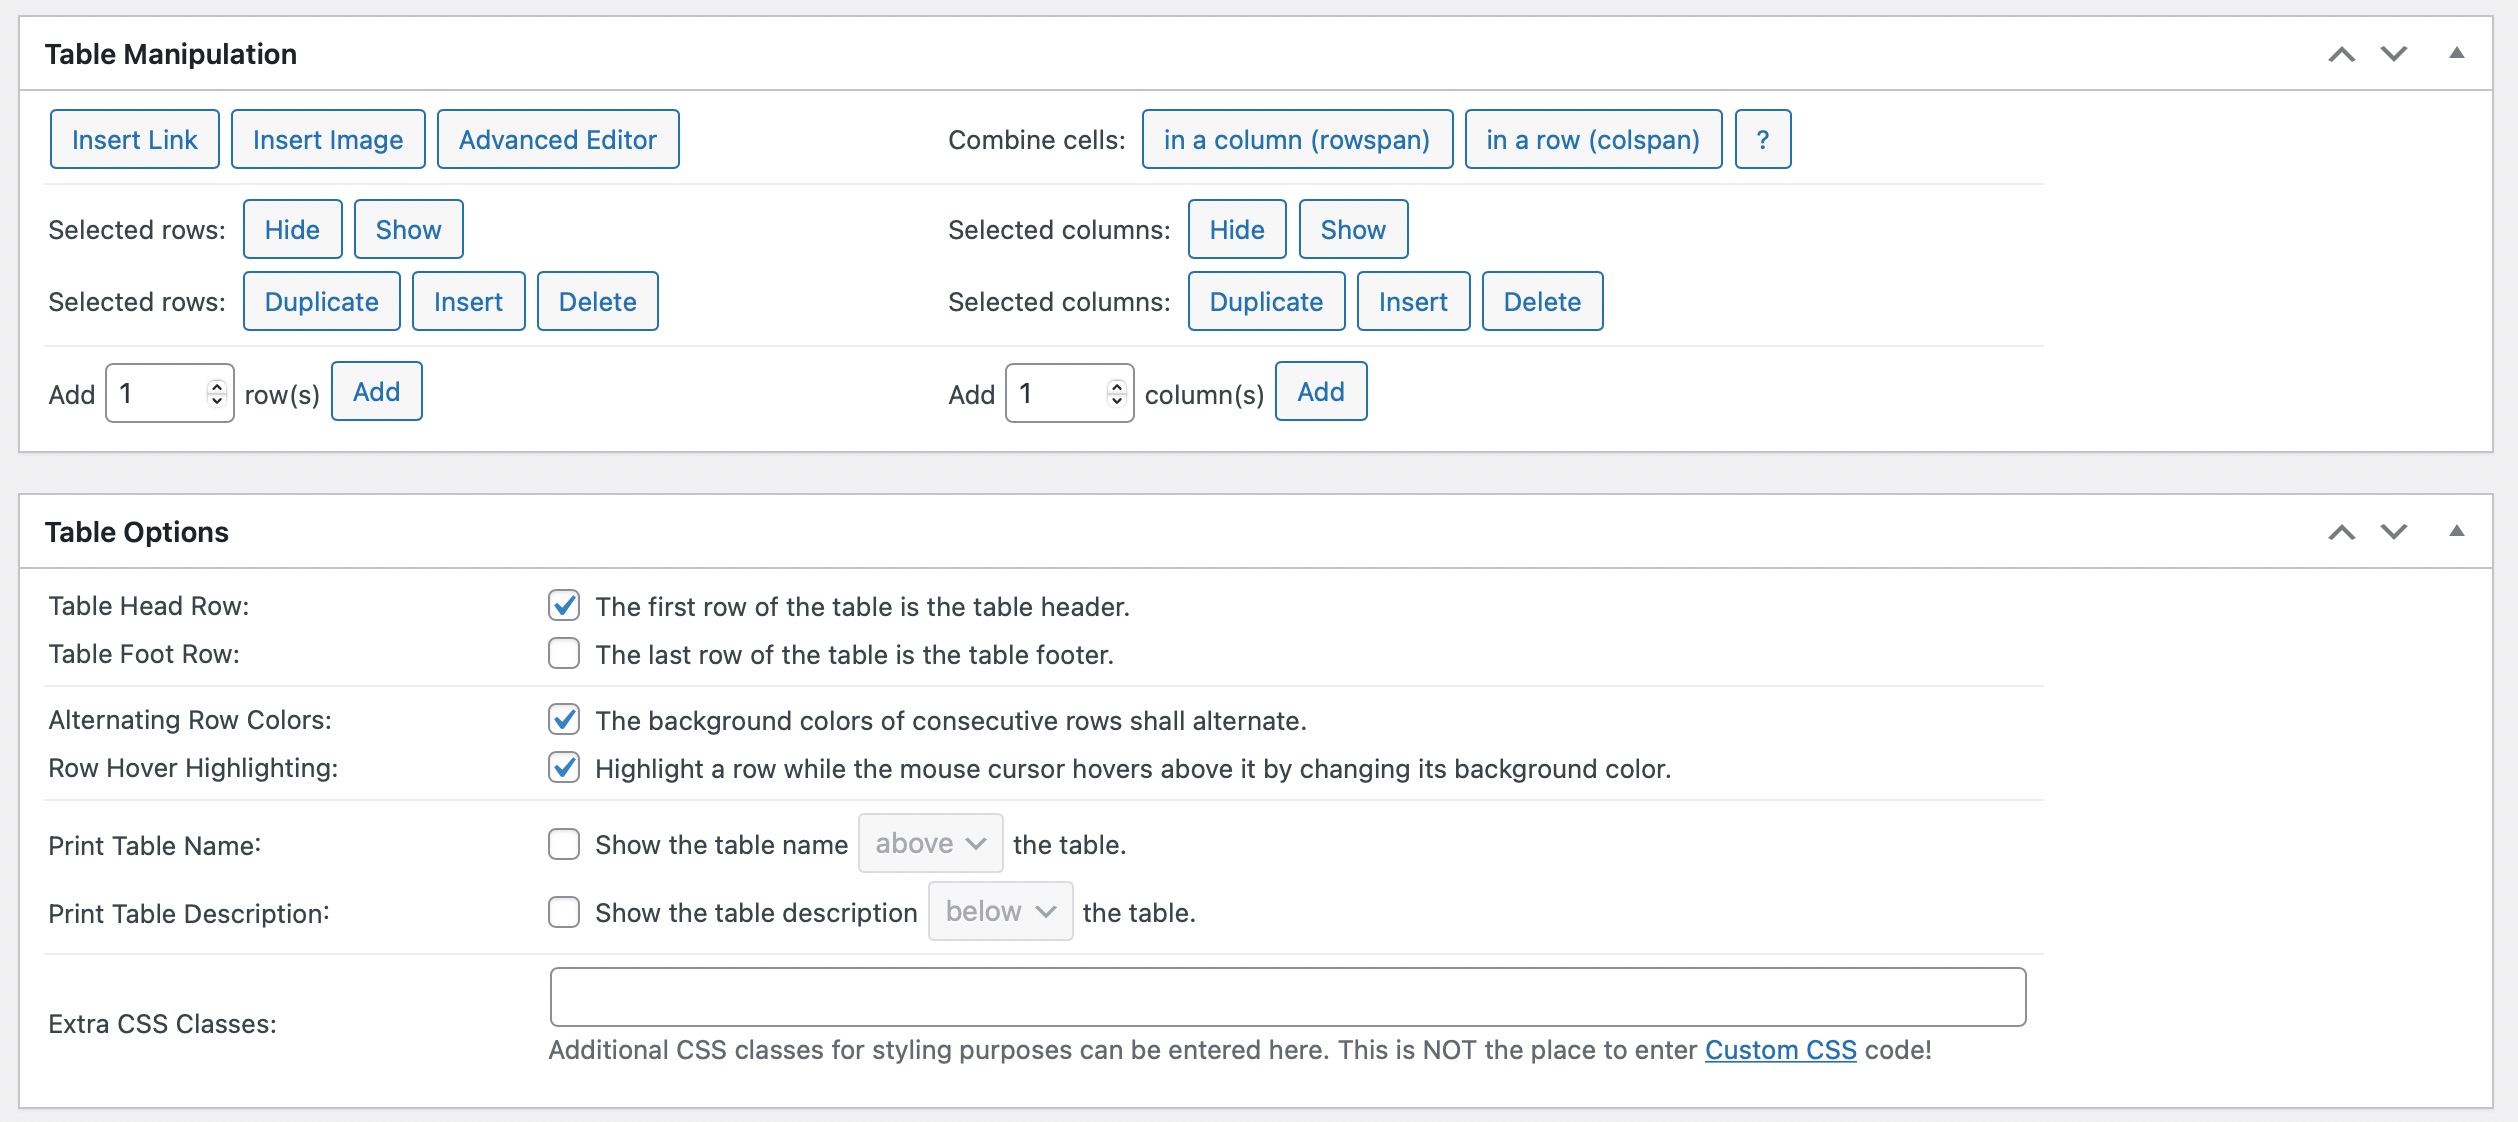
You can configure various options in the Features of the DataTables JavaScript library. This enables you to make reader-friendly tables that can be filtered, searched, and sorted.

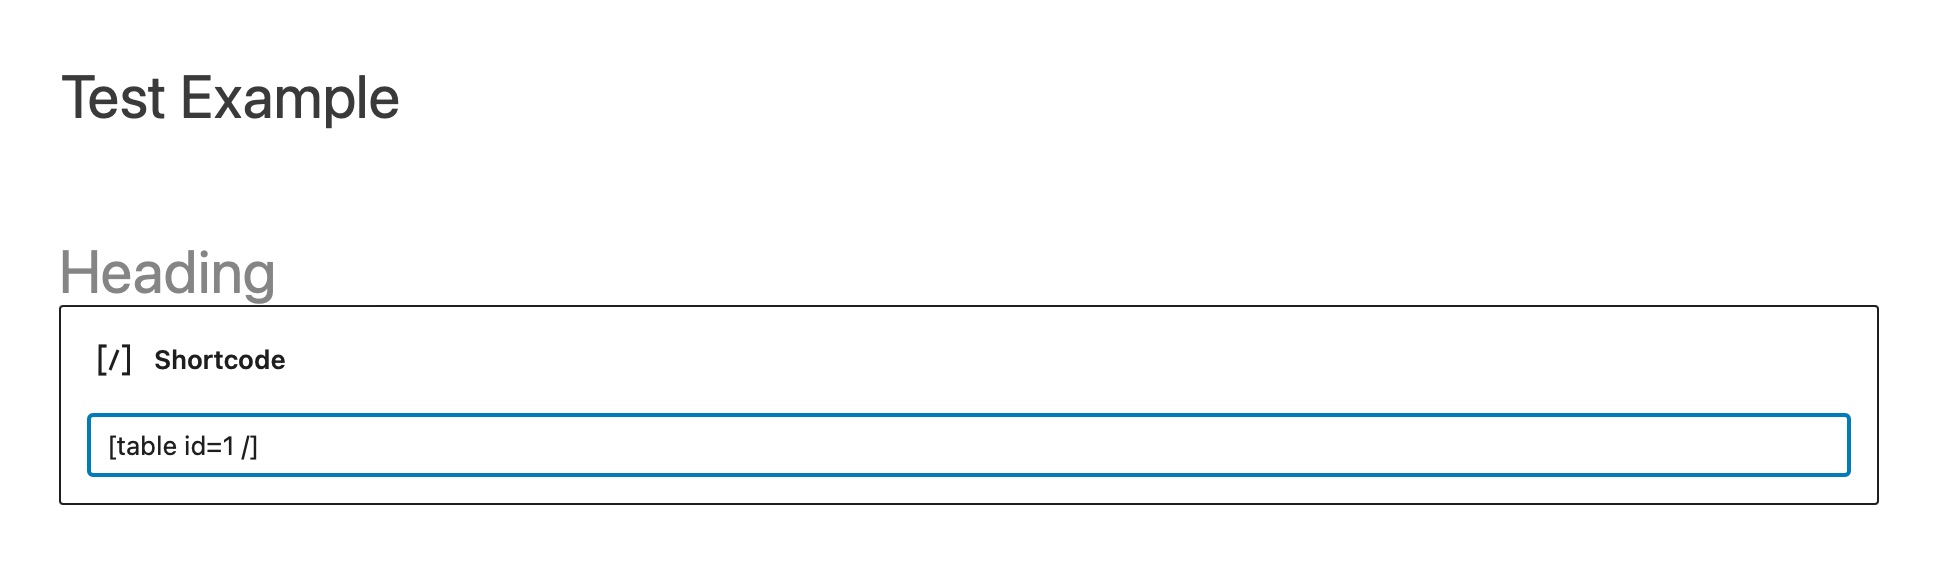
Click on the Save Changes table once you’ve created your table. You can then add the table with the help of a shortcode block to any post or page. Copy-paste the shortcode in your post or page as shown below.
Once you’ve added the shortcode, Update the post, and your table will be successfully added to your post/page.

3 Conclusion
Tables are a passive yet crucial part of every website. Tables improve the aesthetics and usability of your website and make your content easier to understand.
You can either use plugins to create responsive tables or create tables in WordPress with the help of a block editor.
What kind of tables will you be creating? How do you add tables to your site? Please let us know by tweeting @rankmathseo.