Do you ever find images appearing in Google search results that you’d prefer weren’t there?
Perhaps it’s outdated visuals on your website, images lacking proper usage permissions, or content you never authorized for public sharing. Regardless of the reason, these images can negatively impact your online presence.
This knowledgebase article equips you with the knowledge to effectively remove unwanted images from Google search results, restoring control over your online image. We’ll explore methods for both images hosted on your own website and those appearing elsewhere on the web.
1 Understanding Google Image Search
Before we dive into removal steps, let’s quickly understand how Google Image Search works. Google uses web crawlers to find and index images from across the internet.
When you search for an image, Google’s algorithm sorts through this massive database to show you the most relevant and high-quality results.
It’s important to note that Google doesn’t actually host most of these images; they reside on the websites that published them.
So, before removing an image from Google, you need to find out where it’s hosted, possibly by following the image link. It might end up residing on your own website, social media, or a third-party site.
2 When You Own the Website With the Image
If you’ve traced the image and found that it’s hosted on your website or a platform you own or control, follow these steps to remove it from Google search results:
2.1 Remove or Delete the Image
If you find that the image is from your site, you can easily delete it to prevent it from showing up in Google search results. For instance, if the image is hosted on your WordPress website, log in to your dashboard and navigate to Media → Library.
In the Media Library, you can browse or use the search bar to locate the image you want to delete.
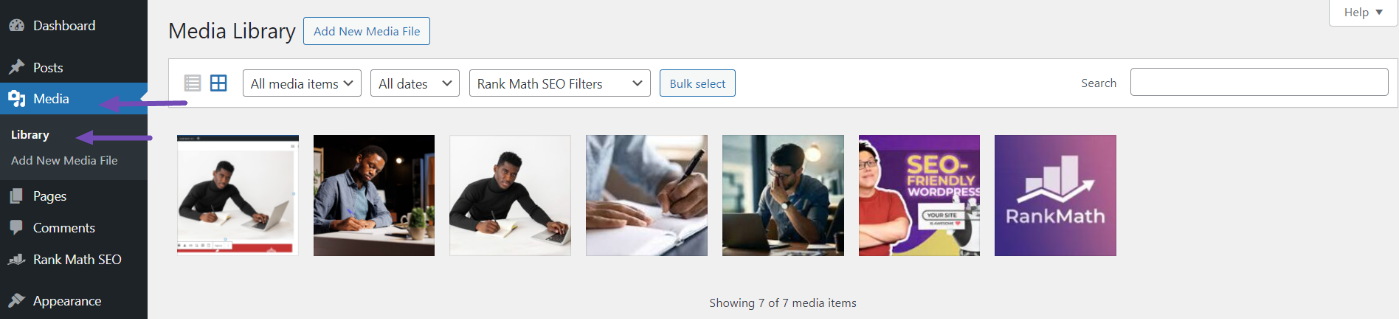
Once you find the image, you can use the Bulk select button to select multiple images if needed. If it’s just one image, click to open it.
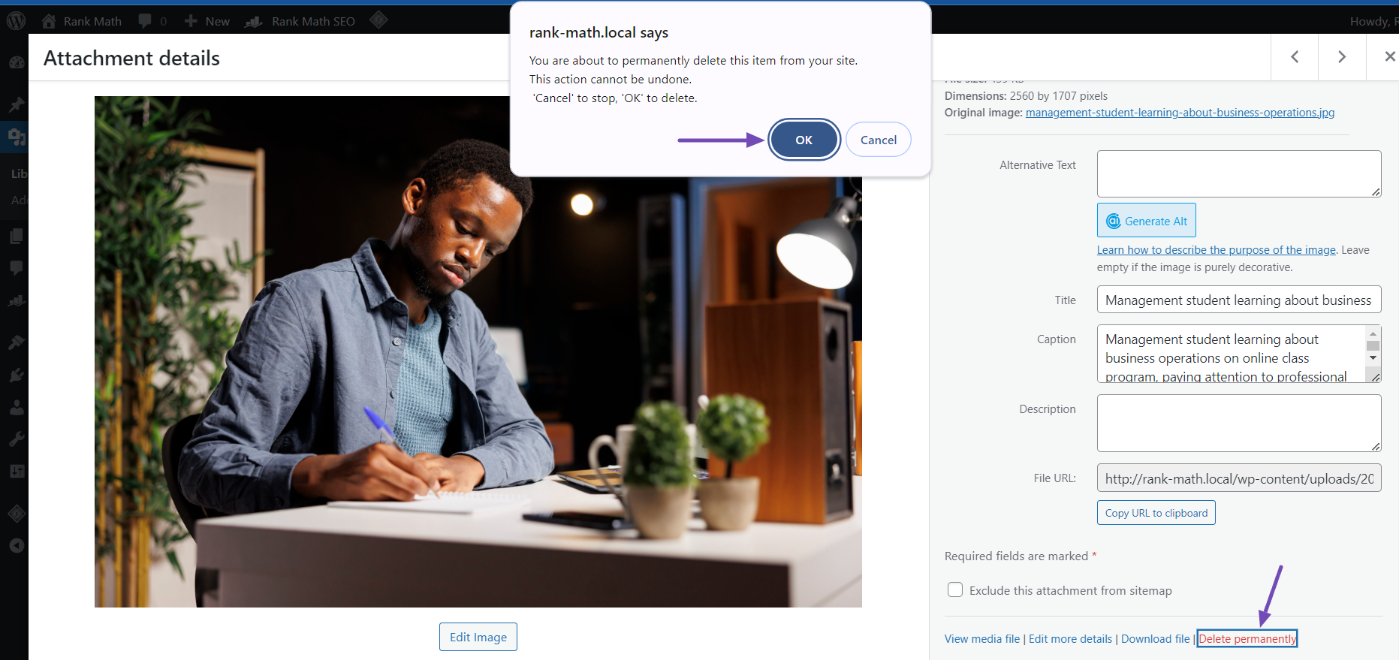
Next, scroll down to find the Delete Permanently option, click on it, and confirm the deletion by clicking OK, as shown below.
After deleting the image, ensure you remove any references to it in your posts or pages to avoid broken links. This step helps Google understand that the image no longer exists on your site.
Additionally, if the image is on any social media platforms or Google products (e.g., Google Photos, Drive, My Business) that you control, log in and delete it from those platforms as well.
Be aware that this process might take some time, as Google regularly crawls and re-indexes websites.
2.2 Removing Images From Google Using the robots.txt File
Another method to remove images from Google’s search results is to use the robots.txt file. This file, placed in your website’s root directory, instructs web crawlers like Googlebot which pages or files to access and index.
By adding specific directives to your robots.txt file, you can instruct Googlebot to exclude the directory containing the unwanted image from its crawl.
To remove images from Google using the robots.txt file, you’ll need to add a Disallow directive specifying the URL of the image you want to remove. Here are a few ways to do this:
1. Add the following rule to your robots.txt file to block specific images:
User-agent: Googlebot-Image
Disallow: /wp-content/uploads/2024/06/image1.jpg
Disallow: /wp-content/uploads/2024/06/image2.jpg
Disallow: /wp-content/uploads/2024/06/image3.jpg
2. To block all images with a specific file extension (e.g., .png) in a specific directory, use this syntax:
User-agent: Googlebot-Image
Disallow: /wp-content/uploads/*.png
3. To remove all images in a directory from Google’s index, use this rule:
User-agent: Googlebot
Disallow: /wp-content/uploads/
4. To block all files of a specific type (e.g., .gif), use this entry:
User-agent: Googlebot-Image
Disallow: /*.gif$
Note that this method only removes the image from Google searches (including Google Search and Google Images) and not from the web itself. Additionally, the examples above are specific to WordPress users, so you will want to modify them to meet your requirements.
To edit the robots.txt file, use the Rank Math SEO plugin’s Edit robots.txt option from your WordPress dashboard.
For more details, you can read our guide on how to edit your robots.txt with Rank Math SEO.
After adding the robots.txt directives, request Googlebot to recrawl your site in the Google Search Console. The blocked URL should stop appearing in new searches, though cached versions may remain briefly.
Before proceeding, please note that modifying robots.txt requires technical knowledge and may affect your site’s search engine optimization (SEO) if done incorrectly.
If you’re uncomfortable with this, consider skipping to the next section, where we’ll explore an alternative removal method.
2.3 Removing Images From Google With a Noindex Meta Tag
If you’re uncomfortable editing robots.txt, here’s a better alternative method using a noindex meta tag. This code snippet tells search engines not to index a specific webpage.
While this won’t directly remove the image itself, it prevents Google from indexing the page containing the image, effectively hiding it from search results.
To implement the noindex meta tag, you can use the Rank Math SEO plugin. Once you set up the plugin on your WordPress website, navigate to the page or post with the image you want to remove and switch the ROBOTS META to No Index, as shown below.
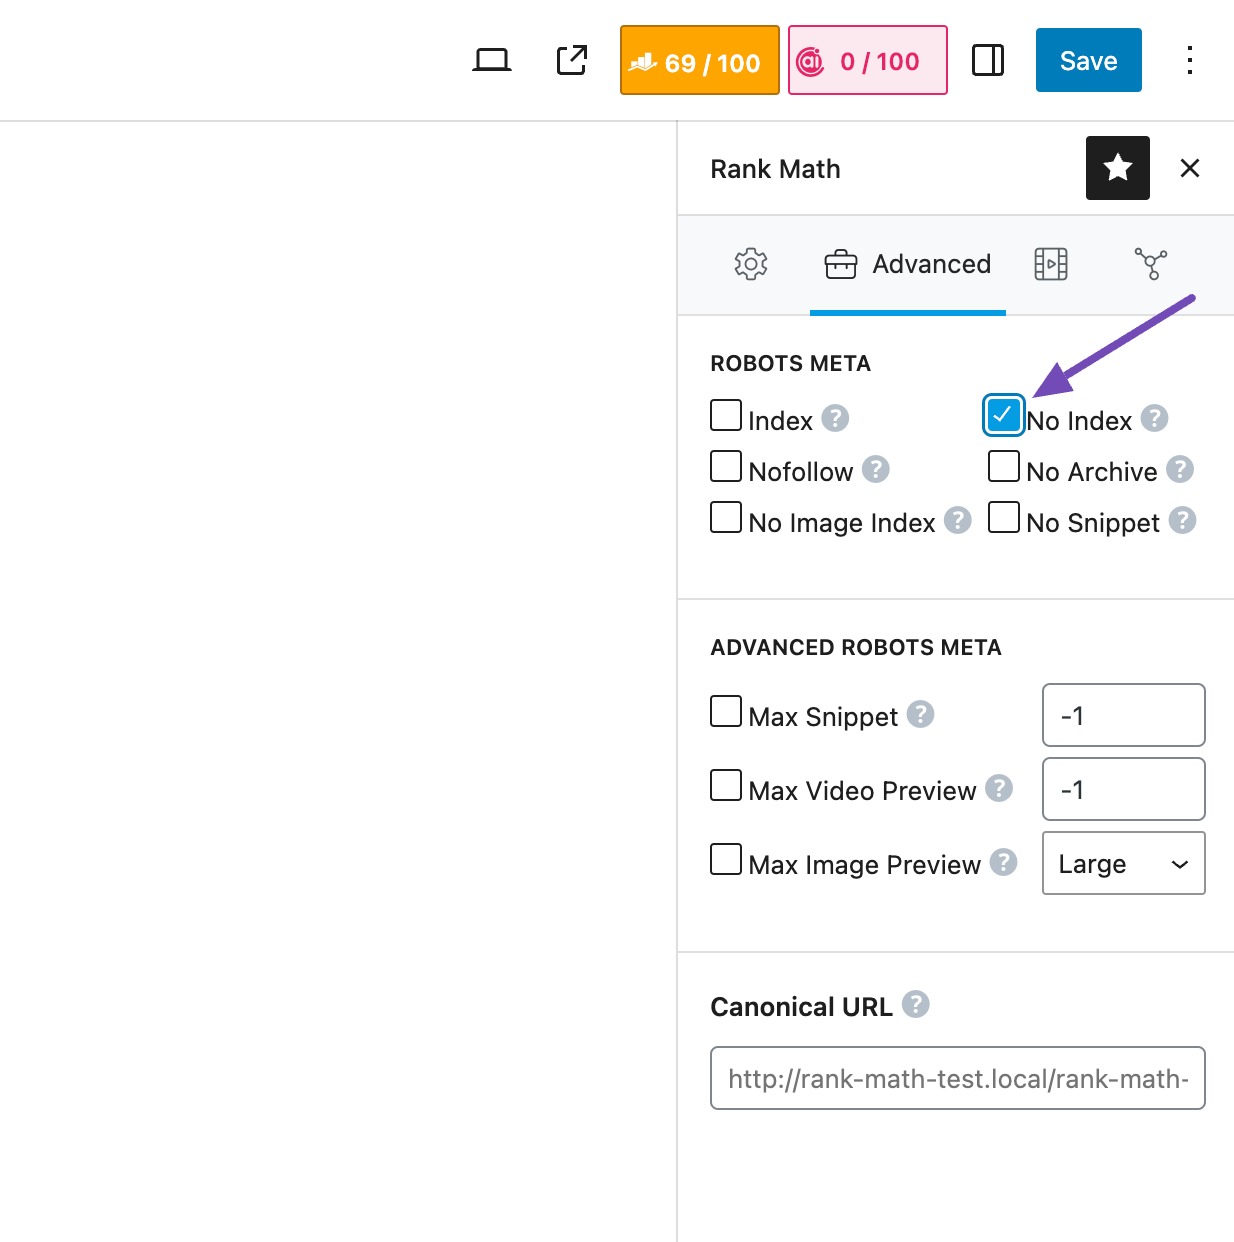
You can find this option in the Rank Math meta box, under the Advanced tab, in your post/page editor. For more details, refer to our guide on how to noindex URLs using the Rank Math SEO plugin.
However, similar to robots.txt, using a noindex meta tag doesn’t guarantee immediate removal from search results. Google may still have the image cached for a while.
Additionally, the noindex tag applies to the entire webpage, not just individual images. If the unwanted image is on a page with other content you want indexed, this method might not be ideal.
Note that you should not implement both robots.txt and noindex methods on your site simultaneously to remove an image. Instead, choose one method that is convenient for you. They have the same effect, and Googlebot needs to crawl the URLs to extract the HTTP headers before removing the images.
The methods we’ve discussed so far can be referred to as non-emergency image removal methods.
In the next method, we’ll discuss how to request removal directly from Google.
2.4 Removing Images Using the Google Removals Tool
Using the Google Removals Tool, you can swiftly remove an image from Google search results. This is useful in urgent situations when unwanted images appear in search results.
This tool, also referred to as the emergency image removal method, prompts Google to remove the image from search results quickly. However, this removal is temporary, and the image may reappear in search results after approximately 6 months.
To use the tool, you need to be the verified owner of the site where the image is hosted, meaning you must have a Google Search Console account for that website.
In the GSC, navigate to the Removals section, then click on the NEW REQUEST button. A popup will appear where you can paste the URL of the image you want removed from Google search results, as shown below.

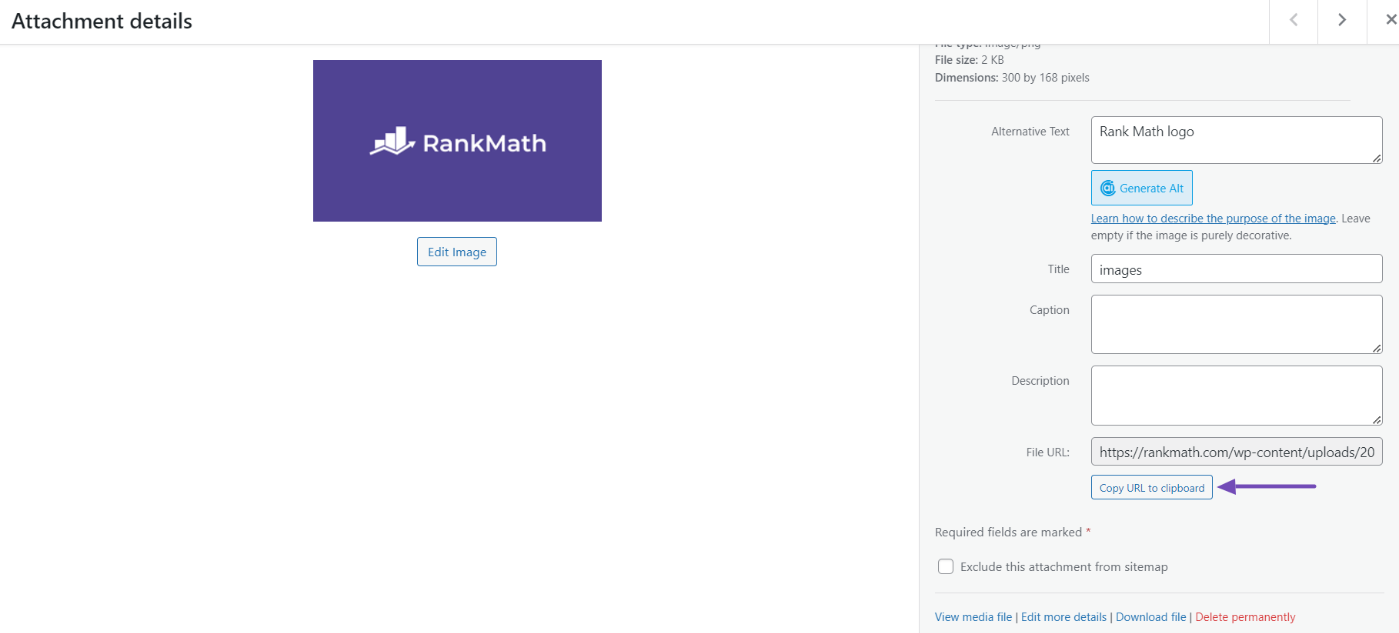
To obtain the image URL, navigate to your Media Library from your WordPress dashboard, select the image you want to delete, and copy the URL provided in the File URL option, as shown below.
When you copy the image URL, return to the Removals field in your GSC and paste it into the removal field. Once you’ve done that, click the NEXT button, as shown below.
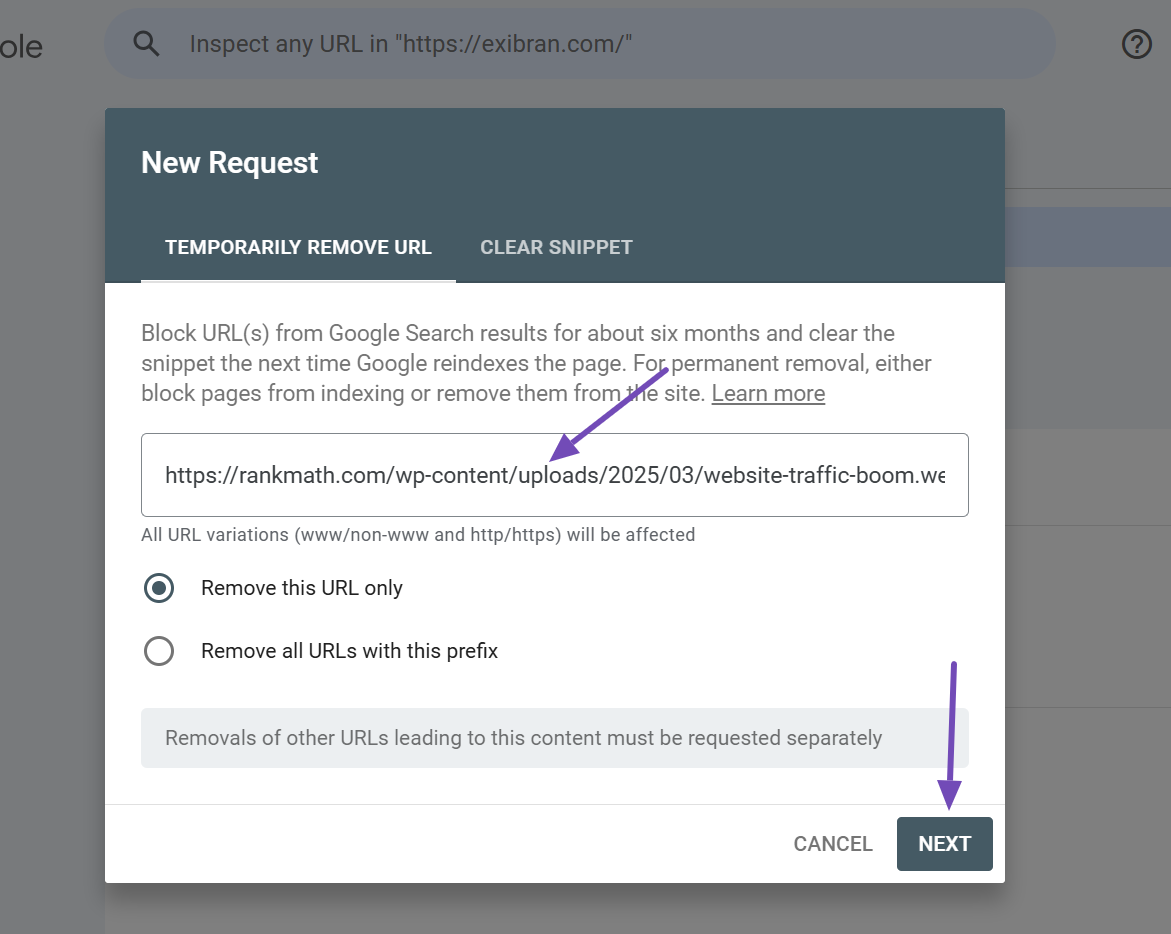
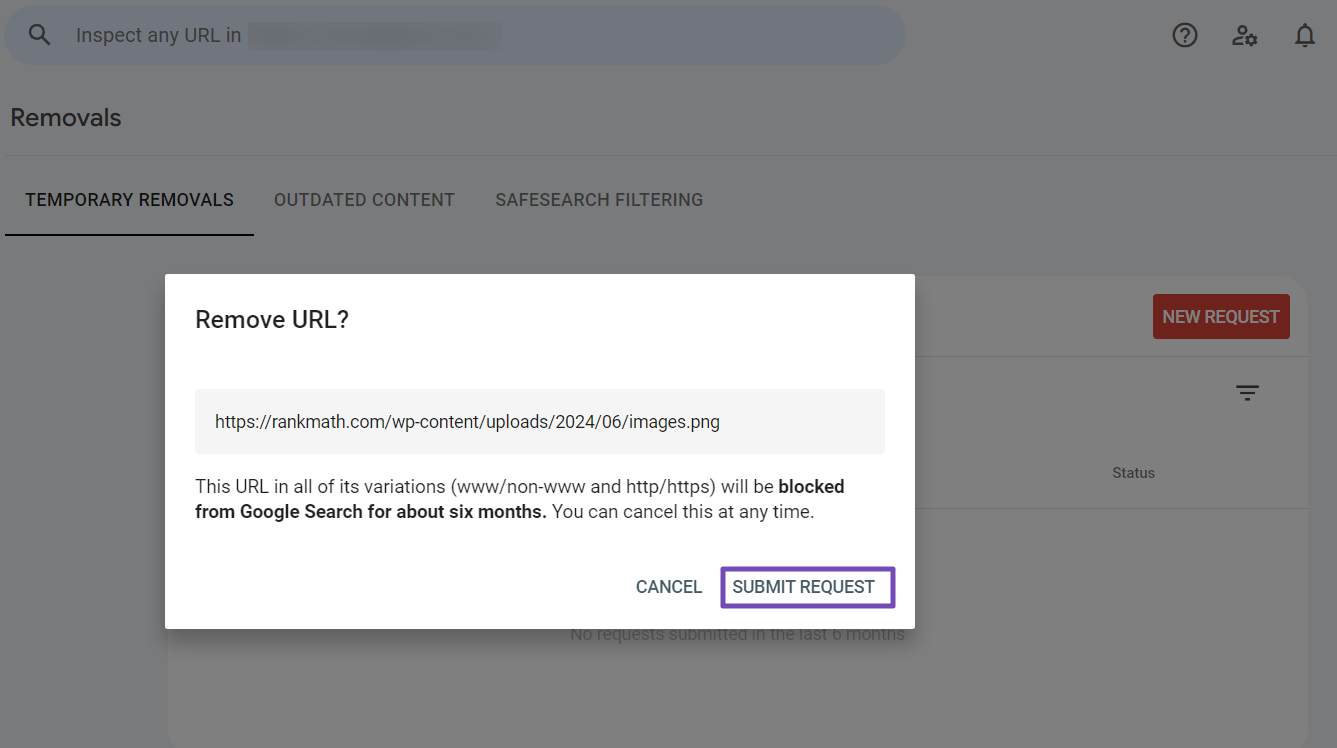
This will pop out a confirmation message on the screen, so you will want to consent to it by clicking on the SUBMIT REQUEST button.
Once you submit your request, wait for Google to process and approve it, which typically occurs within 24 hours to a few days.
After approval, the URL will be temporarily removed from Google Search results. If you want to remove the image permanently, consider exploring any of the methods discussed earlier.
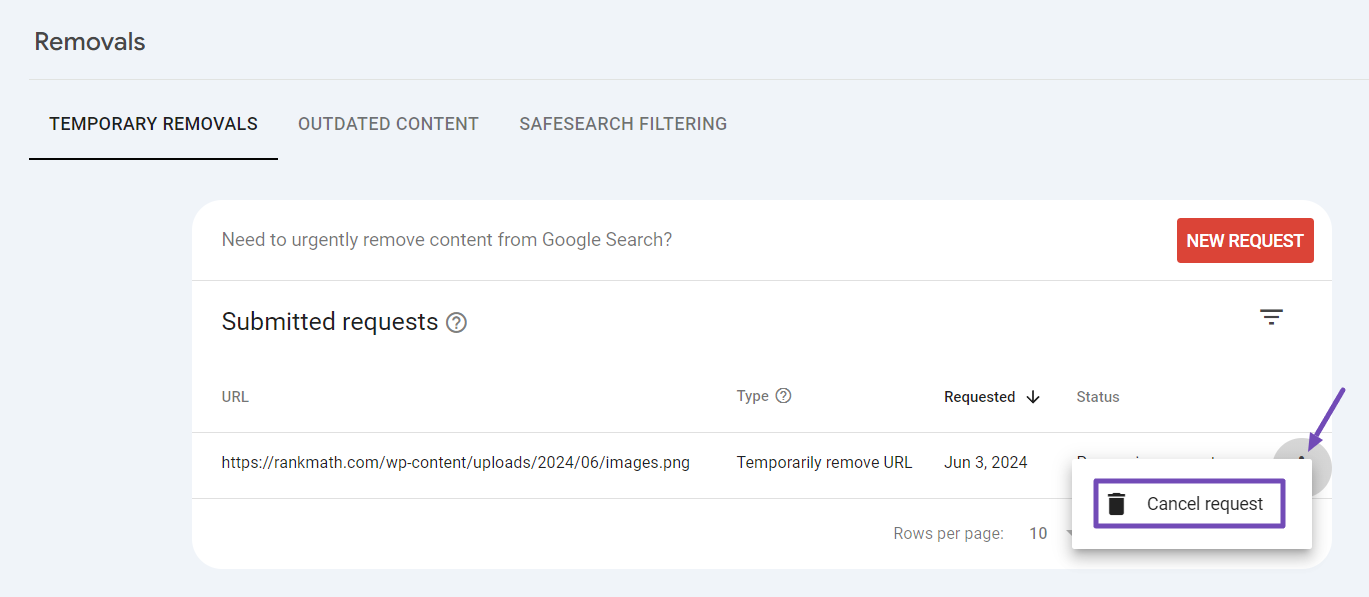
If you mistakenly removed an image URL, you can reinclude it by clicking the three dots near the submitted request and selecting the Cancel request option.
However, avoid using Google’s Removals tool for purposes such as blocking pages on sites you don’t own, permanently removing URLs, or cleaning up 404 errors. These tasks are better handled through alternative methods suited to each specific issue.
3 When You Don’t Own the Website With the Image
If the image is not hosted on a website you own or control, you can still take steps to have it removed.
3.1 Contact the Website Owner
Most websites provide a Contact Us page with an email address or contact form. Reach out to the website owner, politely explain your situation, and request the image removal from their website.
If you can’t find contact details on the website, you can use a Whois search tool to find the website owner’s contact information. Look for the email address listed under Registrant Contact or Administrative Contact. You can also find information about the hosting company you can contact regarding the abuse.
If the image is from a social media platform, contact the owner of the page or profile where you found the image and request its removal.
If you don’t receive a positive response, check the social media platform’s help center for assistance and request the image’s removal from their platform.
4 After Removing the Image From the Source
After taking steps to remove the unwanted image, it might not vanish immediately from Google’s search results. Google regularly refreshes its index, but it can take some time. Be patient, and the image should eventually disappear on its own.
If you’d like to speed things up, you can use Google Search Console’s inspection tool (but only if you’re the website owner) to request re-indexing.
If the website is not yours and the website owner has confirmed that they have removed the image, but it still appears in Google search results, you can use Google’s Refresh Outdated Content tool. However, don’t use this tool if you own the site, want permanent removal, or the image is still live. It only prompts Google to update its index, not to remove content still on the web.
By following these steps, you can encourage Google to update its search results and remove the unwanted image.
That’s it! We hope you’ve learned how to remove images from Google search results. If you have any further questions, please don’t hesitate to contact our support team—they’re available to assist you anytime.