If your website has pages with content regarding job posts – this is where the JobPosting Schema type comes in. Fortunately, taking advantage of JobPosting Schema on any number of pages on your website couldn’t be easier than it is with the help of Rank Math.

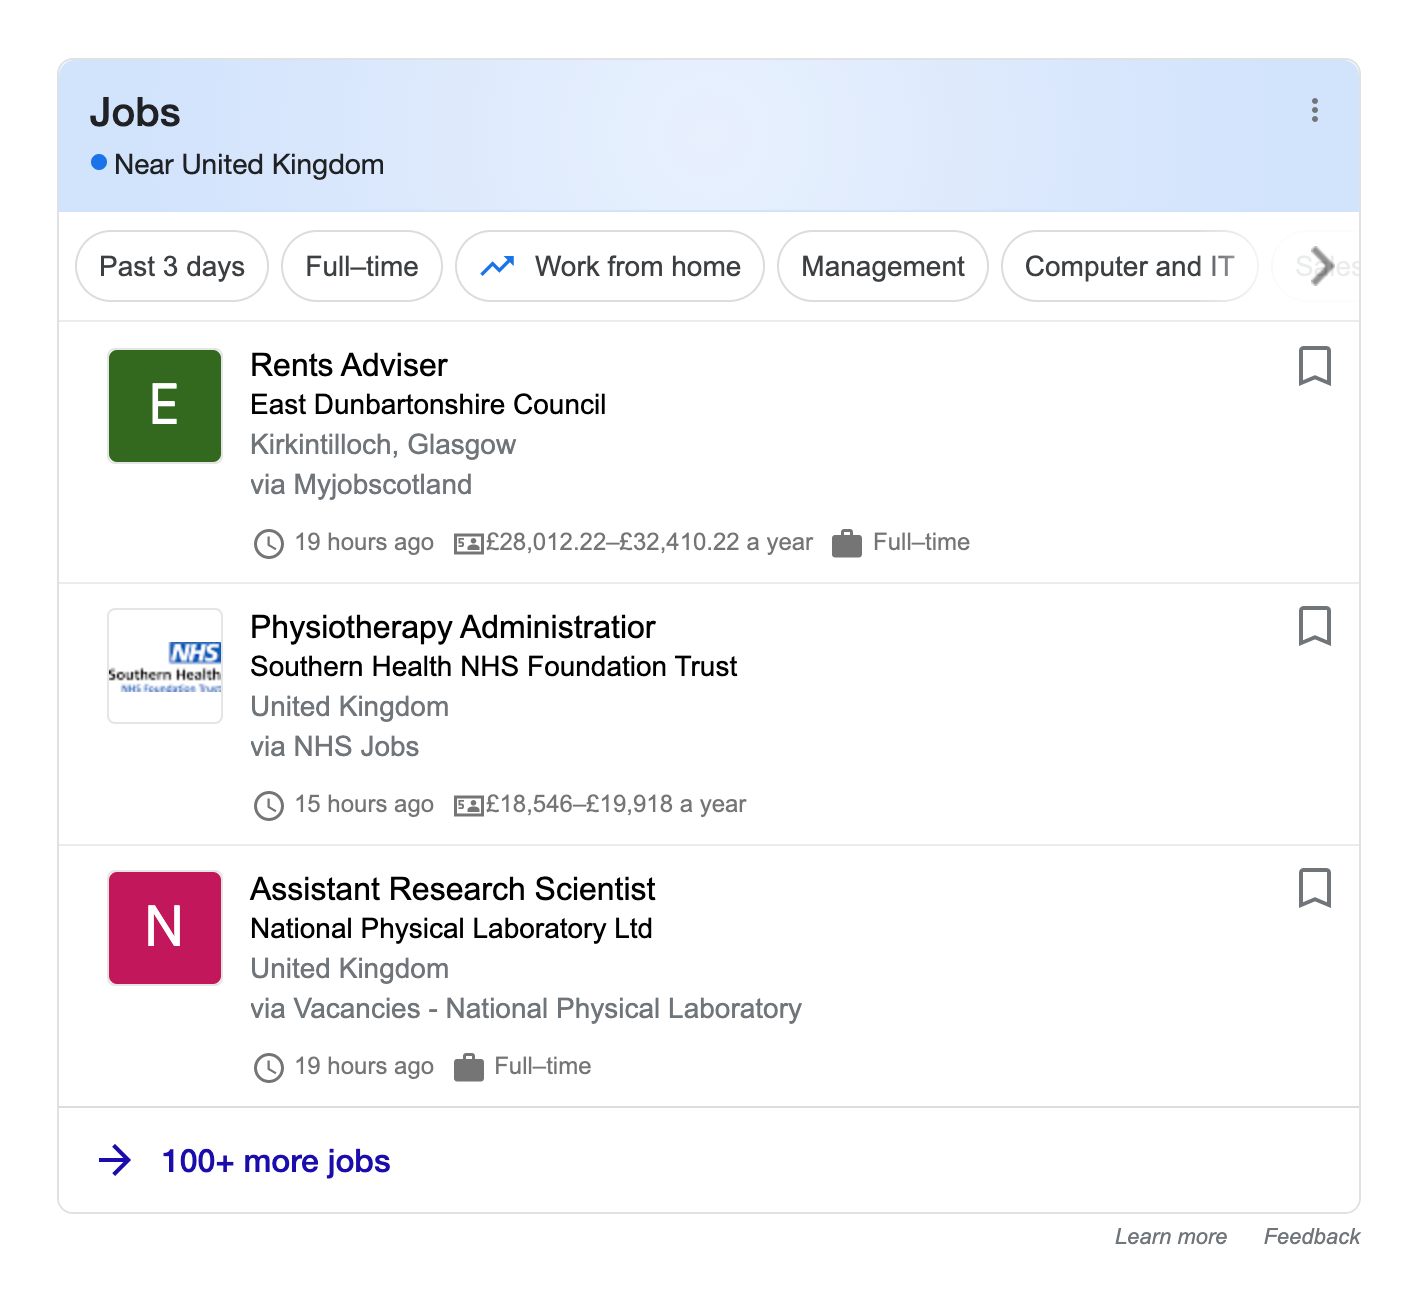
And when you do so, you can get your job listings would be eligible to feature in rich results, just like the one shown below.
Note: Google’s job search experience is available only in specific countries, listed here. If this feature is yet to be available in your region, nonetheless, the Schema can still help search engines understand the content of your page better and can potentially help rank in relevant search queries.
Table of Contents
1 How to Add JobPosting Schema Markup to Your Posts/Pages
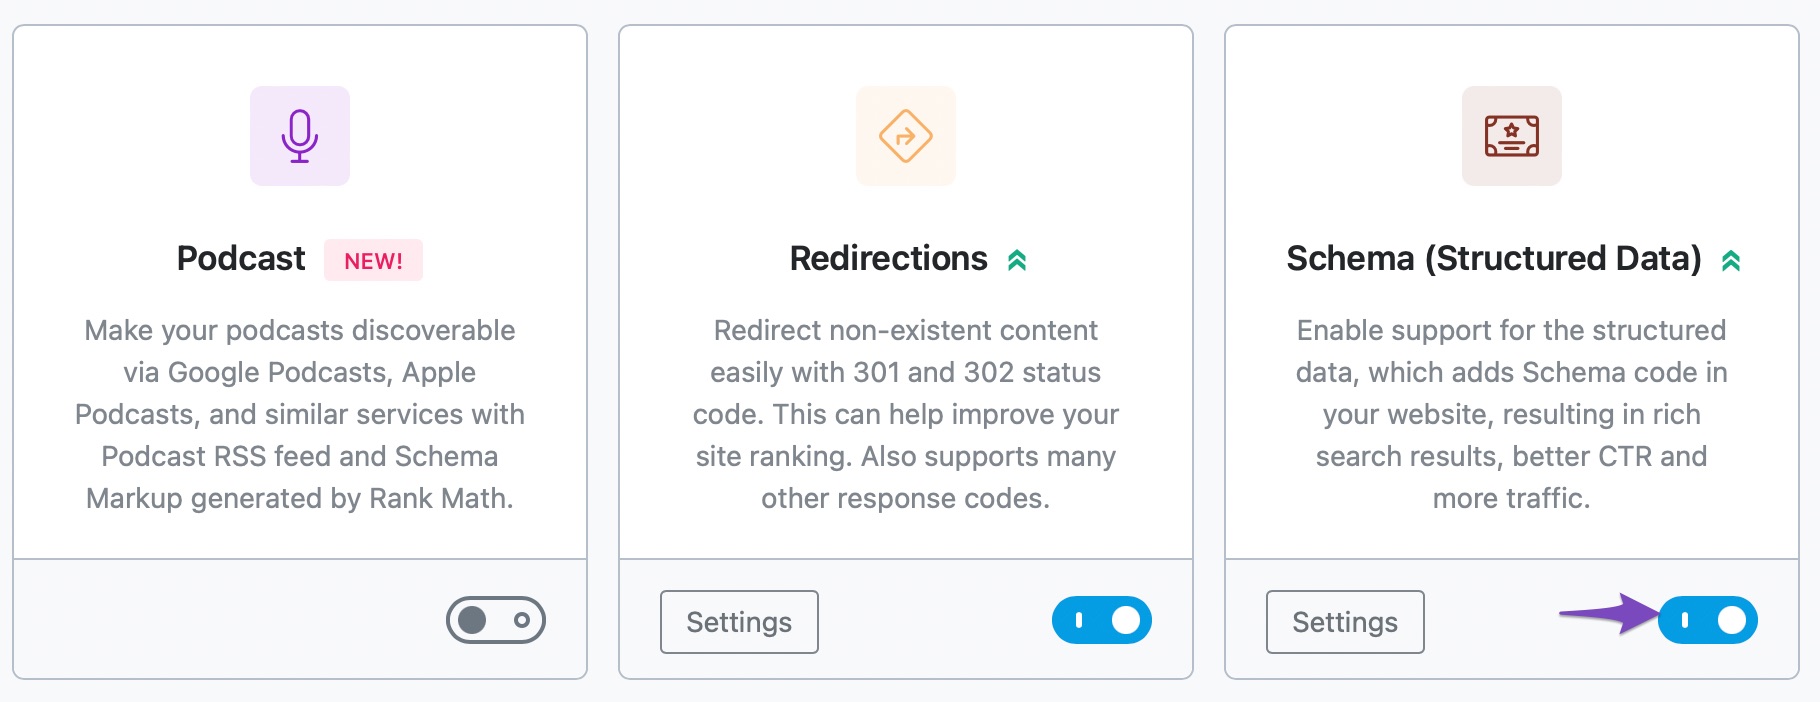
Before we begin, you’ll need to ensure that Rank Math’s Schema Module has been enabled on your website by navigating to Rank Math SEO → Dashboard in your WordPress admin area.
In this tutorial, we’ll walk you through how to use the JobPosting Schema type on a post or page, as well as the various available settings for it – let’s get started:
1.1 Edit Your Post or Page
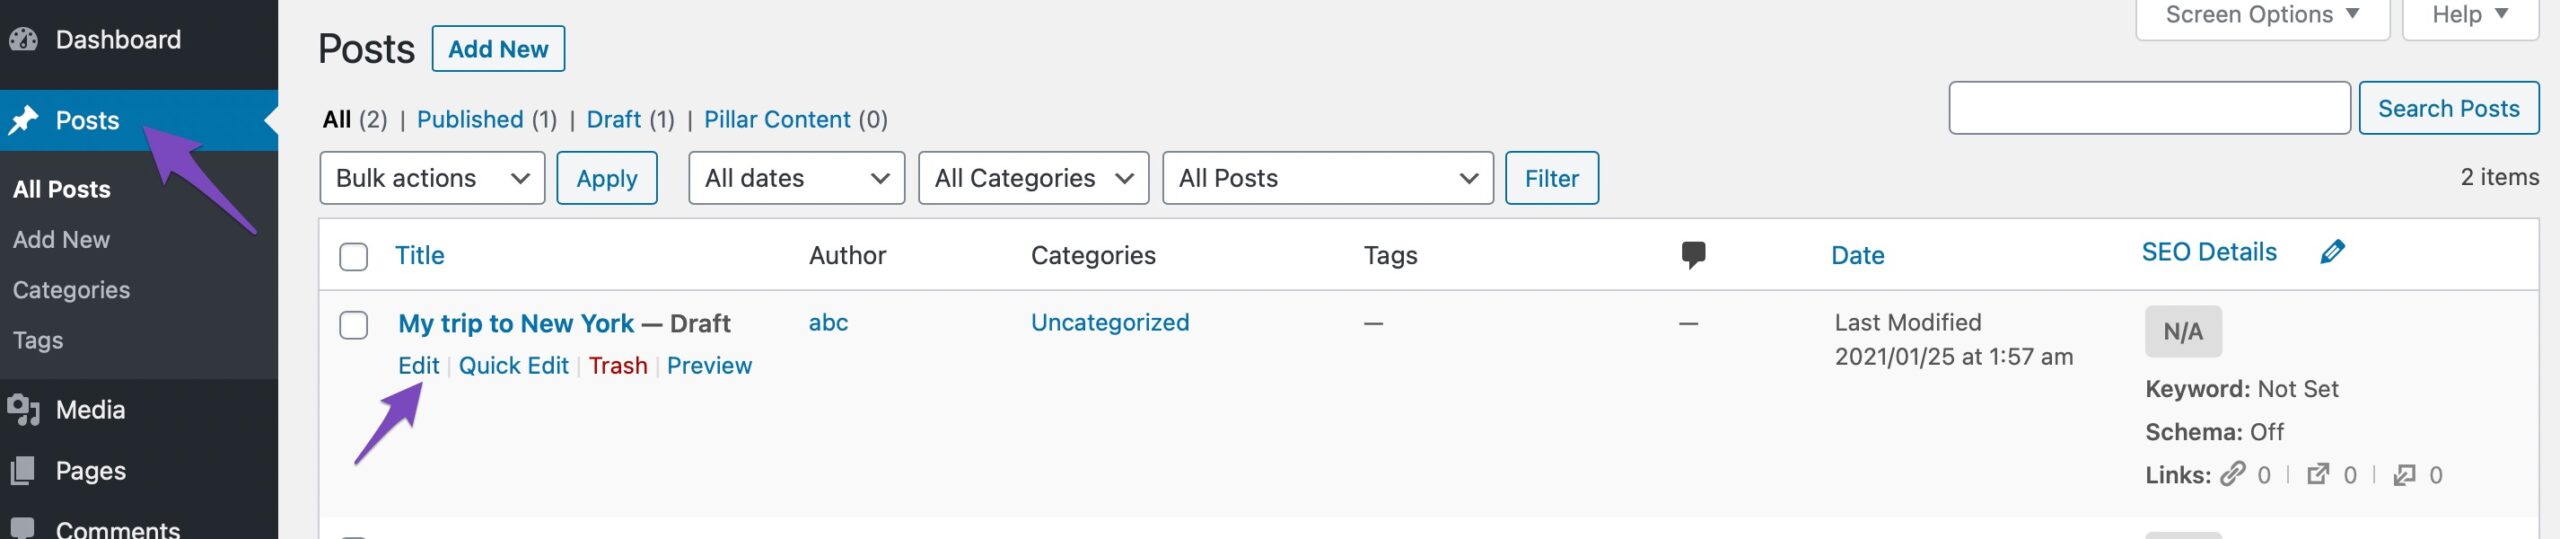
To add the JobPosting Schema Type, first head to the edit page for that post by clicking Edit as shown below:
1.2 Open Rank Math In the Gutenberg Sidebar
Click on the Rank Math SEO icon that displays alongside this post/page’s SEO score to open the SEO settings for this page.
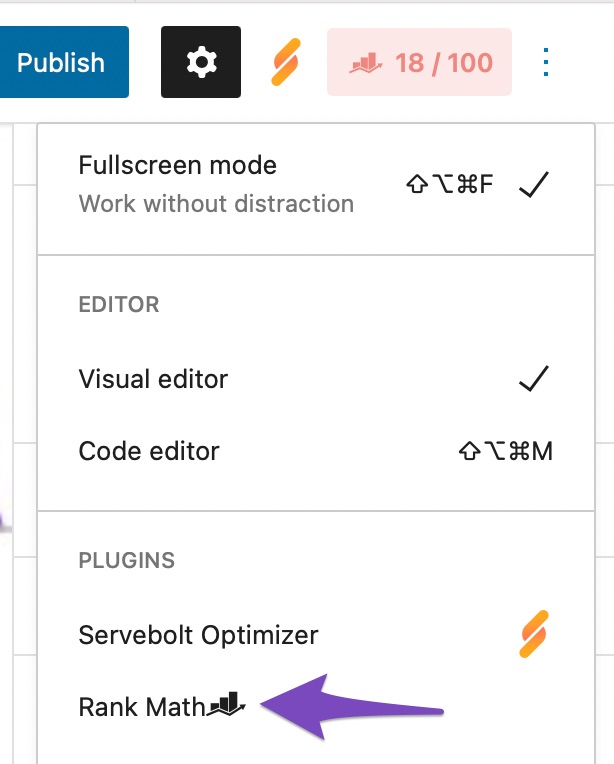
Or alternatively, click the three vertical dots in the top right-hand corner of the edit page and select Rank Math in the Plugins section – as shown below:
1.3 Navigate to the Schema Settings for This Post/Page
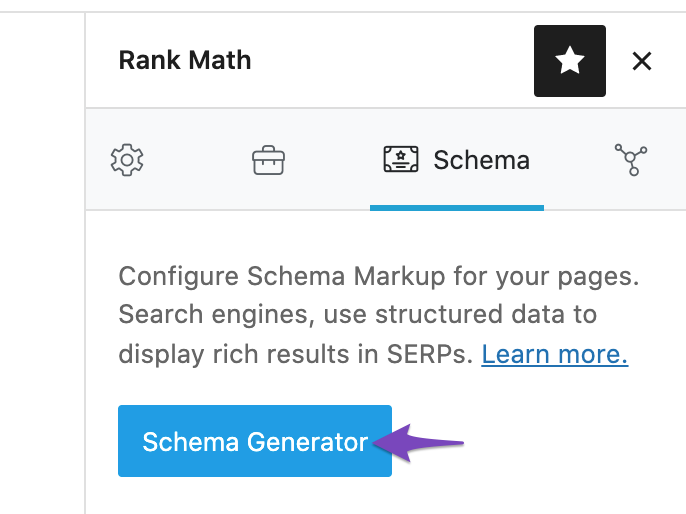
Click on the Schema tab and then choose Schema Generator.
1.4 Navigate to Rank Math’s Schema Builder
Click on Use to open the Schema Builder.
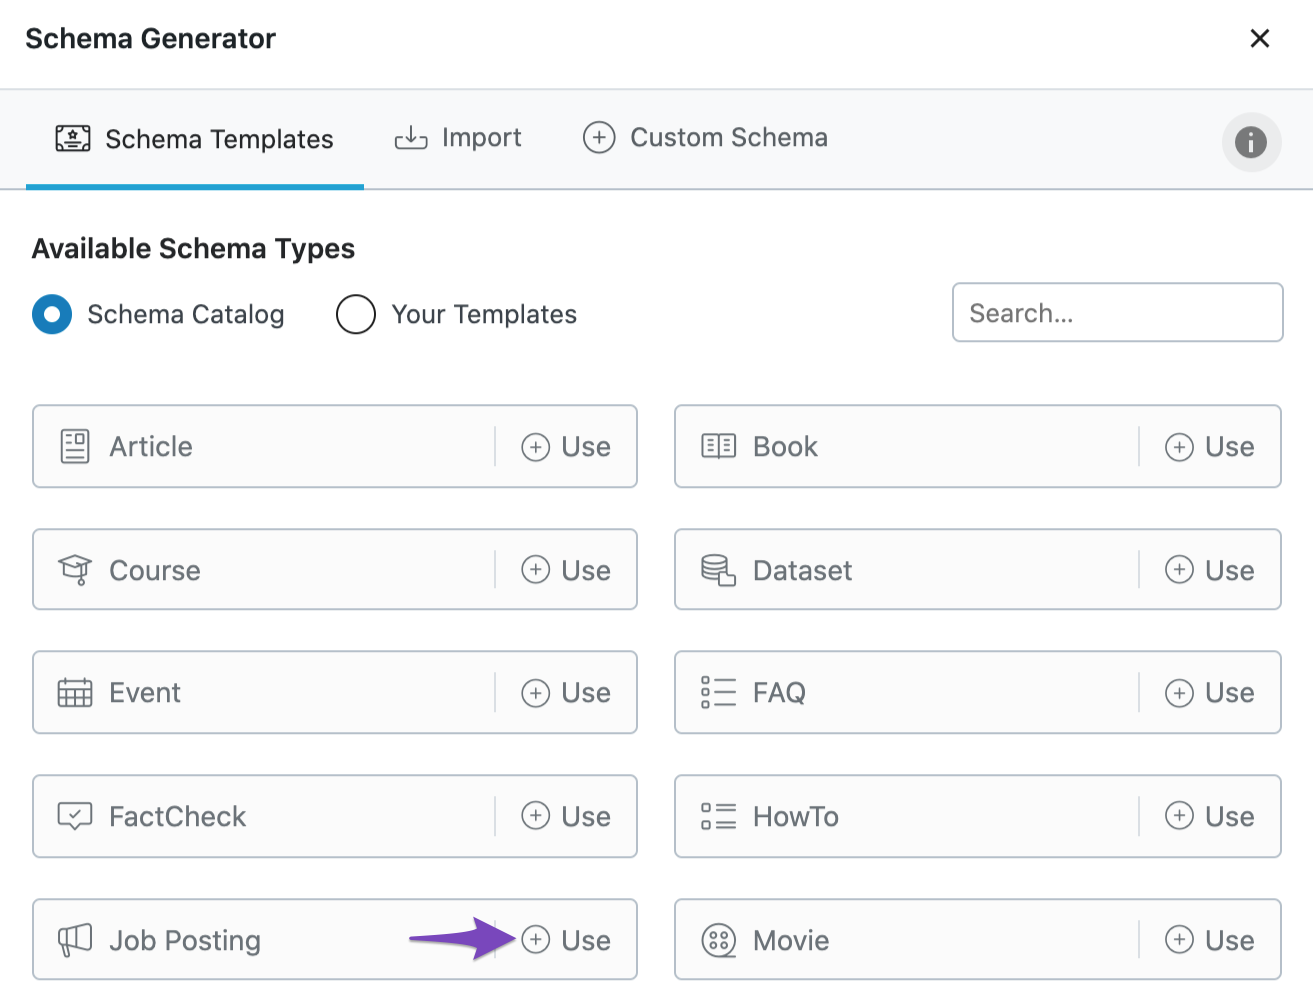
The Schema Builder will show up with the options as shown below:
2 JobPosting Schema Type Setup & Available Options
Now, let’s have a closer look at each of the available options in detail.
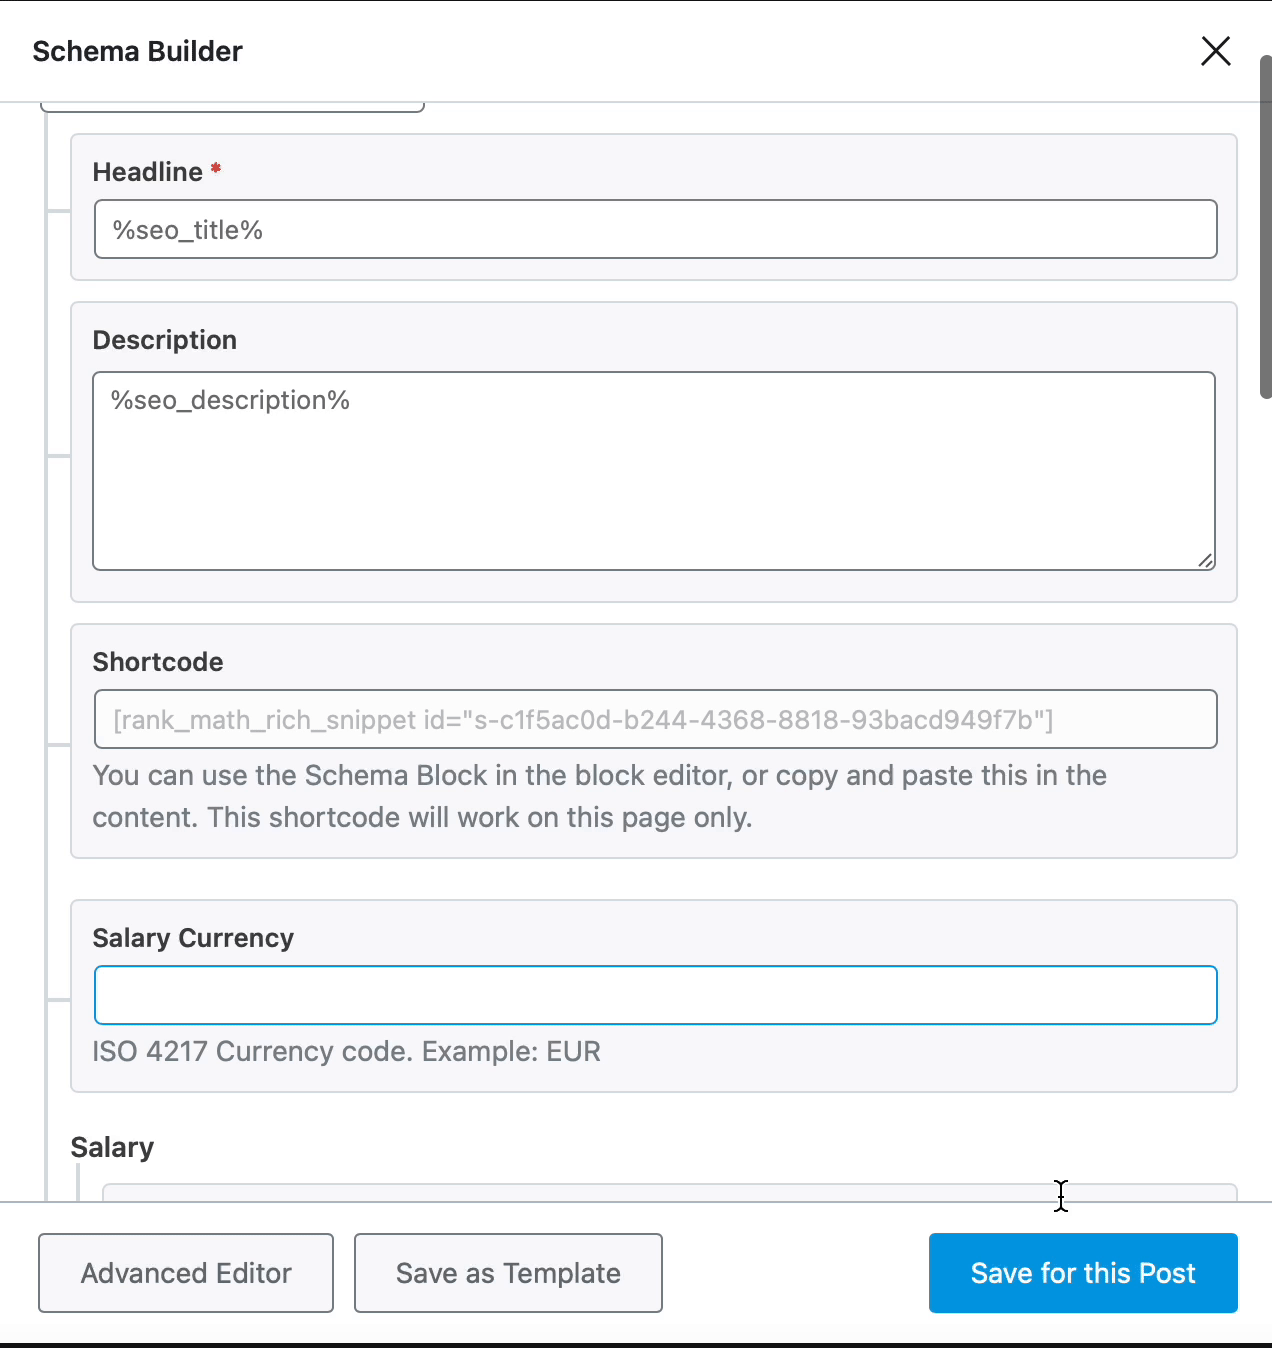
2.1 Headline
Enter the headline of the job posting here. The headline should be the title of the job, for example, Software Engineer.
If you don’t add a headline, then Rank Math will include your SEO title as Headline.

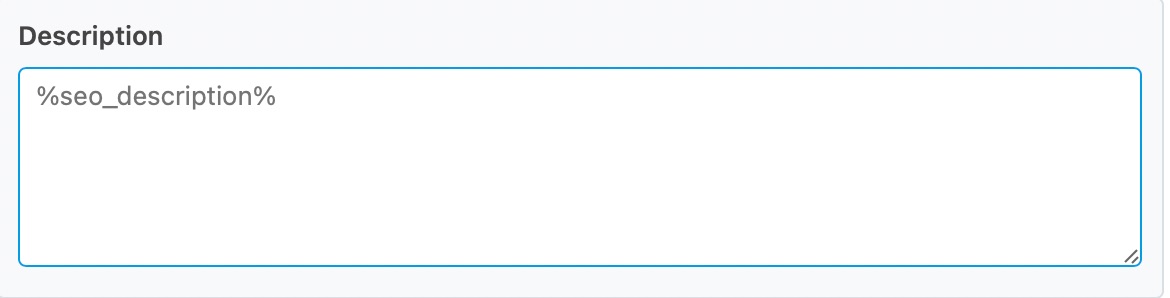
2.2 Description
Enter the description of the job in this field. To make the job appealing to potential candidates, add all the necessary details about the job, such as job responsibilities, qualifications, skills, working hours, education requirements, and experience requirements.
You can also make use of the variables to access your metadata and use it alongside your default post description.
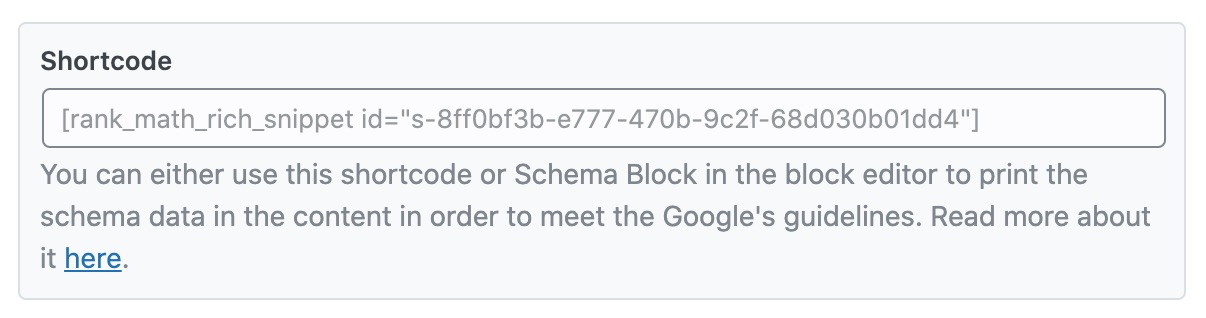
2.3 Shortcode
Copy and paste the shortcode from here into your post.
2.4 Salary Currency
Enter the ISO code of the currency that the salary will be paid in. Fill this field correctly.

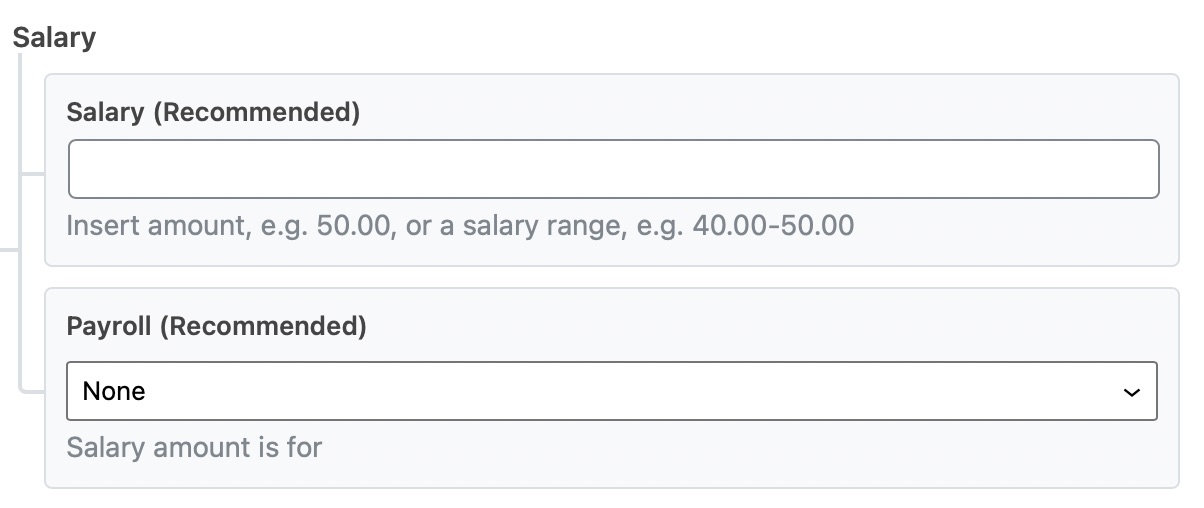
2.5 Salary
Enter the actual salary in numbers in the Salary(Recommended) option. Also, select the time period for the salary to be paid from the drop-down list. The options are Yearly, Monthly, Weekly, Daily, Hourly, and None.
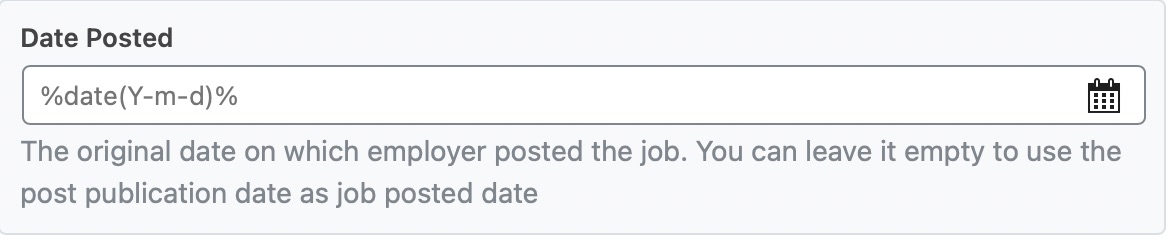
2.6 Date Posted
Enter the date and time when the job was posted with the help of a date and time picker.
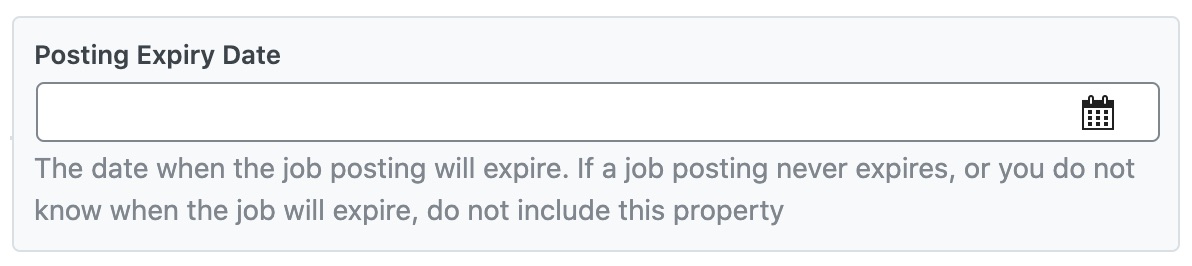
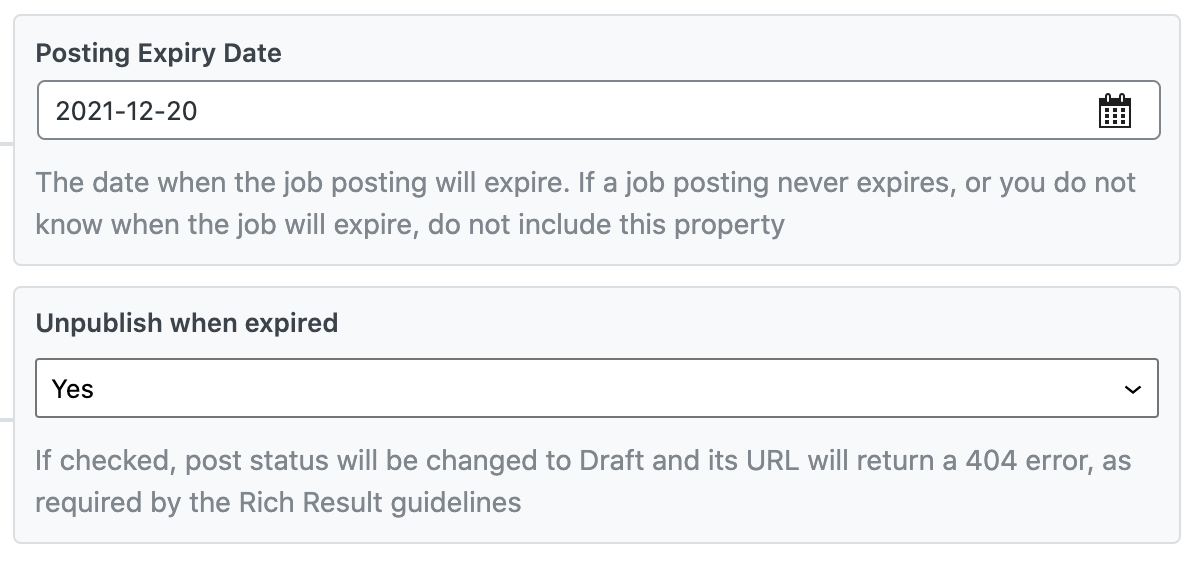
2.7 Posting Expiry Date
Enter the date when the job posting will expire with the help of a date and time picker.
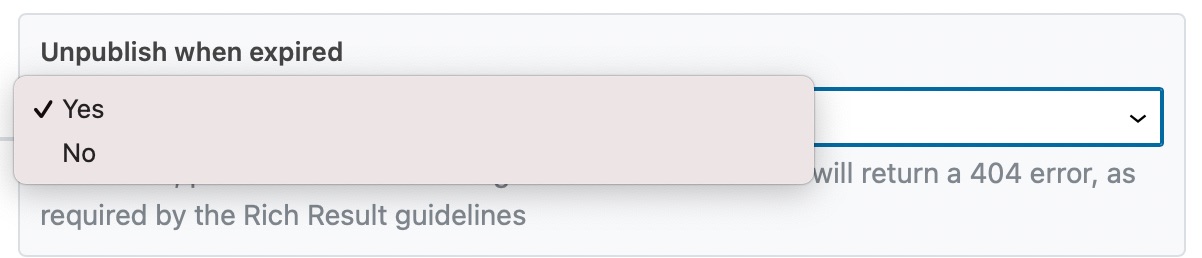
2.8 Unpublish when Expired
It is just not great if you find an excellent job opportunity, but it expired a few months or days ago. In order to prevent this, the Rich Result guidelines state that once the job posting is expired, that particular post should be taken down.
With the help of Rank Math, you can easily control the post when the job listing expires. If you enable this setting, then the Rank Math will convert the post to “Draft” status and will return a 404 error.
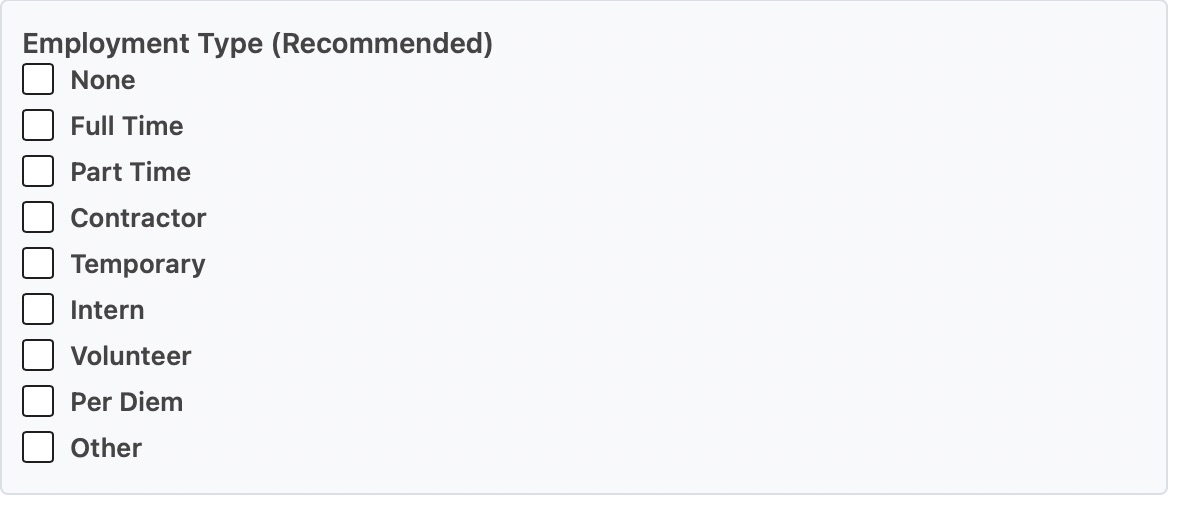
2.9 Employment Type (Recommended)
For a job, you might either require a full-time employee or maybe an intern. In this field, you select the Employment Type from the various options available, as shown below.
2.10 Hiring Organization
Enter the name of the organization that has posted the job in this field. You can leave it in a blank state to use your own company details.

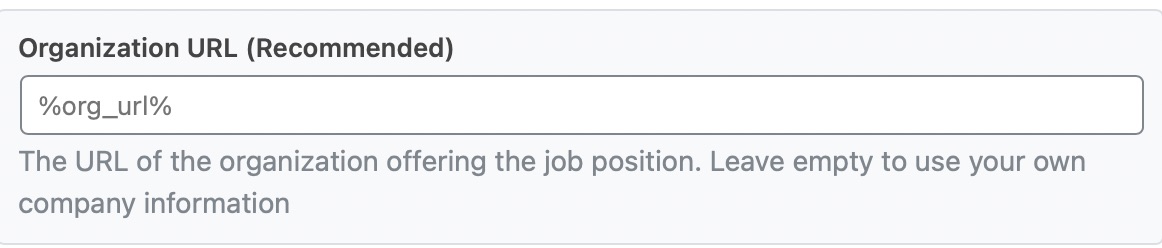
2.11 Organization URL (Recommended)
If the company that has posted the job owns a website, then enter the Website URL in this field. If you leave this field blank, then your information will be used in this field.
2.12 Organization Logo (Recommended)
Enter the URL of the logo of the organization posting the job. Make sure that the image width and height ratio is between 0.75 and 2.5.
2.13 Posting ID (Recommended)
Enter a unique ID for a specific job. You can ask the employer to provide you with a unique ID, or you can enter one yourself for record-keeping. If you leave the field empty, then the post ID will be used instead.

2.14 Is Telecommute Job PRO
Enable this option only if the job posting is a completely remote job.

Note: Search engines recommend marking up the job as ‘Telecommute’ only when it is 100% remote and shall not be used when jobs only allow occasional work-from-home or anything similar.
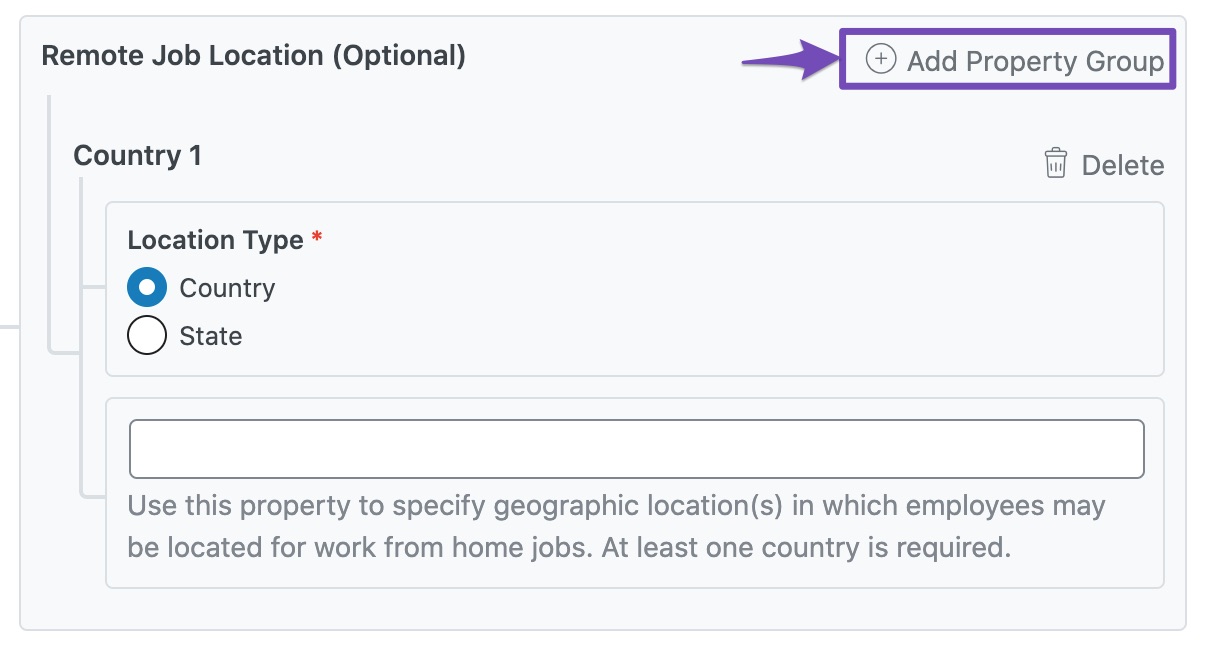
2.15 Remote Job Location PRO
If you’ve marked the job as remote in the previous setting, then Rank Math will enable the Remote Job Location option. You need to specify at least one country from which applicants are eligible for this job. You can click the Add Property Group to add remote locations.
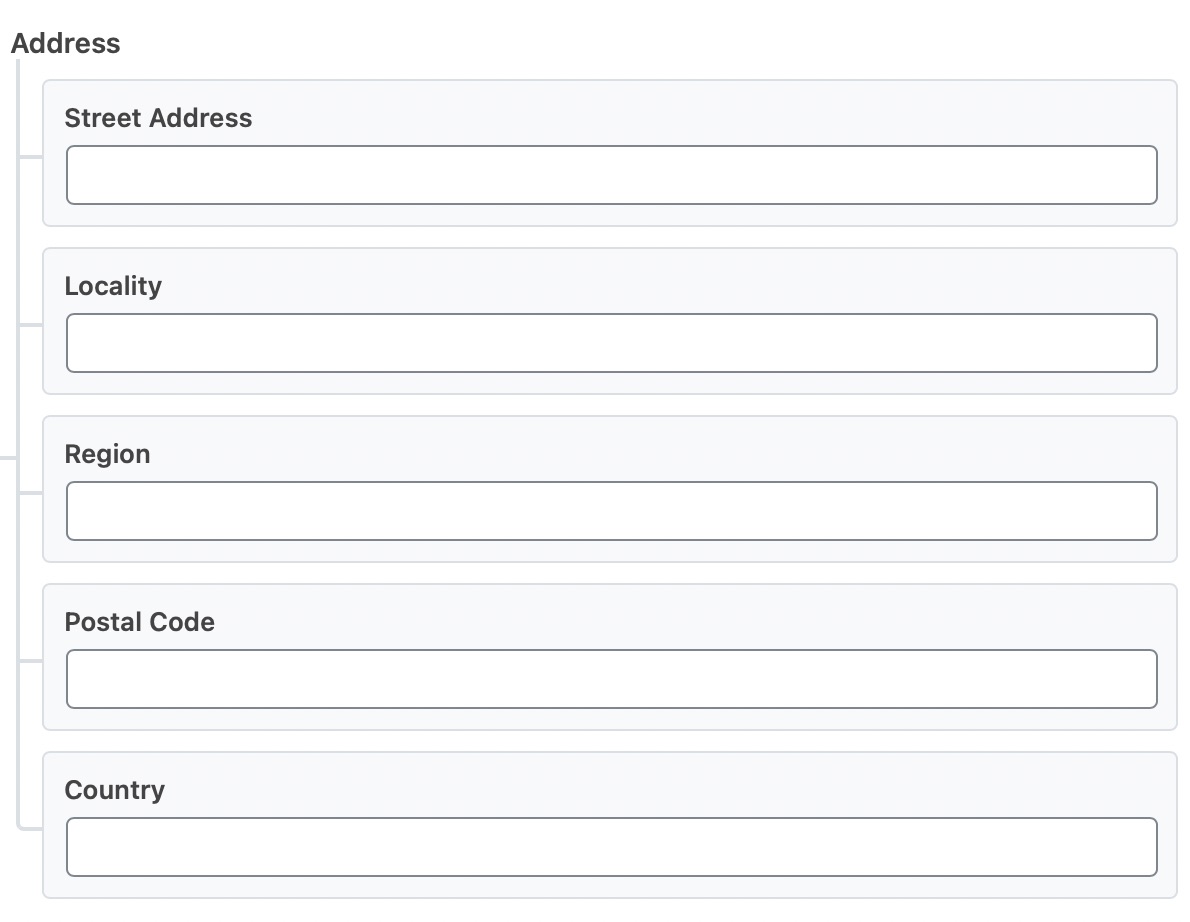
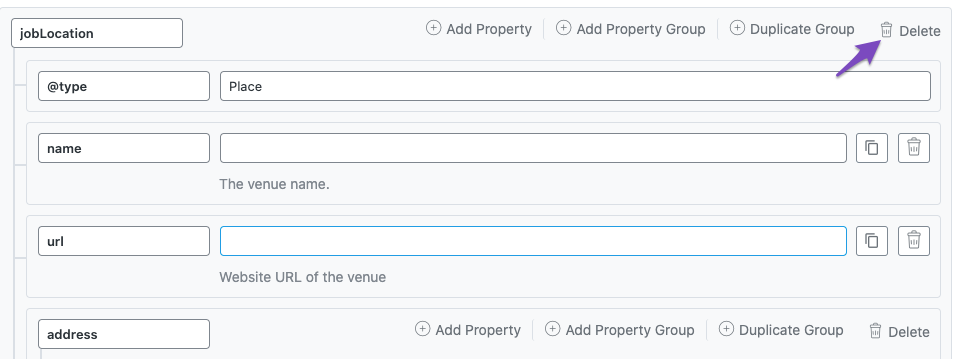
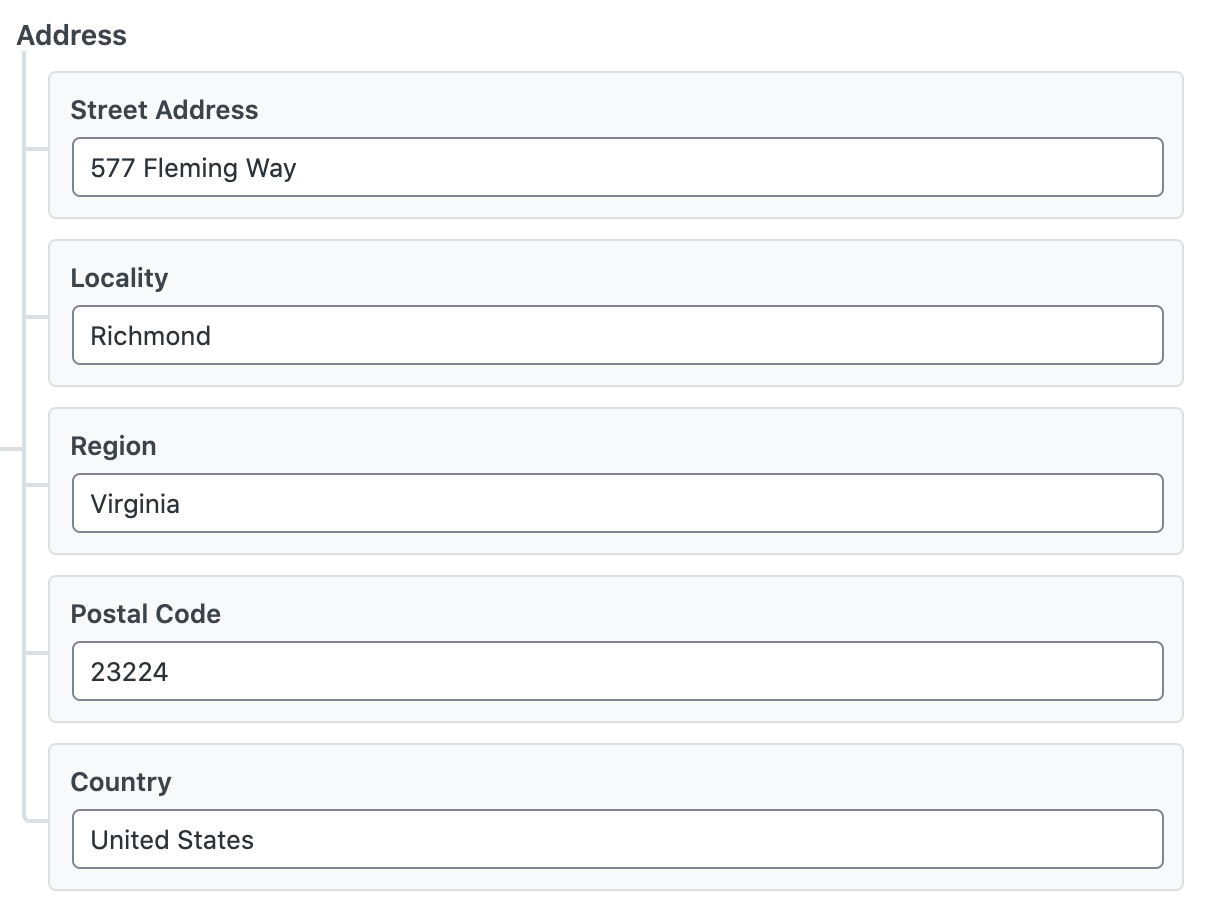
2.16 Address
Enter the details of the address of the employer who is posting the job. To be more specific, enter the location where the employee will report to work. You can add the Street Address, Locality, Region, Postal Code, Country in this section. You can skip these address details for a remote job.
Note: If entering an address, specify the country using the two-letter ISO 3166-1 alpha-2 format, for example, US for the United States.
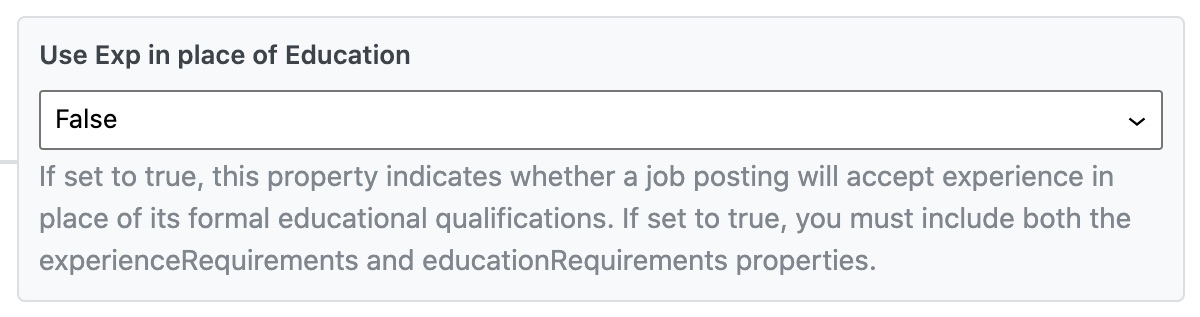
2.17 Use Exp in place of Education PRO
If the employer considers experience in place of any formal educational qualification for the job role, then set this option to true. When you set this property to true, you’ll have to include both the Education Required and Experience Required properties, which are to be followed.
2.18 Education Required PRO
Click Add Property Group to add all the educational requirements for the job. You can click the drop-down list to find different educational levels.
The option No Requirements is to be used only when the job does not have an educational requirement. If you’re unsure of the educational requirements, do not add this property.

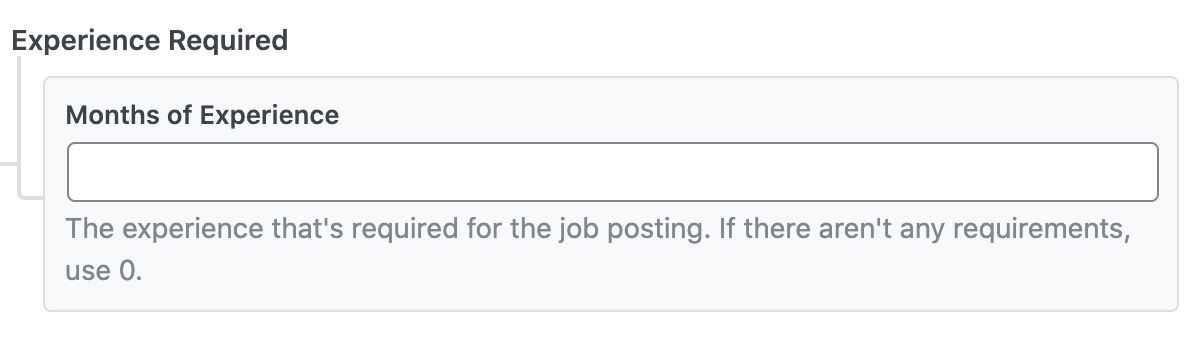
2.19 Experience Required PRO
Enter the minimum experience required in months that candidates should possess to apply for this job. If the job does not have any minimum experience, then use the value 0.
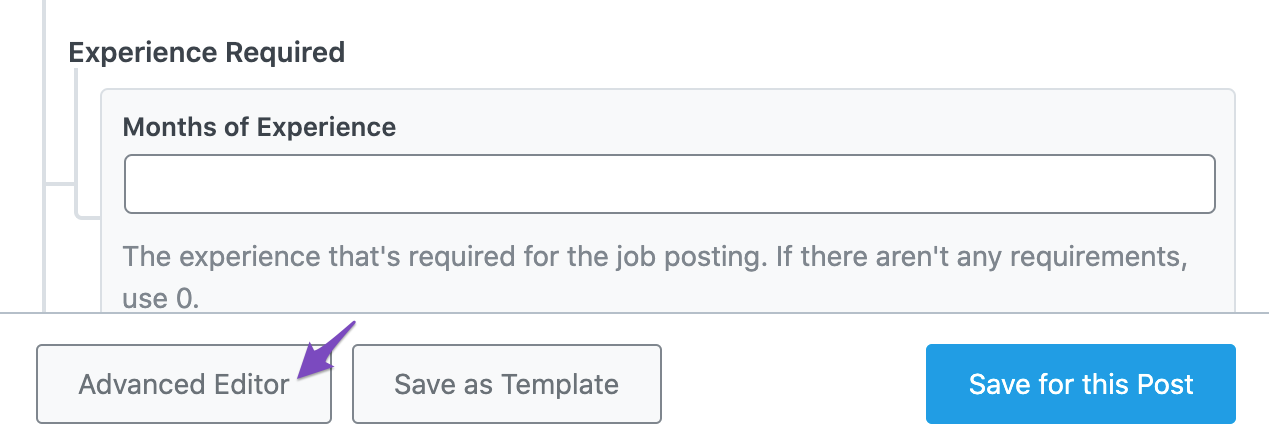
That’s it! Once you’ve finished adding all of the details regarding your job post in their respective fields in Rank Math’s Schema Builder, simply click on Save for this Post.
Then, simply update the page as you normally would after making a change or click Publish (if this is a newly created post/page). And, as we recommend doing whenever making adjustments to Schema Markup, we then recommend you proceed to validate this page’s Schema with the help of Google’s Rich Results Testing Tool.
3 Adding Multiple Locations to JobPosting Schema PRO
In certain cases, you might come across the need to add multiple locations to a job listing, as you don’t want to create duplicate listings that differ only by the location.
You can add multiple locations to JobPosting Schema using the Advanced Editor in Rank Math by following the exact steps we’ve discussed below.
3.1 Open Advanced Editor
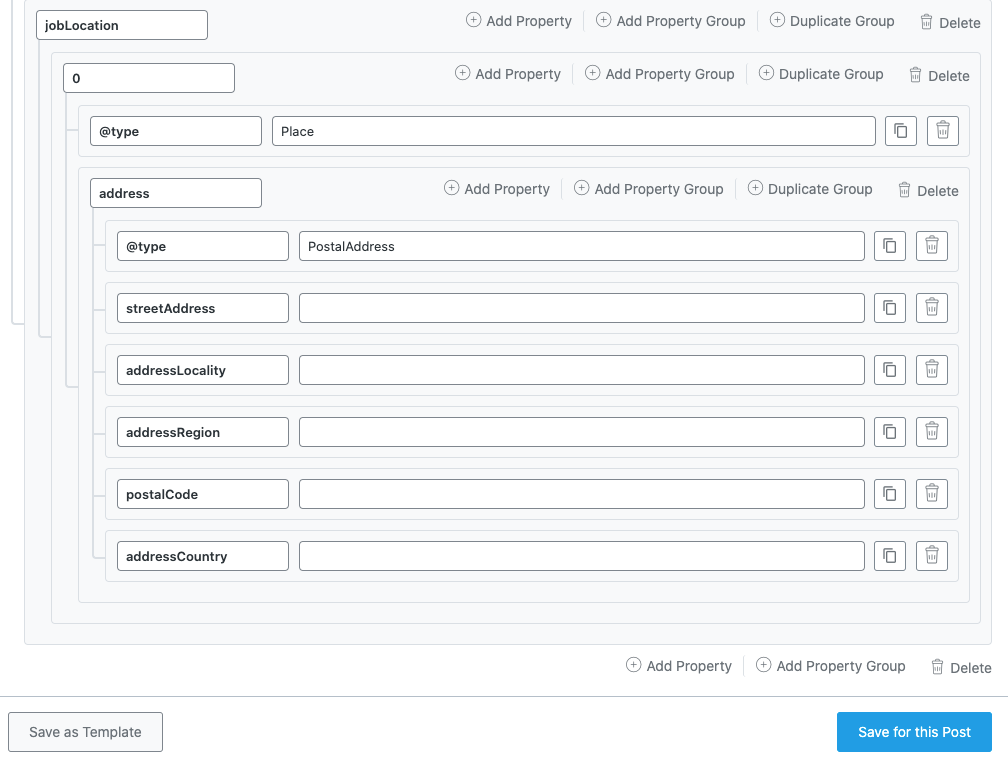
In the JobPosting Schema Builder add all the properties except the Address field. Then click the Advanced Editor that is available at the bottom of the dialog box.
3.2 Modify the Existing JobLocation Schema Property Group
In the Advanced Editor, you can notice the existing JobLocation Schema property group. Delete this property group as we’re going to build one that can include multiple locations.
Now, you can click the Add Property Group at the bottom of the dialog box.

Then create a new Schema property group with the structure shown below. You can notice that we’ve nested our properties into an array with an index ‘0’.
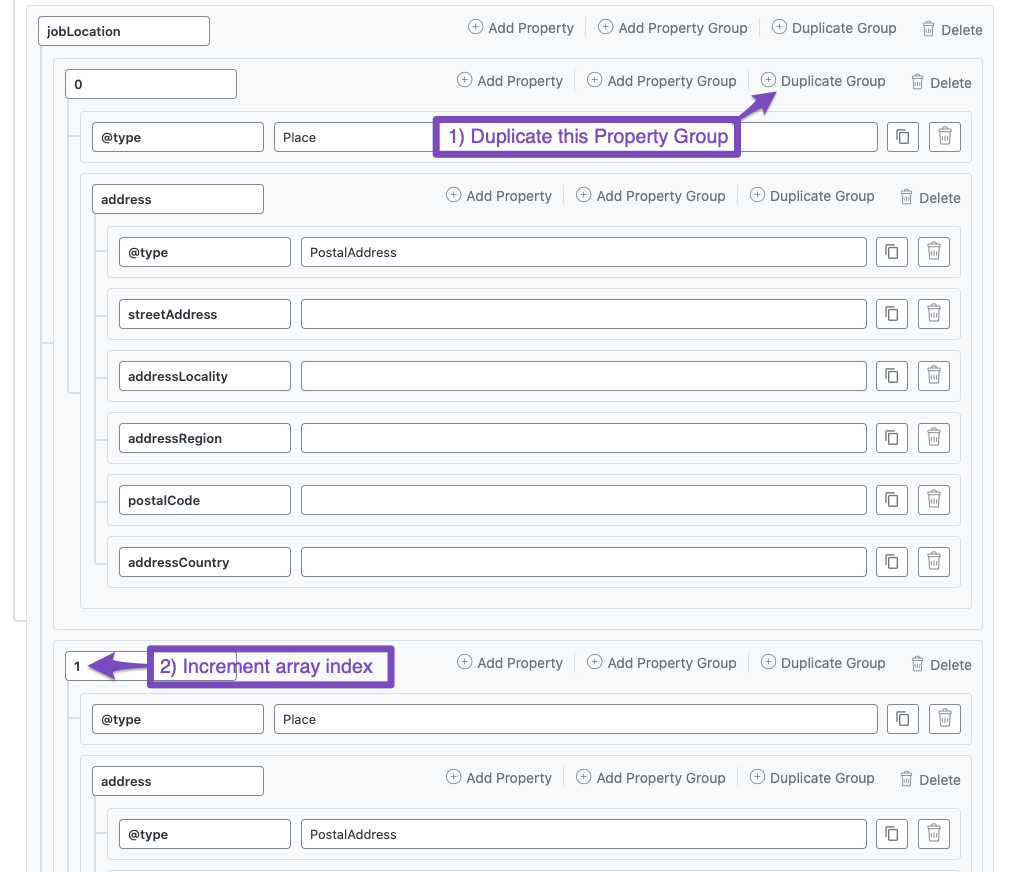
3.3 Duplicate JobLocation for Multiple Locations
As you might have guessed, we’ve added the fields for the first location to our Job Posting Schema. For adding the next location, simply duplicate the group with the index ‘0’ and now increment the value, as shown below.
You can see a new set of fields now available to add another location. In the similar way, you can add any number of locations.
3.4 Save Schema
Once you’ve added multiple locations, fill in the data, and don’t forget to save the Schema by clicking the Save for this Post button.

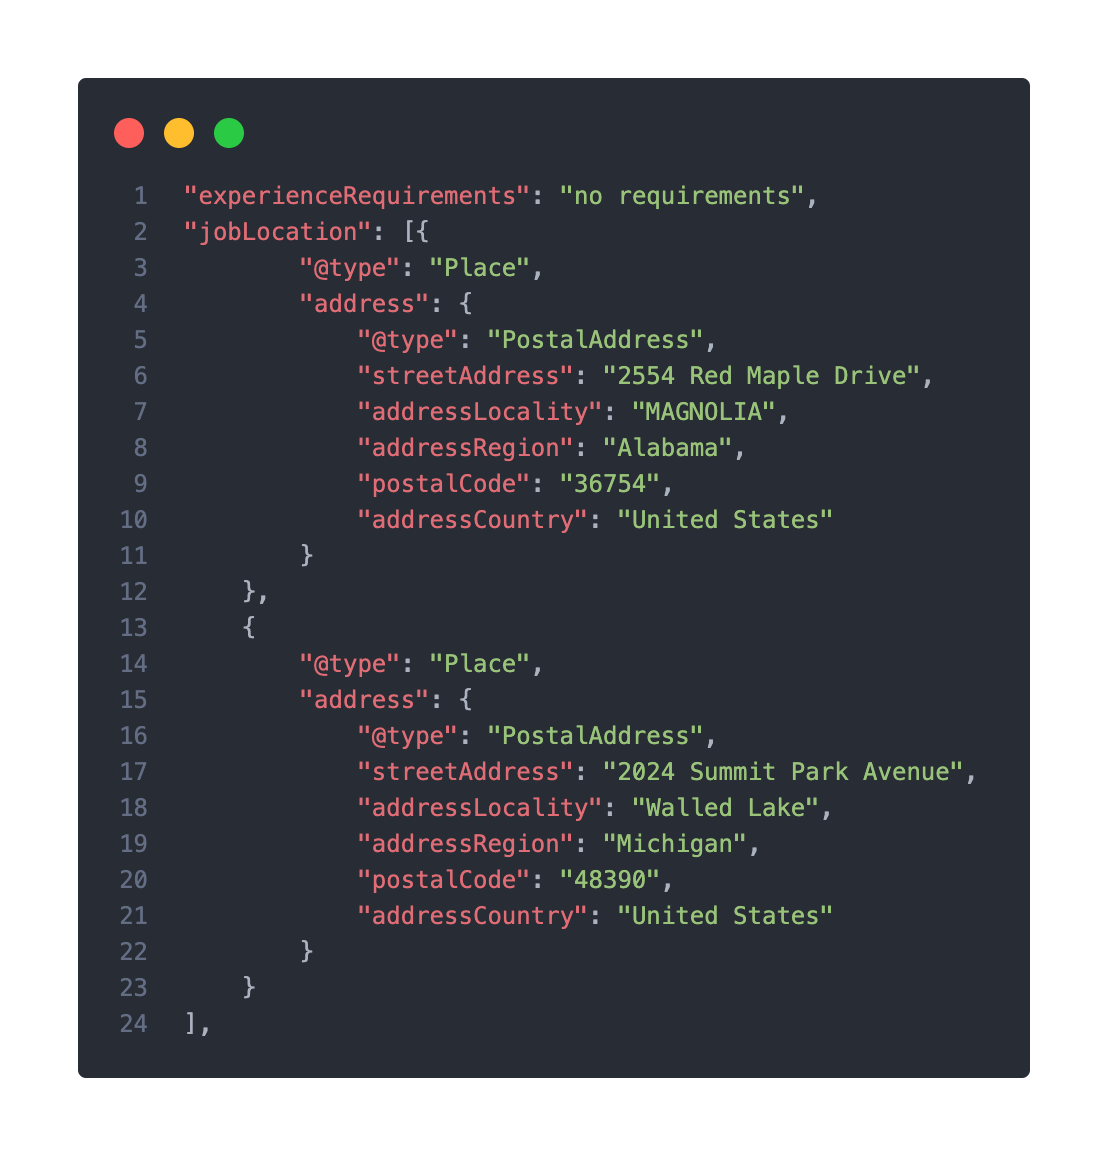
You can then validate this code with Google’s Rich Results Testing tool for any errors. Here is an example of how multiple locations would appear in the Schema Markup.
PRO Tip: If you’re frequently adding multiple locations to your JobPosting Schema, you can simply save this Schema as a template and reuse it without having to modify these properties and property groups every time.
4 Best Practices with JobPosting Schema
It is important that your Schema adheres to Google’s guidelines, only then, you’re job listings will be eligible to feature in search results. Here are some best practices/guidelines to follow:
- Use the JobPosting Schema on dedicated job listing pages, and it should not be used on pages that present a number of jobs.
- Use sitemaps to help search engines keep informed of changes to job posting URLs. So ensure that you’ve added your job post type to your sitemaps in Rank Math.
- Instant Indexing is a more preferred to keep search engines informed of the changes. If you haven’t configured Instant Indexing yet, you can refer our dedicated KB.
- Ensure that your job descriptions are complete. Incomplete job description are not allowed to feature in rich results.
- Make sure that you Job postings don’t contain obscene, profane, or offensive language, as they are not allowed.
5 Fixing JobPosting Schema Errors
If you’re experiencing any errors/warnings in your Google Search Console or Google Rich Results Testing tool, it is likely because of any incorrect configuration with Schema.
Here are some JobPosting Schema errors that you would come across if the Schema is implemented incorrectly.
5.1 A List Page Should Not Include Structured Data for Individual Jobs
If you see the error message “Structured data policy violation – A list page should not include structured data for individual jobs” in your Google Search Console account, it means that you’ve used Job Posting Schema on a page that includes multiple job listings.
You can resolve this error by removing the Job Posting structured data from these pages. Job Posting Schema should be used only on pages that have individual job listings.
5.2 Content Doesn’t Match the Structured Data
If you see the error “Structured data policy violation – Content on pages found to be different than structured data on the page” in your Google Search Console account, then it indicates that your page content is not in line with the structured data.
This could be a simple title mismatch between the title in the content and title on the structured data to any spammy techniques like click-bait titles, descriptions, fake job listings, or any other content violations that we’ve mentioned below:
- Job Postings on behalf of an organization or company without authorization or misrepresenting an employer in a way that is not accurate, realistic, or truthful.
- Jobs posting for fake or non-existent jobs. This includes job postings with the primary purpose of collecting information about applicants, rather than seeking to employ these applicants.
- Job titles, description, and other details that use keyword stuffing to manipulate search rankings.
To resolve this issue, verify that your structured data is in line with the actual content on the page. You can also make use of the URL testing tool in your Search Console account to see how your content is rendered for Google.
5.3 Expired Jobs Are Still Live
If you receive a search console message “Structured data policy violation – JobPosting structured data on expired job“, then it means your expired job listings are still live according to structured data. The likely causes for this violation are:
- The JobPosting Schema is missing
validThroughproperty or it isn’t set to a past date for expired listing - JobPosting Schema is still present on the page even though the job has expired.
- The job posting’s apply option flow directs to an expired job posting page.
Rank Math’s Job Posting Schema Builder includes two options Posting Expiry Date and Unpublish when expired that exactly deals with this issue.
By default, Rank Math sets the option Unpublish when expired as Yes, and when you set a Posting Expiry Date, Rank Math would automatically convert the post listing to draft after this date. So users trying to access this page would see a 404 error.
PRO Tip: You can also make use of our Instant Indexing feature to keep informed search engines about any changes on your website.
5.4 Logo Is Incorrect
You’ll see this error when your job posting listing has an incorrect organization logo, or the logo is not set. To fix this error, you can include the hiring organization’s logo in the Organization Logo field.
If you leave this field blank, then Rank Math will include your organization’s logo that you’ve set under Rank Math SEO → Titles & Meta → Local SEO → Logo.
In case if you’ve not set logos on both these locations, then you’re likely to see this error.
5.5 Job Location Is Missing or Incorrect
You’ll likely see this error if your Job Posting Schema does not include a job location. To fix this error, fill the Address field available in your Schema Builder.
And, that’s it! We hope the article helped you implement the Job Posting Schema. If you still have absolutely any questions or need any help using this Schema on your job listings, then feel free to reach our support team directly from here, and we’re always here to help.