“404 – page not found” – who hasn’t seen this when browsing the internet? Landing on a 404 error page is one of the most annoying things you can experience on a website. 404 errors can negatively affect your website in many ways – they frustrate visitors and send negative signals to search engine bots. It’s therefore important to quickly identify and deal with 404 errors.
The first place to look is in your Google Analytics reports and Google Search Console to see what’s already turning up. Then, after taking care of the easy-to-find errors, you can use crawling tools to find more in-depth 404 errors, like broken images on your site.
In this knowledgebase article, we will walk you through how to find out where your 404 errors are coming from.
Table Of Contents
1 Using Rank Math
Rank Math offers features to discover the source of your 404 errors and redirect visitors to the correct URL. To do that, you first need to ensure you have Rank Math installed.
1.1 Install Rank Math
To install Rank Math, navigate to Plugins → Add New from your WordPress dashboard.
Once done, enter Rank Math in the search bar and click Install Now, as shown below.
Once the installation is complete, click Activate.
1.2 Enable the 404 Monitor Module
If you have Rank Math installed, navigate to Rank Math SEO → Dashboard from your WordPress dashboard and enable Advanced Mode at the top-right corner of the page. Once done, enable the 404 Monitor module, as shown below.
1.3 Navigate to the 404 Monitor
The final step is to navigate to Rank Math SEO → 404 Monitor. You will be presented with your 404 Monitor, as shown below.
The 404 Monitor contains the details of every 404 error on your site. If it is empty, it simply means your visitors have not encountered a 404 error since you installed Rank Math. You can replicate a 404 error by opening a new tab on your browser and visiting a nonexistent URL on your website.
Once done, return to the 404 Monitor and reload the page. You will notice that the URI, Hits, and Access Time of the 404 error will be displayed, as shown below.

- The URI is the link to the 404 page.
- Hits refer to the number of times the 404 page was visited.
- Access Time refers to the last time the 404 page was visited.
1.4 Enable the Advanced 404 Monitor
The Advanced 404 Monitor allows you to capture some extra details, including the website that directed your visitors to your site and the browser your visitors used to access your site.
To enable the Advanced 404 Monitor, head over to Rank Math SEO → General Settings → 404 Monitor, as shown below.
In the Mode settings, select Advanced. Once done, scroll down and click Save Changes.
Note: A warning will be displayed when you select the Advanced option. This is because your site’s database can quickly overload if you have many 404 errors. We recommend you only enable the Advanced option when investigating the source of a 404 error.
If you return to the 404 Monitor log, you will notice it now includes two new fields, Referer and User-Agent.
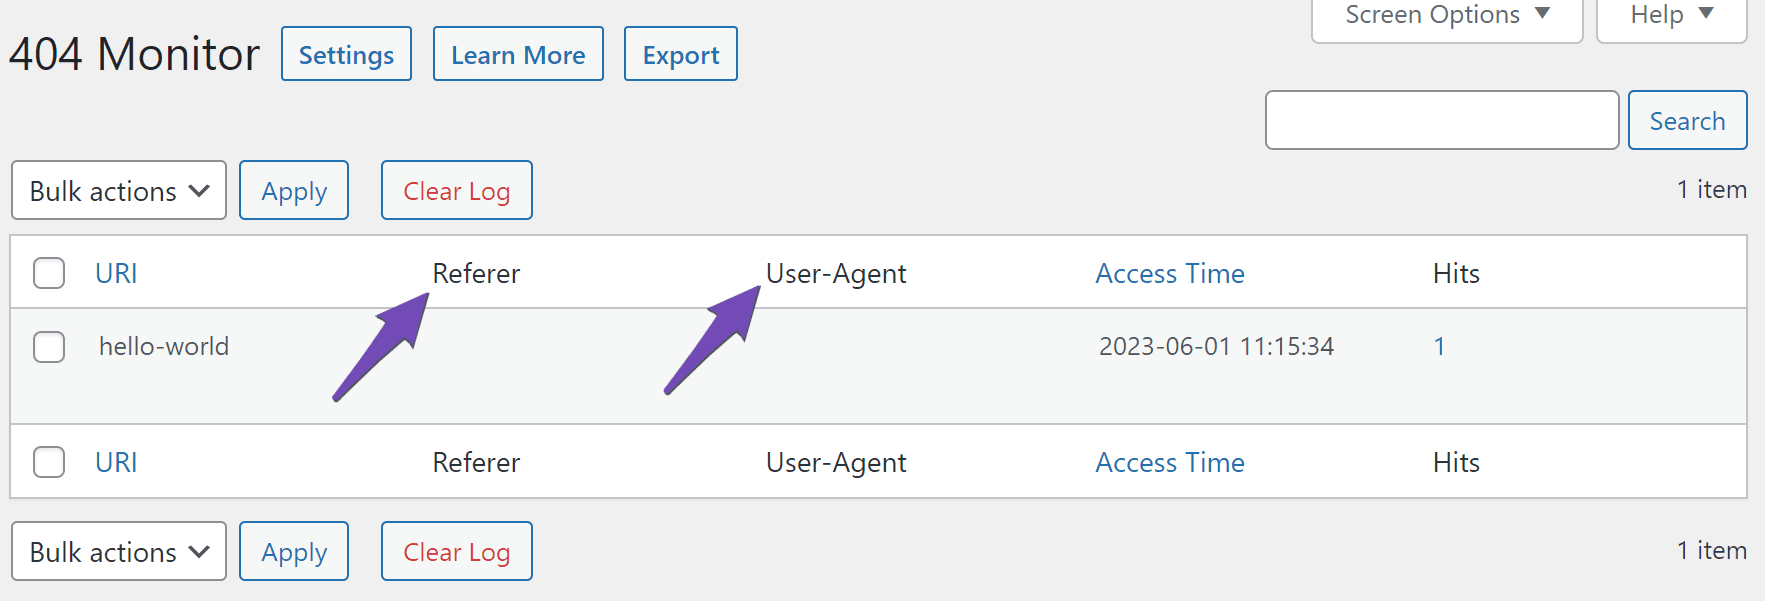
- The Referer field will contain the webpage URL directing visitors to your site.
- The User-Agent will contain the details of the browser the visitor used to access your site.
You can open another nonexistent URL on your site and refresh the 404 Monitor to see how errors are displayed.
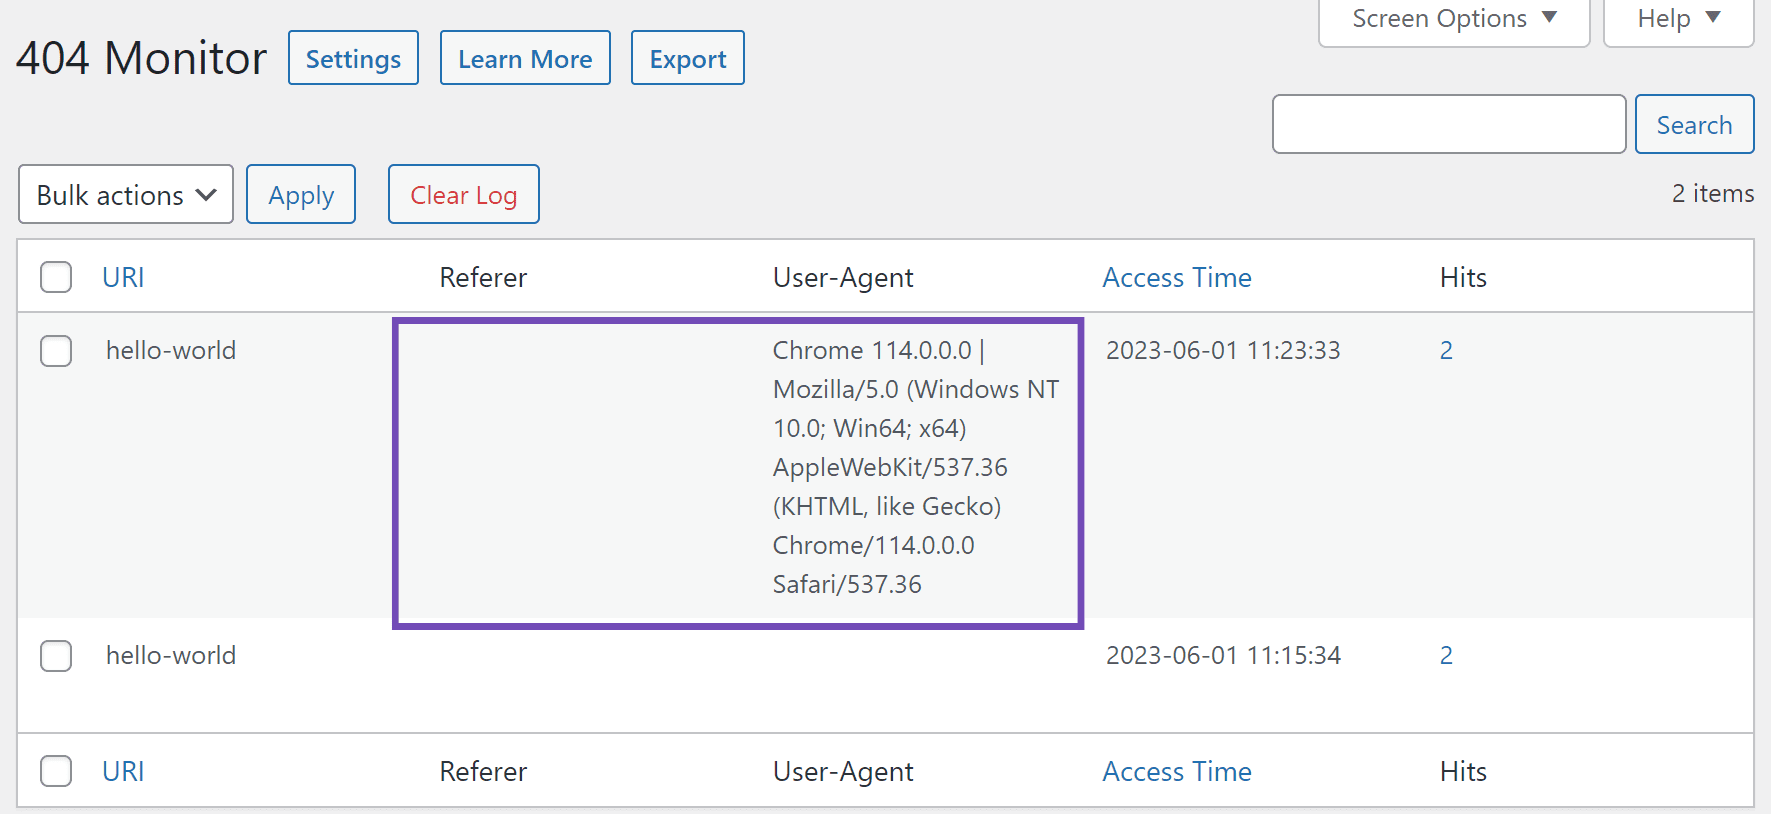
Note: The Referer field will be empty since you directly typed the URL into your browser. If the URL were a backlink from a webpage on your site or another site, the webpage URL would be displayed.
With that said, you just experienced the Advanced 404 Monitor in Rank Math. It provides the exact data you need to identify the source of your 404 errors.
Once you have identified a 404 error, the next step is to use the Rank Math redirection module to redirect your visitors to the correct URL. That way, you will improve your visitors’ user experience and pass the link juice to the new URL. You can refer to this detailed guide on creating redirections and solving 404 errors using Rank Math.
2 Using Google Search Console
The Google Search Console is another tool that will help you uncover where your 404 errors are coming from. However, it will only display your 404 errors if you have previously connected it to your site.
2.1 Log in to the Google Search Console
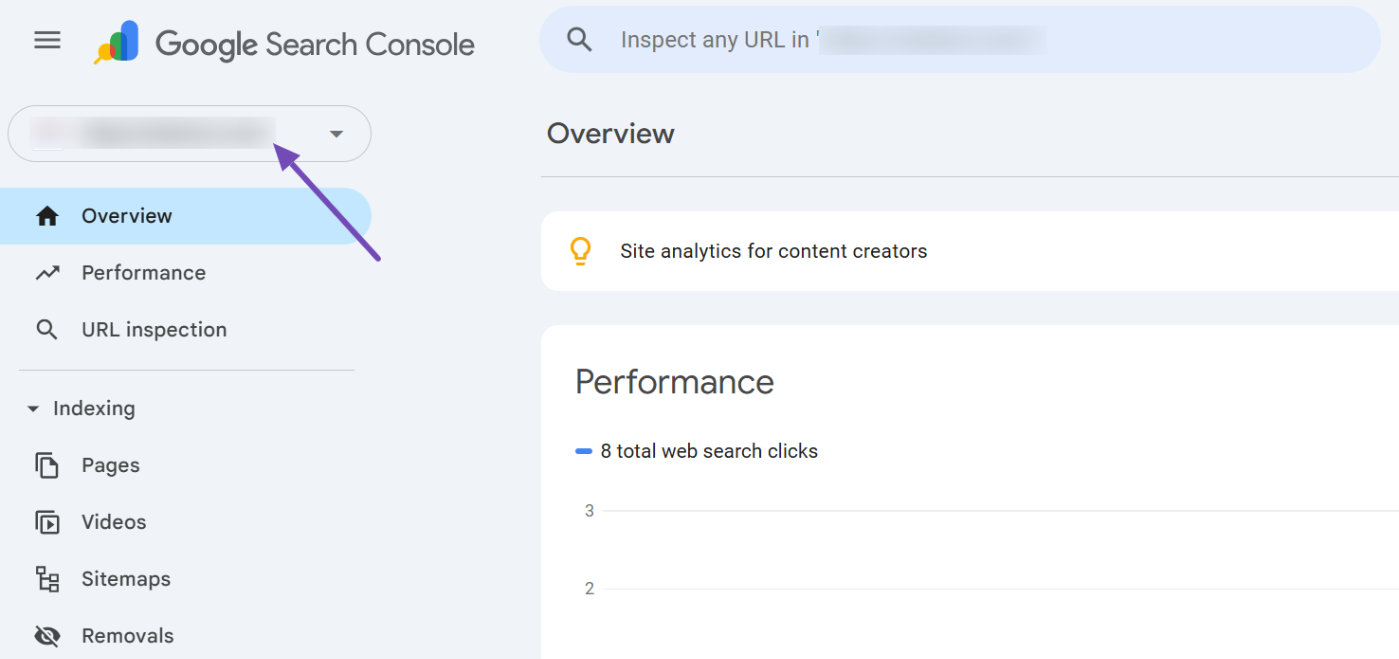
The first step is to log into the Google Search Console.
If multiple variations of your site are connected to the Google Search Console, ensure that the correct variation is selected in the property dropdown menu at the top-left side of the screen.
2.2 Navigate to the Not Indexed Tab
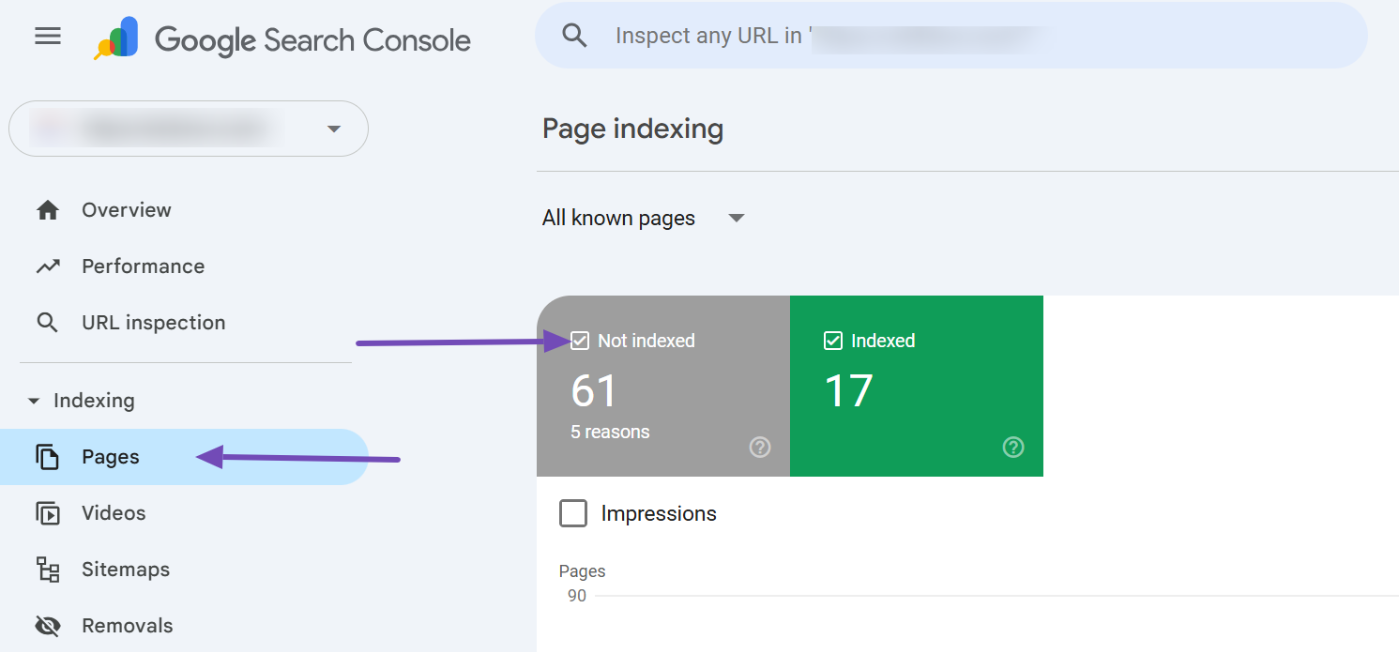
Once you have selected the correct variation of your site, navigate to Indexing → Pages. Once done, ensure the Not indexed tab is checked, as shown below.
2.3 Navigate to Not Found (404) and Soft 404
The next step is to scroll down to the Why pages aren’t indexed section.
You will be presented with the reasons your URLs aren’t eligible for display on Google. You will click on the Not found (404) and Soft 404 reasons, as shown below.

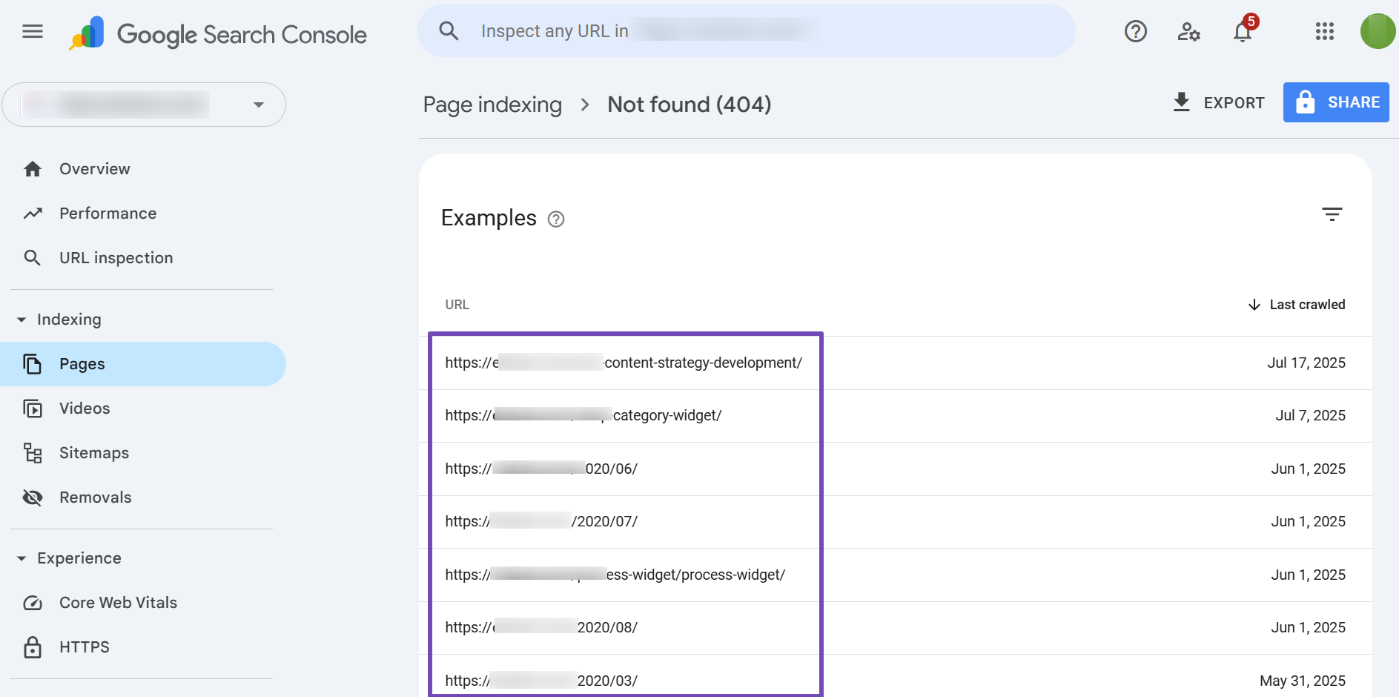
2.4 Navigate to Examples
Once done, scroll down to the Examples section of the selected reason. A list of the URLs that returned a 404 error will be displayed.
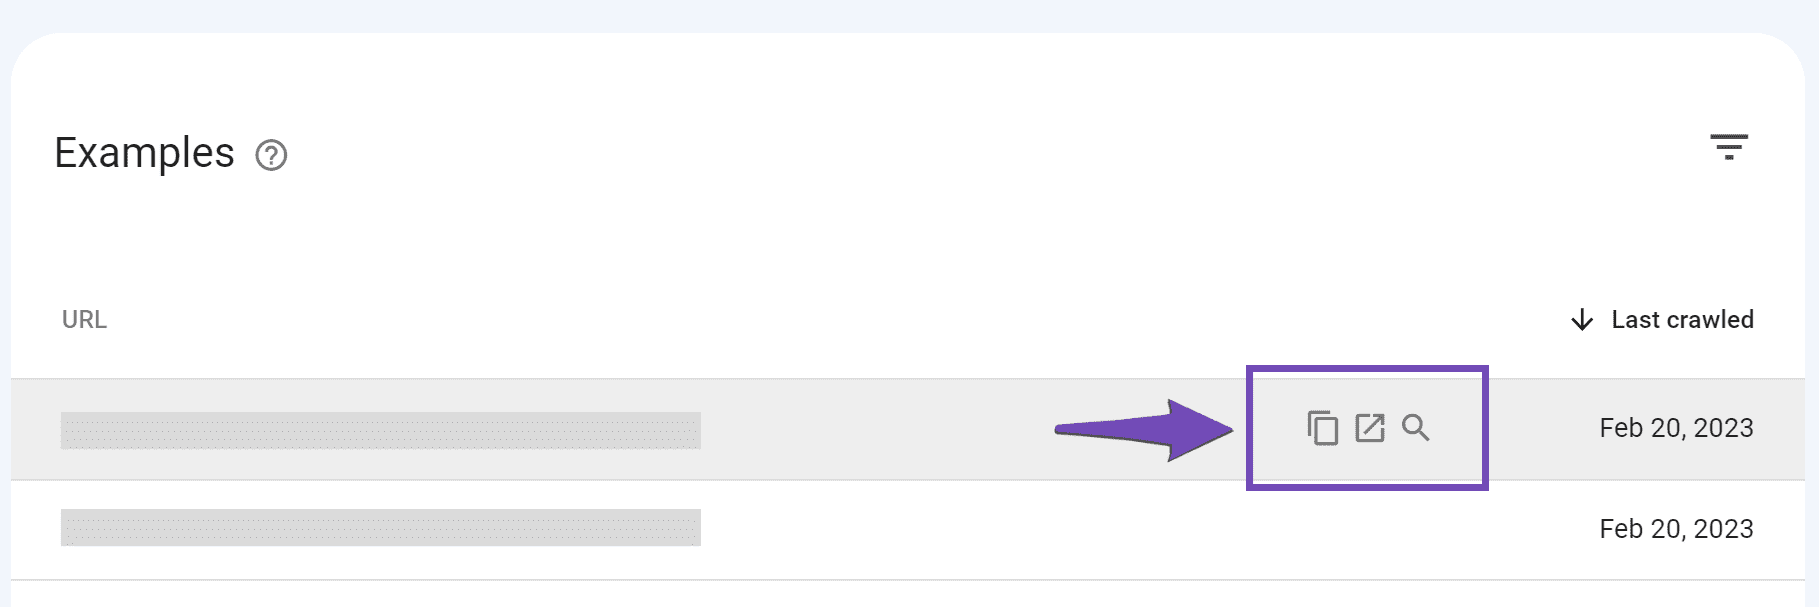
When you hover over a URL, you will have the option to copy the URL, open it in a new tab, or inspect it in Google Search Console.
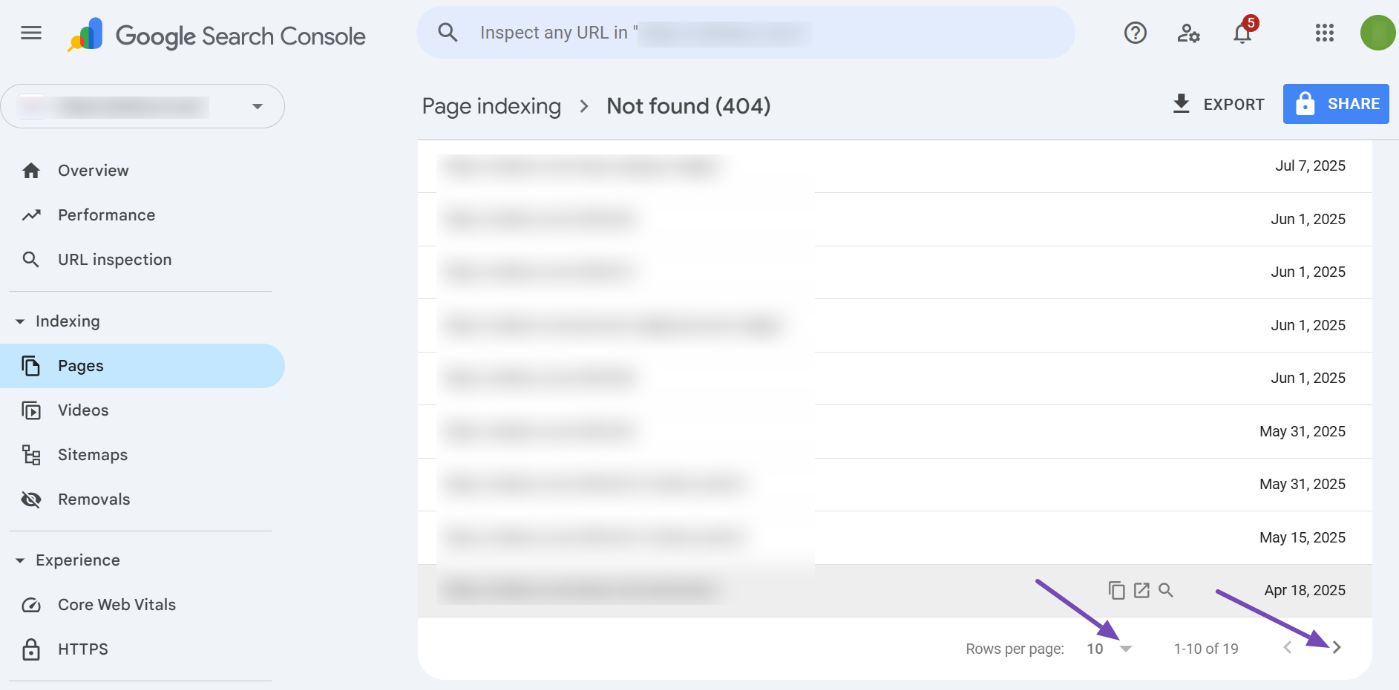
10 URLs are displayed on the page by default. You can scroll to the Rows per page dropdown menu at the bottom to increase the number of URLs displayed per page. Optionally, you can click the navigation arrow to navigate to the next page.
3 Using 404 to 301 – Redirect, Log and Notify 404 Errors
404 to 301 – Redirect, Log and Notify 404 Errors is a plugin that allows you to discover the source of your 404 errors. As usual, the first step is to ensure you have the plugin installed.
3.1 Install 404 to 301 – Redirect, Log and Notify 404 Errors
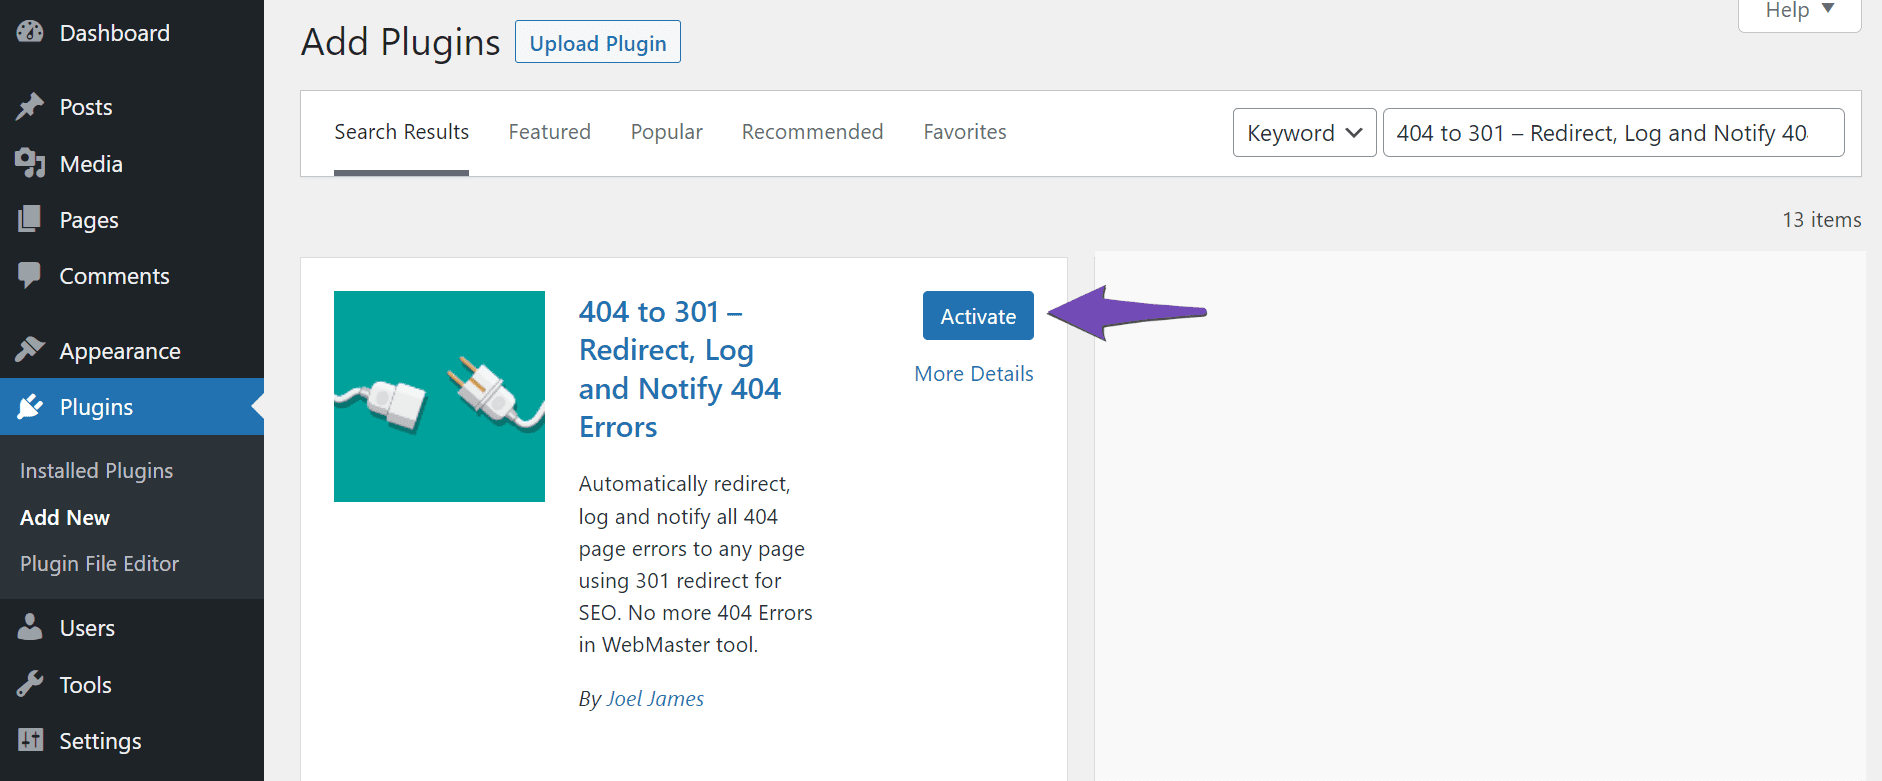
To install the plugin, navigate to Plugins → Add New from your WordPress dashboard. Once done, enter 404 to 301 – Redirect, Log and Notify 404 Errors in the search bar and click Install Now.

Once the plugin is installed, click Activate.
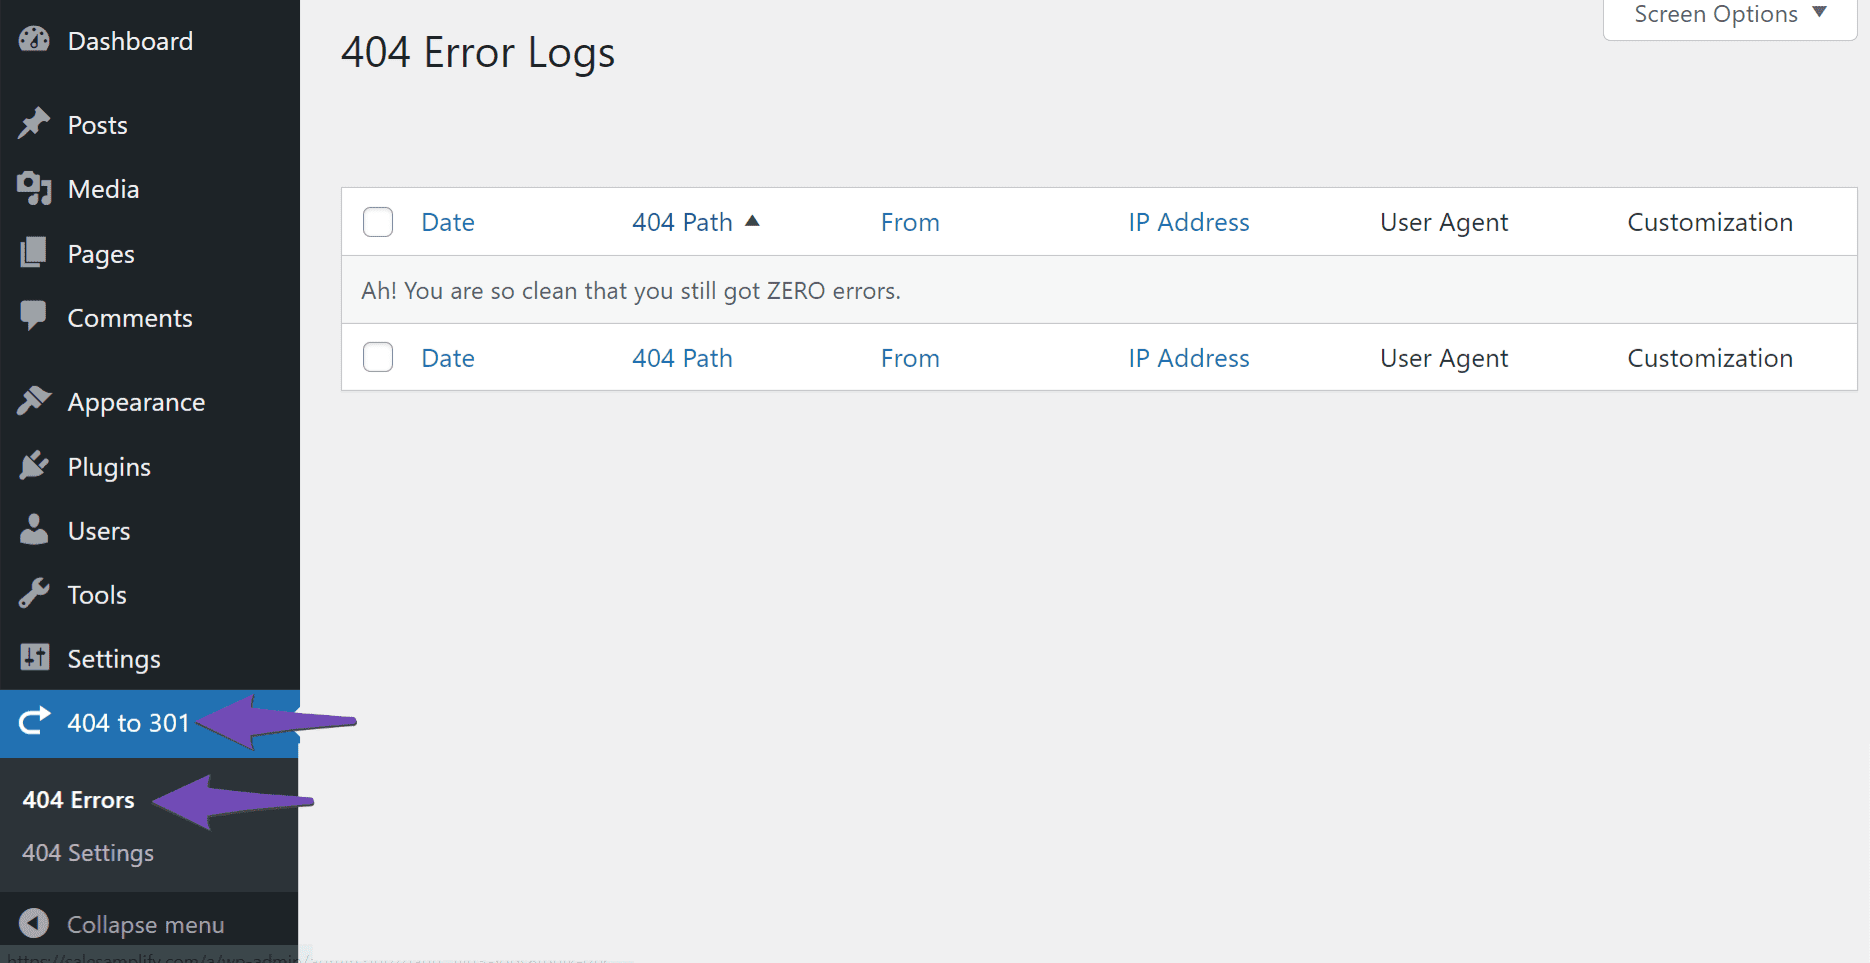
3.2 Navigate to the 404 Errors Logs
Once you have activated the plugin, navigate to 404 to 301 → 404 Errors from your WordPress dashboard. You will be presented with your 404 Error Logs. This is where the 404 errors on your site will be displayed.
Once you discover the source of your 404 errors, the next step is to use the provided data to sort and decide whether to fix or ignore the errors. If you choose to fix the errors, you must know the order in which to fix them and how to fix them to ensure that you retain your link juice. You can refer to this detailed guide on identifying, sorting, and fixing 404 errors.
We hope you can detect the source of your 404 errors. If you still have any questions about finding out where your 404 errors are coming from, you’re always more than welcome to contact our dedicated support team. We’re available 24/7, 365 days a year…