If you’re reviewing a claim made by someone or a claim that is being widely circulated on social media, then you should use the Claim Review Schema. Google names the rich result for this Schema as Fact Check, as obvious, this Schema is intended to help search users verify the facts.
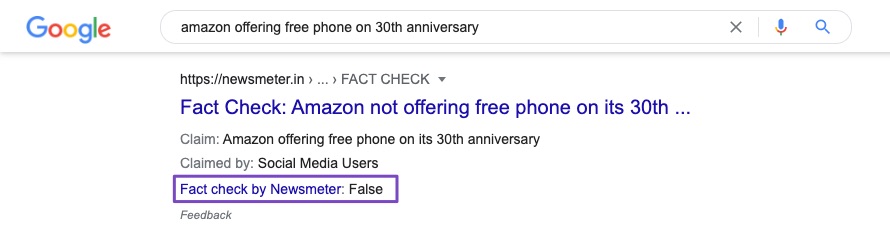
The rich result can be seen on Google Search with details of the claim, who claimed it, and the claim’s truthfulness.
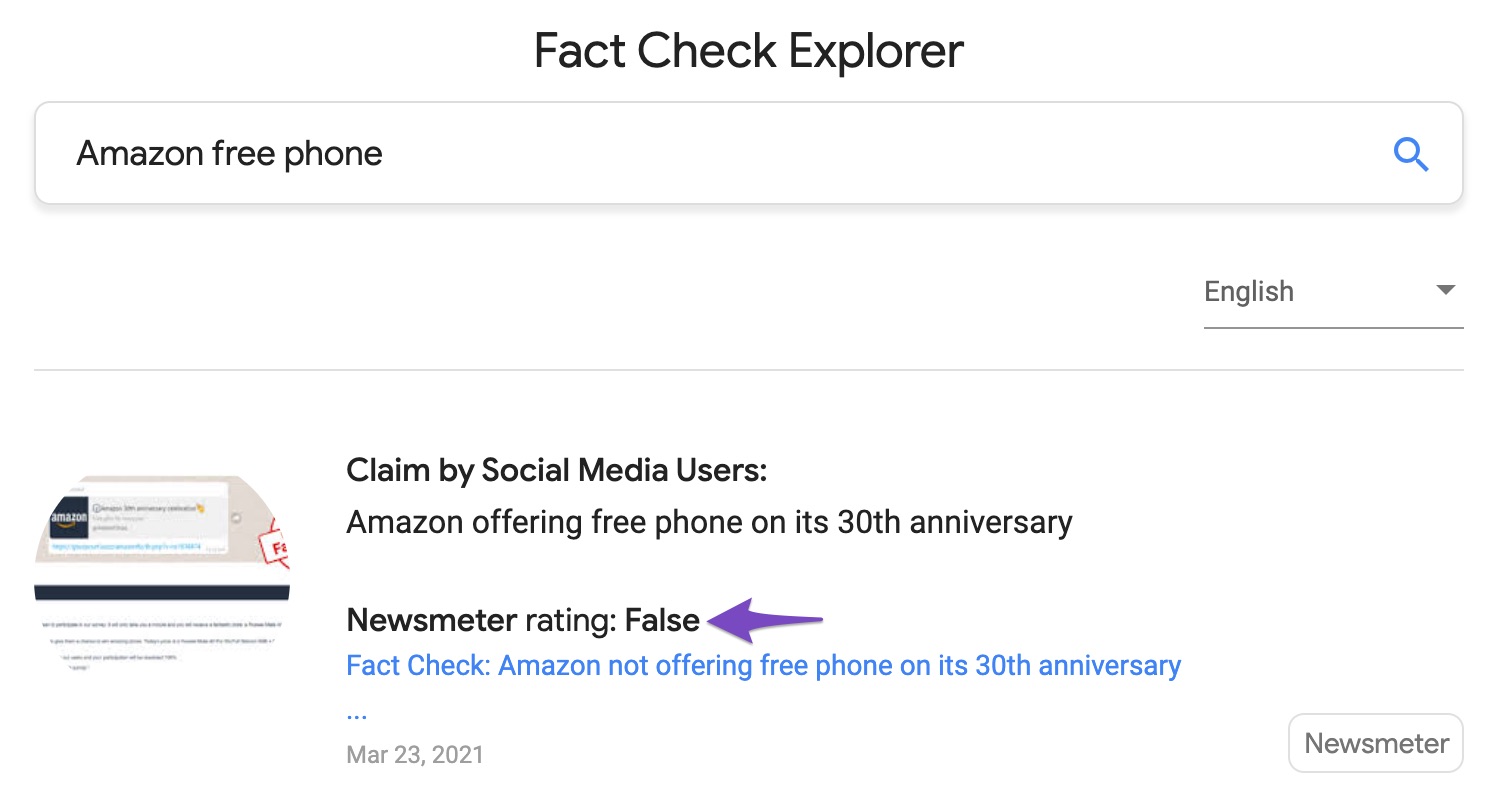
By marking your Claim Reviews with structured data, they get a chance to feature in Google’s dedicated Fact Check Explorer as well.
In this tutorial, we’ll walk you through how to use the FactCheck Schema type supported only by Rank Math PRO. Fortunately, applying the FactCheck Schema type to any number of pages on your website couldn’t be easier than it is with the help of Rank Math.
Note: Google will be phasing out support for the Fact Check (Claim Review) Schema, as it’s not being used widely in search. This update won’t affect how your pages are ranked.
Table of Contents
1 How to Add FactCheck Schema to Your Posts/Pages PRO
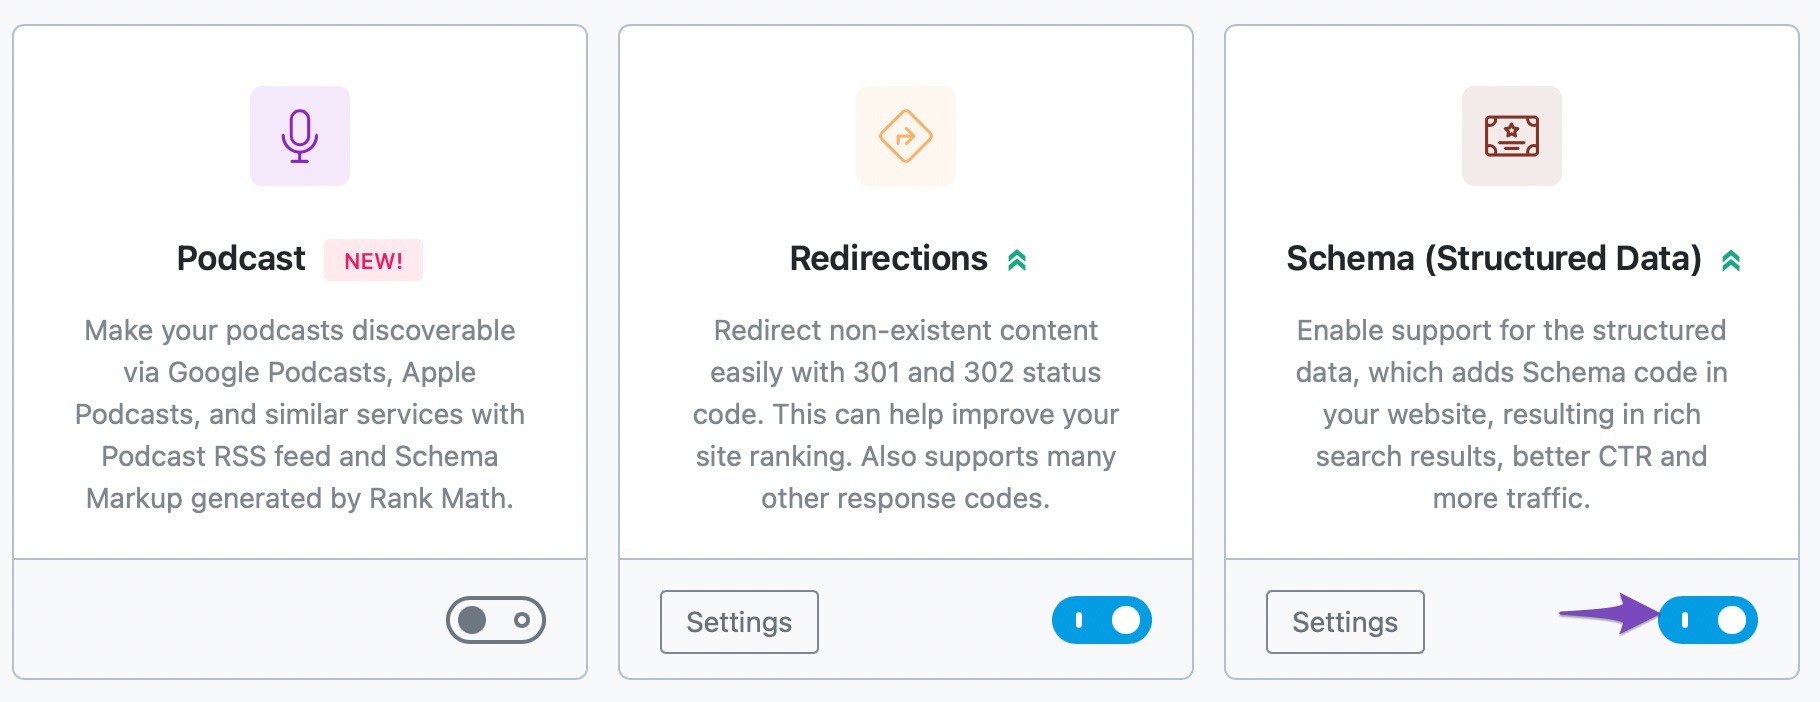
Before we begin, you’ll need to ensure that Rank Math’s Schema module has been enabled on your website by navigating to Rank Math SEO → Dashboard → Modules in your WordPress admin area.
1.1 Edit Your Post or Page
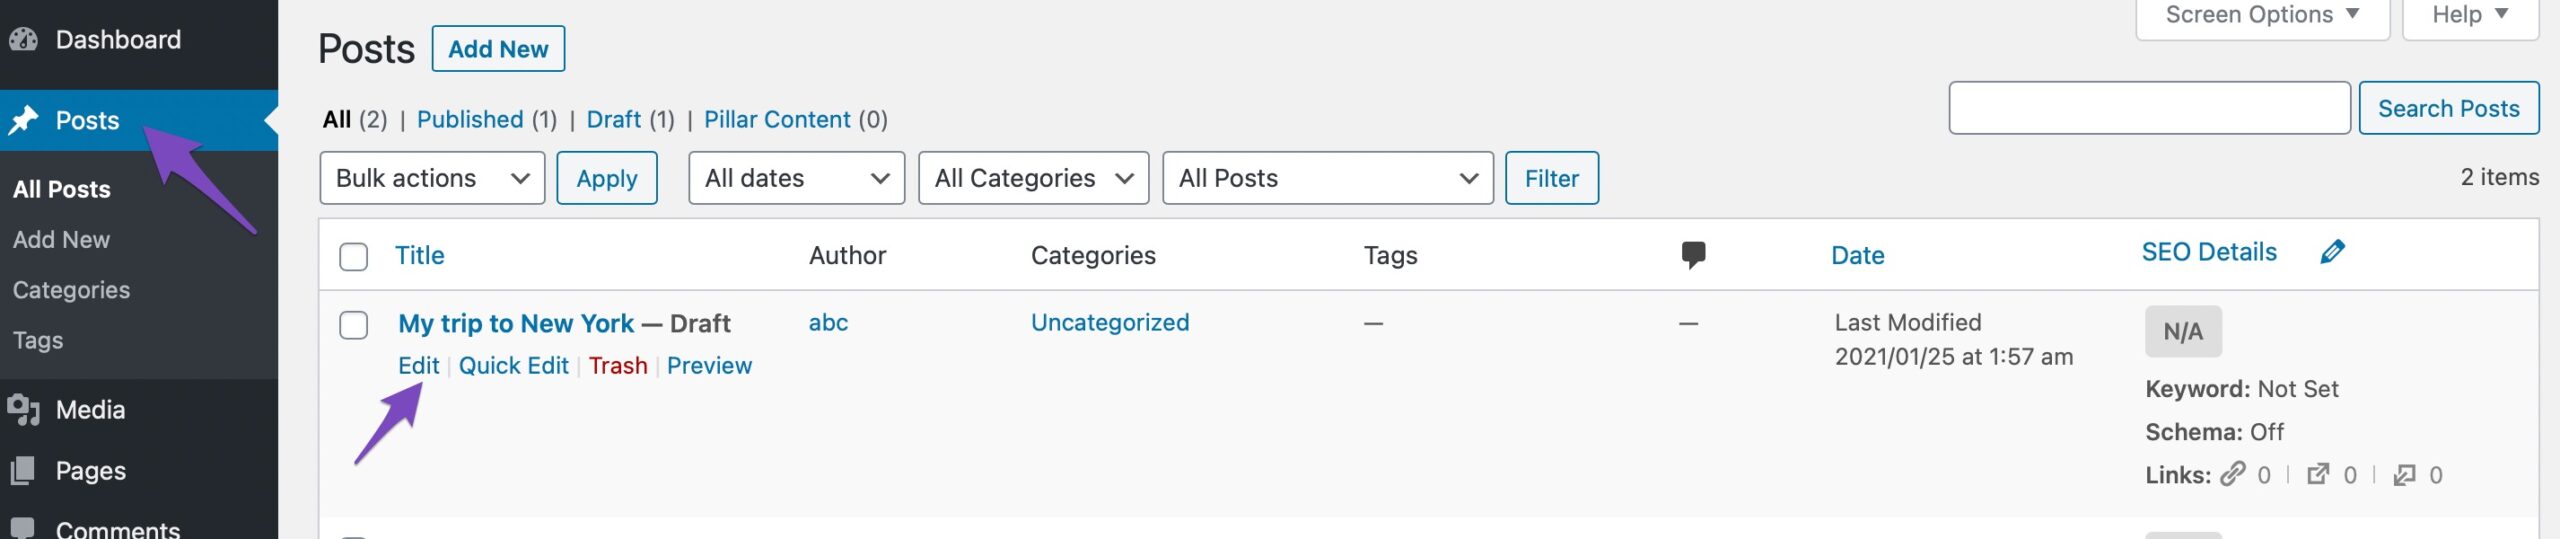
To set the FactCheck Schema type, open your post/page by clicking the Edit option on the post.
1.2 Open Rank Math in the Gutenberg Sidebar
Click on the Rank Math SEO icon that displays alongside this post/page’s SEO score to open the SEO settings for this page.
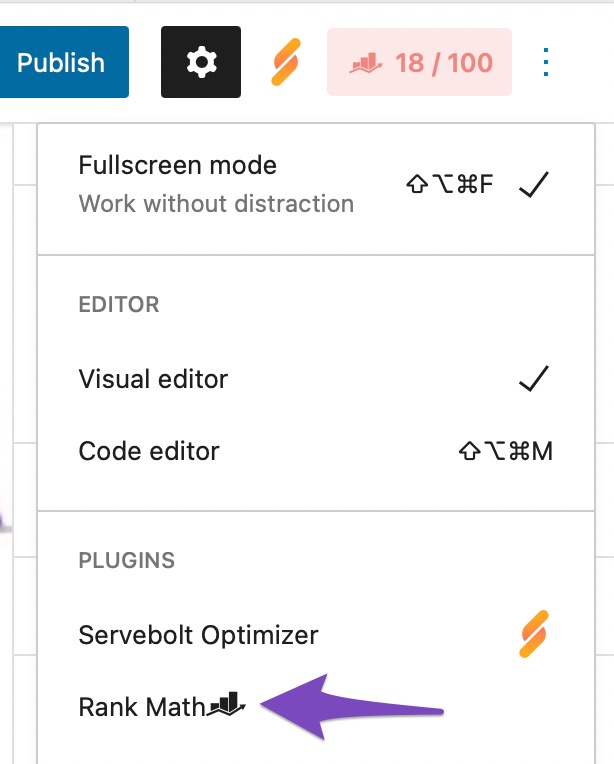
Or alternatively, click the three vertical dots in the top right-hand corner of the edit page and select Rank Math in the Plugins section – as shown below:
1.3 Navigate to the Schema Settings for This Post/Page
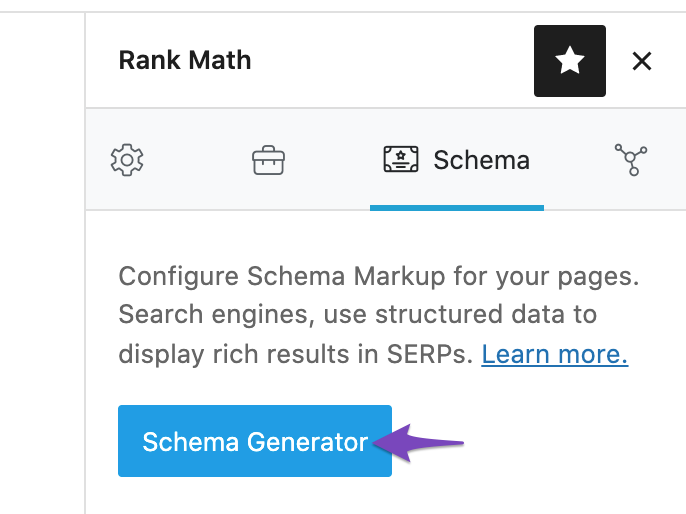
Navigate to the Schema tab and then click on Schema Generator.
4 Navigate to Rank Math’s Schema Builder
From the list of available Schema types, click on Use against the FactCheck Schema to open the Schema Builder.
The FactCheck Schema type is only available in Rank Math PRO. So if you haven’t already installed it – you’ll need to subscribe to a Rank Math PRO plan of your choice and then proceed to install & activate it on your website.

You can then see the following options in the Schema Builder.
2 FactCheck (Claim Review) Schema Type Setup & Available Options
Now, let’s have a closer look at all the options available in the FactCheck Schema type.
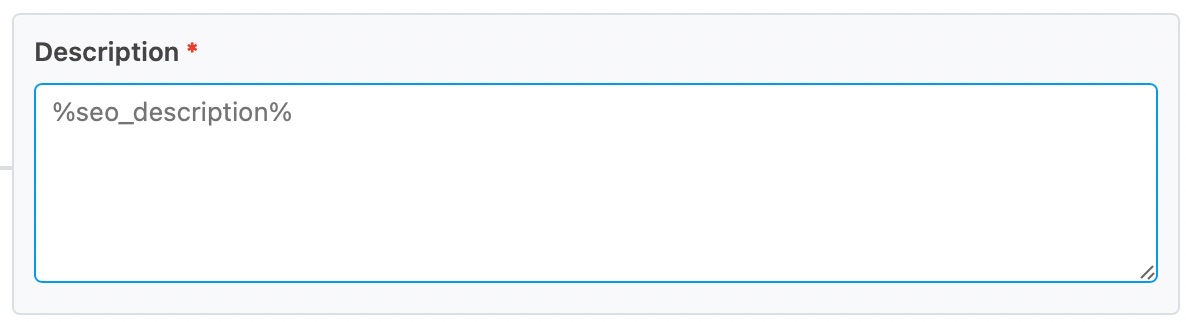
2.1 Description
Enter a summary of your Claim Review here, detailing the fact-checking process you are conducting. Feel free to use variables to create a dynamic description. If you don’t include this summary, Rank Math will default to using the details in your meta description.
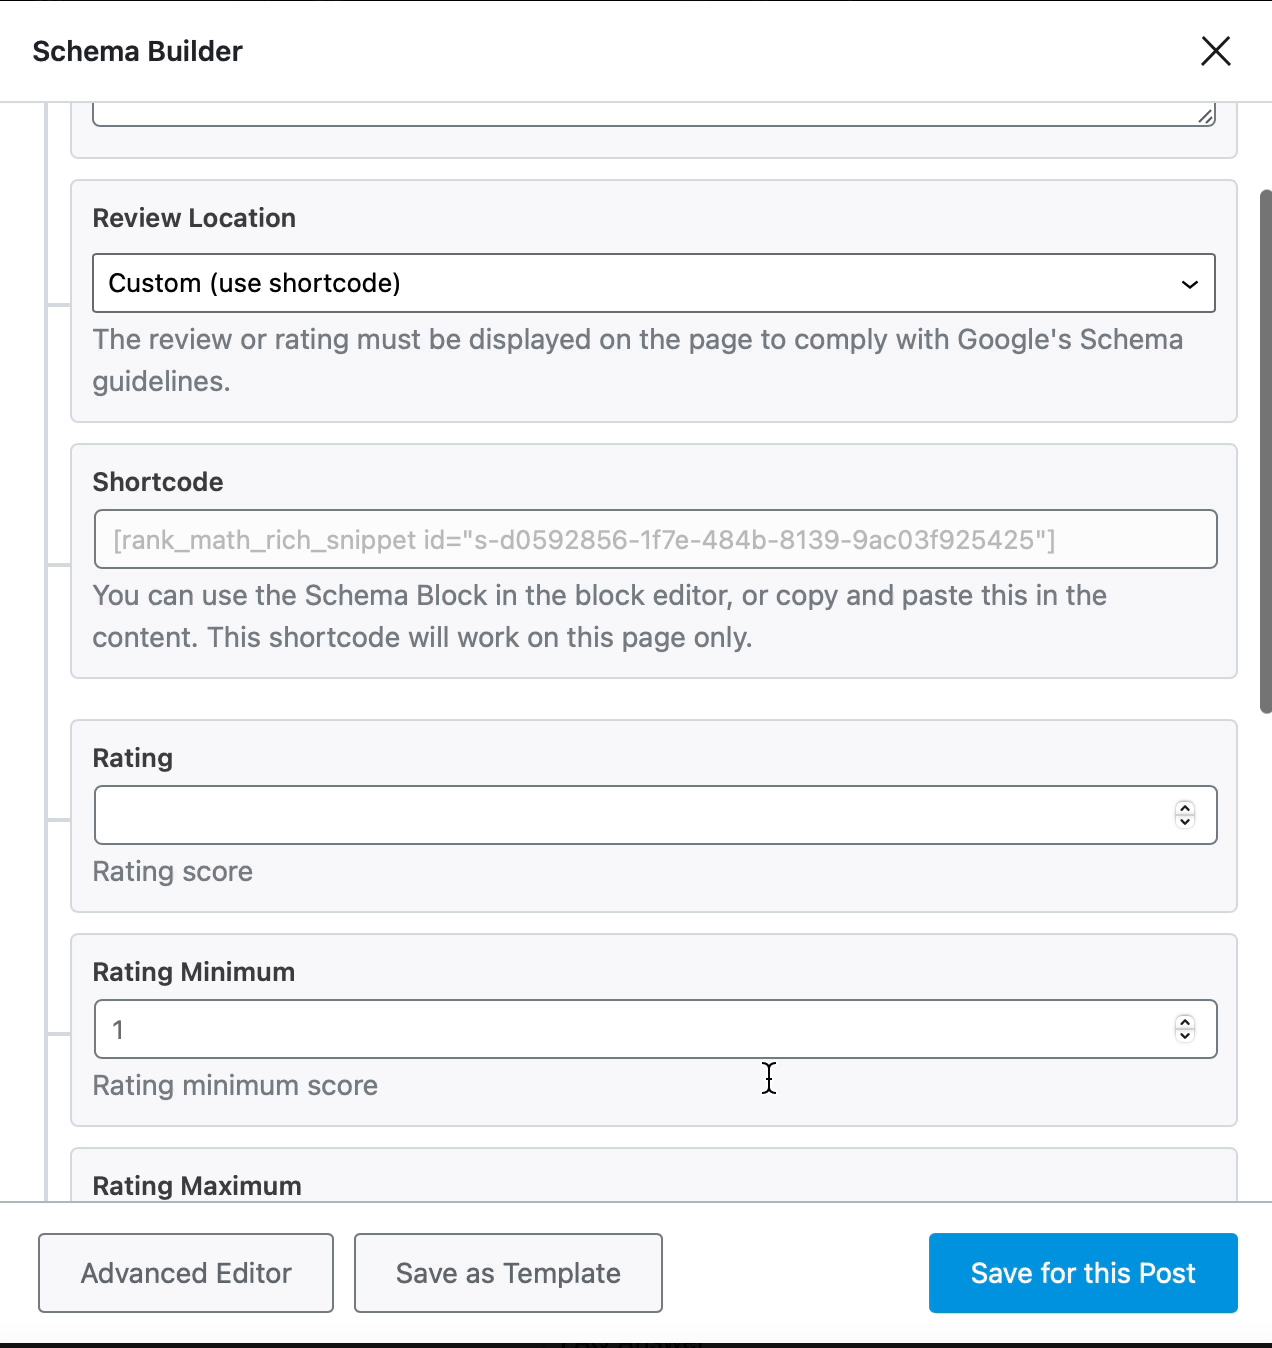
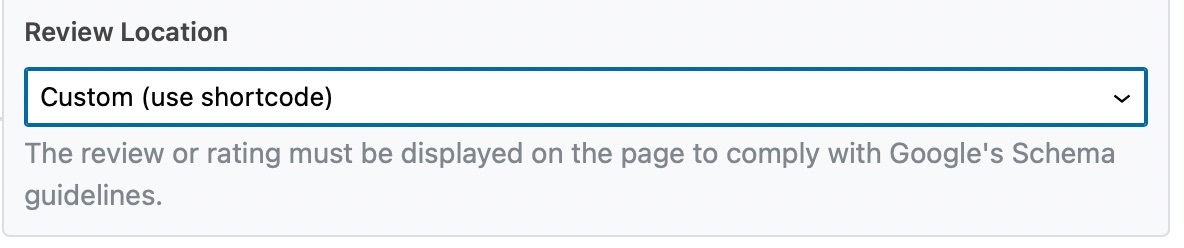
2.2 Review Location
Choose the Review Location from the available options here. If you choose to select Custom, then you can copy the shortcode from the next field.
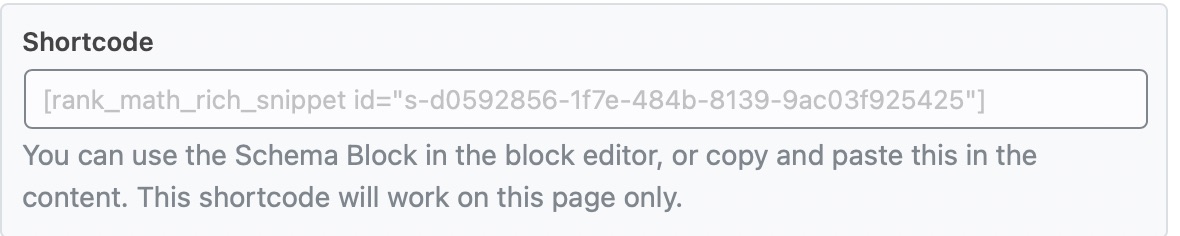
2.3 Shortcode
Copy and paste the Shortcode in your post content.
2.4 Rating
The Rating field will include your assessment of the claim as a rating score. Google will feature a textual value in the rich result based on the numeric value you provide in the Rating field. For a rating scale between 1-5, Google would be able to infer the textual meaning of numeric values as follows:
| 1 | False |
| 2 | Mostly False |
| 3 | Half True |
| 4 | Mostly True |
| 5 | True |
Enter your rating score in the Rating field, and enter the minimum & maximum scores in your rating scale in the following fields.

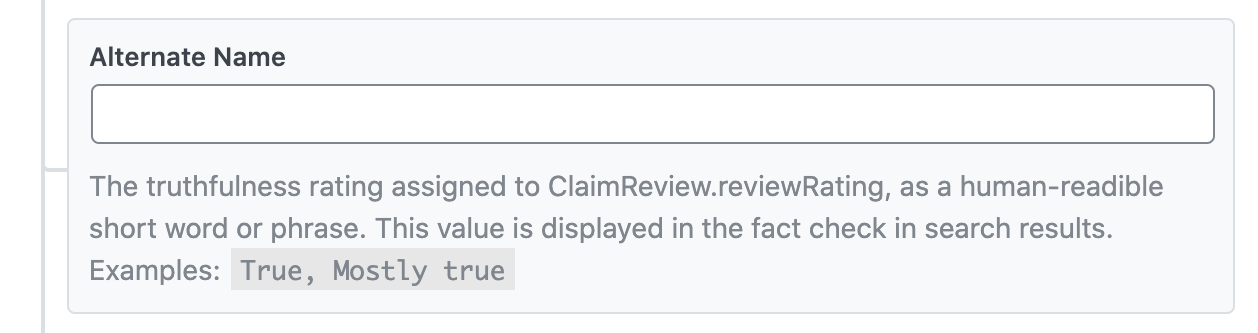
2.5 Alternate Name
Google can automatically infer the textual meaning of the assigned numeric value for the truthfulness rating. But still, you can still precisely communicate by adding the human-readable term or phrase here in this field.
2.6 URL
In the URL field, enter the page URL where the claim is fact-checked. This is a mandatory field.

Note: A page should contain only one ClaimReview element. If the URL you’ve entered here has multiple ClaimReview elements, then the page will not be eligible for a single fact check rich result.
2.7 Author Name
Enter the name of the author or organization that is evaluating the claim. For instance, If you’re evaluating a claim that is being widely shared, then you should enter your name as the evaluating author.

2.8 Published Date
Enter the published date of this fact check. It’s automatically added using a variable, but if you’d like to enter it manually, use this format: 2026-03-07.

2.9 Claim – Appearance
The Appearance section lets you add details related to the claim. As per Google’s guidelines, the following fields with details related to the claim are automatically nested inside the itemReviewed property by Rank Math.
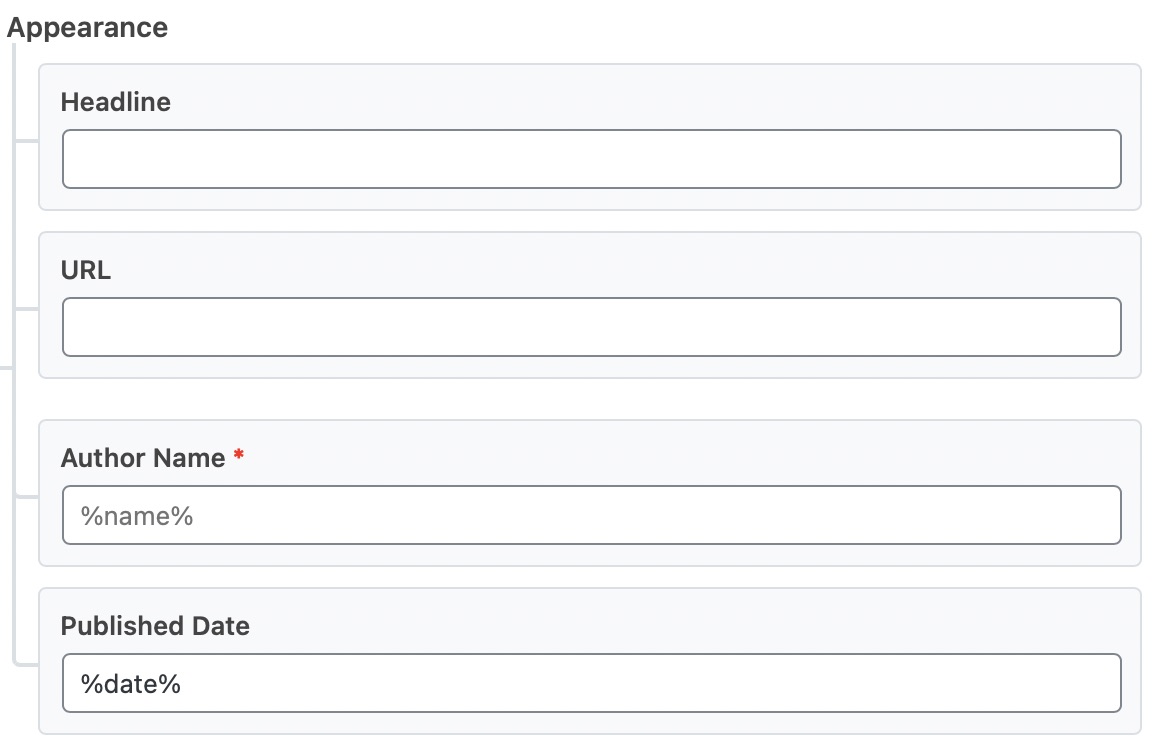
- Headline: Enter the headline of the claim. it should be a concise summary of the claim.
- URL: Enter the URL where the claim was published. It could be a news article, social media post, video, etc.
- Author Name: Enter the name of the author making a claim. This field is mandatory. In case if the claim is a widely shared social media message, then you can enter the Author Name as Social Media Users.
- Published Date: Enter the date when the claim was published.
Click on Save for this Post once you have made the changes. Now save the existing post/page as you generally would do after making a change or click on Publish (if this is a newly created post/page).
To ensure that all of the fields have been completed & are recognized accordingly – you can then validate your FactCheck Schema Markup with the help of Google’s Rich Results Testing Tool.
3 Fact Check Eligibility Guidelines
After marking up your Claim Review with FactCheck Schema, it is the sole discretion of Google to display the rich result. But, you can increase your chances of featuring a rich result by following the guidelines provided by Google, such as:
- Not all sites need the FactCheck schema. Use it if you publish content debunking myths, analyzing statements, or verifying claims. If your site shares personal opinions, it’s unnecessary.
- Your website should have more than one page with ClaimReview structured data: This is obvious that Google would trust a website that is reviewing claims regularly rather than a new website that has no prior history of reviewing claims.
- Avoid any mismatch between the structured data and page content: For instance, your structured data is reviewing the claim as false, but your page content is indicating the claim as true. Then, the Claim Review would potentially manipulate search users, who are actually looking to verify the truth, and in such cases, search engines wouldn’t feature rich results.
- Your readers should easily identify the claims and checks in the body of your article. They should understand what was checked and what conclusions were reached.
- Fact Check analysis should be transparent about the source: Include sources and methods involved in the Fact Check and make sure to include any citations and references to primary sources.
- Correction policy: Your website should have a correction policy that would preferably help users to report, in case of any errors, such as a contact form.
- Posting multiple Fact Checks on a page: A specific Claim Review should be hosted on only one page of your website. Multiple pages can have the same Claim Review only if they are variations of the same page (such as mobile and desktop version).
By following the guidelines, you are improving the quality of your Claim Reviews throughout your website, and such a signal would certainly help increase your chances of being rewarded with a rich result.
And, that’s it! If you still have absolutely any questions on using FactCheck Schema with Rank Math, please feel free to reach our support team directly from here, and we’re always here to help.