Datasets are more manageable for search engines to discover when information such as names, a description, creator (and more) is provided in the form of structured data. Fortunately, this couldn’t be easier thanks to the Dataset Schema type available in Rank Math PRO.

The purpose of using this particular Schema markup type is to simplify and make datasets from a range of fields – including machine learning, government data, and more – accessible. You can actually browse and explore such datasets by using Google’s Dataset Search tool.
Note: The Dataset Schema is only used by Google’s Dataset Search tool. It is not used for Google Search.
For reference, in terms of what qualifies as a dataset – this is virtually any table, collection, or structured object that comprises data that, in its entirety, you would consider a dataset or collection of data.
Table Of Contents
1 How to Add Dataset Schema to Your Posts/Pages PRO
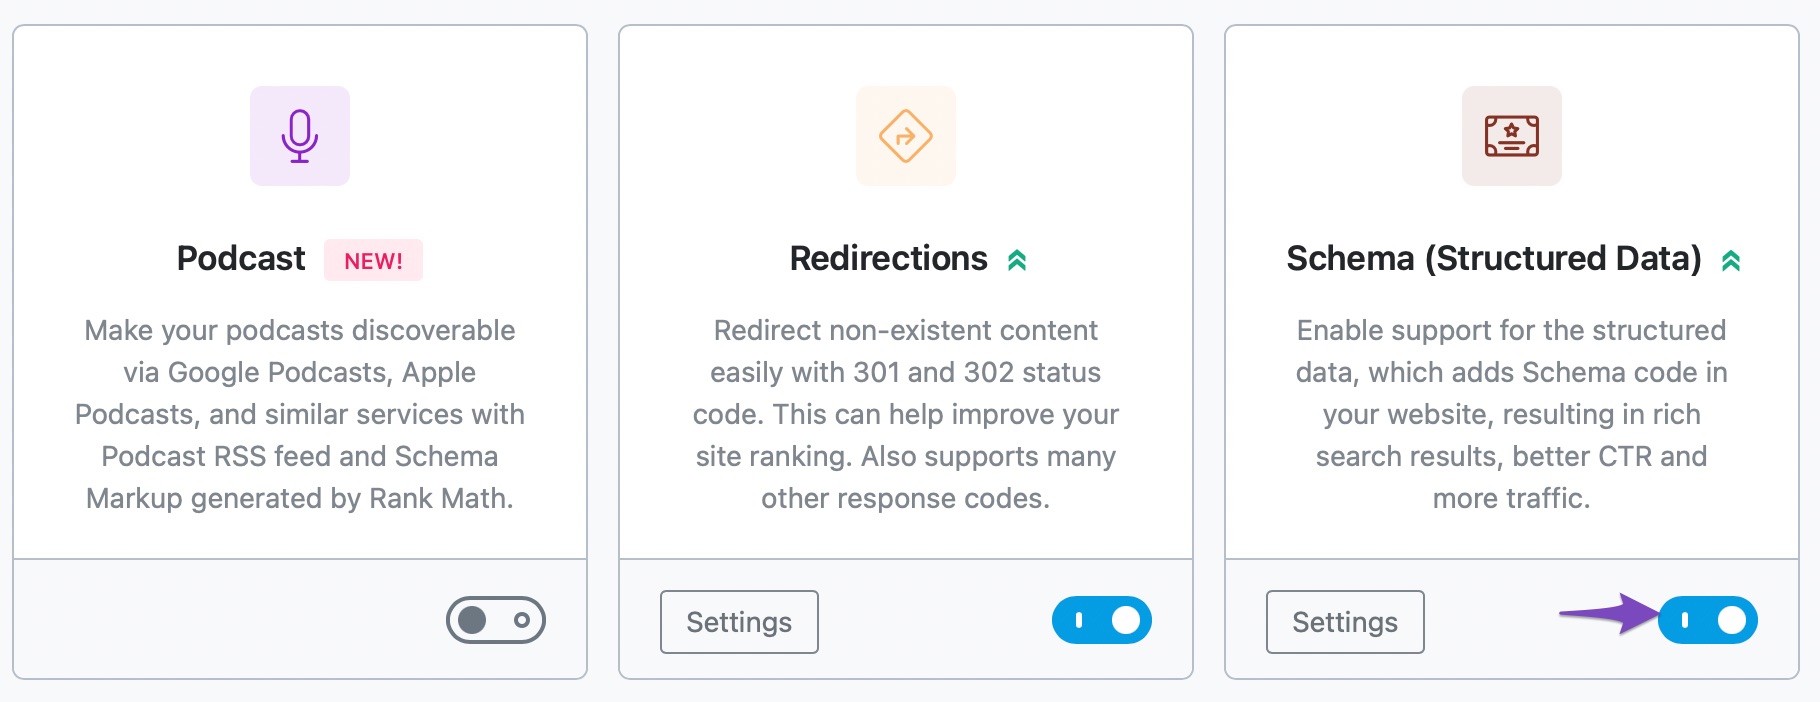
Before we begin, you’ll need to ensure that Rank Math’s Schema module has been enabled on your website by navigating to Rank Math SEO → Dashboard in your WordPress admin area.
In this tutorial, we’ll walk you through how to use the Dataset Schema type on a post or page, as well as the various available settings for it. Let’s get started.
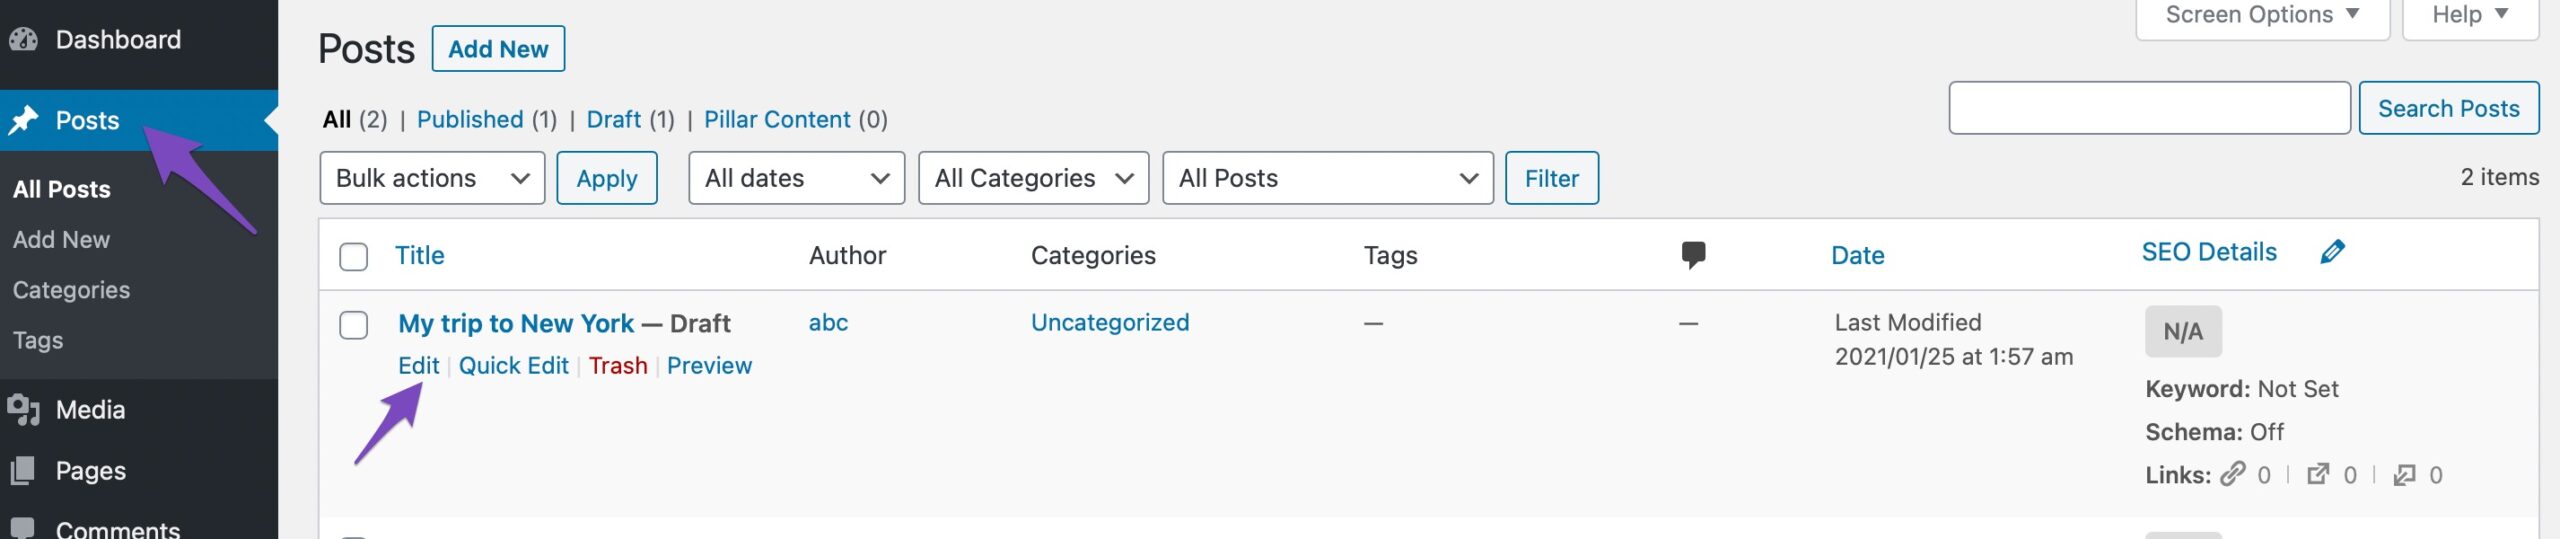
1.1 Edit Your Post or Page
To set the Dataset Schema type open your post/page by clicking on Edit post.
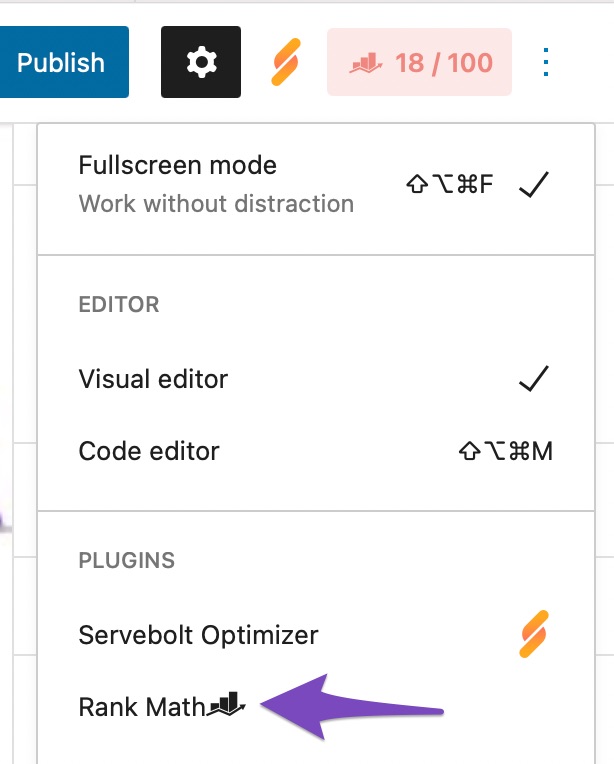
1.2 Open Rank Math in the Gutenberg Sidebar
Click on Rank Math SEO to open the Rank Math Meta Box.
Alternatively, you can click the three vertical dots in the top-right corner of the page and select Rank Math in the Plugins section.
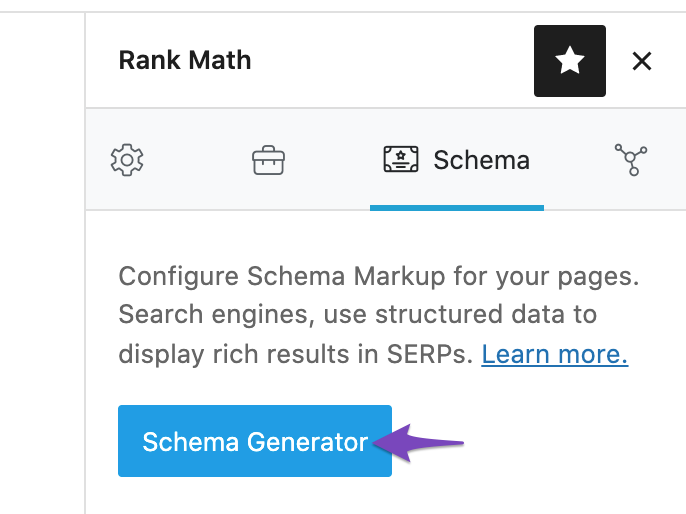
1.3 Navigate to the Schema Settings for This Post/Page
Click on the Schema tab in the Rank Math Meta Box. If it doesn’t appear here, ensure that you have Rank Math set to Advanced mode. Then click on Schema Generator.
1.4 Navigate to the Schema Builder
Click on Use against the Dataset Schema to open the Schema Builder. You can find Dataset only in the PRO version. If you have not installed Rank Math PRO, then we recommend you to install the plugin in order to use this Dataset Schema.
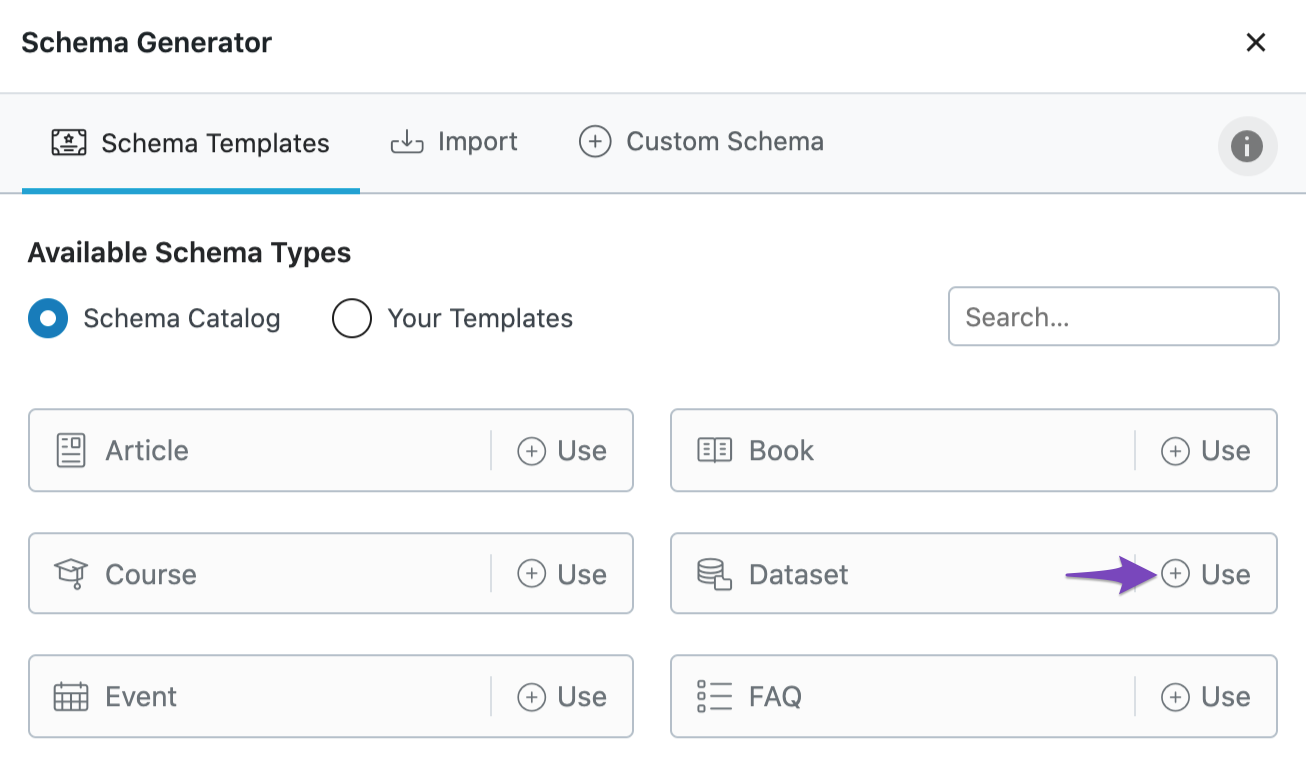
The Schema Builder will then show up, and you can see the options as shown below:
2 Options available in the Schema Builder of the Dataset Schema
Now, let us discuss each field available here in detail.
2.1 Name
You can enter the appropriate name or title for your Dataset here.

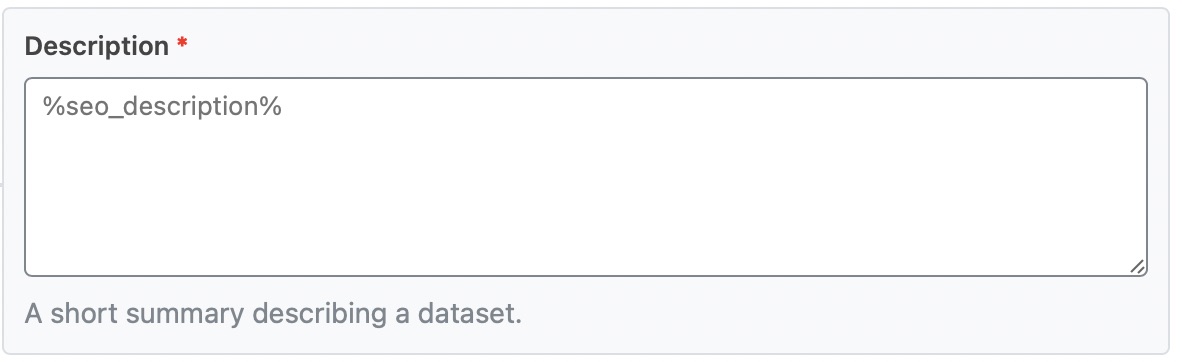
2.2 Description
You can describe the dataset so that your audience can have a good understanding of it in the Description section.
2.3 Shortcode
You can copy the shortcode that is available here and paste it into your content.

2.4 URL
You can enter the URL that describes the dataset, i.e., the page where you’re currently applying the Schema.

2.5 Same As
If there’s another webpage that describes the same dataset as the one mentioned above, you can add its URL here. This could be a reference from a trusted source such as a government website, GitHub repository, or any other credible platform.

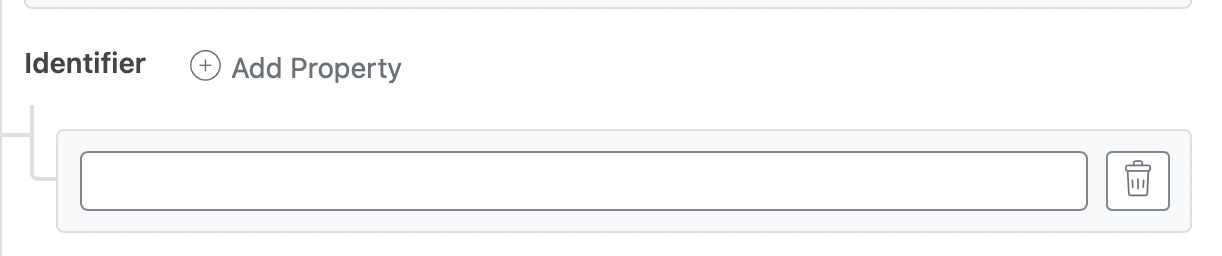
2.6 Identifier
Here, you can add identifiers that can explain your dataset. You can include Digital Object Identifiers (DOI) or Compact Identifiers that are relevant to your dataset. If your dataset includes more than one identifier, click the Add Property button to add more fields.
2.7 Keywords
You can add keywords that describe your dataset. In order to add a keyword, click on Add Property and then add the keyword.

2.8 License
You can enter the dataset license here. Enter the URL pointing to the license, for example, https://creativecommons.org/licenses/by/4.0. It could also be your site’s privacy policy page.

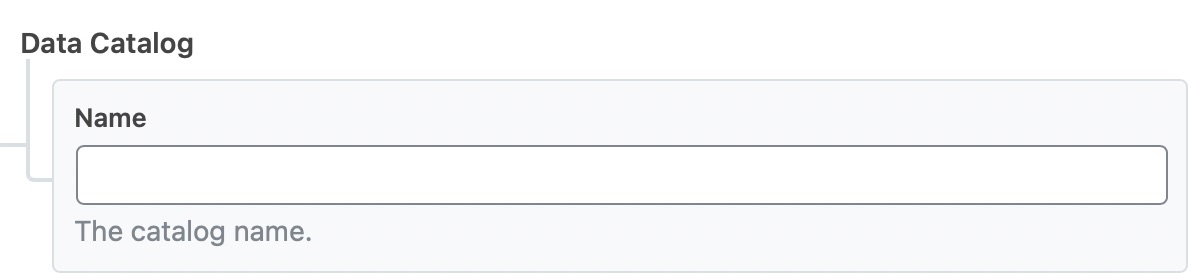
2.9 Data Catalog
Enter the name of the data catalog in this section.
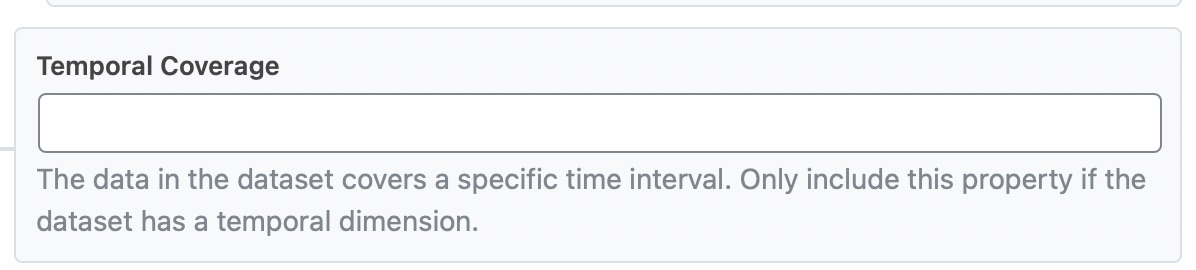
2.10 Temporal Coverage
If the dataset covers a specific time interval, then you can mention the time here in ISO 8601 format. Here are some examples for you:
- Single date: 2021
- Time period: 2021-01-01/2021-03-31
- Open-ended time period: 2021-01-01/..
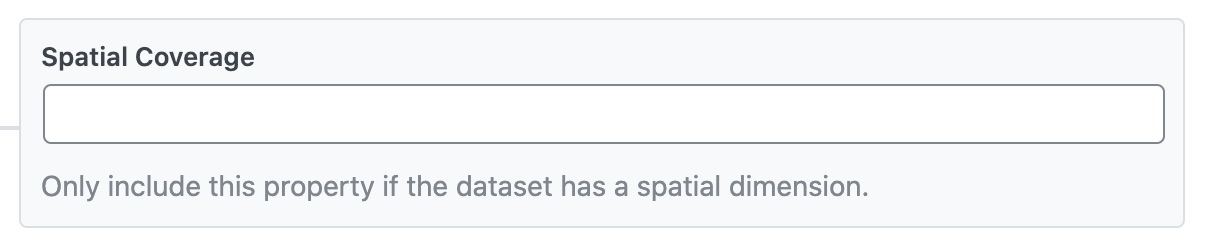
2.11 Spatial Coverage
If the database includes specific geographical locations, then you can mention them here. For example, Frankfurt, Germany.
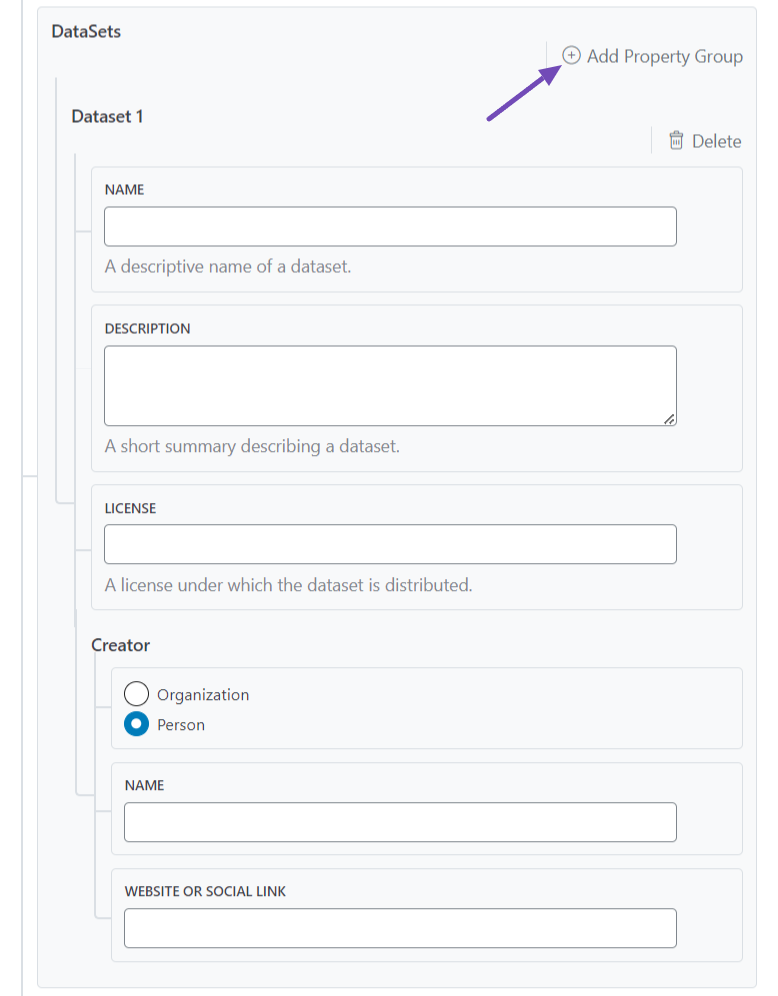
2.12 DataSets
If your dataset includes multiple sub-datasets, you can provide their details in this section. Click Add Property Group and fill in the relevant information for each one.
If you’re working with a standalone dataset, this field is optional.
However, keep in mind that you must complete all required information for each dataset in the Schema before finalizing the configuration.
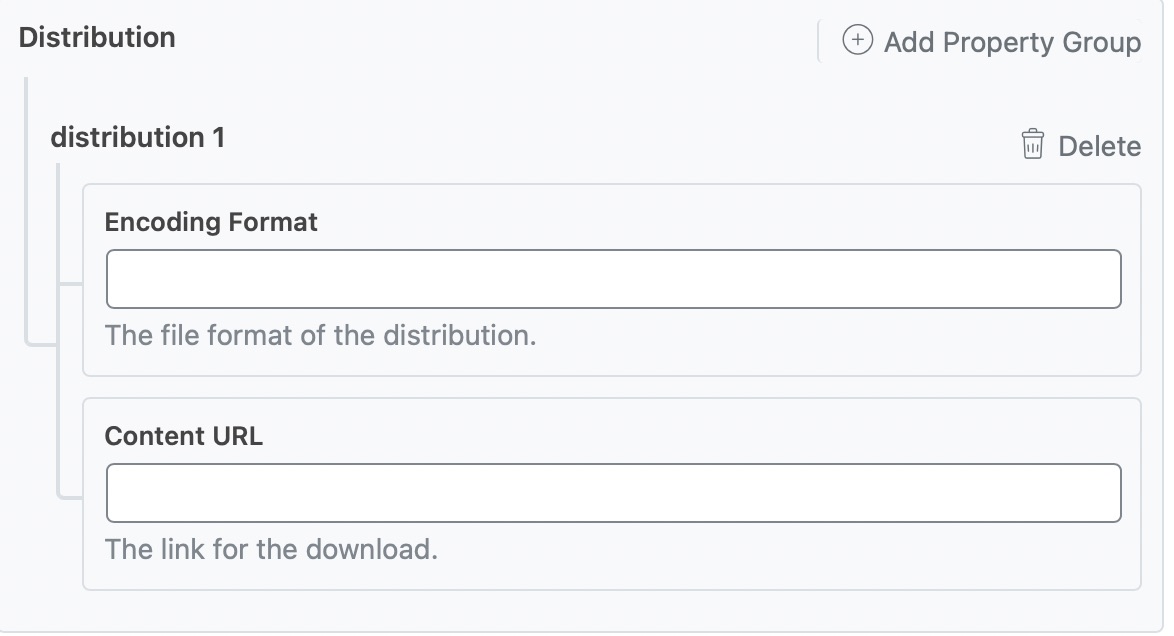
2.13 Distribution
If your dataset is available for download, click the Add Property Group option and fill in the required fields. You should provide only one encoding format (e.g., pdf) and the corresponding download URL per entry.
To add multiple downloadable formats or versions of the dataset, simply click Add Property Group again to include additional entries.
And that’s it! Once you’ve made any changes to the dataset schema for this page, click on the Save for this Post button. Then, simply save the page as you normally would after making a change, or click Publish if this is a newly created page. You can then check your Schema with the help of Google’s Rich Results Testing Tool.
If you have any doubts or need assistance, don’t hesitate to contact our support team. They’re always available and willing to help!