Adding images in WordPress is a simple yet powerful way to make your website more engaging and professional. Images grab attention, break up long blocks of text, and help communicate your message more clearly.
They also bring personality to your pages and can simplify complex ideas through visual explanation, making the content easier for readers to follow.
So, how do you add images in WordPress?
Fortunately, WordPress makes the process quick and easy—just a few clicks, and your visuals are live. Whether you’re using the Gutenberg block editor or the Classic editor, this post will show you exactly how to add and align images effortlessly.
Table Of Contents
1 Why Add Images in WordPress?
Images do more than just decorate a web page—they enhance the overall user experience and make your content more effective. Here’s why adding images in WordPress is important:
- Grab Attention: Visuals naturally draw the eye, making your content stand out and encouraging visitors to keep reading.
- Improve Readability: Breaking up long blocks of text with images helps readers digest information more easily.
- Support Your Message: Images can illustrate key points, simplify complex ideas, and reinforce what you’re trying to say.
- Boost SEO: Properly optimized images (with alt text and descriptive filenames) can improve your site’s visibility in search engines.
- Increase Engagement: Posts with visuals tend to get more shares and interaction on social media and blogs.
- Enhance Aesthetics: A well-placed image can make your page look more polished and professional, creating a better impression.
Whether it’s a featured image, infographic, screenshot, or photo, adding visuals can transform plain content into something memorable and impactful.
2 How to Add Images in Gutenberg Editor
We’ve listed below the different ways to add images in the Gutenberg editor.
2.1 Add Images Using the Image Block
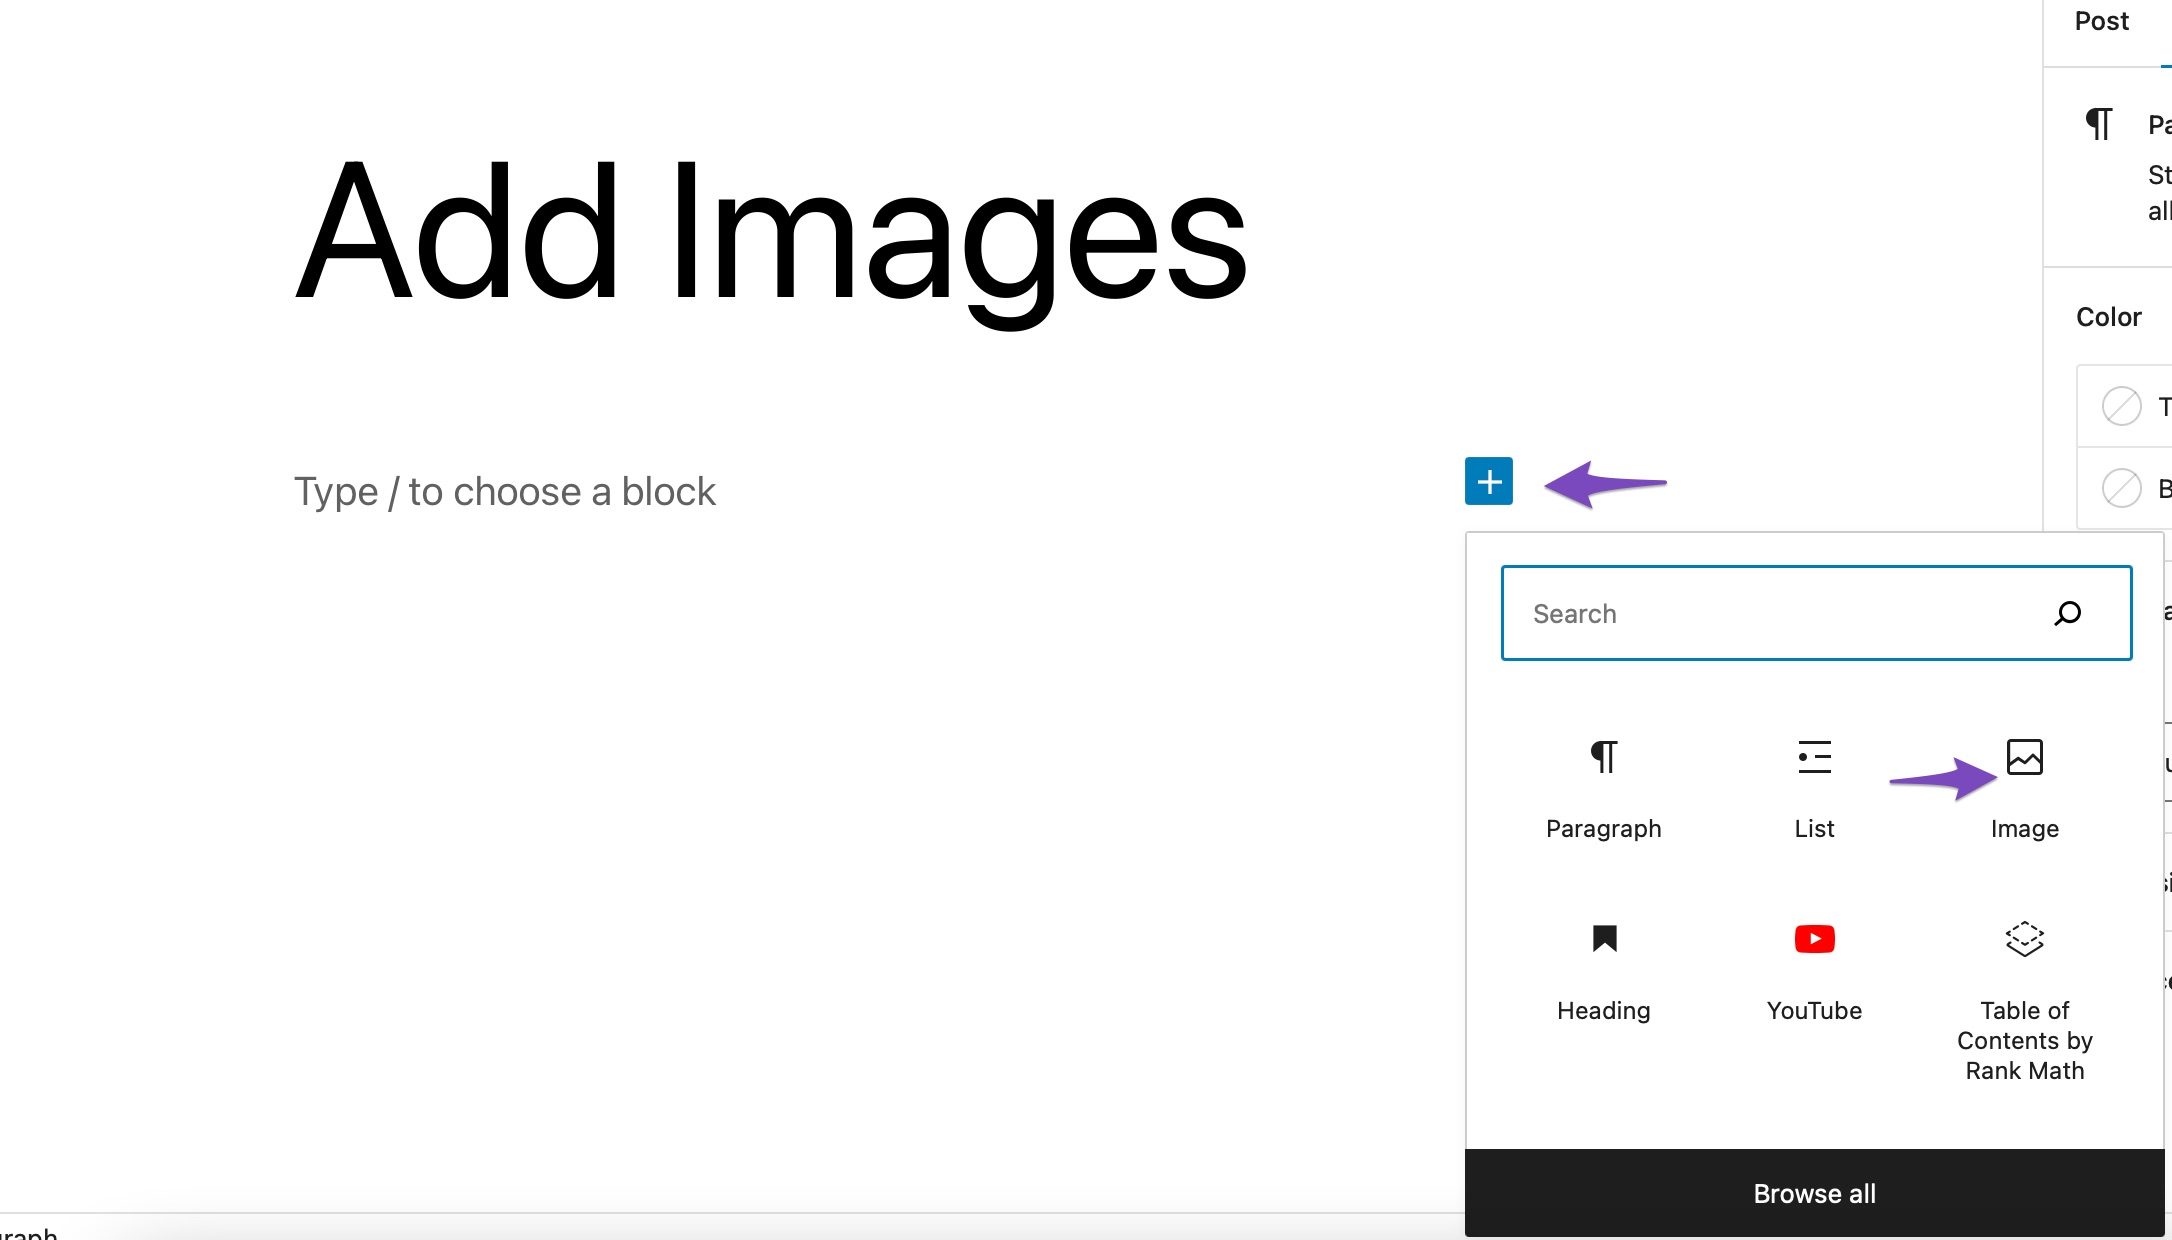
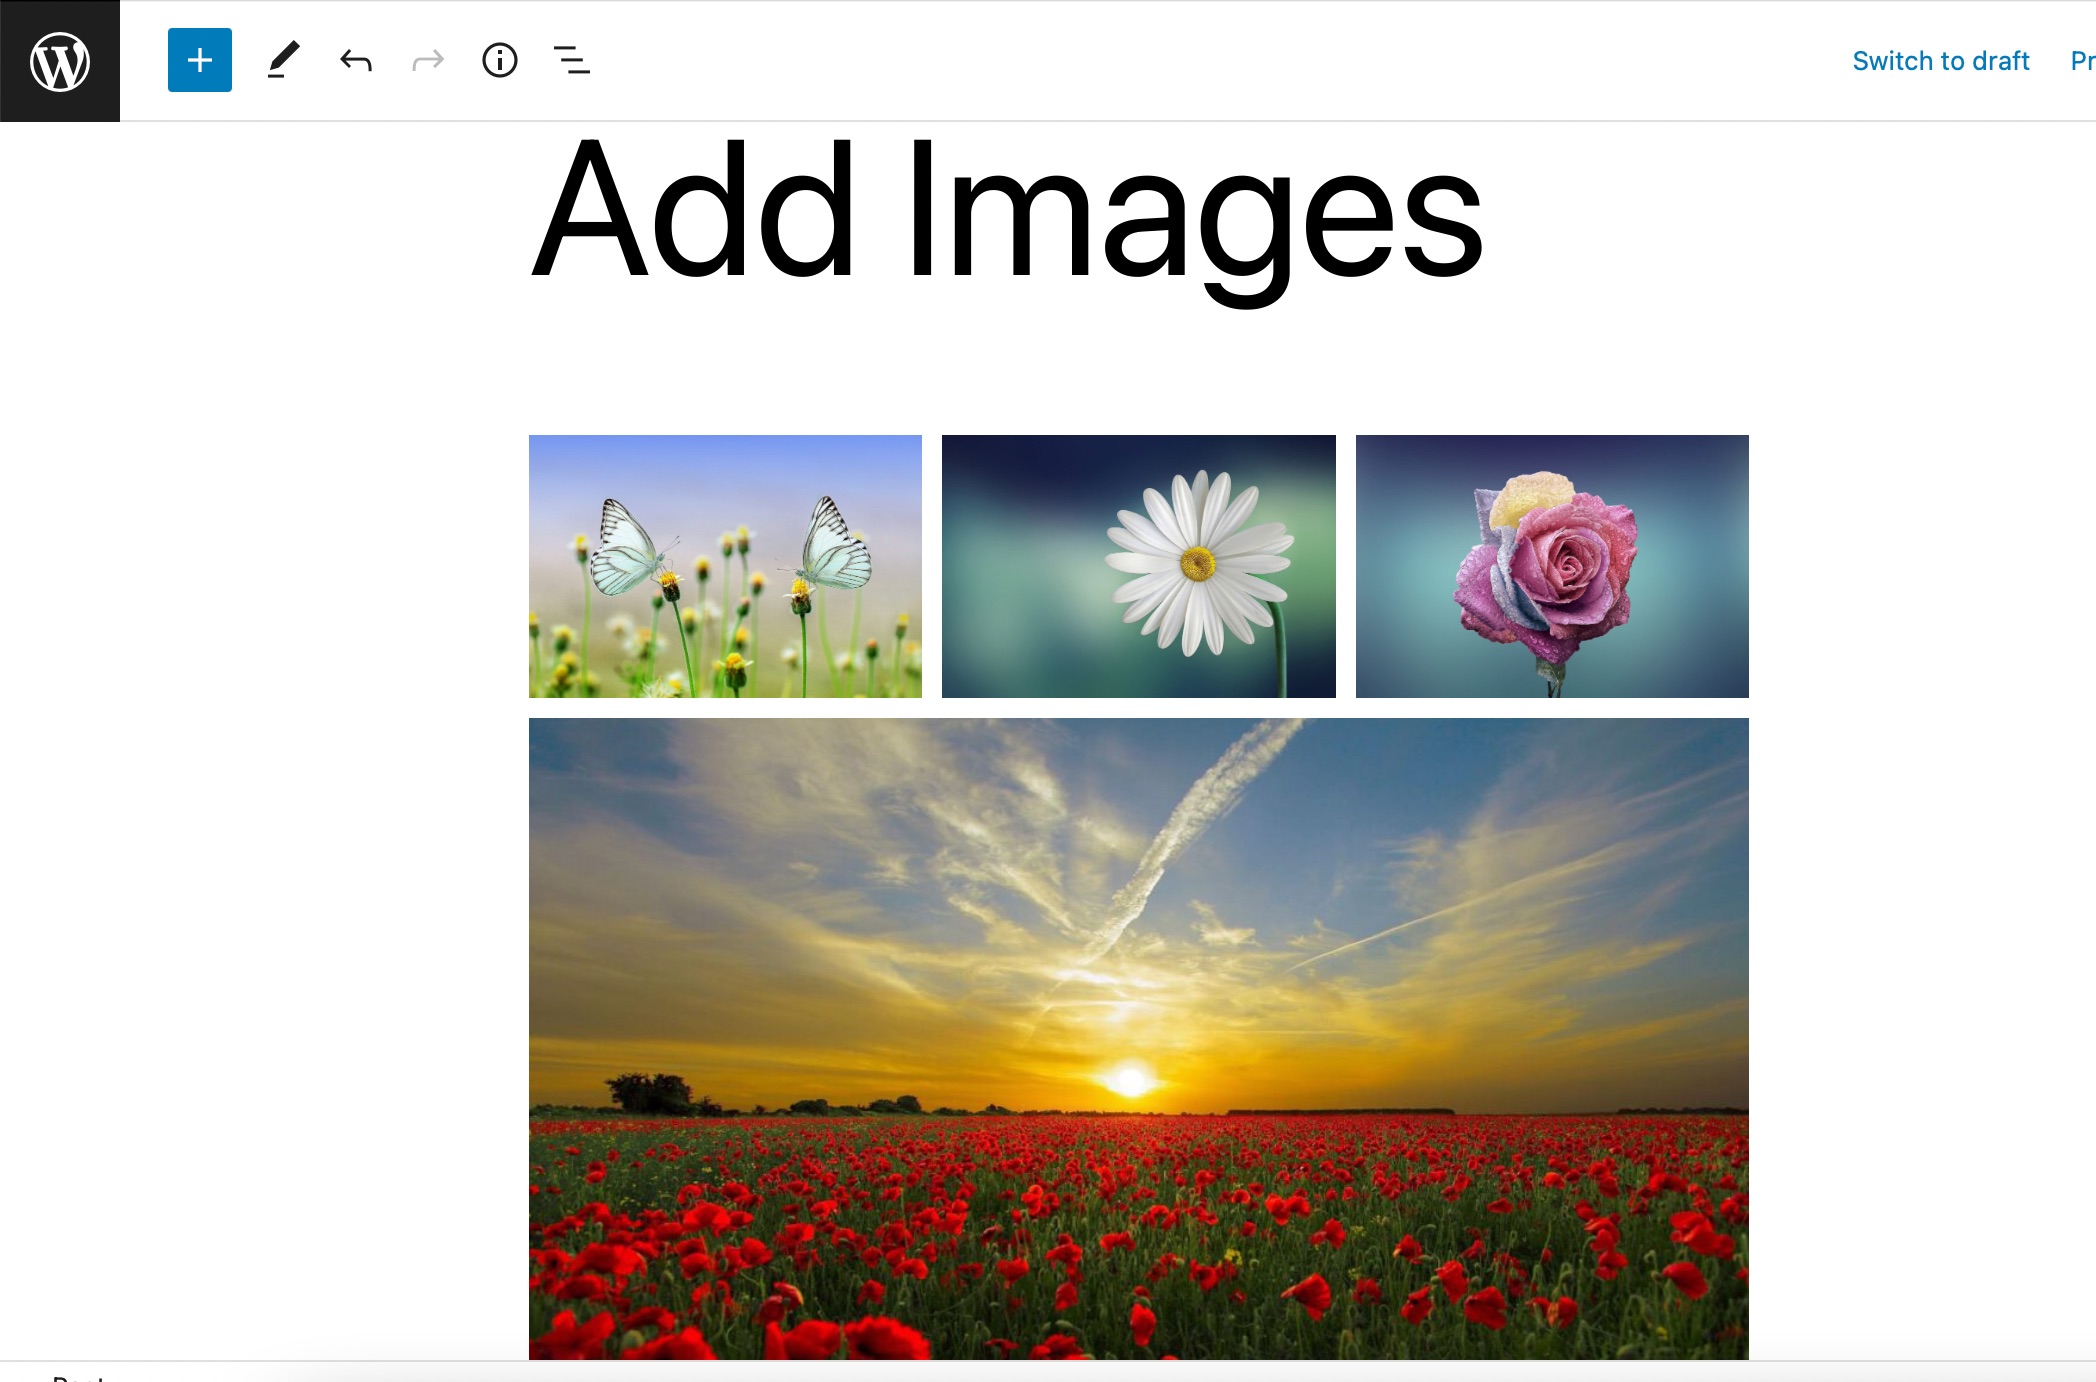
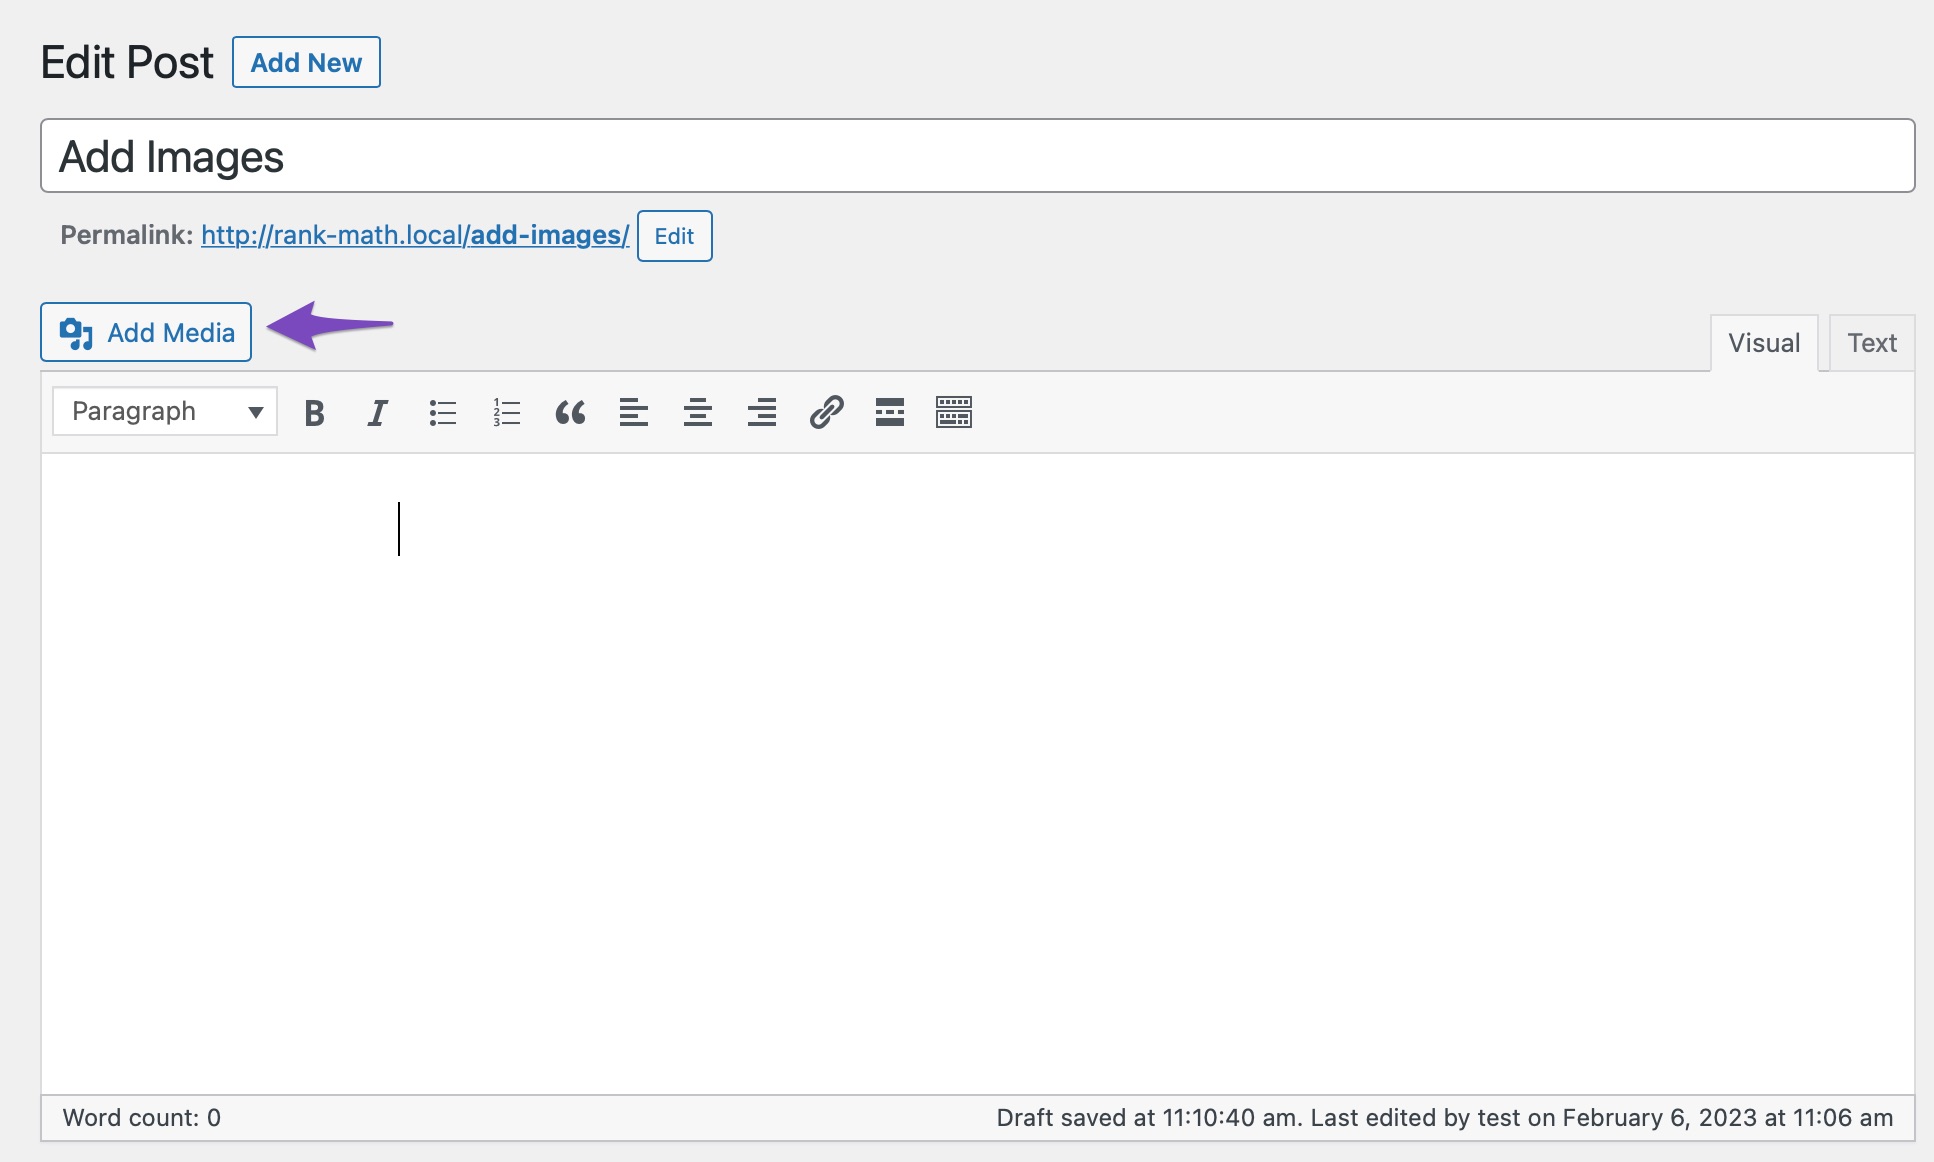
The most common way of adding images is using the Image block. To do so, click on the ‘+’ sign and select the Image block, as shown below.
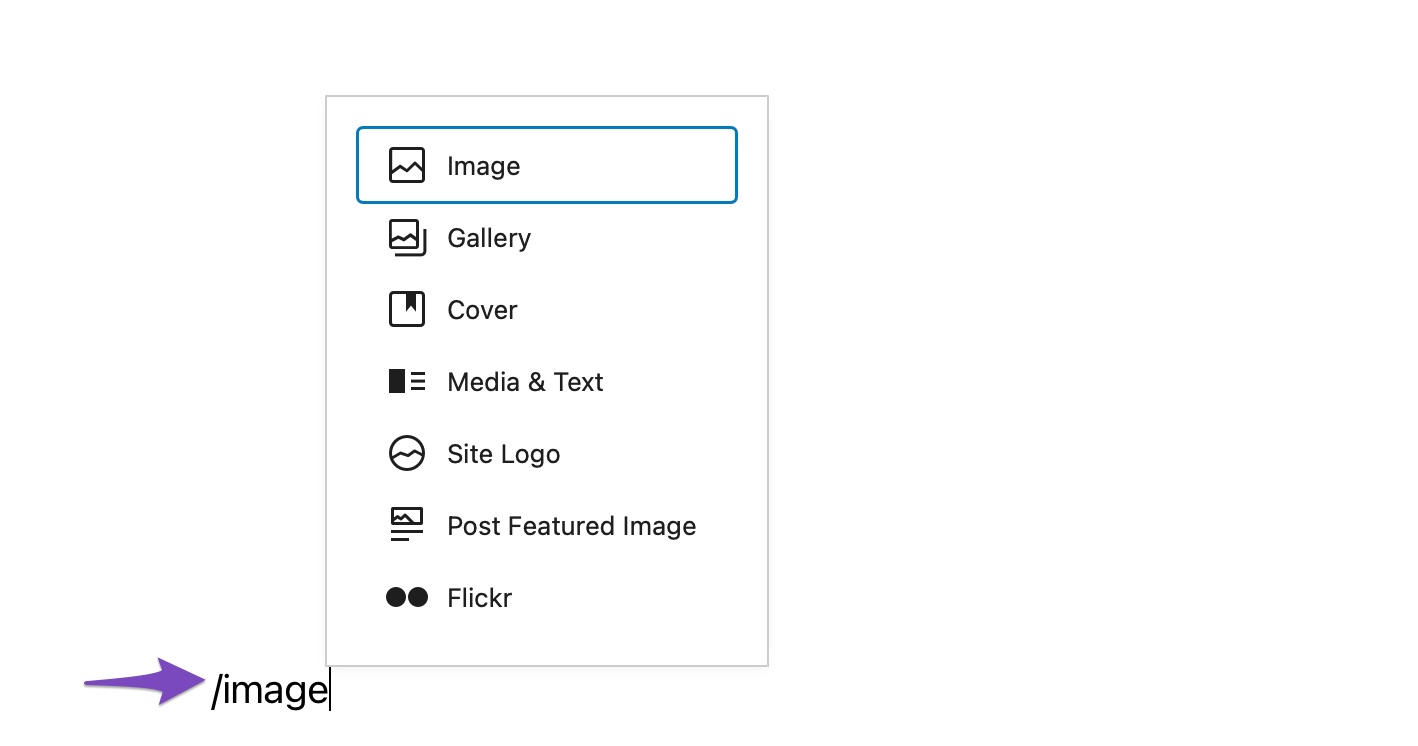
You can also type /image in the post editor to insert an Image block.
Once done, you’ll find three buttons inside the blank Image block.
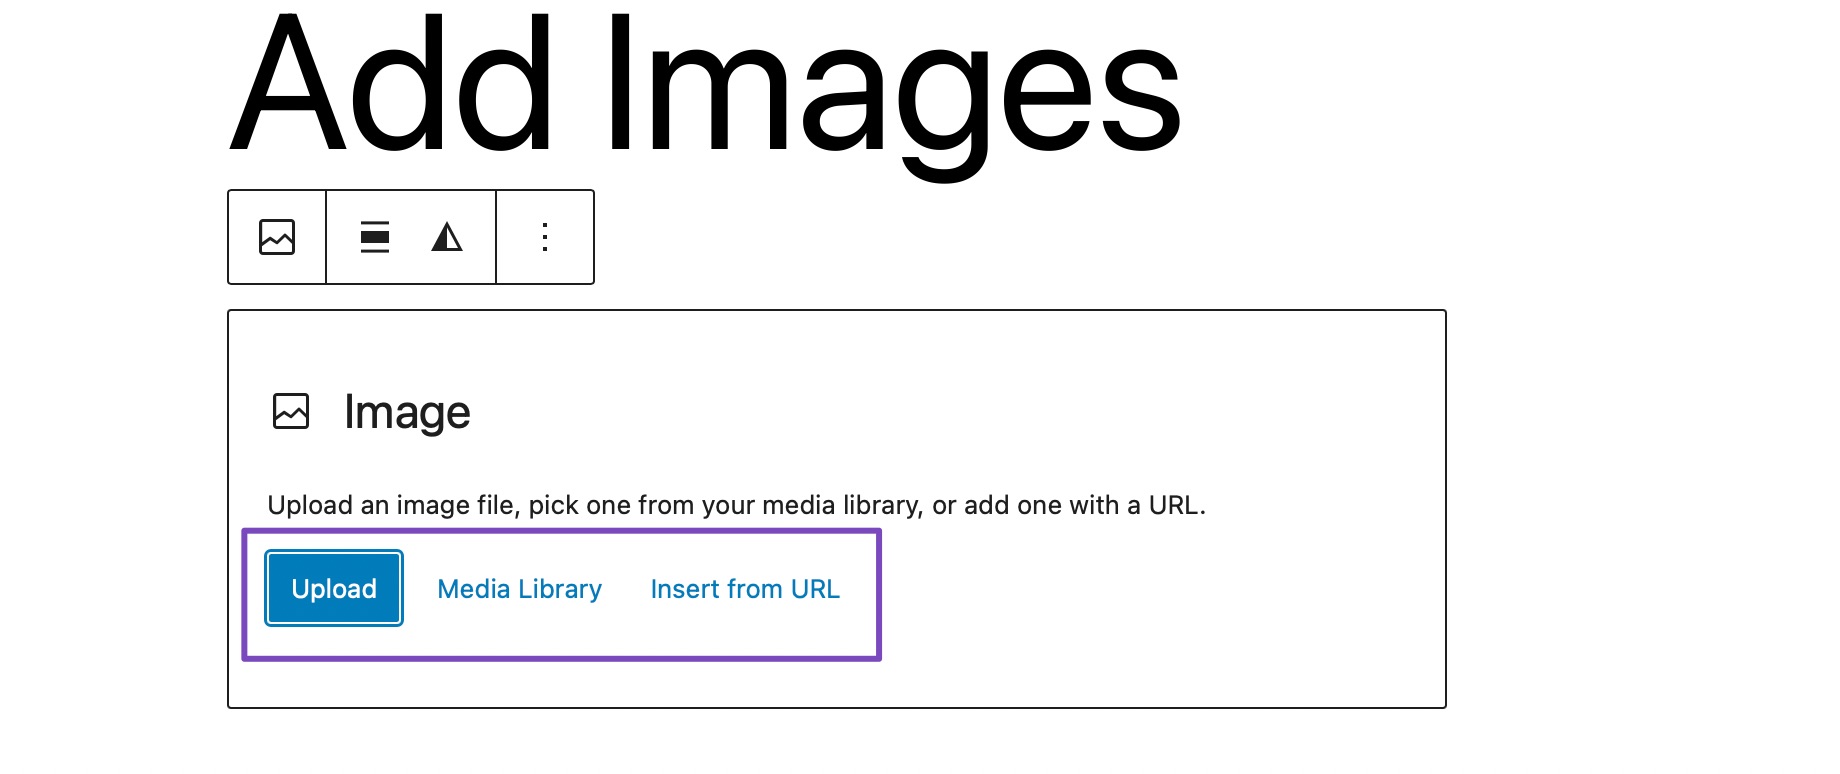
You’ll see three options within the Image block:
- Upload – Add a new image from your computer.
- Media Library – Choose an image you’ve already uploaded.
- Insert from URL – Paste the direct link to an image hosted elsewhere.
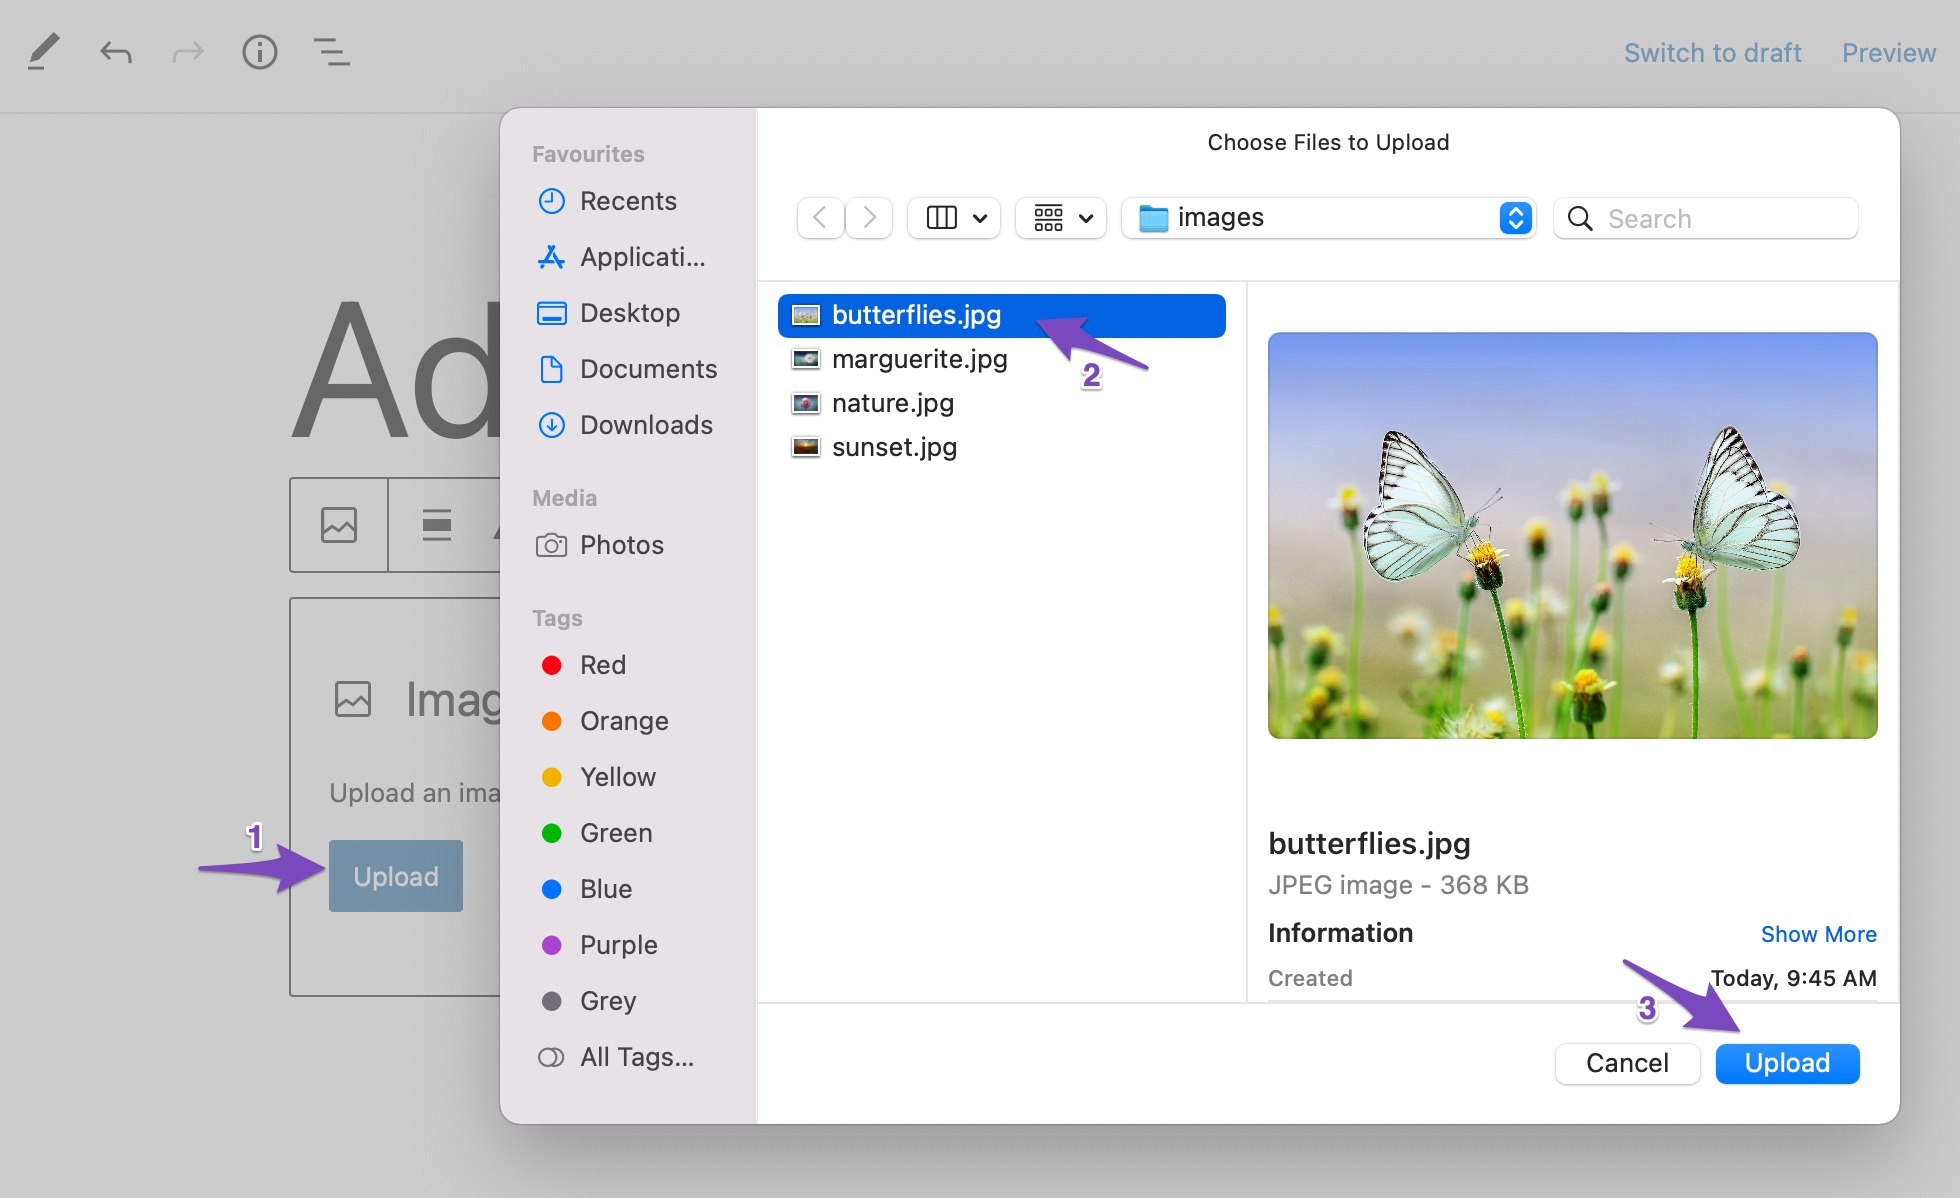
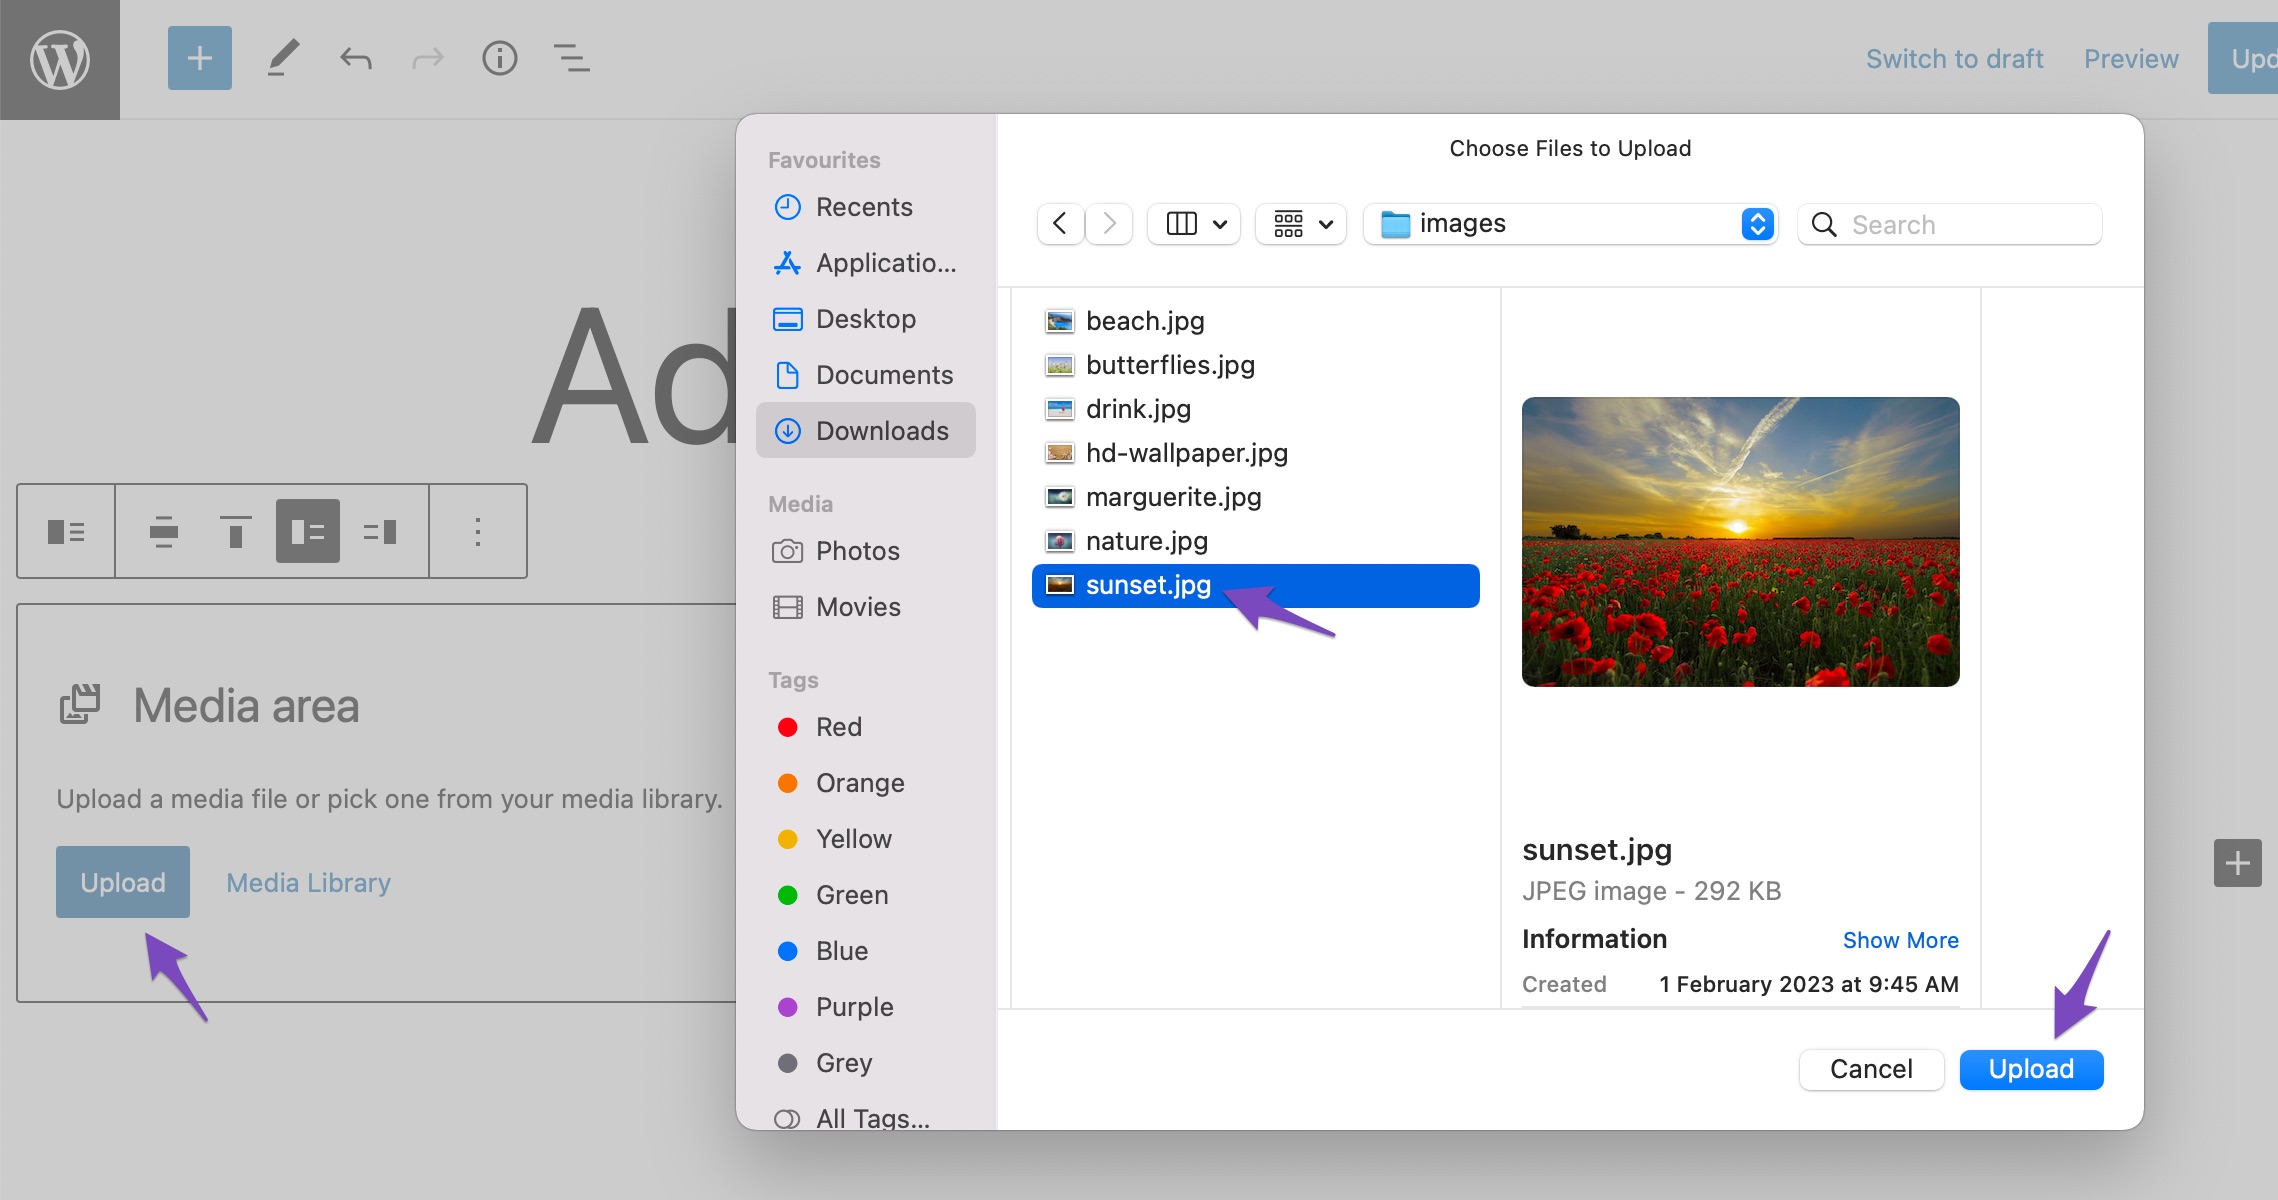
If you wish to upload an image from your computer, click on the Upload button, choose the image, and click on Upload, as shown below.
As soon as you upload the image, WordPress will insert the image into the Image block.
If you wish to add an image from your WordPress Media Library, click the Media Library button, and select the image. In the case of Insert from URL, enter the image URL in the box.
That’s it! Your image will now appear within the block and can be aligned or resized as needed.
2.2 Add Images Using the Gallery Block
You can also insert images in the Gutenberg editor using the Gallery block. The Gallery block in WordPress allows you to display multiple images in a grid layout—perfect for visual storytelling or product showcases.
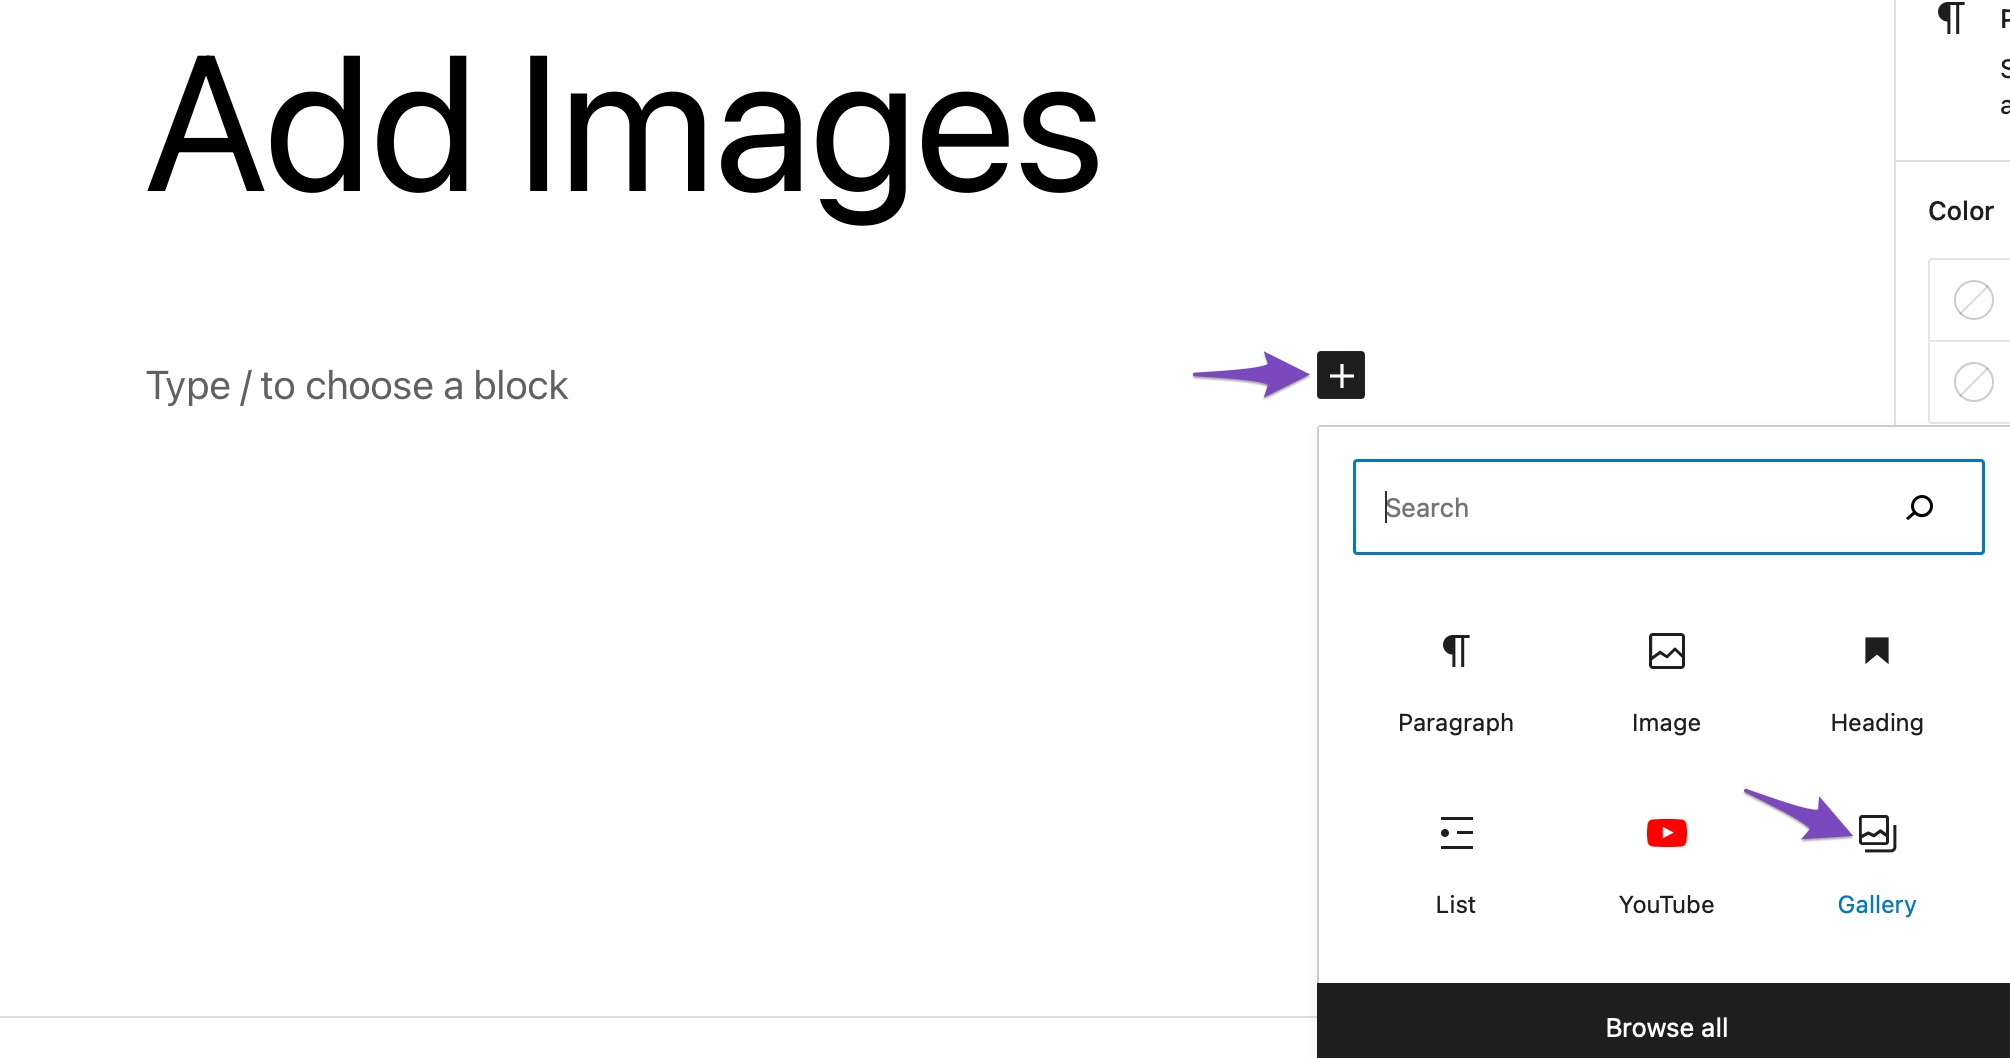
To add the Gallery block, click on the ‘+’ sign and select the Gallery block, as shown below.
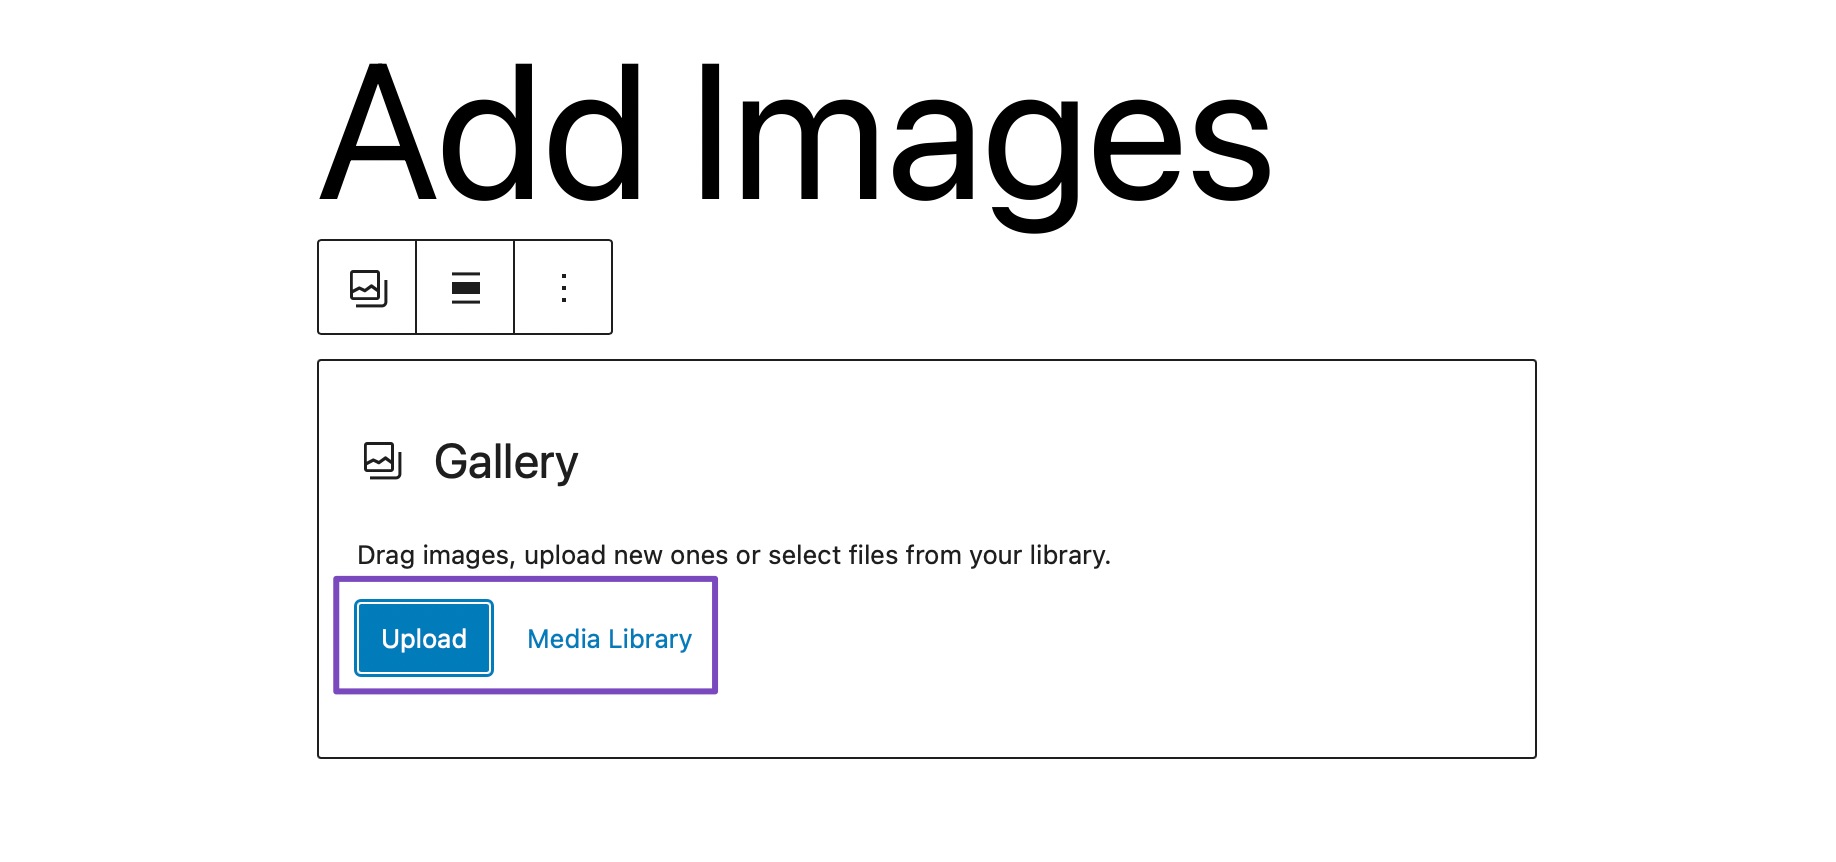
Adding images using the Gallery block is the same as the Image block. You can upload images to the gallery or choose the images from the library.
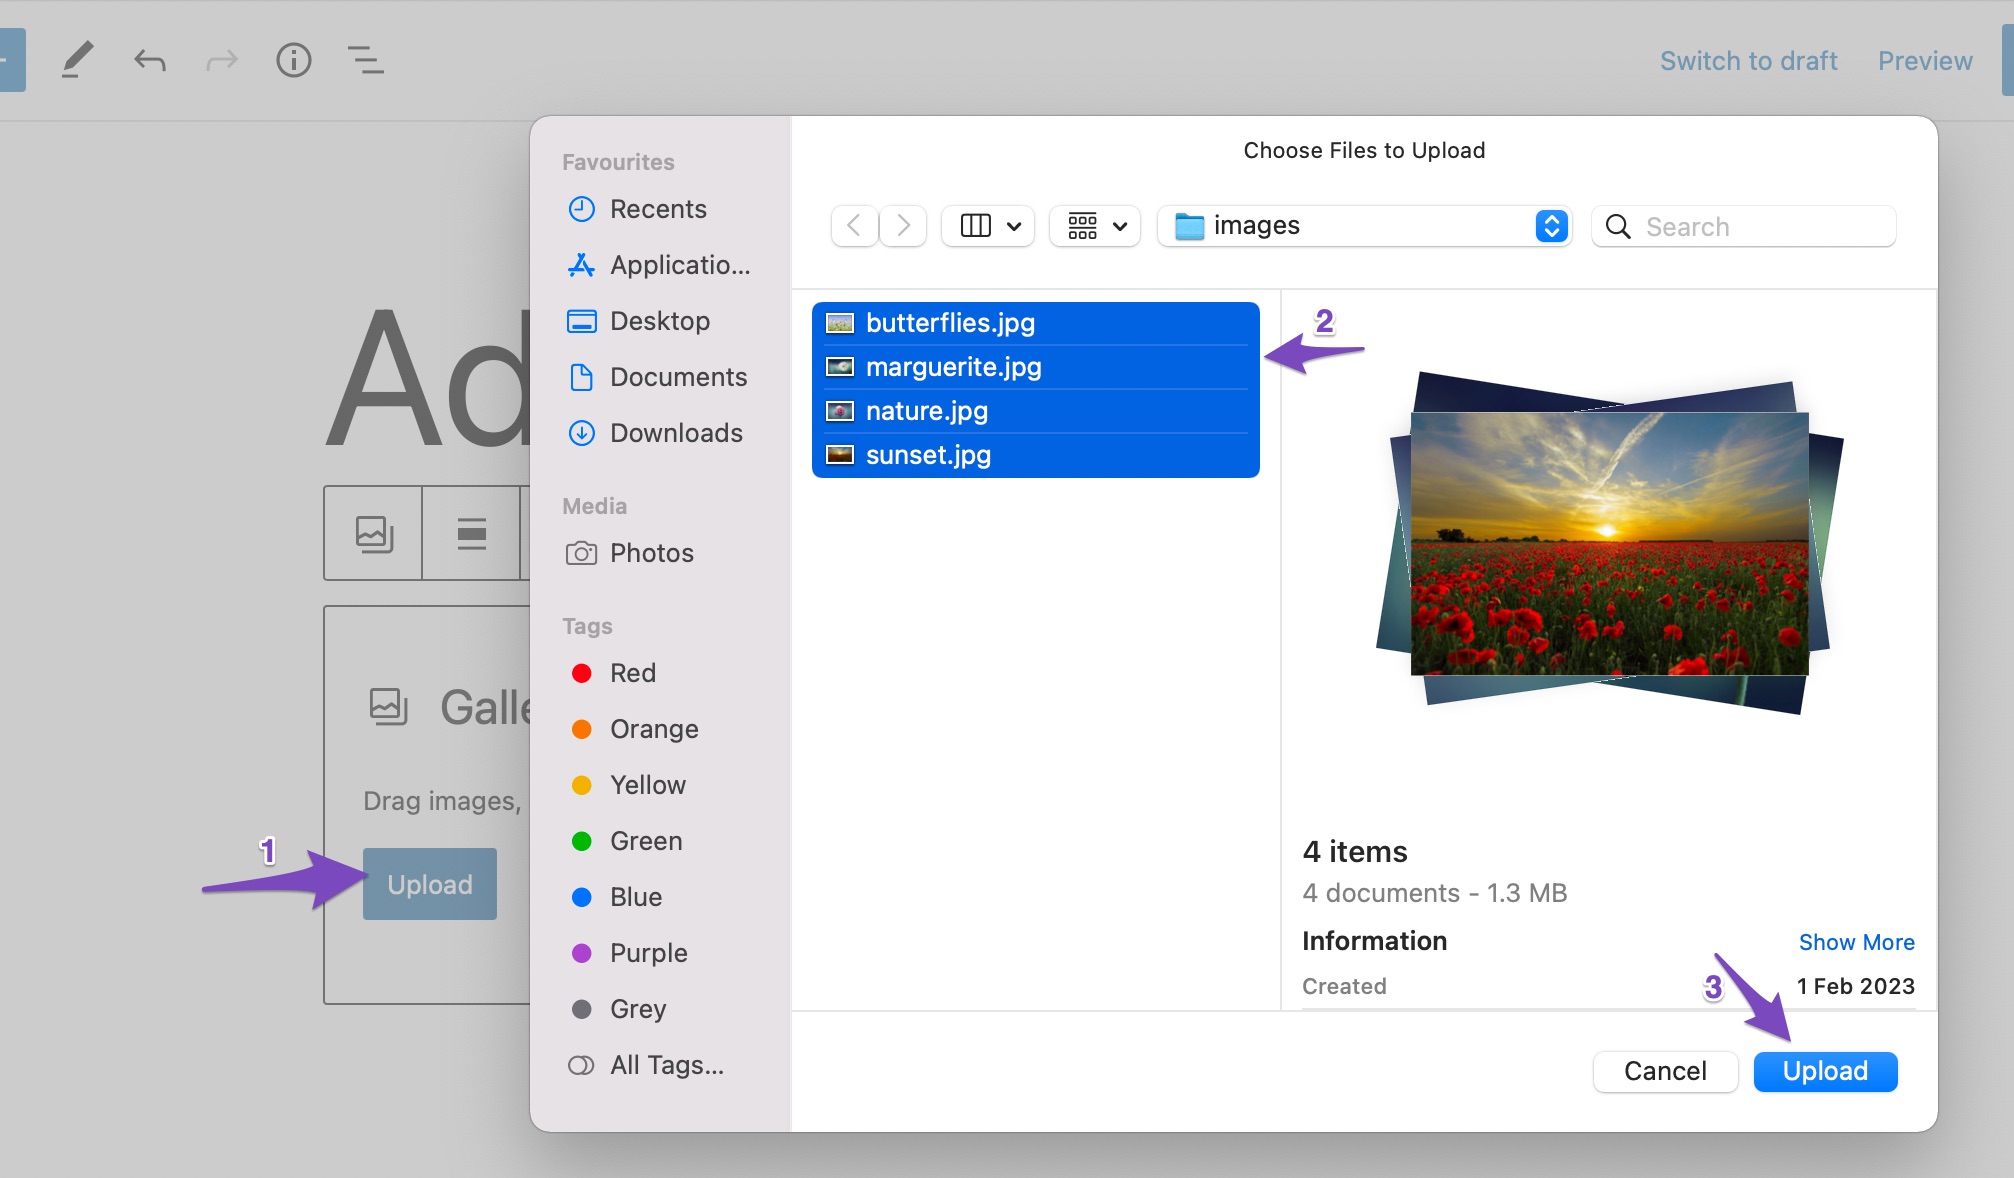
To upload images from your desktop, click on the Upload button, select the images you wish to add to your post, and click the Upload button, as shown below.
All the images will now be added to your post, as shown below.
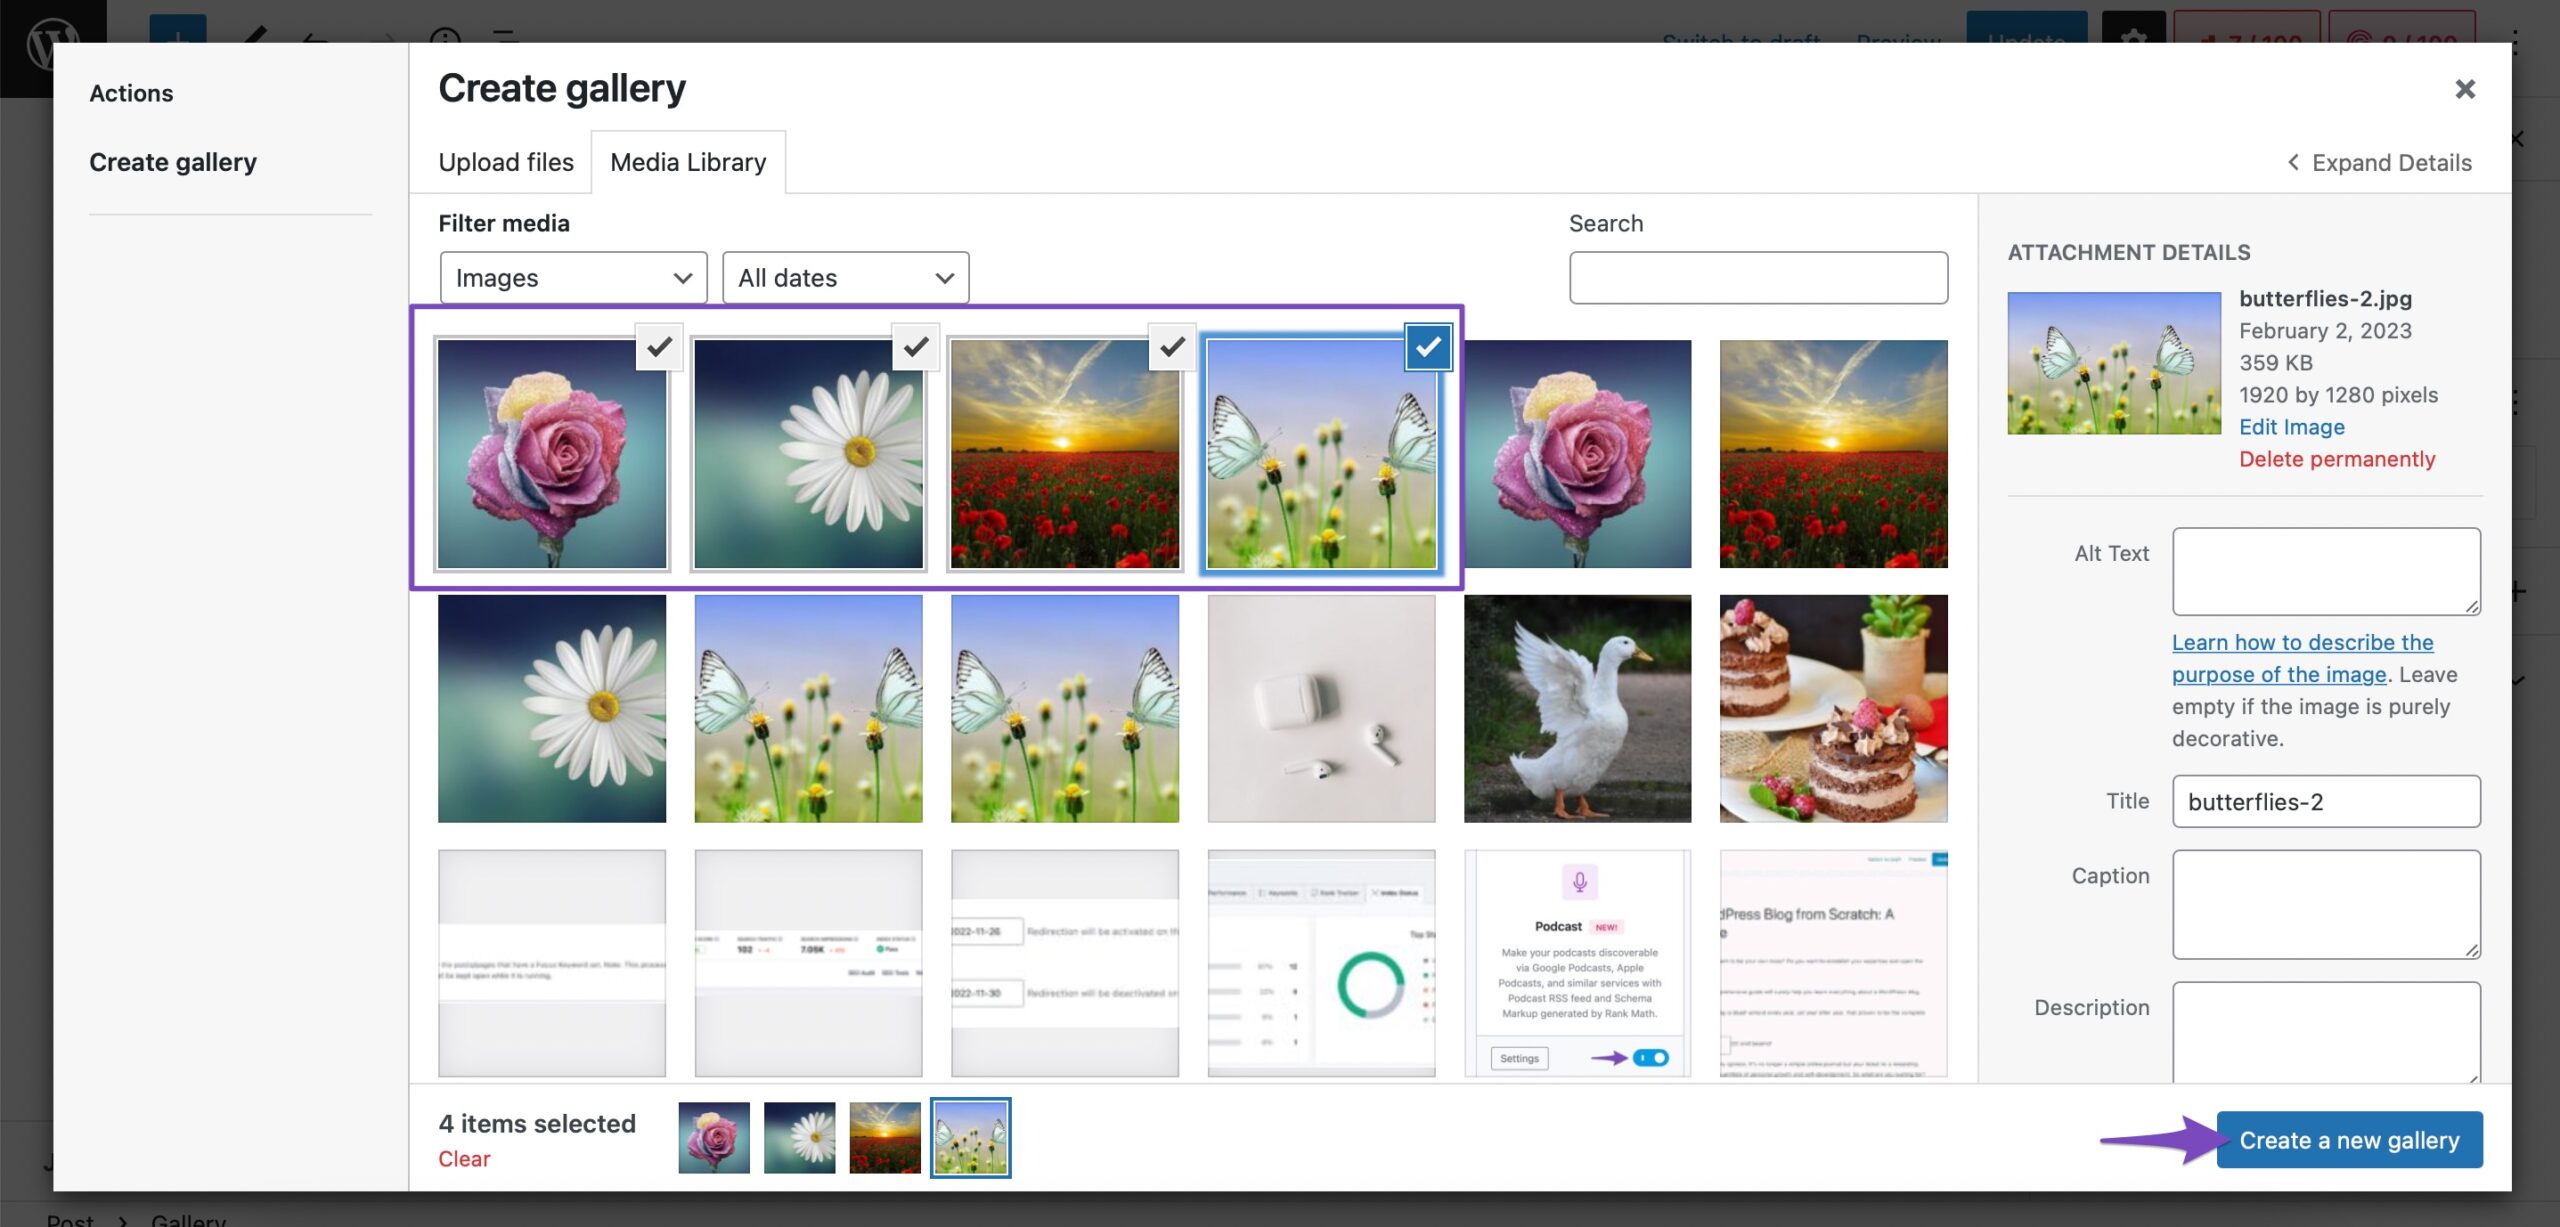
If you wish to add images from your WordPress Media Library, click the Media Library button, and select the images to create a new gallery. Once selected, click on the Create a new gallery button, as shown below.
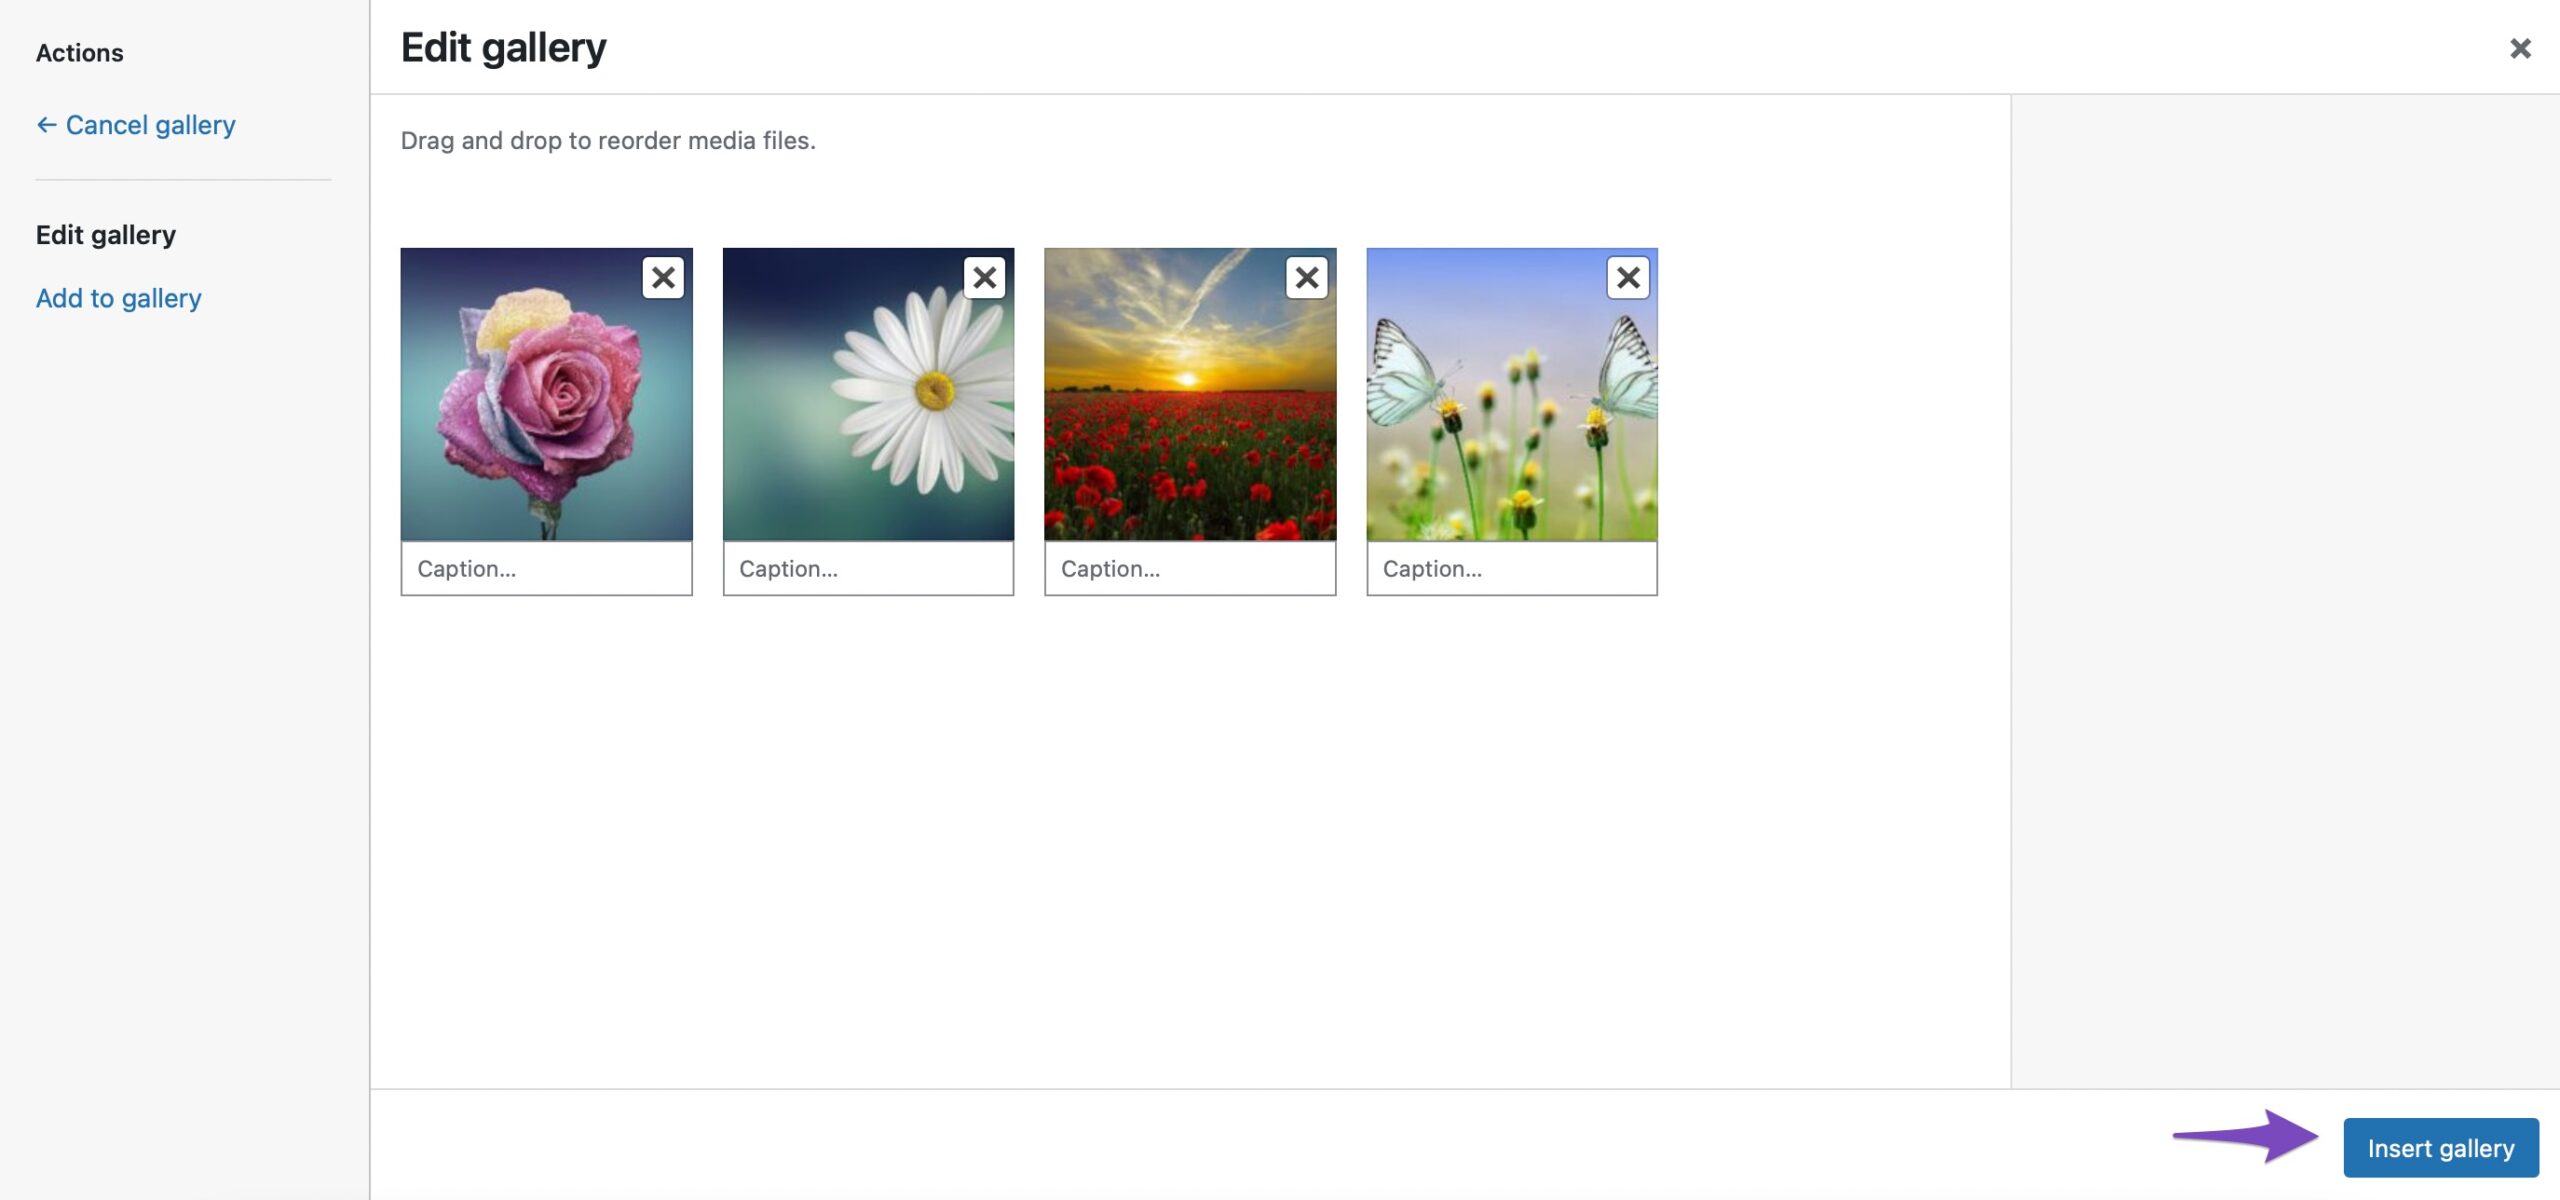
A new gallery will be created, and now click on the Insert gallery button to add the images to your Gallery block. You can also edit the gallery and add/remove images from your gallery.
All the selected images will now be added to your Gallery block in WordPress.
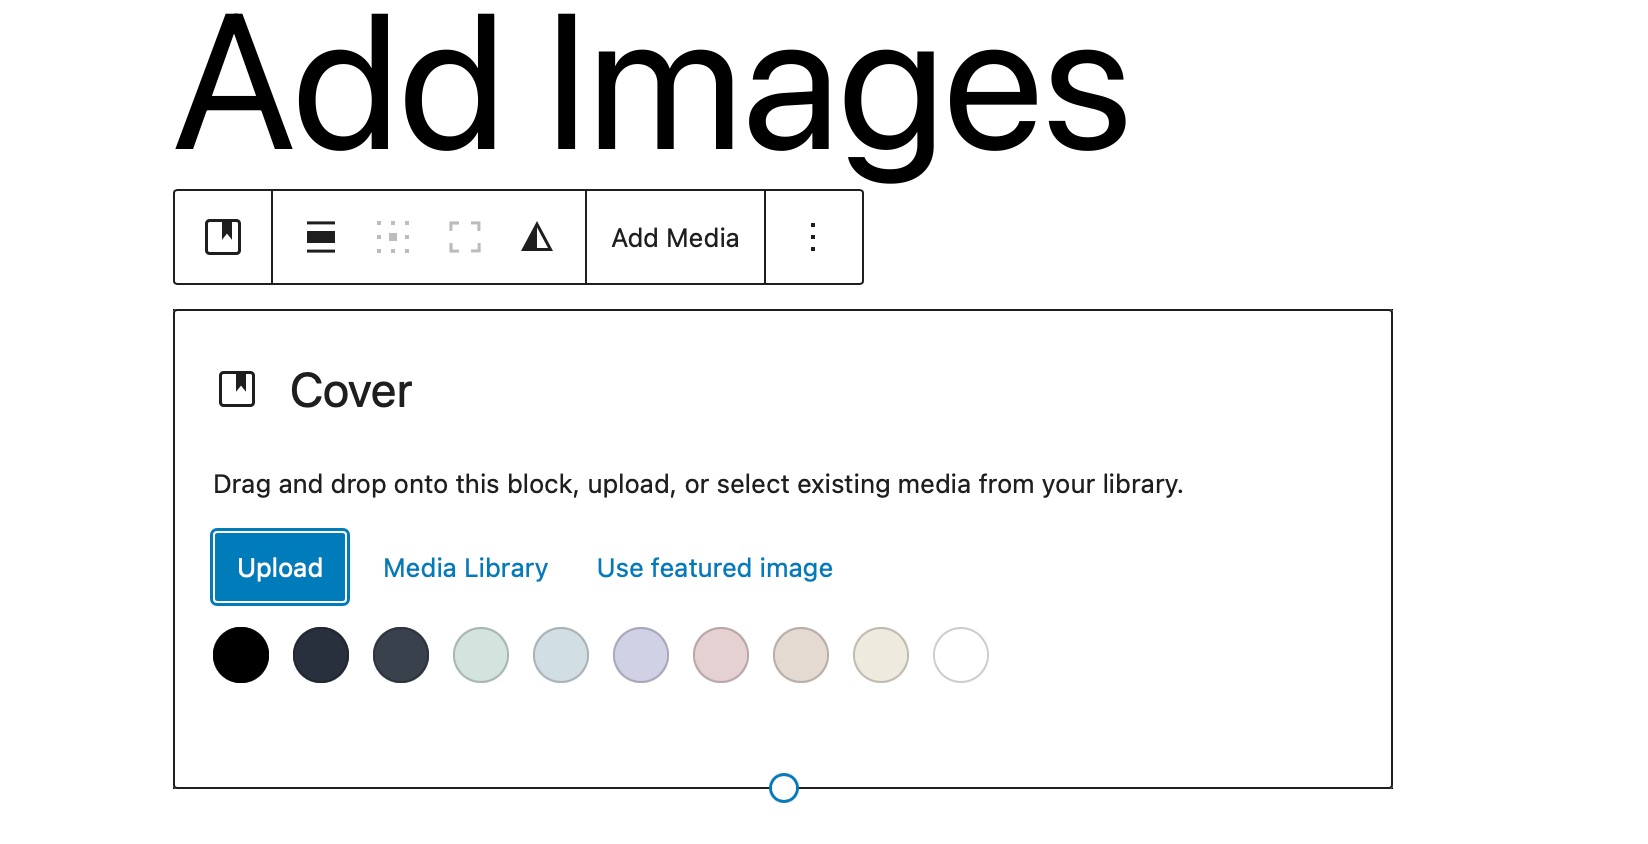
2.3 Add Images Using the Cover Block
You can also add images using the Cover block in WordPress. The Cover block is perfect for adding visually striking images with text overlays—ideal for section headers, banners, or calls to action.
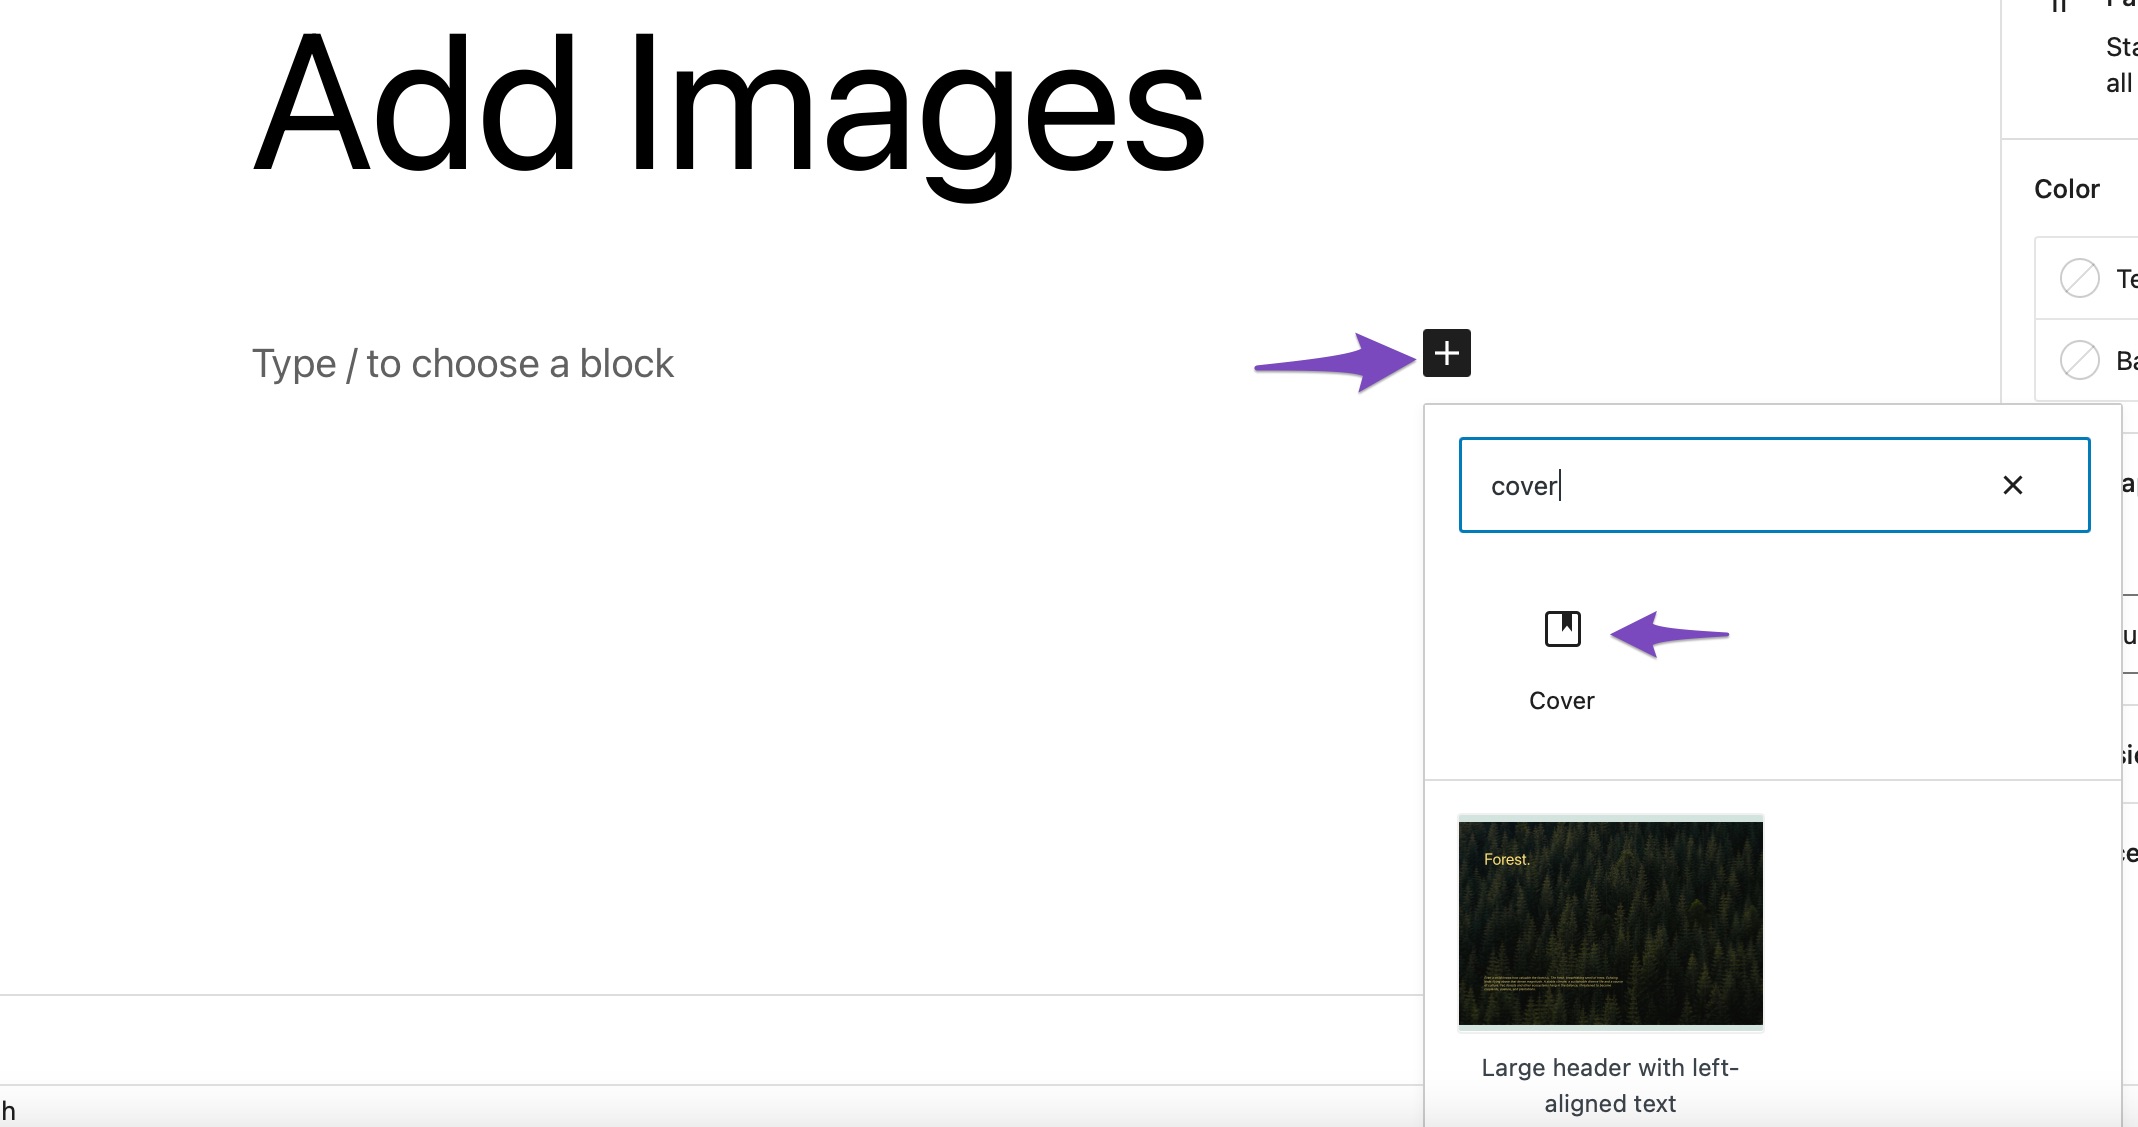
To add a Cover block, click on the ‘+’ sign and select the Cover block, as shown below.
Choose how you’d like to add your image:
- Upload a new image from your computer
- Select one from the Media Library
- Or set an existing image as the featured cover
The block also comprises options for a fixed background, overlay with gradient, and different display styles. It lets you add an image along with a title on top of it.
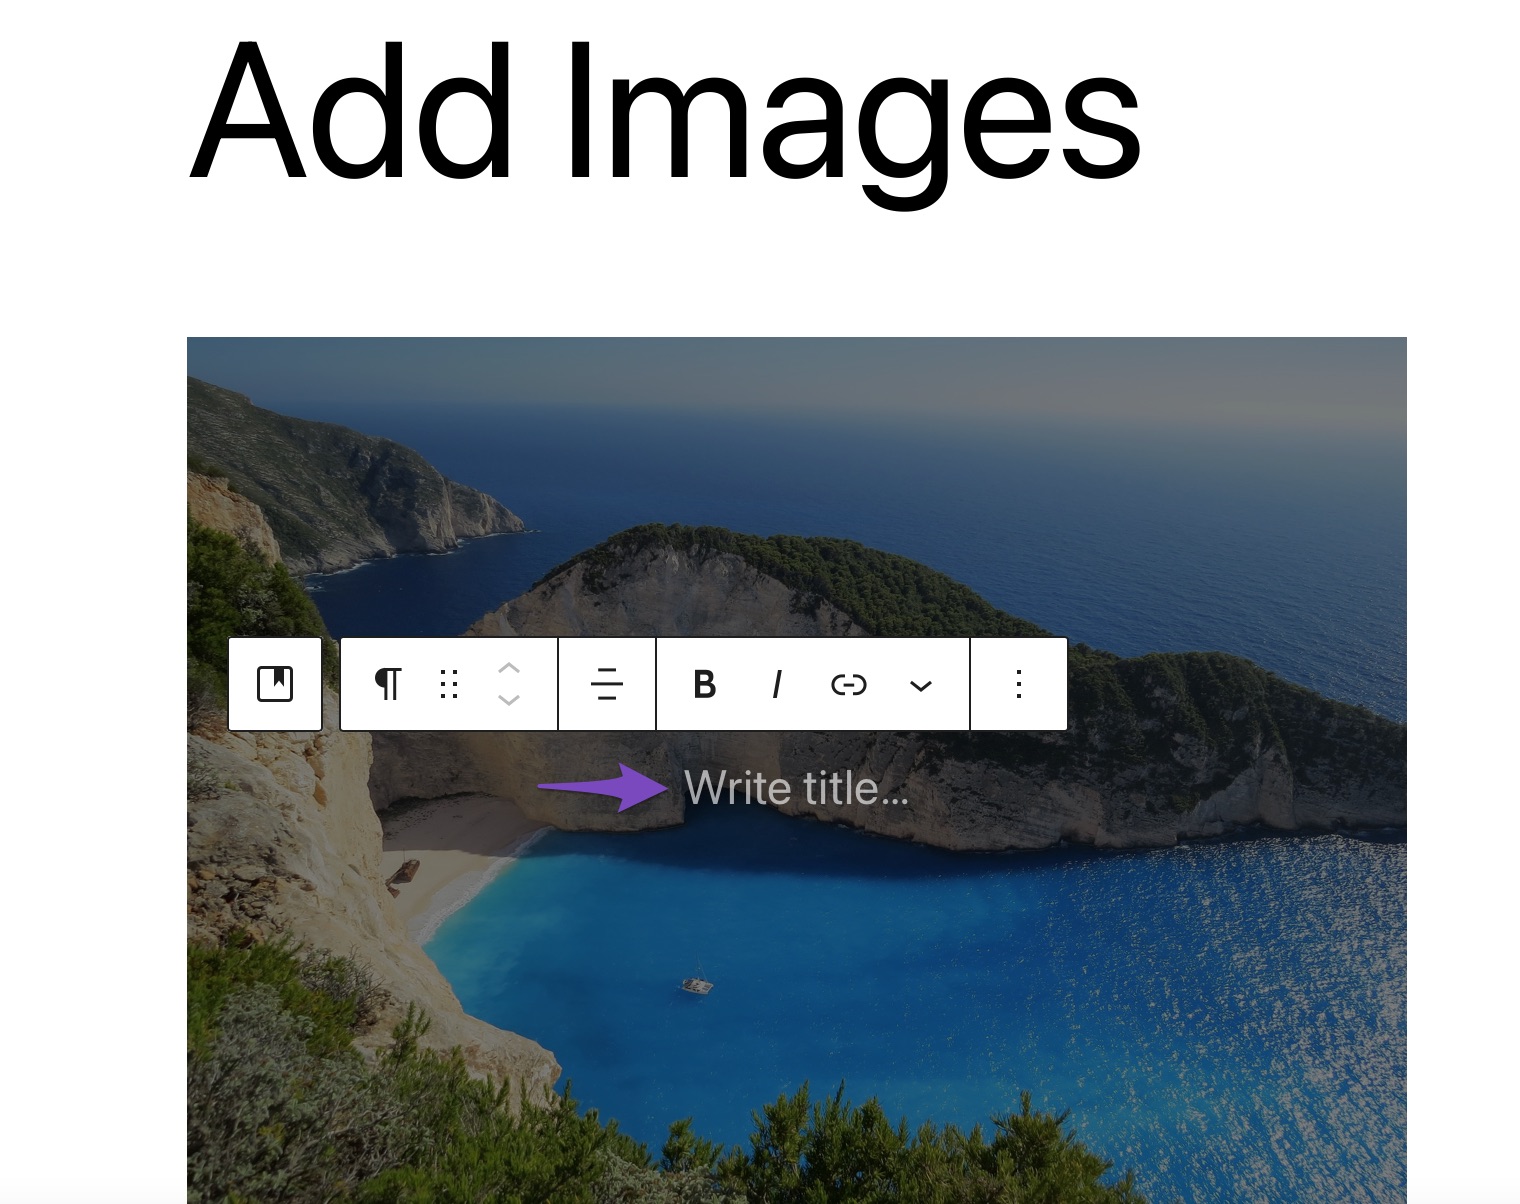
The Cover block gives you creative control over how images and text are presented together, enhancing the visual appeal of your content.
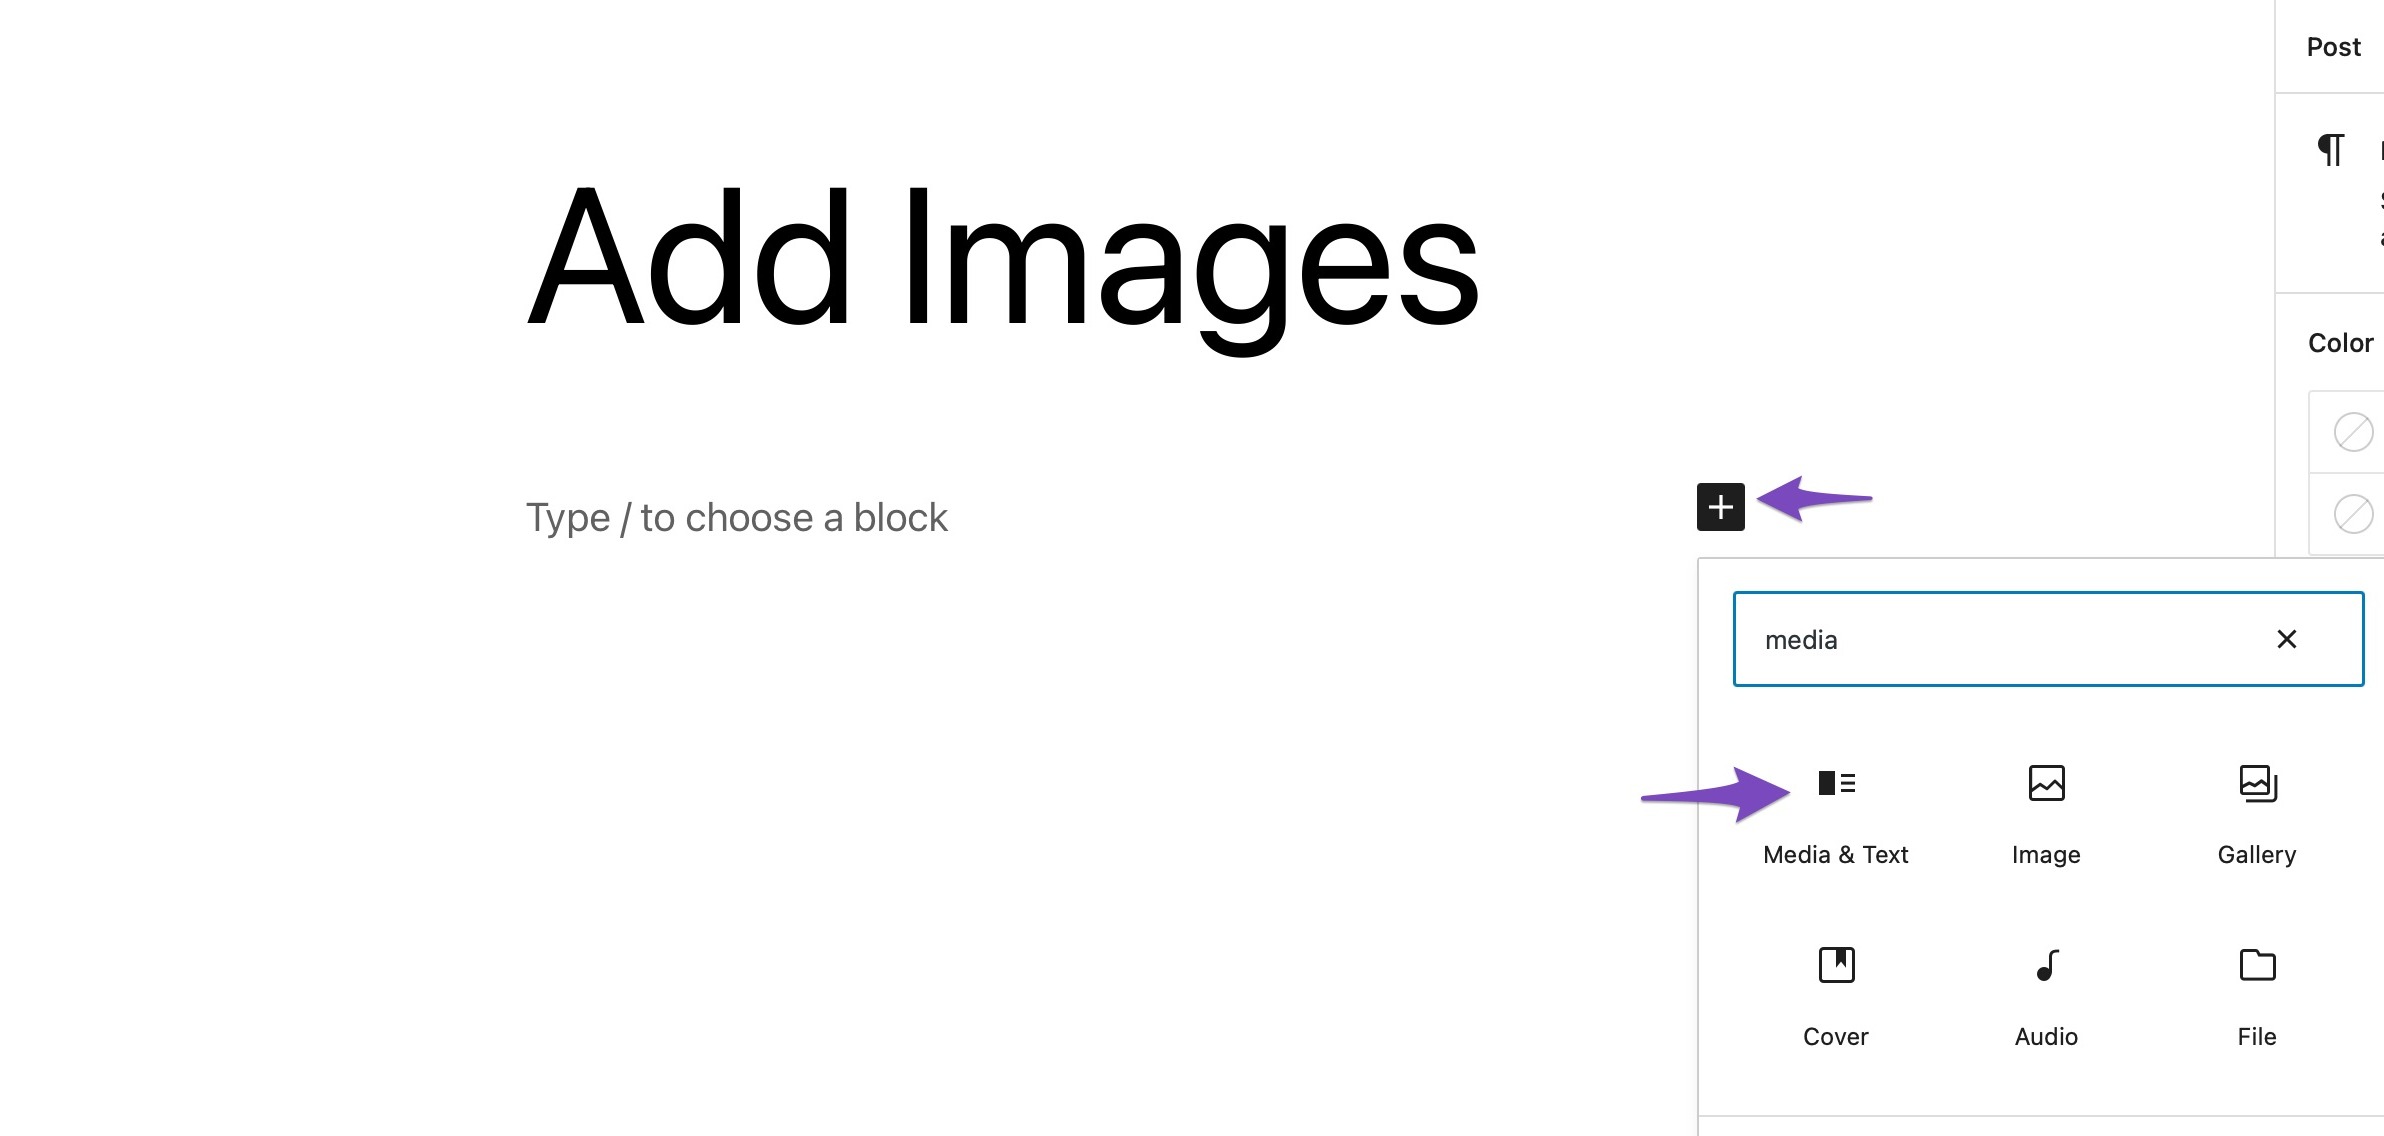
2.4 Add Images Using the Media & Text Block
The Media & Text block lets you display images or videos alongside written content in a clean, two-column layout—perfect for showcasing features, testimonials, or product highlights.
To add this block to your post/page, click on the ‘+’ sign and select the Media & Text option, as shown below.
By default, the Media & Text block will add a layout that places images or video files to the left and written content to the right.
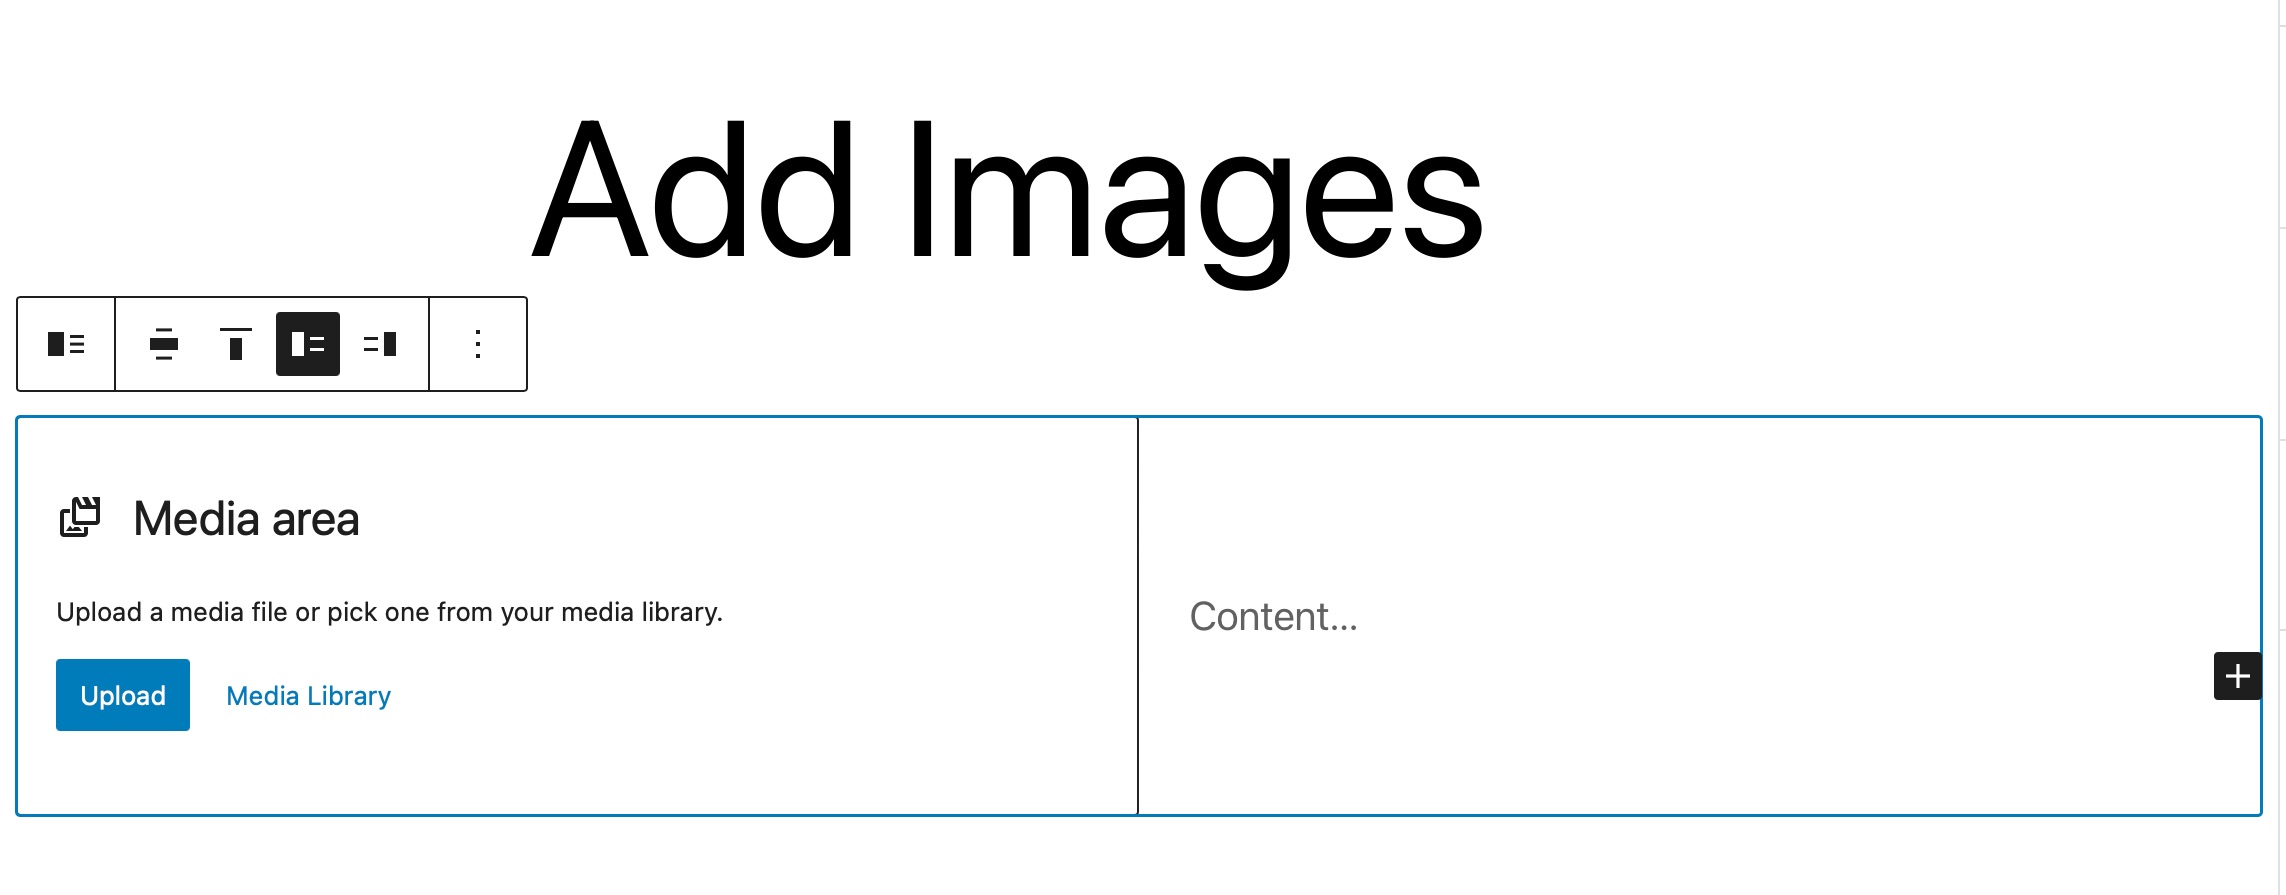
Next, click on the Upload or Media Library options to select a media file, as shown below.
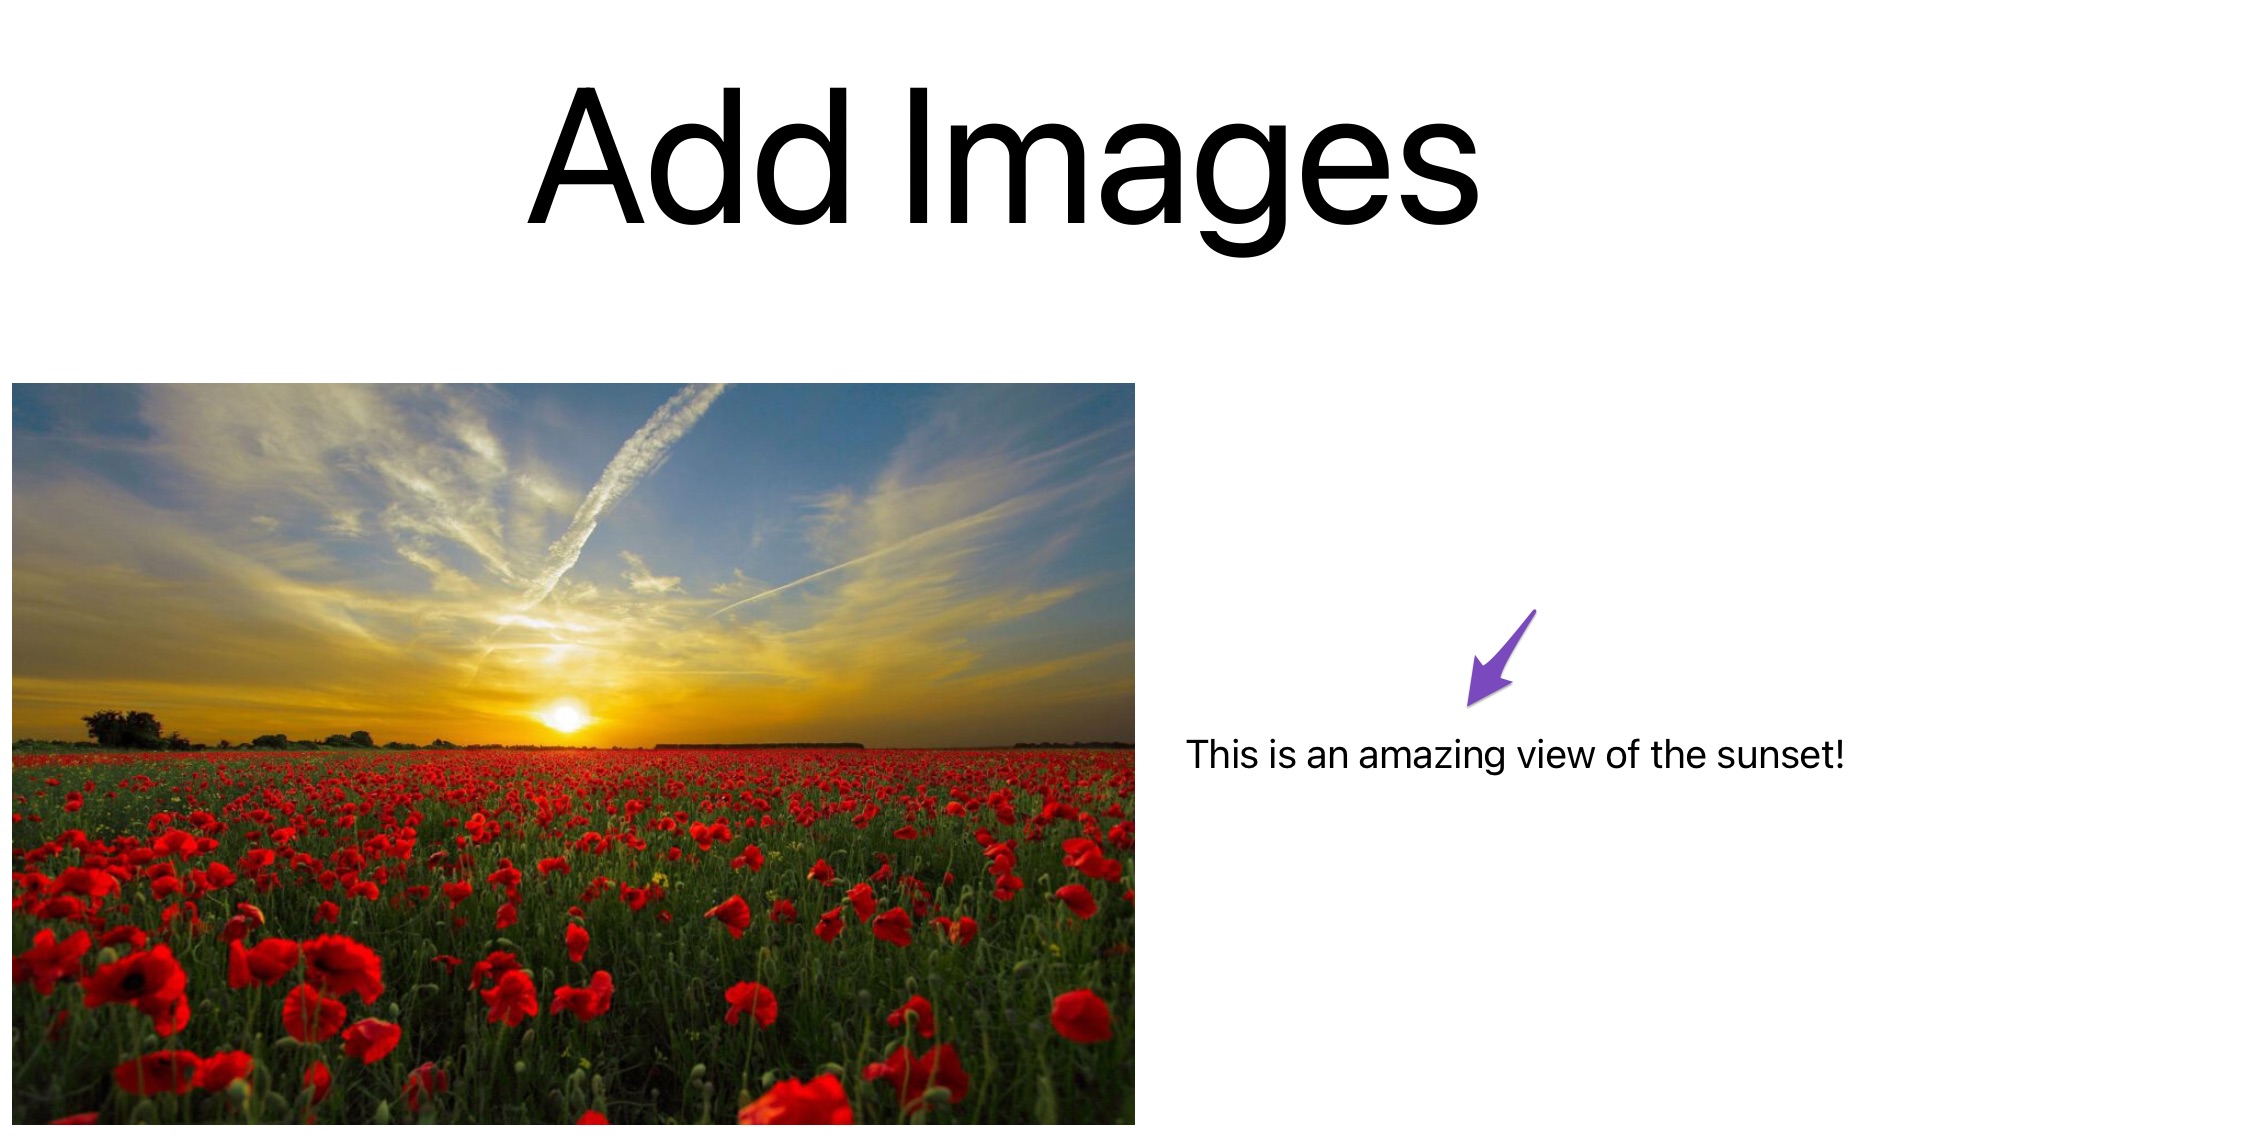
Once you’ve added an image or a video file, you can add the content in the Content section. Here’s a quick example of how it might look after you’ve added some content.
This block is a great way to combine visuals and text in a structured layout that works well with most WordPress themes. It’s simple to use and adds visual variety to your posts or pages.
3 How to Add Images in Classic Editor
Let us now look at different methods to add images in your Classic editor.
3.1 Add an Image from Your Computer
You can easily insert an image from your computer in the Classic editor.
To do so, place the cursor where you wish to add the image in the editor. Next, drag and drop the image from your computer to the editor. Click on the Insert into post button, and your image will be added to the editor.
Once done, you can Update/Publish your post.
3.2 Add an Image from the Web
To add an image from the web, place your cursor where you want the image to appear and click on the Add Media button, as shown below.
Next, choose Insert From URL and paste the URL of the file, as shown below.
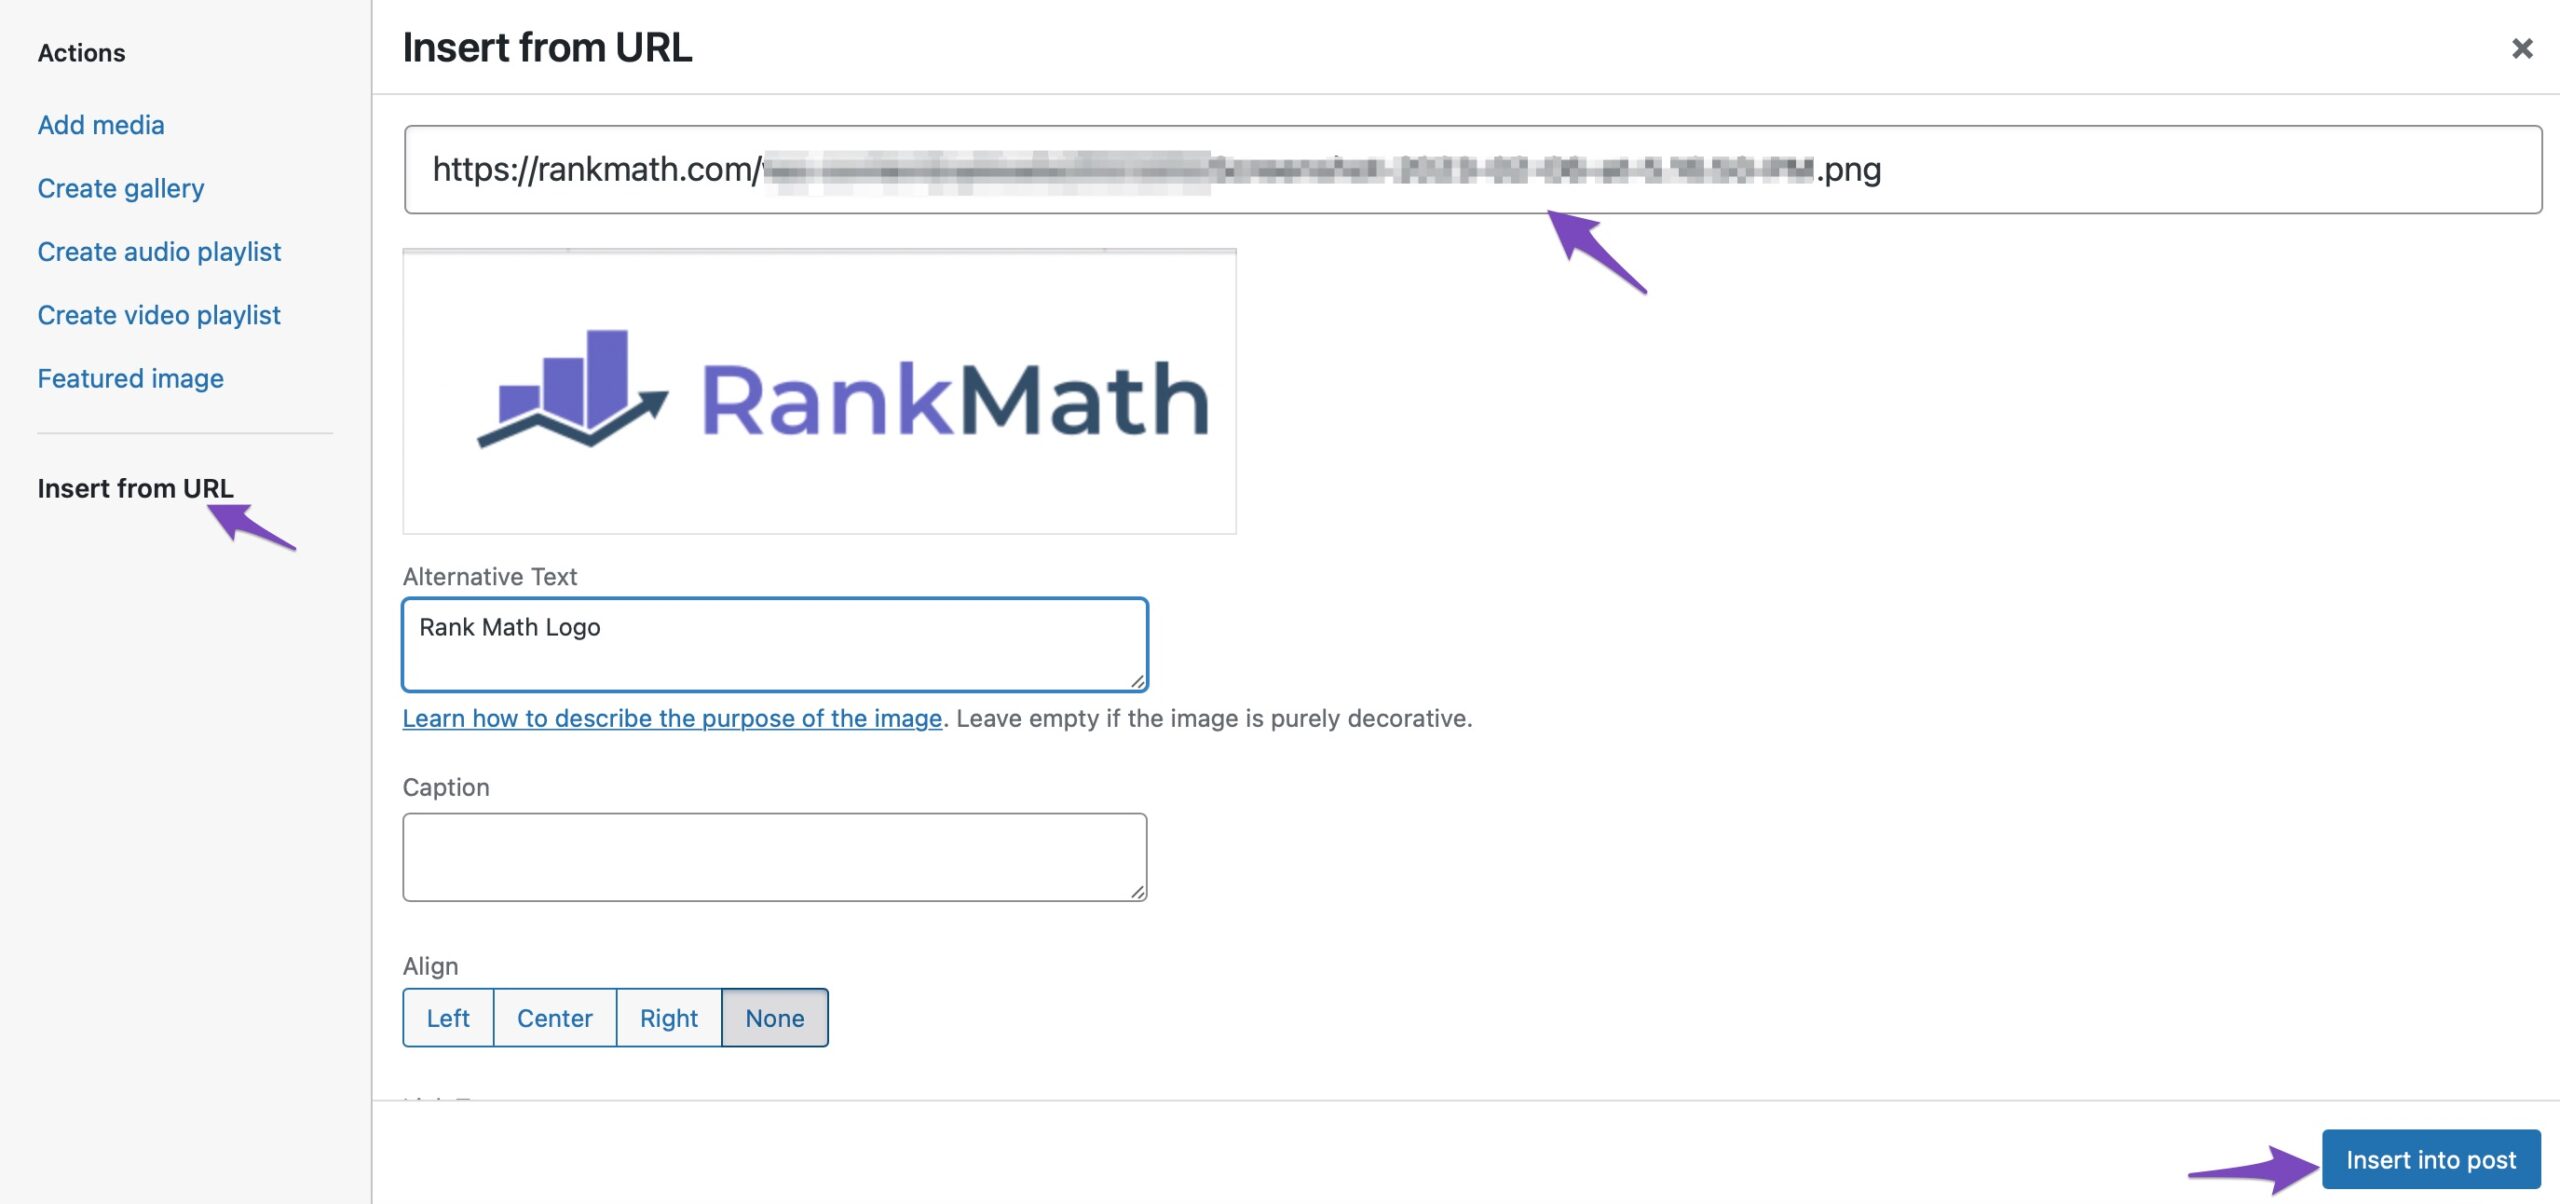
Once done, click the Insert Into post button, and your image will be added to the Classic editor.
3.3 Add Images from Media Library
To add an image from your Media Library, place the cursor where you want the image to appear and click on the Add Media button.
Choose the image you wish to insert and select it. You can also select multiple images. Next, click the Insert into post button to add the image to your editor.
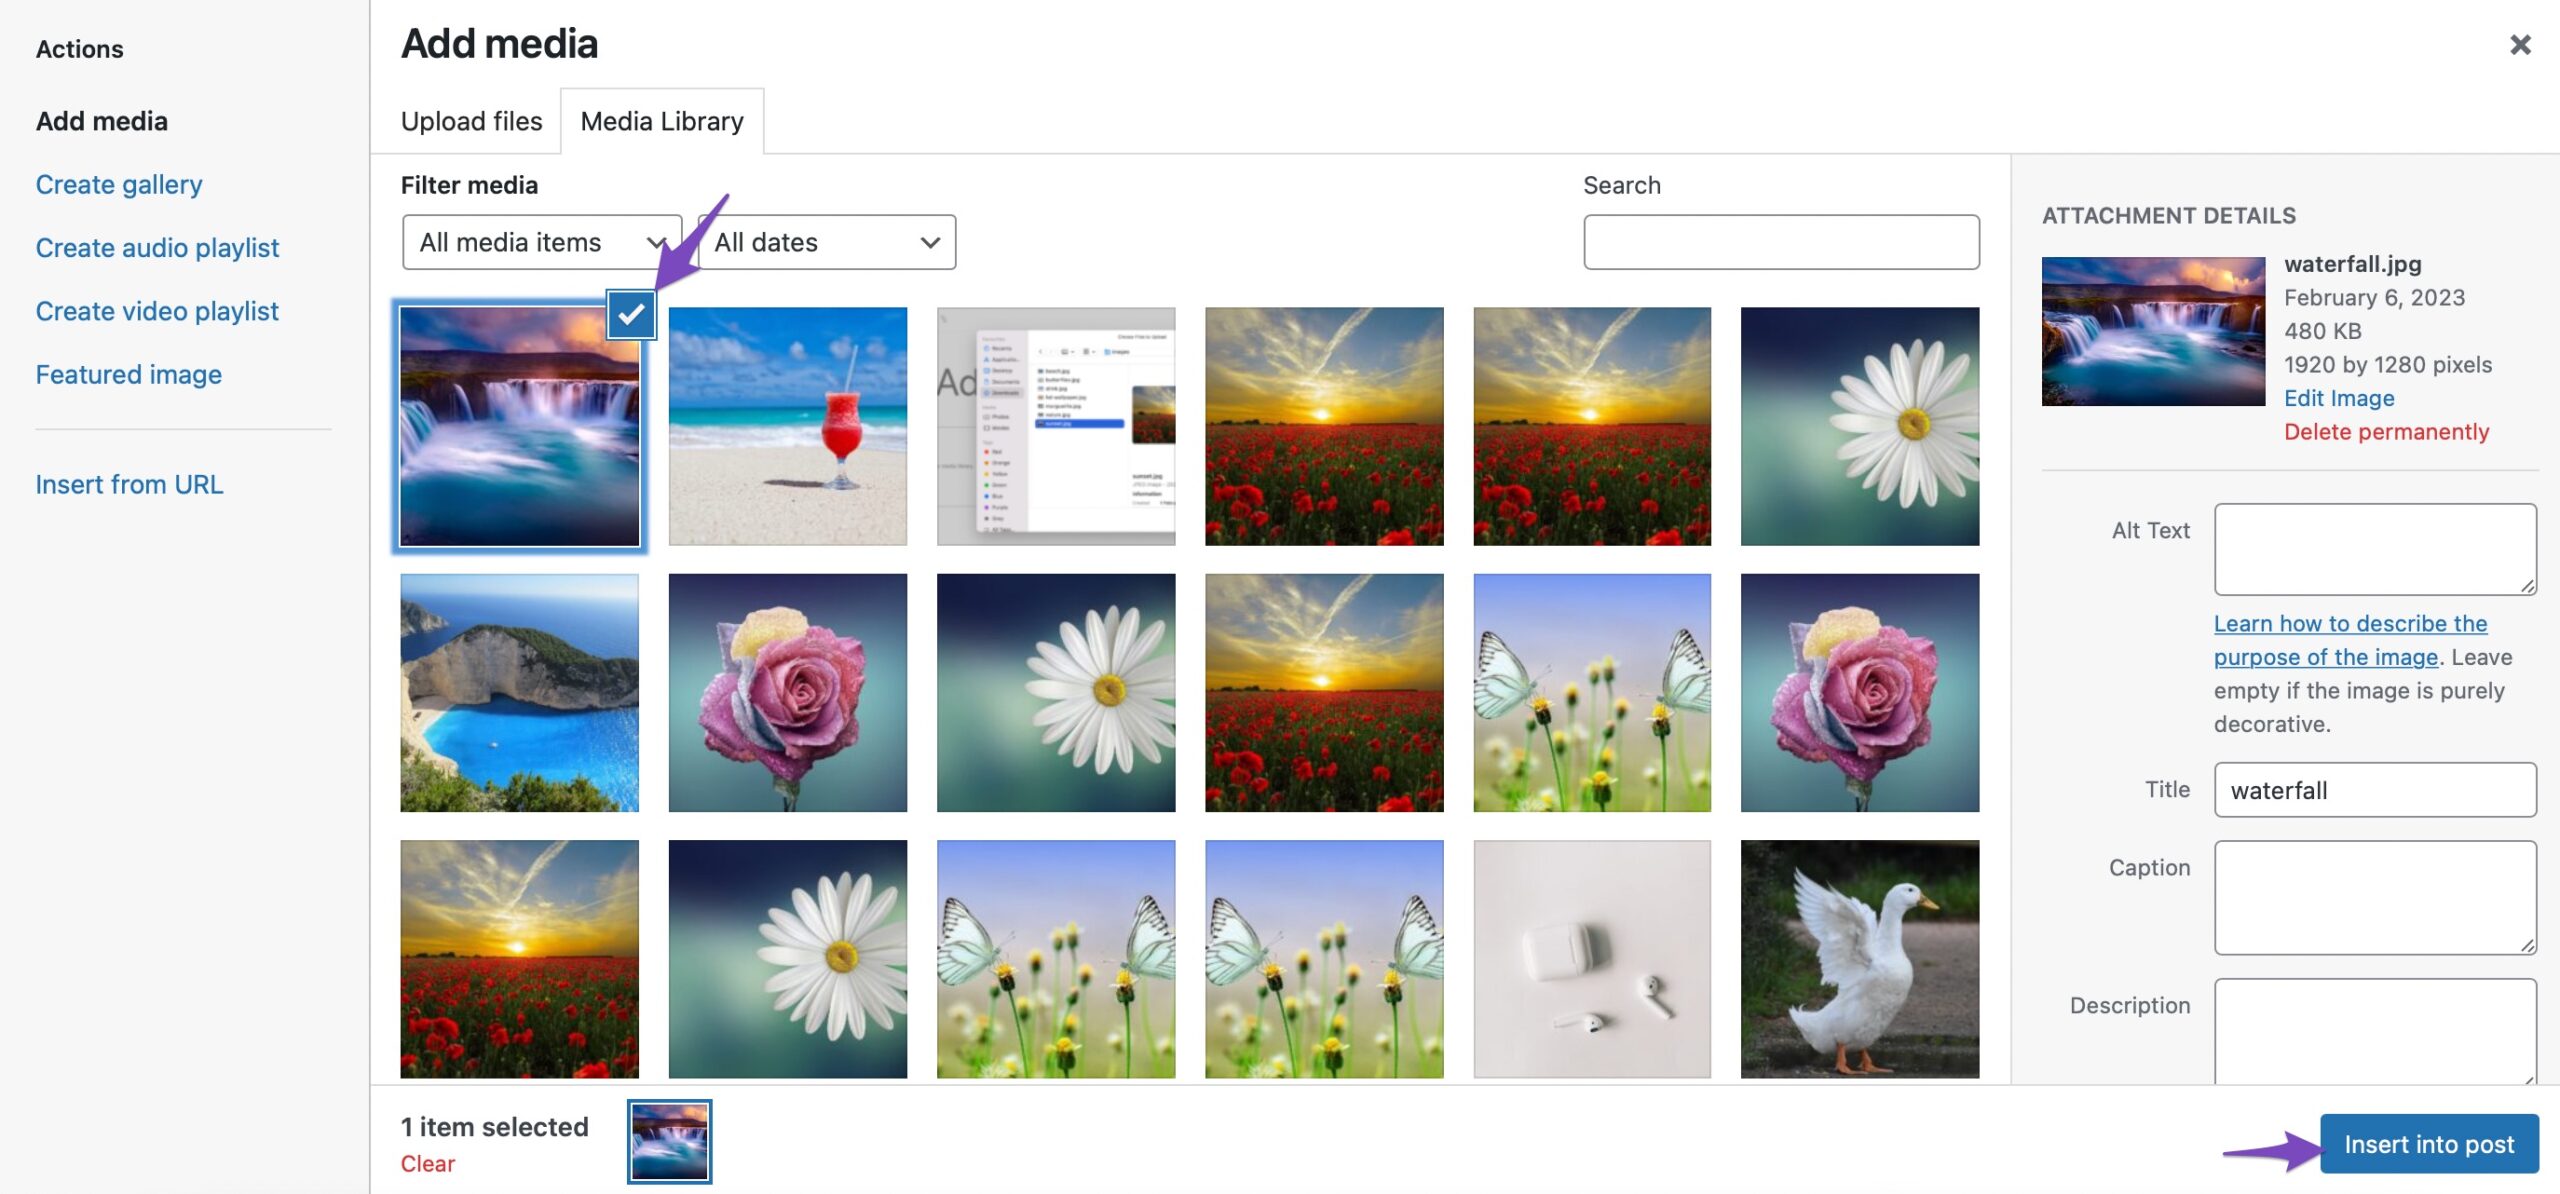
And that’s it! The image will be added to your editor.

4 SEO Best Practices for Images
Before uploading an image, rename the file using relevant keywords that describe what the image shows. Search engines read filenames to understand the image content. A file named blue-running-shoes.jpg is far more informative than IMG_1234.jpg.
Alt text (alternative text) is a short description of the image that appears if the image can’t load and is also used by screen readers for accessibility.
Fortunately, Rank Math allows you to automatically add missing alt attributes to images using dynamic variables, such as the image file name, which should be manually set to something descriptive and relevant. Ensure that you’ve enabled the Image SEO module from your WordPress dashboard.
Large image files can slow down your website, negatively impacting both SEO and user experience. Use image compression tools like Imagify to reduce file size without losing quality.
Refer to our dedicated tutorial on Image SEO to further optimize your images for SEO.
5 Conclusion
Adding images in WordPress is a simple yet powerful way to make your content more engaging, visually appealing, and easier to understand.
With just a few clicks, you can enhance your posts and pages, improve user experience, and even boost your site’s SEO. Start exploring the options mentioned in this post and bring your content to life with the right images.
If you happen to face any issues while uploading images to WordPress, you may need to refer to our detailed troubleshooting guide.
Have any additional questions about adding images you’d like us to cover in this post? Let us know by Tweeting @rankmathseo. 💬