We all agree that coming up with a comprehensive blog post outline can be daunting when you start with the article. As in most cases, you will end up restructuring the outline several times to ensure a clear flow within your content.
As more businesses use AI to streamline content creation, it’s worth noting that 47% of users are producing content faster, and 35% are shifting their focus from quantity to quality.
With Content AI, what seems a hurdle at the beginning of every blog post can be done in just a few clicks. You only need to provide your topic to our Blog Post Outline AI tool, which can swiftly generate the complete outline (of course, with the keywords incorporated).

In this knowledgebase article, we’ll walk you through how to generate a blog post outline using Content AI.
Table Of Contents
1 Using the Blog Post Outline AI Tool
Let us now see how to effectively use the Blog Post Outline tool.
1.1 Enable the Content AI Module
The first step is to head over to WordPress Dashboard → Rank Math SEO from your WordPress dashboard. Here, scroll down to find the Content AI module and enable it as shown below if you haven’t already.

Note: If you ever run out of credits, you can easily upgrade to a higher Content AI plan that aligns with your requirements.
1.2 Select the Blog Post Outline AI Tool
Next, head over to Rank Math SEO → Content AI → Content Editor, as shown below.

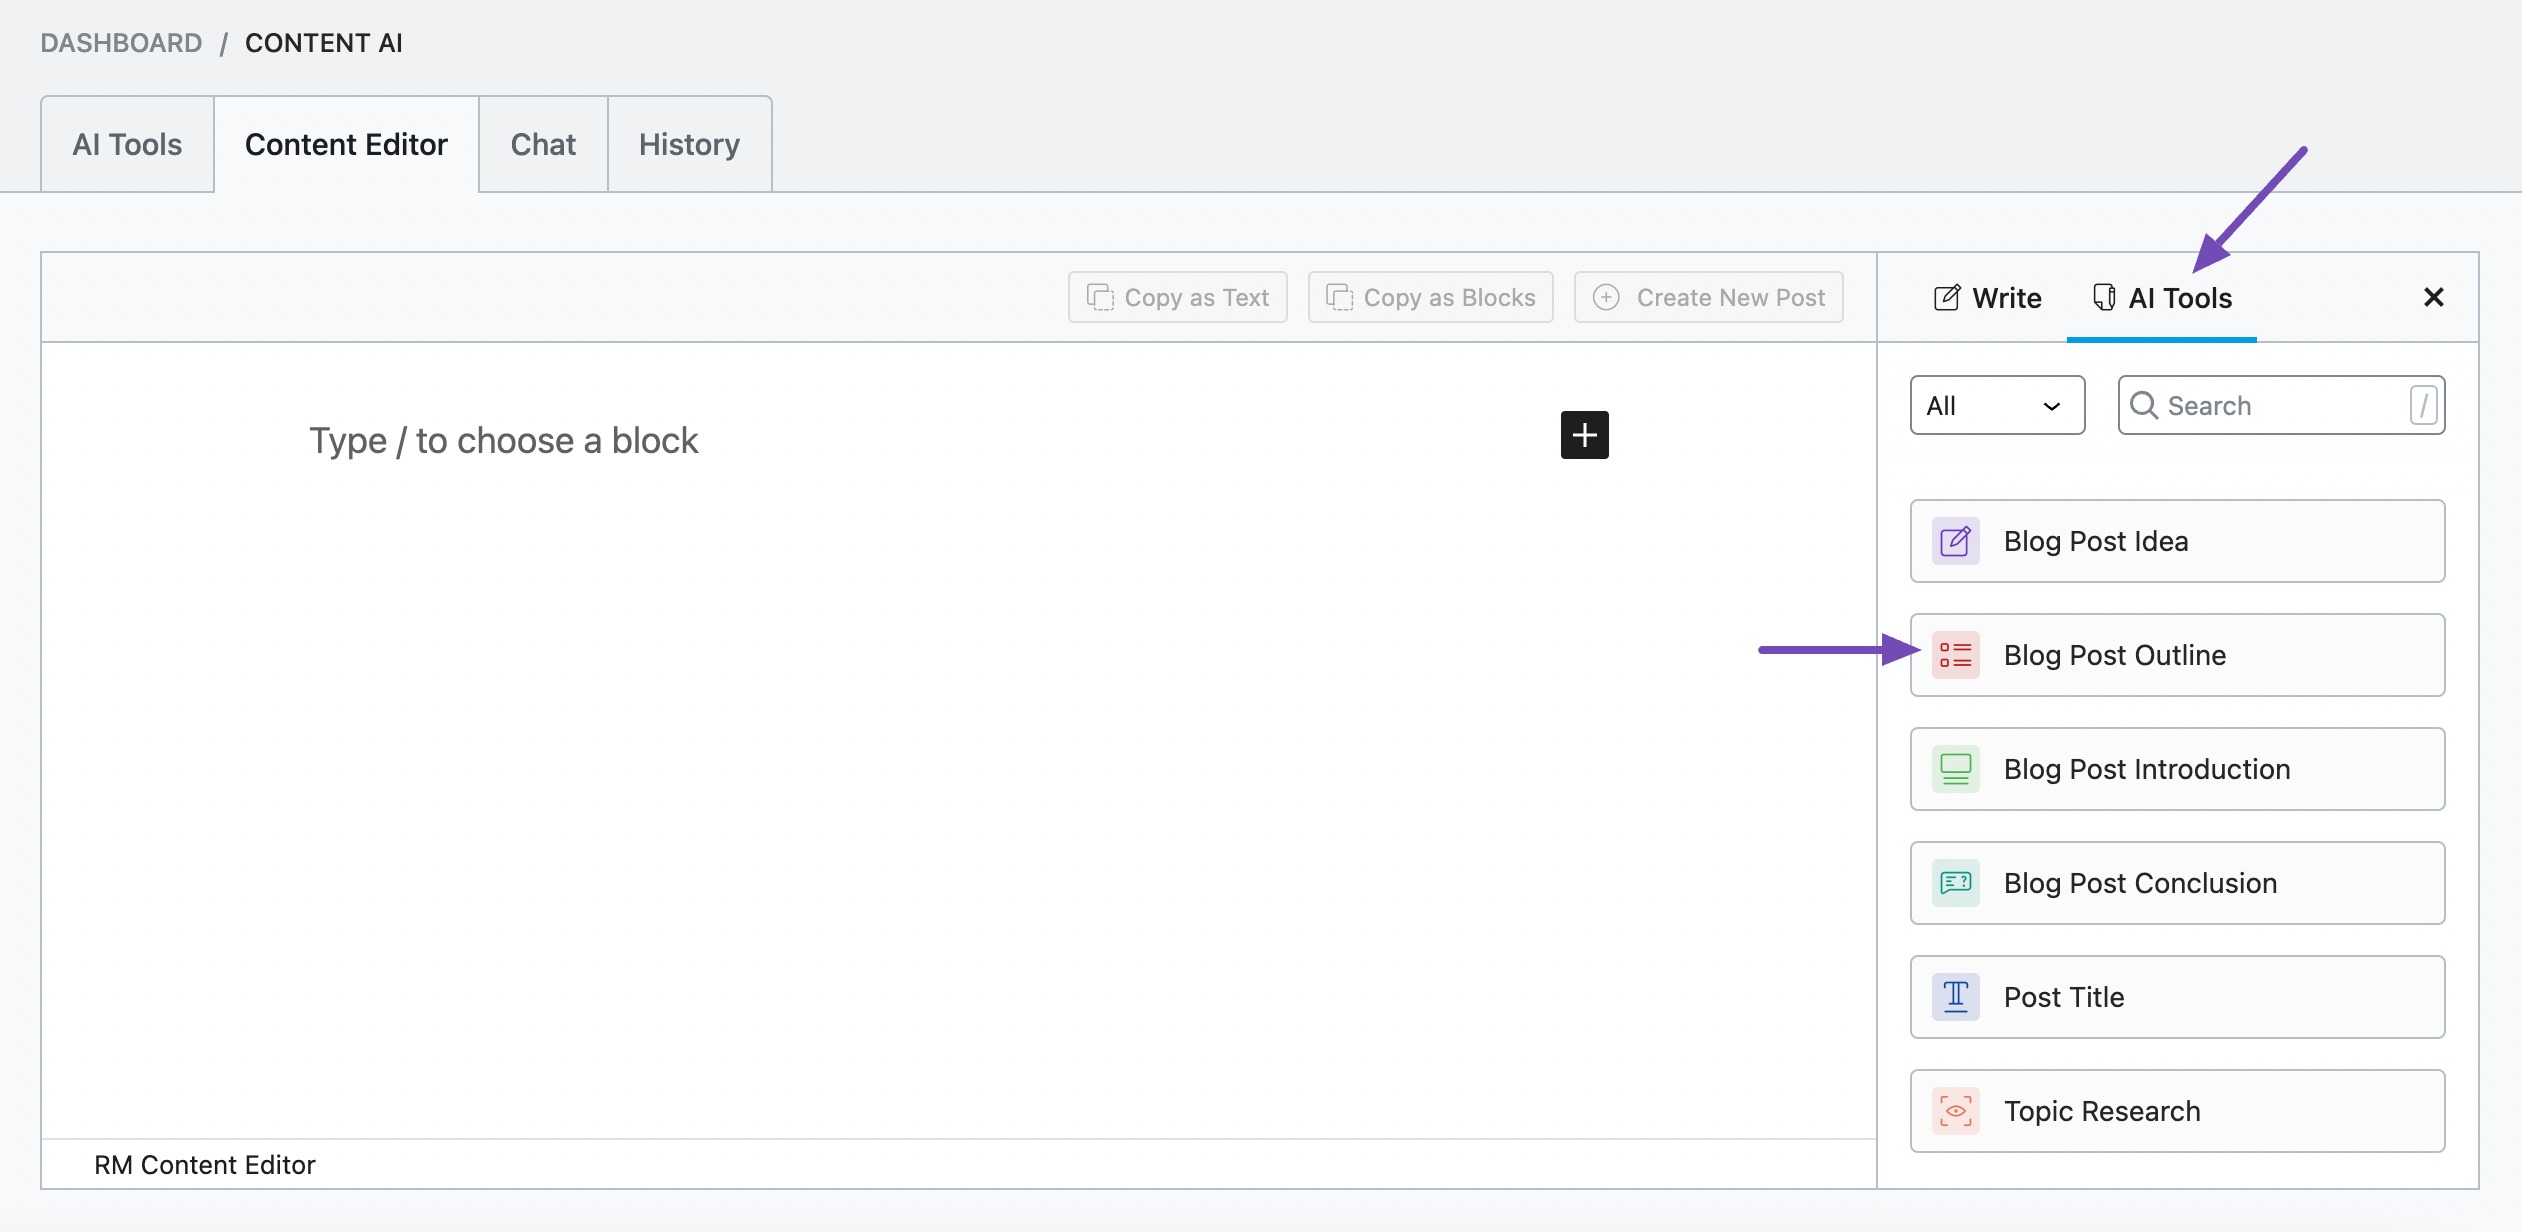
In the Content Editor, click AI Tools and select Blog Post Outline, as shown below. Alternatively, you can choose the Blog Post Outline AI tool from your favourite WordPress Editors or from the AI Tools tab, whichever suits your writing flow.
You will be presented with the Blog Post Outline AI settings. Let’s discuss each of these fields one by one.
2 Available Options in the Blog Post Outline AI Tool
Let us now closely look at the available options in the Blog Post Outline AI tool.
2.1 Topic
Enter the topic/post title of your article in this field. This field is required to generate an outline for you. You can enter a maximum of 200 characters.

Note: If you do not have a post title, you can generate it using the Post Title AI tool.
2.2 Main Points & Ideas
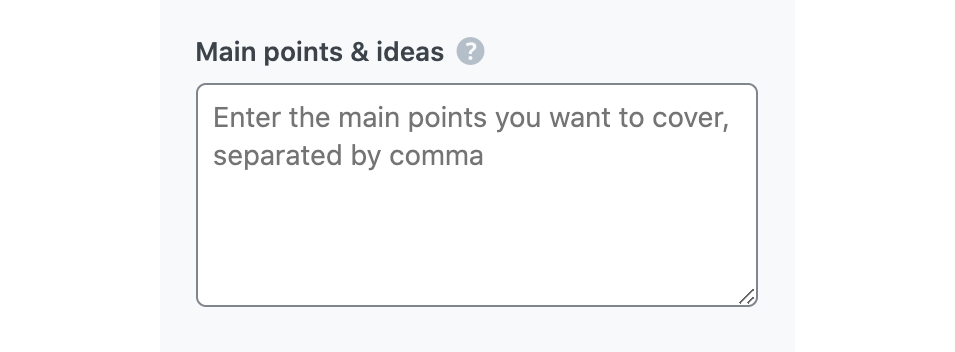
In 400 characters or less, let Content AI know the main points and ideas you intend to cover in this article. This will help Content AI to theme the outline around it.
Optionally, you can leave this field blank to allow Content AI to do its own research and suggest the ideas to focus.
2.3 Audience
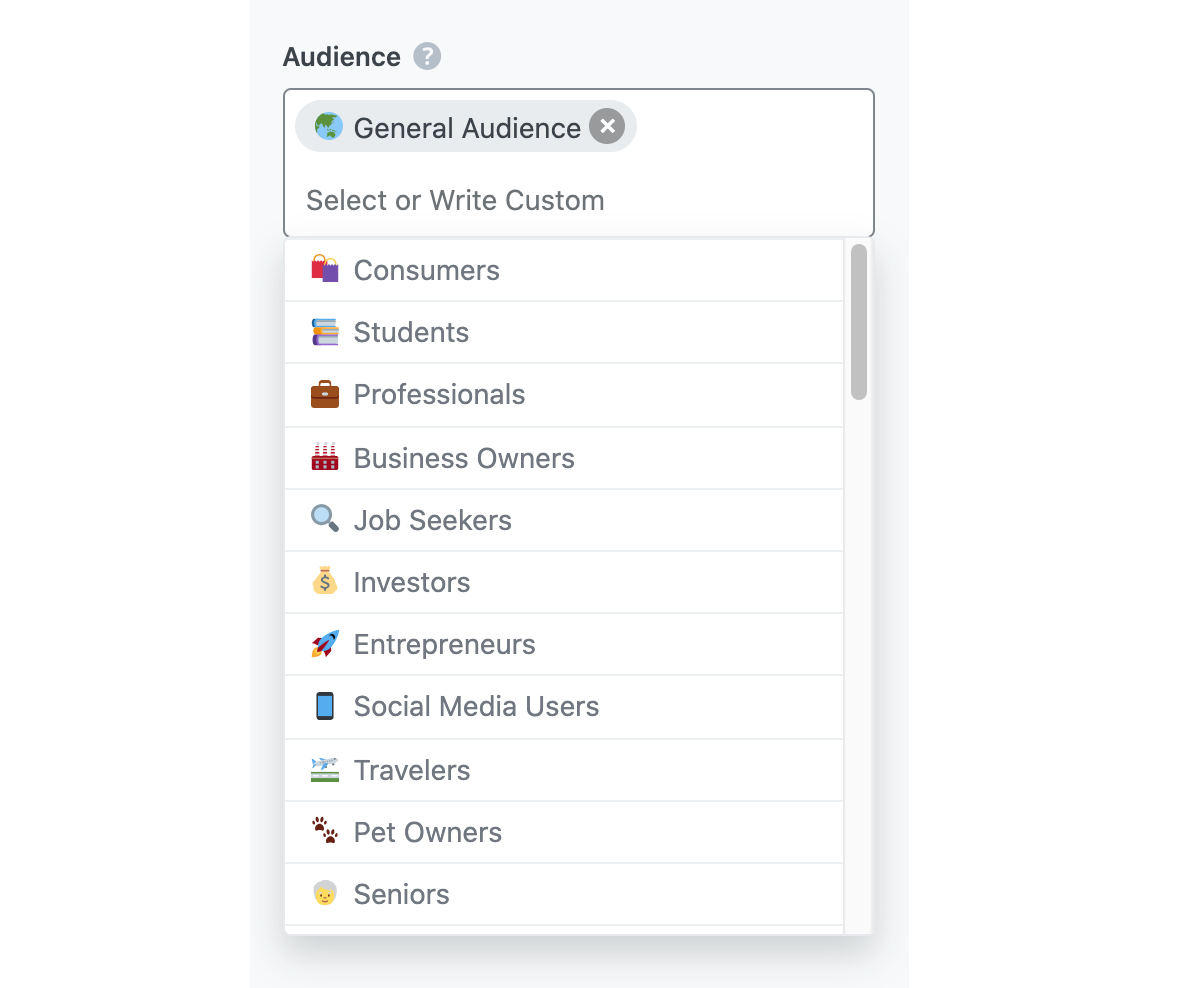
In this field, type in the words that best describe your target audience or select from the dropdown menu that appears when you begin typing. You can enter multiple audiences.
See the full list of all the Audience options we offer ➜
2.4 Focus Keyword
In this field, enter the main keywords you want to rank for. You can enter multiple keywords here, each separated by a comma. The keywords should be at most 200 characters.

2.5 Tone
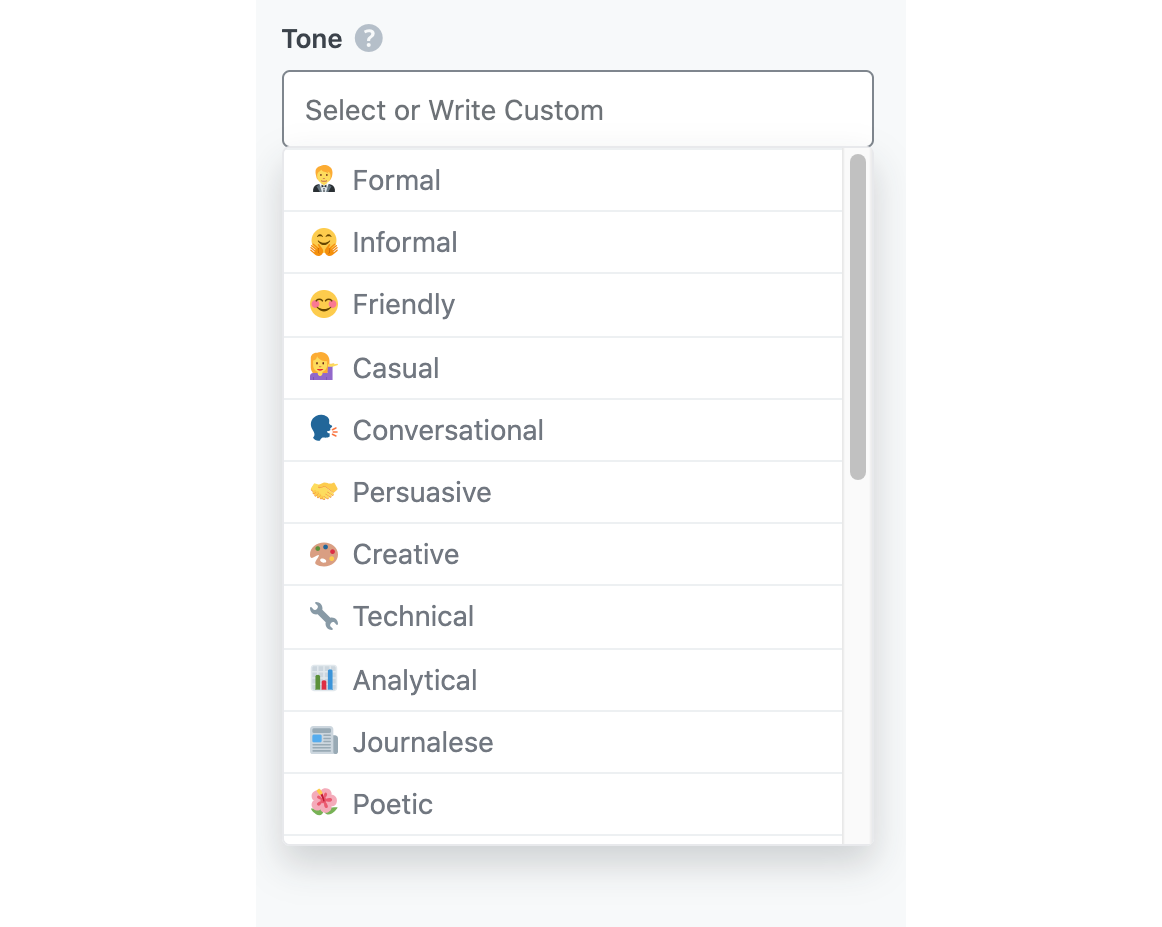
In the Tone field, you will enter the words that best describe your writing voice. You can type in your desired tone or choose from the dropdown menu that appears when you begin typing. You can enter multiple tones.
See the full list of all the Tone options we offer ➜
2.6 Style
In the Style field, you will select the format you intend to publish the completed content. You can type in your desired style or choose from the dropdown menu that displays when you begin typing. You can select multiple styles.
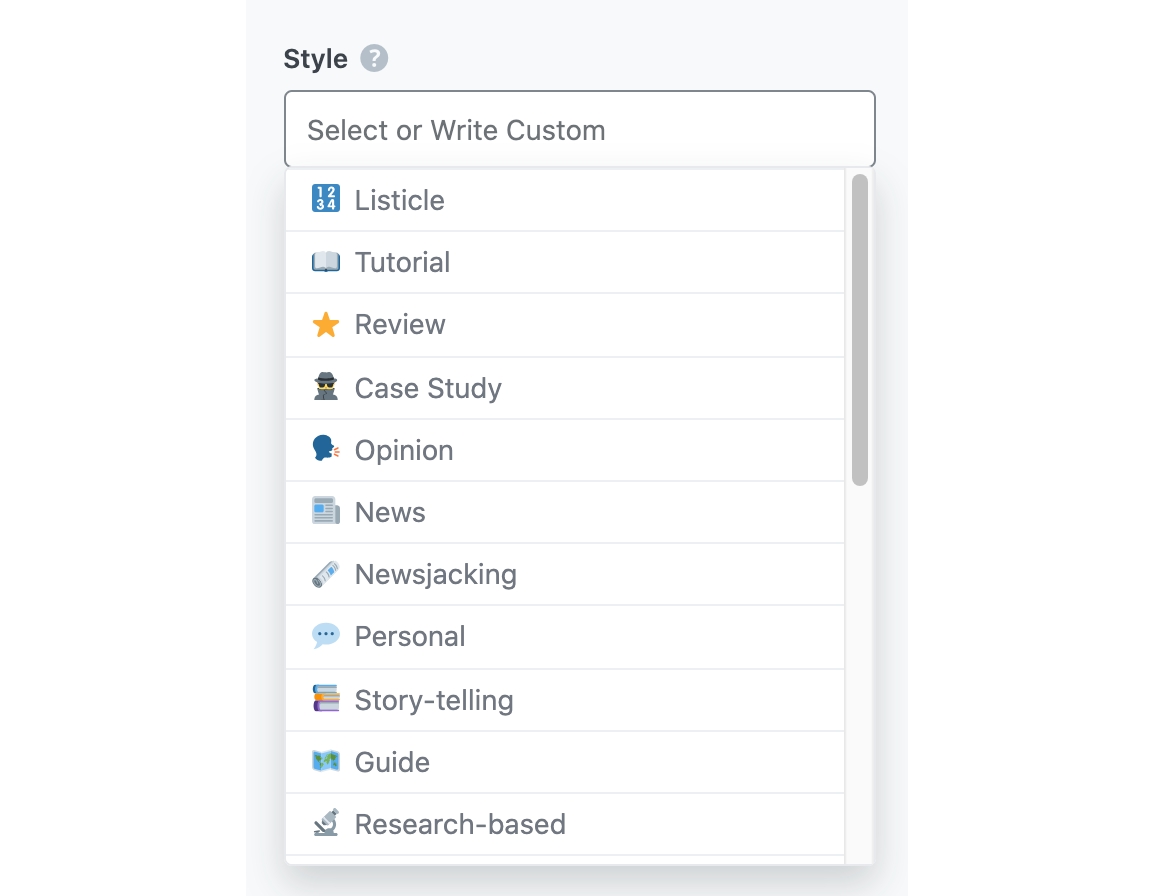
Here is the complete list of styles available for you to select:
- Listicle
- Tutorial
- Review
- Case Study
- Opinion
- News
- Newsjacking
- Personal
- Story-telling
- Guide
- Research-based
- Interview
- Infographic
- Debate
- Video Blog
- Vlog
- Podcast
- Audio Blog
- Quiz
- Contest
- Poll
- Comparison
2.7 Output Language
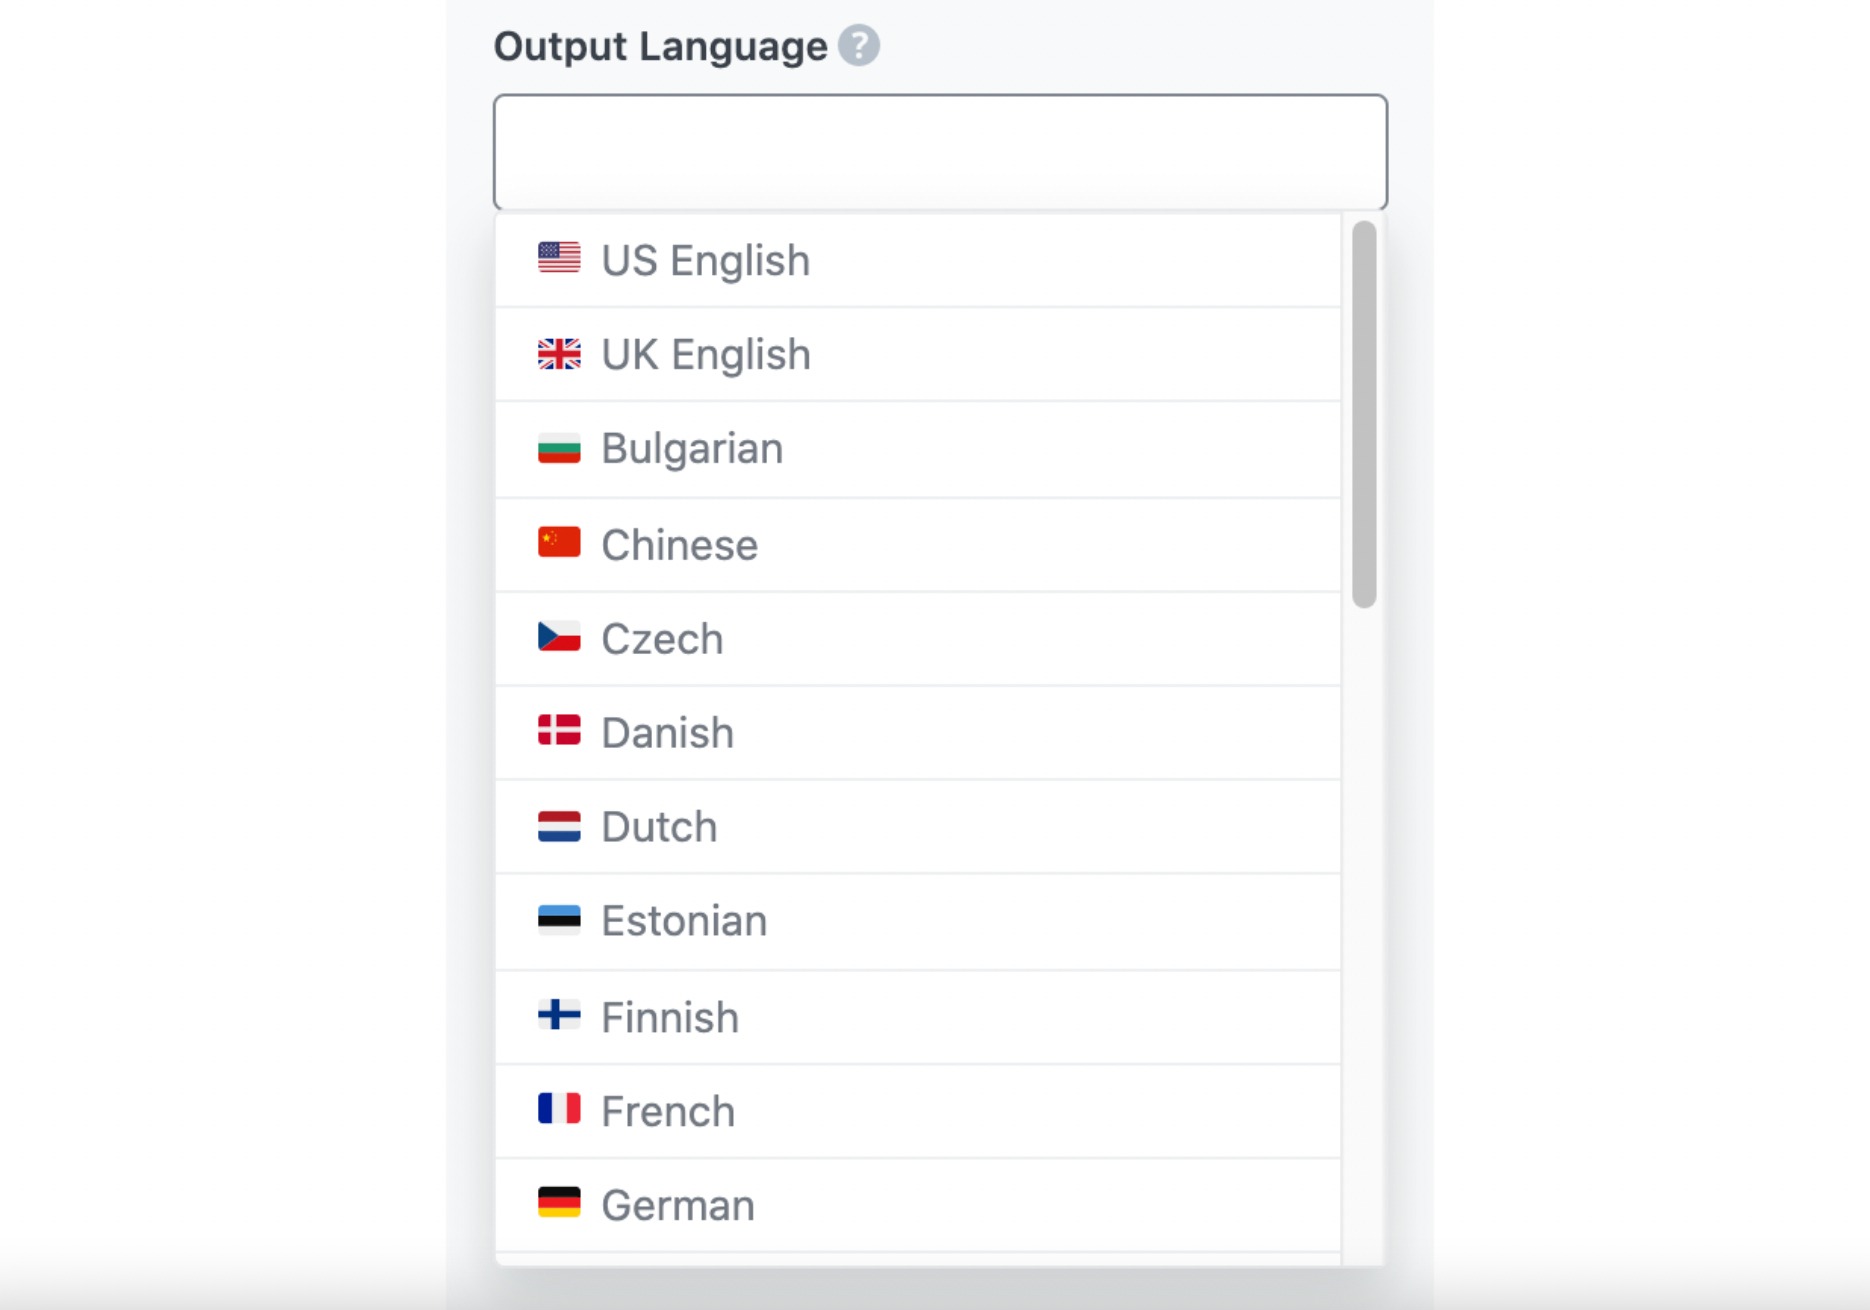
In the Output Language field, you will enter the language in which you want the outline to be generated. You can only select one language. If the field already contains a language, you need to delete it before entering another language.
See the full list of all the Output Language options we offer ➜
2.8 Number of Outputs
Content AI can generate up to three blog post outlines at a go. You can set the Number of Outputs field here.

2.9 Generate
Content AI will begin creating your blog post outlines when you click Generate.
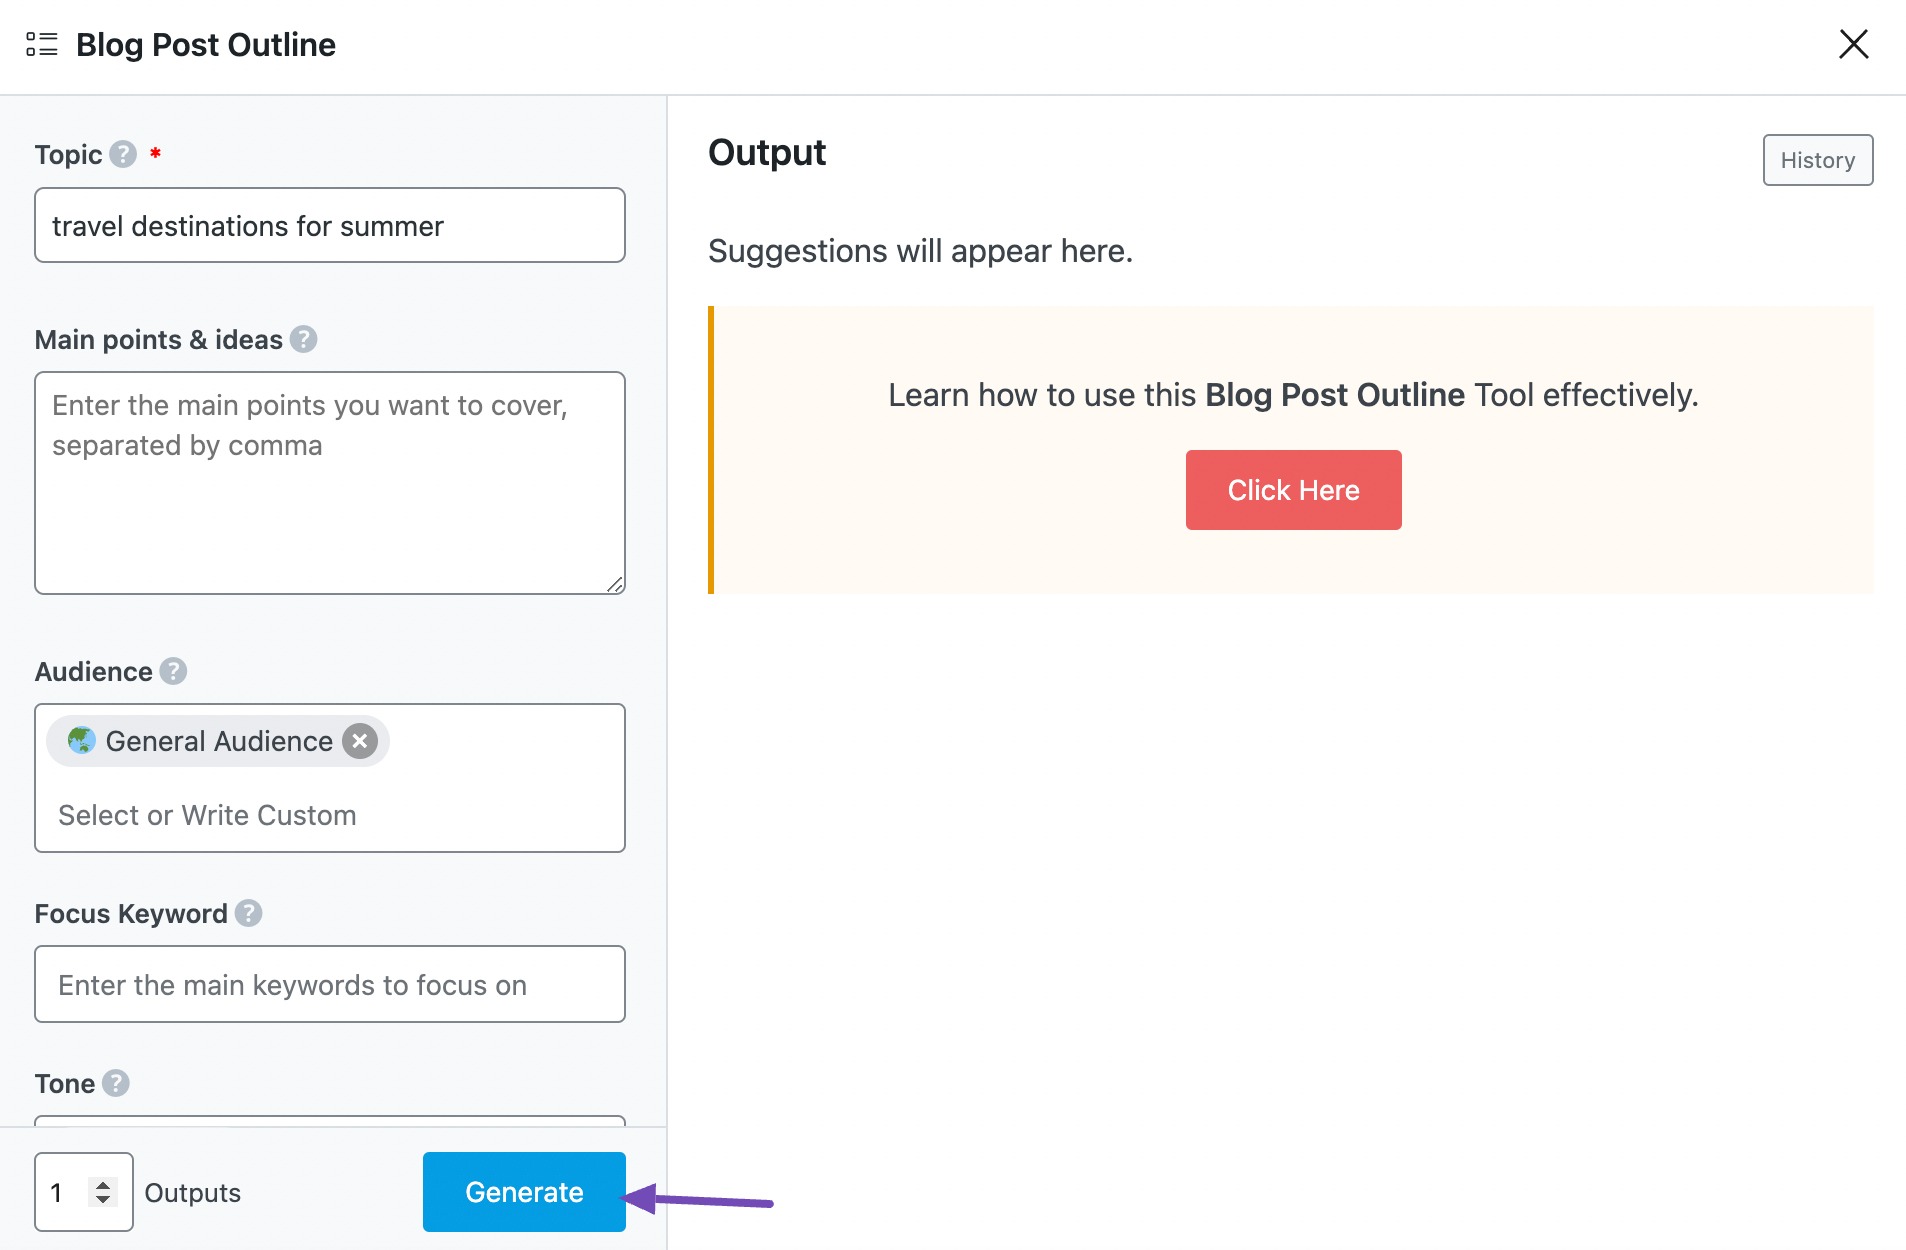
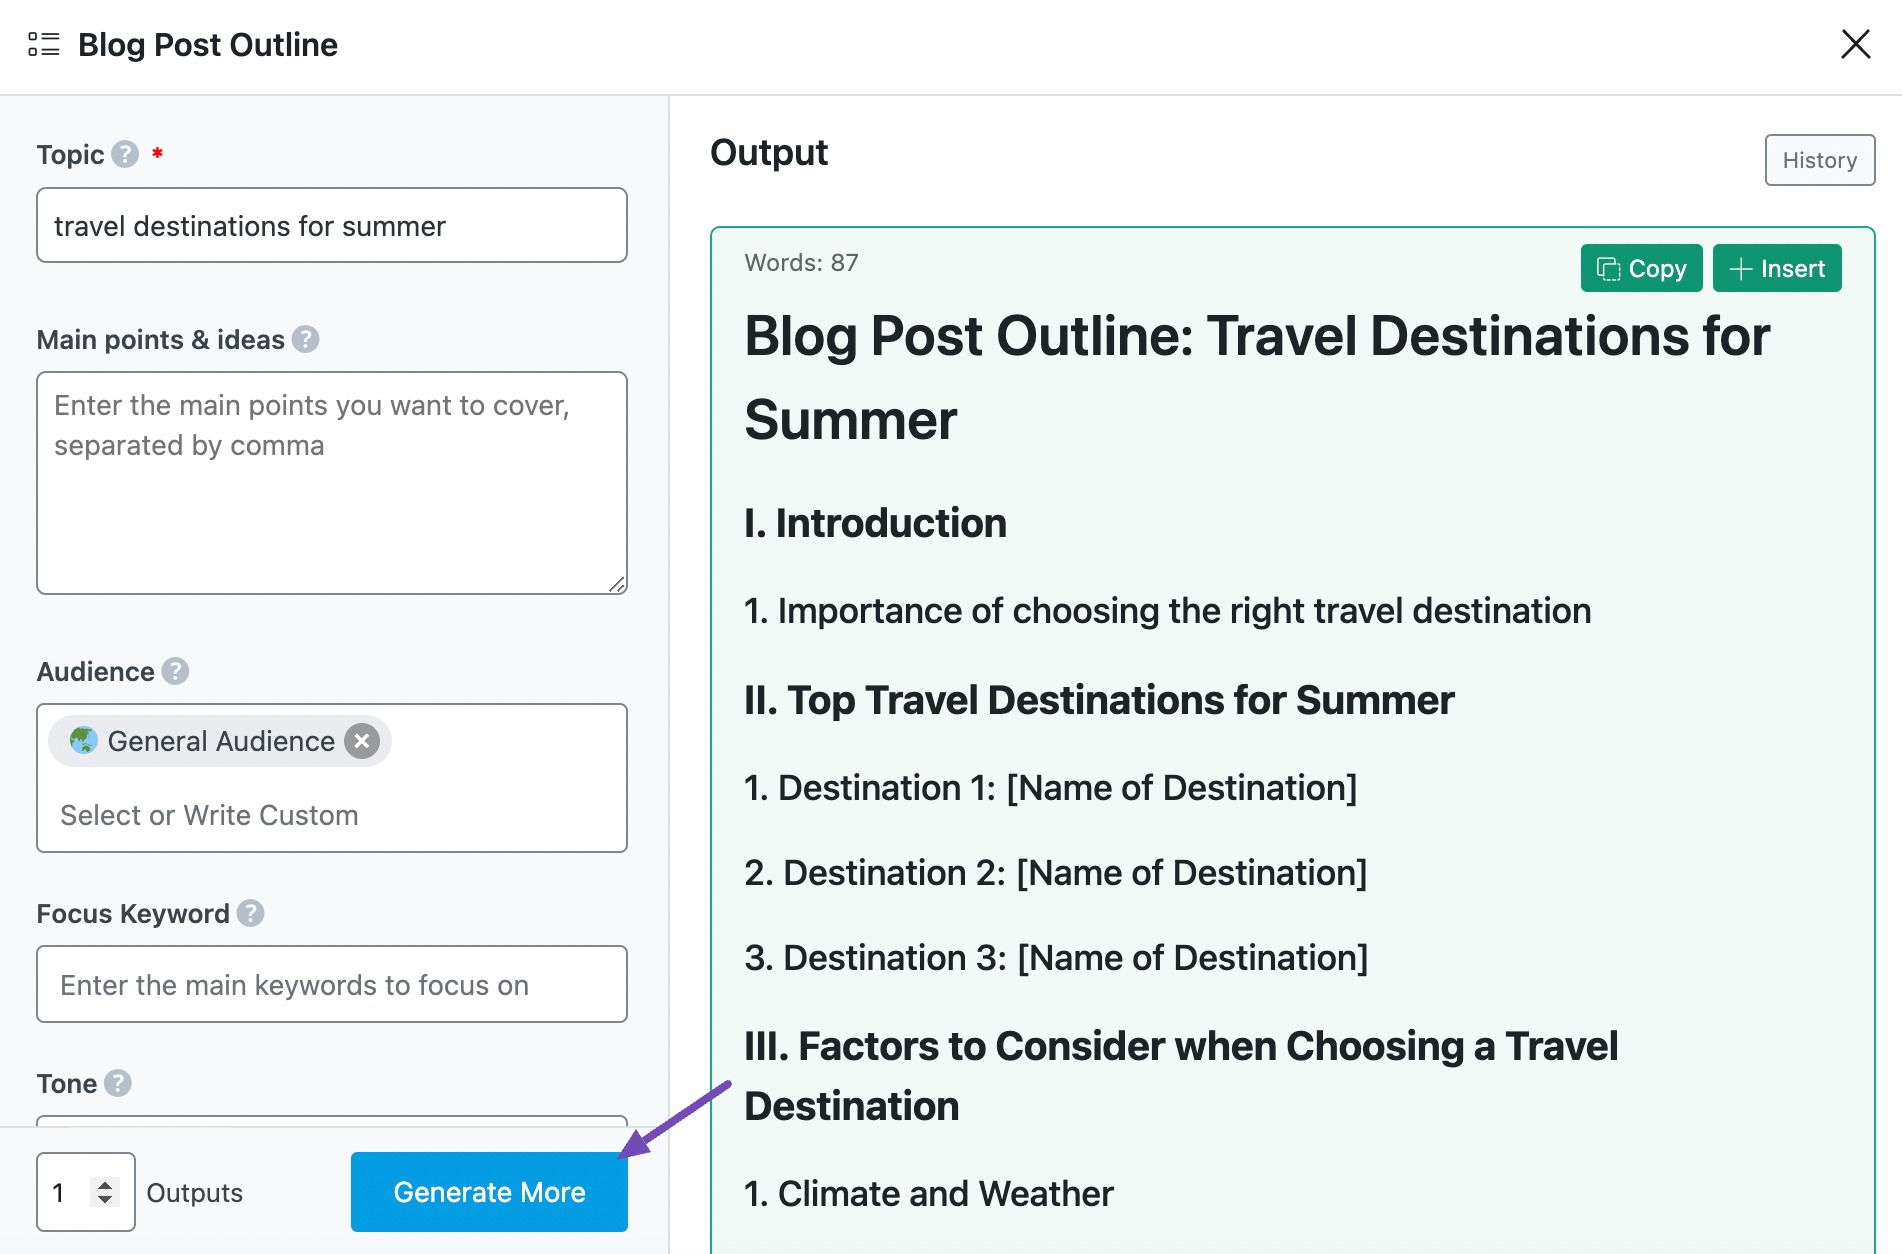
Once done, your blog post outline will be displayed in the Output section. You can click Generate More if you want Content AI to suggest more post outlines.
2.10 Insert
The next step is to select the outline you want to develop into a blog post. To do that, hover over your desired outline and click Insert.
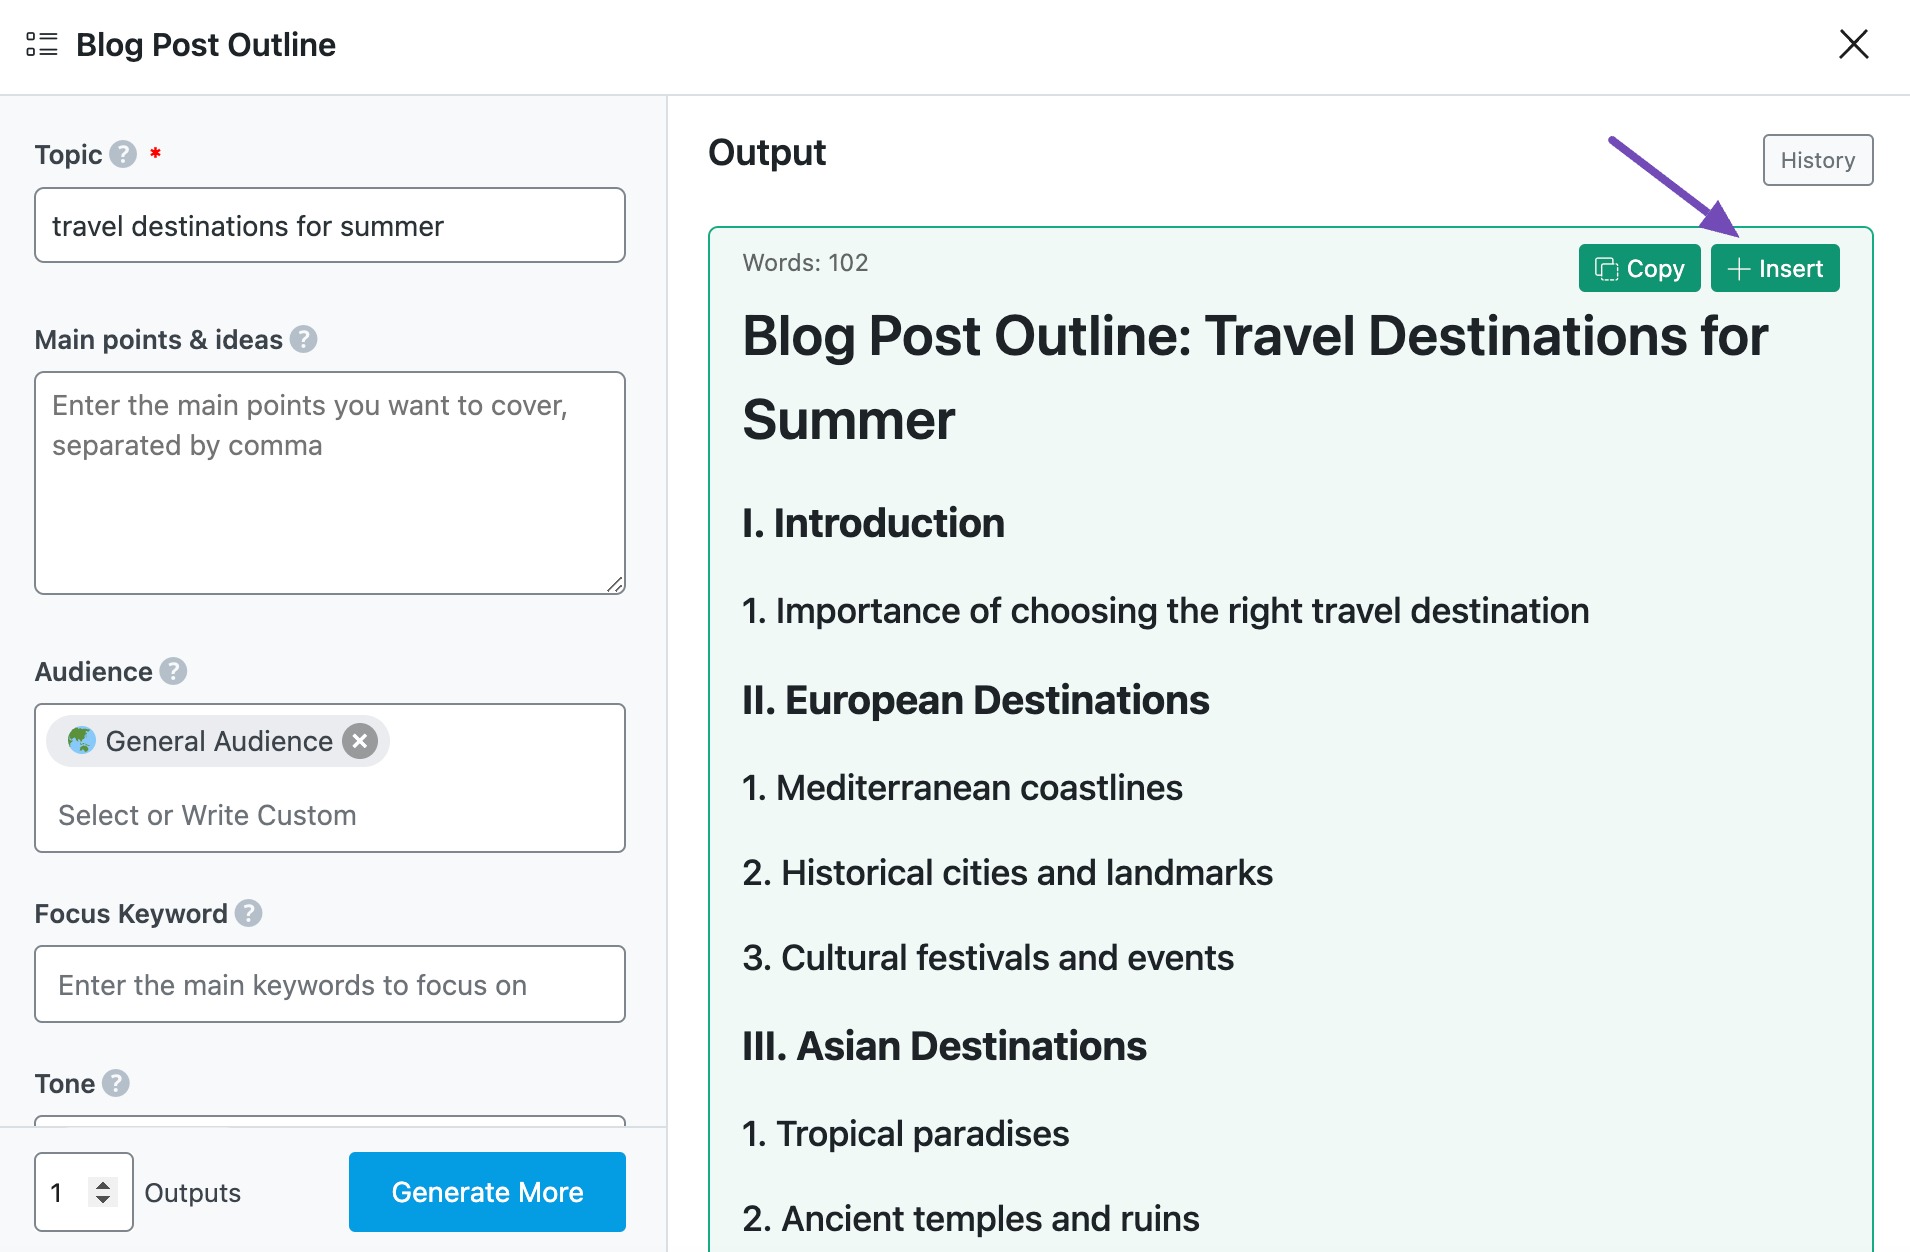
The outline will be inserted into the Content Editor. You can use other Content AI tools to develop it into a blog post. Once done, you will click Create New Post.
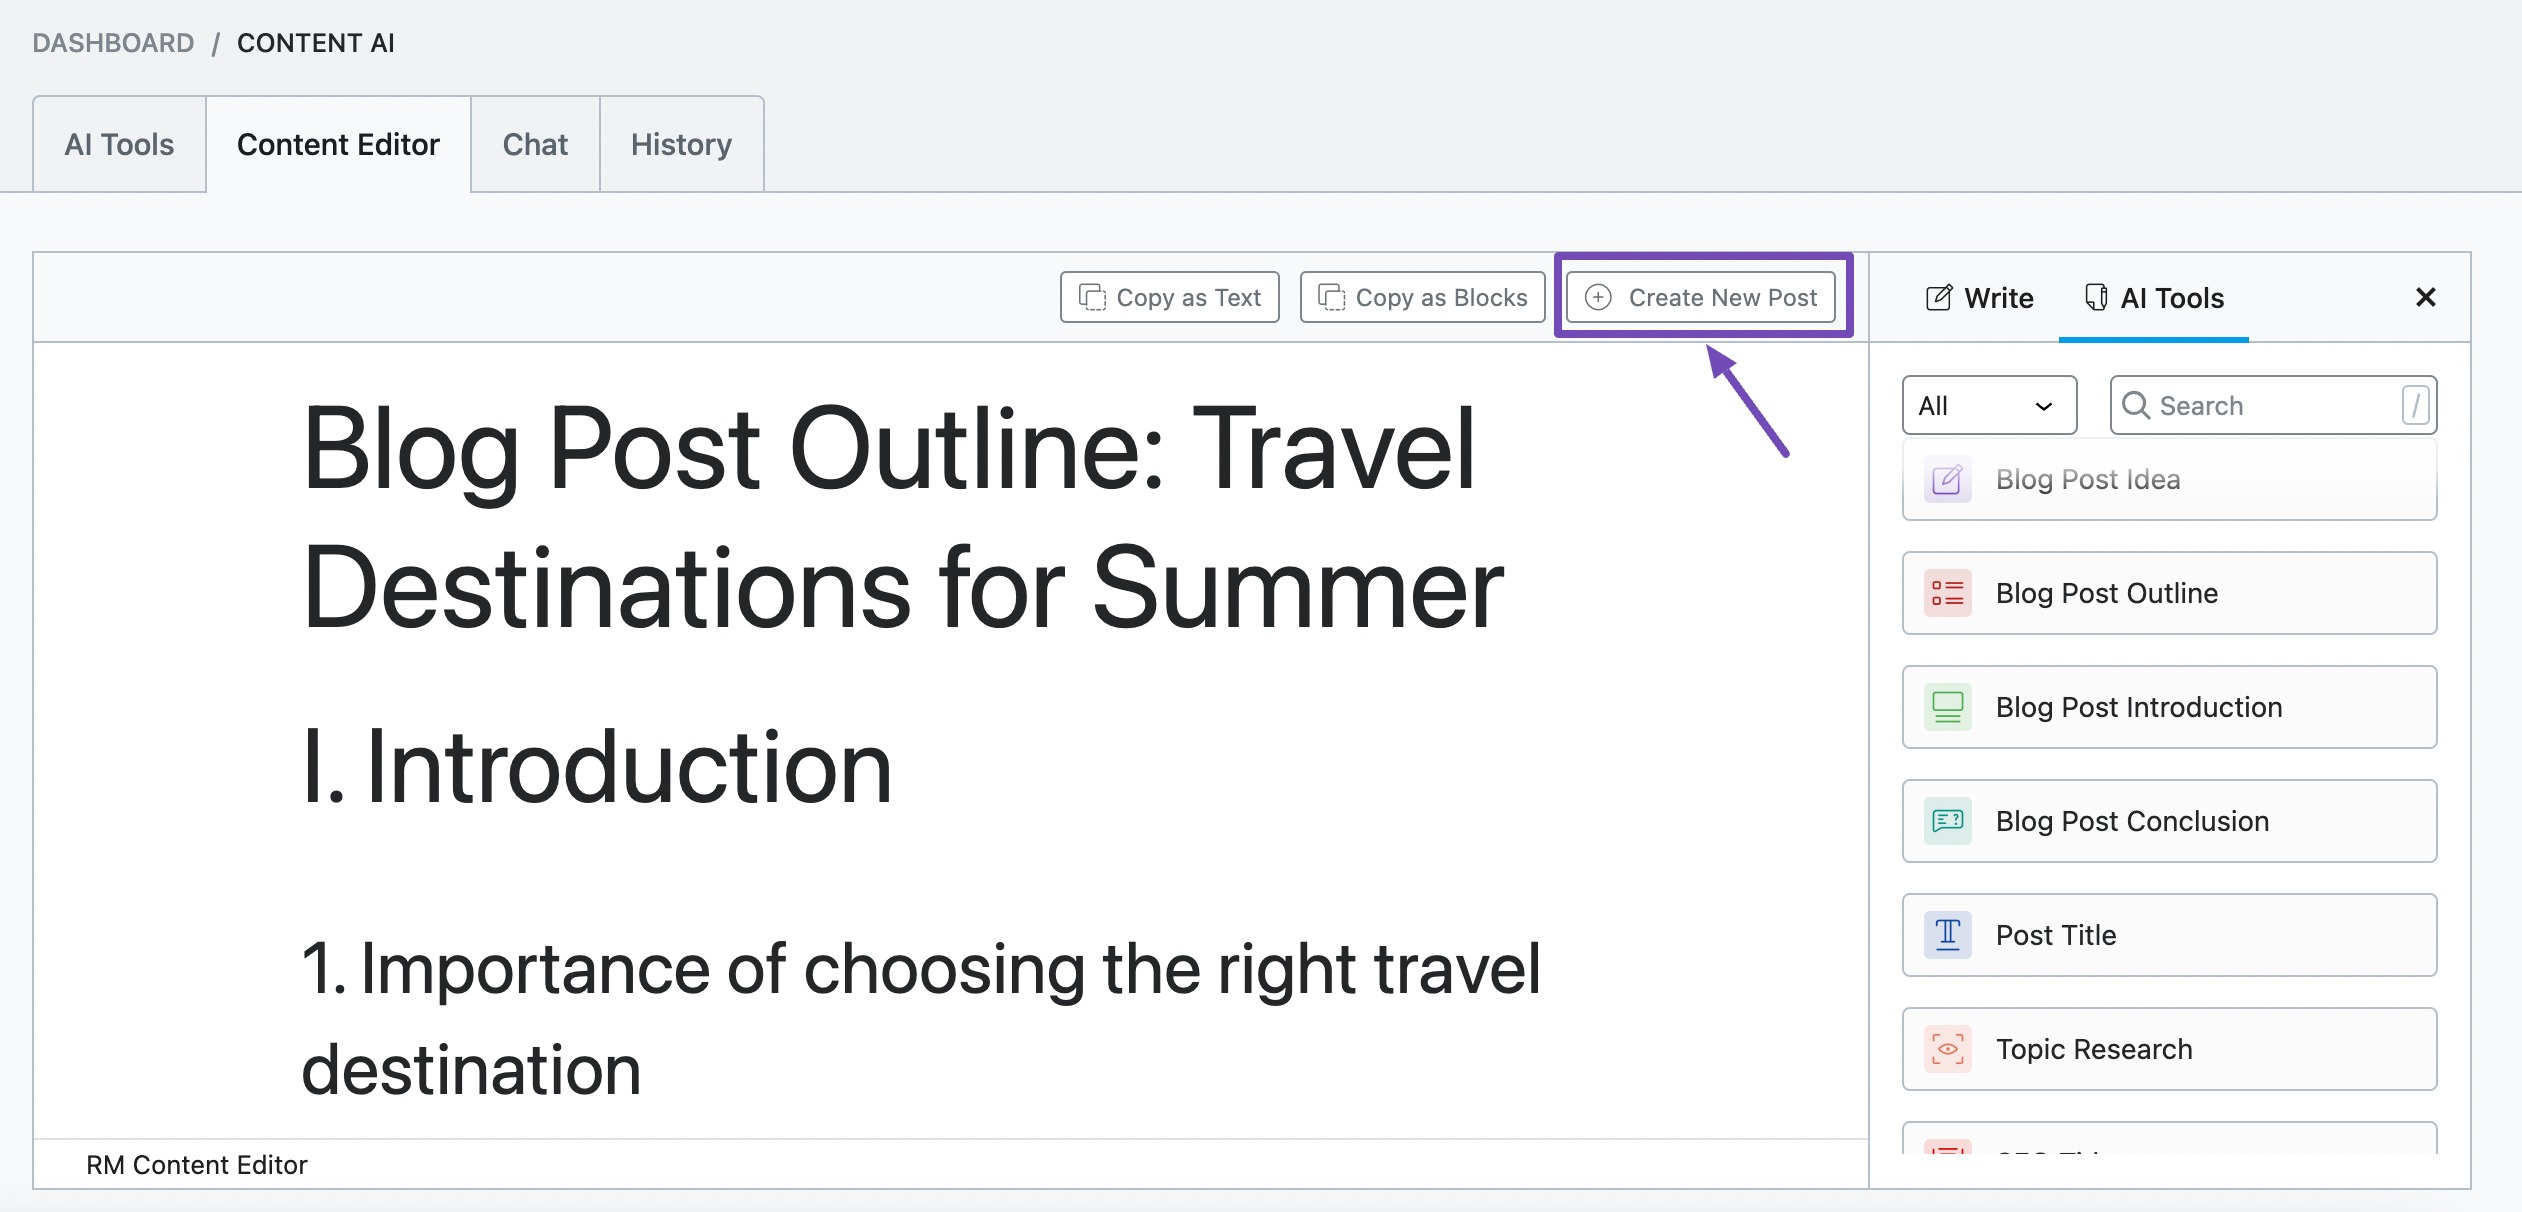
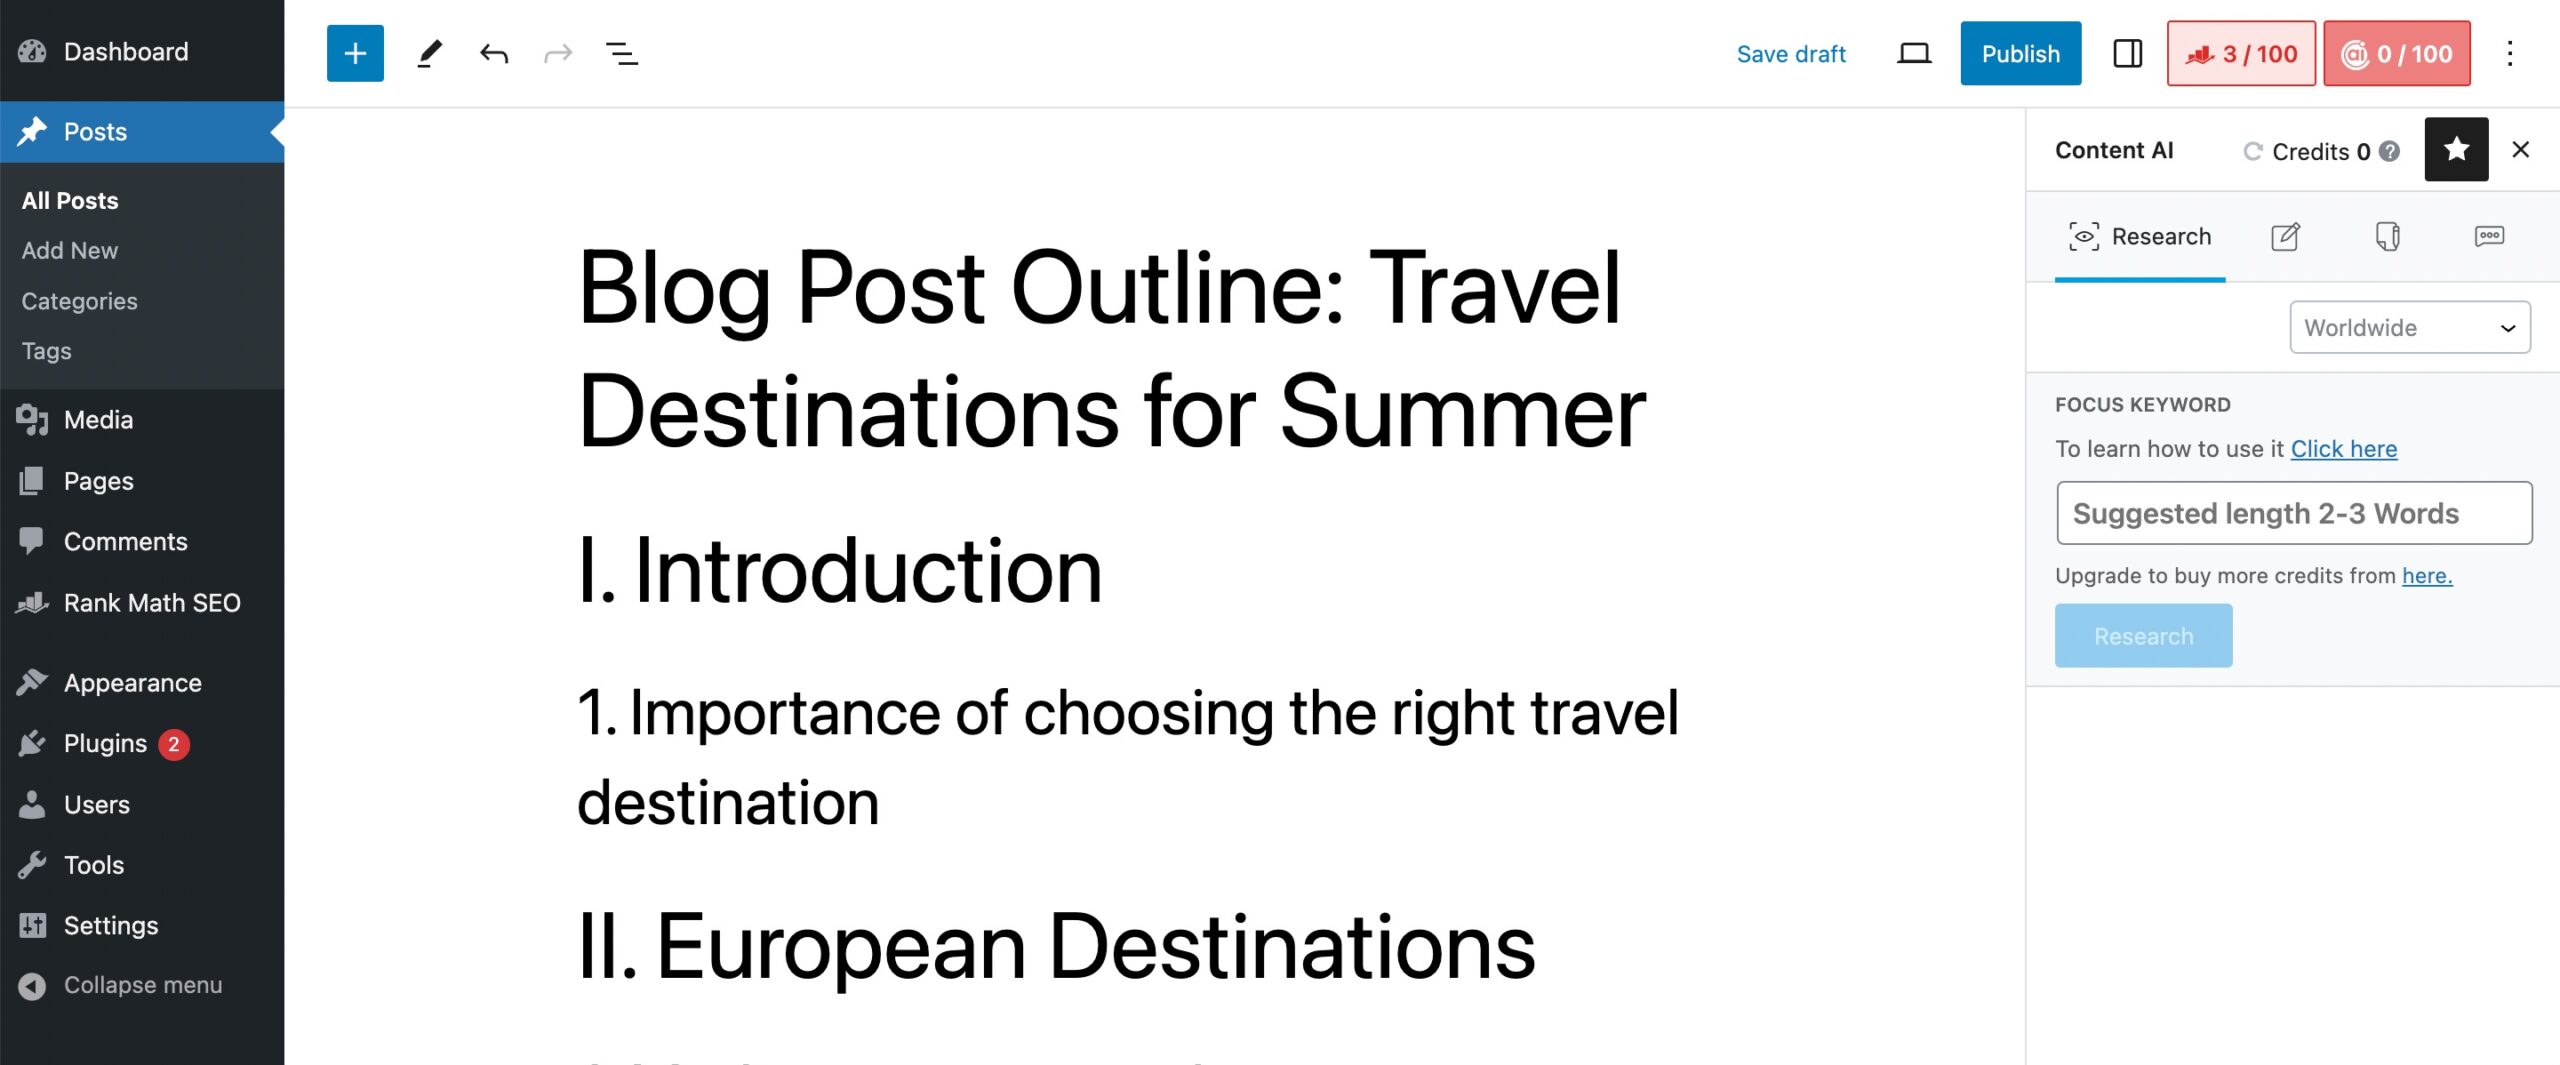
The content outline will be uploaded to your WordPress Editor. You can then proceed to save it as a draft and publish it when the content is ready.
3 Use Cases of the Blog Post Outline AI Tool
Planning a well-structured blog post can be challenging, especially when you want to ensure clarity, logical flow, and engagement. The Blog Post Outline AI tool simplifies this process by generating organized outlines that are a strong foundation for your content. Here’s how you can use it effectively:
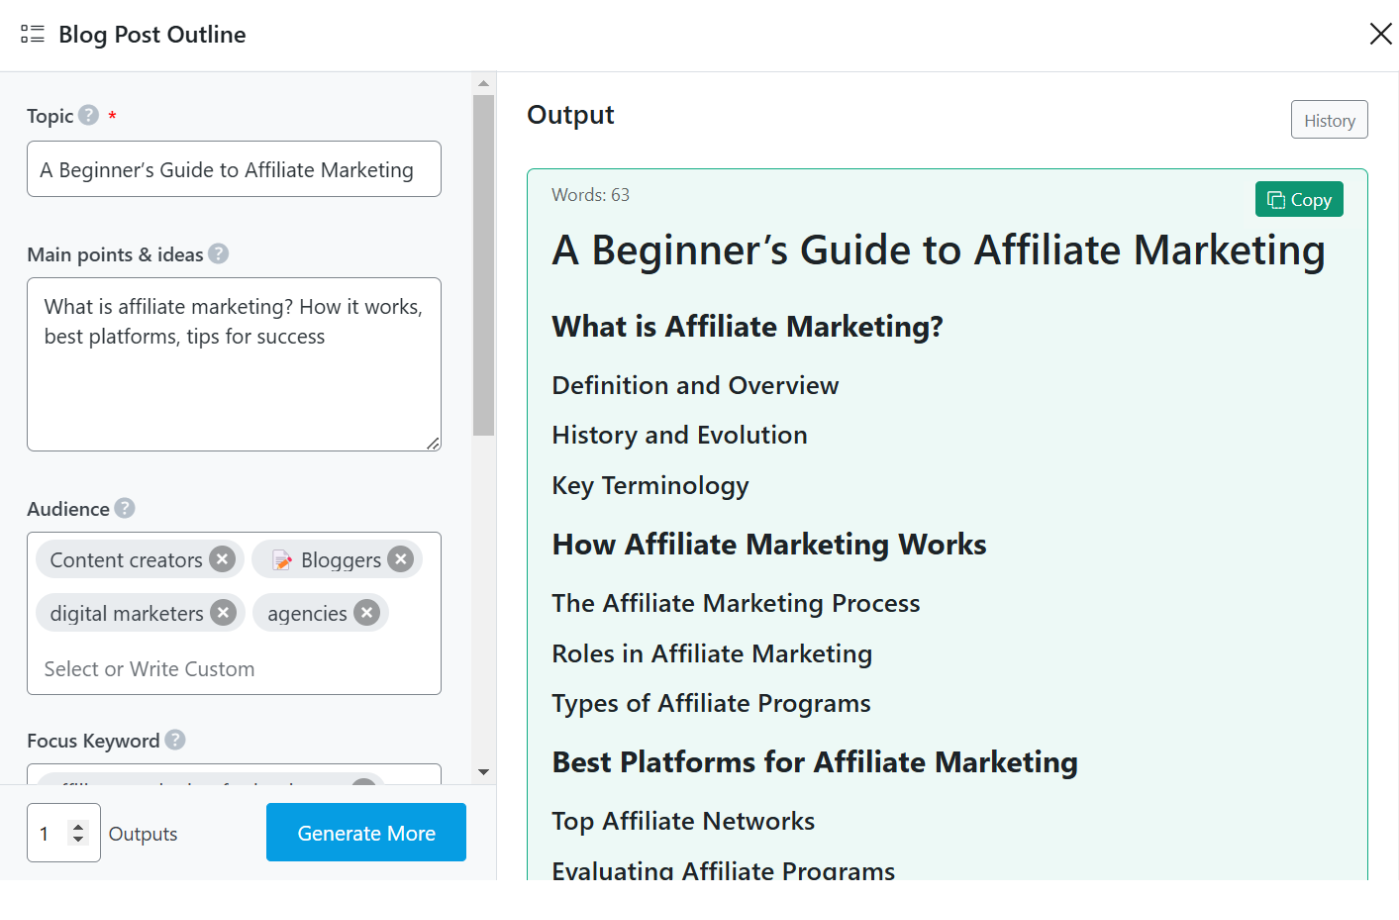
3.1 Creating Outlines for Content Briefs (For Agencies & Teams)
Content marketing agencies and editorial teams need structured content briefs to streamline their workflow. Instead of manually creating detailed outlines for writers, this AI tool generates organized frameworks that define the article’s key sections, subtopics, and strategic direction.
This speeds up content planning, ensures consistency across multiple writers, and aligns posts with SEO and brand goals. Agencies can use this AI tool to scale content production while maintaining quality.
3.2 Structuring Guest Post Pitches for Outreach
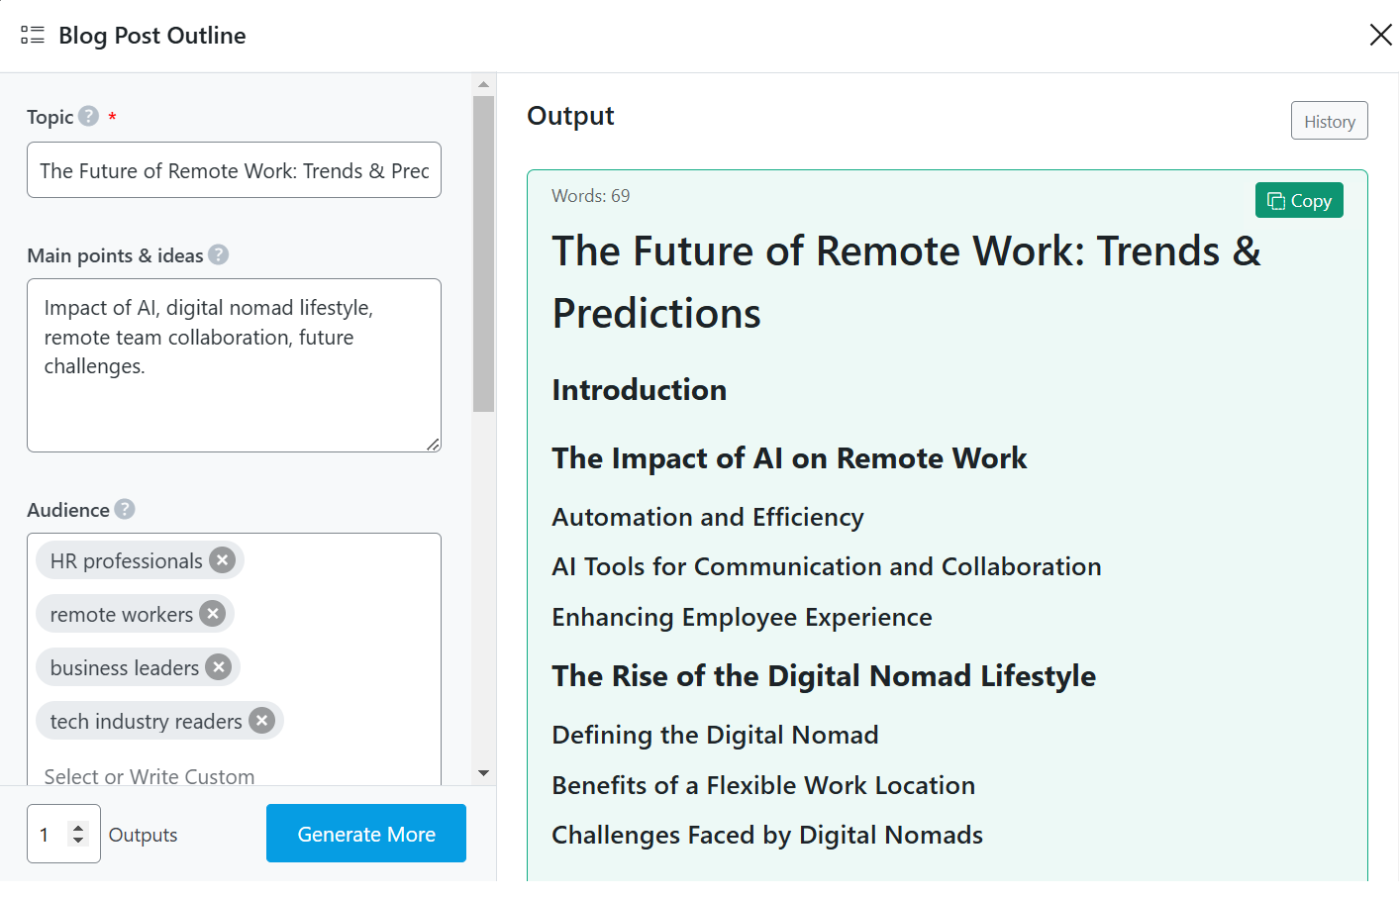
When pitching a guest post to high-authority blogs, a well-structured outline increases the chances of acceptance. Editors prefer clear, logically structured outlines that align with their audience and editorial guidelines.
This AI tool helps craft concise, compelling outlines that showcase expertise, demonstrate article value, and fit the target site’s content style. Instead of guessing what an editor wants, writers can submit a structured pitch with a clear direction—increasing approval rates.
3.3 Creating SEO-Optimized Blog Post Outlines
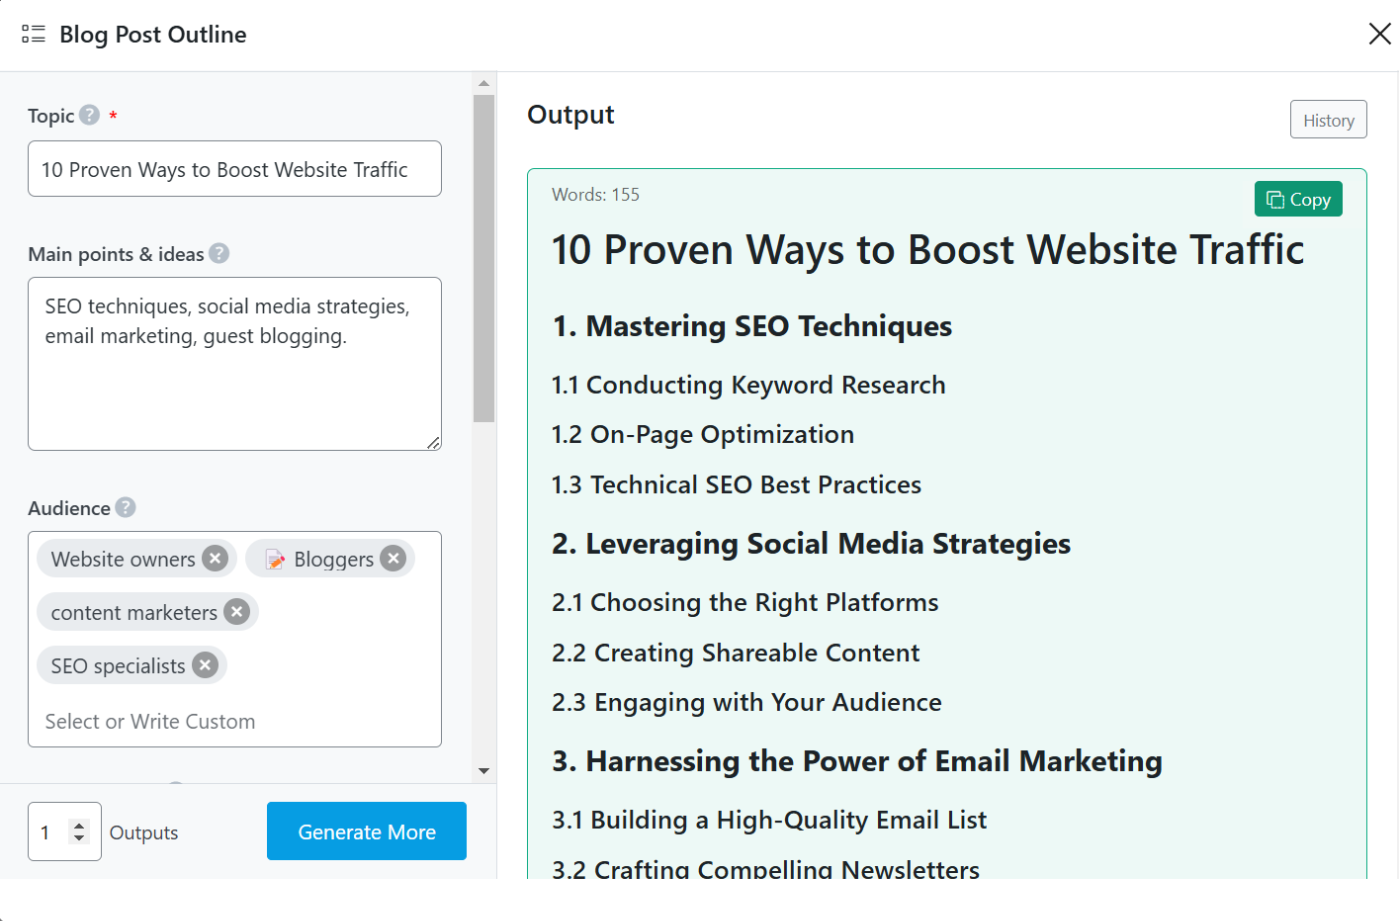
To rank higher in search engines, blog content needs to be logically structured and keyword-rich. This AI tool helps map out well-optimized outlines that naturally incorporate primary and secondary keywords into headings, subheadings, and bullet points—enhancing both readability and SEO performance.
This ensures content flows smoothly while remaining strategically optimized for search visibility.
3.4 Creating Outlines for Case Studies & Success Stories
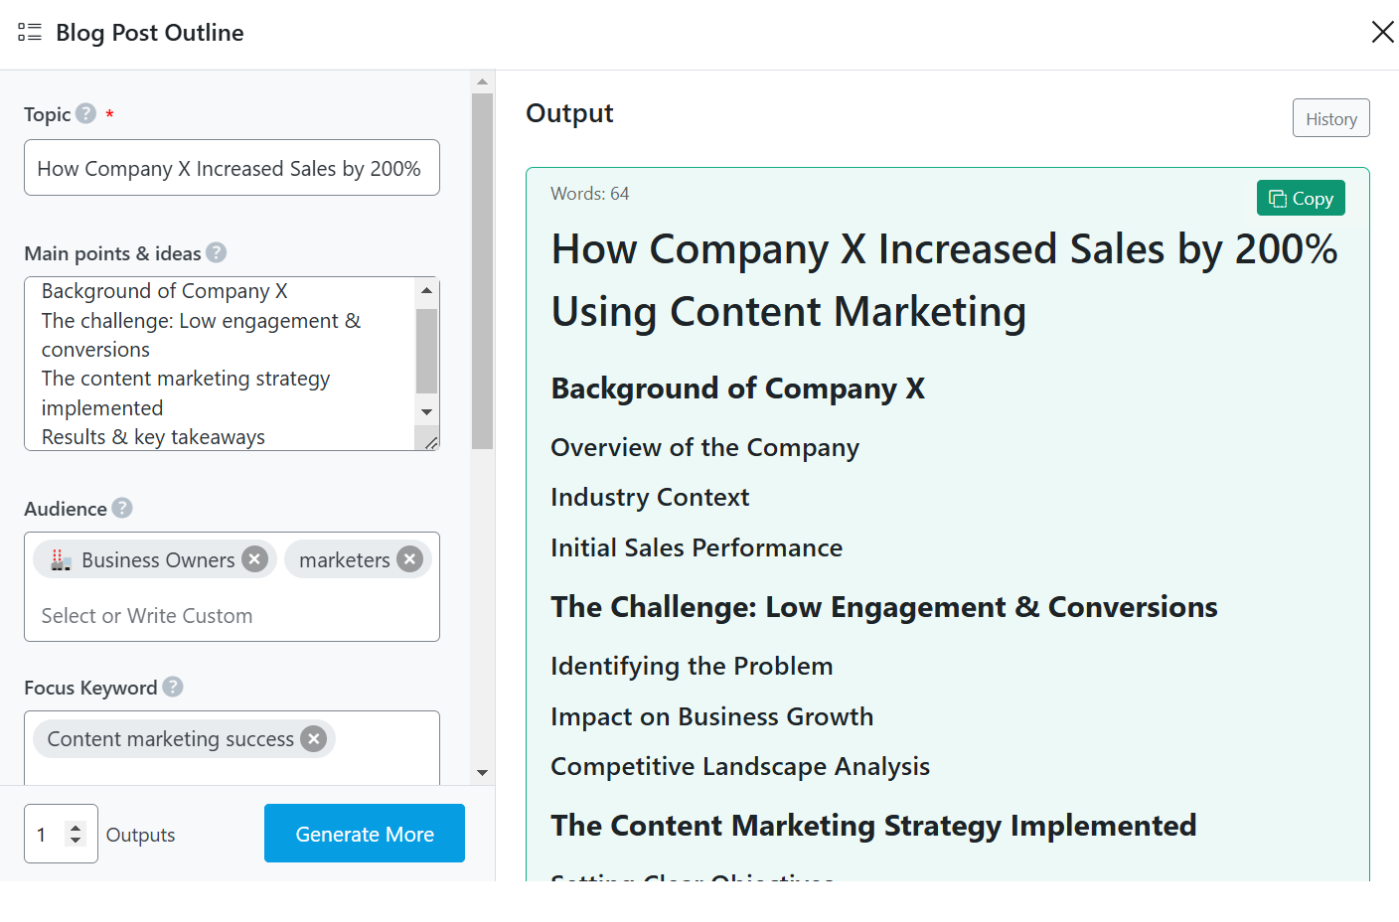
Case studies and success stories require a structured format to highlight the problem, solution, and results. This AI tool helps generate a logical flow to present real-world examples effectively.
4 Conclusion
And that’s it! We hope you’re able to generate a blog post outline using Content AI. The Blog Post Outline AI tool is just one of the 40+ AI tools currently available in Content AI. Using these tools, you can turn an outline into a full-fledged blog post with hundreds or thousands of words.
If you still have any questions about using the Blog Post Outline AI tool or any other AI tool available in Content AI – you’re always more than welcome to contact our dedicated support team. We’re available 24/7, 365 days a year…