What is Google Business Profile?
Google Business Profile is a free service that allows businesses to control how their information appears on Google Shopping, Search, and Maps.
Google Business Profile was formerly called Google My Business and replaced other Google services, including Google Listings, Google Places for Business, and Google+ Business Pages.
A Google Business Profile allows you to upload your business details to Google. This includes your opening hours, website, and name, address and phone number (NAP). It also allows you to respond to customer reviews and provides insights into how visitors found your business.
Google Business Profiles is available to online businesses, brick-and-mortar stores, and businesses that visit their customers in person.
Benefits of Google My Business
A Google business profile provides several benefits to your business. We will now list some of them below.
- It helps to generate leads for your business
- It helps you gain credibility with new customers
- It increases your visibility across Google services, including search result pages
- It allows you to engage with your customers, especially through reviews and direct messaging
- It allows you to provide accurate information about your business to Google and your customers
- It allows you to gain insights into your audience. For example, it specifies whether your visitor found you through Maps or Search
How to Create a Google Business Profile
You can create a Google Business Profile by signing into your Google account and creating a profile for your business.
Sometimes, your business may already exist on Google. In this case, you will claim the business and provide your details to Google.
1 Head to the Google Business Profile Page
First, navigate to the Google Business Profile login page and click Sign In. Then, sign into your Google account.
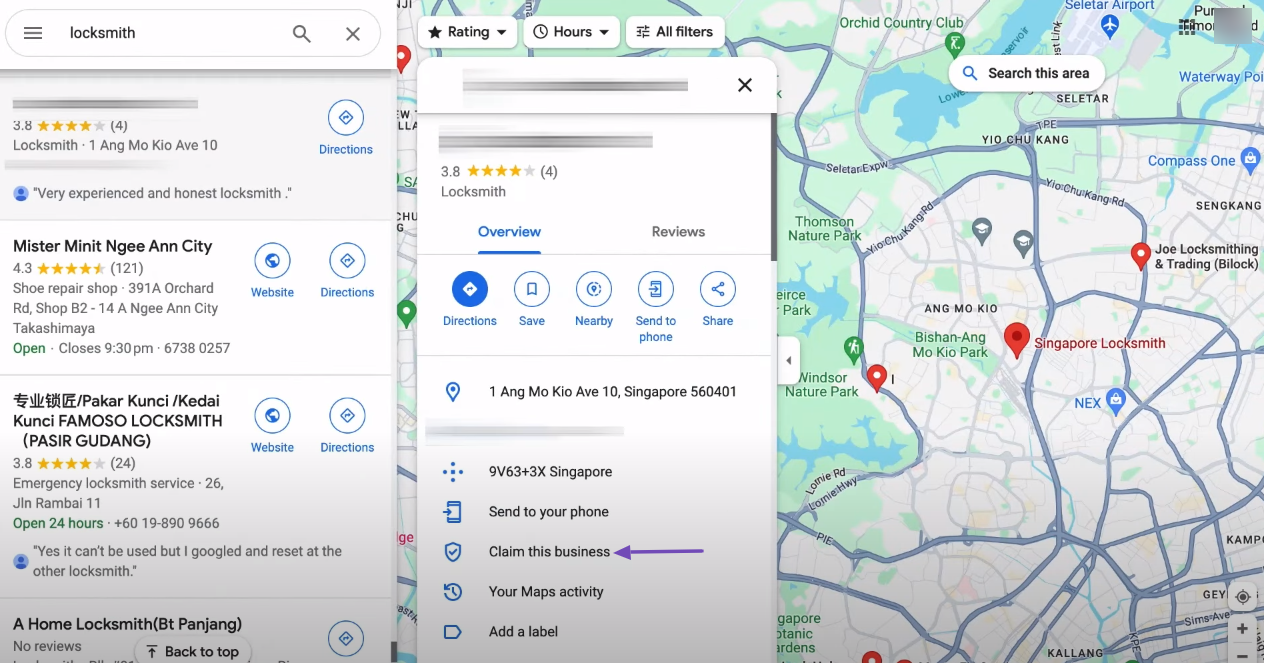
 Optionally, if your business is already on Google Maps, head to the business and click Claim this business.
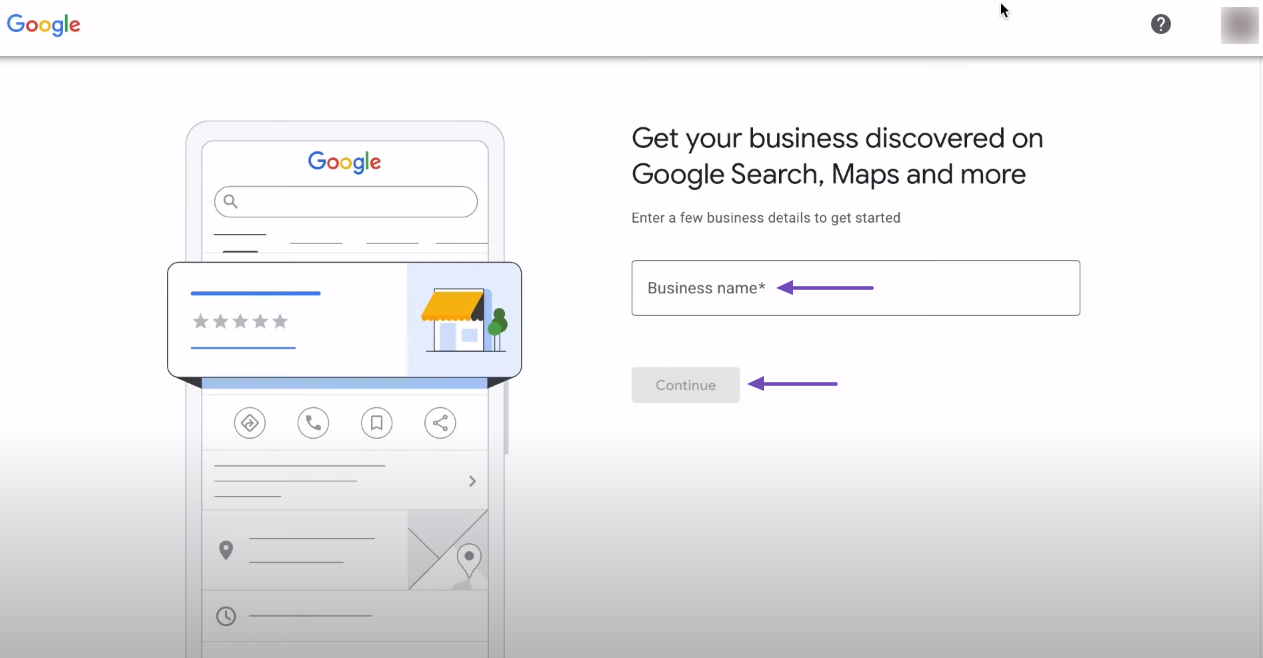
2 Enter Your Business Name
Now, enter a business name. Ensure the name is the same as the one you use elsewhere, including on online directories, social media accounts, and your website.
Once done, click Continue.
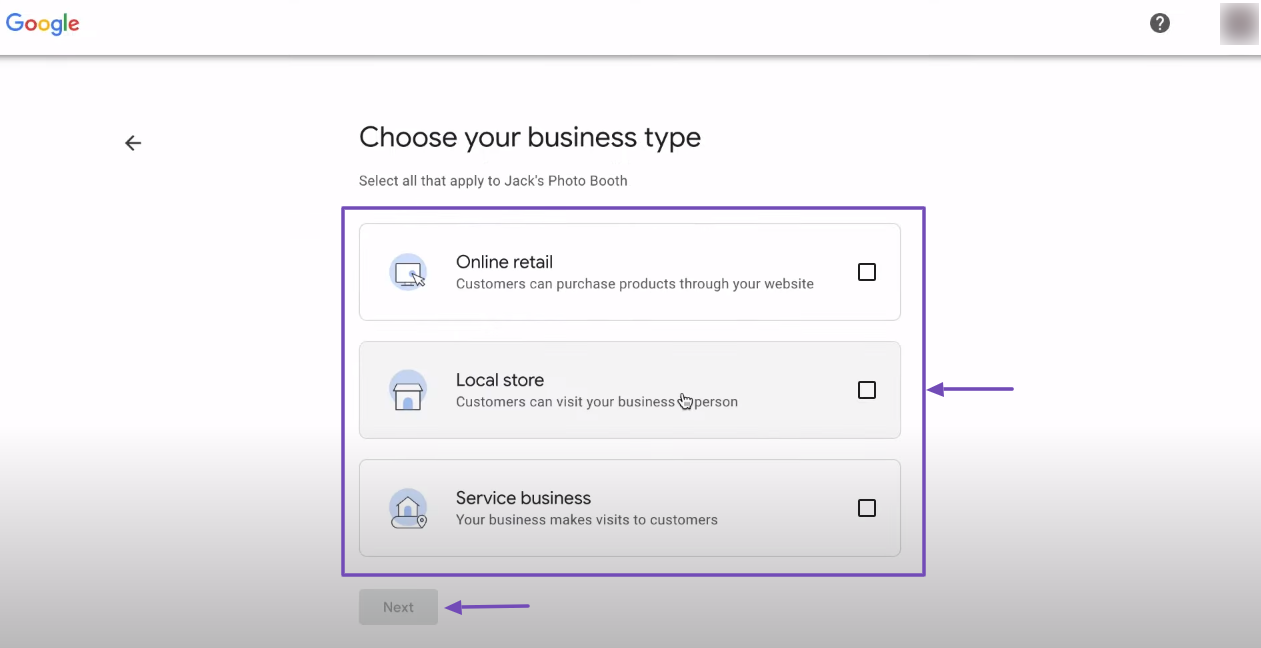
3 Select Your Business Type
Next, select the options that best define your business. You have three options:
- Online retail: For businesses that sell to customers from a website
- Local store: For businesses with a physical location customers can visit
- Service business: For businesses that visit the customer
You can select multiple options. Once done, click Next.
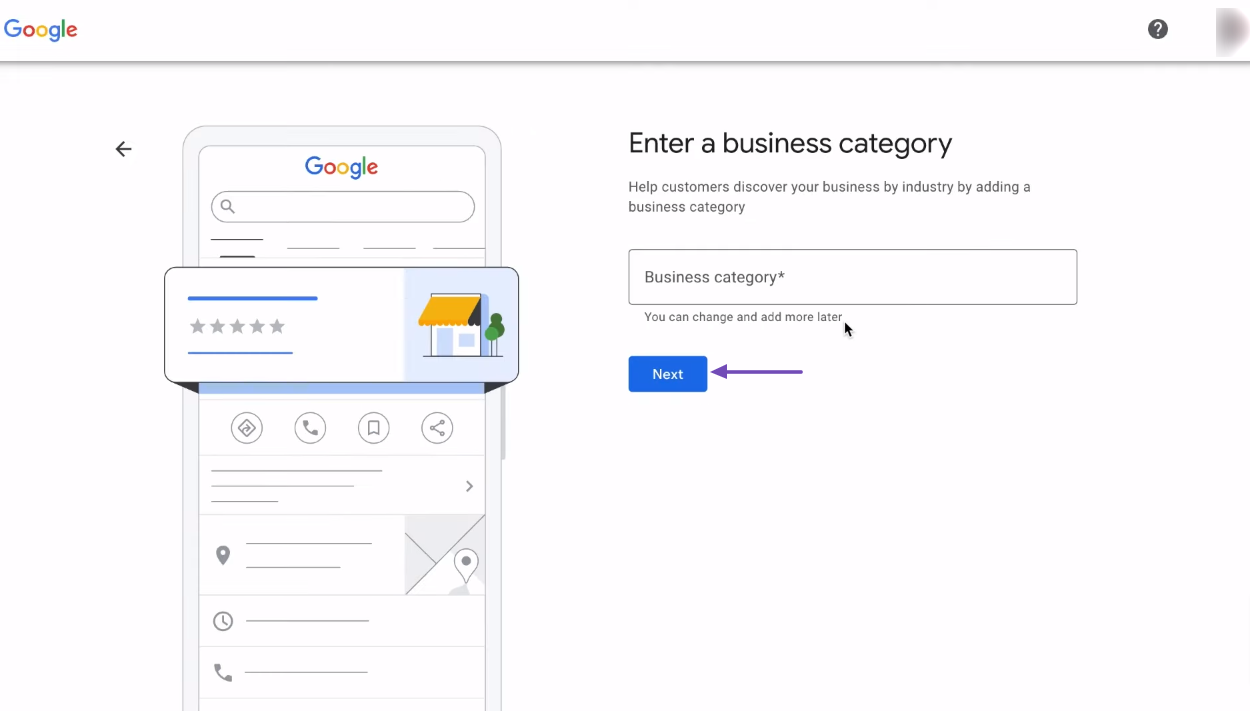
4 Select Your Business Category
Enter the word that best describes your business category into the provided field. When you begin typing, a dropdown will display. Select the category that best defines your business.
Once done, click Next.
Note: The business category you select has SEO benefits and can affect your local rankings, so you want to select a category that describes your business and gives you the most visibility.
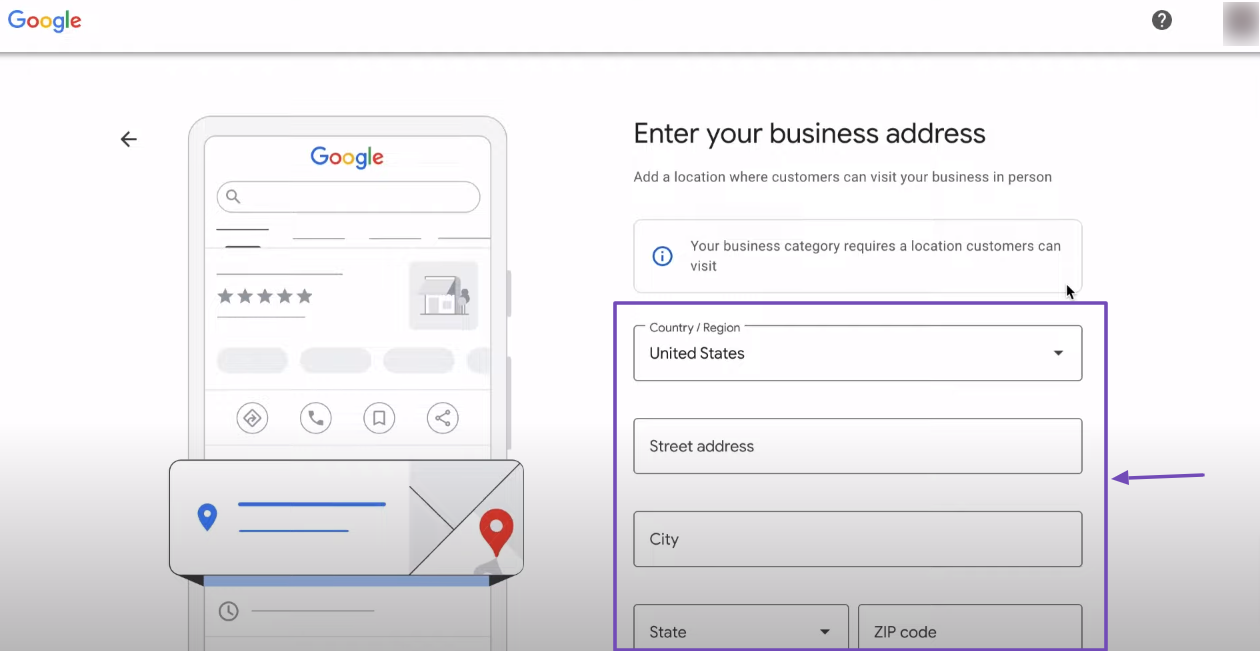
The next steps depend on the business category that you select. For example, if you select a category that Google thinks will require a physical location, Google will prompt you to enter your business’s address.
If prompted to enter an address, ensure it is the same as your address at other locations, including your website, online directories, and social media accounts.
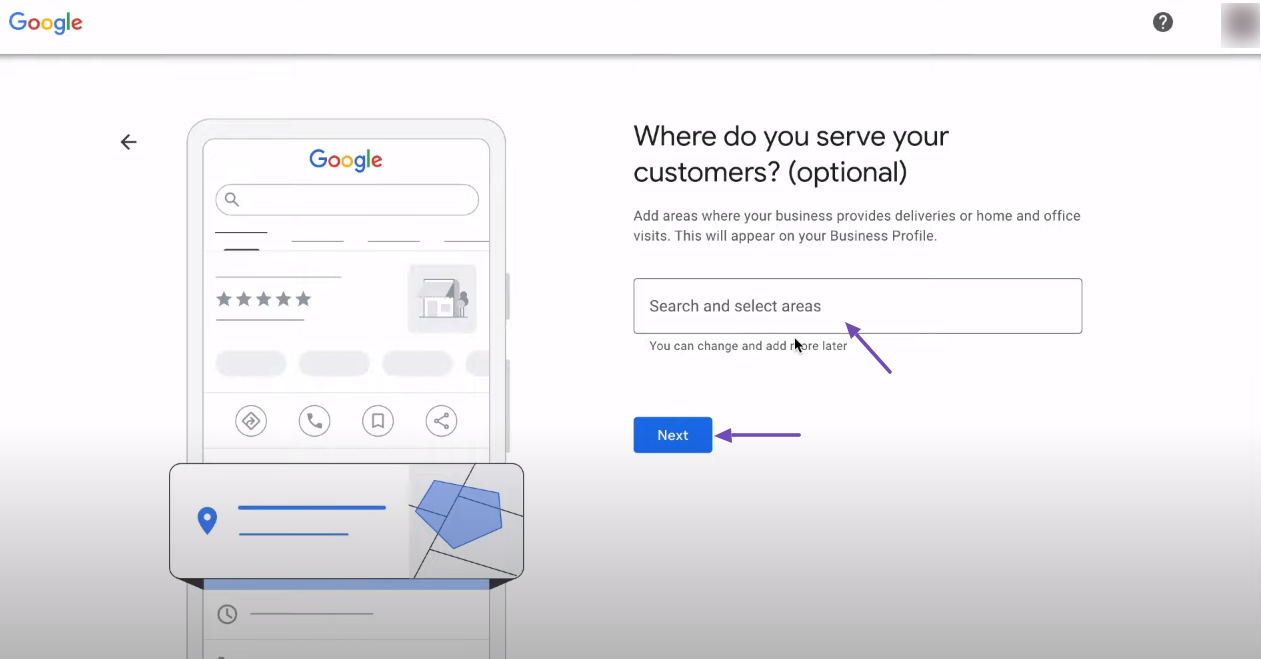
Google may optionally require you to enter the locations you serve. Enter the locations and click Next.
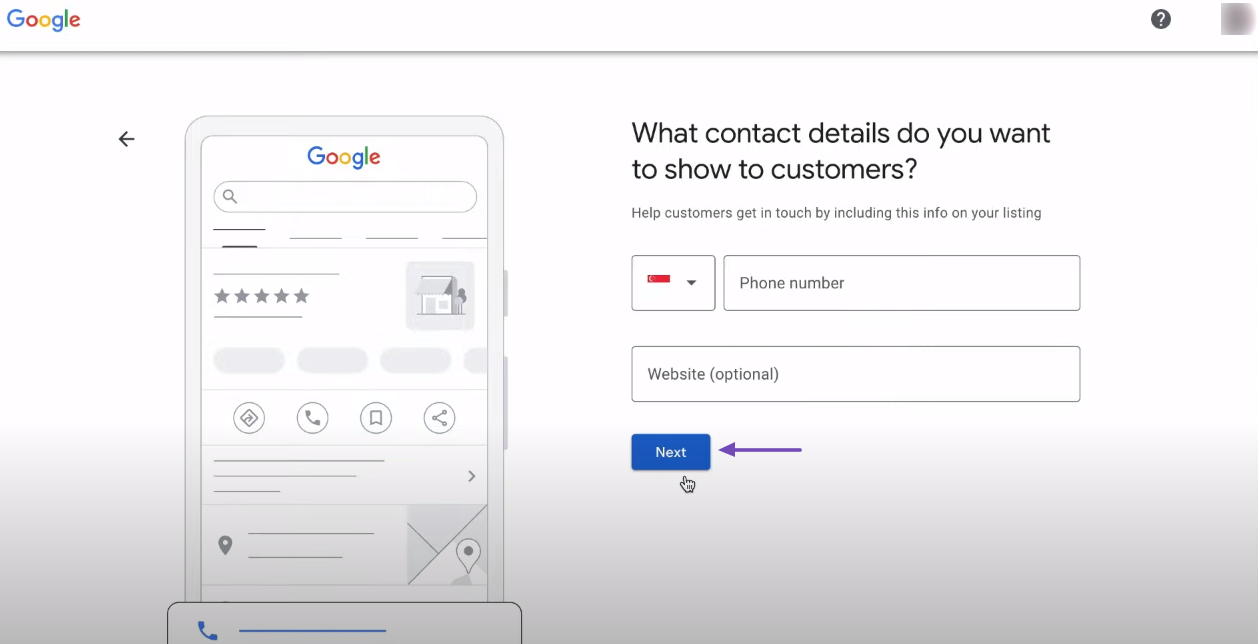
5 Enter Your Business Contact Details
Next, enter your business phone number and website into the provided fields. You should ensure this is the exact phone number you have on online directories, your website, and social media handles.
Once done, click Next.
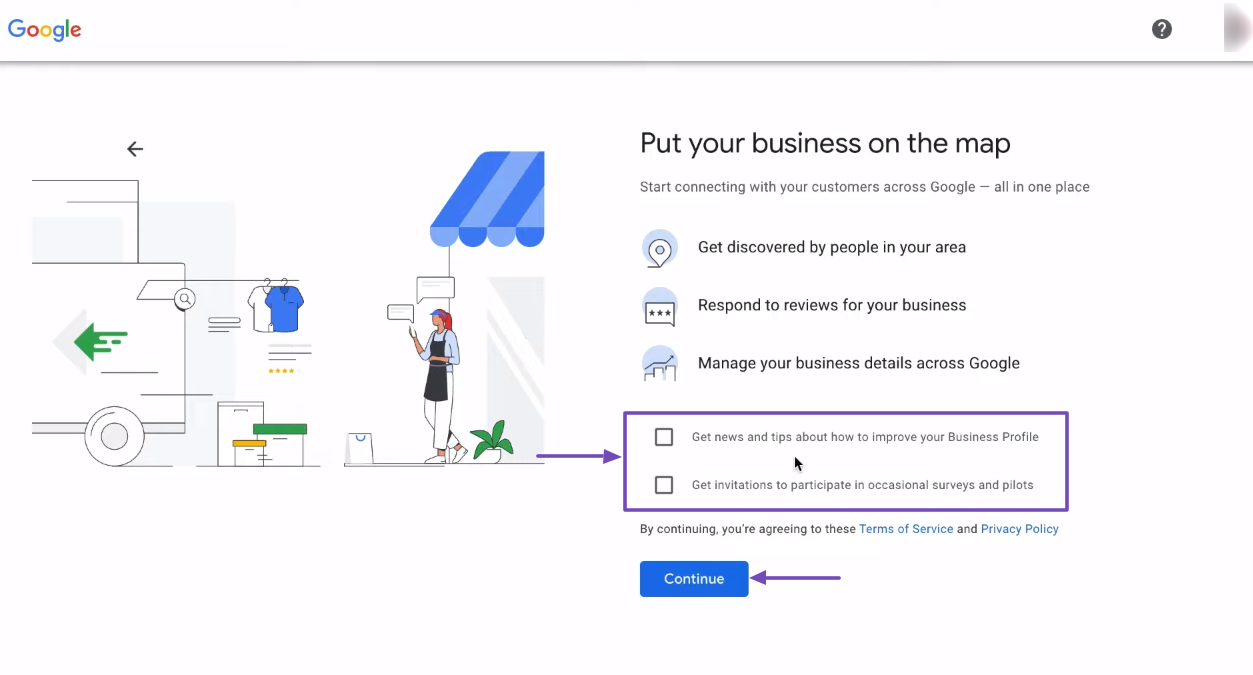
Next, select the respective checkboxes if you want to receive news and tips from Google and participate in surveys. Once done, click Continue.
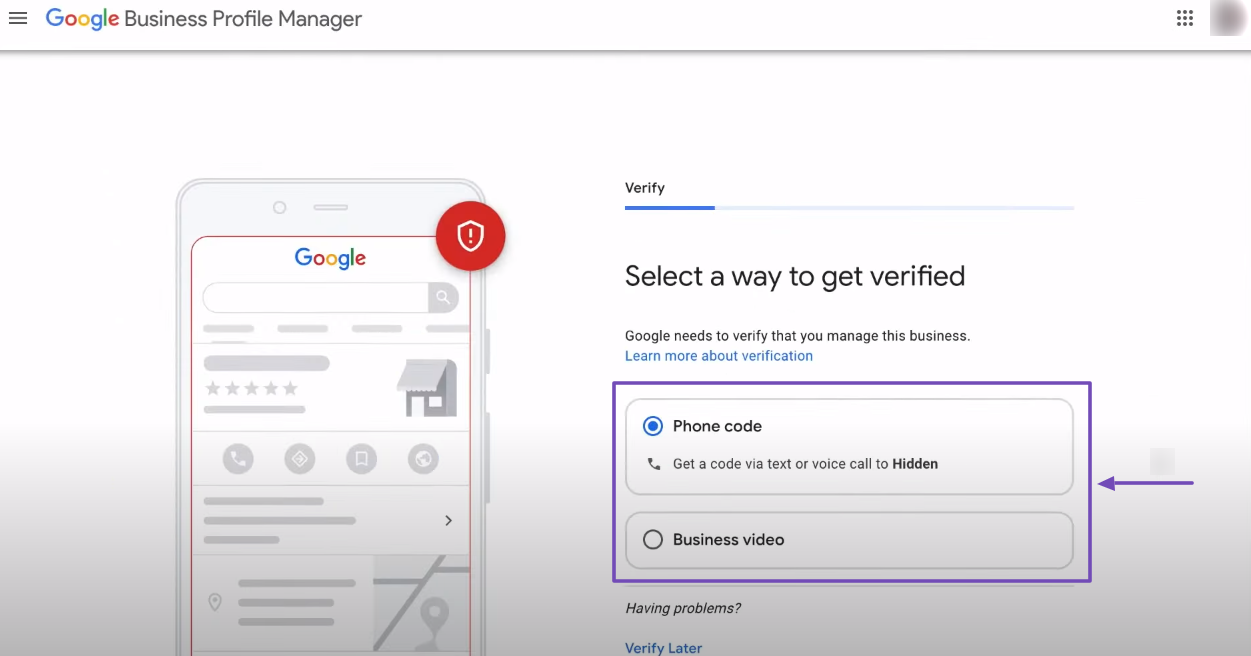
6 Verify Your Business
Now, Google will present you with one or more verification methods, depending on your selected options.
Select your preferred verification method and follow the steps to verify it. Once done, click Next.
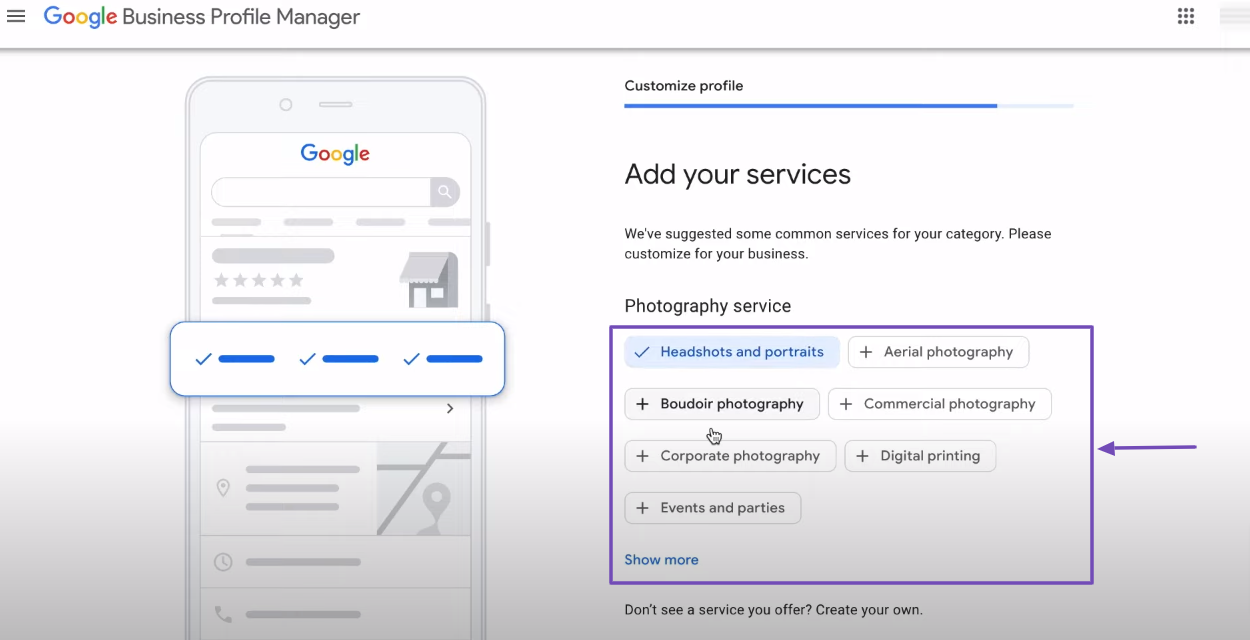
7 Enter Your Services
Depending on your settings, Google may require you to select the services your business offers. This option is a ranking factor, so you should ensure to enter the appropriate services.
Once done, click Next.
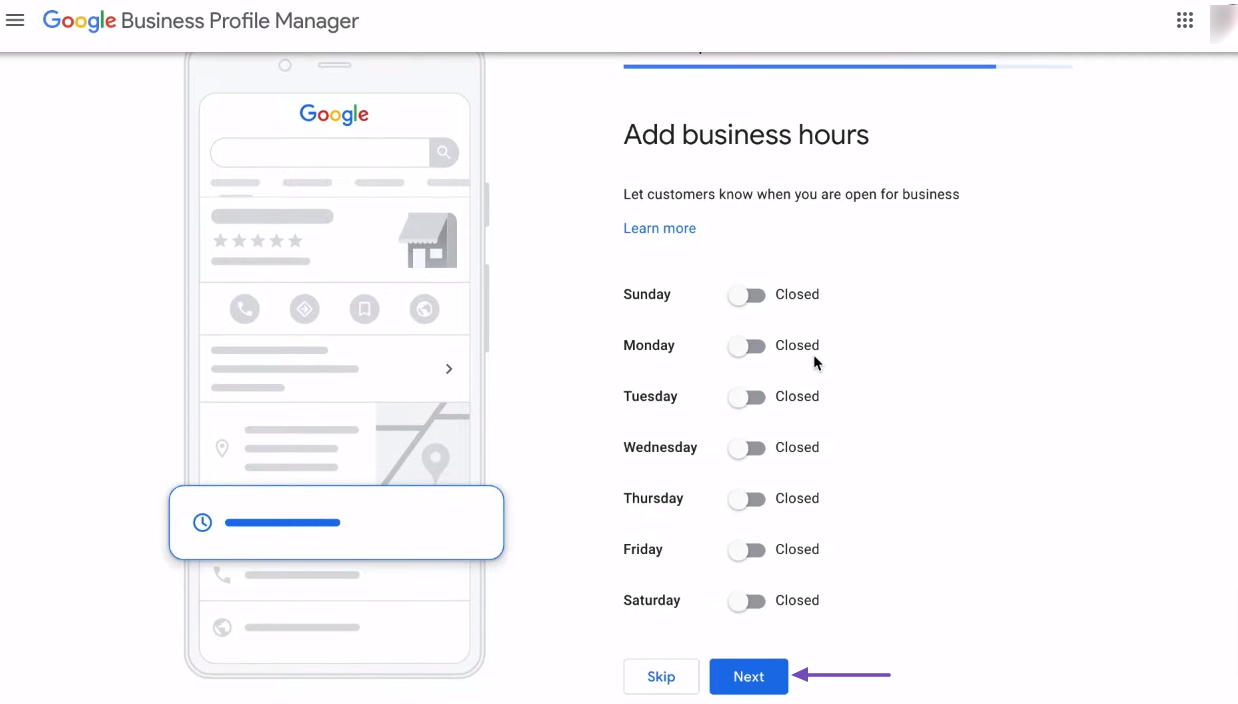
8 Enter Your Opening Hours
Google will require you to enter your opening hours. This is a ranking factor as Google only shows searchers businesses that are open at the time of the search.
Once done, click Next.
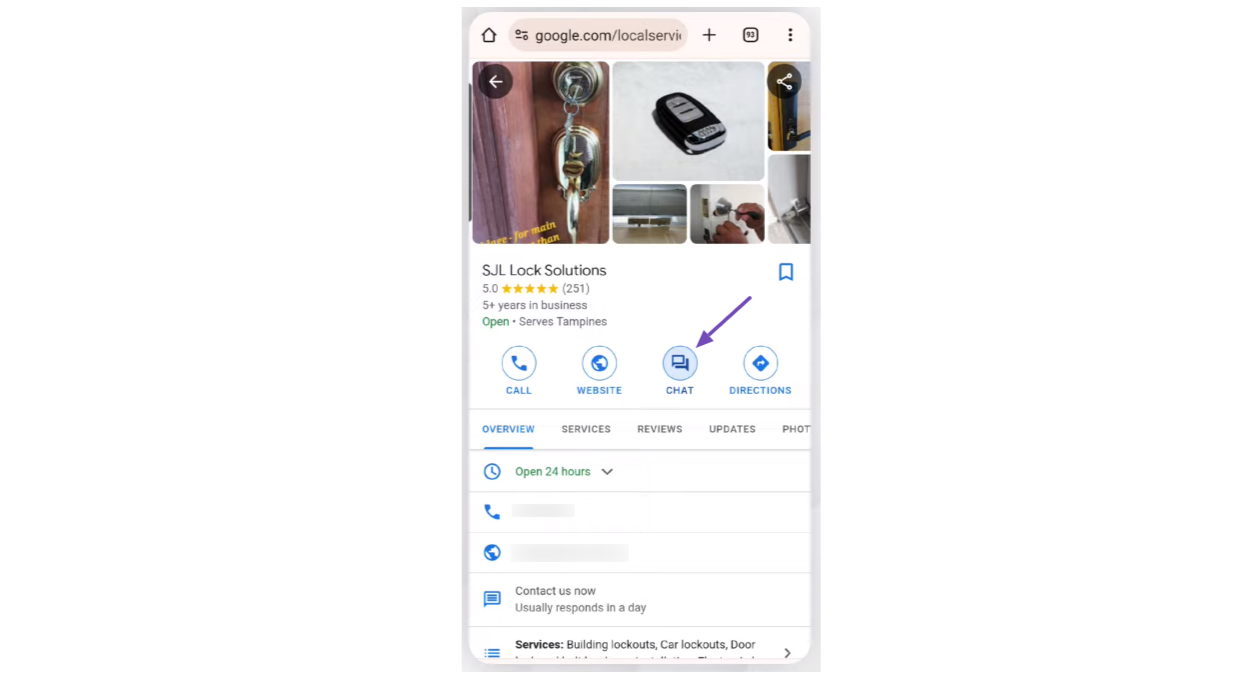
9 Enable the Chat Option
Enable the Accept Messages option to allow your customers to chat with you. Otherwise, keep it disabled.
Once done, click Next.
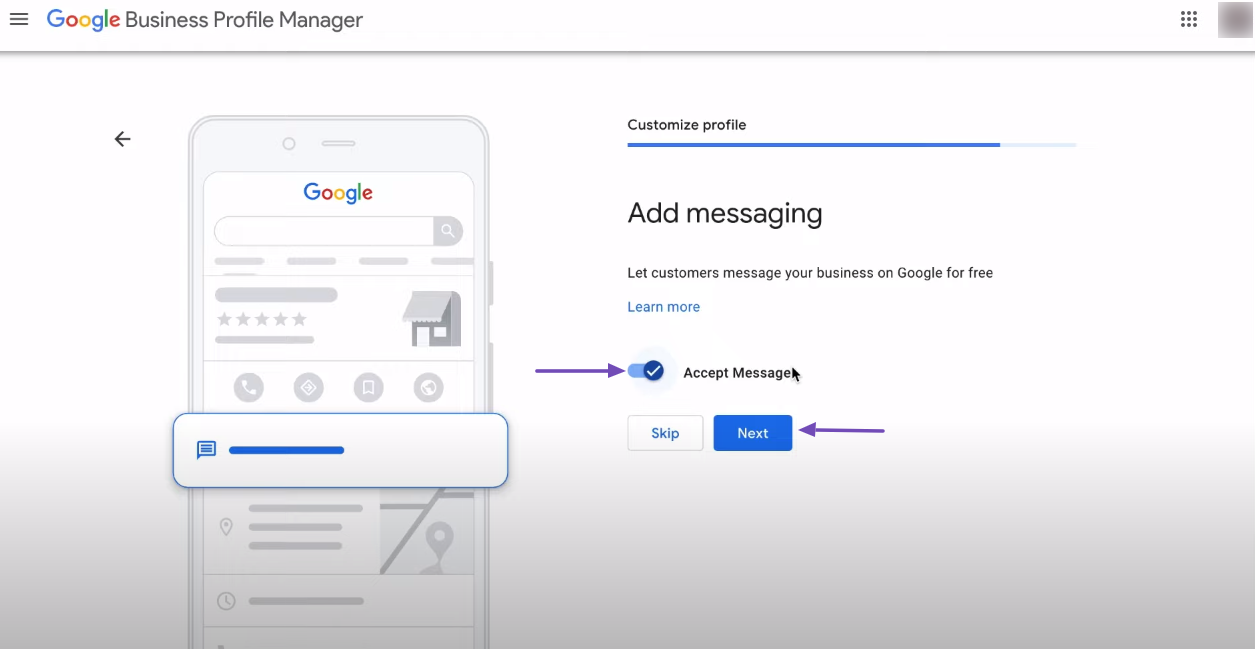
If you enable the Accept Messages option, your local listing will contain a chat option, as shown below.
That said, you should only enable the chat option if you will respond to messages promptly. Google will disable the option if you do not respond to messages quickly.
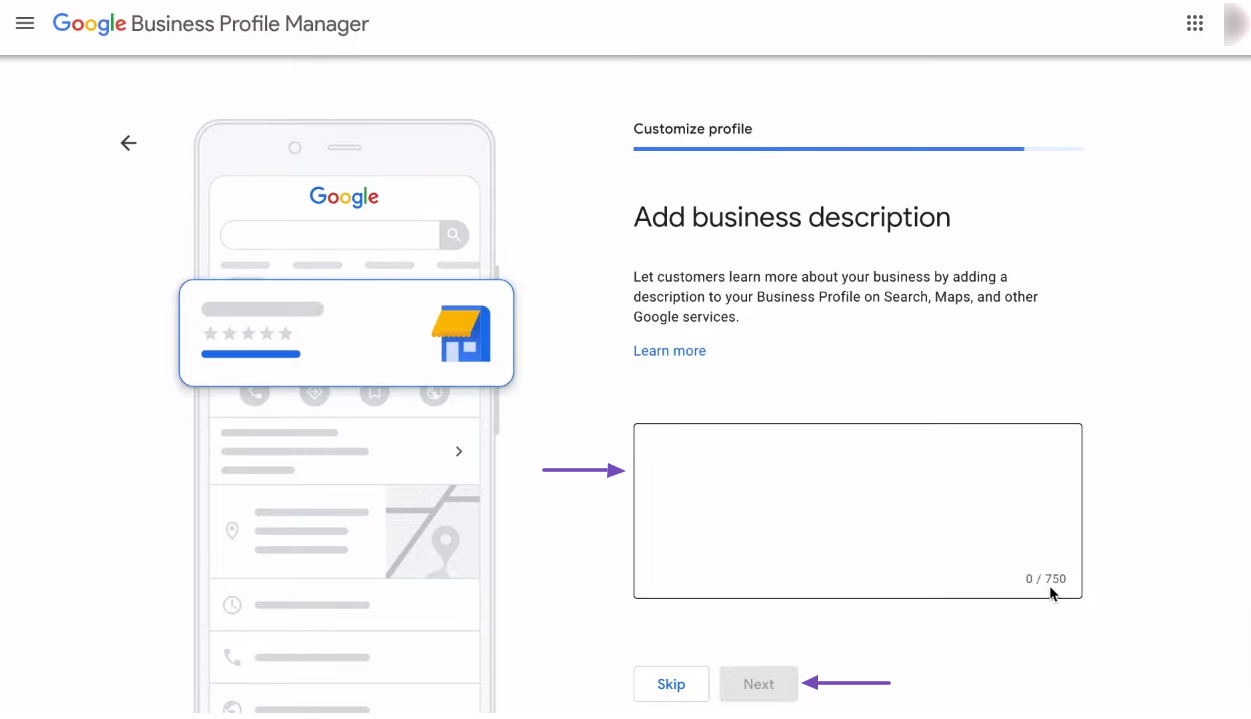
10 Enter Your Business Description
In no more than 750 characters, enter your business description into the provided field. Once done, click Next.
The business description field is not a ranking factor, so you should make it as readable as possible for searchers.
11 Upload Your Business Photos
You can drag photos into the available field or click Select photos to choose them from your device. Once done, click Next.

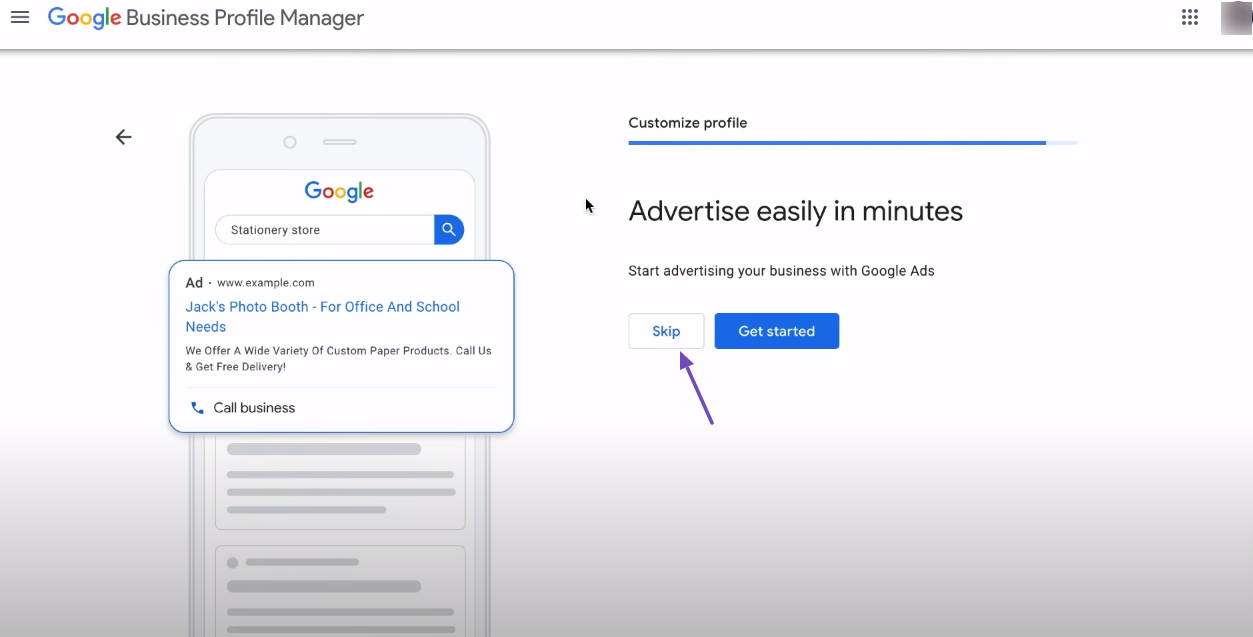
12 Complete Your Business Profile
Next, you will be prompted whether you want to run ads. Click Skip if you are not interested in running ads.
Google will also prompt you to get a custom domain name and email address. If uninterested, click Skip.
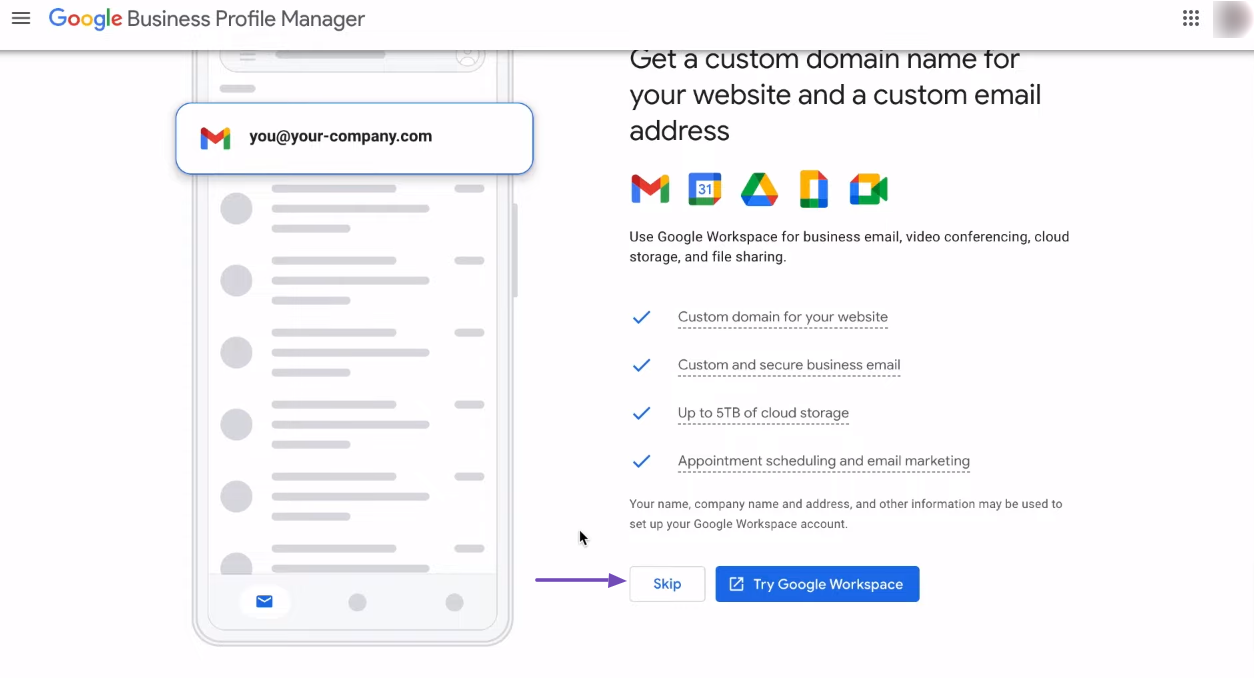
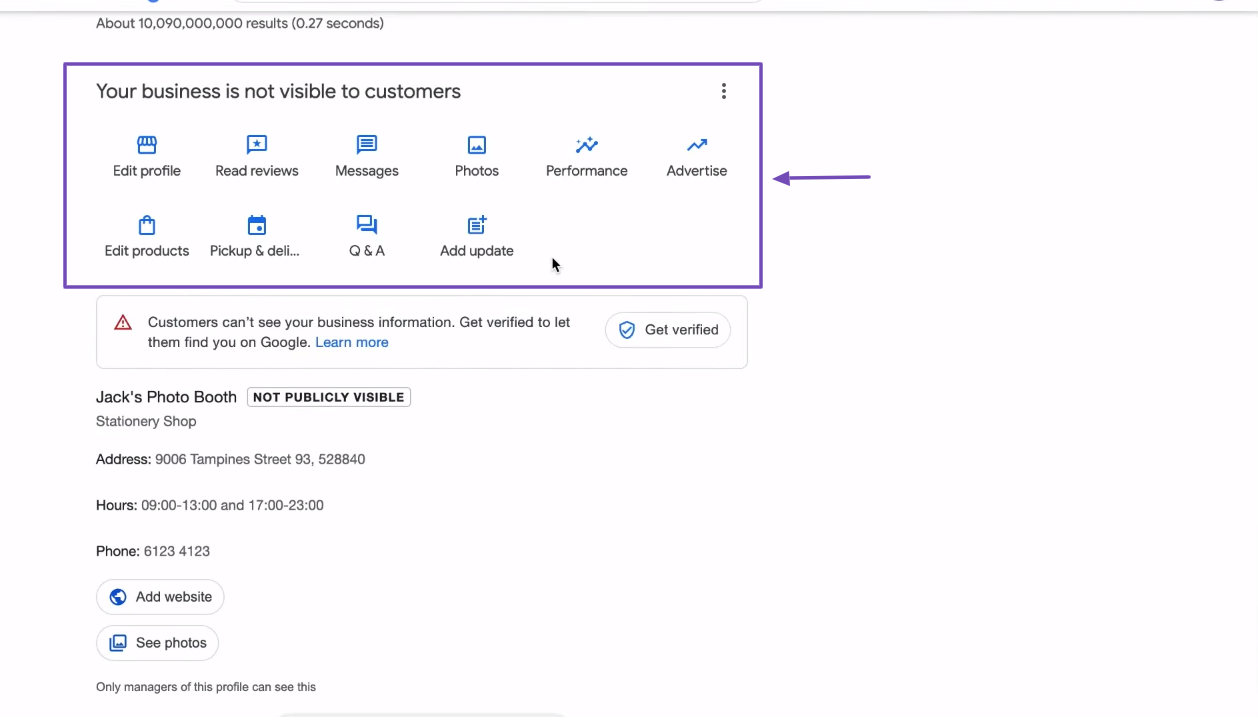
You have now set up your business profile. Google will display a search result page with your business details. You can click any of the available options to edit your business details.
That is all about setting up your Google Business Profile. You should know that the Google Business Profile is free. Every business profile owner has access to the same tools, and there is no freemium or paid version of the business profile.