If your site has content in the form of posts or pages about software applications, we recommend using the Software App Schema type. Doing so helps search engines better understand the contents of your pages and information about the software application your webpage is about.
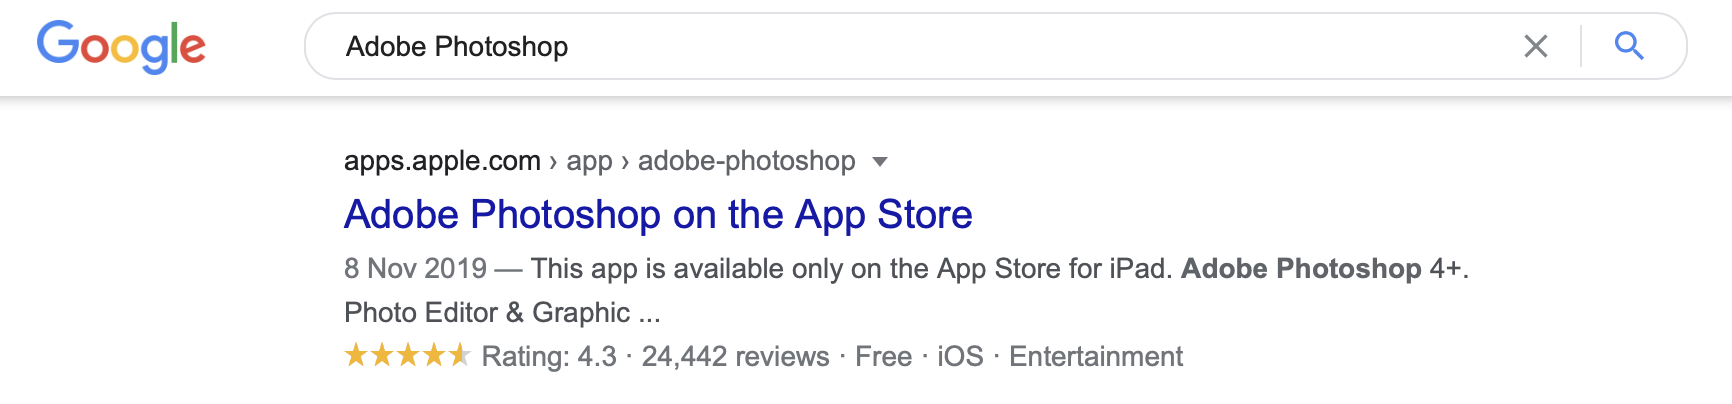
And in turn, Google may present it to its users (i.e. searchers) in unique ways through the use of SERP features (such as rich snippets) in Google Search results – making it easier for you to stand out among your competition and for potential customers to reach you. Fortunately, applying the Software Schema type to any number of pages on your website couldn’t be easier than it is with Rank Math.
Table Of Contents
How to Add Software Schema Markup to Your Posts/Pages
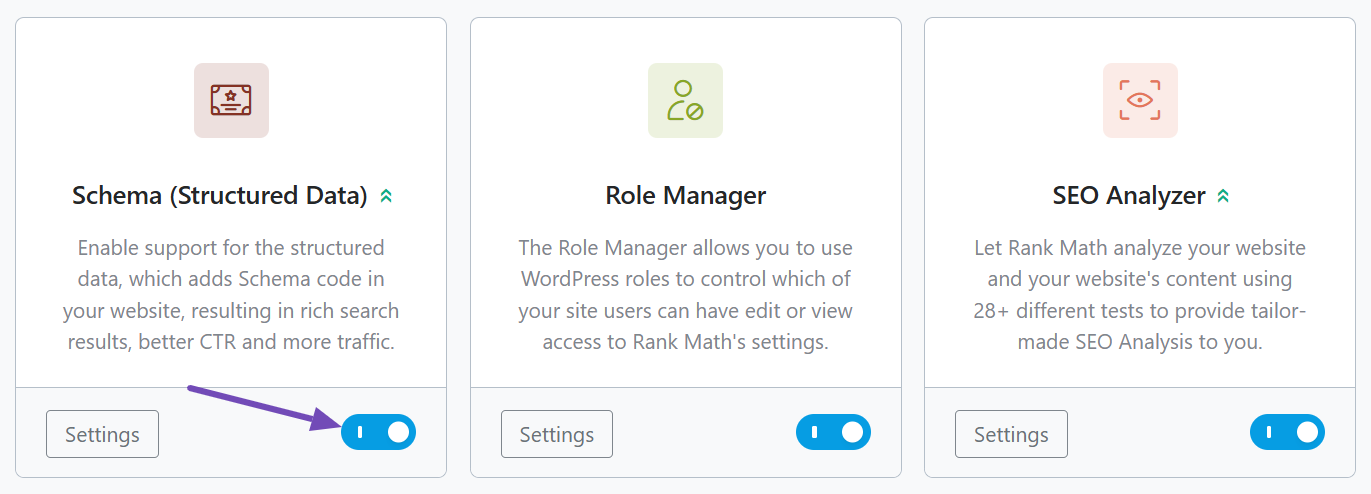
Before we begin, you’ll need to ensure that Rank Math’s Schema Module has been enabled on your website by navigating to Rank Math SEO → Dashboard → Modules in your WordPress admin area.
In this tutorial, we’ll walk you through how to use the Software Schema type on a post or page, as well as the various available settings for it – let’s get started:
1 Edit Your Post or Page
To add the Software Schema Type, first head over to the edit page for that post, by clicking Edit as shown below:

2 Open Rank Math In the Gutenberg Sidebar
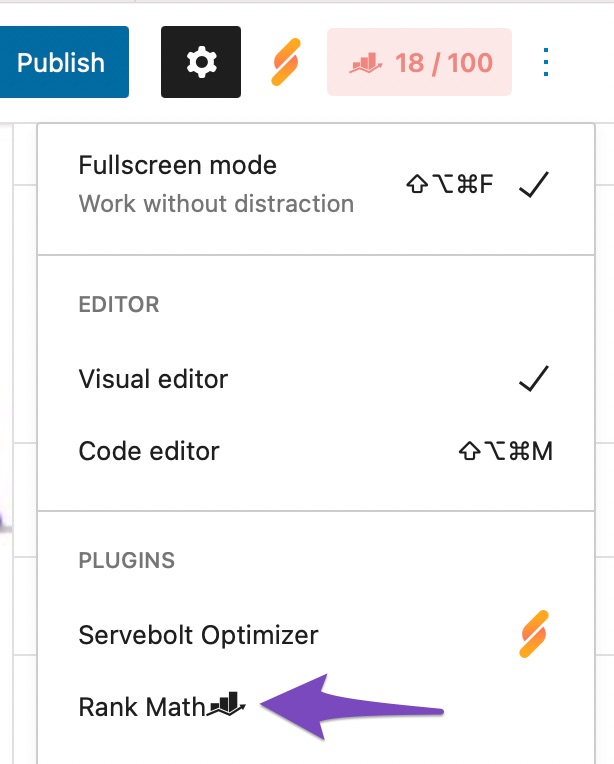
You can open Rank Math in the Gutenberg sidebar by clicking on the Rank Math SEO icon for the page.
Or click the three vertical dots in the top right-hand corner of the edit page and select Rank Math in the Plugins section as shown below:
3 Navigate to the Schema Settings for This Post/Page
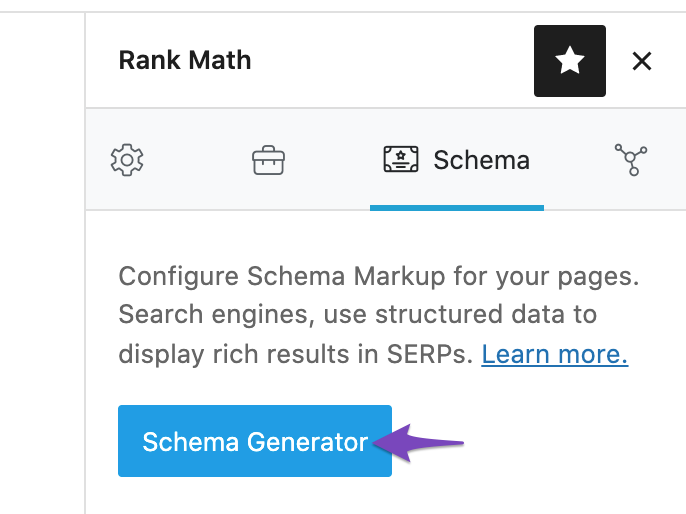
Then go to the Schema Settings by clicking on the Schema tab and clicking on Schema Generator.
4 Open Rank Math’s Schema Builder
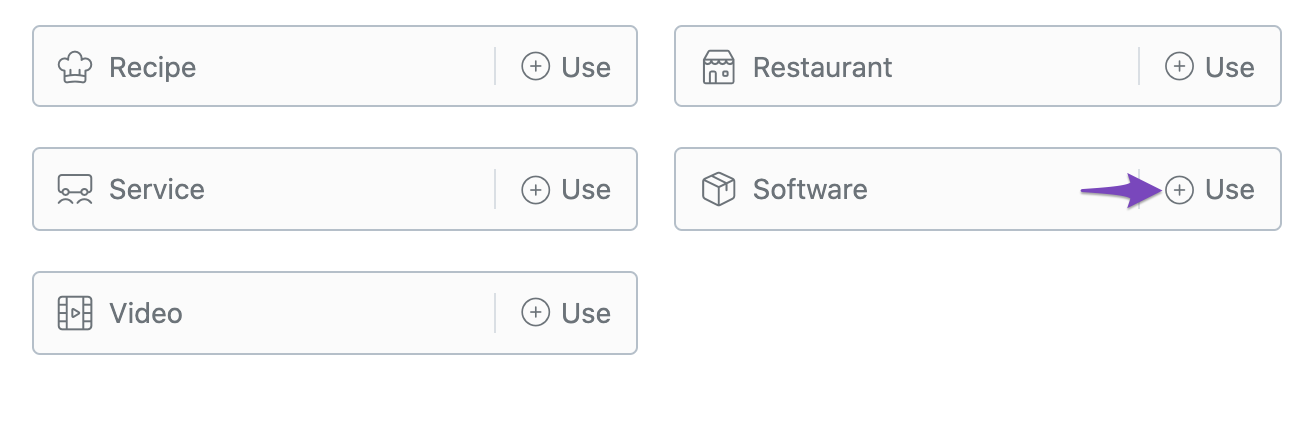
Find the Software Schema from the list and click on Use to open the Schema Builder.
The Schema builder will then open up as shown below:
Software Schema Type Setup & Available Options
Now, let’s have a closer look at each of the available options.
1 Headline
Write a headline that contains the name of the software application. You can also make use of variables if you have mentioned them in the post title. This process will automatically add the Headline for your Software Schema.

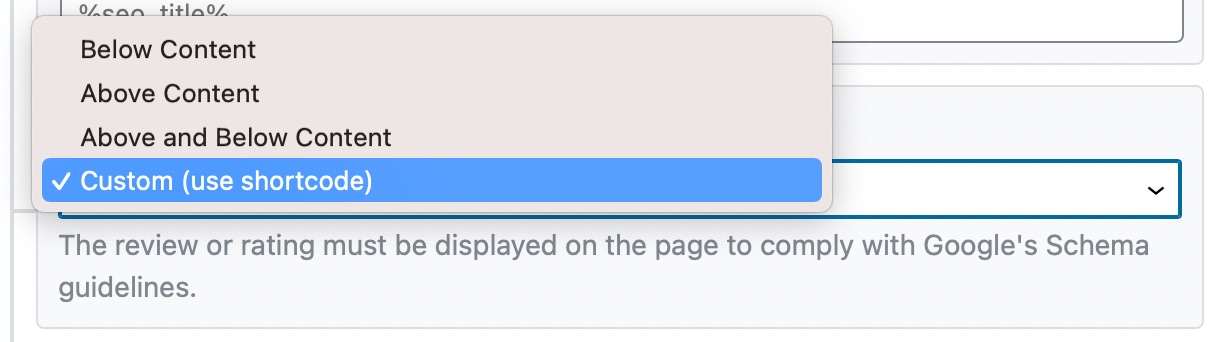
2 Review Location
This option lets you choose where the information for the Schema should be added. You can add it above the content, below the content, or both above and below the content. You can also use the shortcode and choose a custom location.
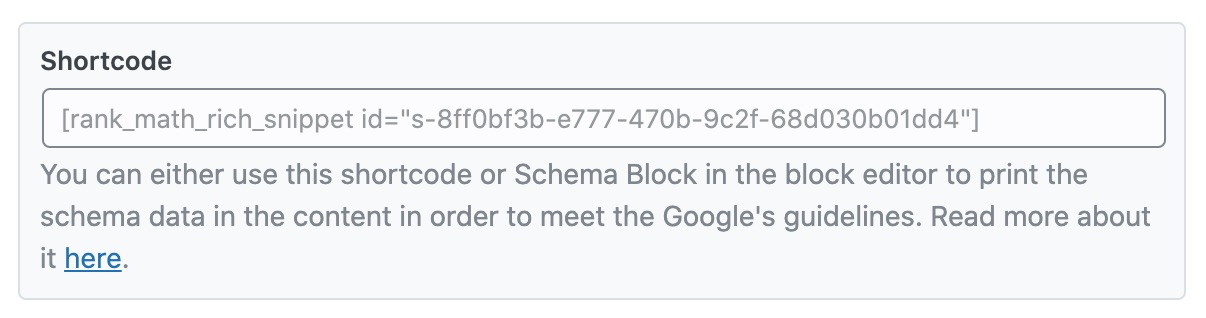
3 Shortcode
If you chose the shortcode option in the above setting, then you should paste the shortcode from this field into your post where you want the review to be displayed.
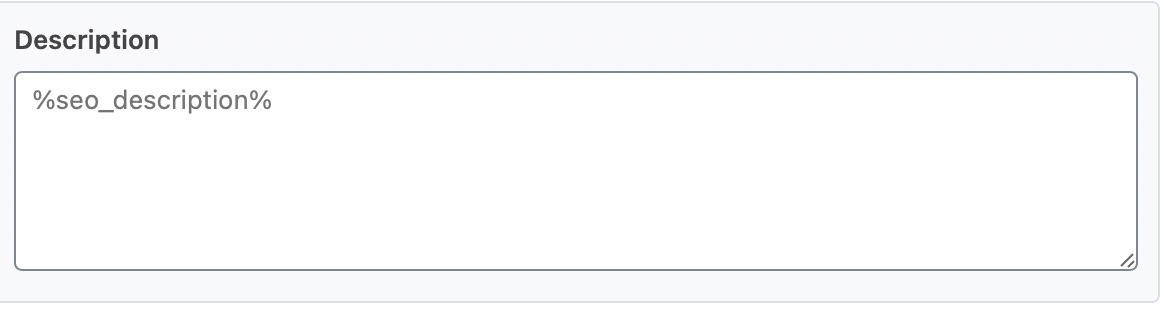
4 Description
Enter the description of the software application. You can also make use of variables and create a dynamic description. This process will automatically add a description to your Software Schema.
5 Operating System
Enter the operating system details in this field. Note that you enter the names of the operating systems in quotes and separate them with commas. For example: “Windows 7”, “Windows 8”, “Windows 10”.

6 Application Category
Enter the category of the application. It can be multimedia, a game, or even a utility.

Google supports the following application categories:
| GameApplication | DeveloperApplication | CommunicationApplication |
| SocialNetworkingApplication | DriverApplication | TravelApplication |
| DesktopEnhancementApplication | EducationalApplication | EntertainmentApplication |
| ShoppingApplication | HealthApplication | MultimediaApplication |
| SportsApplication | FinanceApplication | HomeApplication |
| LifestyleApplication | SecurityApplication | UtilitiesApplication |
| BusinessApplication | BrowserApplication | ReferenceApplication |
| DesignApplication |
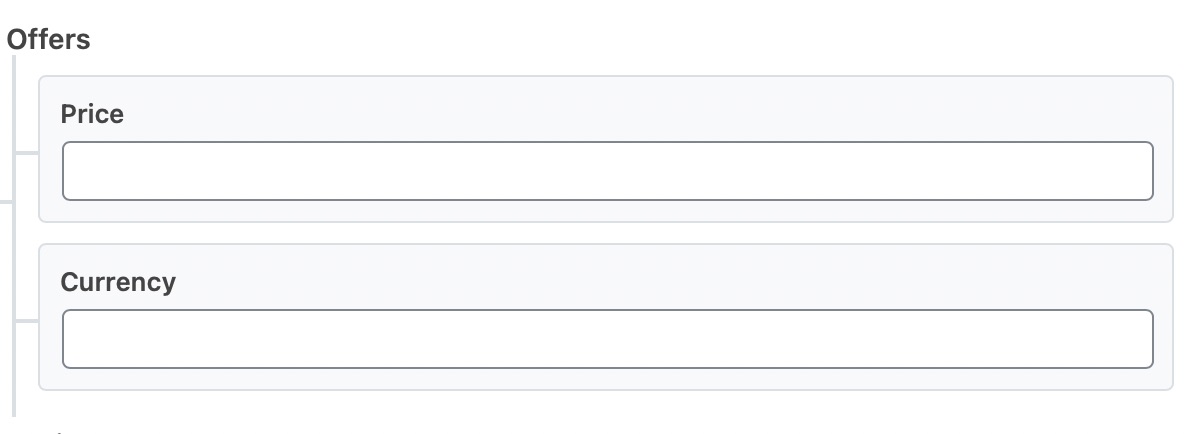
7 Offers
Enter the price of the software application without any currency symbols in the Price field. If your app is available for free, then enter the Price as 0.
Enter the currency of the price in the Currency field here. You need to enter ISO 4217 compliant currency code.
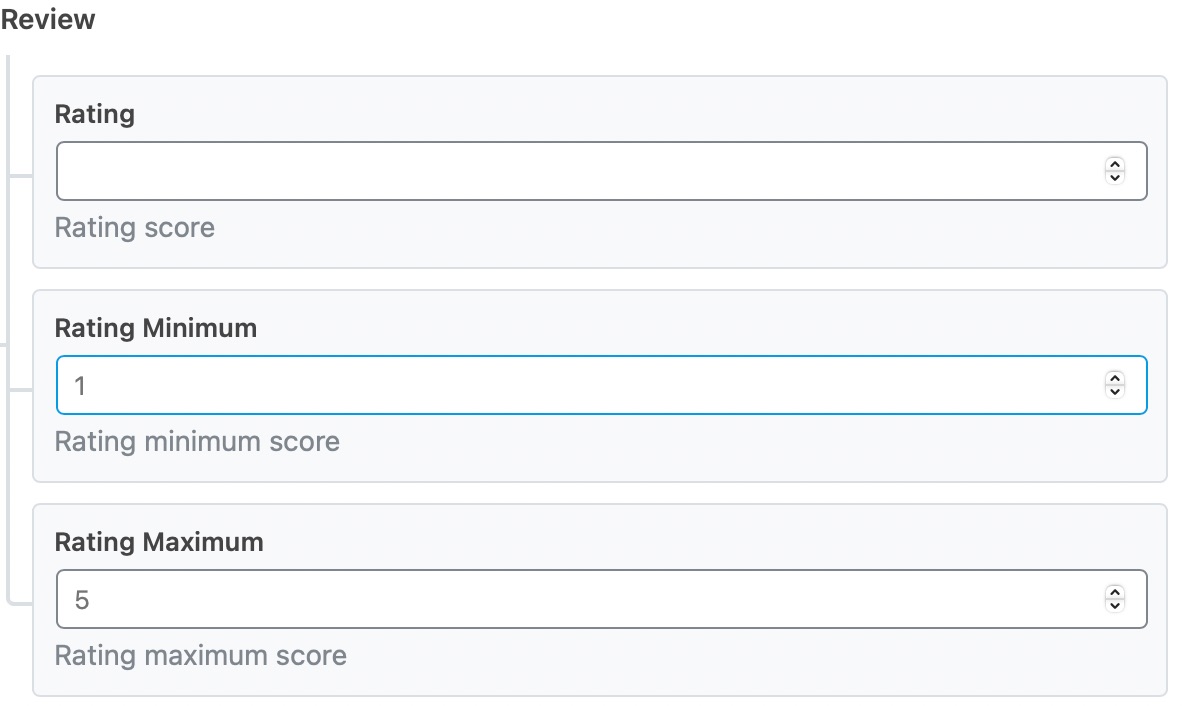
8 Review
Enter the rating score for the software application. You can also enter the maximum and minimum ratings for the software application.
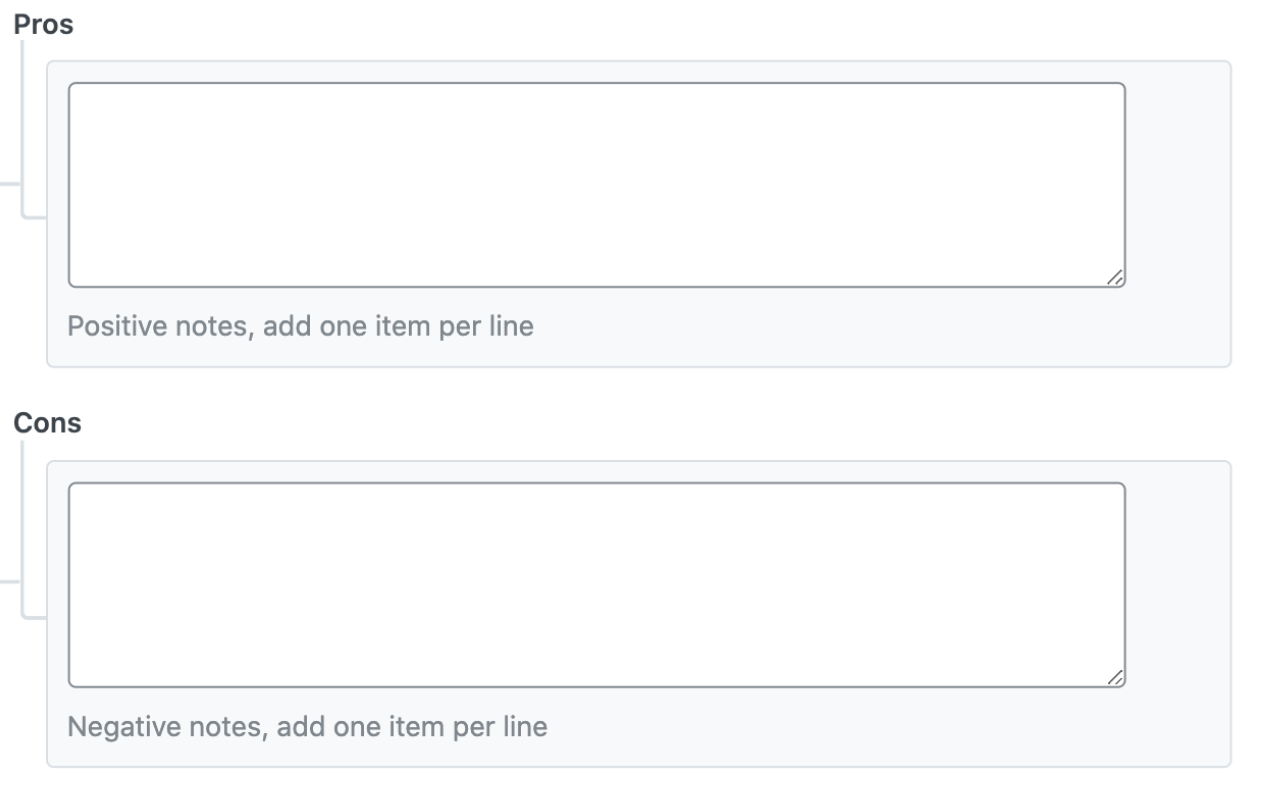
9 Pros and Cons PRO
Enter the Pros and Cons of the software you’re discussing here. These fields are available only in Rank Math PRO and when you add, ensure that you’re adding only one item per line.
And, that’s it! Click on Save for this Post once you’re done making any changes to the Software Schema for this page. Then, simply update the page as you normally would after making a change or click Publish if this is a newly created page.
You can then check your Schema with the help of Google’s Rich Results Testing Tool. If you have absolutely any questions about using Software Schema on your website with Rank Math, please feel free to reach our support team here, and we’re always more than happy to help.