With the help of the Restaurant Schema type, you can provide information such as the name & address of the restaurant as well as menu & booking options – to help search engines make it easier for searchers to find your restaurant.

By using this structured data type, you, in turn, help search engines better understand the information about restaurants – this allows them to present it to their users (i.e., searchers) in unique ways through the use of SERP features (such as rich snippets) in Google Search results. This can include displaying additional information about restaurants, including opening hours, booking options, and more. Fortunately, applying the Restaurant Schema type to any number of pages on your website couldn’t be easier than it is with Rank Math.
Table Of Contents
1 How to Add Restaurant Schema Markup to Your Posts/Pages
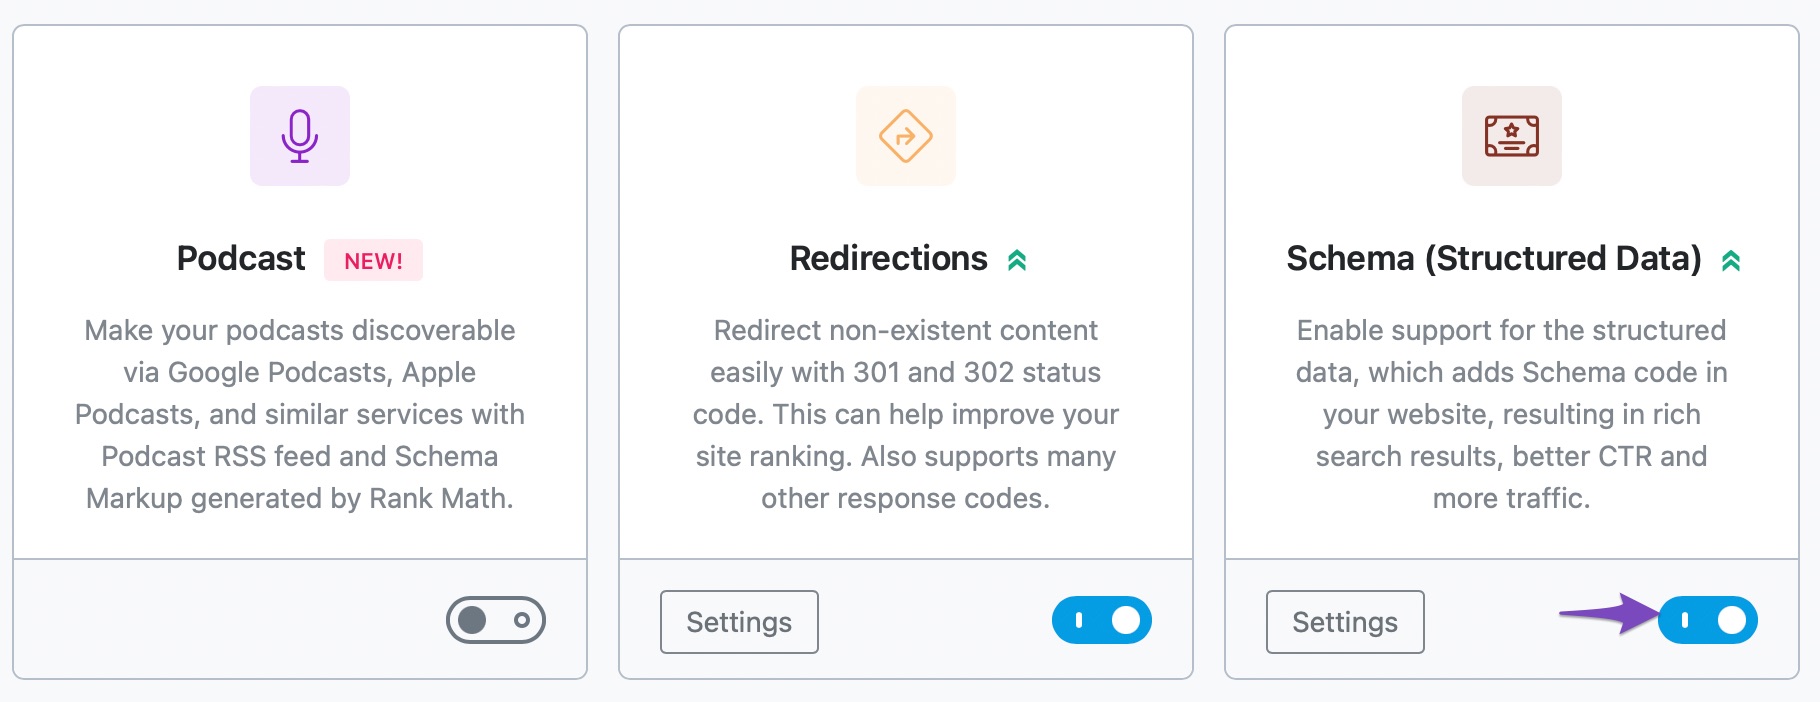
Before we begin, you’ll need to ensure that Rank Math’s Schema Module has been enabled on your website by navigating to Rank Math > Dashboard in your WordPress admin area.
In this tutorial, we’ll walk you through how to use the Restaurant Schema type on a post or page, as well as the various available settings for it. Let’s get started:
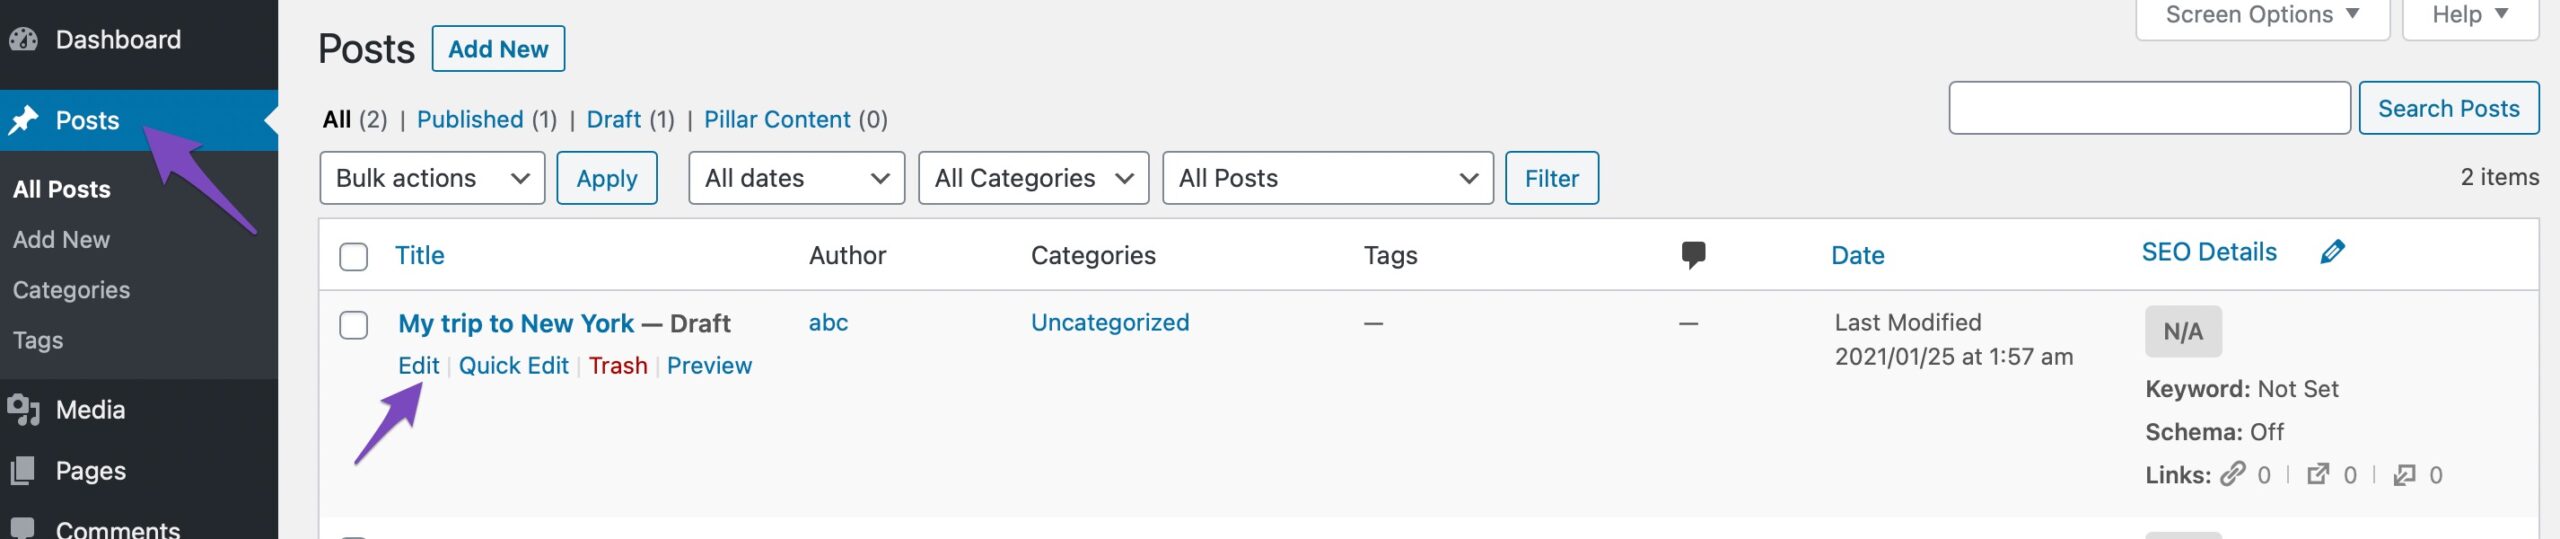
1.1 Edit Your Post or Page
To add the Restaurant Schema Type, first, head over to the edit page for that post by clicking Edit as shown below:
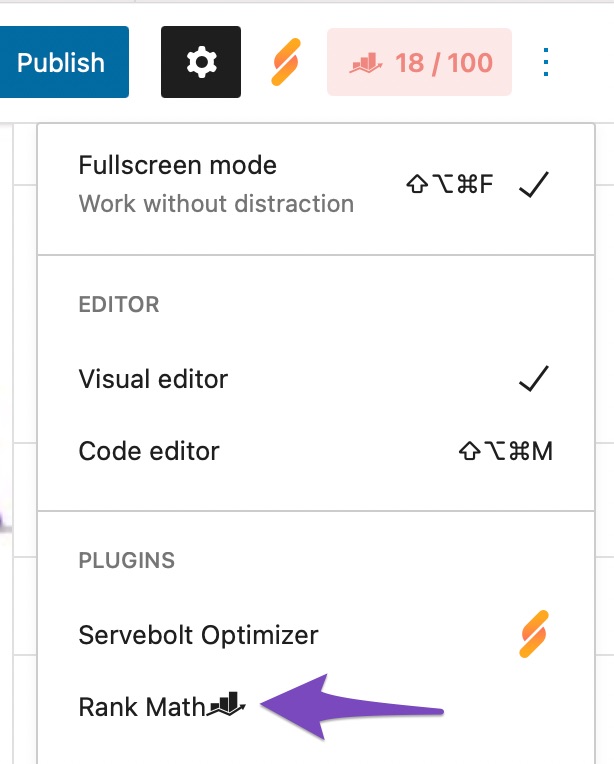
1.2 Open Rank Math in the Gutenberg Sidebar
You can open Rank Math in the Gutenberg sidebar by clicking on the Rank Math SEO icon for the page.
Or click the three vertical dots in the top right-hand corner of the edit page and select Rank Math in the Plugins section as shown below:
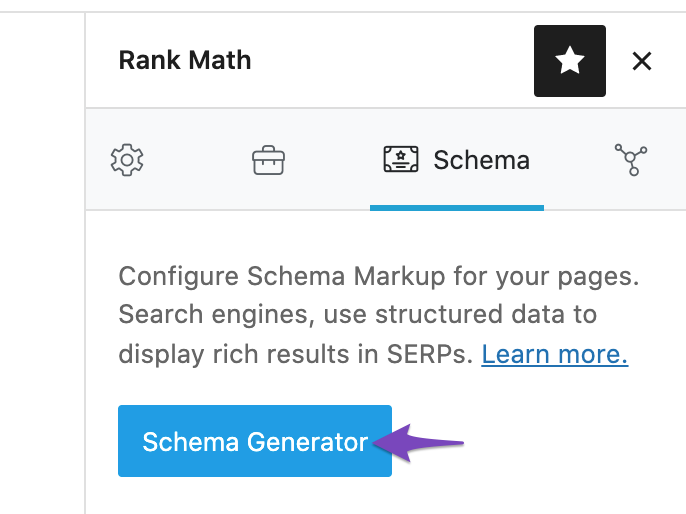
1.3 Navigate to the Schema Settings for This Post/Page
Navigate to the Schema Settings by clicking on the Schema tab and then clicking on Schema Generator.
1.4 Open Rank Math’s Schema Builder
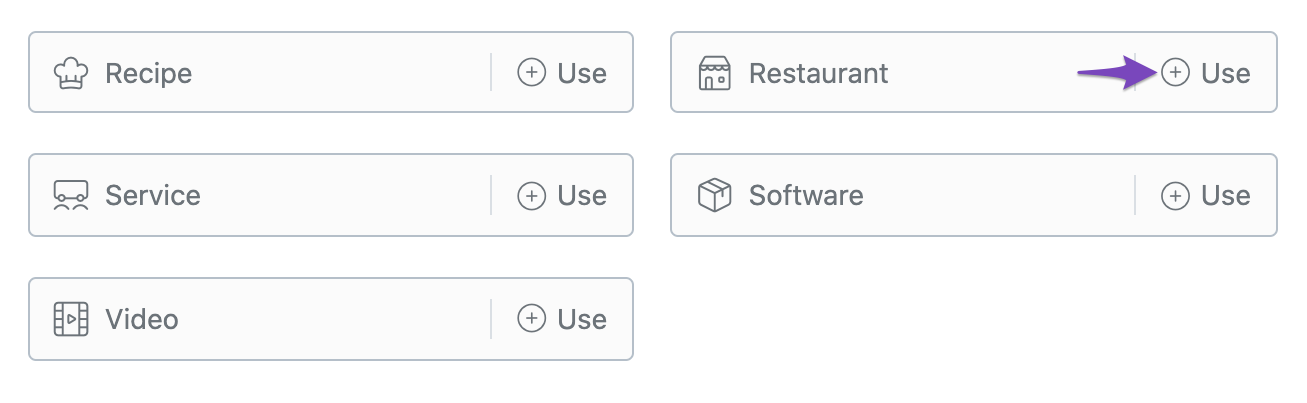
Find the Restaurant Schema from the list and click Use to open the Schema Builder.
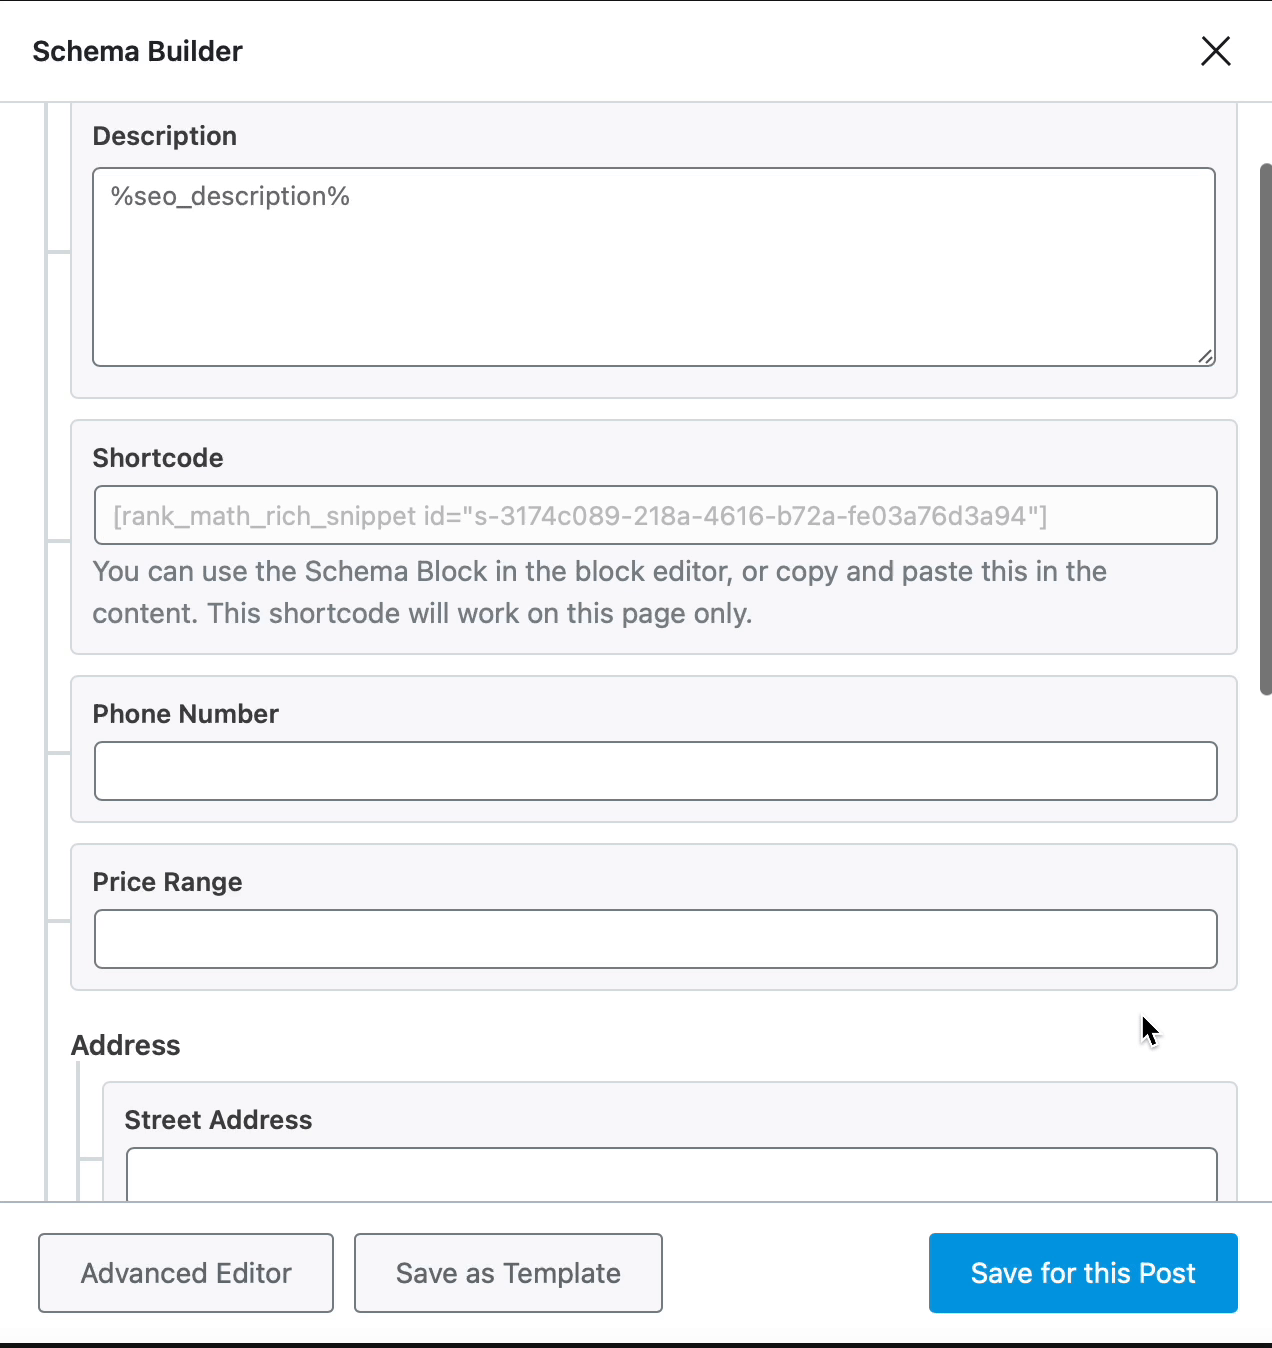
The Restaurant Schema Builder will then open up with the various options as shown below:
Now, let’s have a closer look at each of the available options.
2 Restaurant Schema Type Setup & Available Options
2.1 Headline
Write a headline that contains the name of the restaurant. You can also make use of variables if you have mentioned them in the post title.

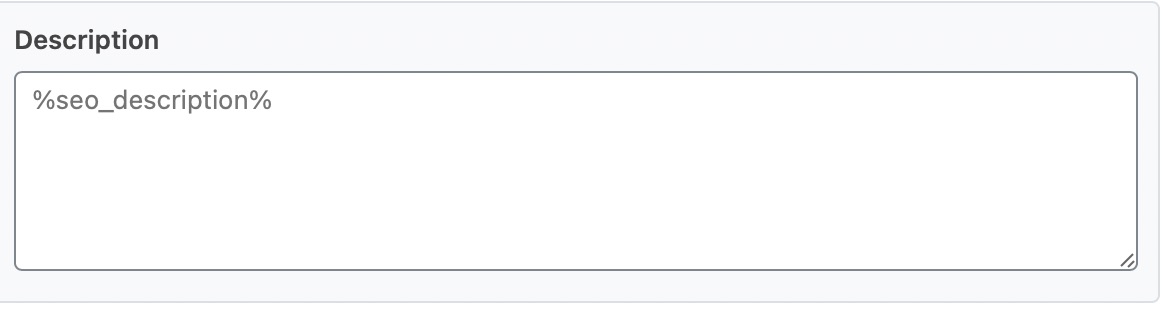
2.2 Description
Enter the description of the restaurant in this field. You can describe the location, the ambiance, the staff, the food, the service, and the overall experience here. You can also use the variables to create a dynamic description of the restaurant.
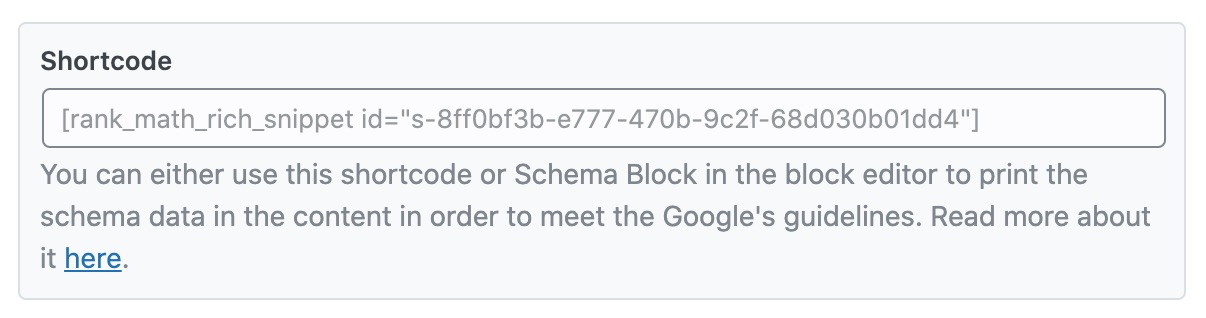
2.3 Shortcode
Copy and paste the shortcode in your content to display the Schema data to your visitors.
2.4 Phone Number
Enter the restaurant’s phone number in this field, including the country and area code (e.g. +1 for the US). Make sure to enter the number without spaces or hyphens—for example: +11234567890.
This format ensures compatibility with rich snippets, voice search, and direct click-to-call functionality

2.5 Price Range
Enter the price range for the restaurant in this field. Only add the currency symbols. For example, £ means cheap, while £££ means expensive.

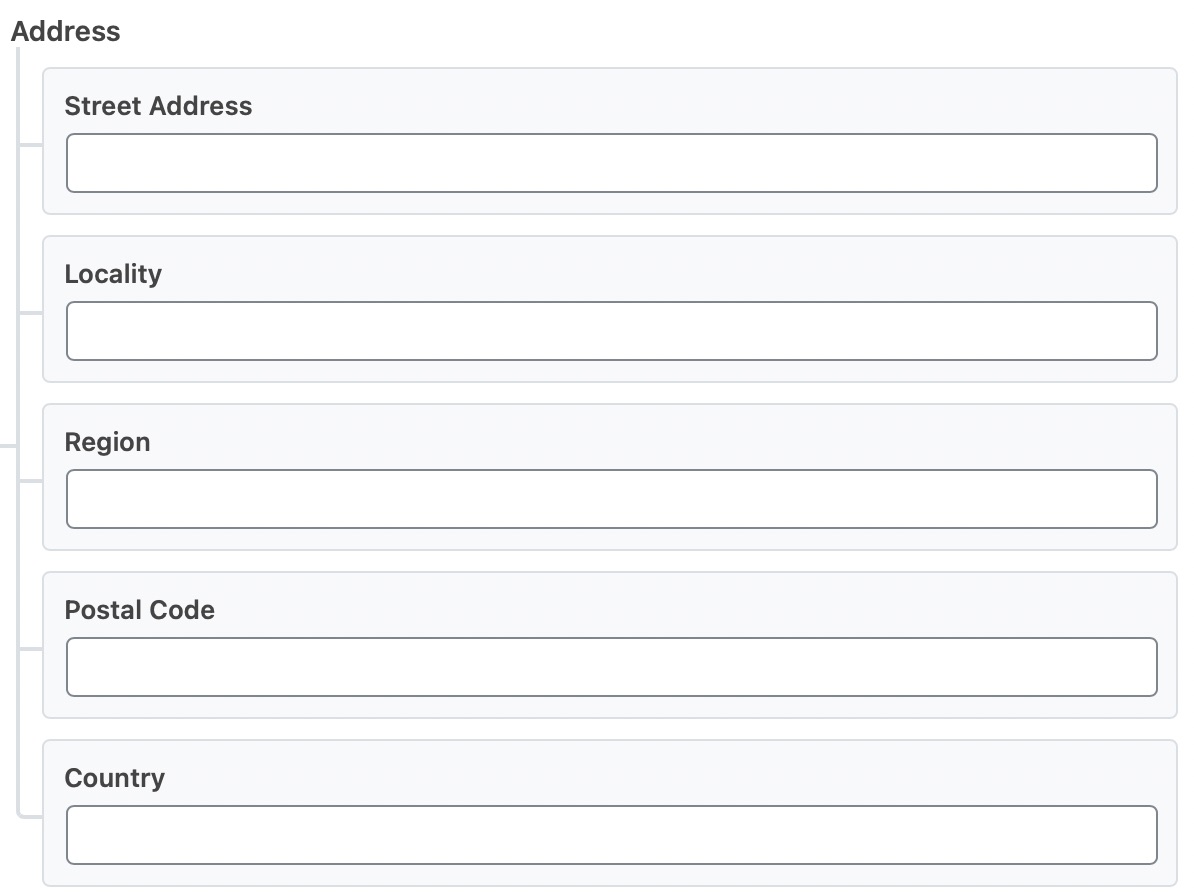
2.6 Address
Enter the address details of the restaurant. Ensure you enter the country using the two-letter ISO 3166-1 alpha-2 format, for example, US for the United States and FR for France.
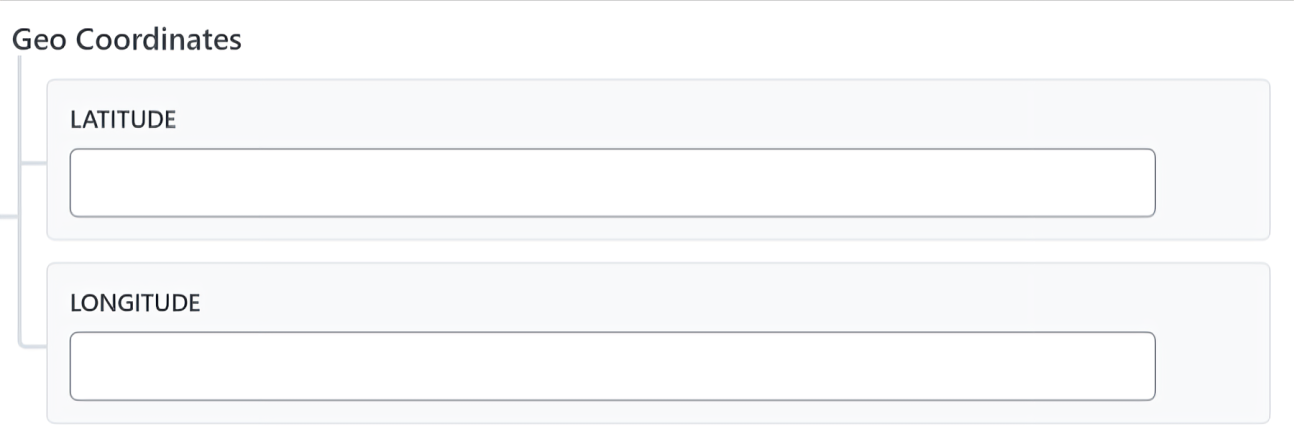
2.7 Geo Coordinates
Enter the Latitude and the Longitude of the restaurant. You can find them on Google Maps or even the restaurant’s Google Business Listing.
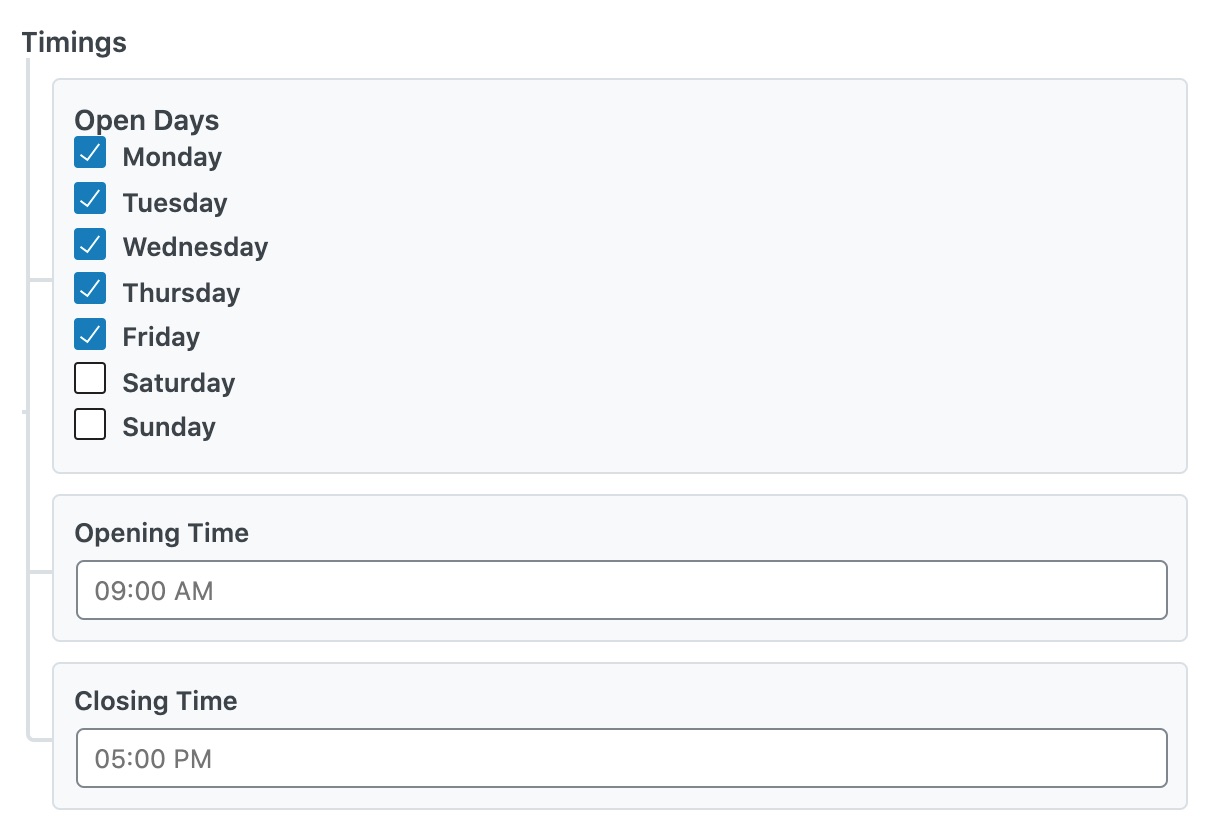
2.8 Opening Hours
Enter specific information about the opening hours for the Schema information to be accurate.
Select all the days in the week the restaurant opens at a particular time, and then select the opening and closing times for those days.
Note: The option to set different schedules in your Restaurant Schema is available only in Rank Math PRO
For different schedules, click the Add Property Group and select only the days the restaurant opens at a particular time, then click the Add Property Group once again to add another set to the list. There, select the rest of the days and the opening and closing times respective to those days.
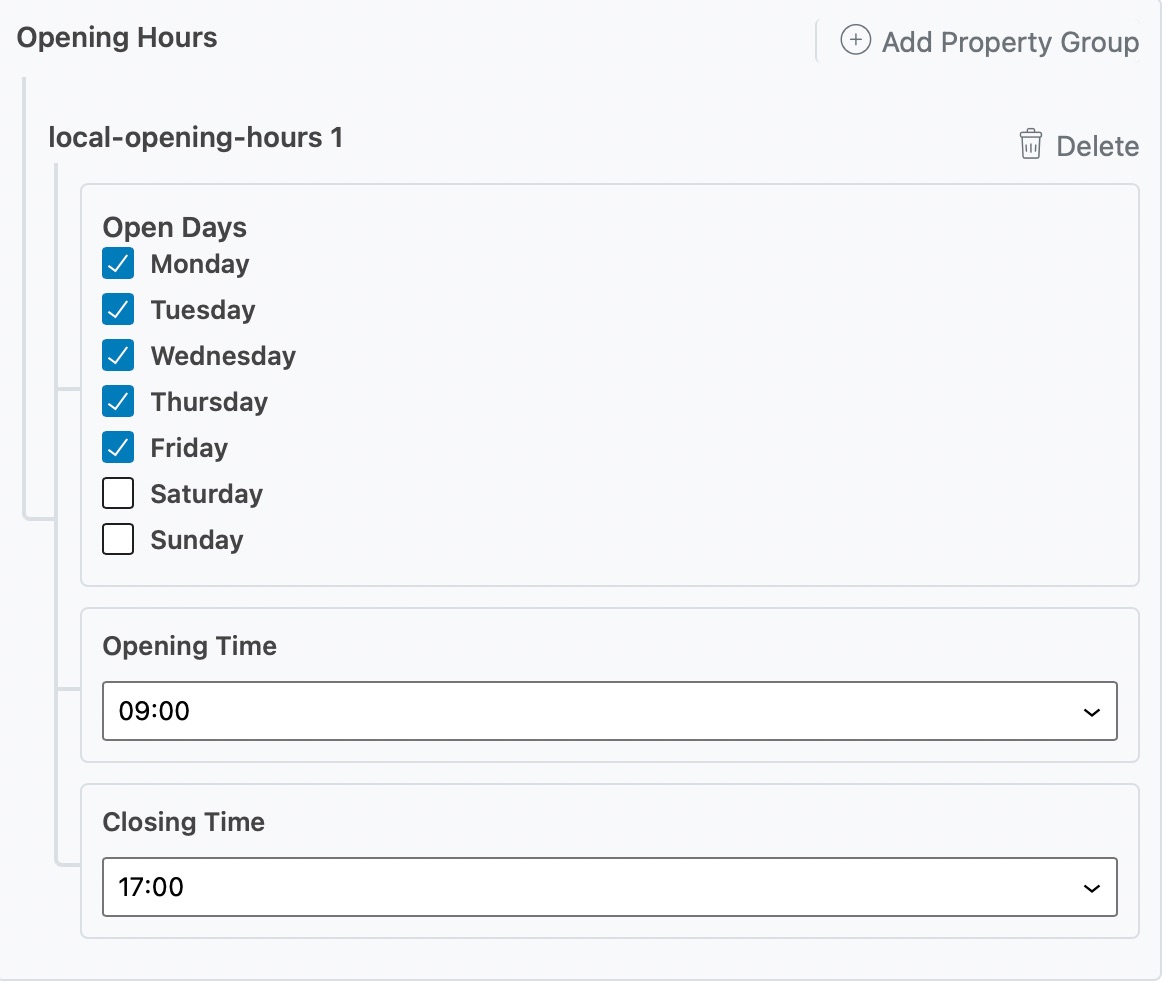
For the best results, ensure the information you enter here matches what’s displayed on the page.
2.9 Serves Cuisine
Enter the types of cuisine the restaurant offers—i.e., the kind of food it specializes in. For example, Thai, Indian, etc, by clicking on the Add Property option.

2.10 Menu URL
Enter the web address (URL) where customers can view the restaurant’s full menu.

Next, click on Save for this Post once you’re done making any changes to the Restaurant Schema for this page. Then, update the page as you usually would after making a change, or click Publish if this is a newly created page. You can then check your Schema with the help of Google’s Rich Results Testing Tool.
Tip: If you’re listing multiple restaurants on a single page, you can add additional Restaurant Schema entries and fill in their individual details accordingly.
And that’s it! We hope this guide helped you understand the Restaurant Schema type and how to use it effectively. If you have any questions or need further assistance, feel free to reach out to our dedicated support team—they’re always available and happy to help.