Rank Math’s goal is to make on-page SEO easy. With that said, Rank Math’s built-in Analytics module makes it easier than ever to install Google Analytics on your website. Here’s how to get started:

1 Install Rank Math
If you haven’t already – it goes without saying – the very first step is to install the free version of Rank Math available on the WordPress plugin repository.
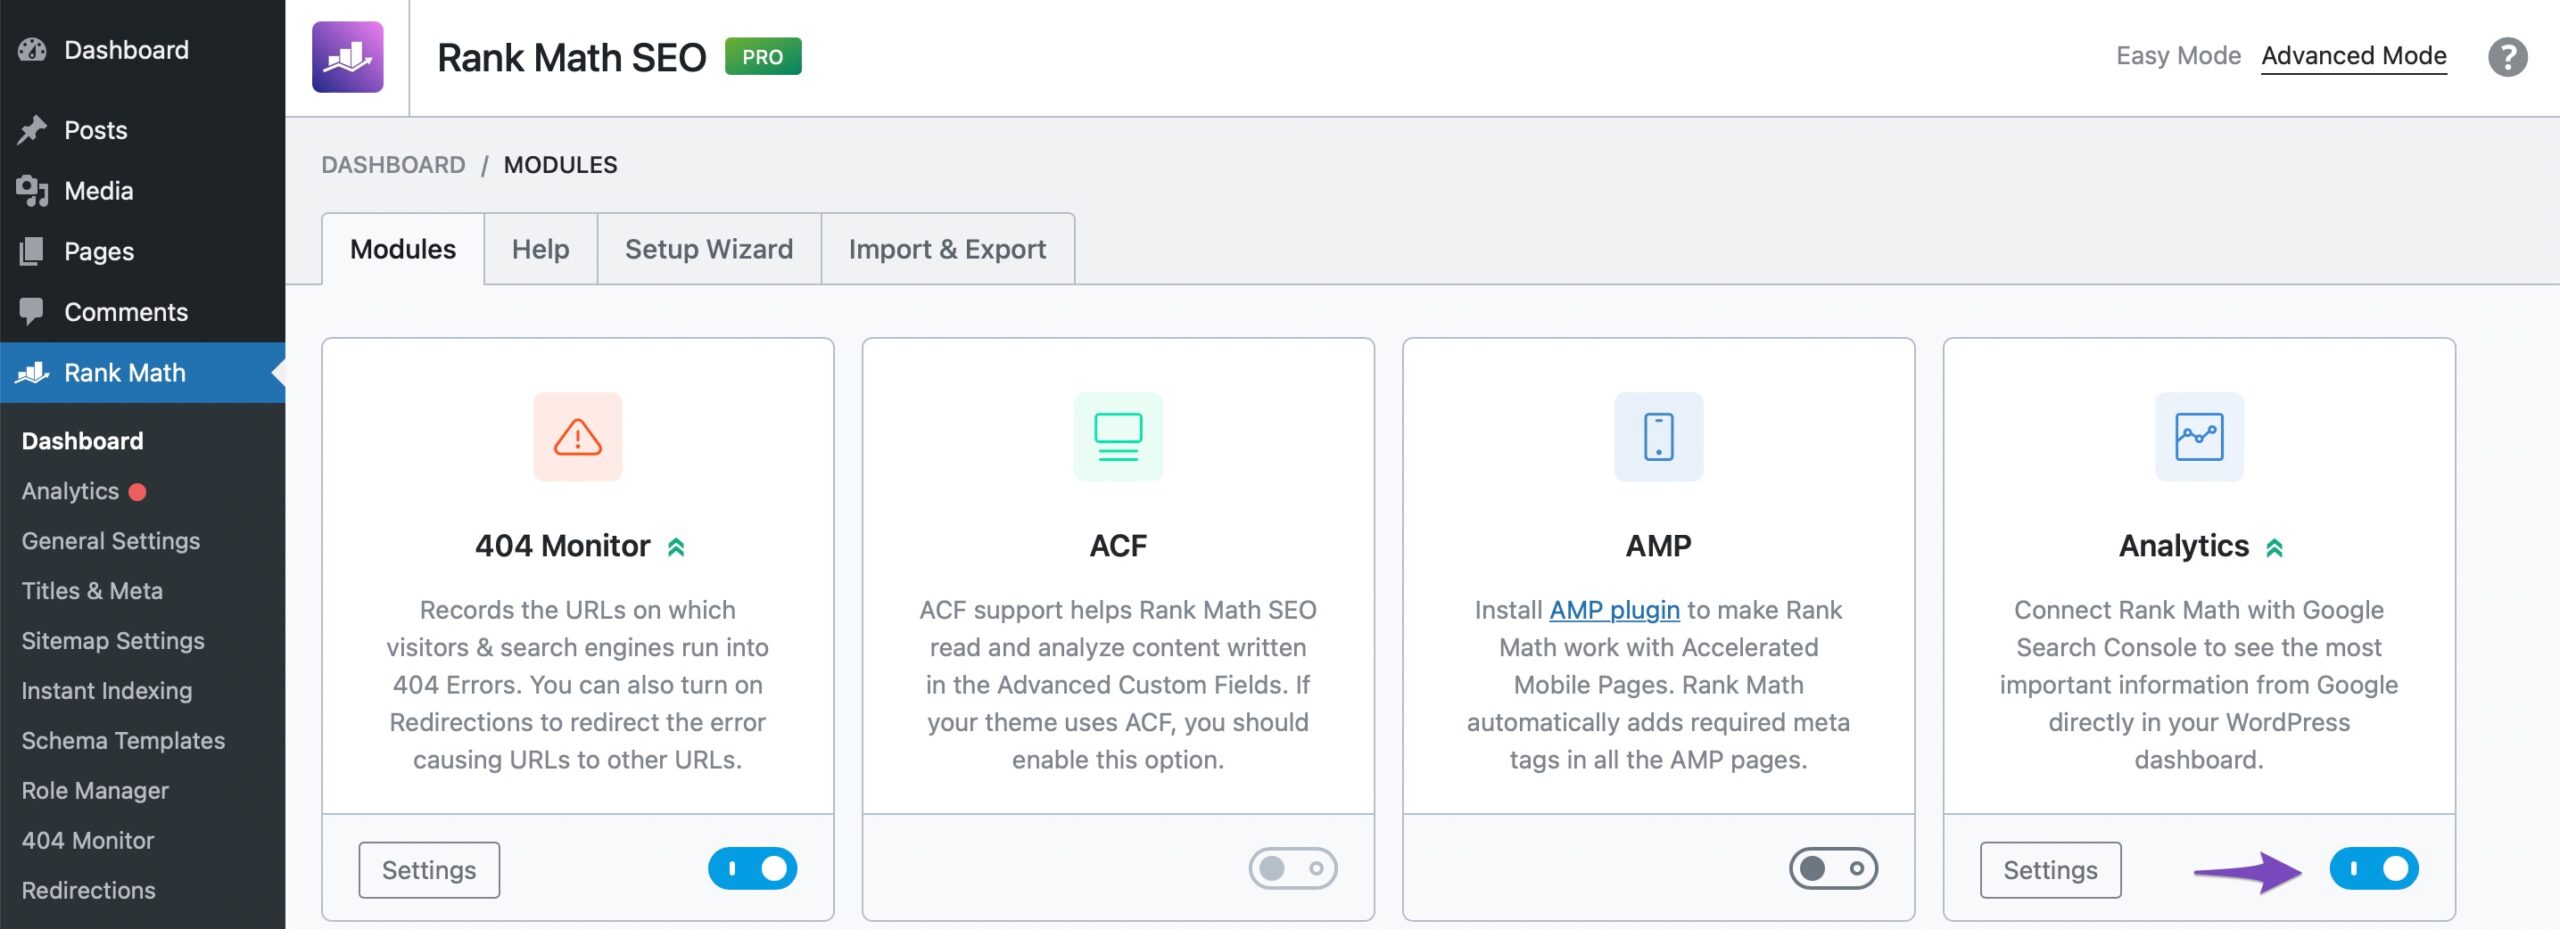
2 Enable the Analytics Module
Once you’ve installed Rank Math, in your WordPress admin area navigate to Rank Math SEO → Dashboard to enable the Analytics module as shown below:
3 Connect Your Google Account
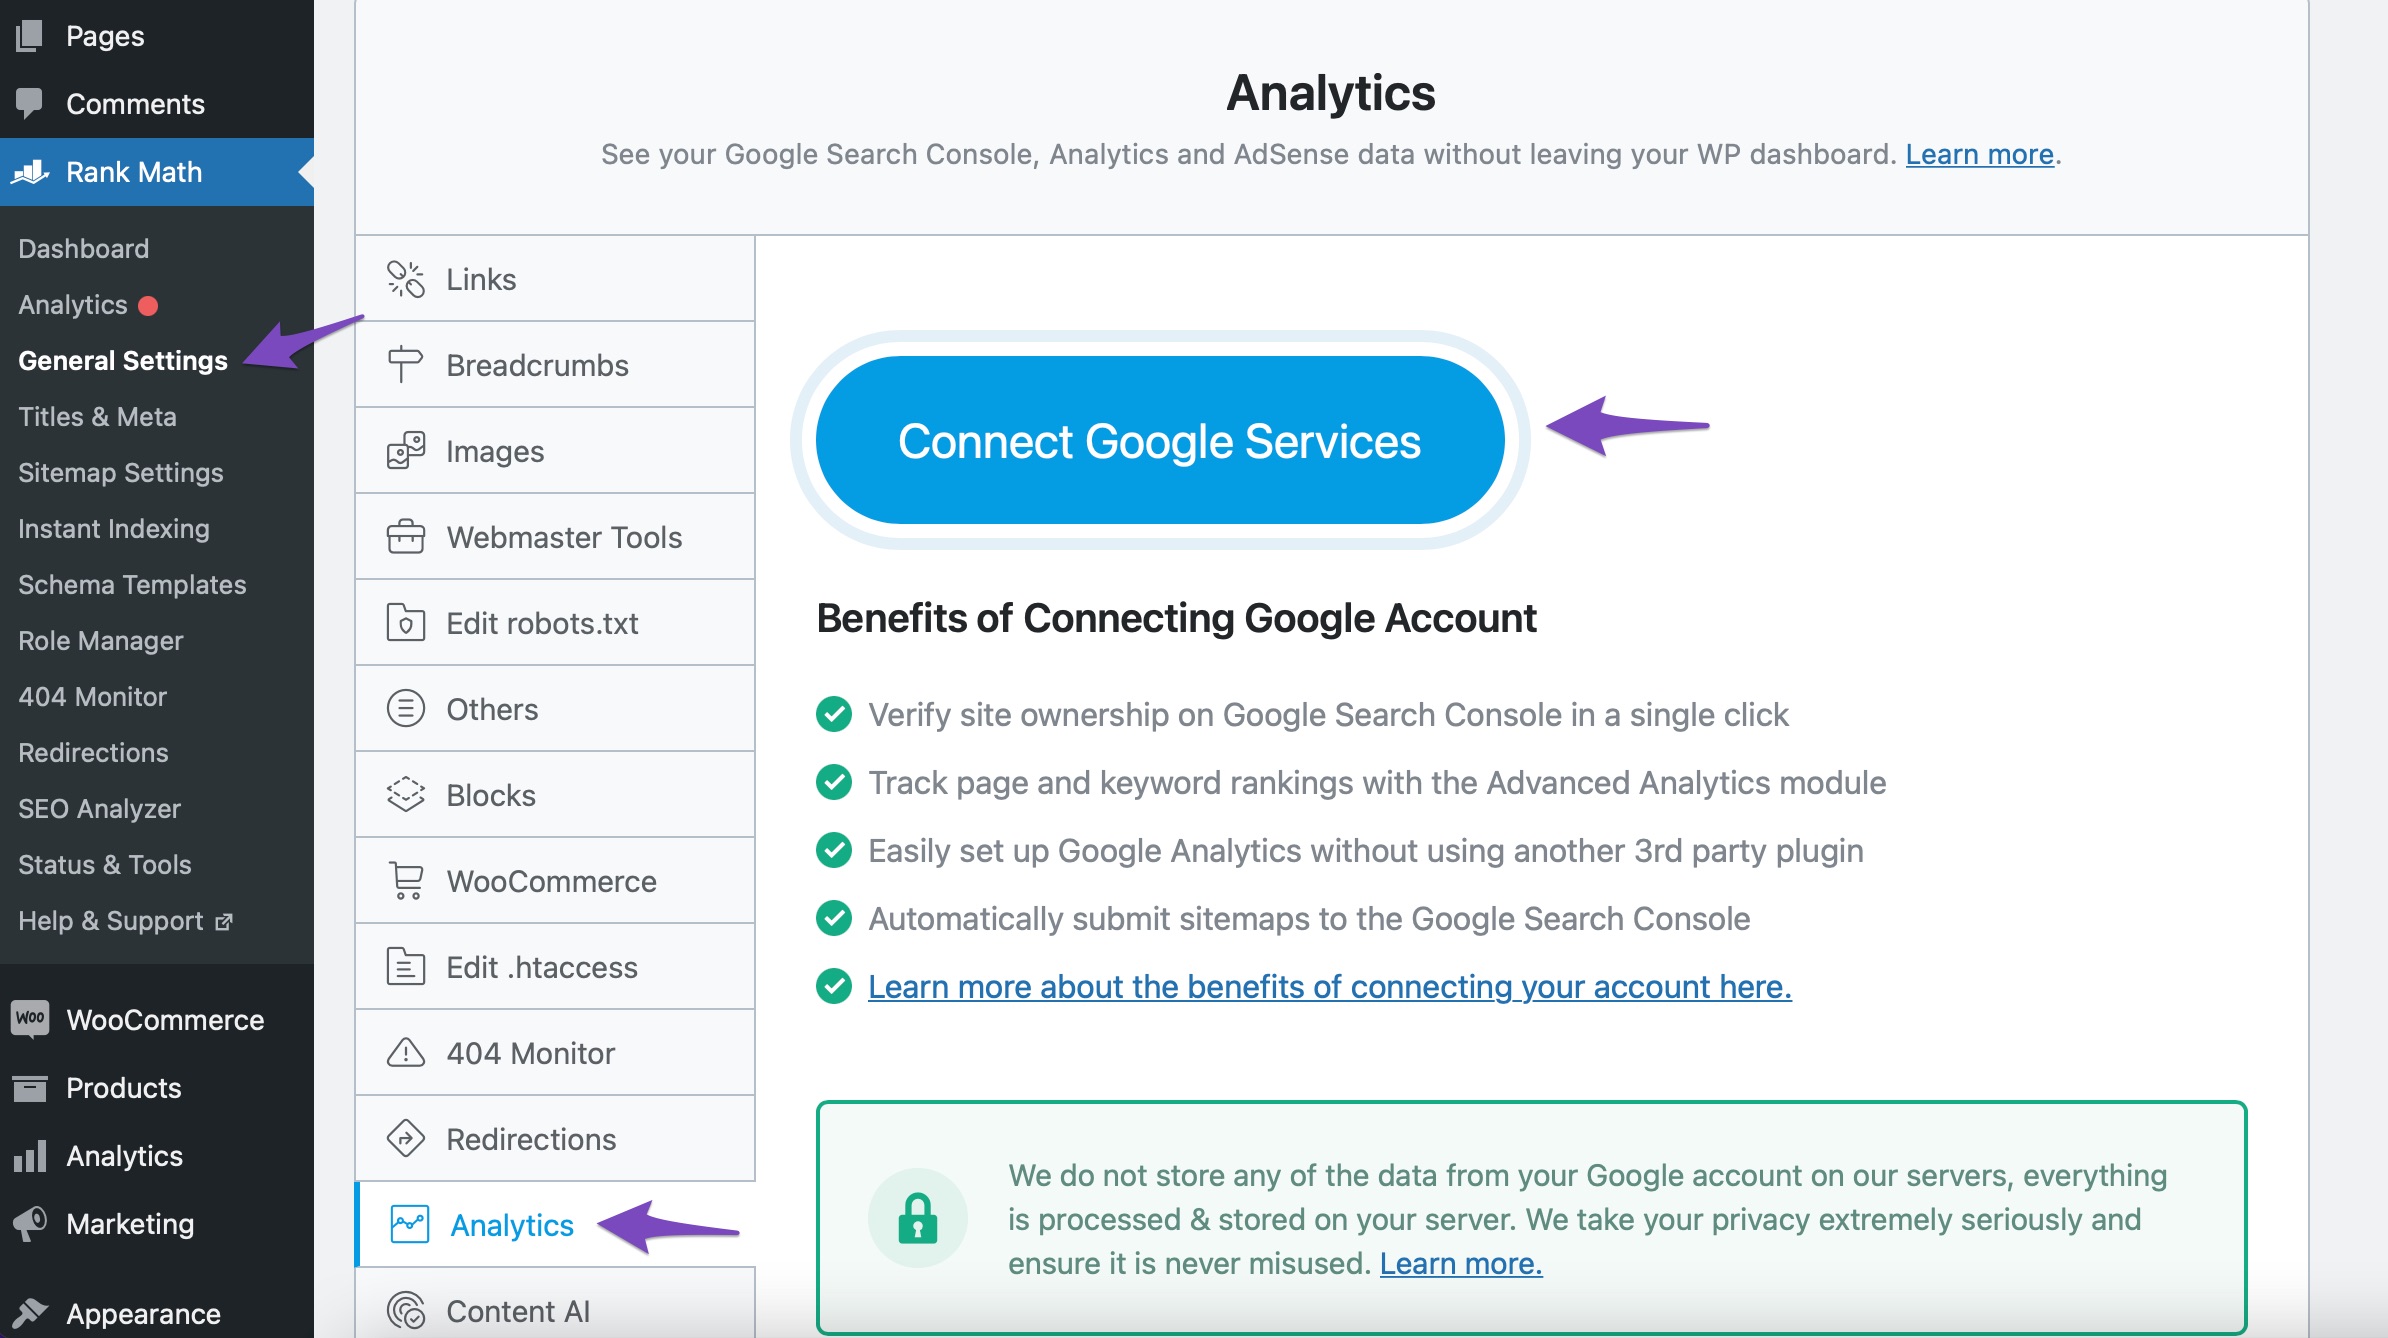
Now that you’ve activated the Analytics module, you’ll be able to connect your Google account by navigating to Rank Math SEO → General Settings → Analytics.
And then, clicking on Connect Google Services in the Analytics – as shown below:
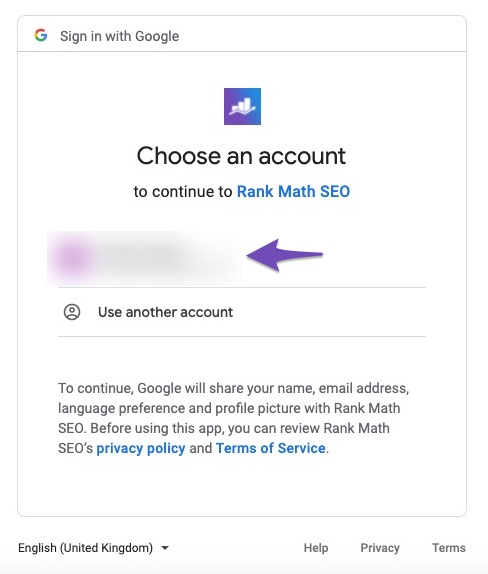
Once you click on Connect Google Services, you need to choose your account to continue with Rank Math SEO.
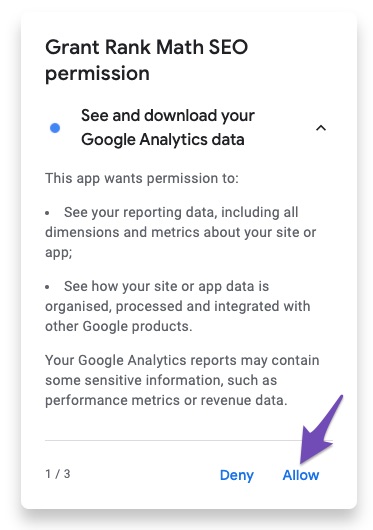
After selecting your account, you’ll have to provide Rank Math with the required permissions. Click on Allow, so that Rank Math can see and download your Google Analytics data.
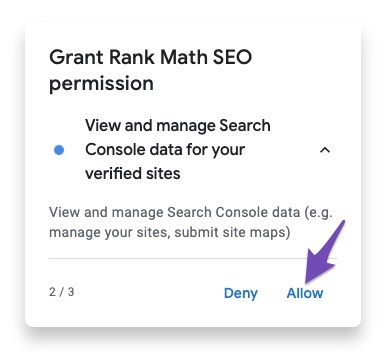
The next permission is for viewing and managing Search Console data of your verified sites. Click on Allow.
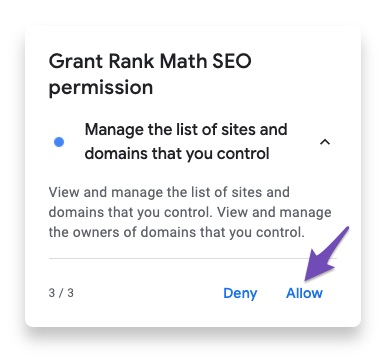
Click Allow on the next permission that will let Rank Math manage the list of sites and domains that you control.
On the next page, click Allow once again to confirm your choices for permissions.
If you’re a Rank Math PRO user, Rank Math will also ask permissions for:
- Creating new Google Analytics account with its default property and view
- Editing Google Analytics management entities
- View your AdSense data
Click Allow on the above settings as well, and if you wish to change the settings in the future, you can do that by disconnecting your account with Rank Math.
4 Choose Your Analytics Account & Property
Now that Rank Math is connected with your Google account, you will be redirected to the Rank Math Analytics settings page with all the configurations available, and that would look like this.
Under the Analytics section, you can choose your Account, Property, View, and Country from the dropdown menus to select your existing Analytics account & property.
In the event that you don’t already have a Google Analytics property for this website, head over to Google Analytics to add this website and then return to Rank Math to select the property (please note: you may need to reconnect your Google account).
As Rank Math provides huge support for GA4, you can connect your Rank Math with the GA4 property. Under the Property drop-down, you can easily find GA4 properties with the suffix -GA4.
Note: The Country drop-down list is available only for PRO users and lets you filter the Analytics data for a specific country. If you wish to see the global Analytics data, choose Worldwide from the drop-down list.
If the Search Console options are unresponsive or your Google Analytics 4 settings disappear after you click the Save Changes button, consider switching to a Chromium-based browser like Google Chrome.
5 Enable the “Install Analytics Code” Setting
Once you’ve selected the correct account and property for this website, ensure that you’ve enabled the Install Analytics Code option as shown below.
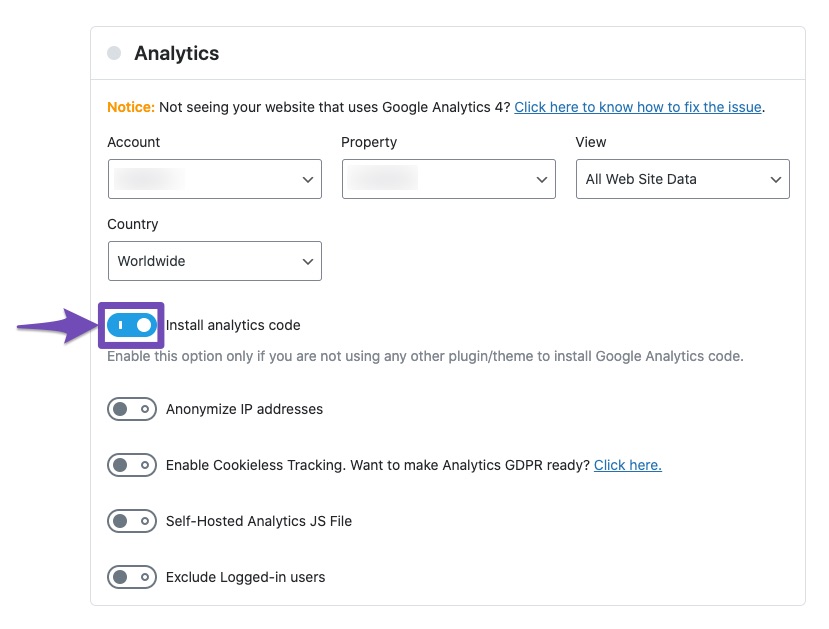
Note: Enable the Install Analytics Code option only if you are not using any other additional plugin/theme to add your Google Analytics code to your website so that we don’t end up adding the same code 2X to your website.
Then click on the Save Changes button at the end of the page.

And that’s it! 👏
Your Google Analytics tracking code will now be added to all pages without the need for yet another additional plugin or inserting the code manually. If you still have any questions on installing Analytics to your website with Rank Math, then feel free to reach our support team — as we’re always here to help.