Content AI includes a built-in chat assistant called RankBot that will help you improve your marketing, research, and content creation workflow. With RankBot, you are assured of having a reliable AI-powered assistant to generate high-quality content and obtain valuable insights into your business and clients, all within a few seconds.

If you reach your usage limits, you can easily upgrade to a higher Content AI plan that aligns with your requirements. You can enable the Content AI module from Rank Math SEO → Dashboard → Modules.
Table Of Contents
1 How to Access RankBot
RankBot has been well-integrated into your WordPress environment, and you can access it from your favorite WordPress editor. RankBot will generate outputs based on the language you’ve configured in the Content AI settings.
If you wish to change it, head over to WordPress Dashboard → Rank Math SEO → General Settings → Content AI and change the Default Language setting here.
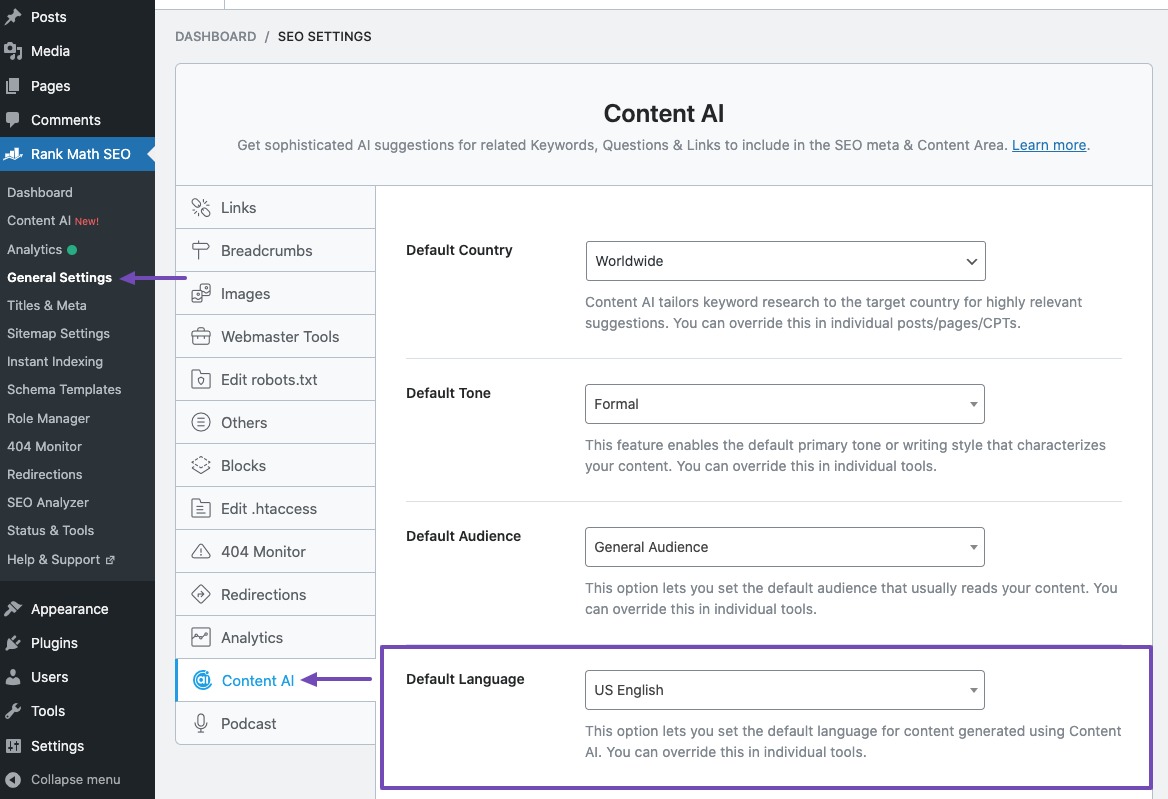
Now, let’s discuss the different ways to get access to RankBot.
1.1 Using the Content AI Dashboard
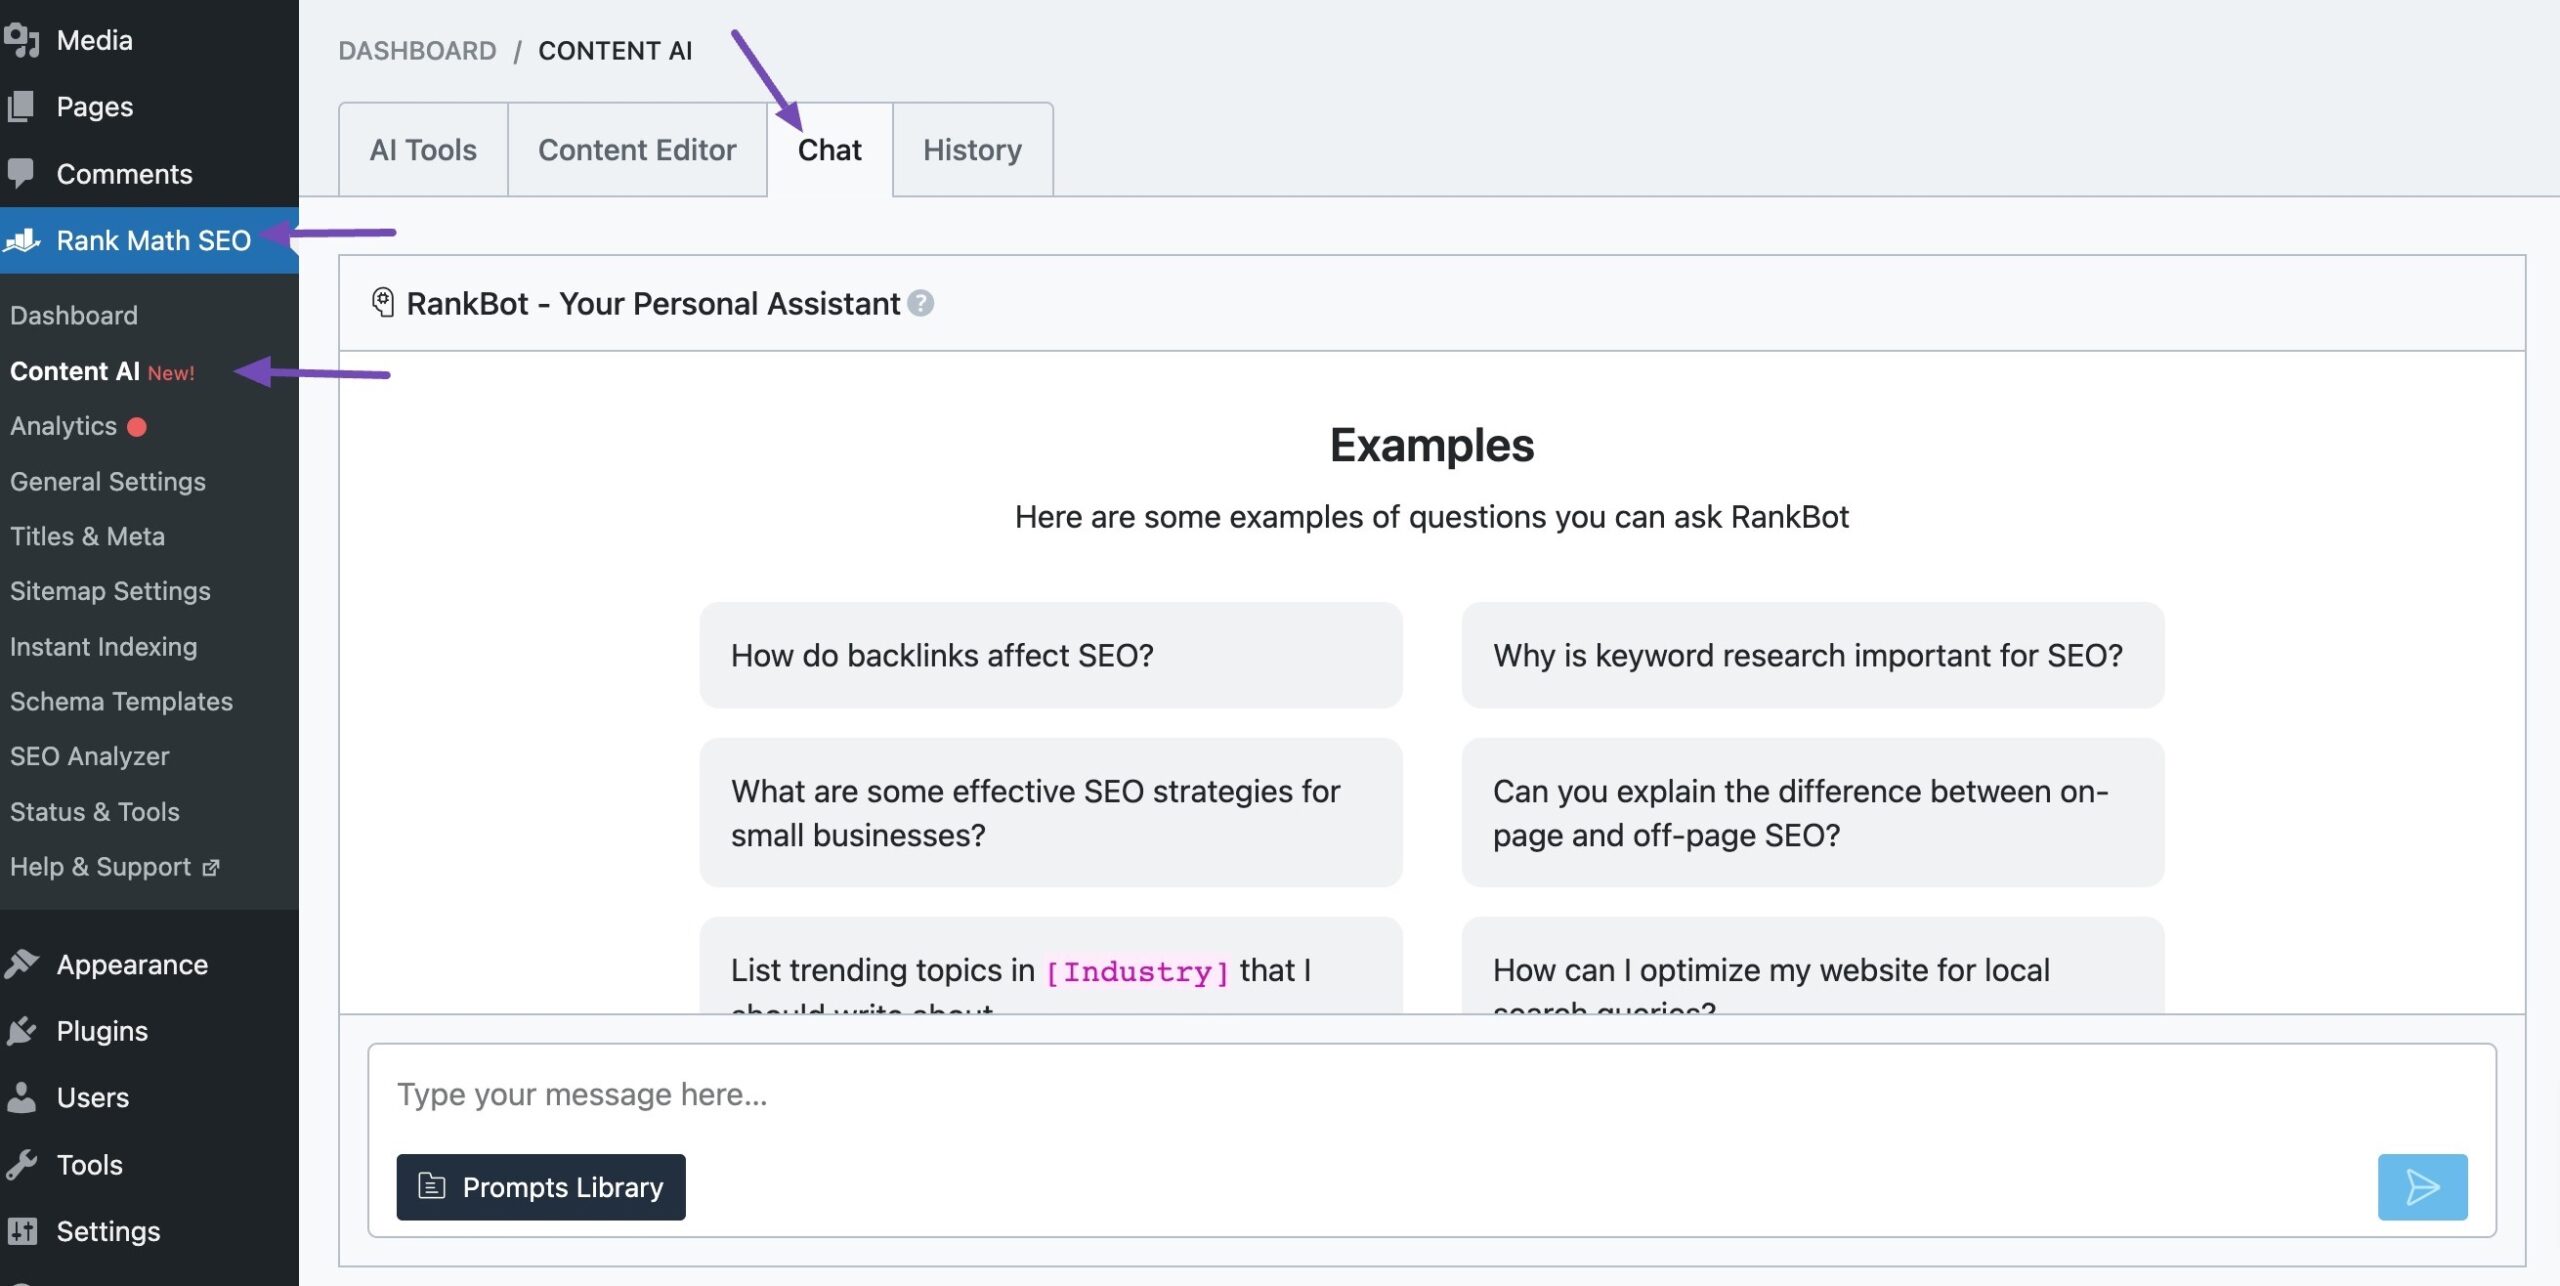
RankBot is included in the dedicated Content AI dashboard, and you can access it by heading over to WordPress Dashboard → Rank Math SEO → Content AI → Chat.
1.2 Using the Block Editor
To use RankBot in the Block Editor, head over to a post or page from your WordPress dashboard. Once done, click the Content AI icon. In the Content AI Metabox, click the Chat icon to access RankBot.
1.3 Using the Classic Editor
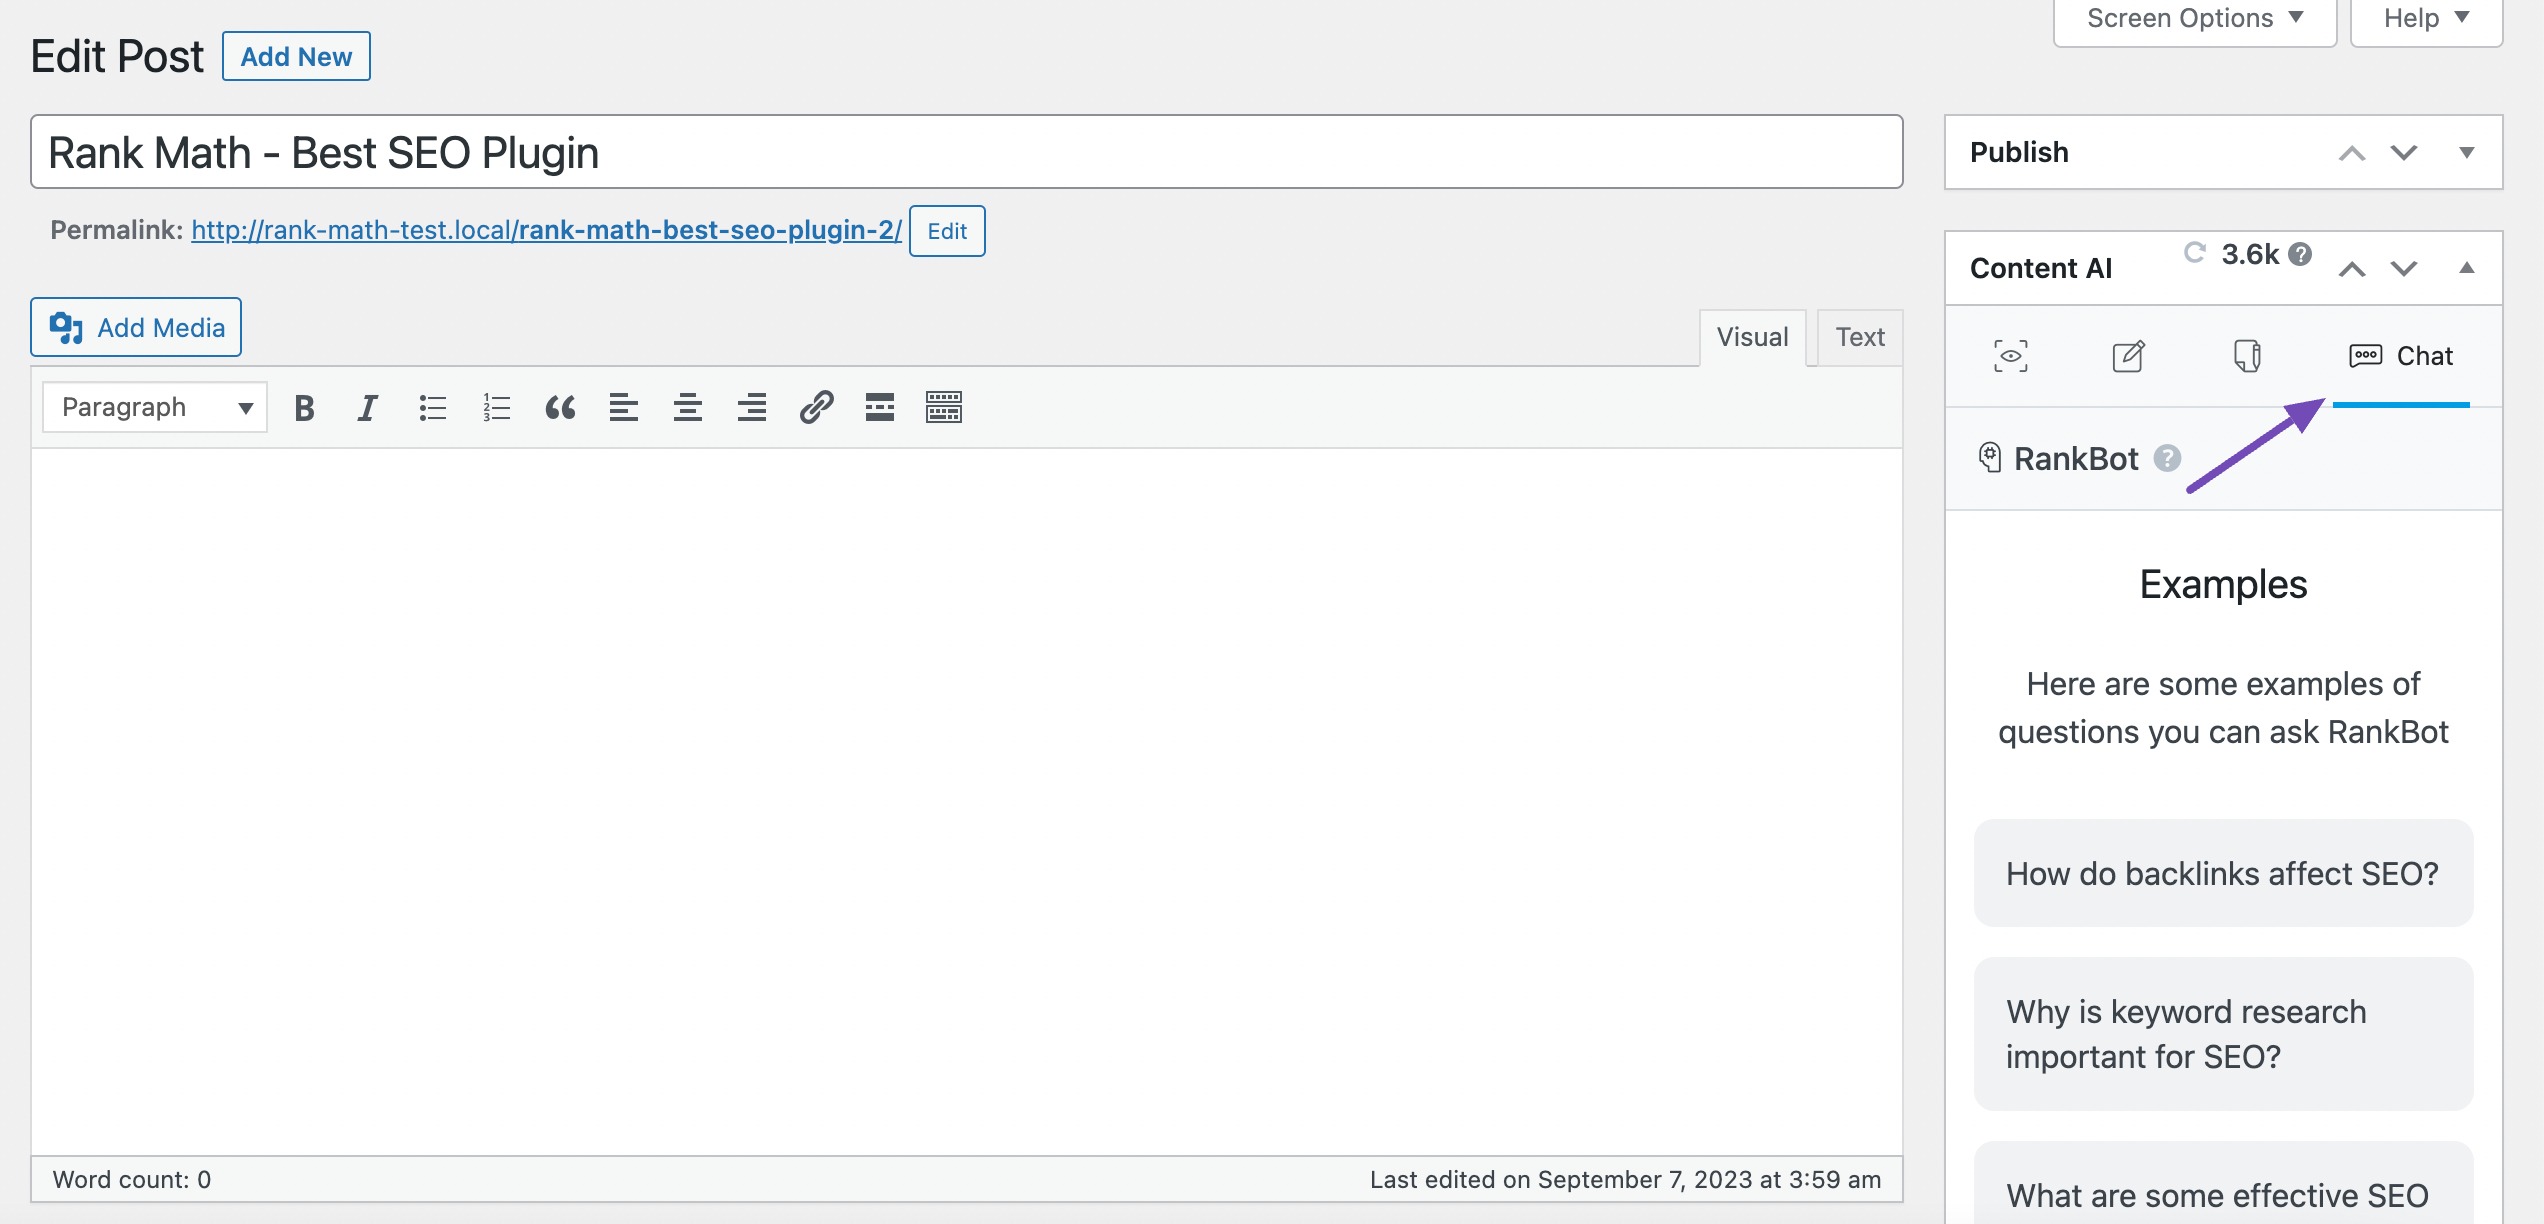
If you’re editing the post using Classic Editor, you can access the RankBot from the Content AI Metabox by clicking the Chat icon.
2 How to Enter a Prompt Into RankBot
Prompts are nothing but the instructions that you enter into RankBot.
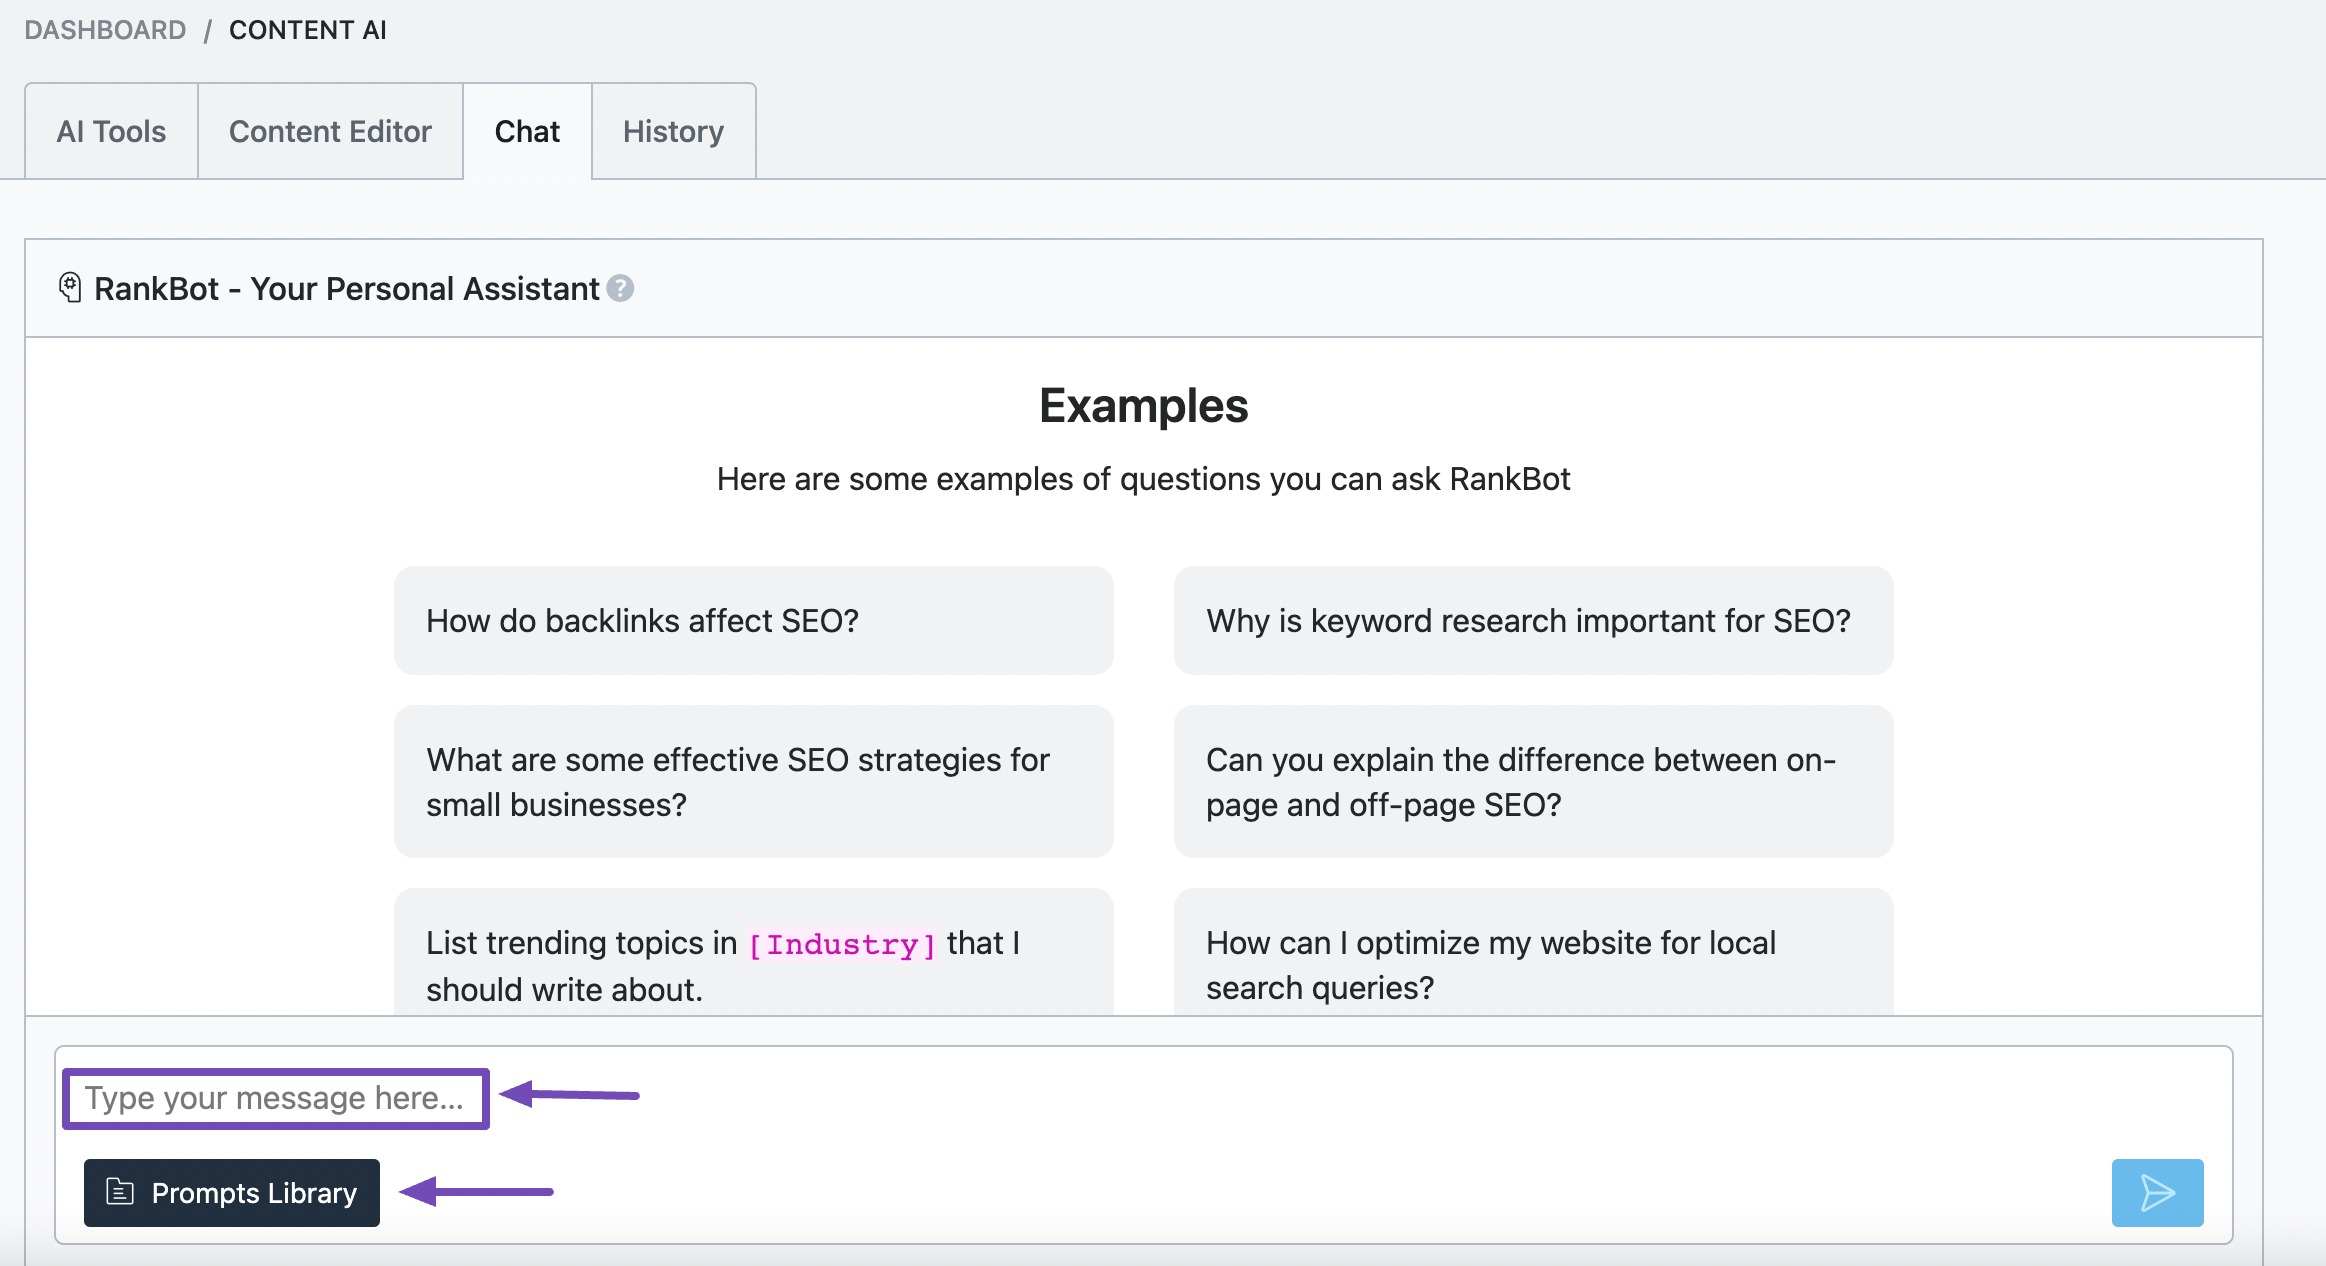
RankBot uses the prompt to do its research and generate an appropriate response. You can directly type a prompt into the text area, but ensure to keep the character count below 2000.
Optionally, click Prompts Library to reveal the 125+ prompts in RankBot.
3 How to Use the Prompts Library
The Prompts Library contains ready-to-use prompts curated by experts. When you select a prompt from the library, you save yourself the time and effort you would’ve spent in coming up with a prompt.
3.1 How to Select a Prompt
The left side of the Prompts Library contains the 125+ prompts available in RankBot. Scroll through the available prompts and select the one you wish to preview. Click Use Prompt, then to command it to RankBot.
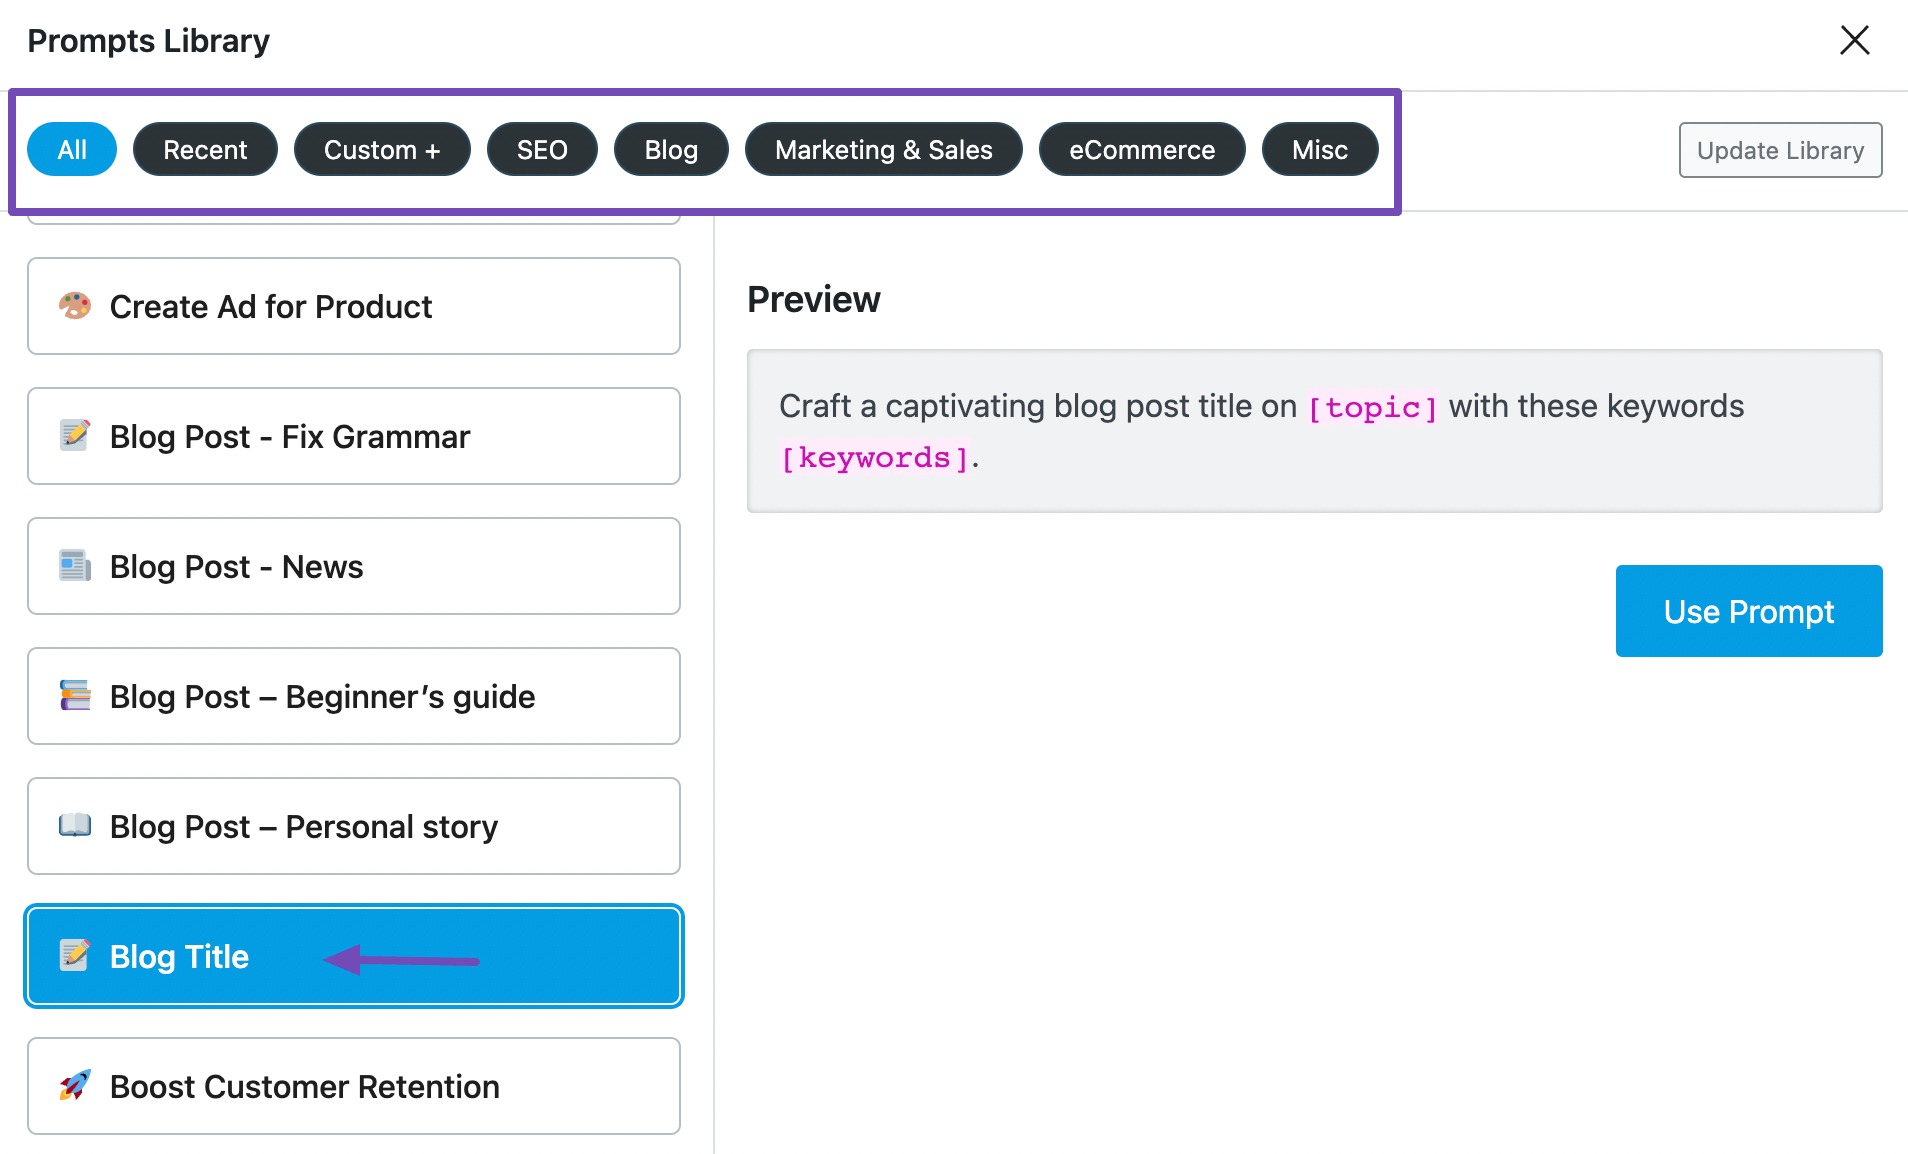
Optionally, click on a category at the top area of the screen and select a prompt from its menu. We will briefly explain the available categories below:
All — contains every prompt in the Prompts Library.
Recent — contains your recently used prompts.
Custom + — contains your custom prompts.
SEO — contains prompts for creating, suggesting, and analyzing SEO content. It also includes prompts for link building and keyword, user, competitor, industry, and product research.
Blog — contains prompts for creating and improving blog posts, landing pages, and social media content. It also includes prompts for creating content strategies and calendars.
Marketing & Sales — contains prompts for creating ads, emails, sales call scripts, video scripts, and product descriptions. It also includes prompts to get insights on your customers, generate responses for customer support, craft customer success stories, and create influencer collaboration strategies.
eCommerce — contains prompts for creating product blogs, ads, guides, pitches, endorsement posts, and pricing models.
Misc — contains prompts for creating questionnaires, invitation emails, feedback forms, and surveys. It also includes prompts to assist in planning and scheduling events and creating product roadmaps, music lyrics, and sponsorship packages.
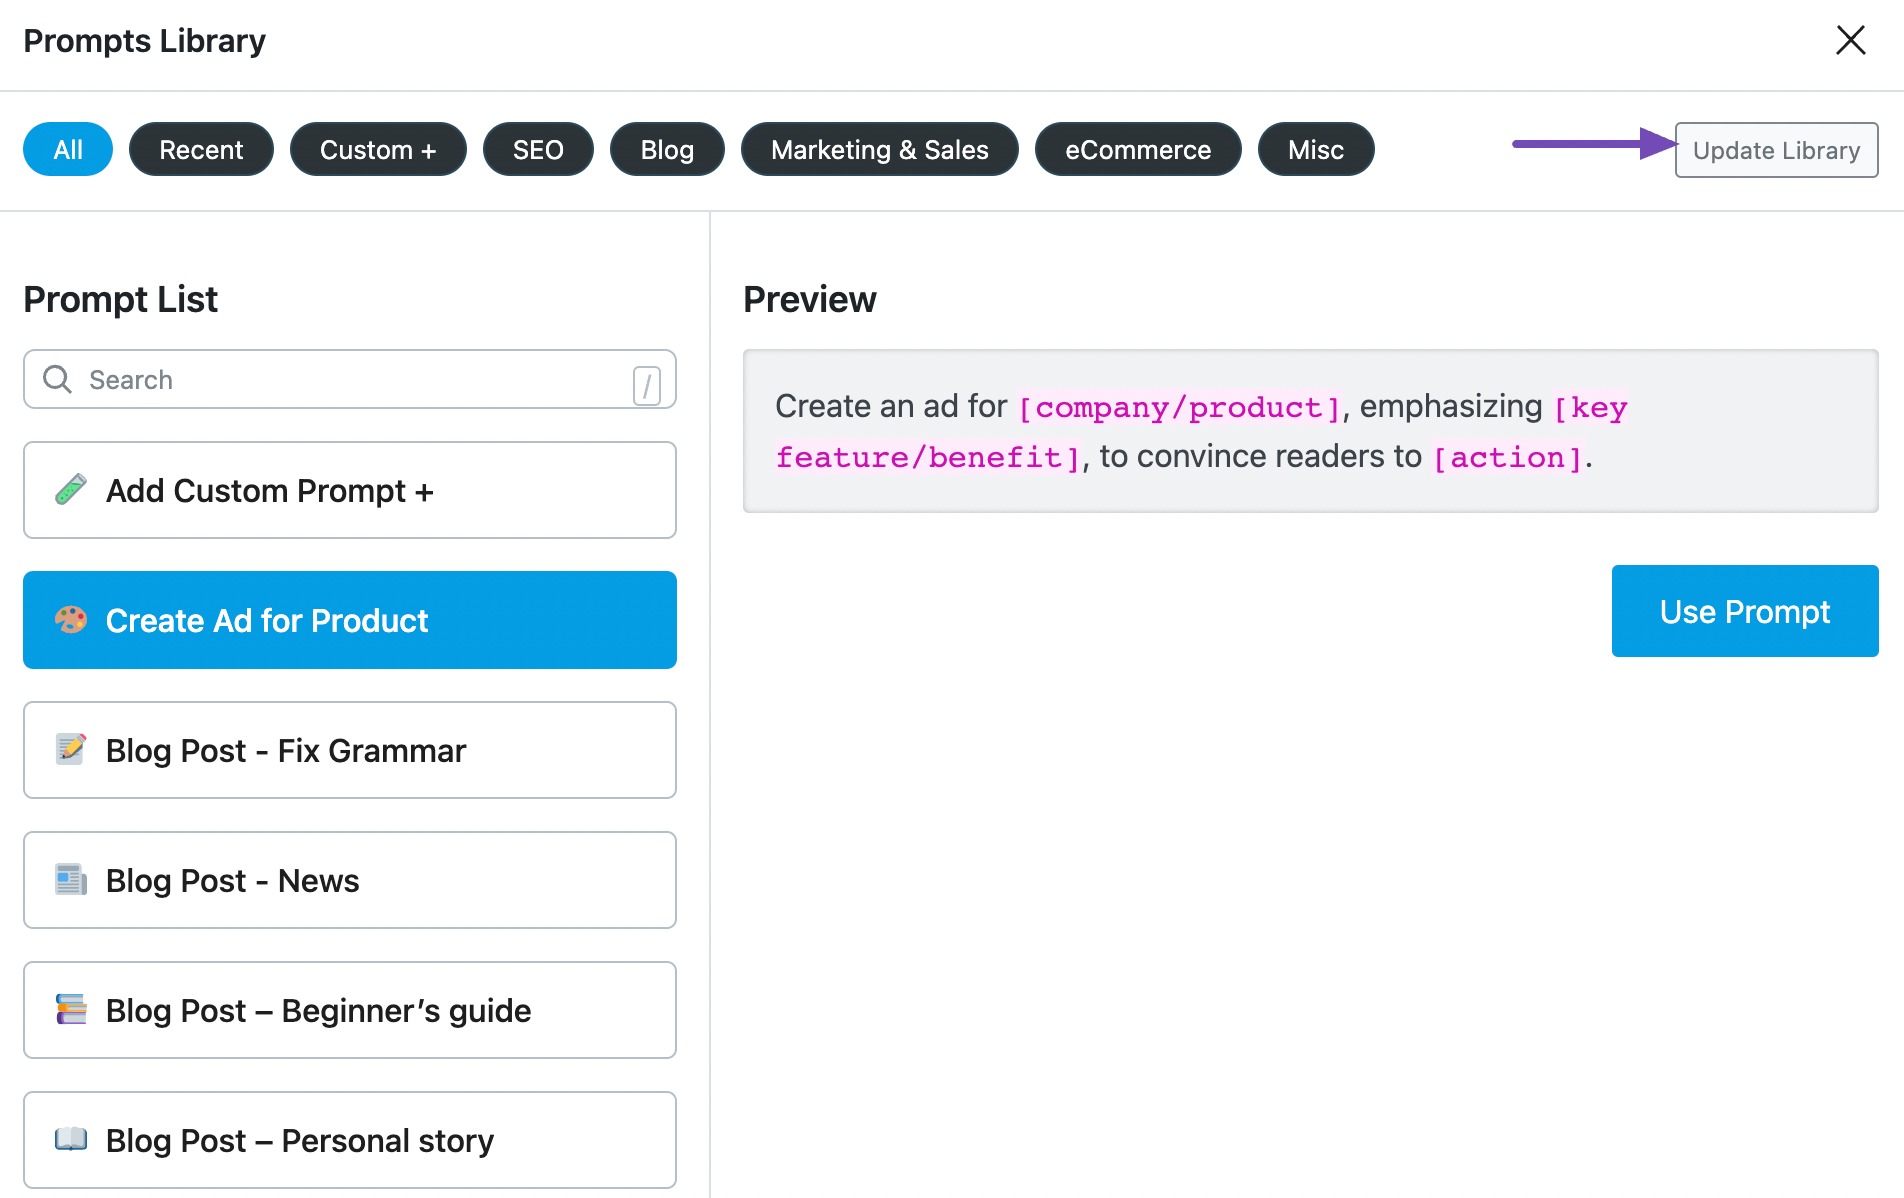
If the Prompt Library is not loading the prompts, click the Update Library button to update the AI Prompt Library manually. This will fetch the latest prompts from our server and display them in your library.
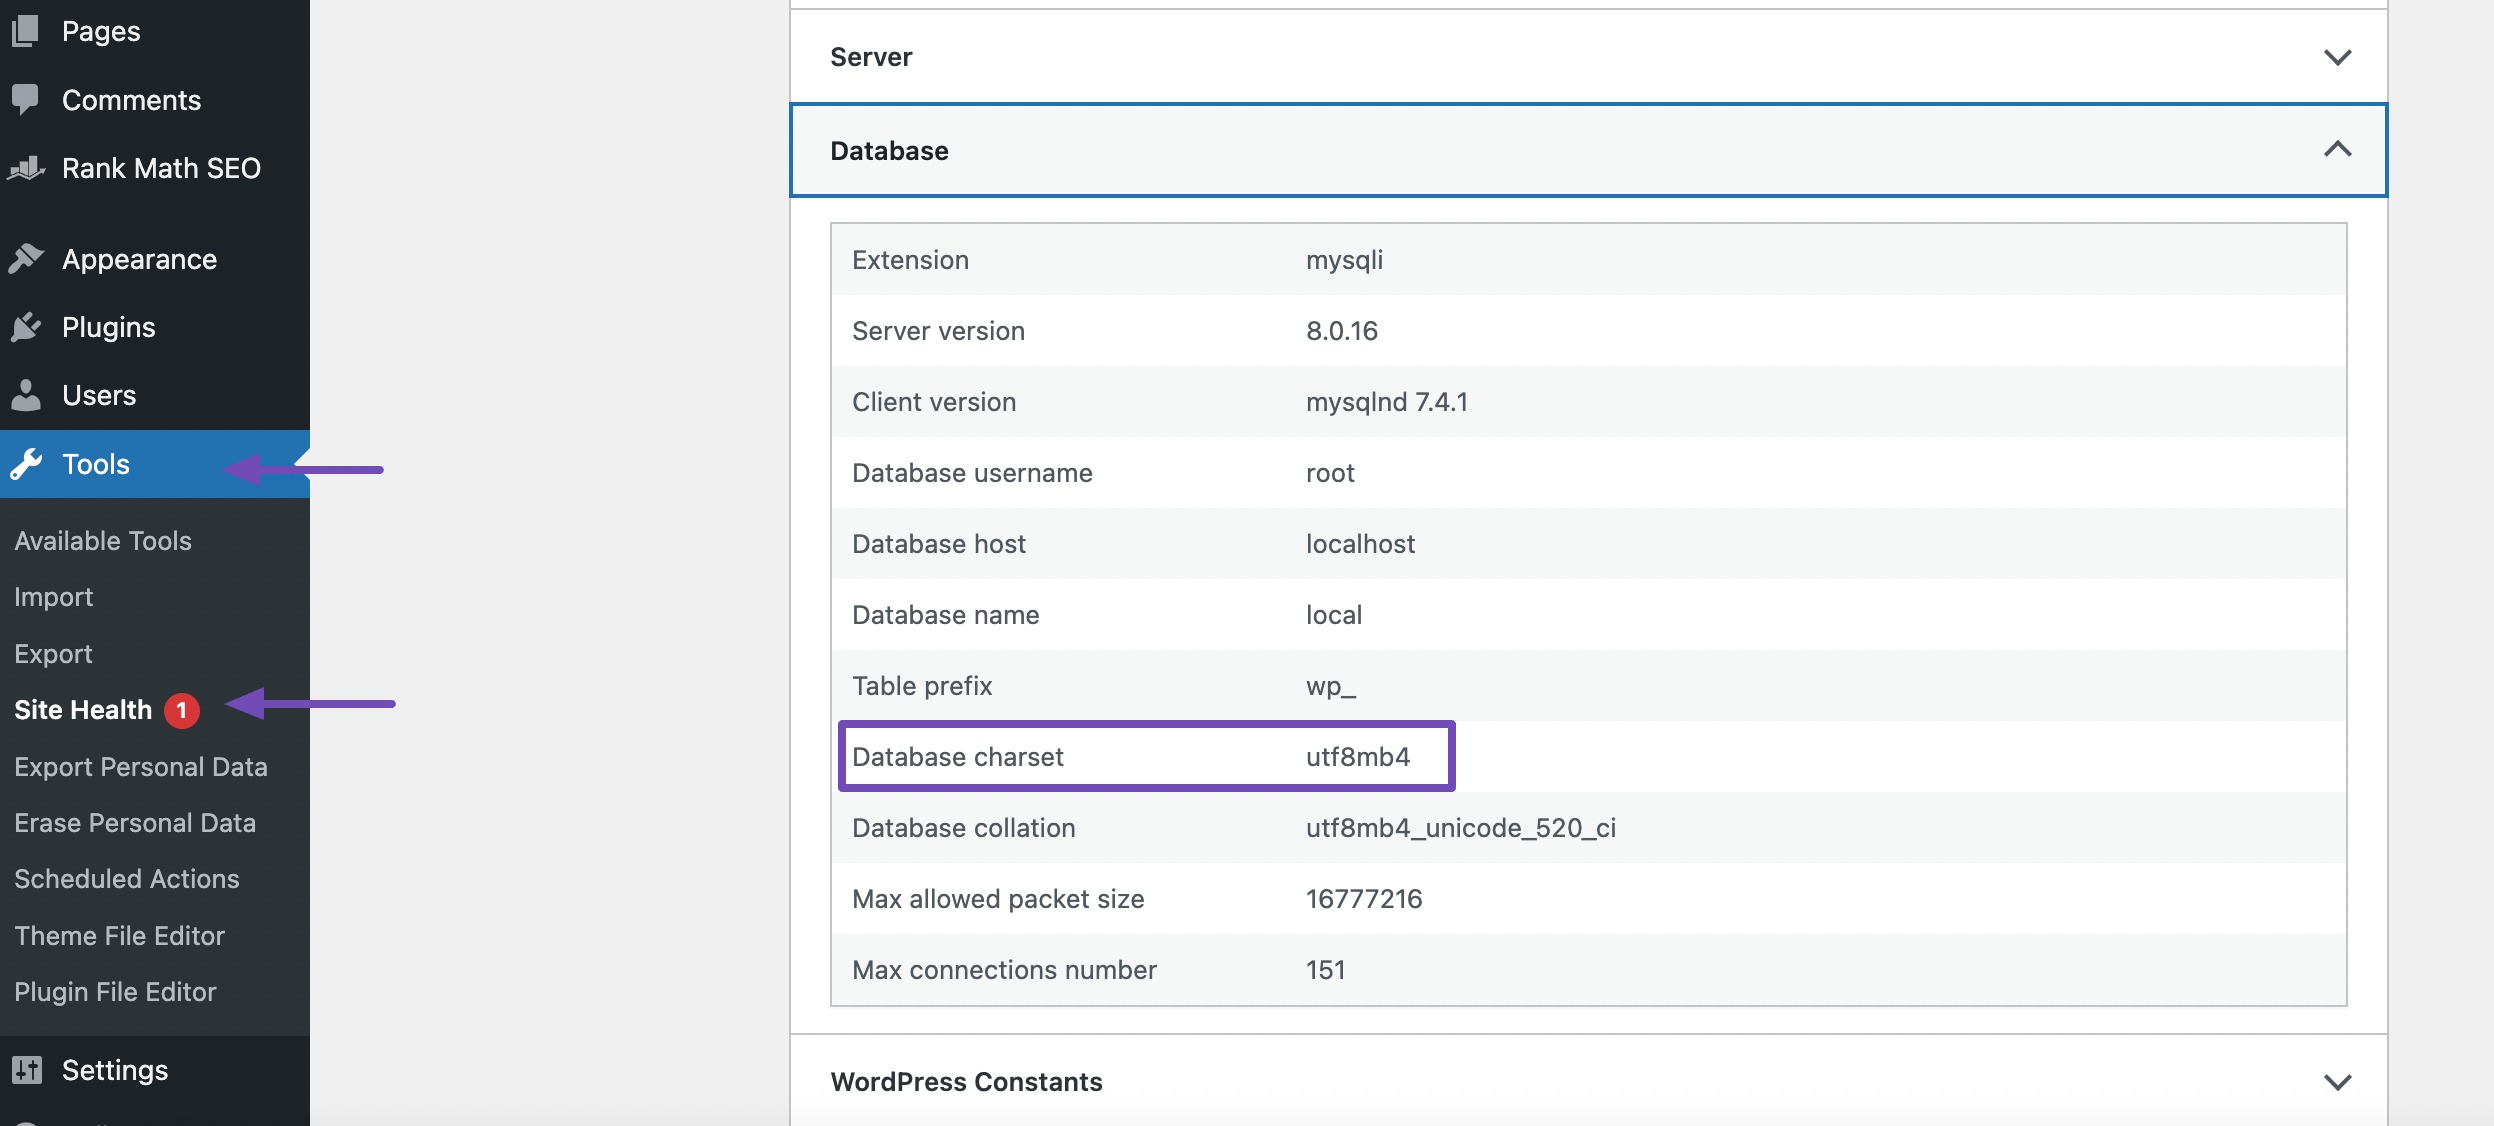
If the prompts are still not loading, check the Database charset of your WordPress site by navigating to WordPress Dashboard → Tools → Site Health → Info → Database.
Make sure that the Database charset is set to utf8mb4, which is an emoji-supported charset recommended by WordPress. If it is not, contact your web host to get the charset updated and update the library again.
3.2 How to Edit a Prompt
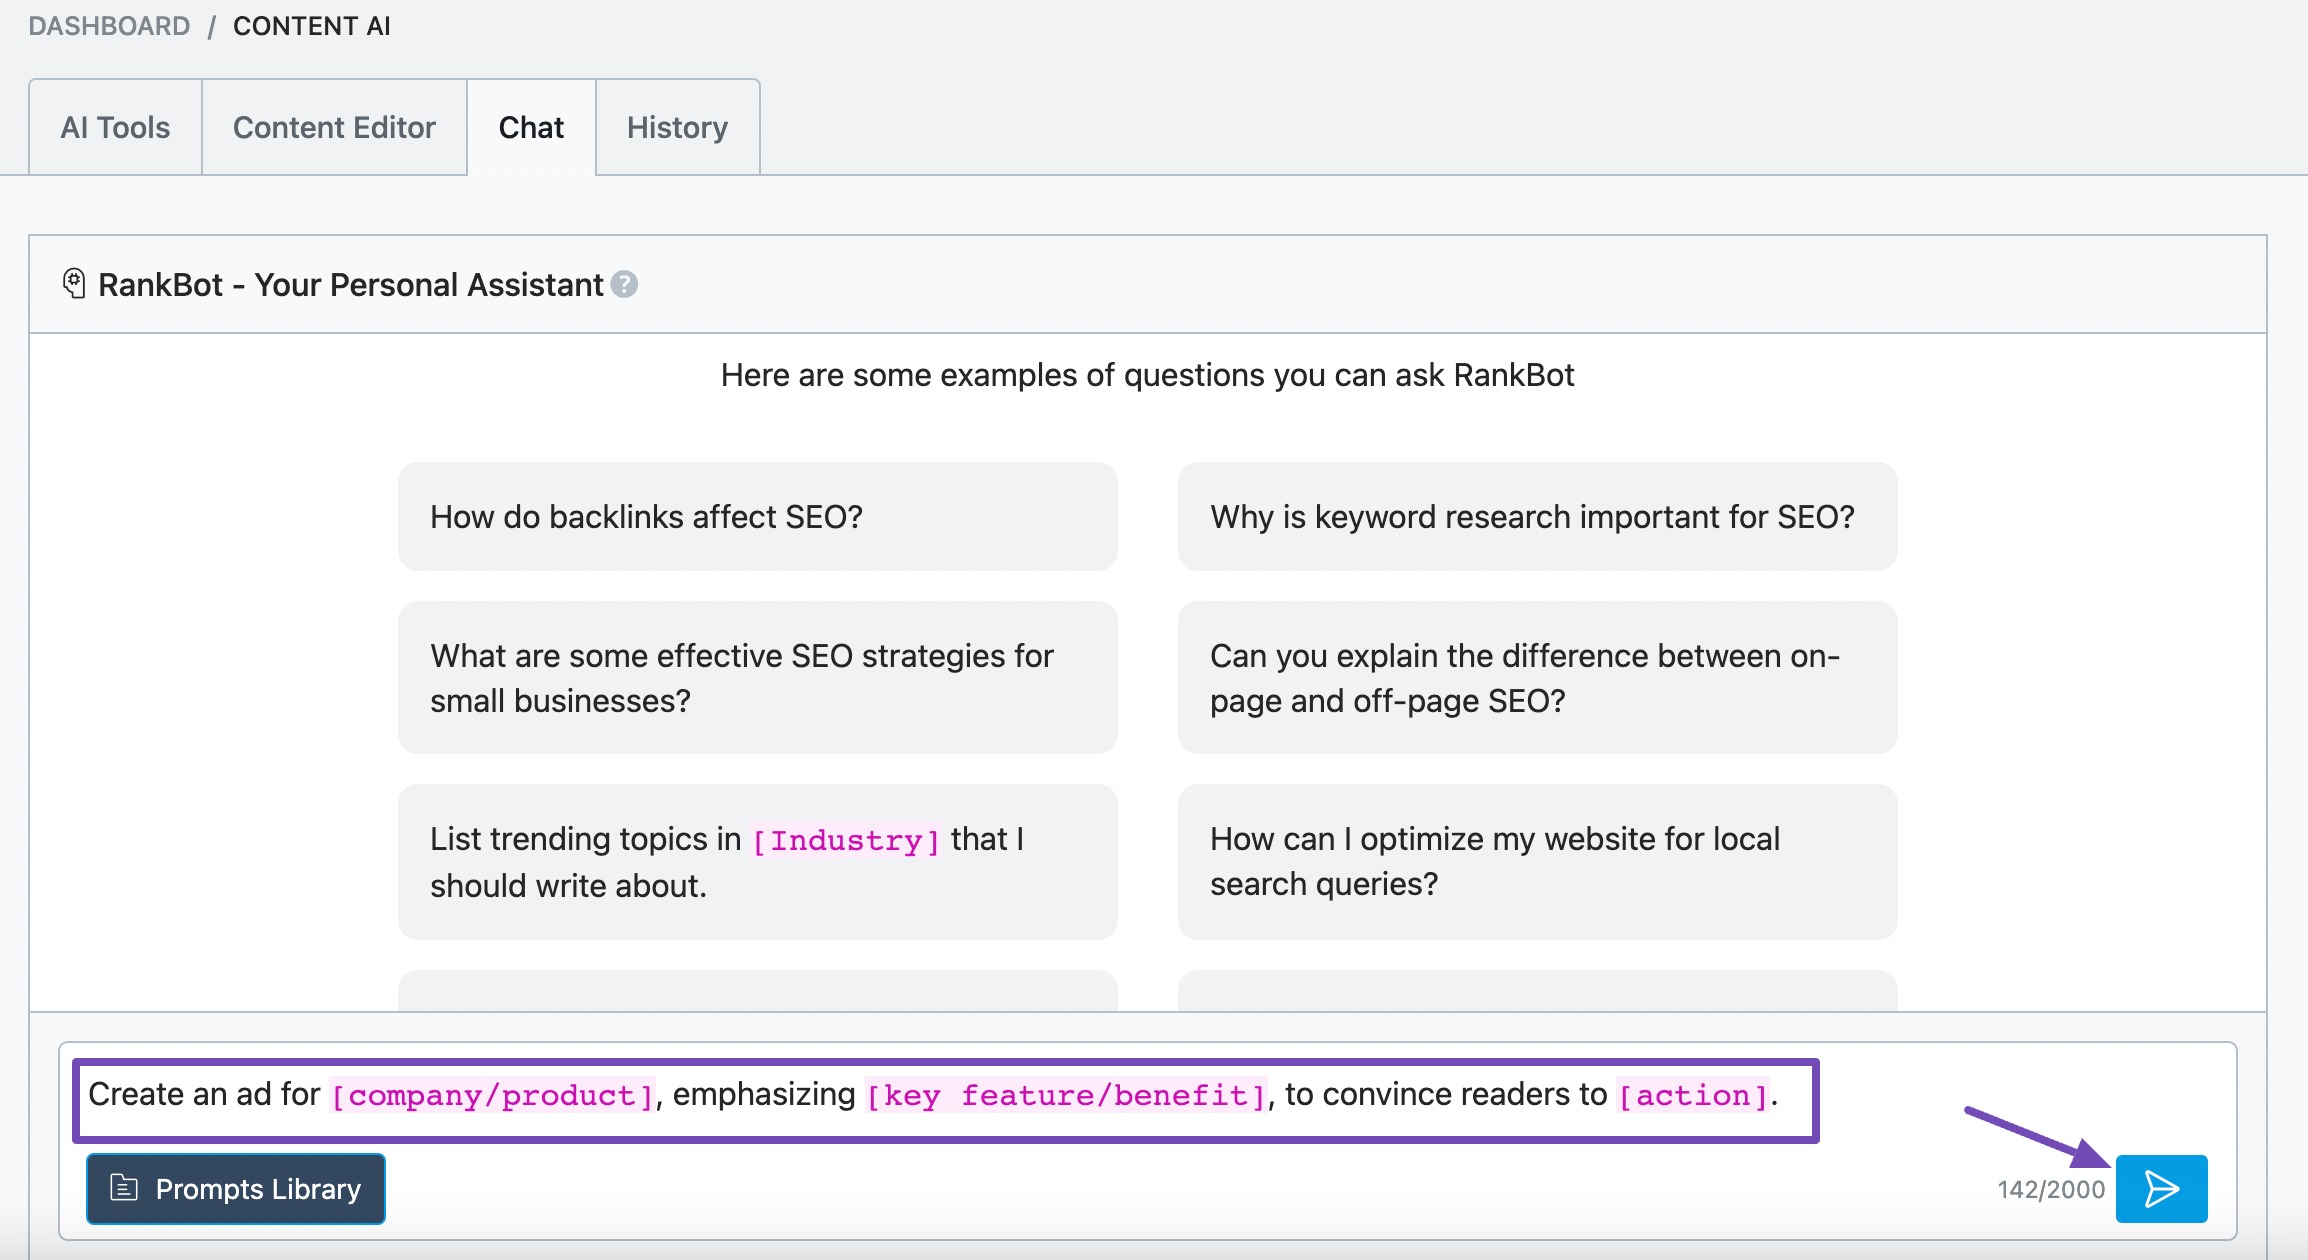
The prompts in the library contain one or more groups of text in purple. These texts are called placeholders.
Click on the placeholders and replace them with text relevant to the content you are about to create. Once done, click Enter or the Send icon, as shown below.
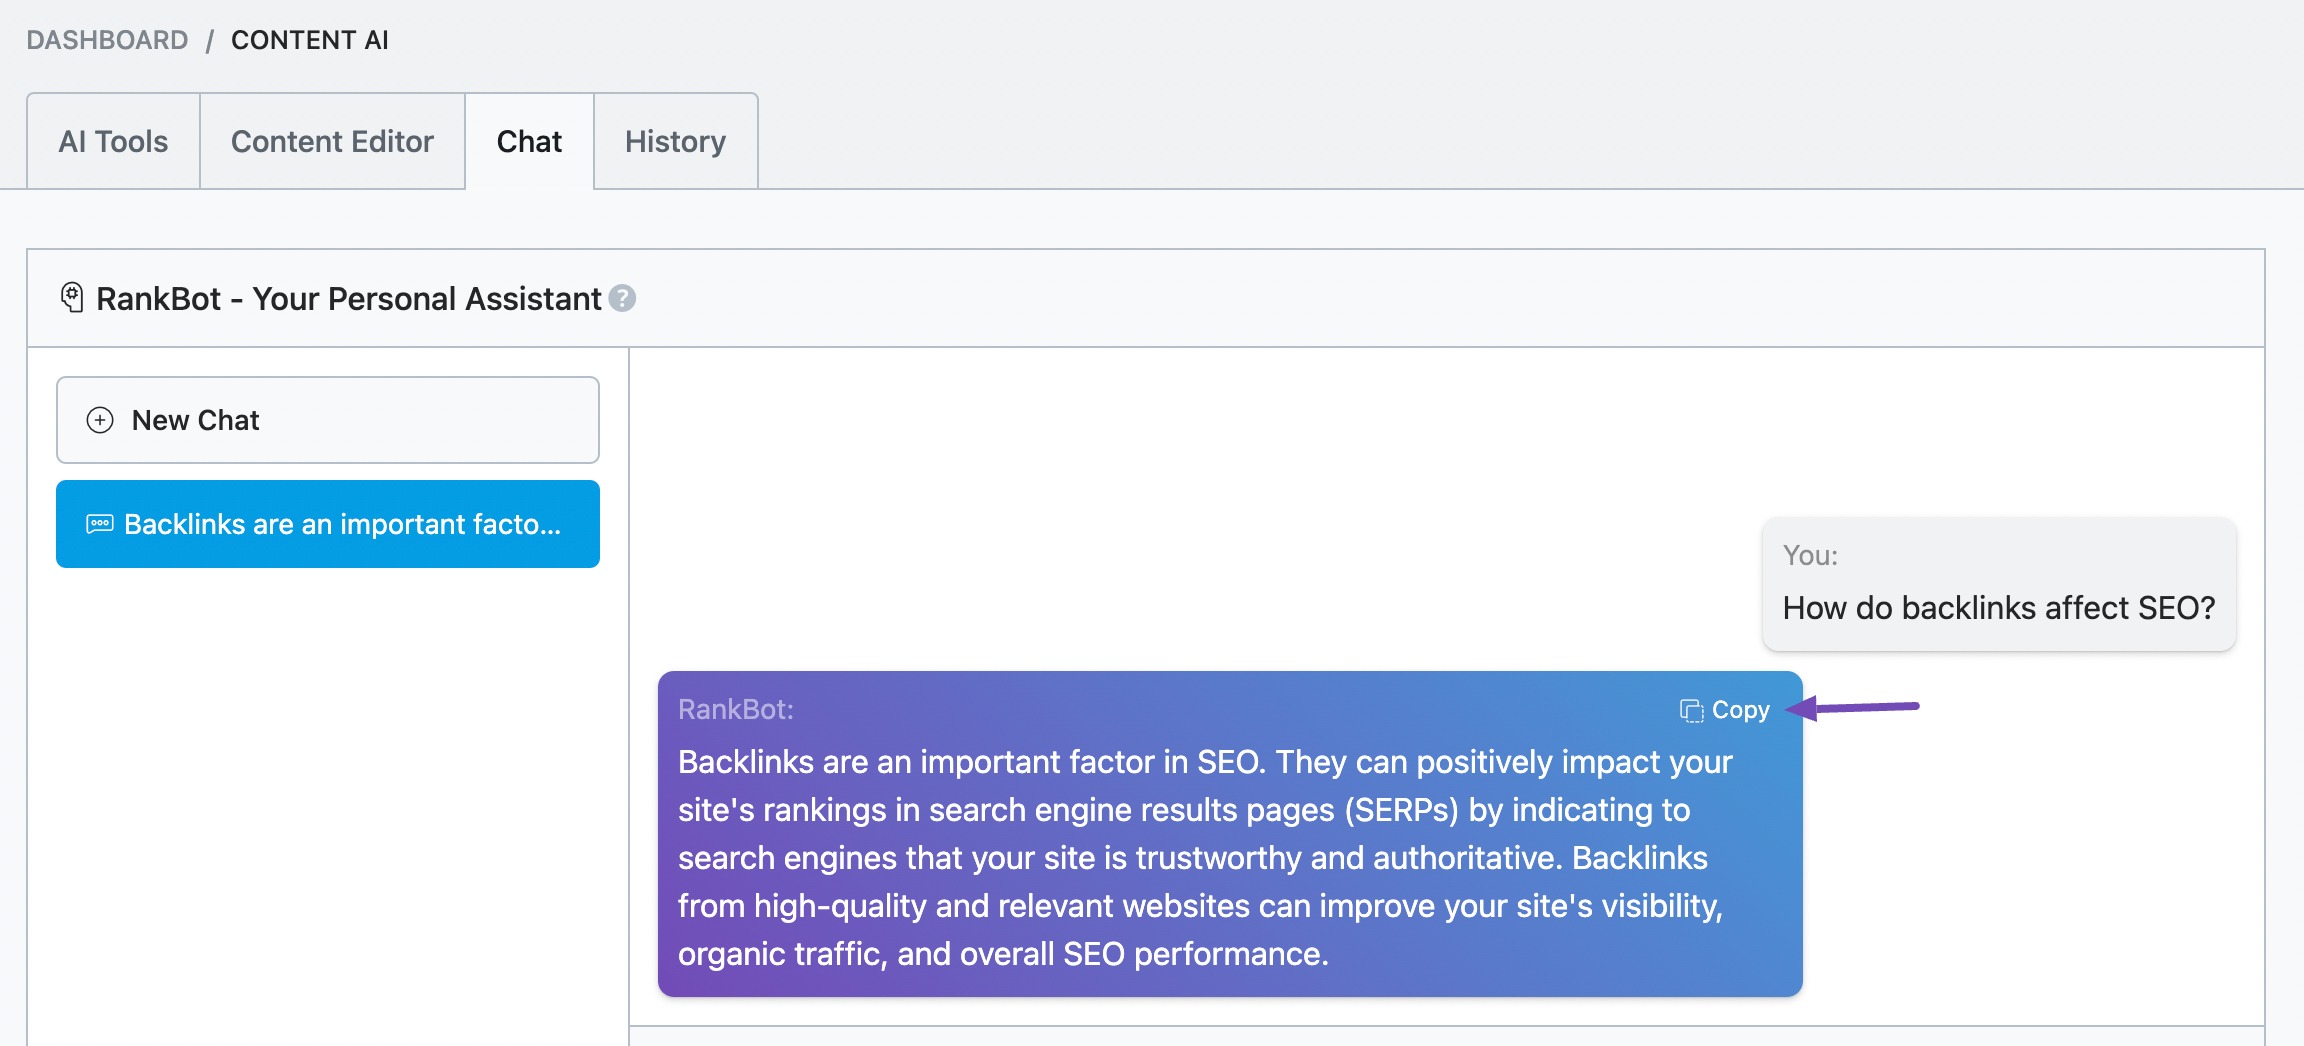
3.3 How to Copy a Response
You can copy a response by hovering over it and clicking Copy, as shown below.
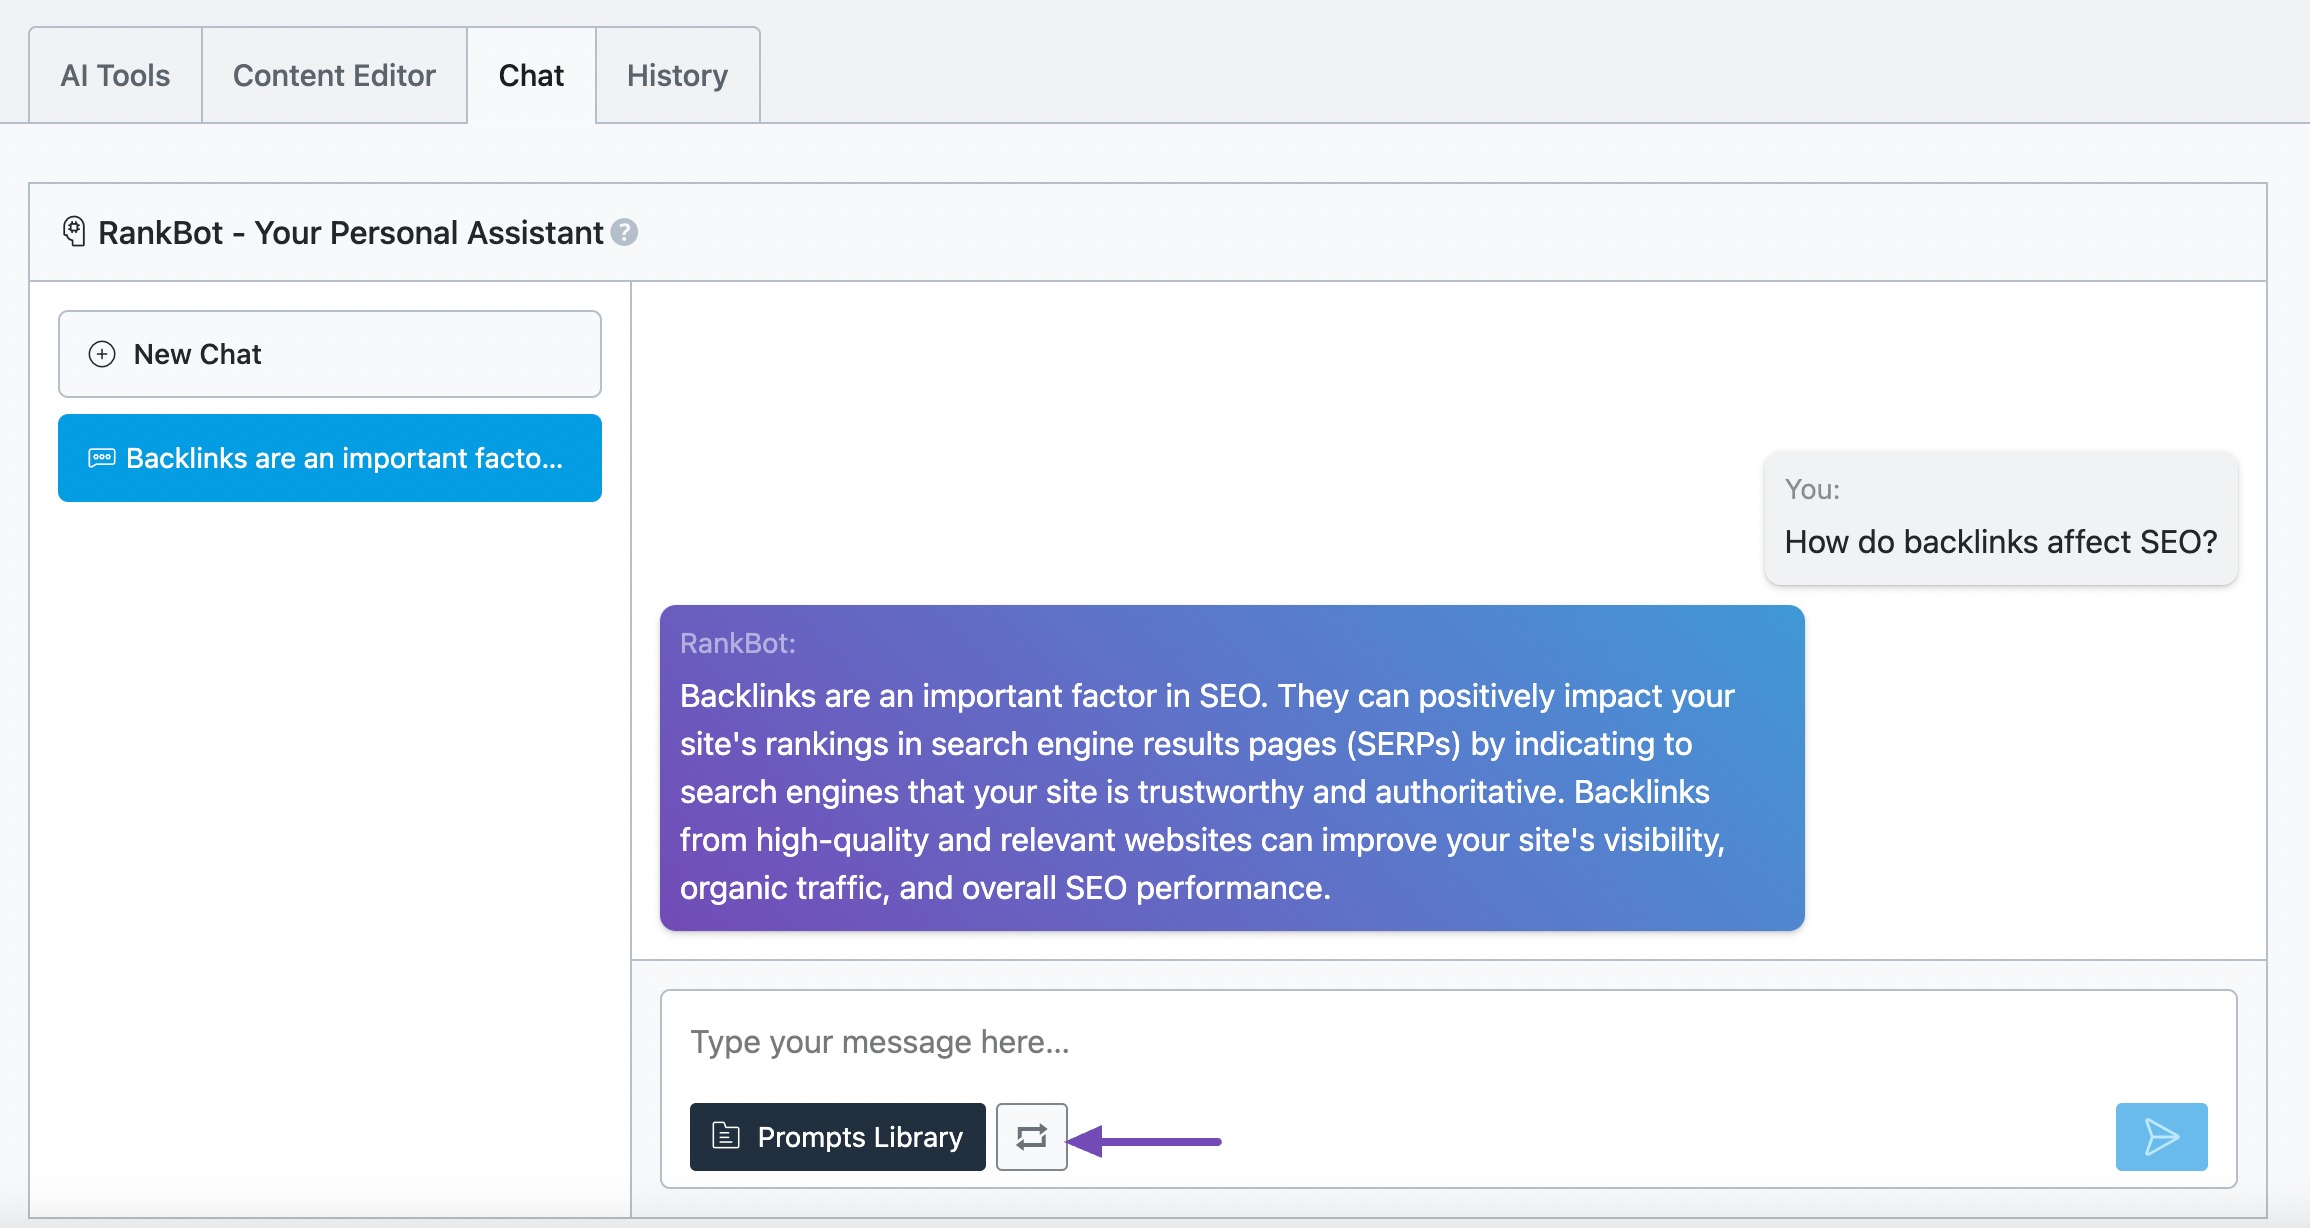
3.4 How to Generate a New Response
If you want RankBot to generate an alternative response to your prompt, click the Regenerate Response icon, as shown below.
4 How to Create and Delete a Custom Prompt
You can create your own prompts and add them to the Prompts Library. This way, you streamline your workflow and save yourself the hassle of repeatedly typing your frequently used prompts into RankBot.
4.1 How to Create a Custom Prompt
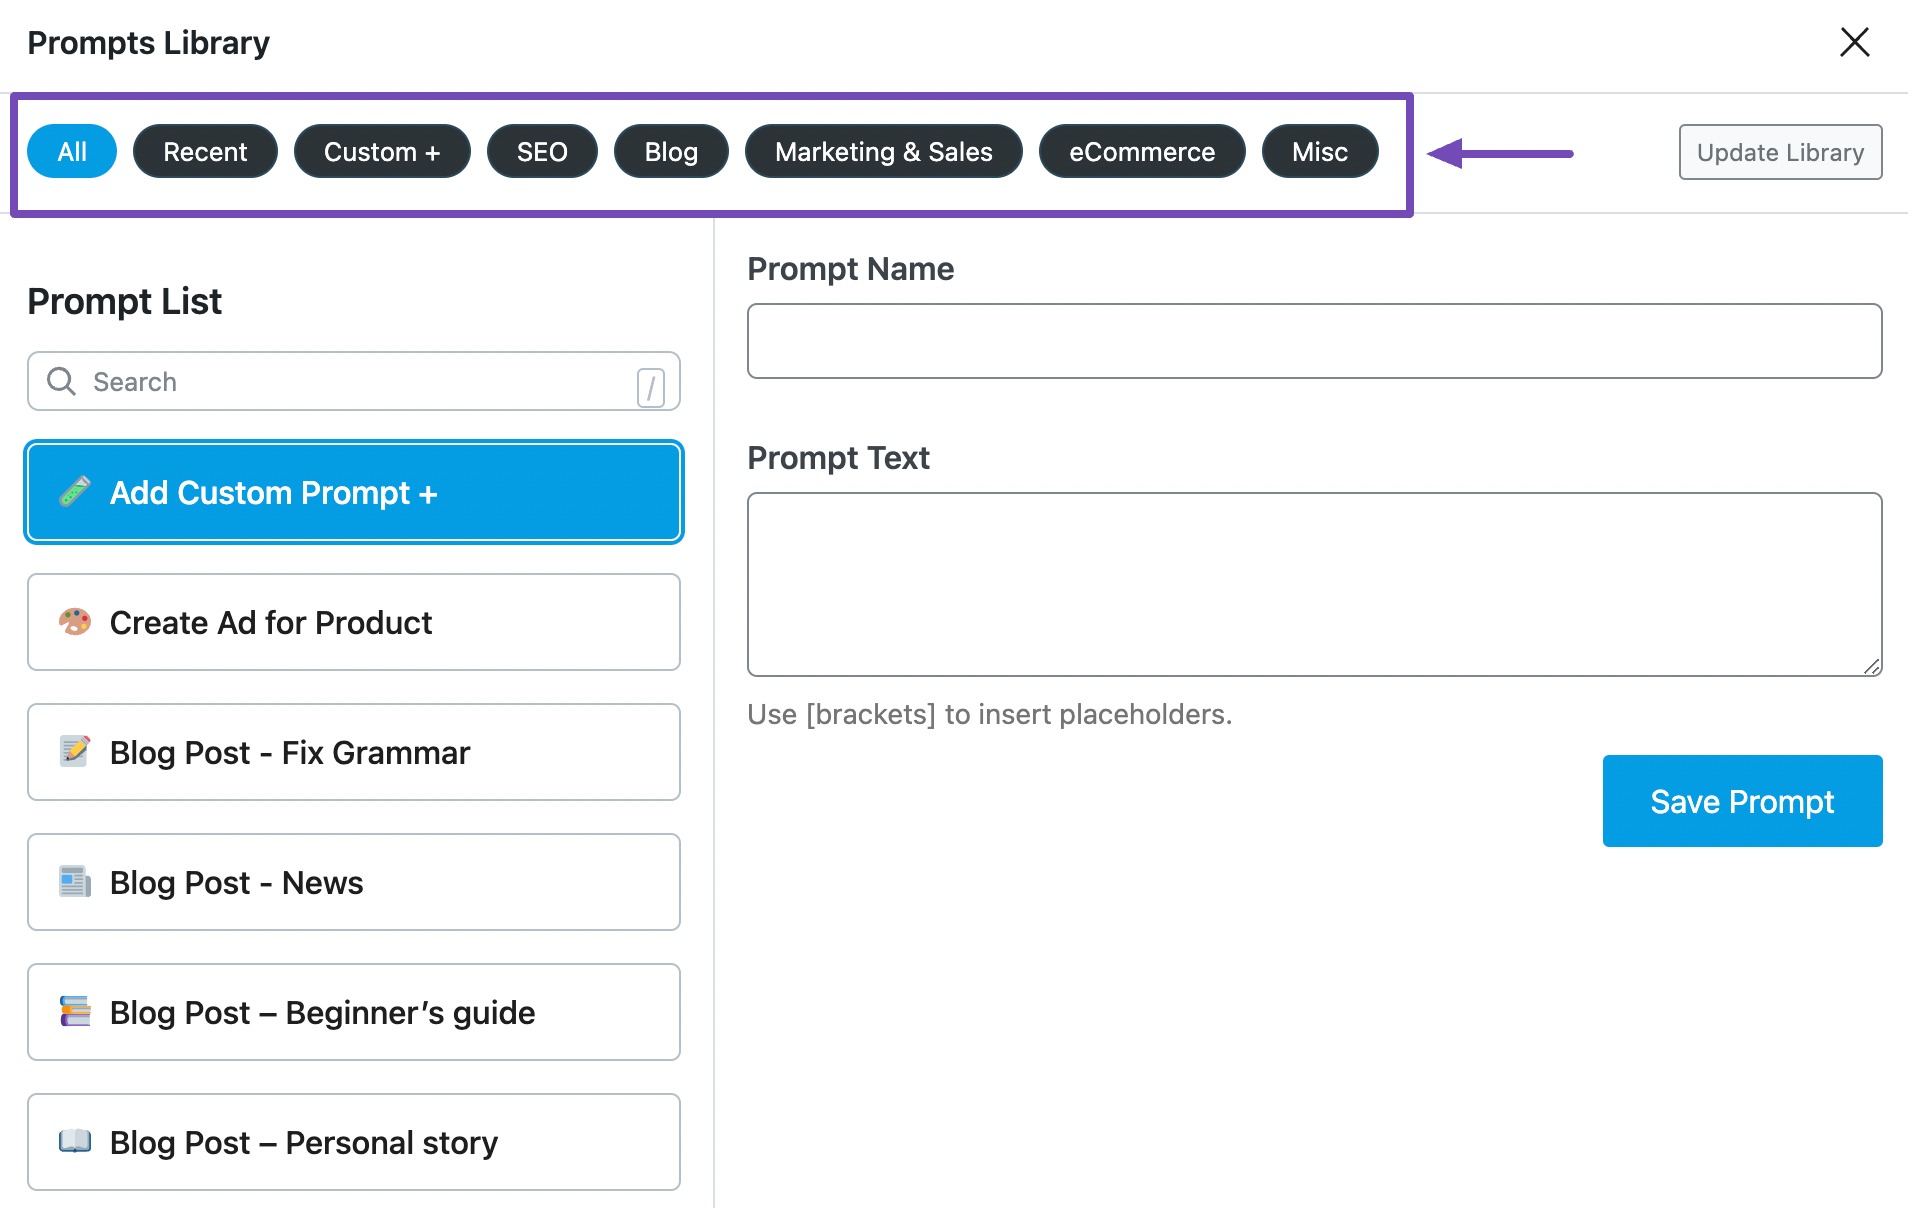
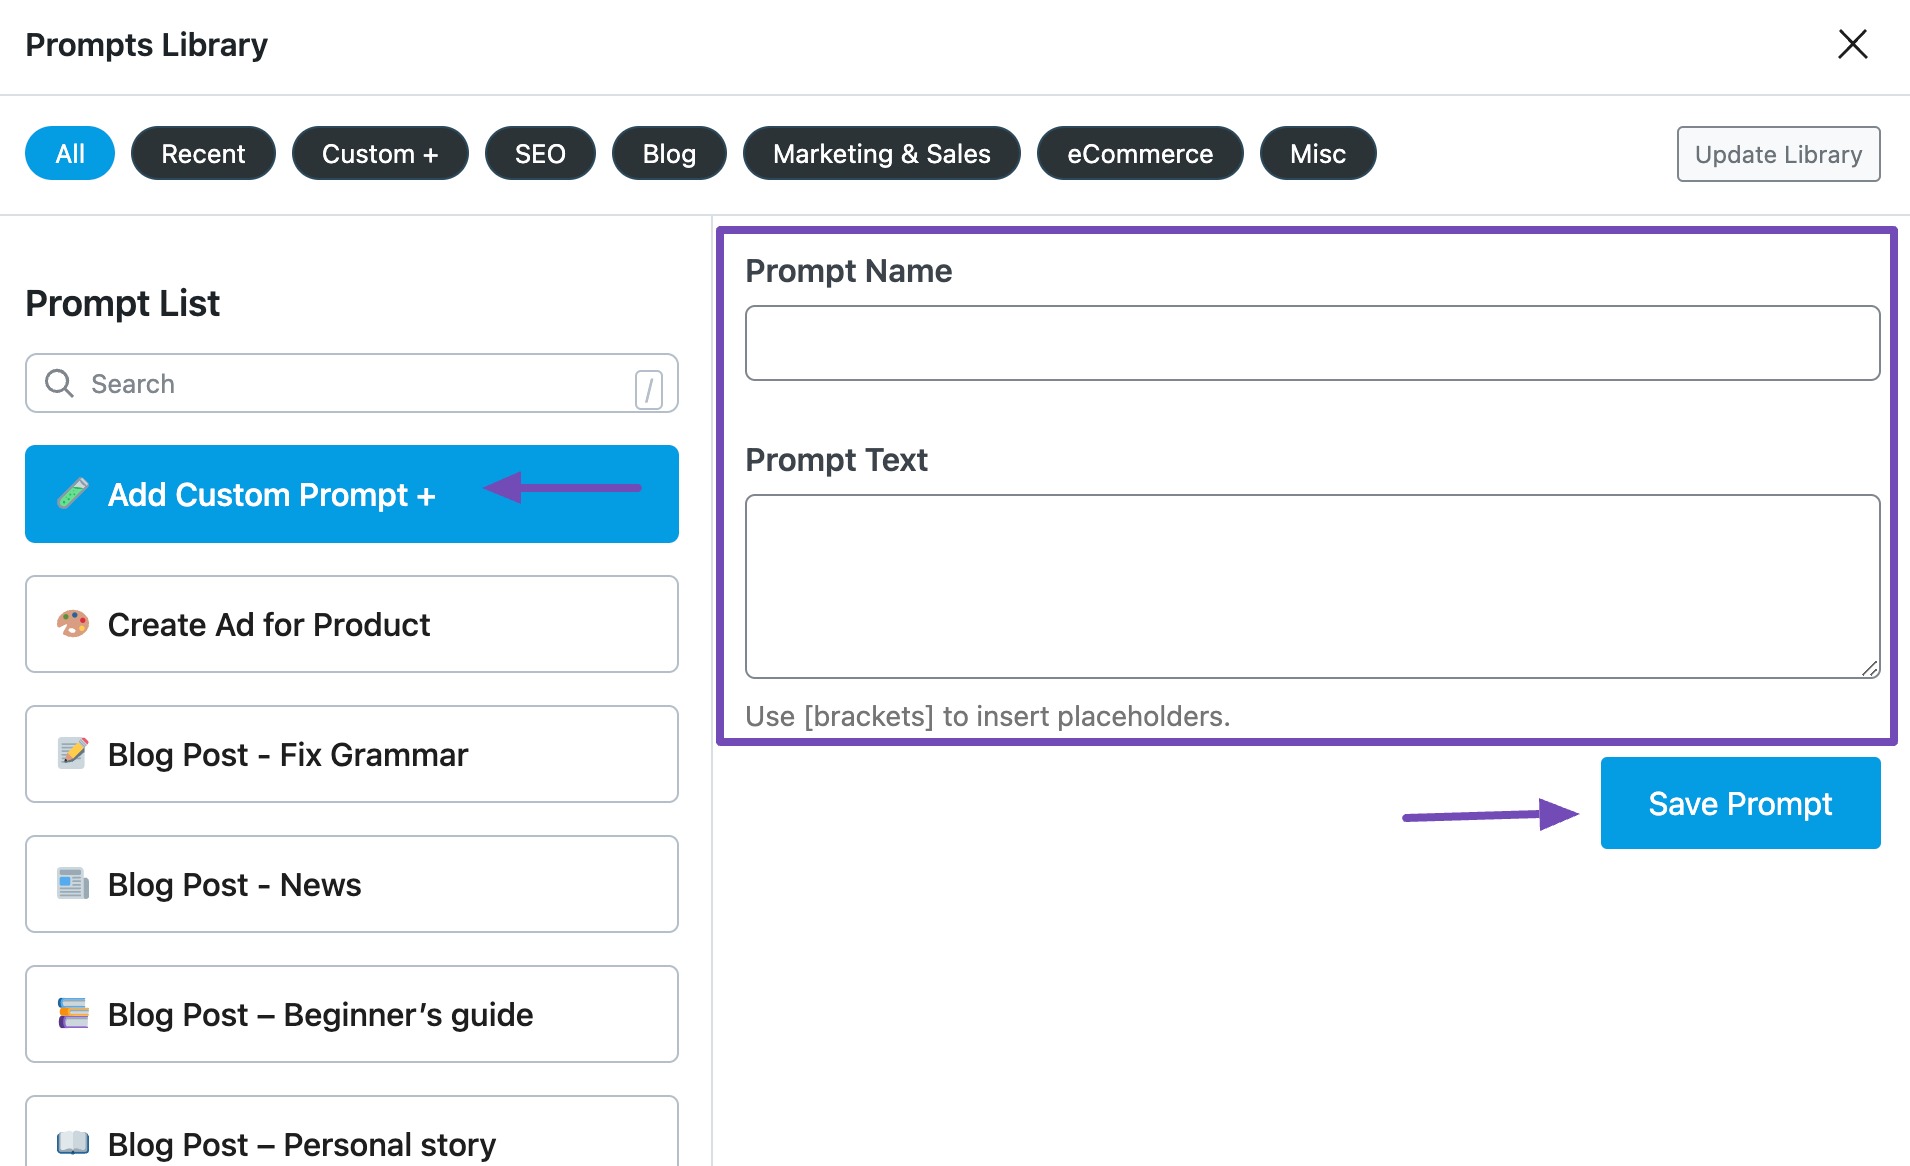
Head to the Prompts Library and click Add Custom Prompt +. The custom prompt settings will appear on the right side of the screen.
Enter a name for the prompt using the Prompt Name field. Once done, enter the prompt into the Prompt Text field. Then, click Save Prompt, as shown below.
Note: The Prompt Text should be no longer than 2000 characters. If the prompt contains placeholders, enclose them in square brackets [ ].
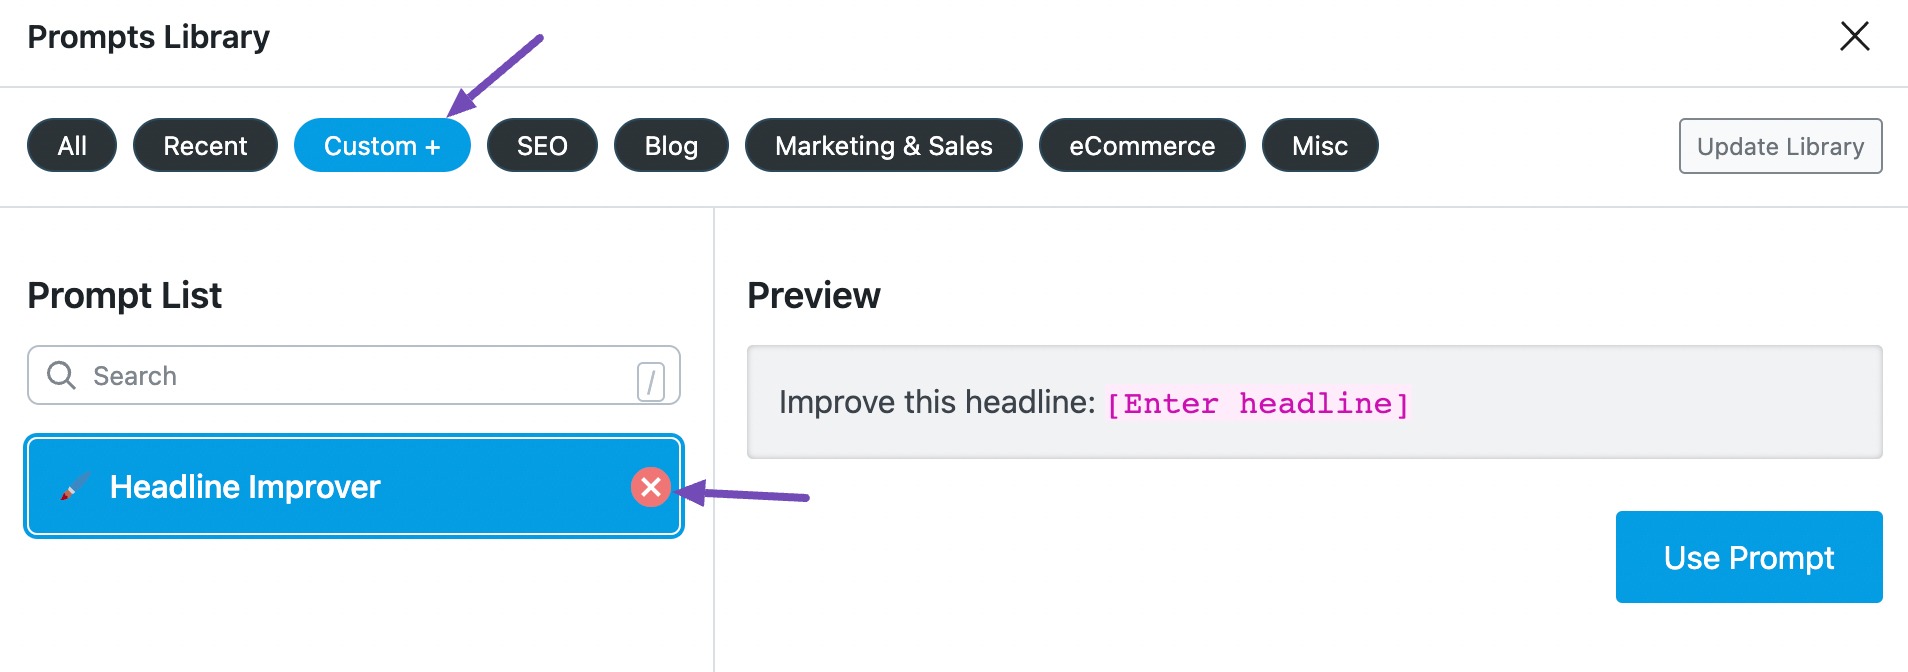
4.2 How to Delete a Custom Prompt
Head to the Prompts Library and click Custom +. Once done, hover over the prompt and click the Delete icon.
5 How to Create and Delete a Chat Session
While you can enter several prompts in a single session, it is always recommended to open a new chat for non-relevant tasks. This will help keep your dashboard organized and avoid confusing the RankBot.
5.1 How to Create a Chat Session
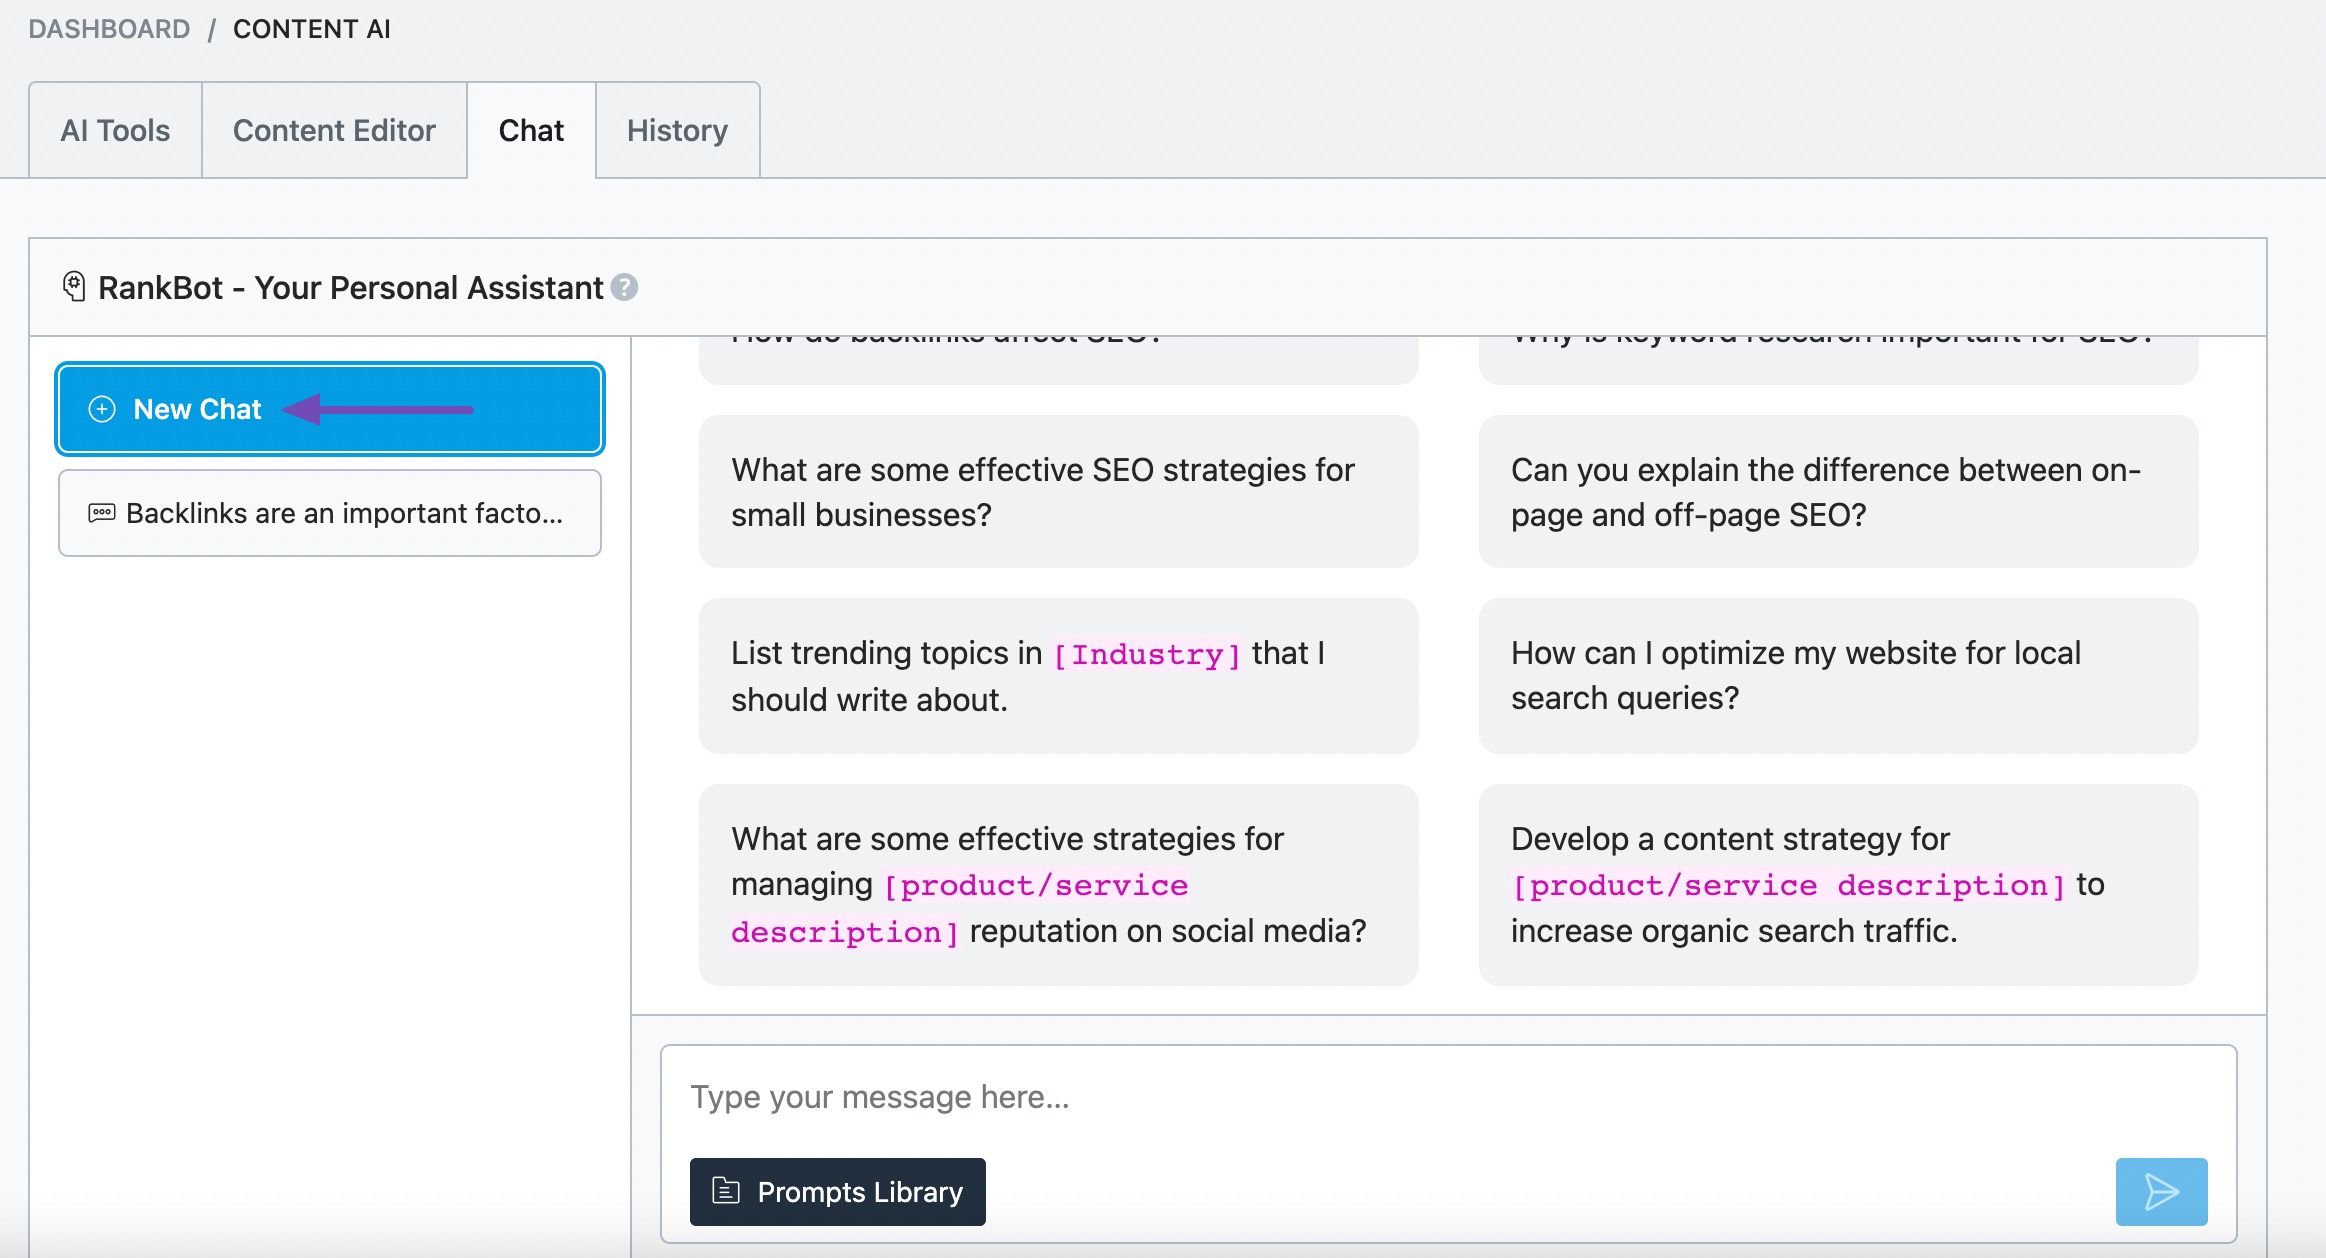
If you’re chatting with RankBot from the Content AI Dashboard, click New Chat, as shown below.
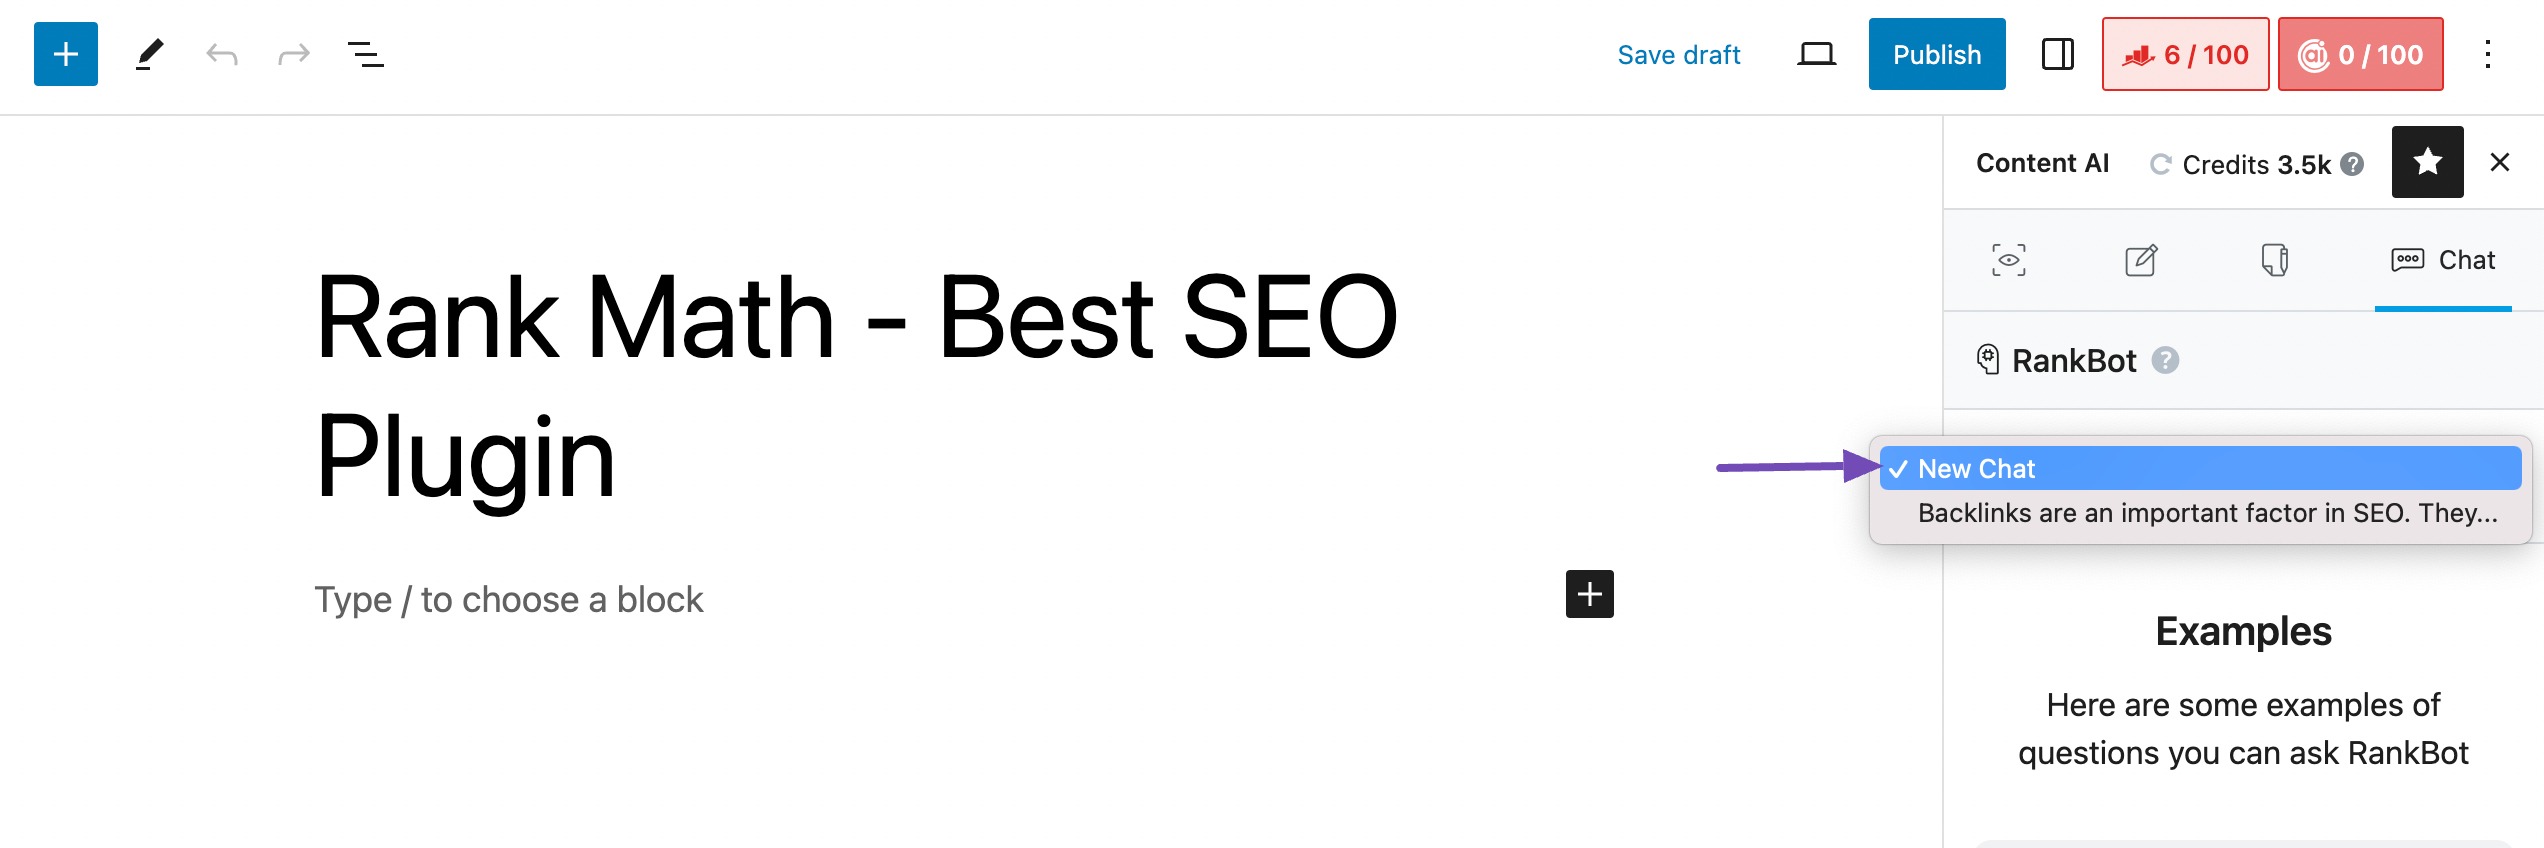
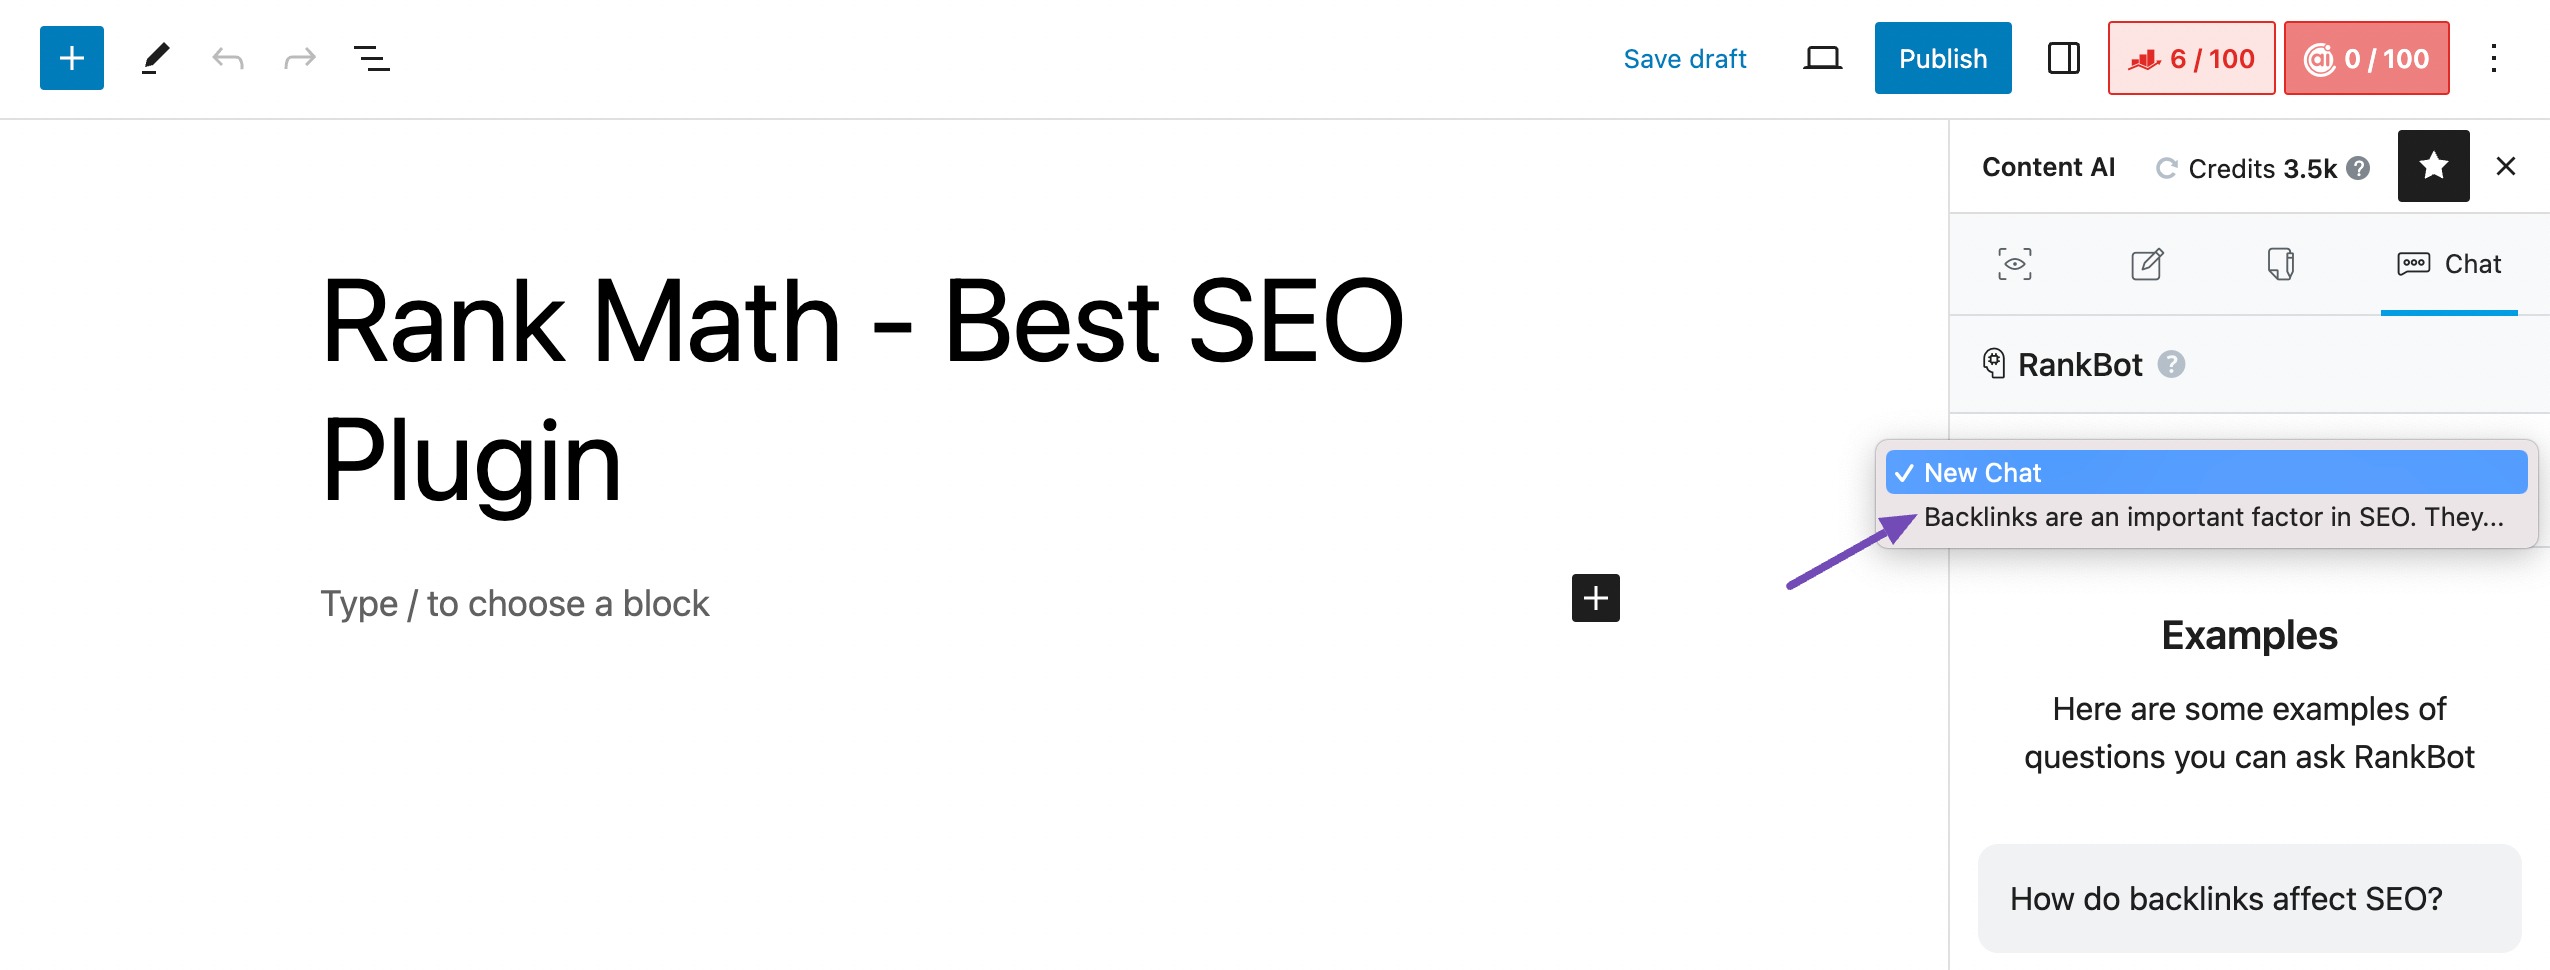
If you’re chatting in the Block Editor, click the dropdown menu and select New Chat.
5.2 How to Return to a Chat Session
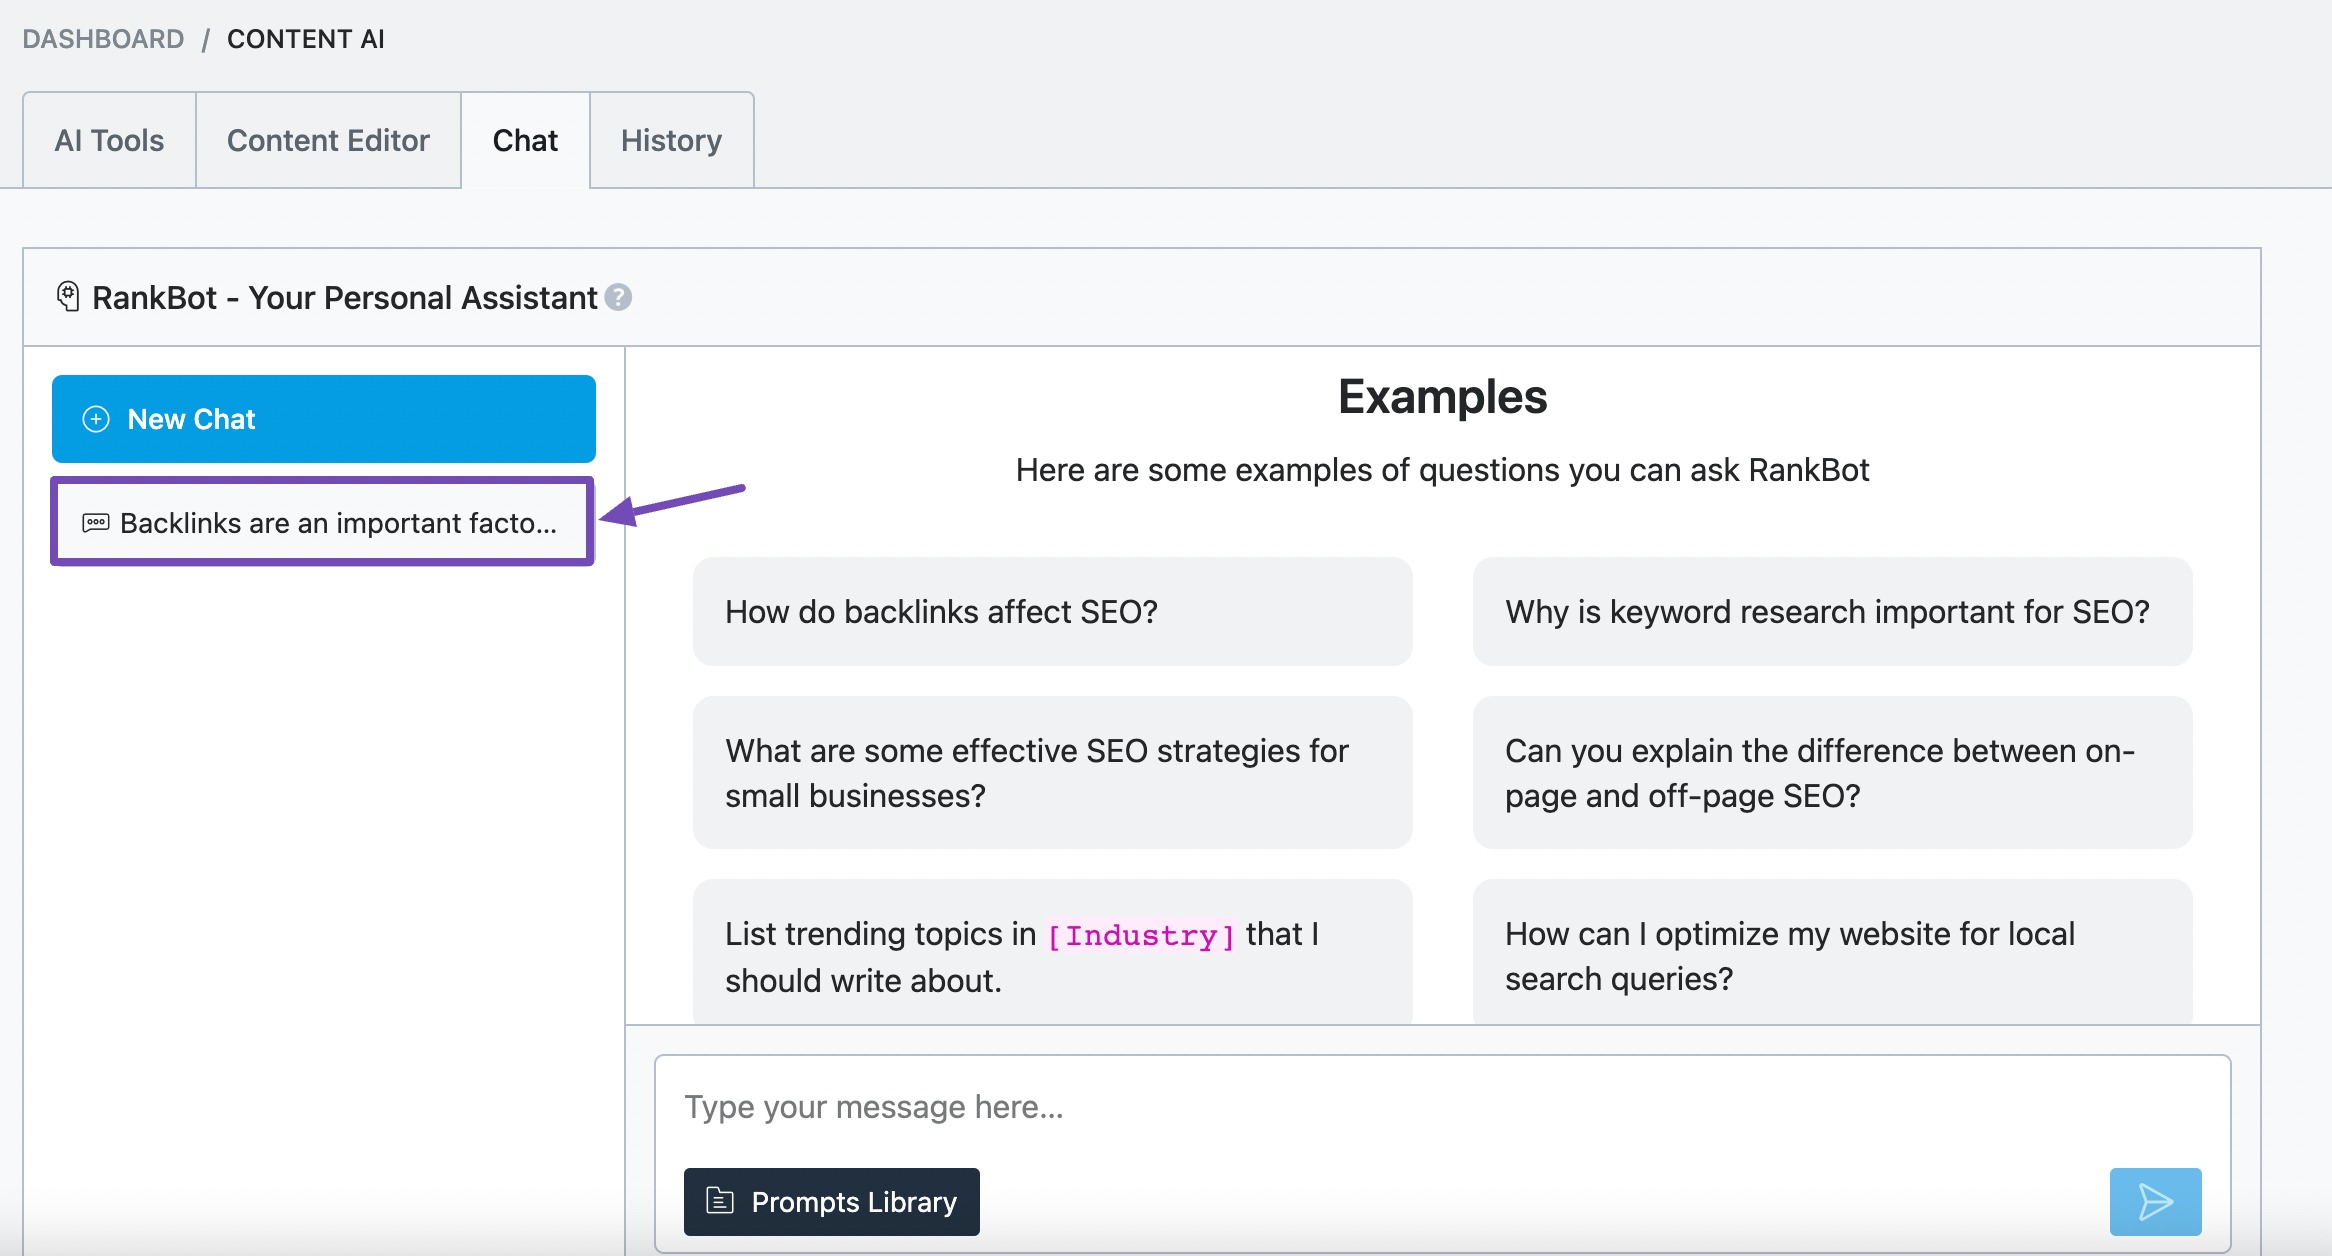
If you’re chatting from the Content AI Dashboard, select the relevant chat session from the left sidebar, as shown below.
If you’re chatting from the WordPress Editor, click the dropdown menu and select the relevant chat.
5.3 How to Delete a Chat Session
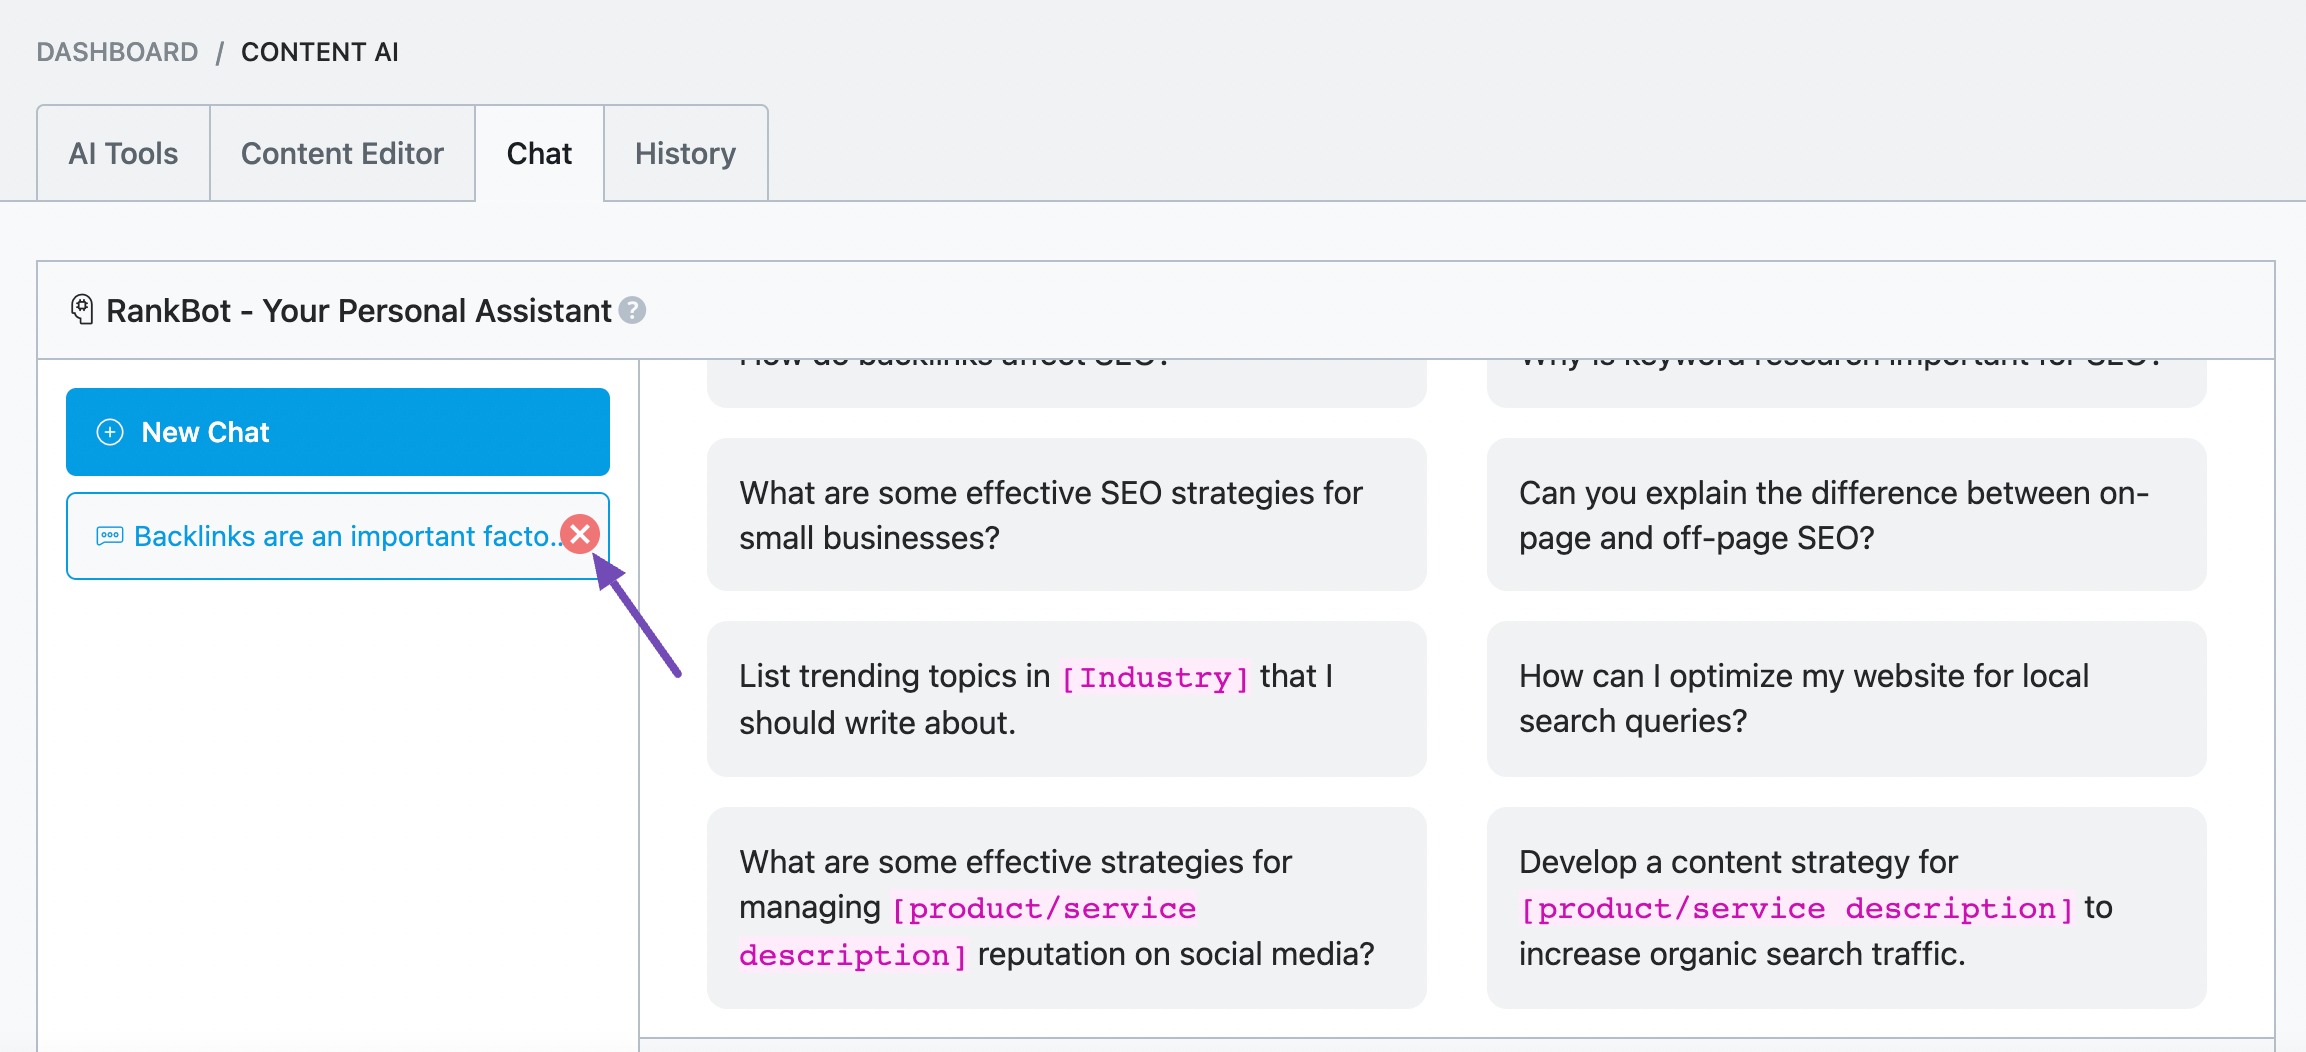
If you’re chatting from the Content AI Dashboard, hover over the chat session you want to delete and click the Delete icon, as shown below.
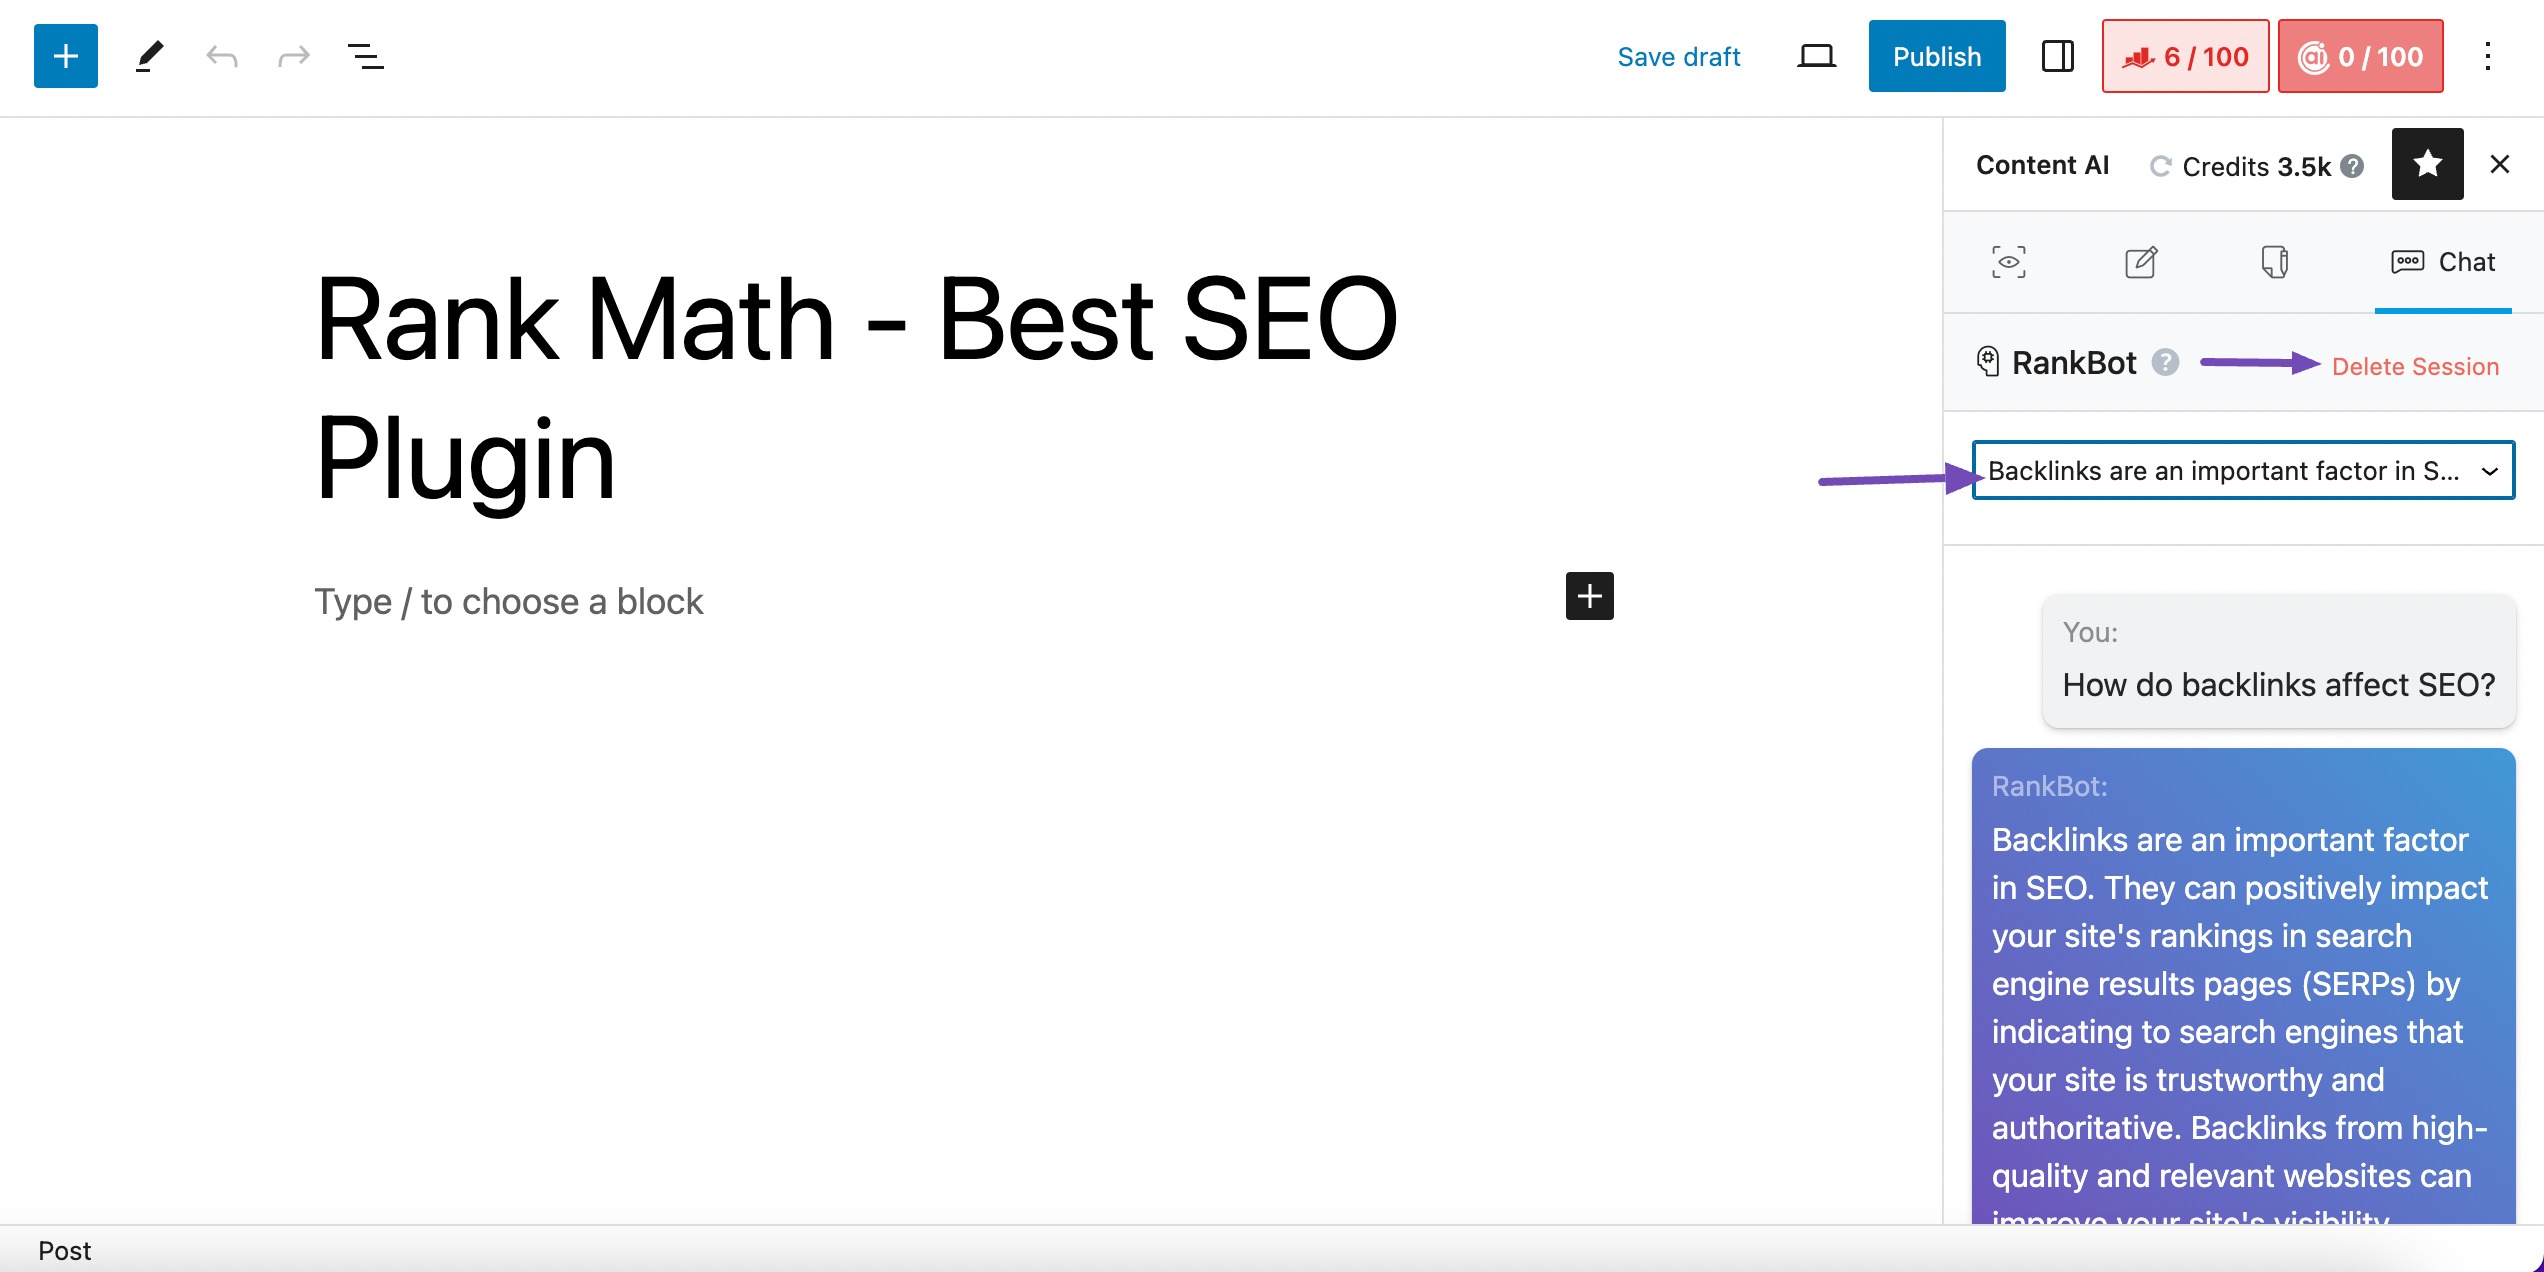
Similarly, in the WordPress Editor, select the chat session from the dropdown and click Delete Session, as shown below.
6 Conclusion
That’s it. We hope the tutorial helped you get familiar with the RankBot AI-powered chat assistant.
If you still have questions about using RankBot or any of the AI tools in Content AI – you’re always more than welcome to contact our dedicated support team. We’re available 24/7, 365 days a year…