A Canonical URL is needed to avoid duplicate content issues. For example, you could have the same product listed on multiple pages on your website. In order to avoid confusion for the search engines, you can inform them about the original content with the help of a Canonical URL. Fortunately, setting Canonical URLs couldn’t be easier than with the help of Rank Math.
Note: Marking your posts/pages/products etc., with a “noindex” tag is a completely different concept and shouldn’t be confused with setting a custom Canonical URL.
Importance of Canonical Tags in SEO
Search engines do not like duplicate content. When search engines like Google find a duplicate page on your site, it becomes more difficult for them to choose which page is the best version of the same content.
Besides that, having too much duplicate content can negatively impact your crawl budget. Google may end up crawling the same pages repeatedly instead of finding the important and relevant content on your website, that may have the potential to rank.
Canonical tags help ensure that search engines find the page containing the best content. This is a major factor when deciding what web pages get listed higher in search results.
In this article, we’ll walk you through the exact steps on how to set Canonical URLs on your website with Rank Math. Before that,
1 Edit the Post/Page
At first, you need to open the post/page that contains the duplicate content by clicking on the Edit as shown below:

2 Navigate to the Advanced Tab of Rank Math
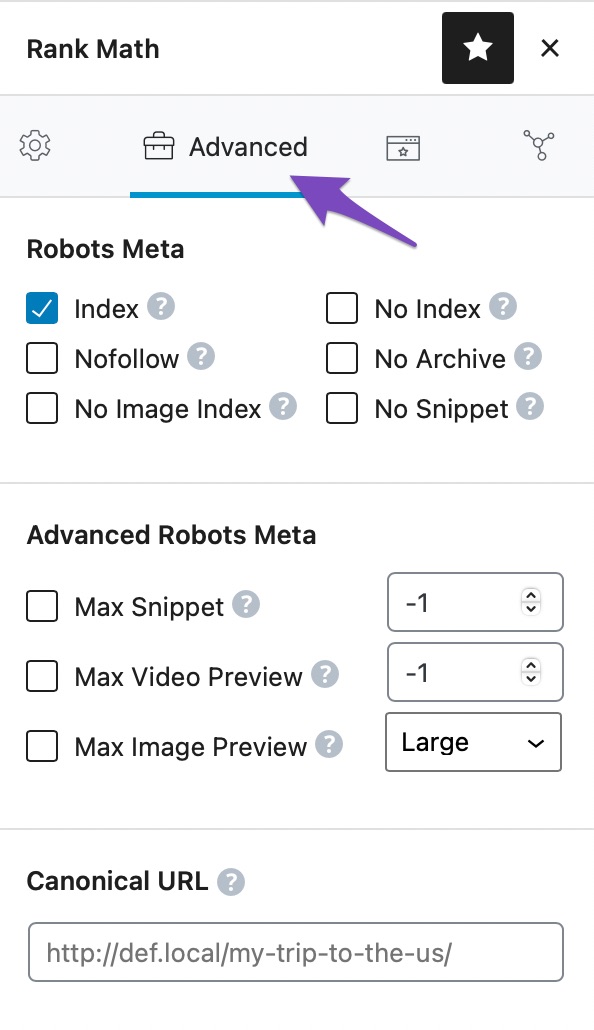
Once you’ve opened the post/page, navigate to the Advanced tab of the Rank Math in your editor. If you’re unable to find the Advanced tab, please enable the advanced mode from WordPress Dashboard → Rank Math SEO → Dashboard.

3 Change the Canonical URL
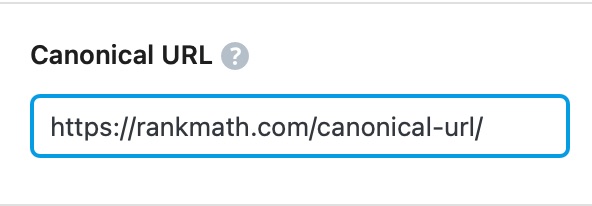
Under the Advanced tab, you can change the Canonical URL field to point to the main source of your content. The Canonical URL informs the search crawlers of the main page if you have pages or posts with similar content.
The below screenshot is for reference only.

4 Save the Post
Once you’re done setting your Canonical URL – simply save the page as you normally would after making a change or click Publish if this is a newly created page.
And, that’s it! We hope our tutorial helped you with setting a Canonical URL. If you still have any questions, feel free to reach our support team, as we’re always here to help.