
Your WordPress header is one of the first things visitors notice when they land on your site. It sets the tone for your brand, showcases your logo, and often contains key navigation elements that guide users through your content.
Knowing how to edit your WordPress header gives you the control to make a strong first impression, improve usability, and reflect your site’s unique style.
In this post, you’ll learn step-by-step how to customize your header, whether you’re working with a theme, using the WordPress Customizer, or adding custom code to make your site truly yours.
Table Of Contents
1 Why Should You Edit the Header on a WordPress Website?
A good header makes your website look professional, builds trust, and encourages visitors to keep exploring.
A clean and organized header also helps people navigate your site easily, while buttons like “Sign Up” or “Shop Now” can lead to more clicks and conversions.
For example, a well-designed header, like the one on MyThemeShop, uses a logo, simple navigation, and social proof to capture attention.

On the other hand, a plain header without design elements feels uninviting and forgettable.
That’s why you should never overlook your header. Get creative, design it with your audience in mind, and let it reflect your brand’s personality and goals.
2 How to Edit Your WordPress Website Header
Most WordPress themes include a header template you can customize. You can tweak everything from colors and logos to menus and layouts so your header reflects your brand.
Let’s start with the Full Site Editor (FSE), which gives you more creative control than the classic Theme Customizer.
2.1 Build Your WordPress Header Using the Full Site Editor
The Full Site Editor is a new tool by WordPress that gives you more creative control over how you can style your website header than the ordinary Theme Customizer.
The editor is available in the block themes. In this section, we will show how to edit a website header using the Full Site Editor in WordPress. Note that the Header section will vary depending on the theme you select.
2.1.1 Access the WordPress Header in the Site Editor
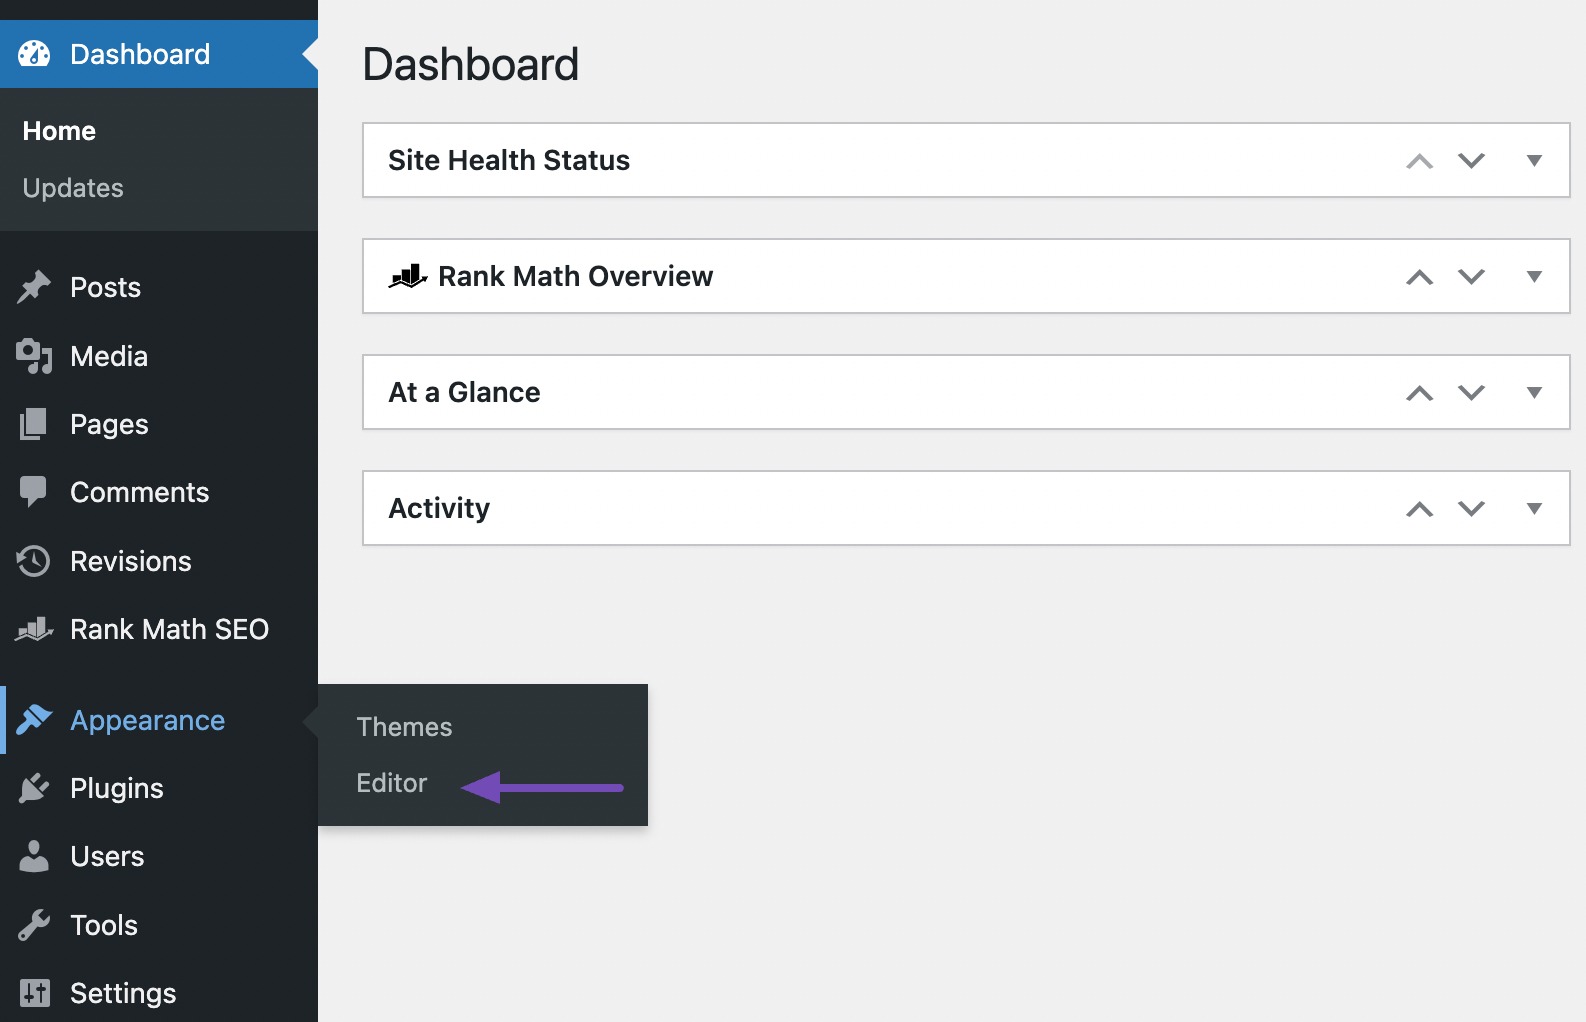
First, navigate to Appearance → Editor from your WordPress dashboard, as shown below.
The editor will redirect you to your website homepage. It’ll also display the design templates you can customize on the left side of the screen.
Next, navigate to Template parts → Header, as shown below.
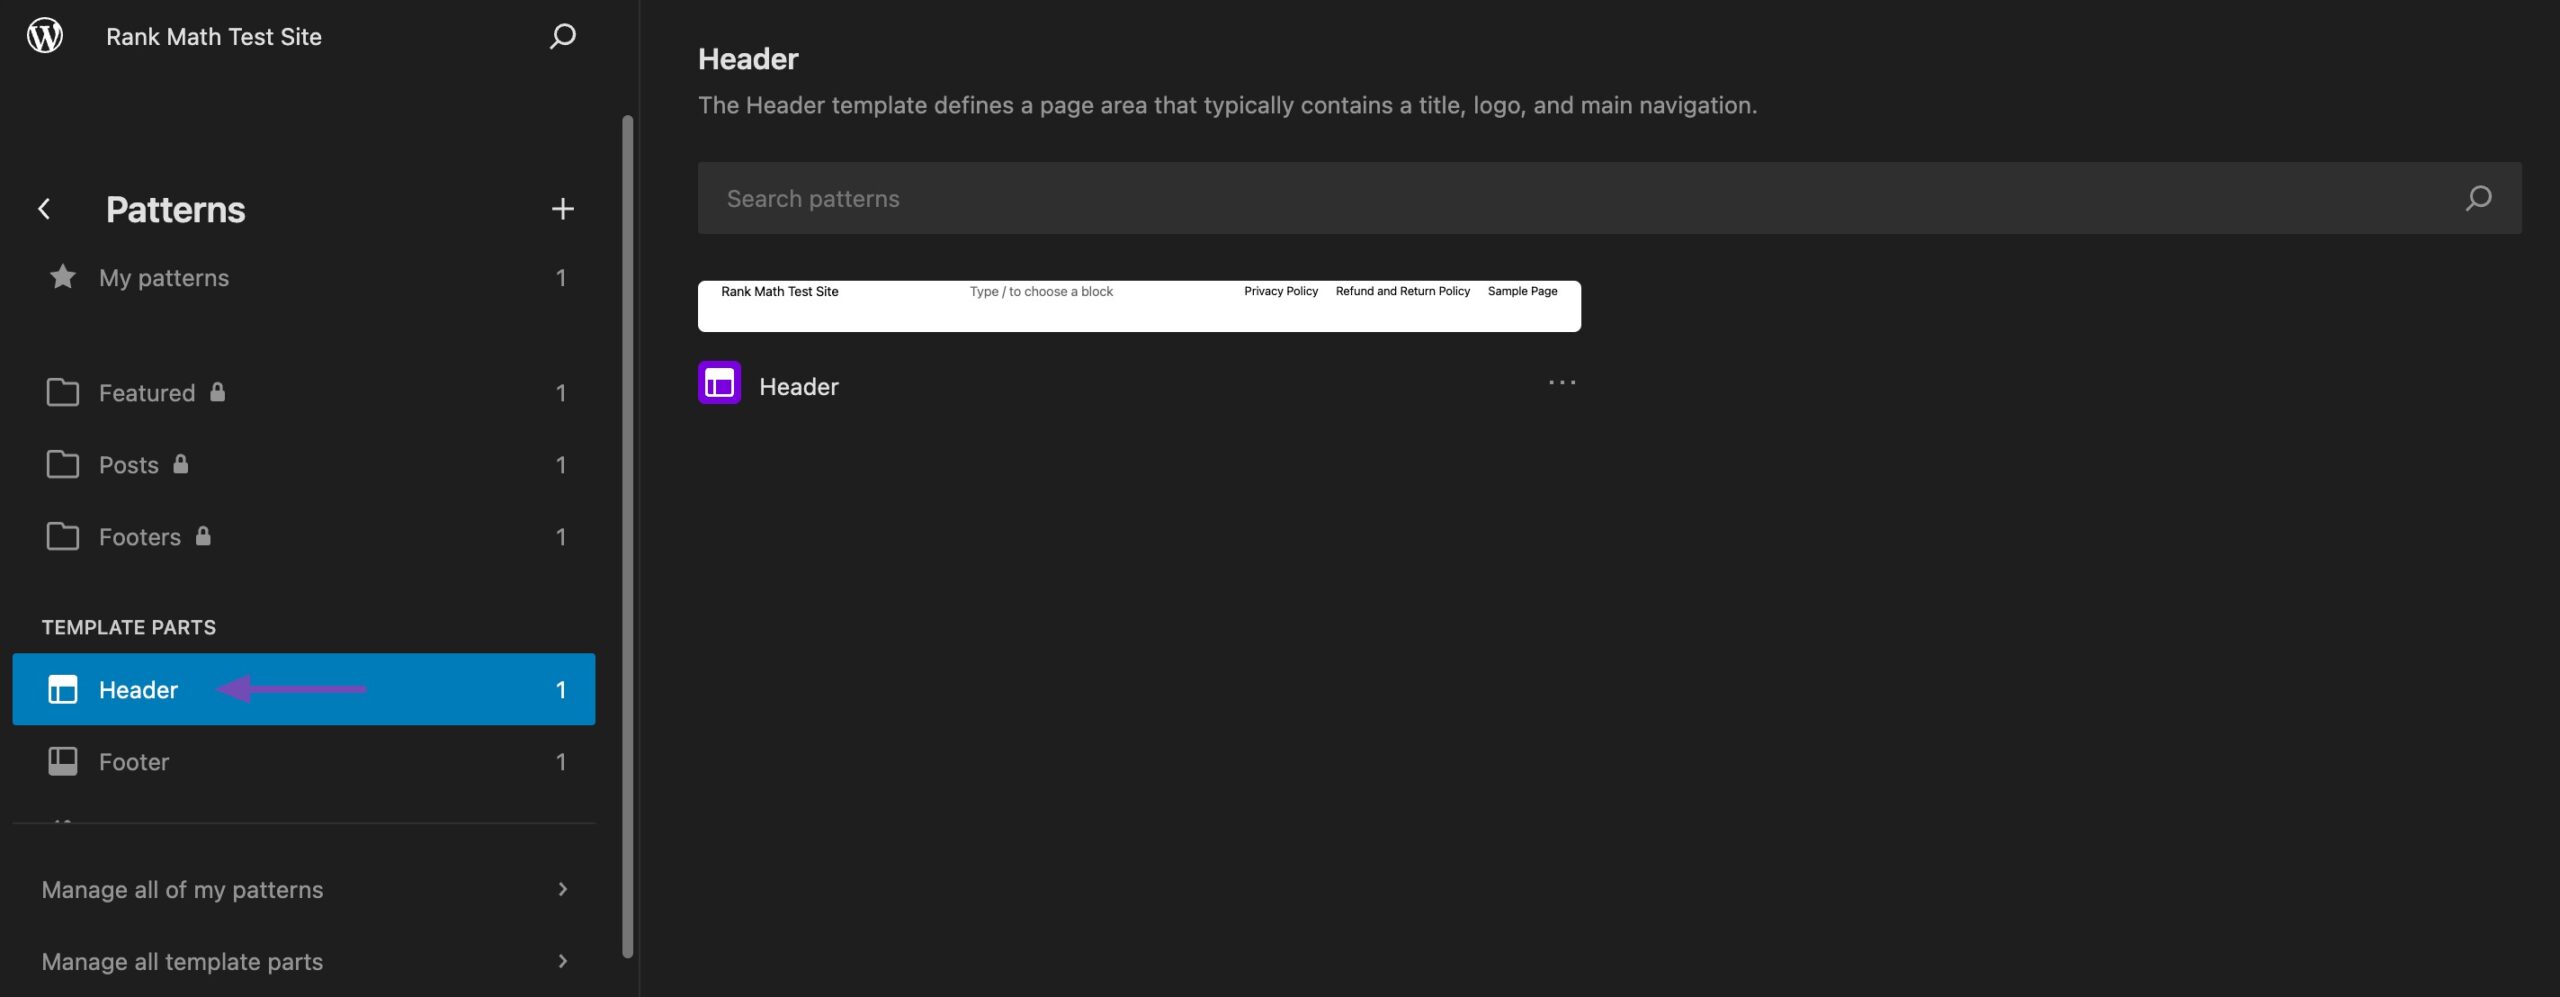
It will open your header as a standalone element in the block editor.
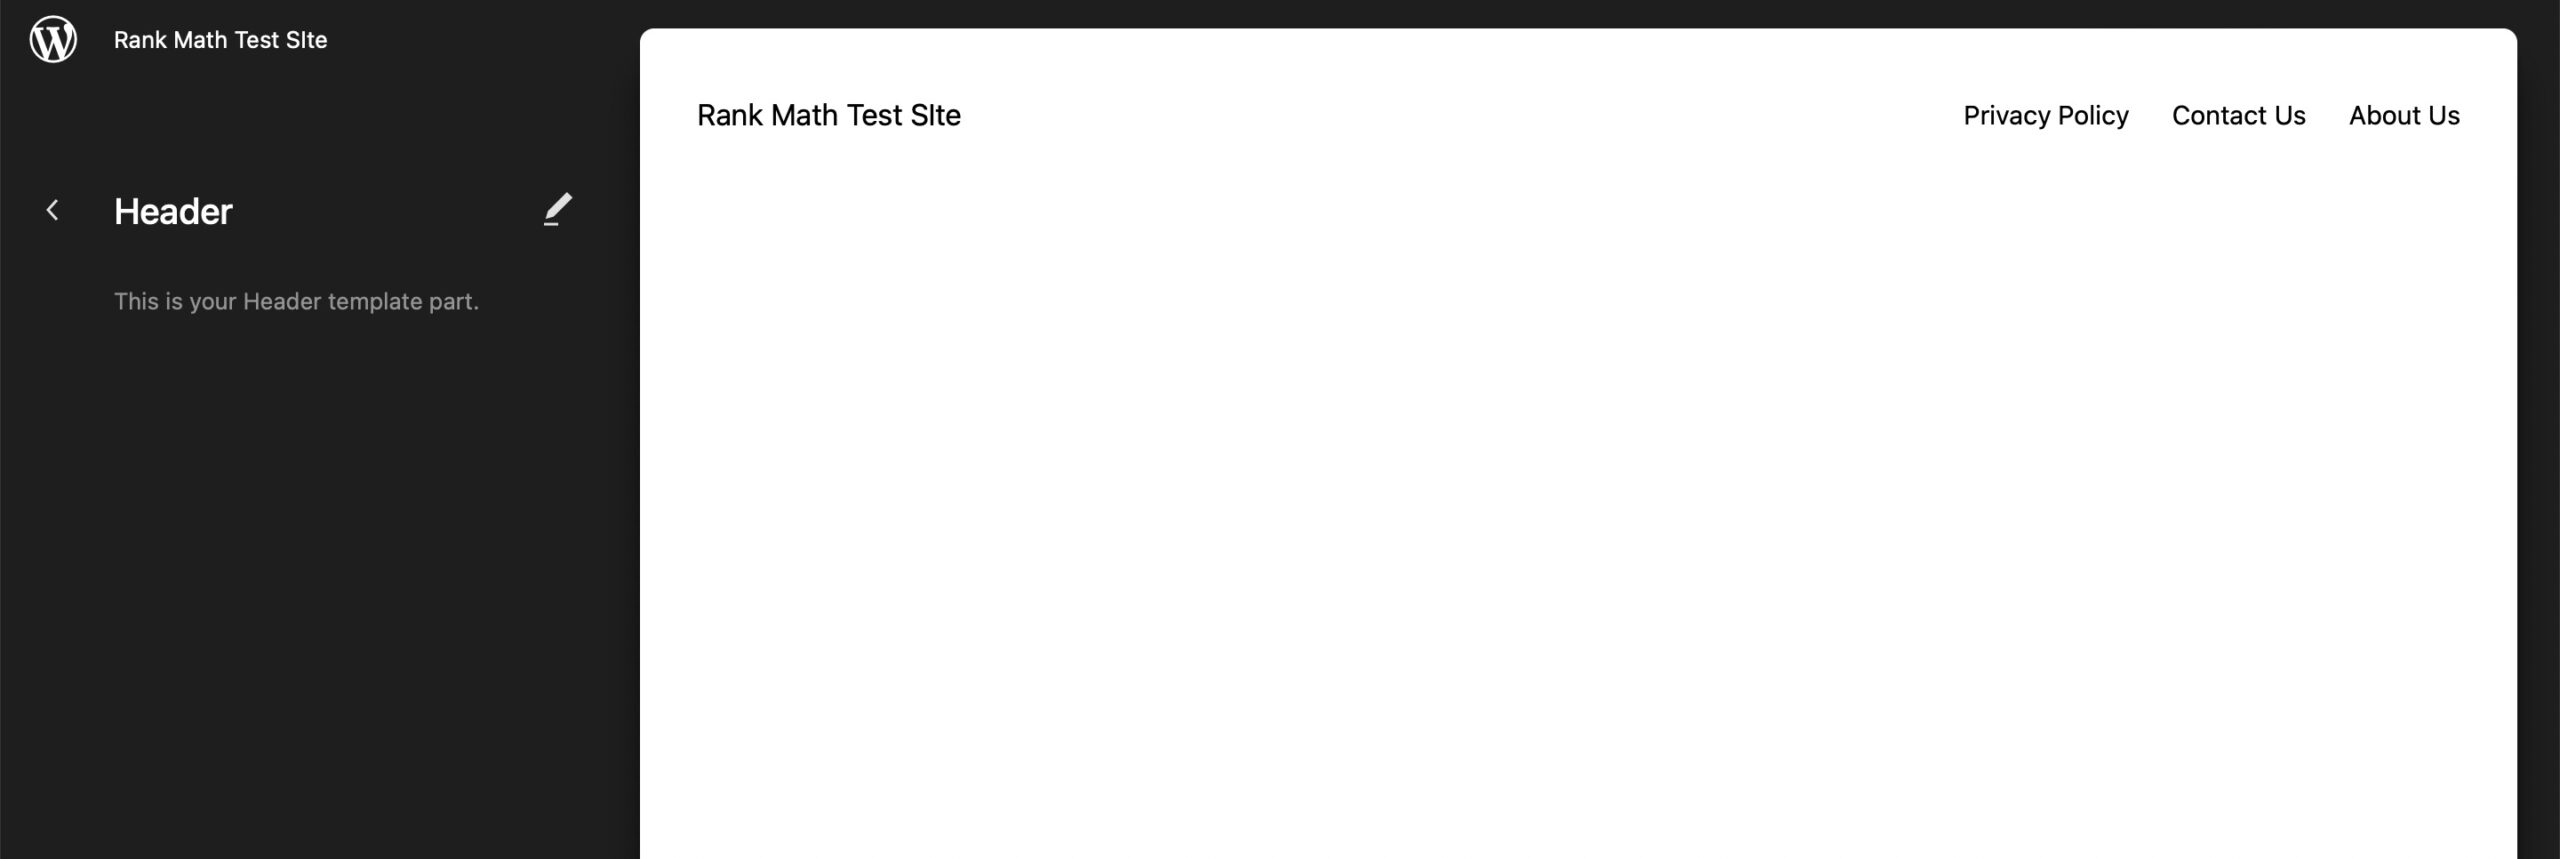
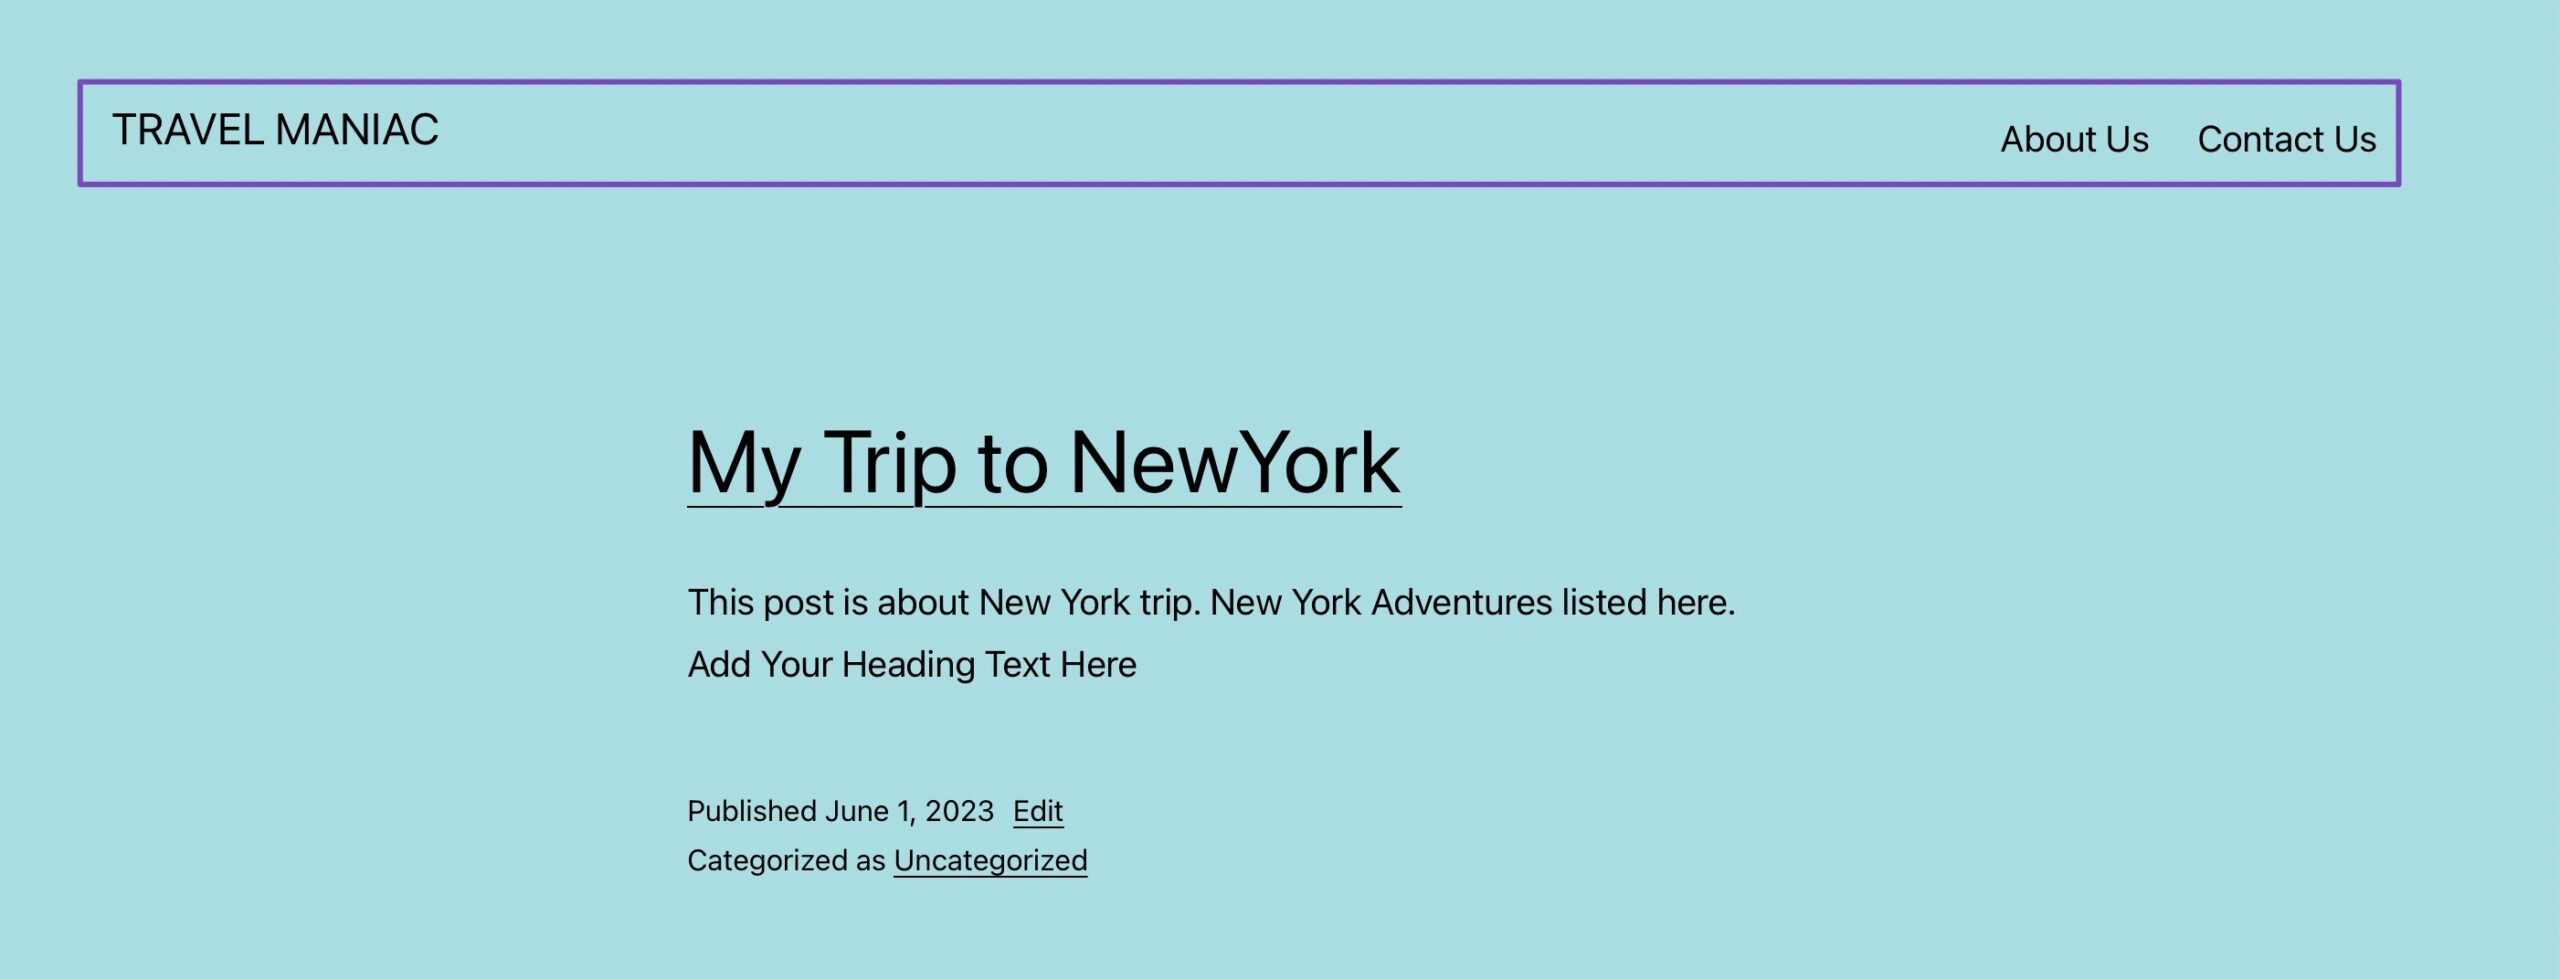
In this case, we’re using the default Twenty Twenty-Three theme, and as you can see, its header is pretty basic. So, let’s add some style and colour to it.
2.1.2 Add a Site Logo
Let’s get started by adding a logo that represents your business brand. To add one, click on your site title and click on the location icon, as shown below.
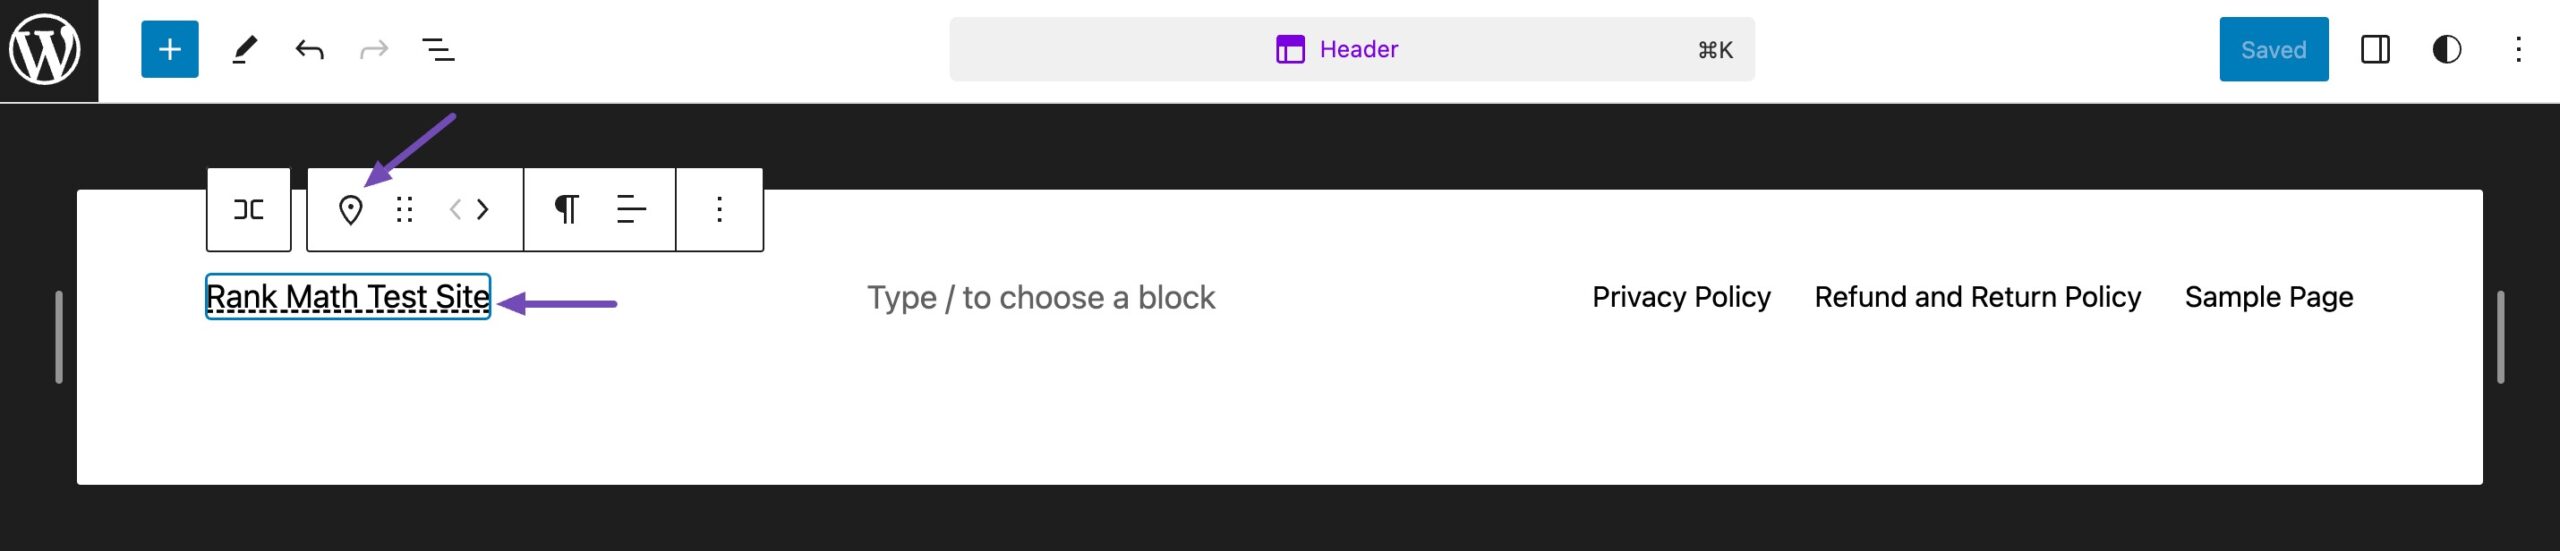
Proceed and select the Site Logo block.
Next, click the upload icon to upload your site logo from your media or local computer files. By default, the WordPress editor will crop your logo if it is not square and link it to your home page.
Once done, click on the Save button to update the changes.
2.1.3 Setting the Header Background Colour
A splash of background colour can instantly bring your header to life.
By default, your theme sets your header background colour as white or transparent. However, you can change the default colour to reflect your brand best.
Select the header to change the header background colour and click the Settings icon, as shown below. Next, select the Block option and click on the Styles tab.
Click on the Background option, and now comes the fun part! Use the colour picker tool to explore the wide range of colours and shades. Play around until you find the perfect hue that matches your website’s style and branding.
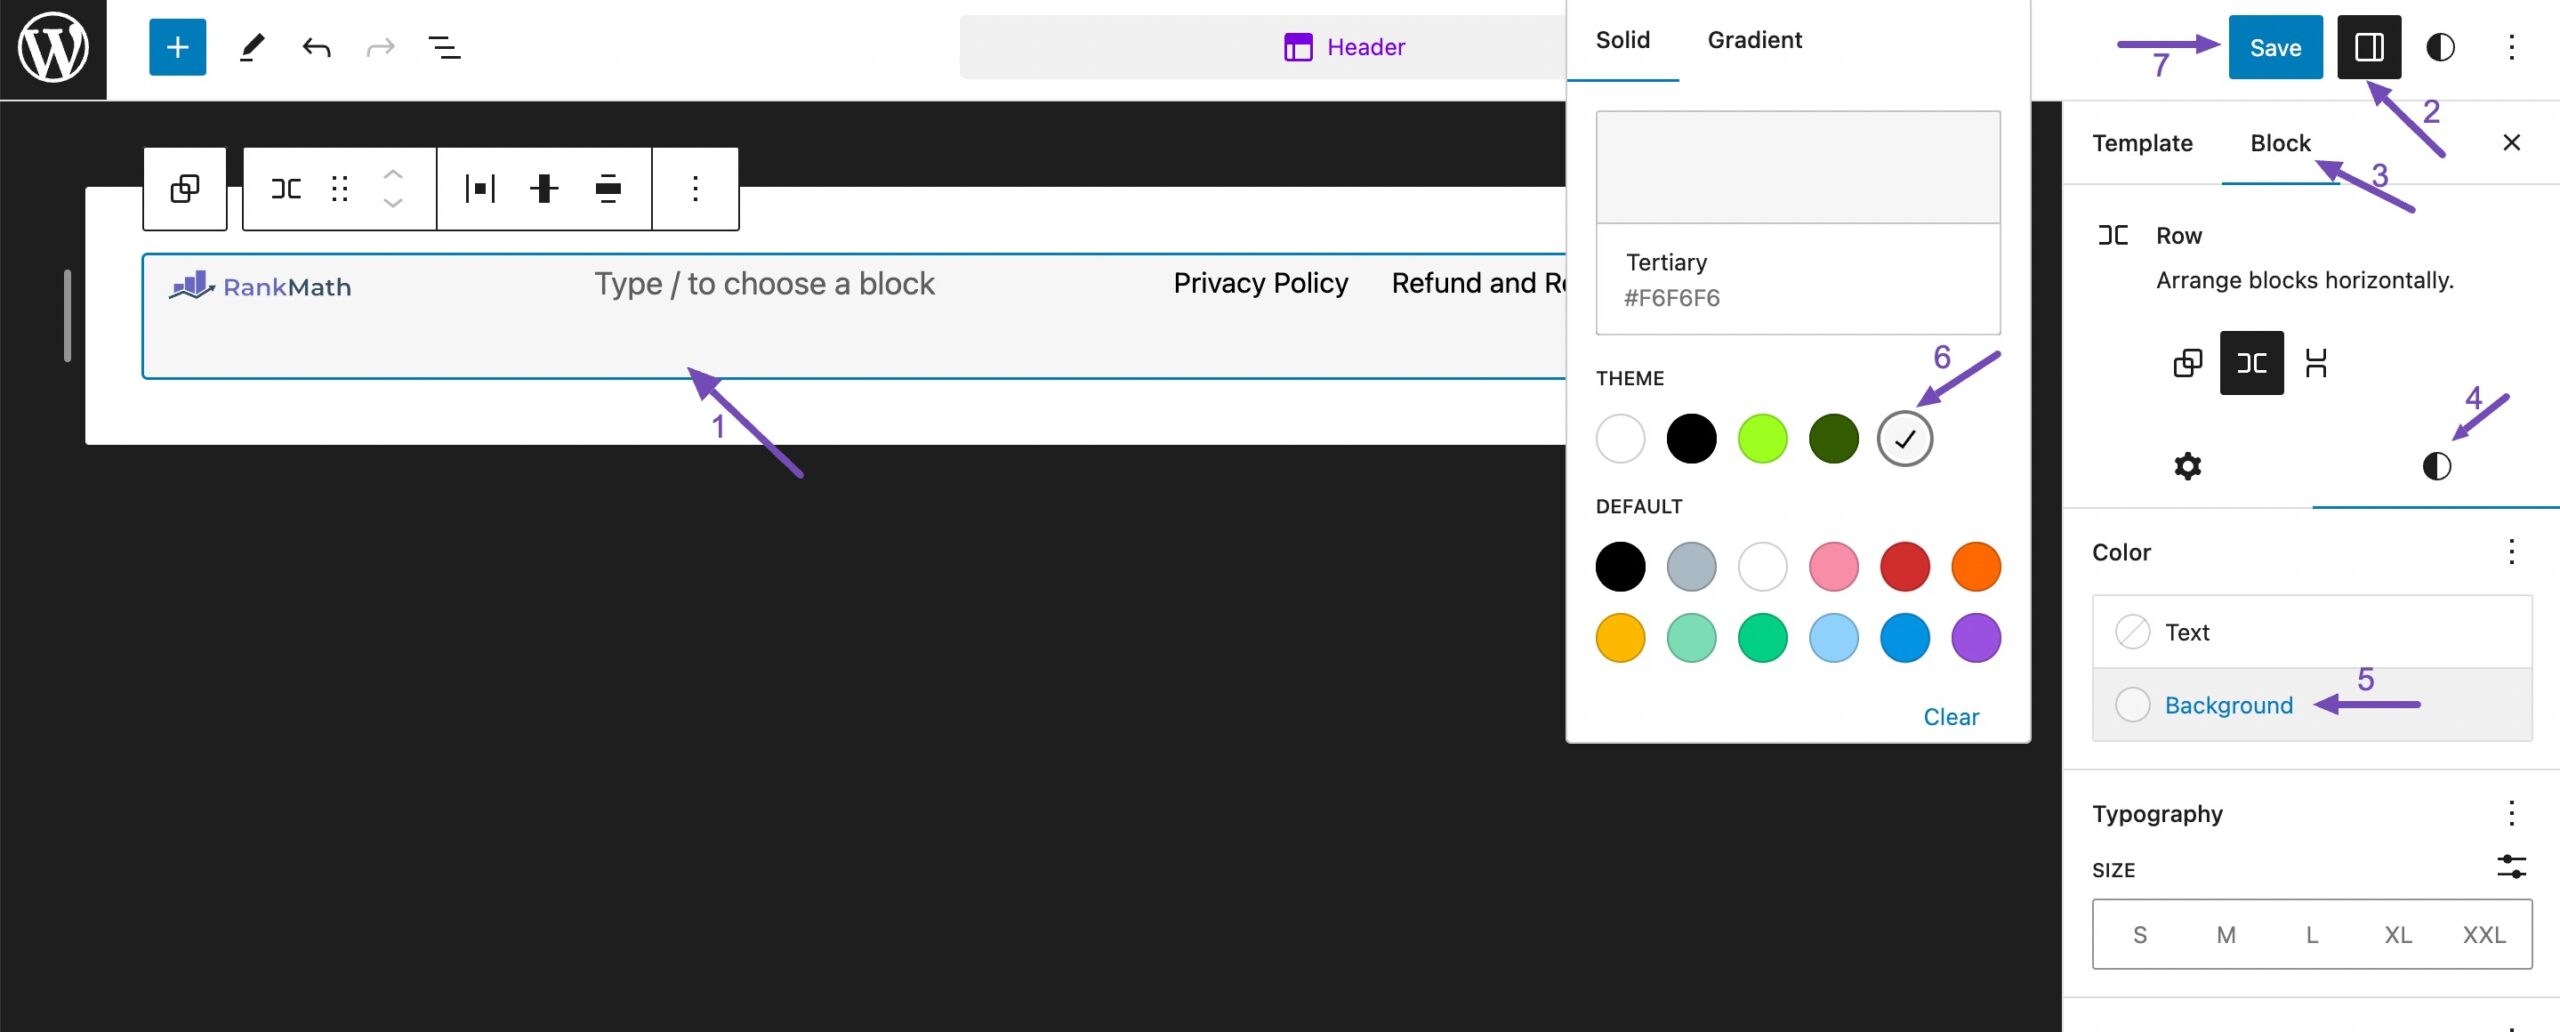
As you select different colours, the header background will update in real-time, giving you a preview of how it will look on your website. Take your time to review and ensure it aligns with your vision. Once you’re happy with the result, don’t forget to click the Save button to update the changes made.
Note: Options may vary slightly depending on your theme. If labels look different, explore the settings in your theme’s Full Site Editor to locate the background colour option.
2.2 Edit the Website Header Using the Theme Customizer
Most WordPress themes allow you to easily change your website header using the Customizer tool in WordPress. If you’re using a block-enabled theme, you’ll need to use the prior full site editor, as they don’t support the Customizer.
Now, to access the WordPress Customizer, navigate to Appearance → Customize.

This will launch the powerful Theme Customizer, a visual editor that allows you to make changes to your site’s design in real-time.
Within the Theme Customizer, you’ll see a list of options on the left-hand side and a preview of your website to the right. Look for the section or tab that pertains to your theme’s header settings.
In our example, we’ve used the Astra theme, which enables you to build a custom header by adding blocks. Astra has a dedicated Header Builder option in the panel on your left.
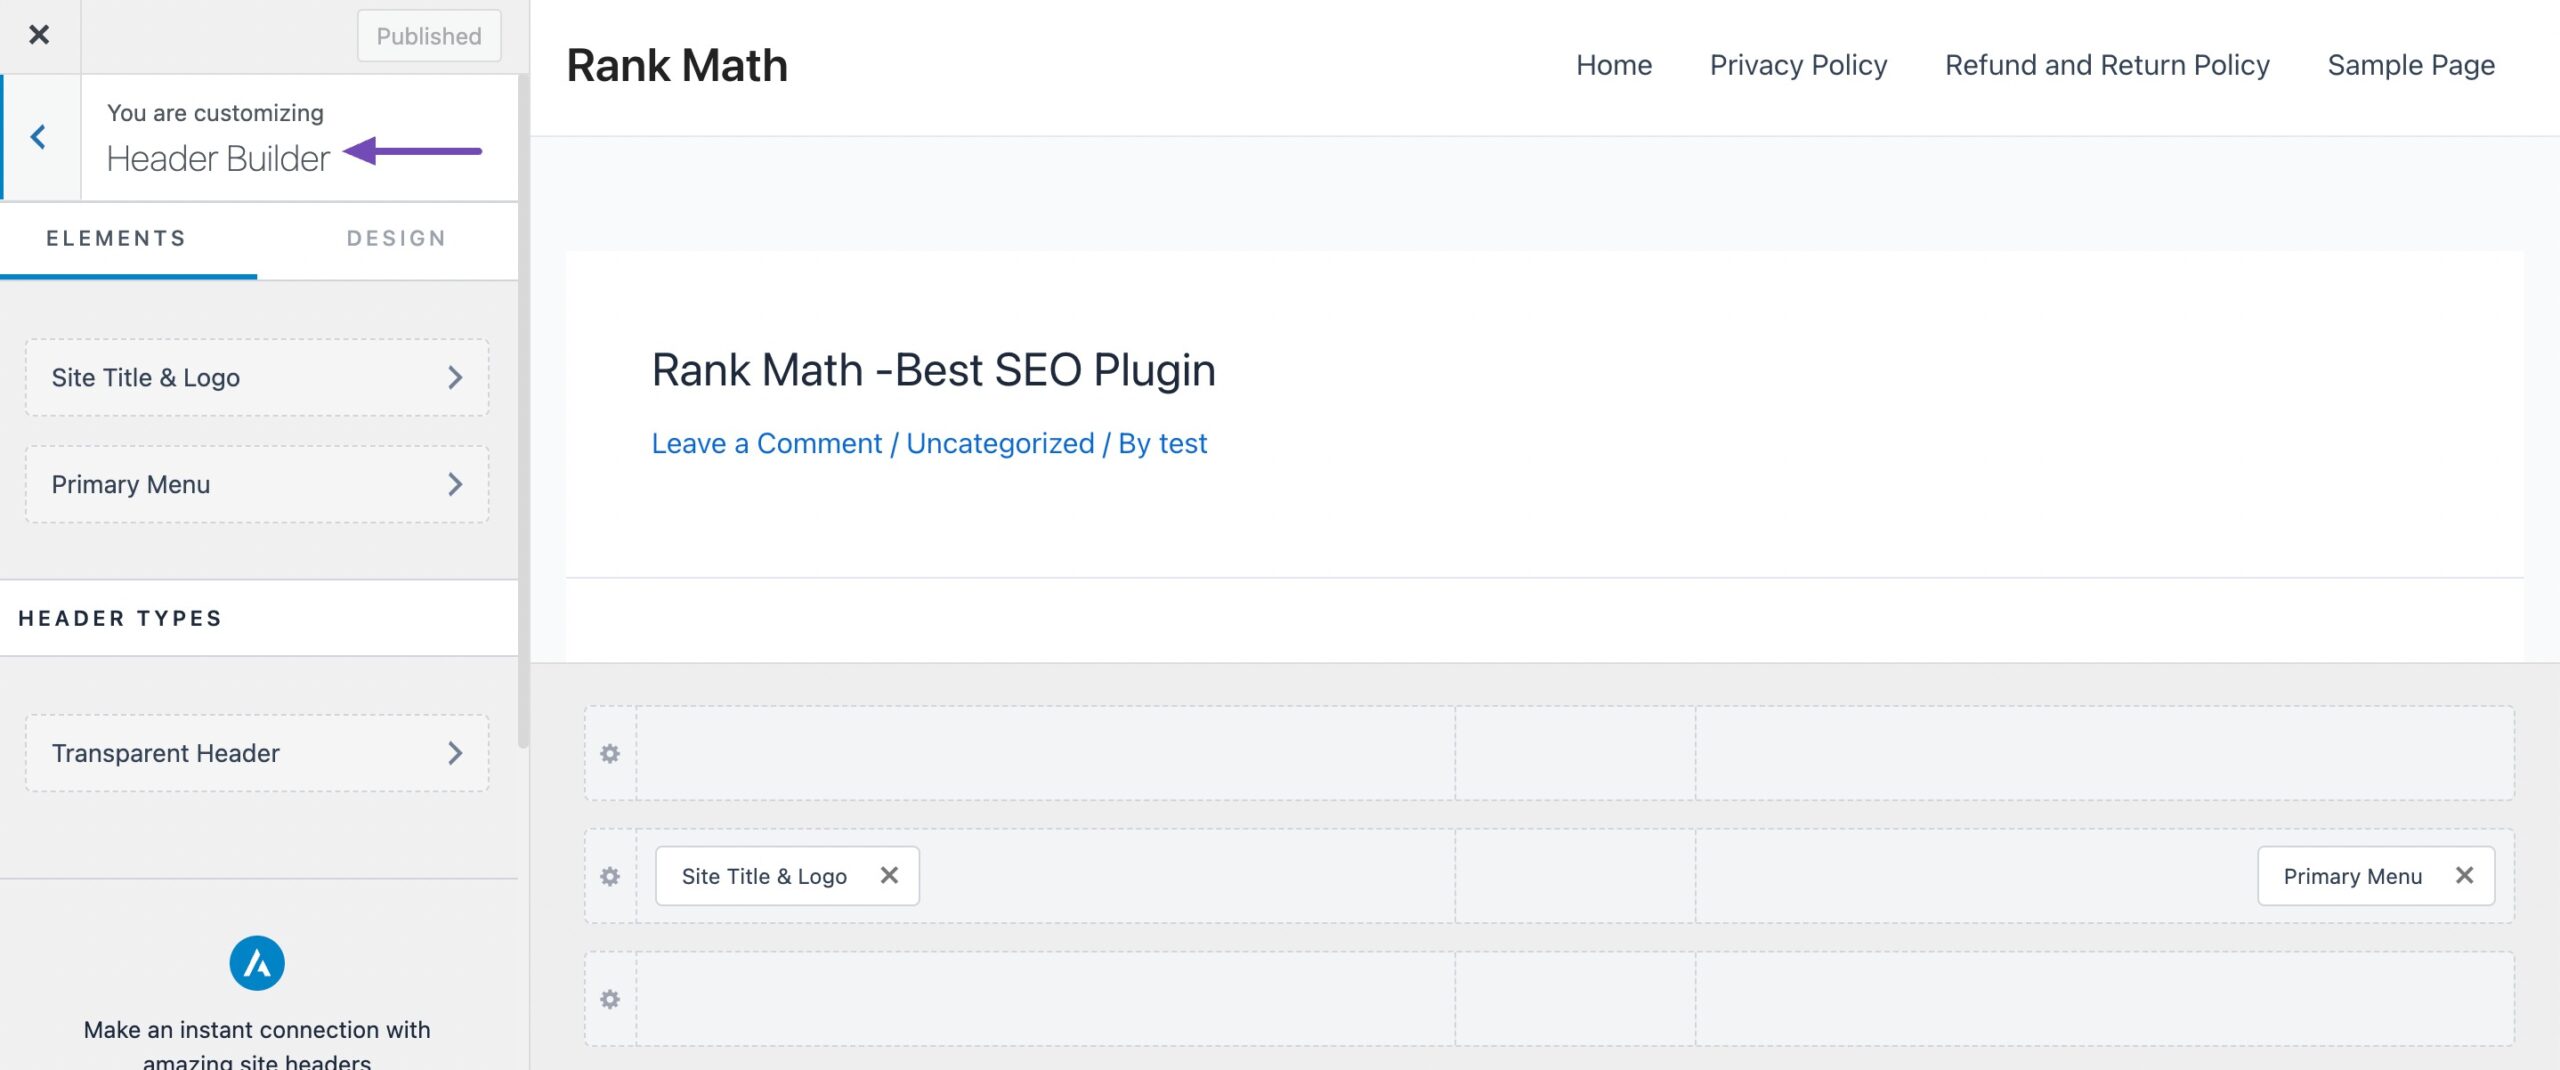
To start, hover over an empty area in the header and click the + icon to add a header block.
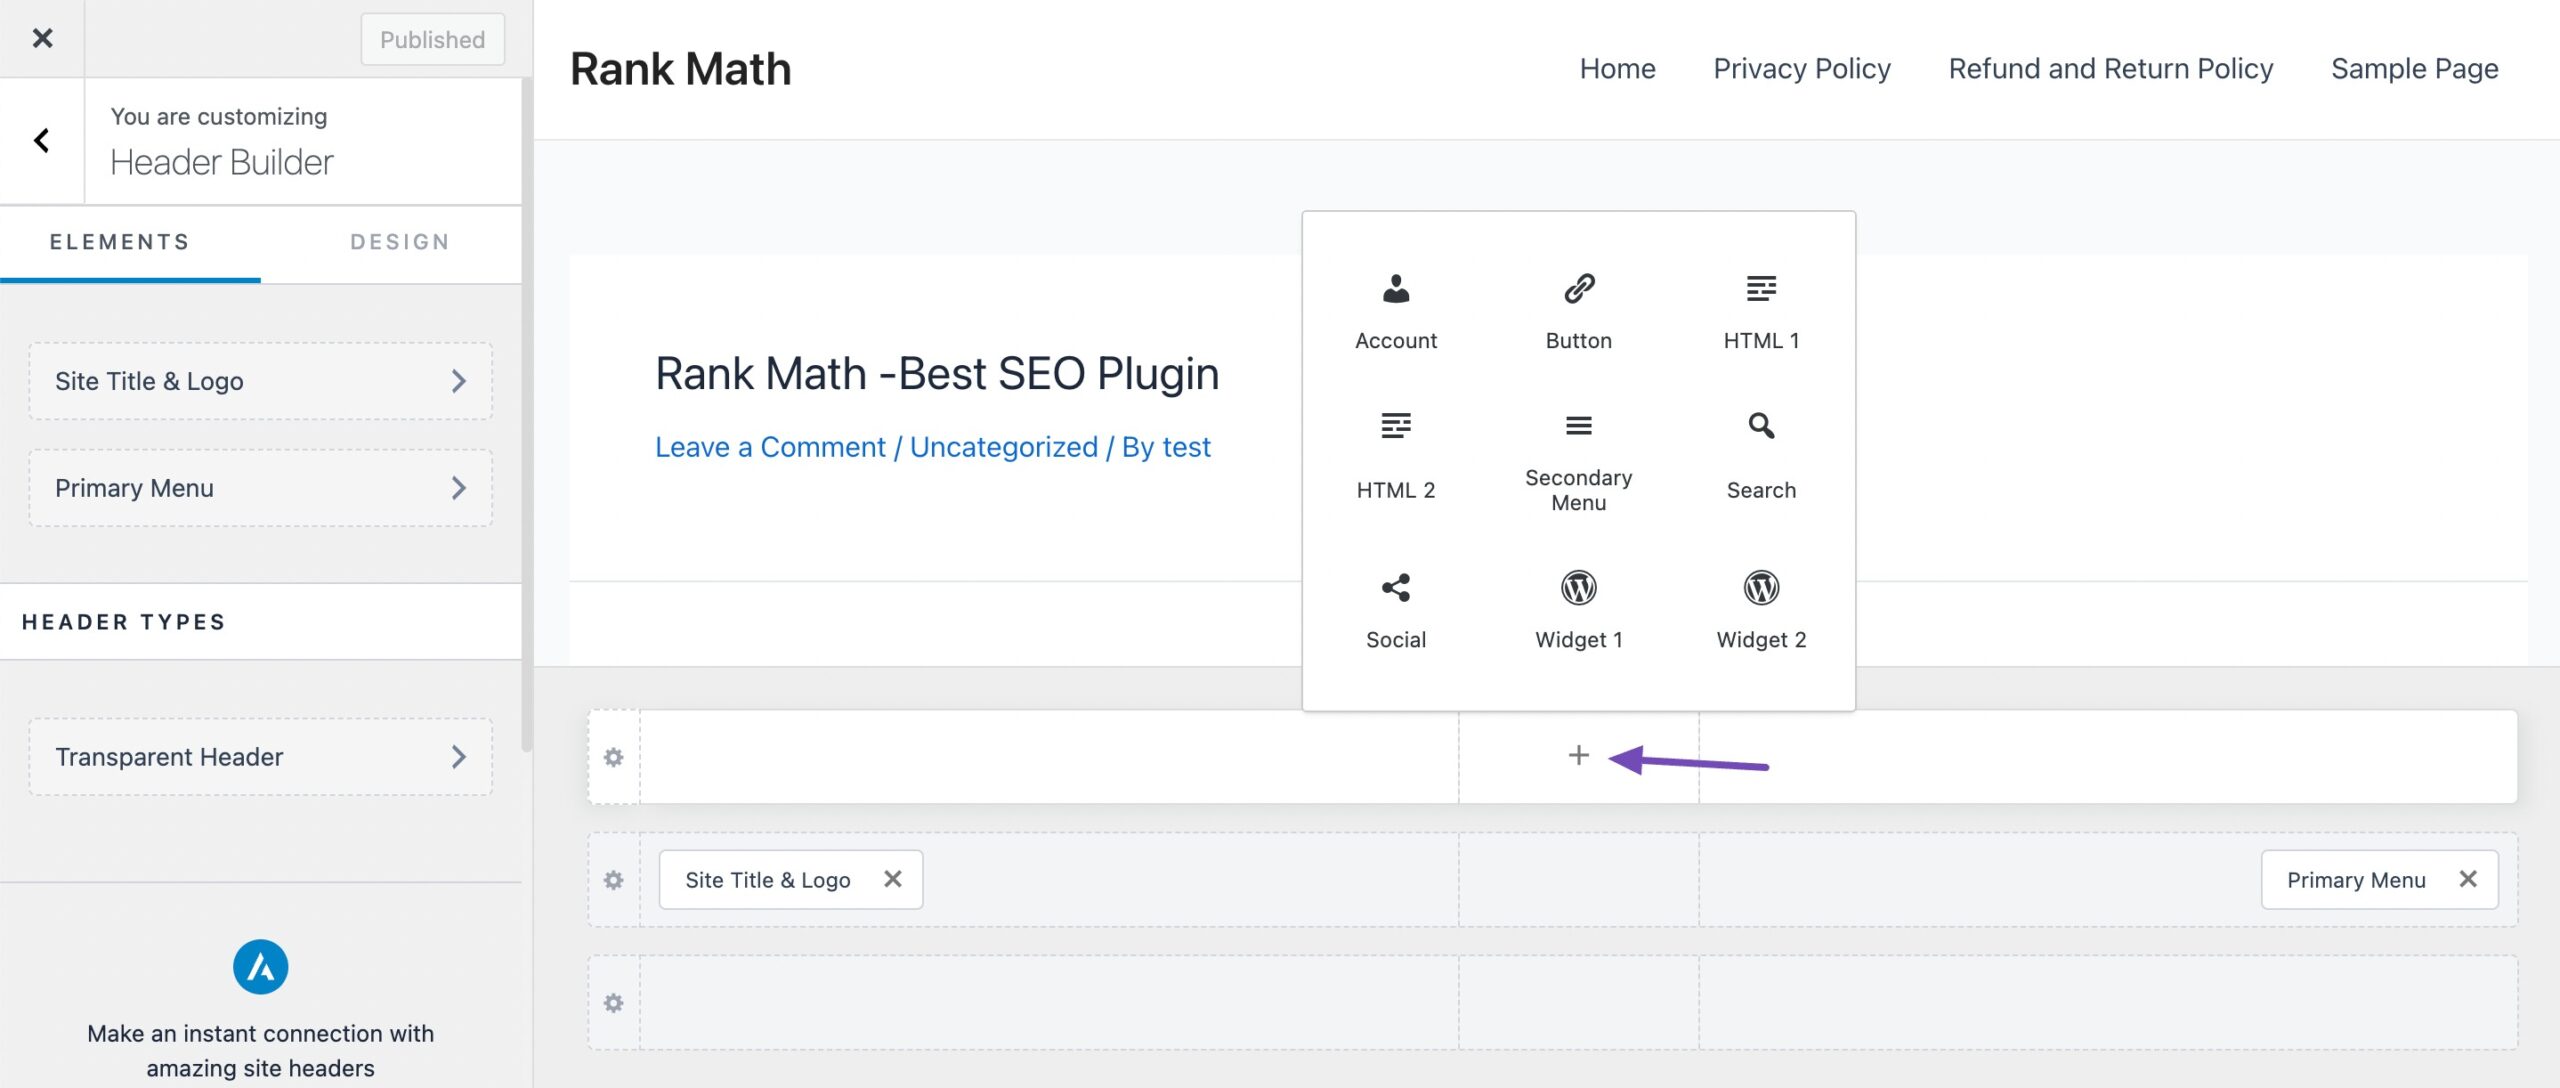
Select any block you’d like to add to your custom header. For example, you can add a widget block, an account block, a search block, and more.
We added a new button in our Header section, as shown below.
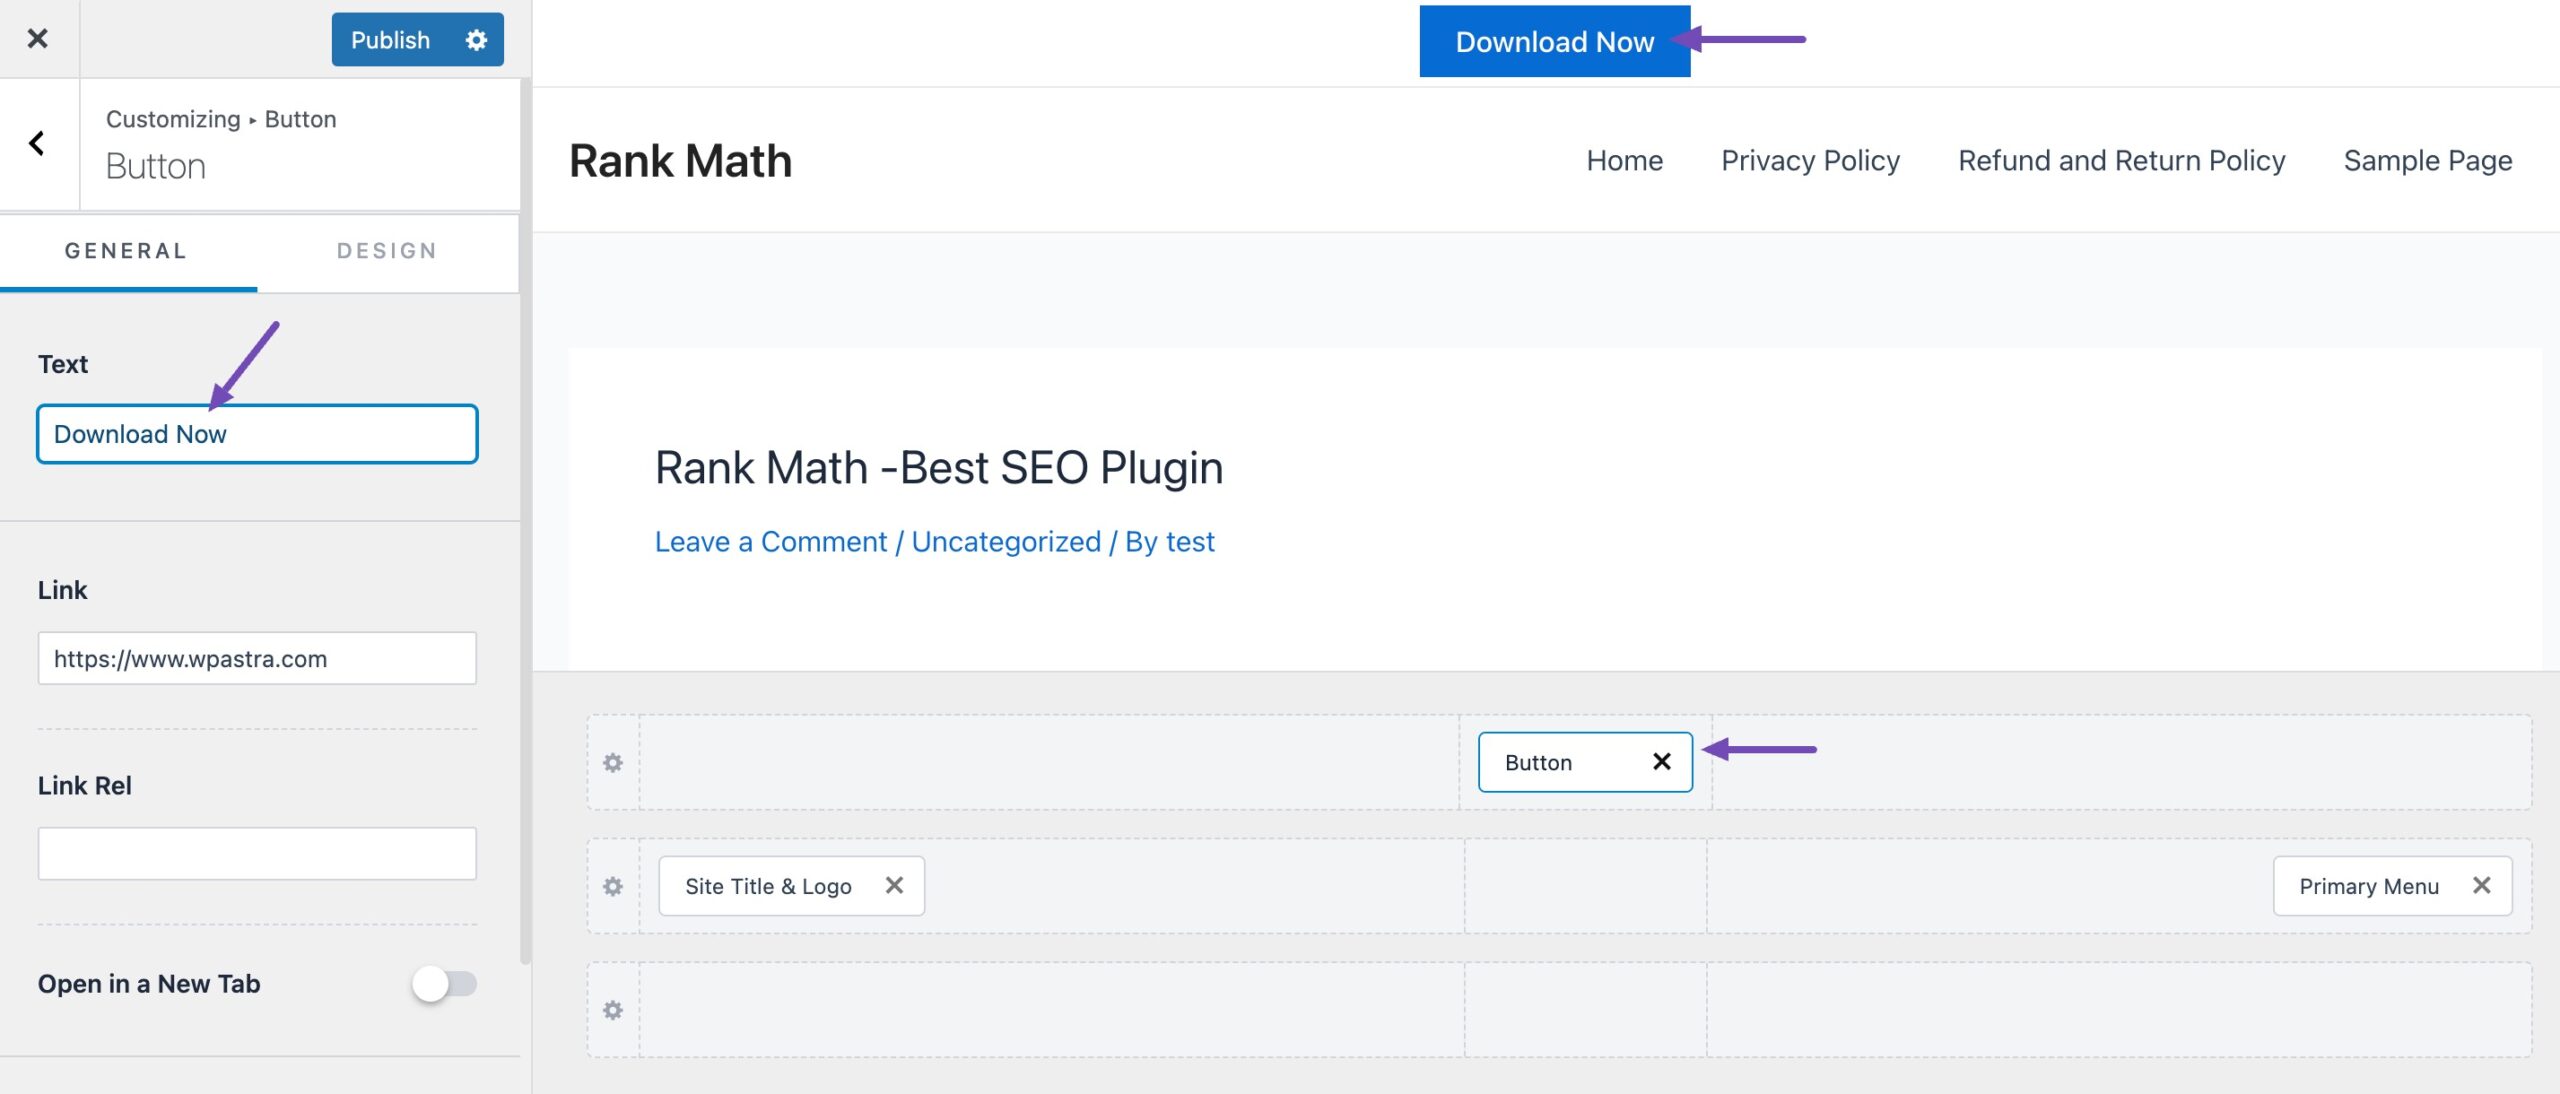
Also, the header builder lets you drag and drop the blocks and place them above or below the header.
You can further customize each block that you add to the header. For instance, selecting the Site Title & Logo block will allow you to upload a site title and logo, change the logo’s width, display a site tagline, and more.
When you’re happy with the edits, save the changes by clicking on the Publish button at the top of the Customizer.
2.3 Customize WordPress Header Using the Custom Code
While the Full Site Editor and the Theme Customizer are robust to help you create a good-looking header, you may want to customize it further using custom CSS.
For example, say you want to make your header element sticky on the scroll. While some themes offer this customization option, if yours doesn’t, you can easily make your website header sticky at the top of the page like this one from the Rank Math website.

In that case, you need to use the following CSS code template to add the effects.
#site-header {

position: sticky;

top: 0;

}
But first, you need to identify your website header ID. This will enable you to add the effects to the correct header element and ensure your code will work.
To do so, head over to your website’s front end, right-click on the header, and click the Inspect/ Inspect Element option, as shown below.

This will open your site’s HTML and CSS layout on a new panel of your screen. Locate the HTML code with your site’s header ID.
Depending on your theme, you’ll find your header ID labelled as header id="site header", itemid="masthead", or even header id="masthead" just to mention a few.

For example, our site header ID is labelled header id="masthead."
Once you’ve identified your site’s header, navigate to Appearance → Customize from your WordPress dashboard.
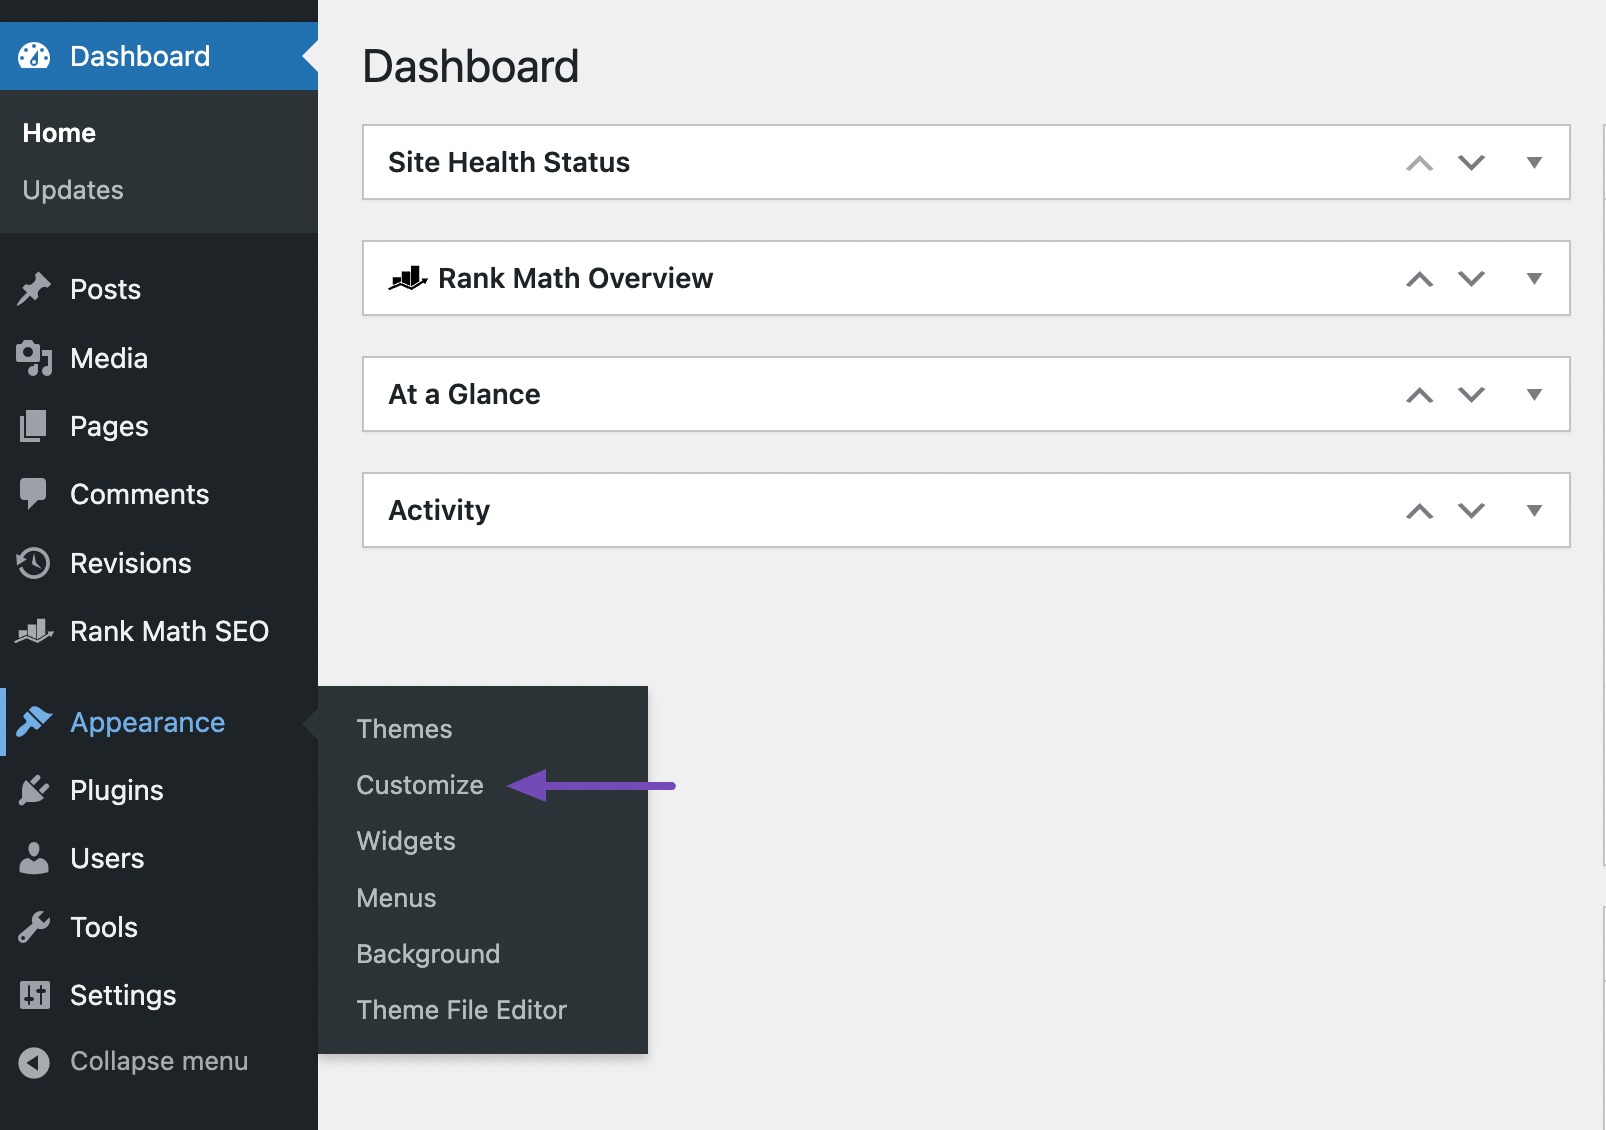
Next, locate the Additional CSS menu in the Customizer interface and paste the code, as shown below.

Remember to replace the "#site-header" with your website’s header ID. For example, in our case, our theme’s header ID is “masthead.”
Adding this code will stick the header elements on top when you scroll the page.
3 Final Thoughts: Editing Headers for a Visually Captivating Website in WordPress
Editing your WordPress header is one of the simplest yet most impactful ways to make your site stand out.
By customizing your header, you can build a strong brand identity, improve navigation, and create a lasting first impression. As you make changes, keep your site’s goals and audience in mind, choose colors, fonts, and layouts that reflect your brand, and ensure your header looks great across all devices.
Most importantly, don’t be afraid to experiment. Use your header as a space to showcase your creativity and welcome visitors to your site.
With a few thoughtful tweaks, you can transform your header into a visually captivating element that both looks great and works beautifully.
If you like this post, let us know by tweeting @rankmathseo.