HowTo Schema Type is a markup that is used to express how-to instructions. It enables users to mark up content with a step-by-step process, as well as materials, tools, and other necessary details. This markup can be used by search engines and web browsers to help people find how-to content on the web.
As per Google’s guidelines, HowTo rich results will not be displayed on desktops as well as on mobile devices. This result type is completely deprecated.
Fortunately, applying the HowTo Schema type to pages on your website couldn’t be easier than it is with Rank Math…

In this tutorial, we’ll walk you through the two easiest ways to add HowTo Schema to your posts and pages with Rank Math:
1 How to Add Rank Math’s HowTo Gutenberg Block in WordPress?
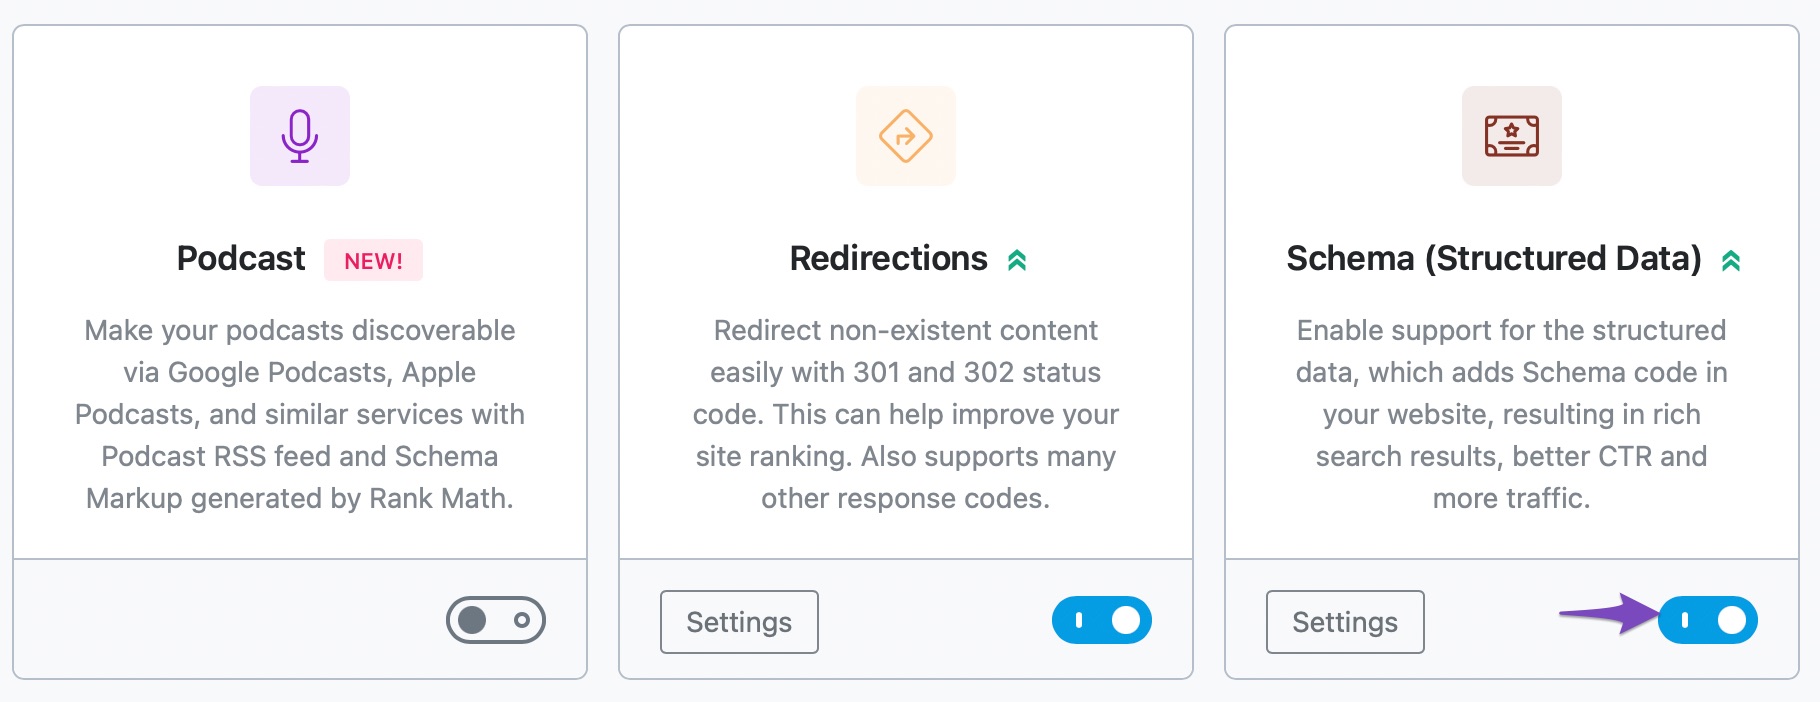
Before we get started, make sure the Schema Module for Rank Math is enabled on your website by going to Rank Math SEO → Dashboard → Modules in your WordPress admin area.

If you’re using the Gutenberg editor, then you can take advantage of Rank Math’s built-in HowTo Schema block. This block allows you to add all the necessary details for HowTo Schema, including steps, tools, materials, and more.
Now let’s take a look at how to use this block.
1.1 Edit Your Post or Page
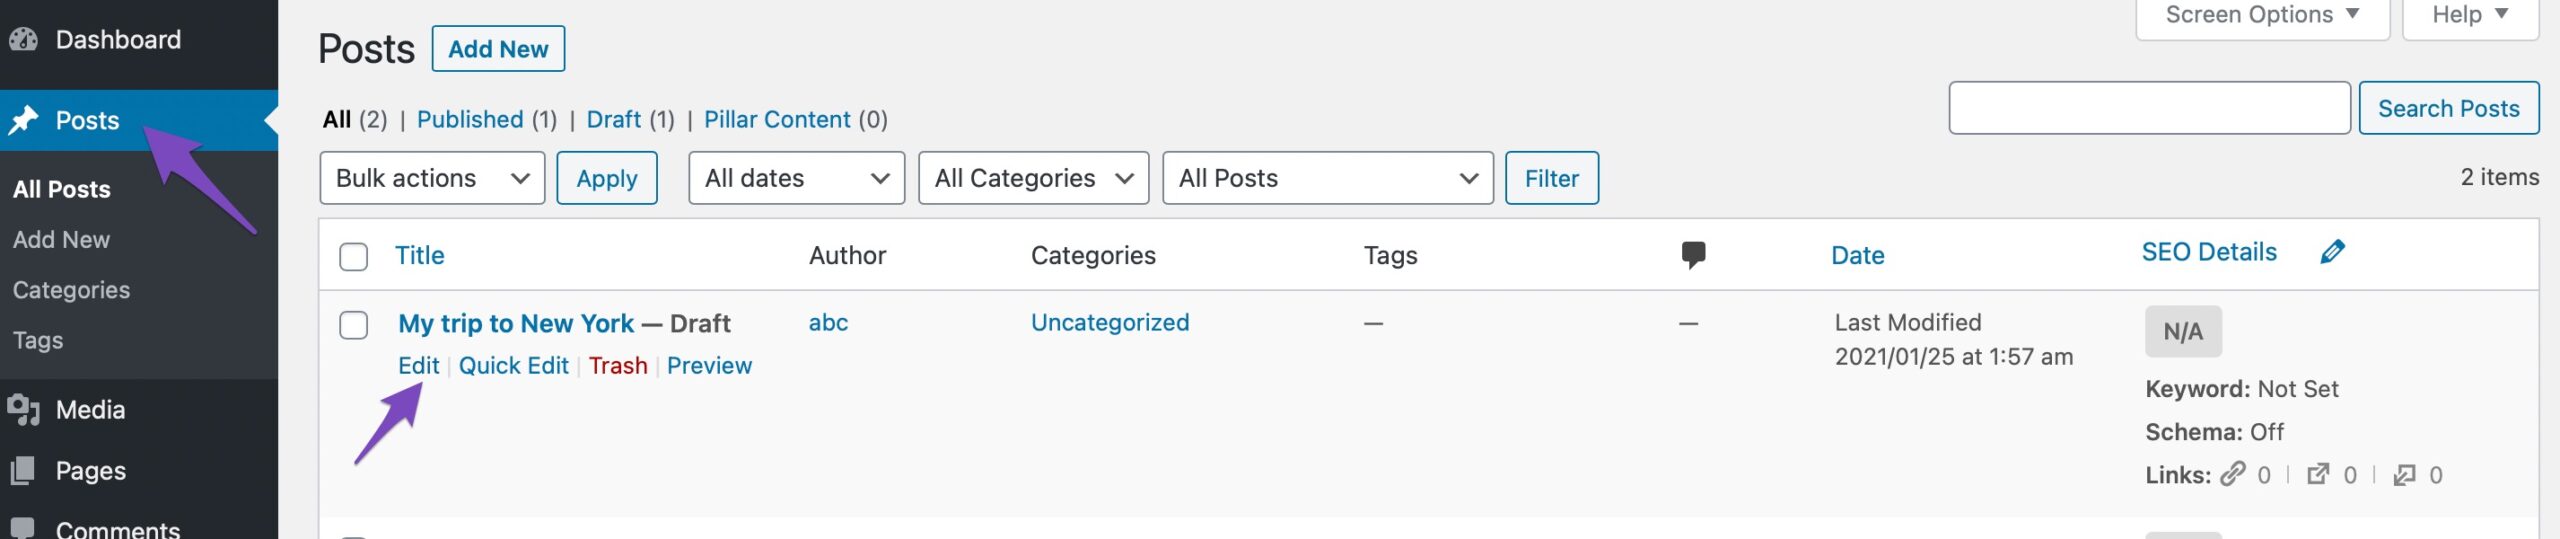
First, you need to edit the post or page where you want to add HowTo Schema. If you’re not already using the Gutenberg editor, then you can install the Gutenberg plugin to get started.
1.2 Add the HowTo Block to the Post
Once you’ve opened the post or page for editing, simply click on the “+” icon to add a new block. Then, type “howto” into the block search field and select the HowTo Schema block from the results:
There are a number of options to configure in a single HowTo Block, and configuring each of them correctly is important if you want your page to be considered for rich results.
Let us now consider each option in detail.
1.3 Final Image
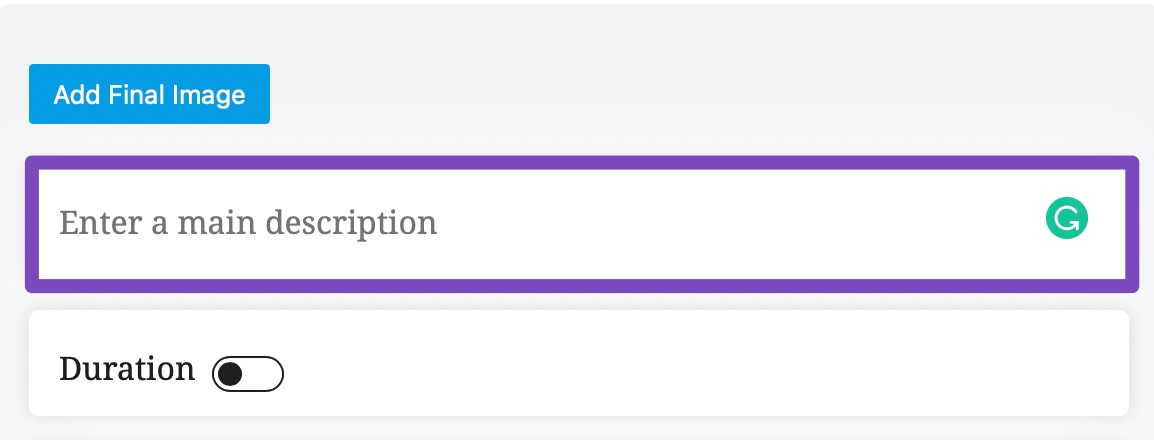
In the Final Image, you can add an image that represents the final result of your HowTo visually. This is optional, but we recommend adding an image for better results. Click on Add Final Image to add an image.

1.4 Main Description
The next option is the main description, where you’ll provide a brief overview of what the user will learn from following your guide. Fill in the description in the given text area.
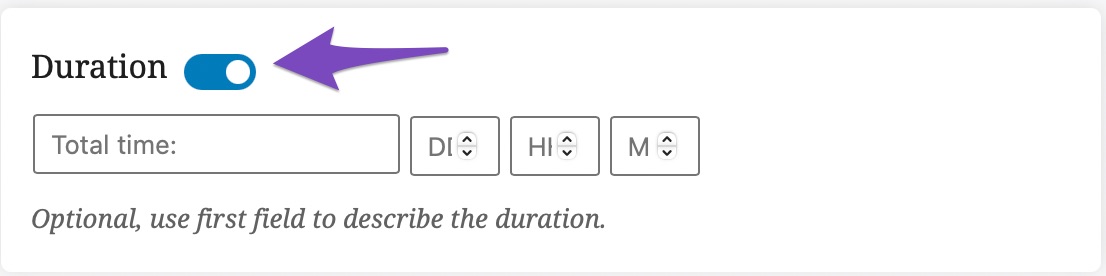
1.5 Duration
In the duration field, you need to provide the estimated amount of time it will take to complete the steps in your how-to guide. The duration field is optional and is disabled by default. Click the toggle button to enable the field. Once enabled, enter the actual duration in the Days, Hours, Months fields.
1.6 Estimated Cost PRO
The next option is estimated cost, in which you need to provide the estimated cost for all the supplies consumed while following your instructions. Enter the currency using ISO 4217 currency code format followed by the estimated cost.

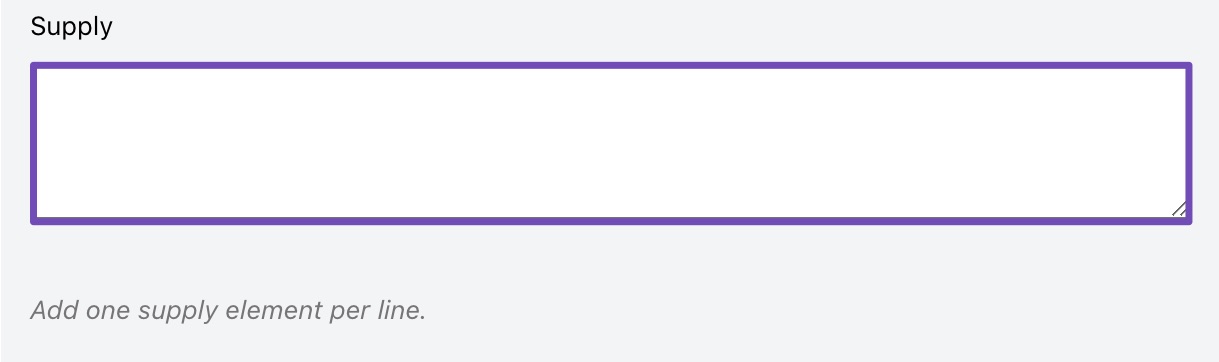
1.7 Supply PRO
The supply field is where you’ll list all the supplies that are necessary to complete your how-to guide. If there are multiple supplies, enter each one in a new line.
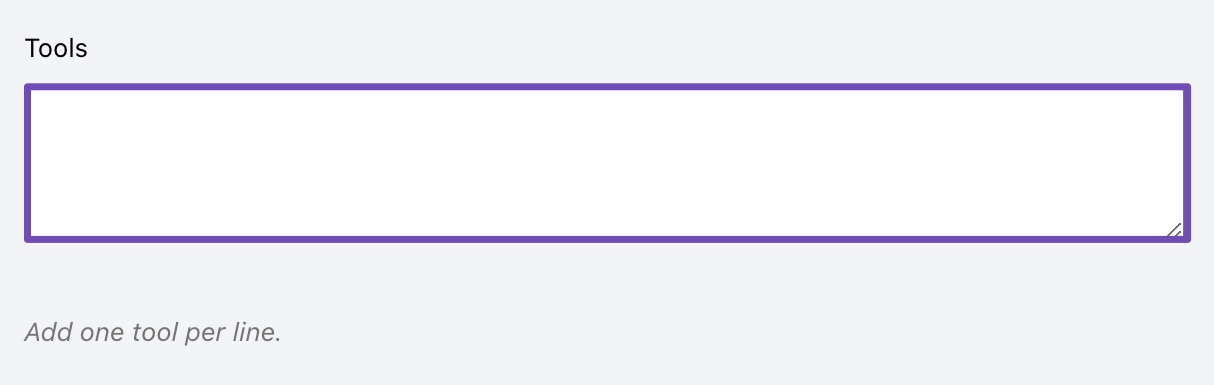
1.8 Tools PRO
While the previous field is used for entering supplies that are consumed, this field is used to enter all tools, which are not consumed but used while following the instruction. If multiple tools are used, add each tool in a new line.
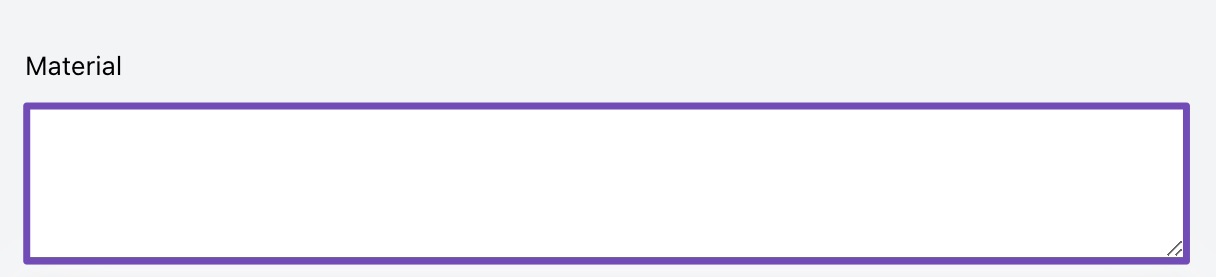
1.9 Material PRO
The material field is similar to the supply field, but it’s used for materials that need to be consumed while following your guide. Examples could include ingredients for a recipe or paint for a painting project.
1.10 Add Your HowTo Steps
The final field in the HowTo block is for adding your how-to steps. This is the most important part of the block, as it’s where you’ll provide all the details for your how-to guide.
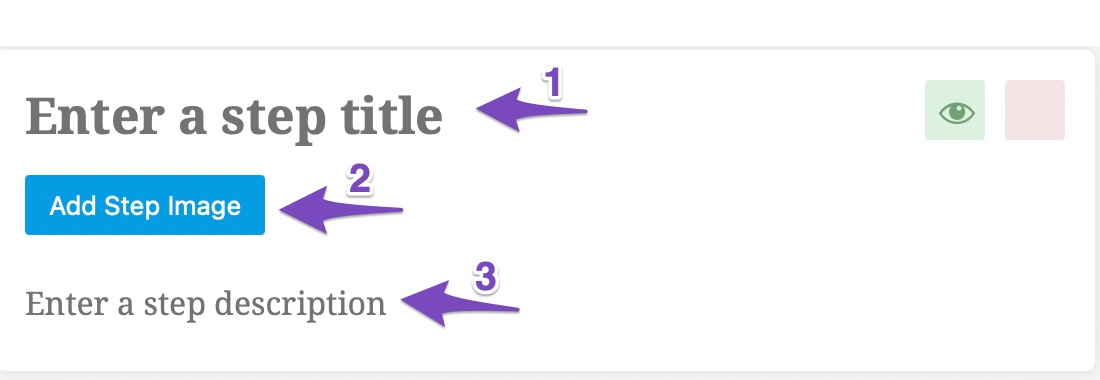
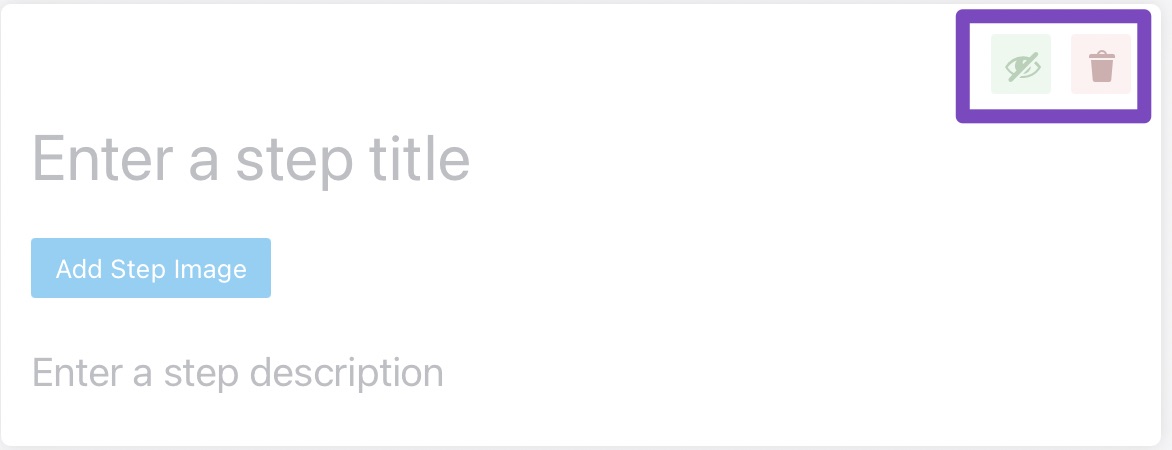
The step itself consists of 3 parts, as shown below:
- Enter a step title: The title is the first thing that users will see, so make sure it’s descriptive and tells them what to expect.
- Add Step Image: If you have an image that represents the step, add it here. It is not mandatory, but it is highly recommended.
Enter a step description: This is where you’ll provide all the details for the step.
1.11 Add New Step
You can add as many steps as you want, and each step can have its own title, image, and description. To add a new step, click on the Add New Step button and provide the required information.

You can reorder the steps using the up and down buttons available against each step.
1.12 Deleting or Hiding Steps
If you want to delete or hide a step, hover over the step and click on the delete or hide icon.
Click on Save for this Post once you’re done making any changes to the Software Schema for this page. Then, simply update the page as you normally would after making a change or click Publish if this is a newly created page.
2 How to Add HowTo Schema Markup to Pages Using Rank Math’s Schema Generator PRO
Before we get started, make sure the Schema Module for Rank Math is enabled on your website by going to Rank Math SEO → Dashboard → Modules in your WordPress admin area.
Now let’s take a look at how to use Schema Generator step by step.
2.1 Edit Your Post or Page
Once the module is enabled, you can start adding the HowTo Schema Type to your pages by editing an existing post or page or creating a new one.
2.2 Open Rank Math in the Gutenberg Sidebar
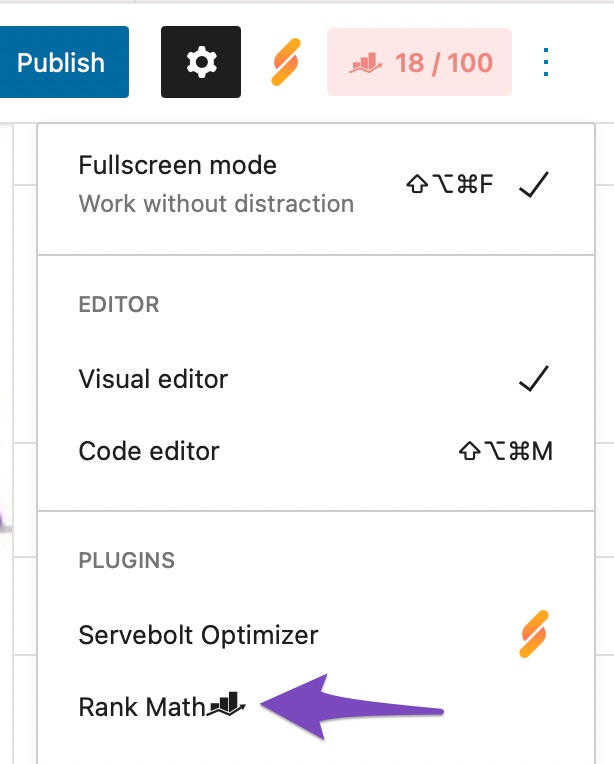
Click on the Rank Math SEO icon that displays alongside this post/page’s SEO score to open the SEO settings for this page.
Alternatively, click the three vertical dots in the top right-hand corner of the edit page and select Rank Math in the Plugins section – as shown below:
2.3 Navigate to the Schema Settings for This Post/Page
After clicking on the Rank Math icon in the Gutenberg sidebar, you should see a new panel with various tabs appear.
Now, go to the Schema Settings by clicking on the Schema tab and then click on the Schema Generator button.

2.4 Navigate to the Schema Builder
After clicking on the Schema Generator button, you’ll see the popup that allows you to select your Schema type.
Next, find the HowTo Schema from the list and click on Use to open the Schema Builder.
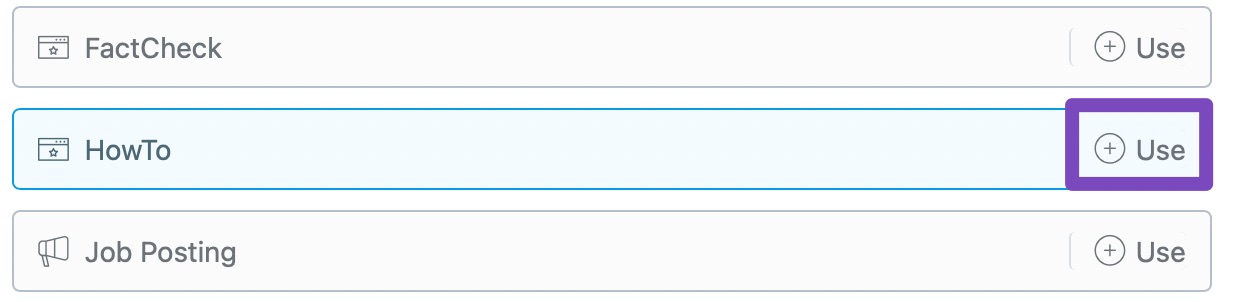
The Schema Builder will show up with the options as shown below:
Now, let’s have a closer look at each of the available options.
HowTo Schema Type Setup & Available Options
1 Name
The first field is for the name of your HowTo guide. Enter the name of the HowTo Schema.

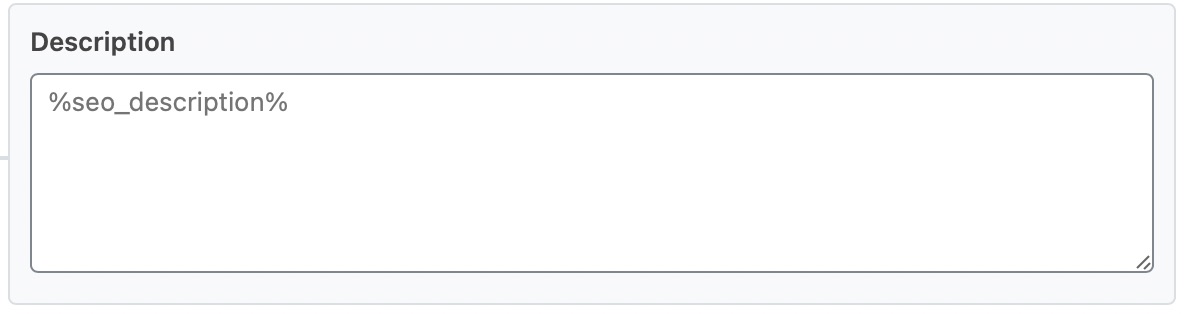
2 Description
The second field is for the description of your HowTo guide. This is where you can enter a brief description of the guide. You can also make use of variables and create dynamic descriptions.
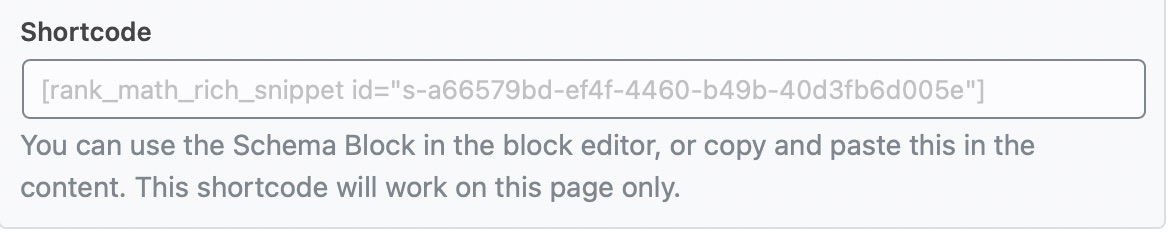
3 Shortcode
The schema shortcode allows you to add structured data to a post or page. To use the schema shortcode, simply copy and paste this into the content.
Note: You can refer to this guide on adding shortcodes to your site.
4 Total Time
Enter the total time needed in this field in the ISO 8601 format. Example: P12DT30H15M.

5 Image URL
Enter the URL of the image here.

6 Cost
In this field, enter the estimated cost of all the supplies that will be consumed while performing instructions.

7 Currency
Enter the currency of the salary using the ISO 4217 Currency Code. If you are not aware of your country’s ISO currency code, Wikipedia has an active code list.

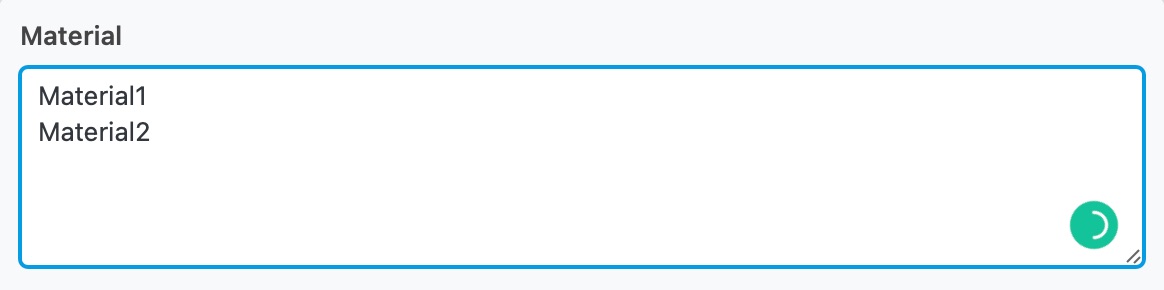
8 Material
Enter the material that you need for your procedure, such as Gum, Paints, etc., in this field. If you’ve more than one material to add, then add one material per line.
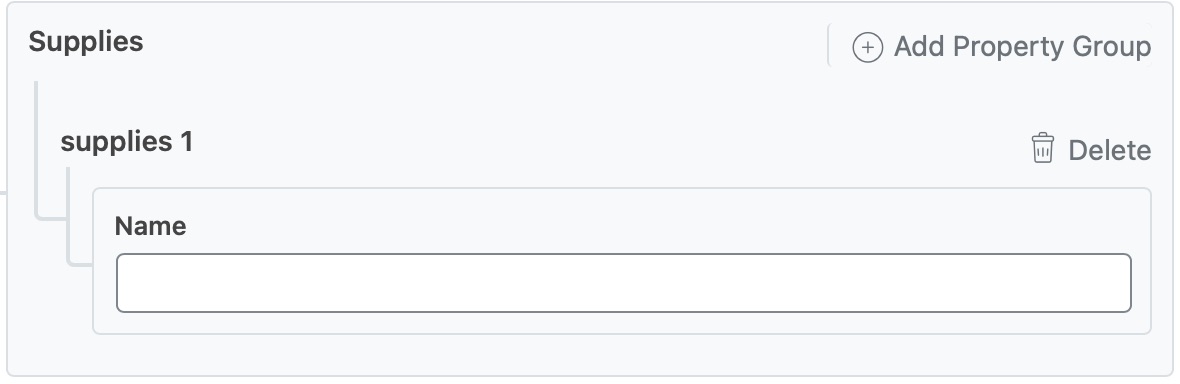
9 Supplies
Enter all the supplies that will be consumed while following your instructions on the article. Enter the name of the supplies in this field by clicking on Add Property Group. You can add as many supplies as you want here.
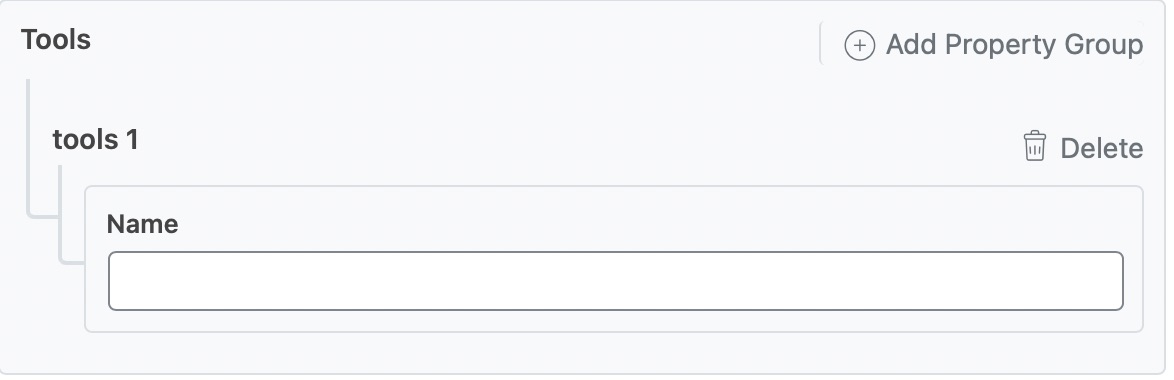
10 Tools
Enter the name of the tools, the user will require while following your instructions by clicking on the Add Property Group. You can add in the information for a particular tool, then click the Add Property Group link to add another group, and fill in the information there.
While Tools and Supply seem similar, but they’re actually not. The Tools field is used to add items users will need to do as per your instructions, and they are not consumed during the process, whereas supplies are consumed during the process.
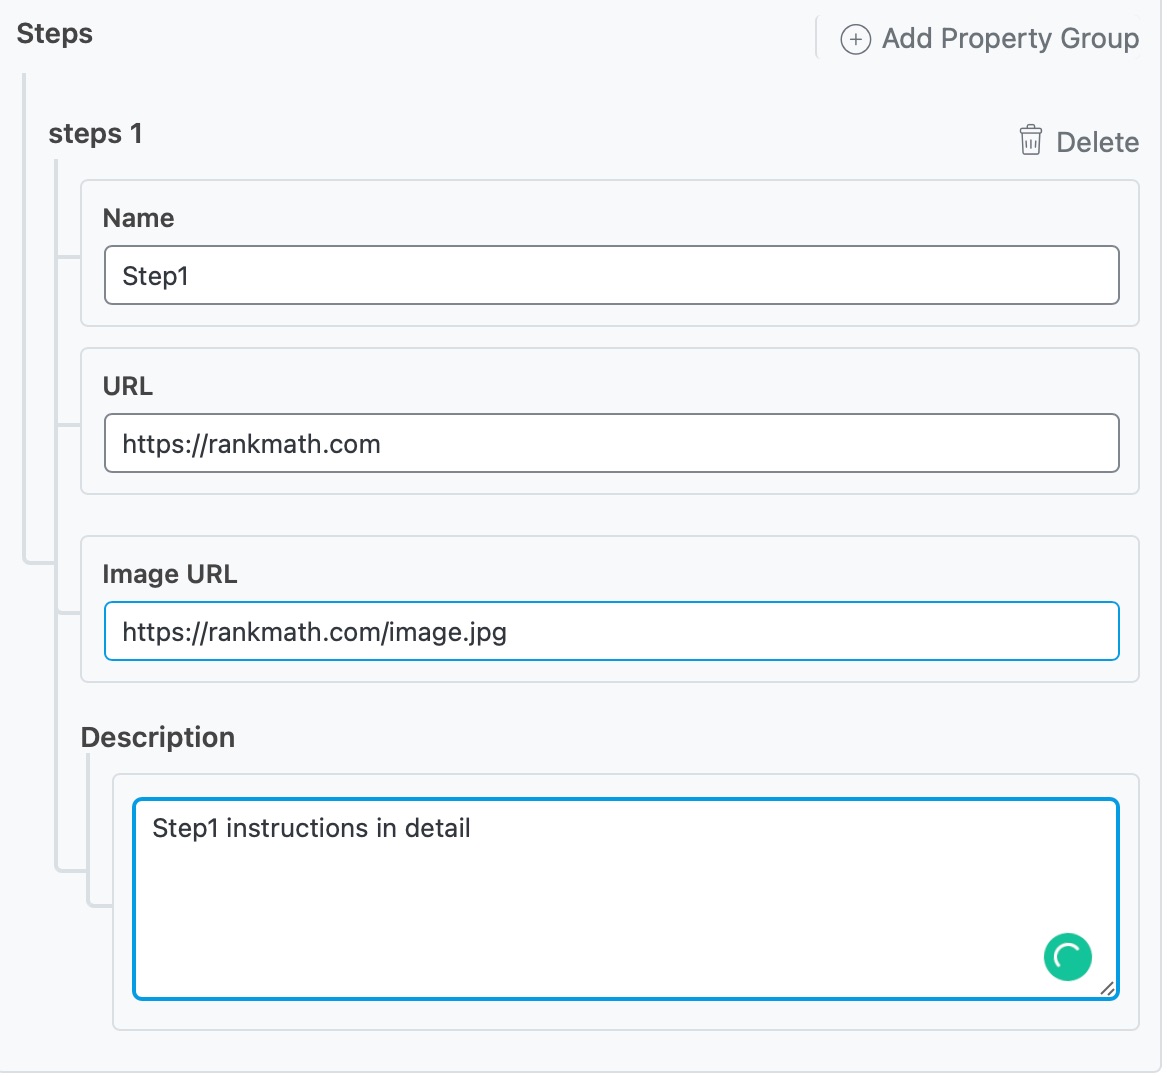
11 Steps
You can add the steps details by clicking on the Add Property Group. Then enter the details of the steps in the fields as shown below:
And, that’s it! Click on Save for this Post once you’re done making any changes to the HowTo Schema for this page. Then, simply update the page as you normally would after making a change or click Publish if this is a newly created page. You can then check your Schema with the help of Google’s Rich Results Testing Tool.
The benefit of the Schema Generator option is that it allows the HowTo Schema to be used with Classic Editor, Elementor, or any other Page Builder for that matter, while the HowTo Block only works on Gutenberg.
However, in contrast to the HowTo Block, with this method, the users have to add the shortcode inside their content or type their HowTo Instructions separately for the audience as the HowTo Schema generated using this method will only add the Schema – not the frontend content for regular visitors.
3 Removing the Schema
In case you want to add the HowTo Block, but without adding the Schema Markup, then you can easily do so with a filter.
Head over to your theme’s rank-math.php file and add the below code snippet to remove the HowTo Schema data.
remove_filter( 'rank_math/schema/block/howto-block', [ RankMath\Schema\Block_HowTo::get(), 'add_graph' ] );We hope the tutorial was helpful in adding HowTo Schema with Rank Math. If you still have absolutely any questions on adding HowTo Schema or using our HowTo Block, feel free to reach our support team, and we’re always here to help!