In this knowledgebase article, we’ll walk through the steps to change the time on your posts/pages and also help you to ensure that your new dates are displayed on Google.
Table Of Contents
1 Changing the Date and Time on Your Posts/Pages
1.1 Navigate to the Post/Page
First, navigate to the post/page for which you want to change the time by clicking on Edit that you want to change the time.

1.2 Click on the Edit Link
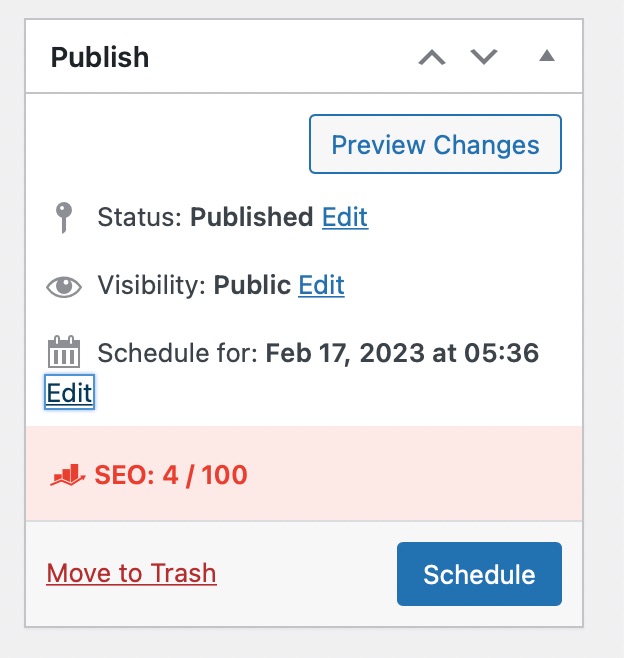
On the post edit screen, under the Publish meta box, you’ll see the option to publish the post immediately. Right next to it, there is an Edit link. Clicking on the Edit link will display the post’s time and date settings.

1.3 Set the Date and Time
Then set the date and time for your post/page. You can also choose a future date that will allow you to schedule the post to be published on that particular date and time.
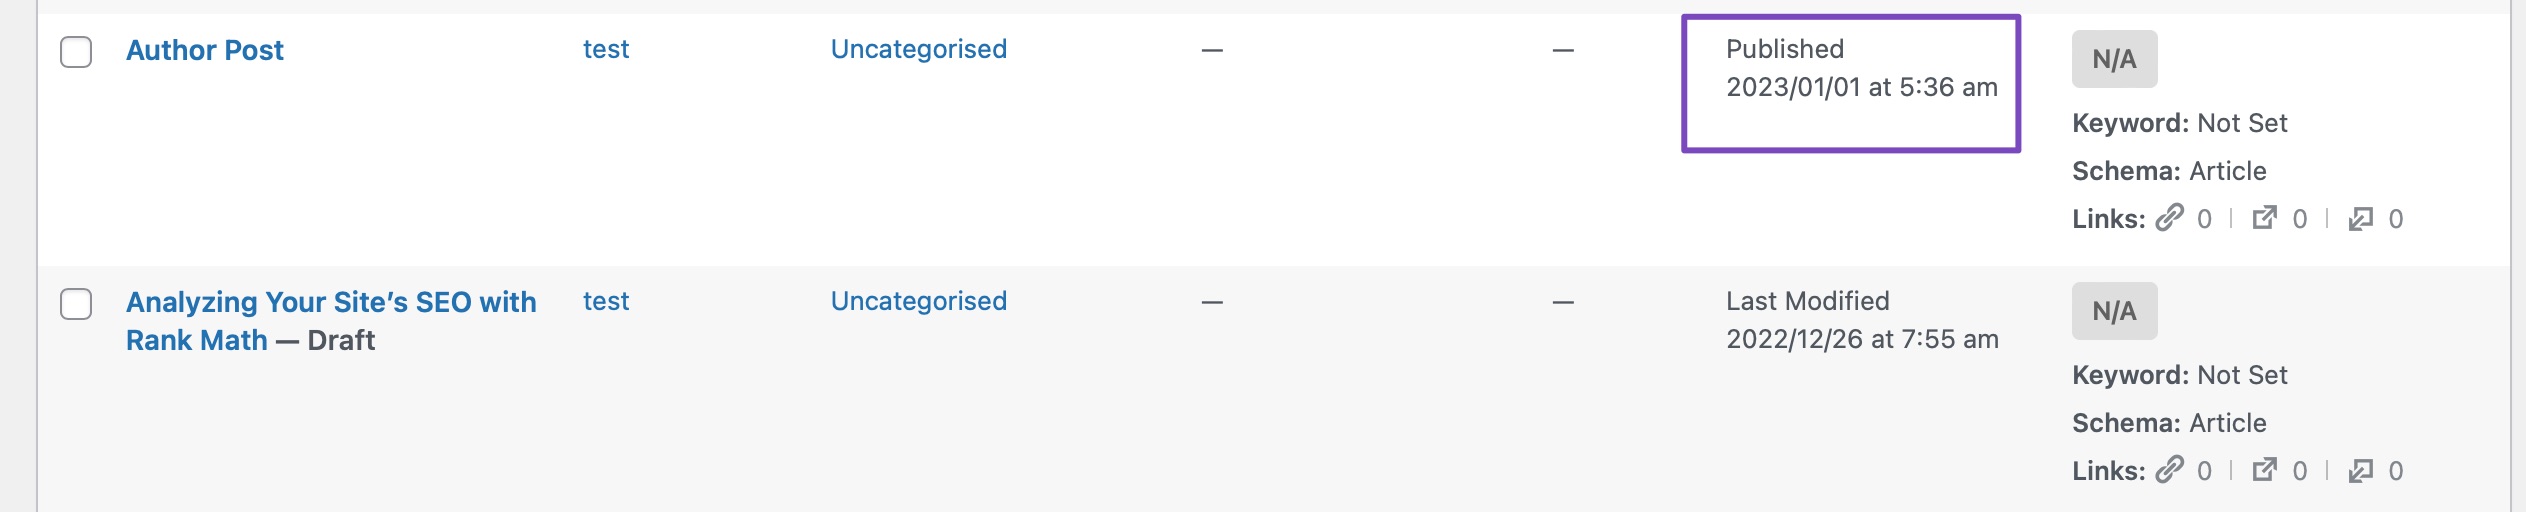
If you set a past date, then it will update the date and change the post’s position in your site’s archive pages, as shown below:
Once you’ve updated the date and time in your posts/pages, Rank Math will automatically update your sitemap and the Schema & OpenGraph Tags for the post.
However, Google may continue to display the old date or a different date altogether. This can happen if the Structured data on your content still contains the old date. In such a situation, you’ll have to confirm that the Structured data has changed to the new date.
2 How to Ensure Your New Dates Display on Google
Google estimates the date by reviewing the dates on your content and selects the published date.
2.1 The Date Schema
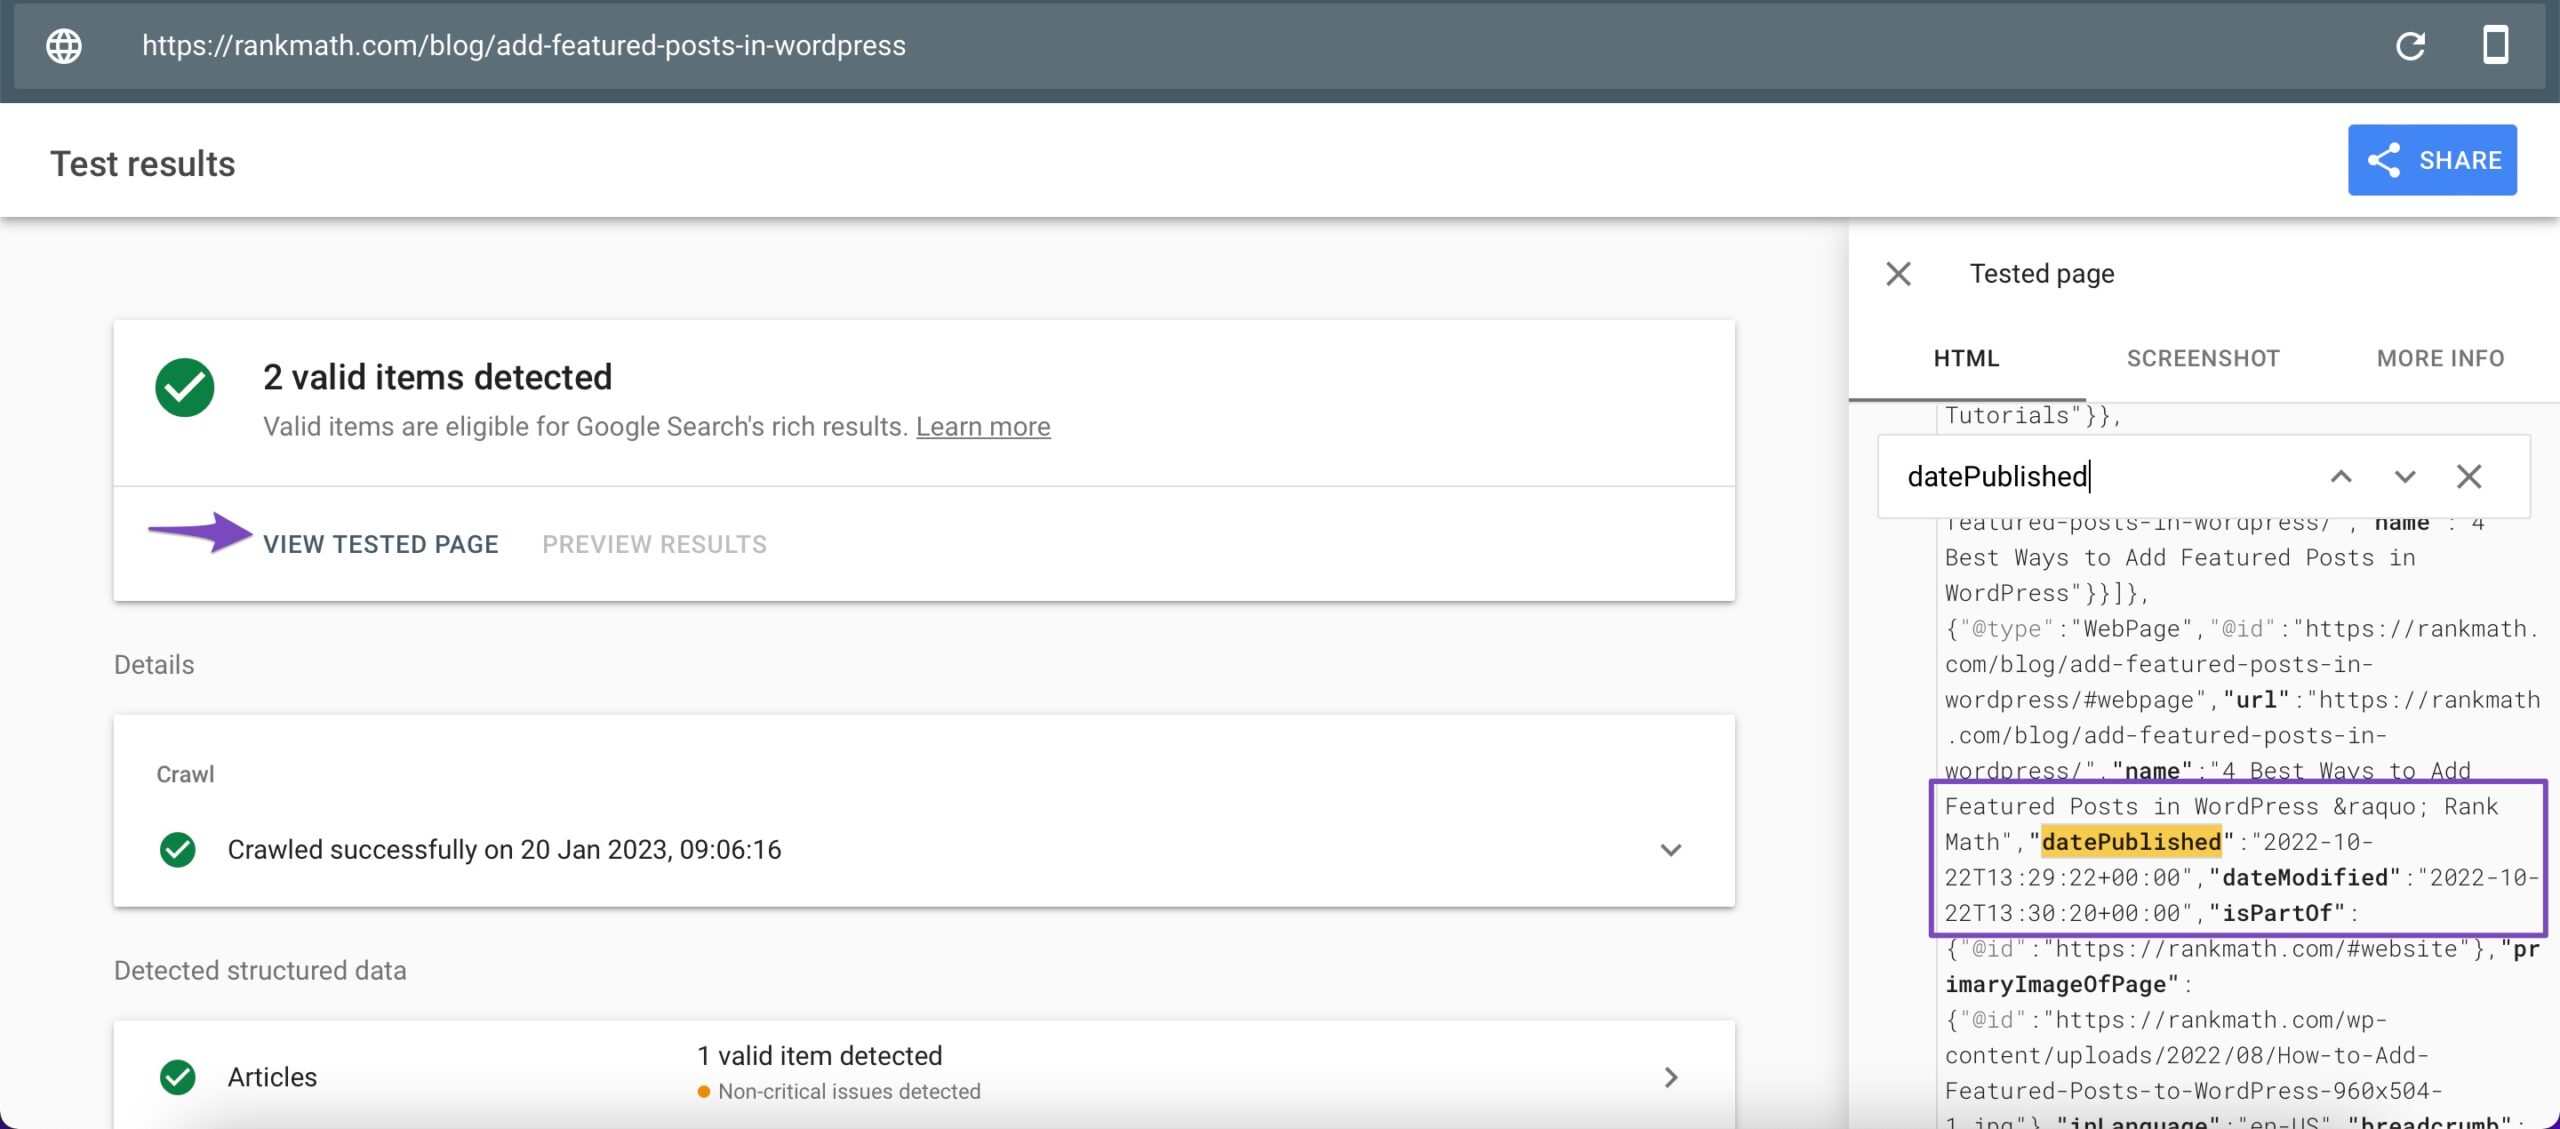
Google uses the datePublished and dateModified properties of the Date Schema to estimate the date and time an article was published or modified.
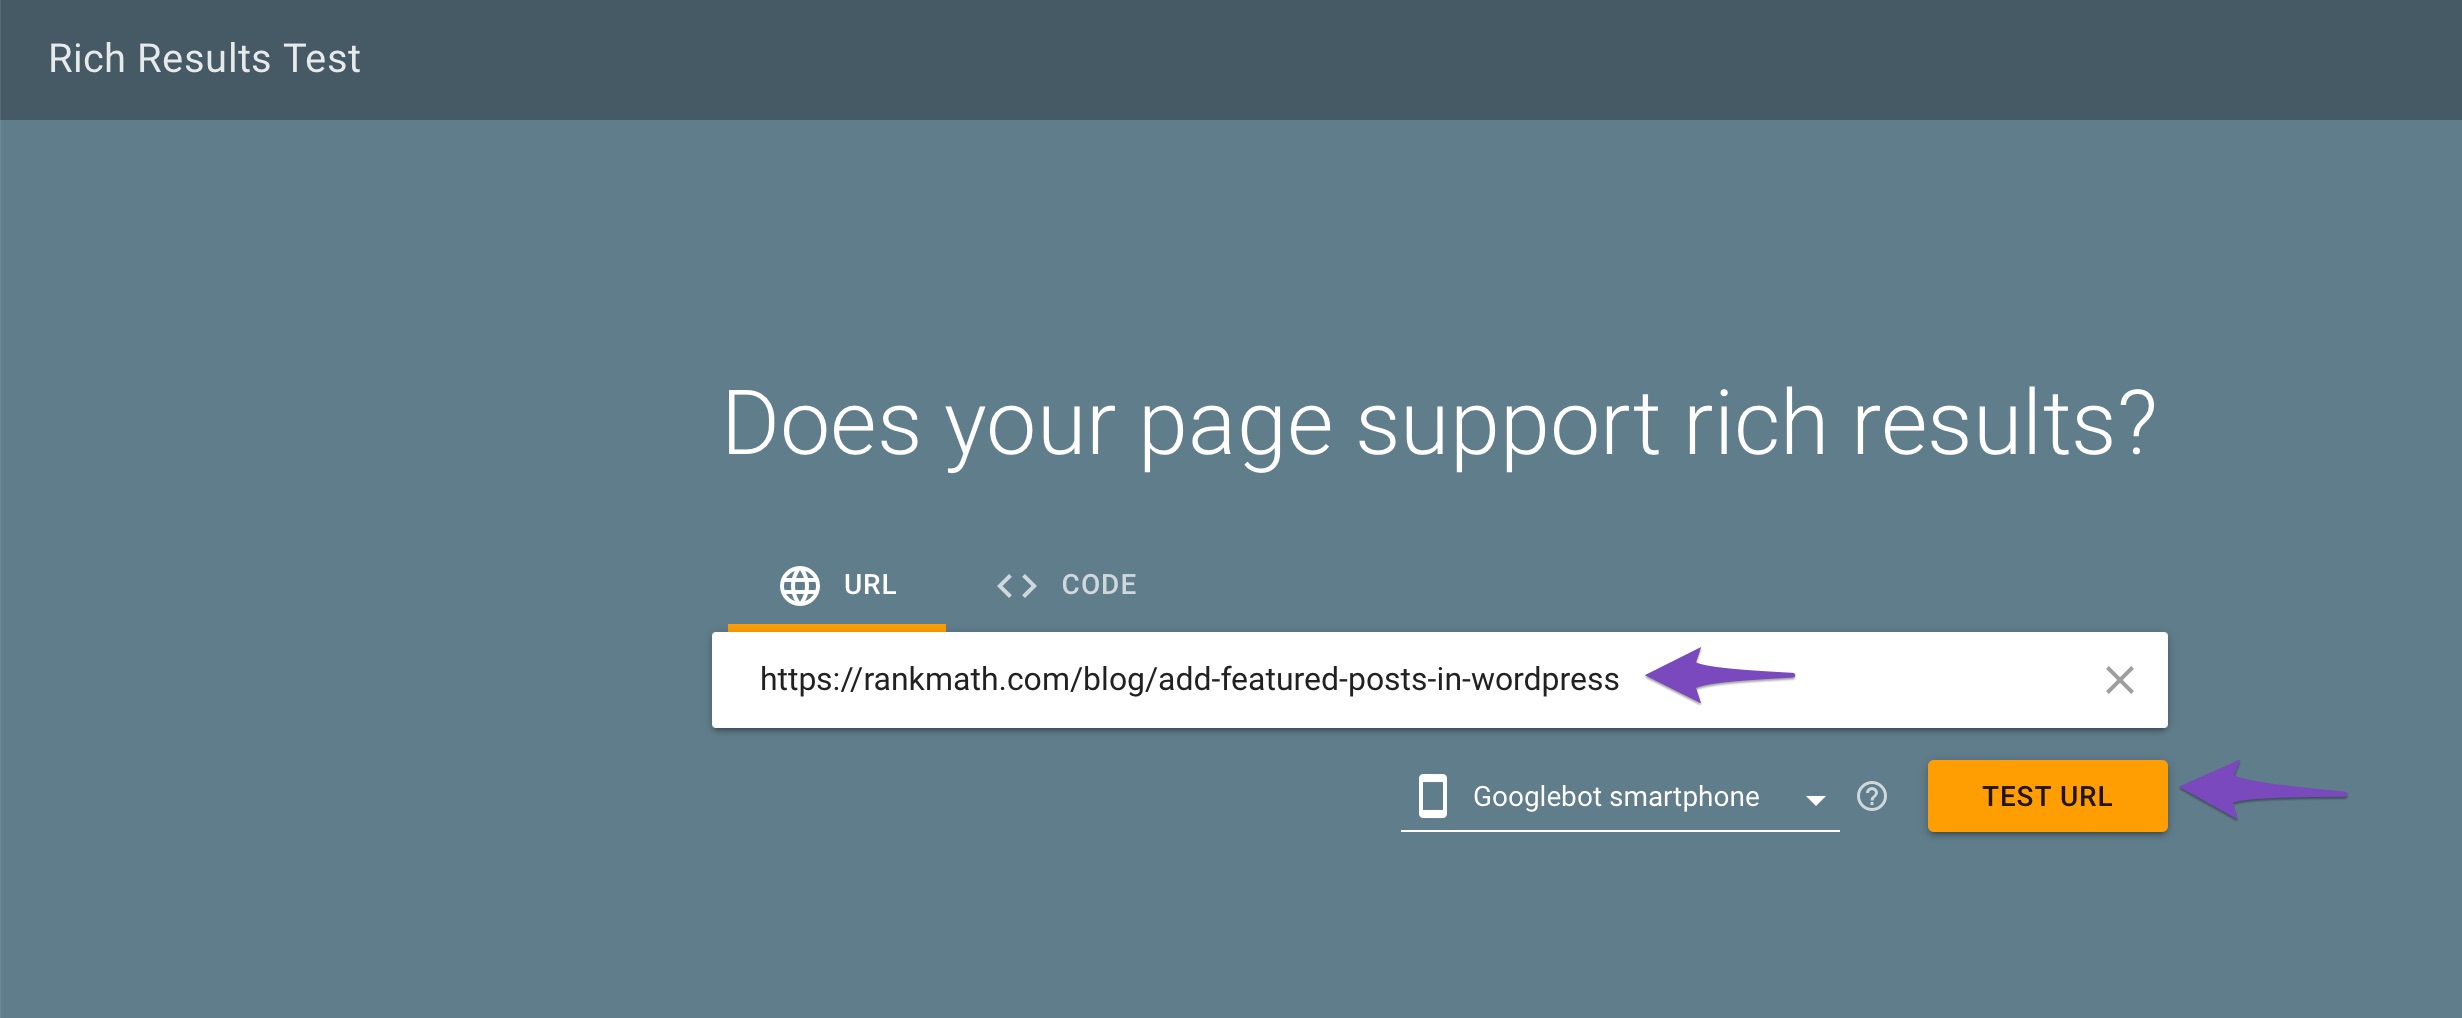
To check your content datePublished and dateModified properties, navigate to the Rich Results Test tool and enter the post or page’s URL. Then, click the Test URL button, as shown below.
Next, click View Tested Page. Then, click the Search icon on the right side of the screen and search for datePublished and dateModified, as shown below.
2.2 The lastmod Tag
Google uses the <lastmod> tag in your sitemap to estimate the last time you modified a content.
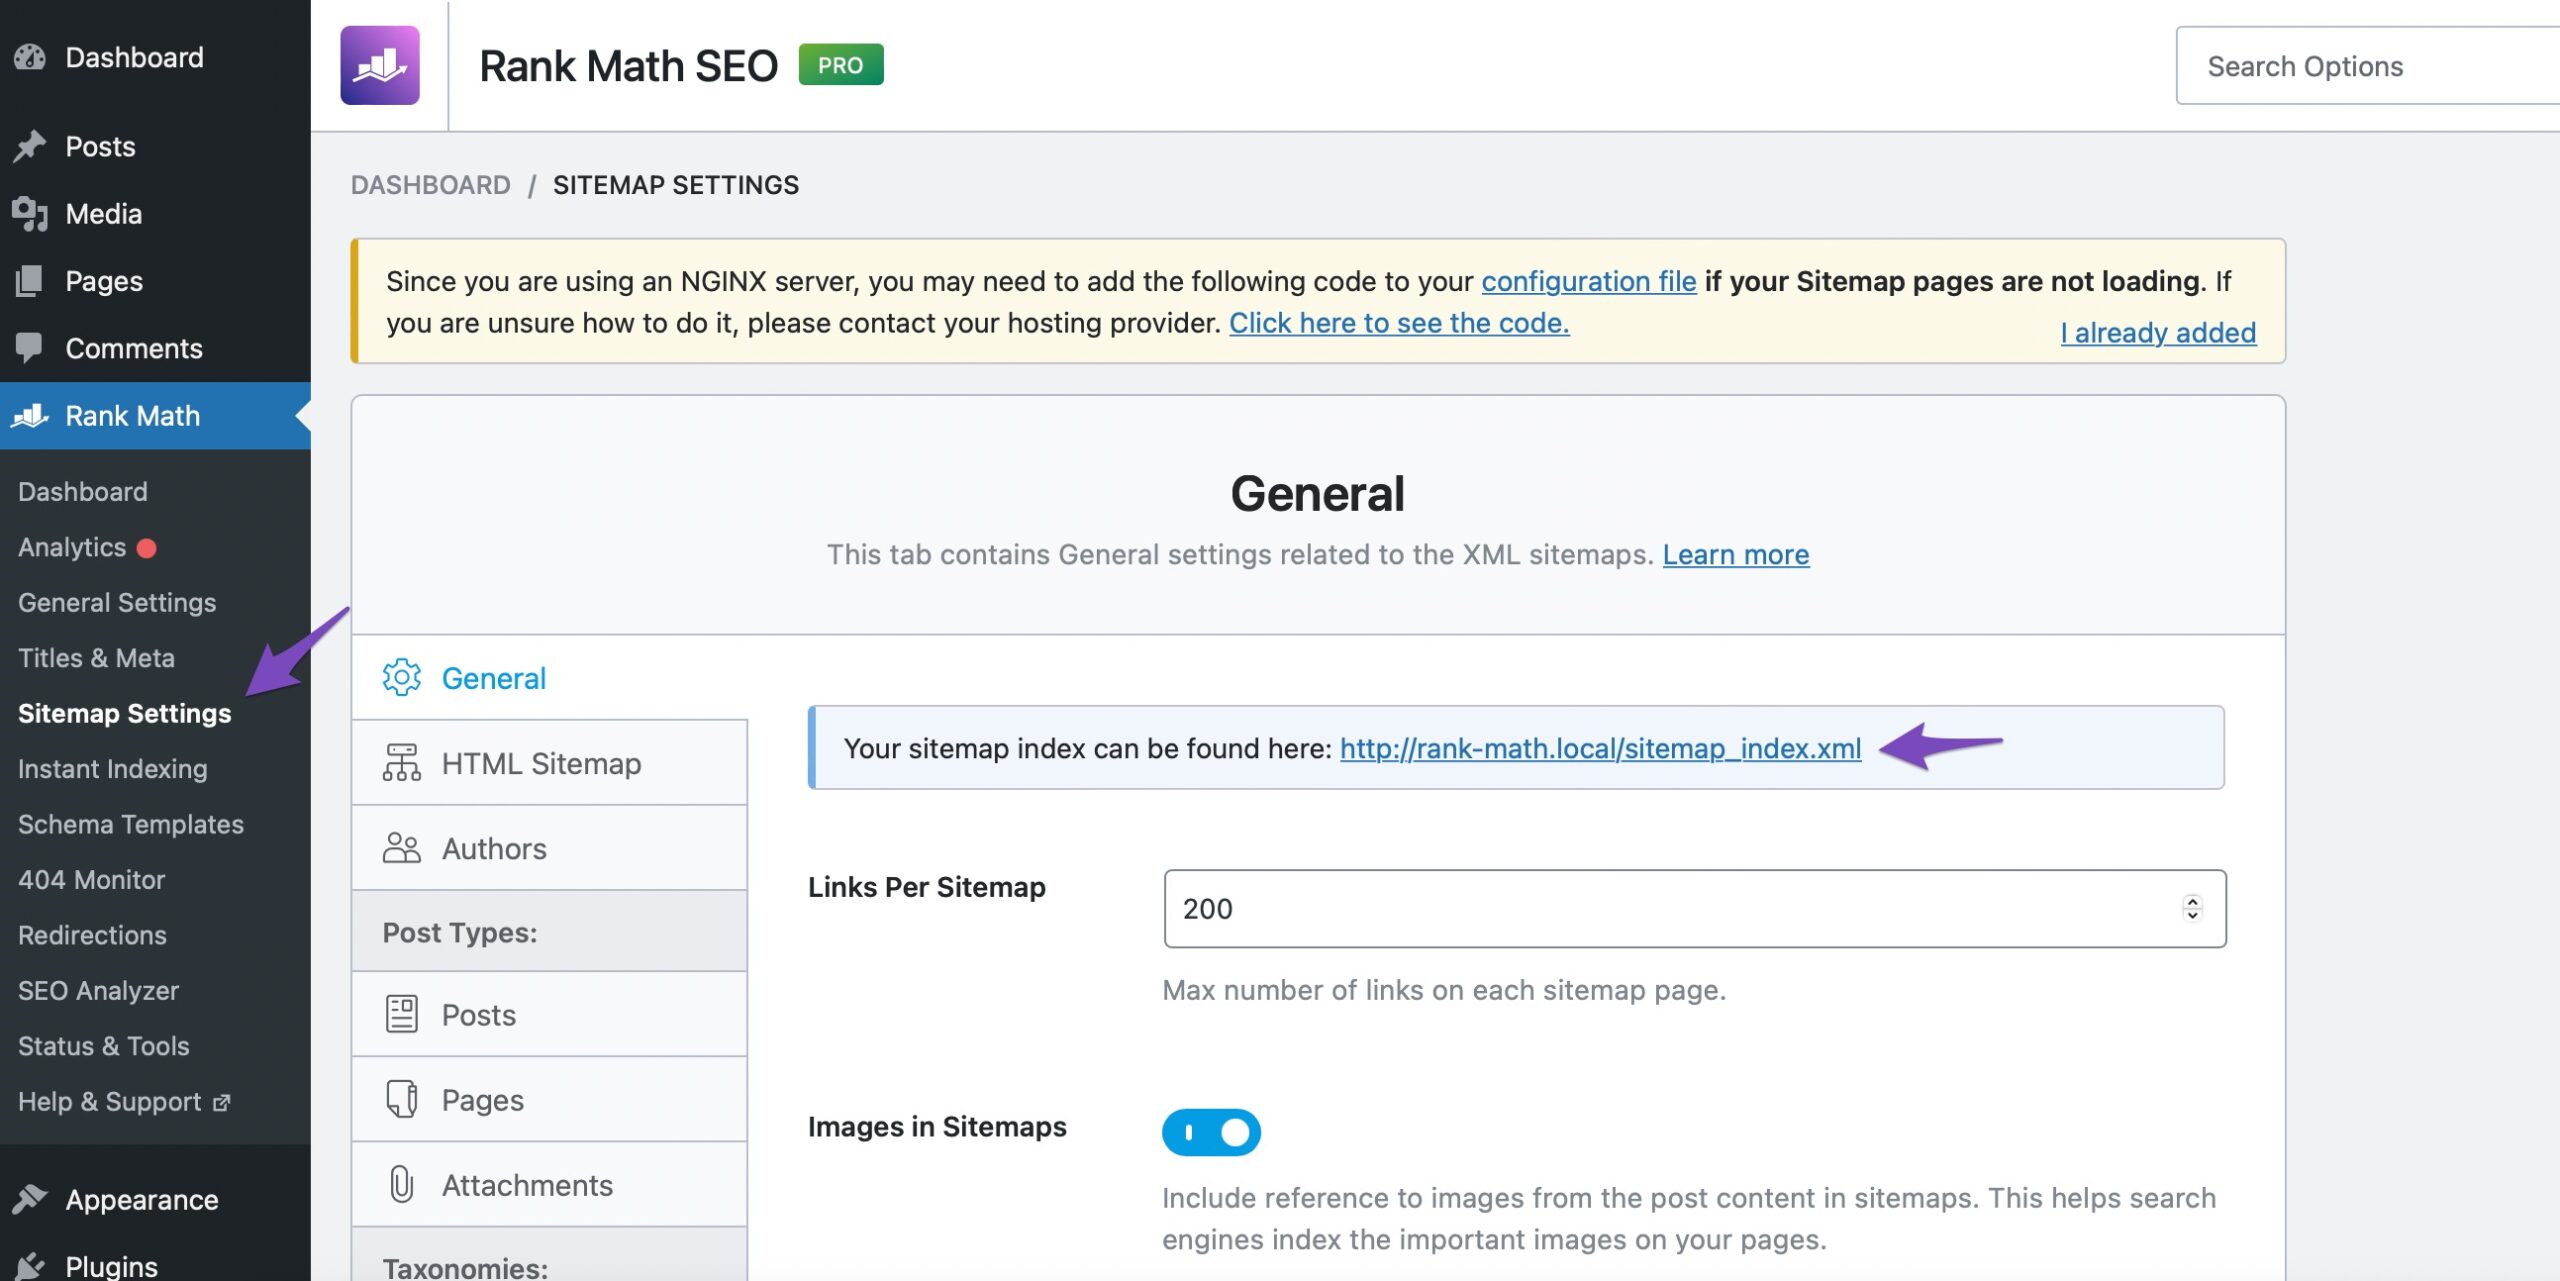
To check the lastmod tag on your content, navigate to Rank Math SEO → Sitemap Settings from your WordPress dashboard. Click on the sitemap index URL located at the top of the page, as shown below.
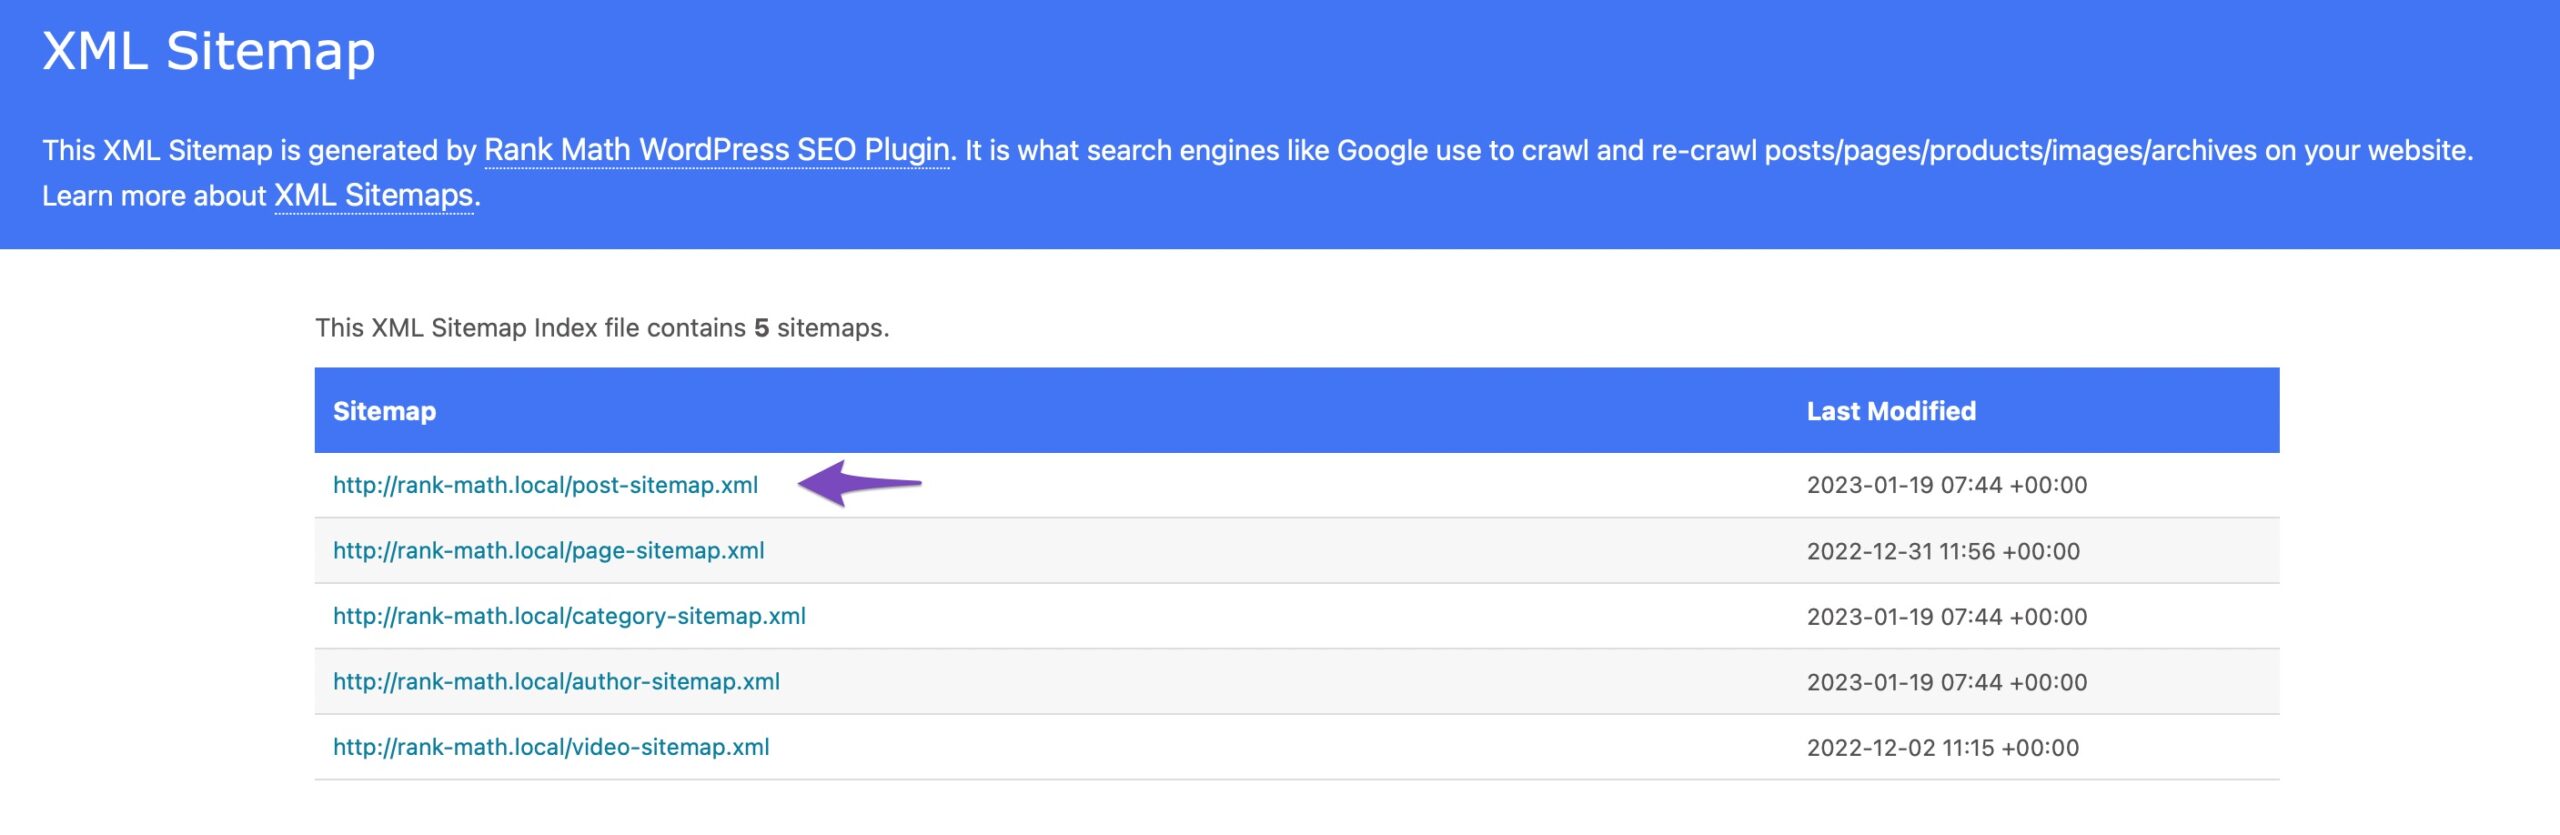
You can then check the last modified time of your post/page by navigating to the page/post sitemap, as shown below.
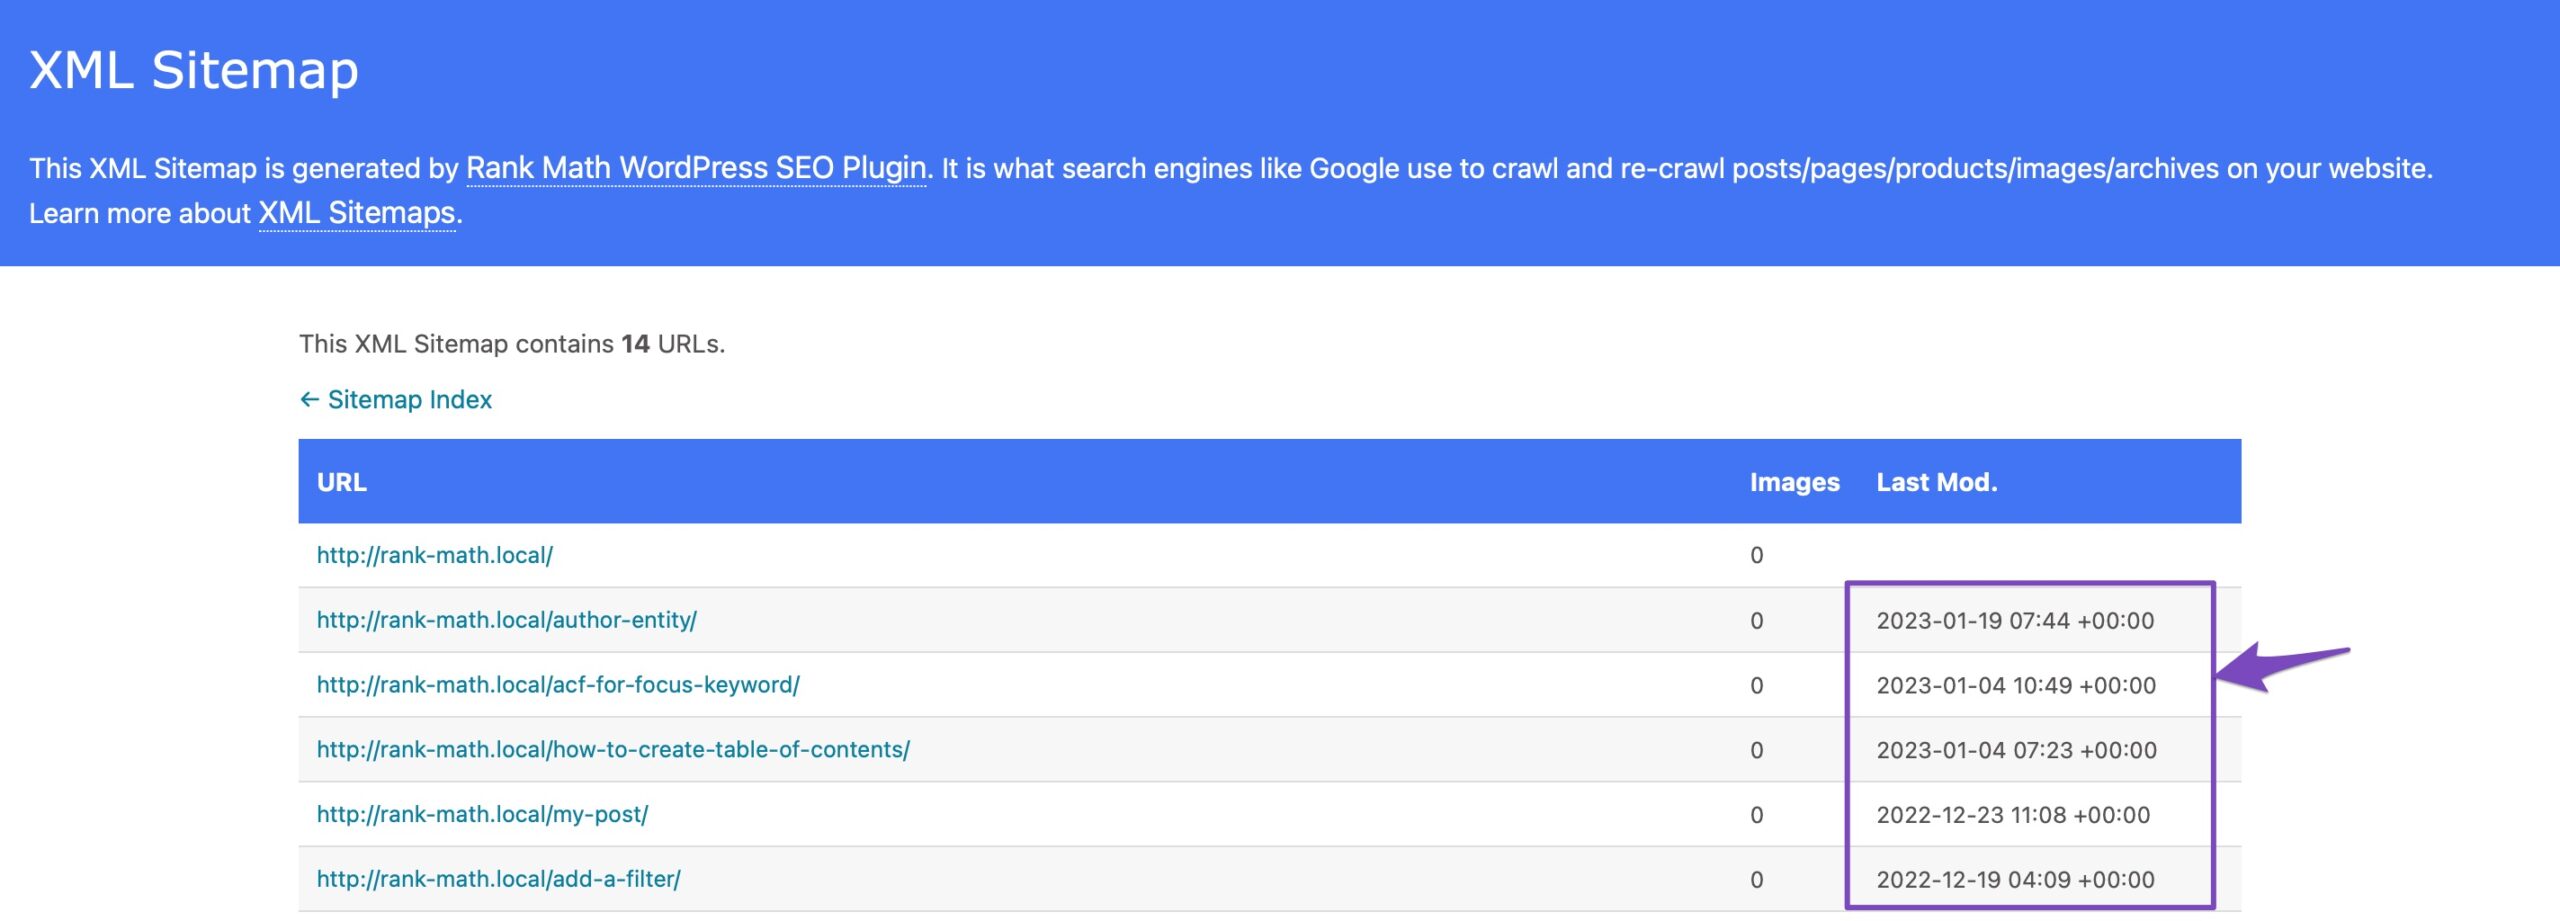
You can now check the last modified time for your posts, as shown below.
2.3 The article:published_time Meta Tag
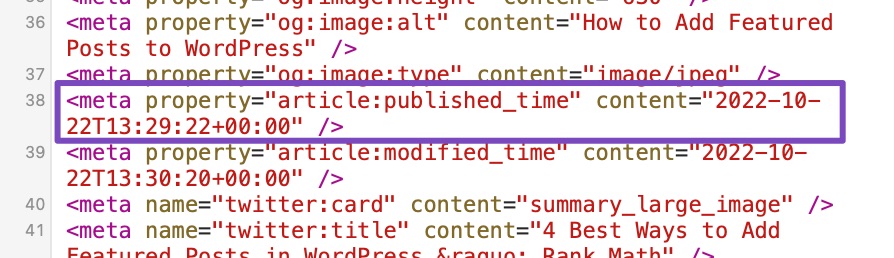
Google also uses the article:published_time meta tag to determine the date a content was published.
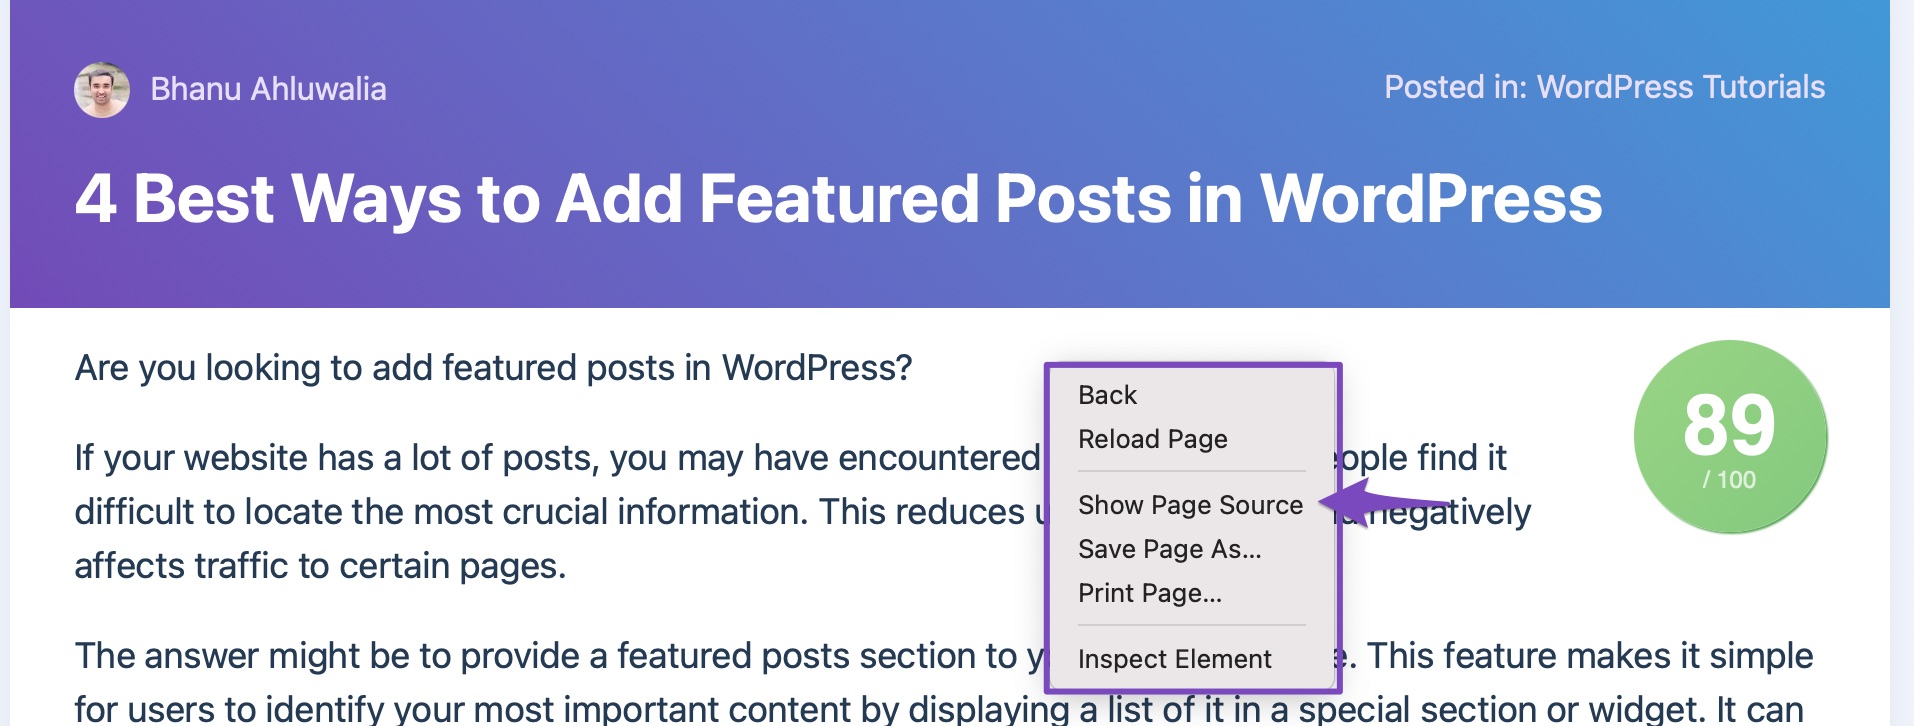
To check the article:published_time on your content, right-click on the post/page and click on Show Page Source, as shown below.
Next, search for article:published_time, as shown below.
2.4 The pubDate Tag
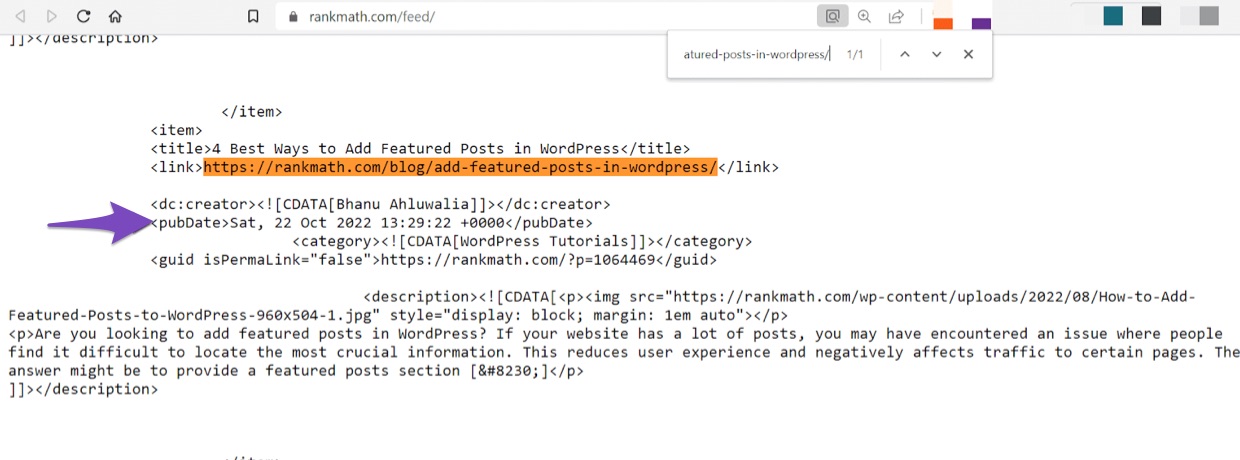
Google also uses the pubDate tag to estimate the date a content was published.
To view the pubDate on your content, right-click on the post/page and click on Show Page Source. Once done, search for RSS and click the RSS Feed URL, as shown below.

Next, search for the URL of the content. If the URL exists in your feed, its pubDate will be visible below it, as shown below.
That said, you can follow a few best practices to ensure Google can detect the correct date on your content. One is to have only one date on your posts/pages. You can also ensure that you use the correct timezone on your site; otherwise, Google may use an entirely wrong date as your published date.
We hope you’re able to change the date and time on your posts and pages. If you have questions, you’re always more than welcome to contact our dedicated support team. We’re available 24/7, 365 days a year…