Internal links are important for linking related content. They help to improve your SEO, content discoverability, and user experience. They also prevent orphan pages. However, they can be time-consuming and include a lot of guesswork.
You can automate them using the keyword maps in AI Link Genius. Once configured, AI Link Genius will automatically add internal links to your current posts (and depending on your settings, future posts) that include your target keywords.
How to Automate Internal Linking:
1 Head to Keyword Maps
To get started, click Rank Math SEO from your WordPress dashboard. Once done, enable the Link Genius module, as shown below.
Note: AI Link Genius is available exclusively in Rank Math PRO. If you haven’t installed Rank Math PRO yet, you can get a subscription of your choice from here.
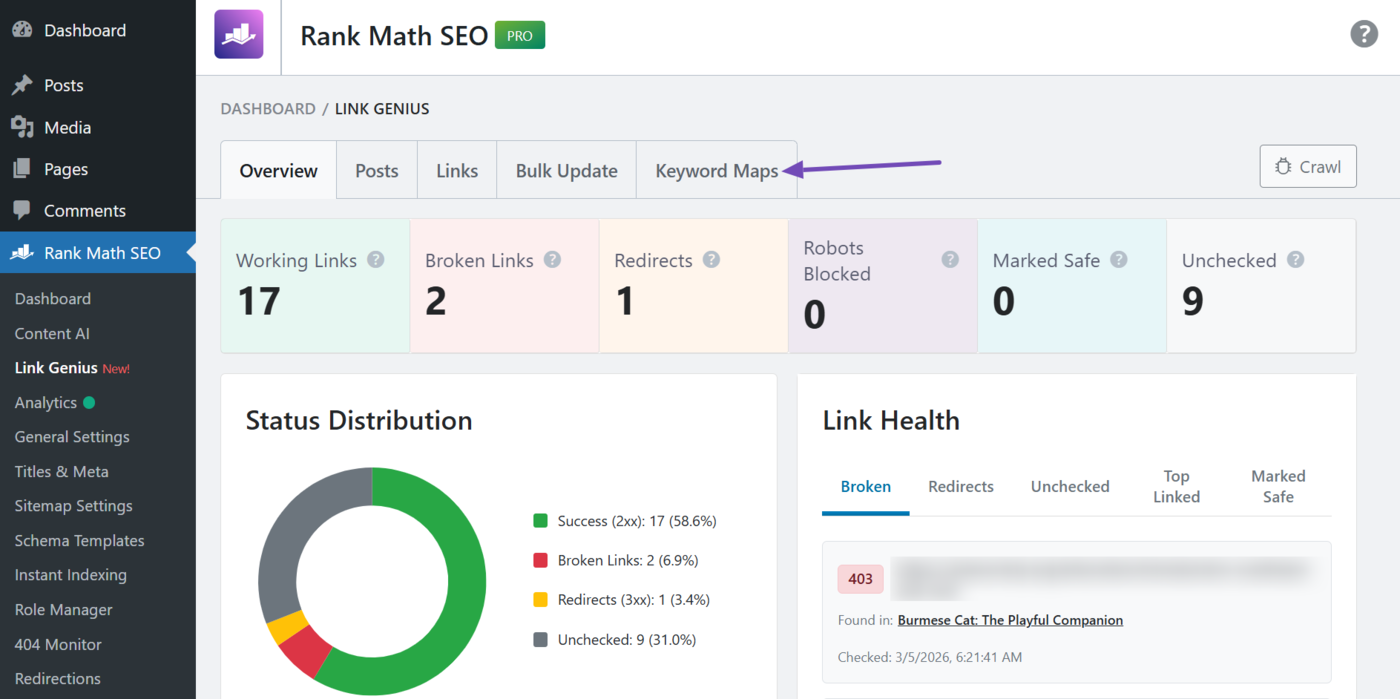
Now, head to Rank Math SEO → Link Genius from your WordPress dashboard.
Then click the Keyword Maps tab, as shown below. This is where you automate your internal links.
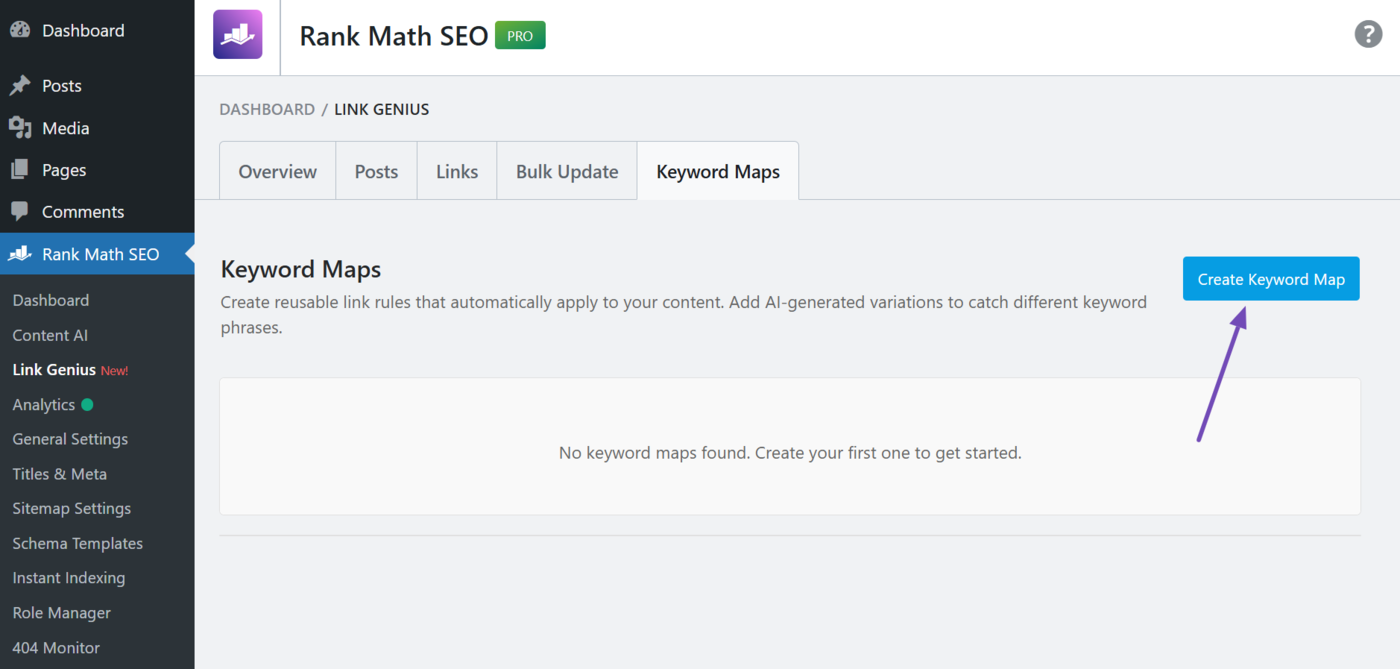
2 Create a Keyword Map
It is time to create a keyword map. To get started, click the Create keyword map button, as shown below.
You will be presented with the keyword map fields and settings. We will now show you how to fill them in.
- Name
- Target URL
- Description
- Keyword variations
- Generate AI variations
- Max links per post
- Case sensitive
- Auto-link on publish
- Enabled
- Create keyword map
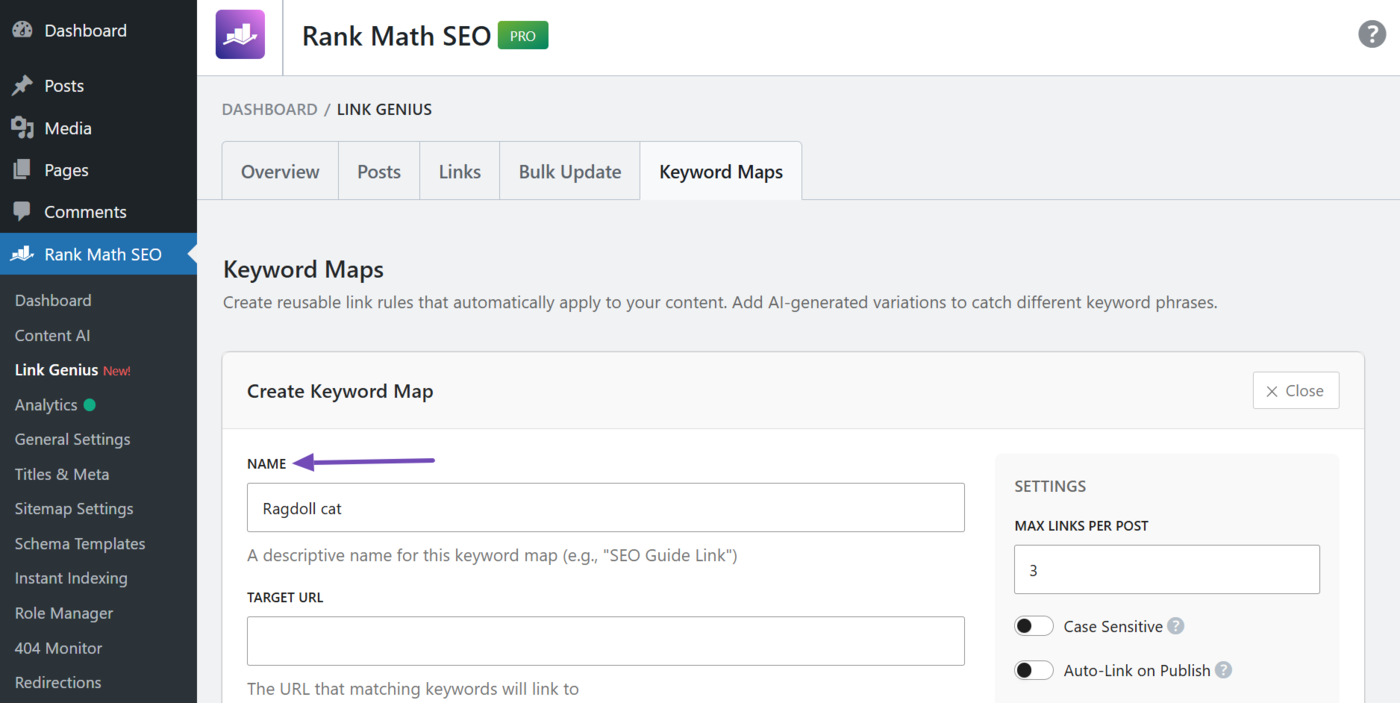
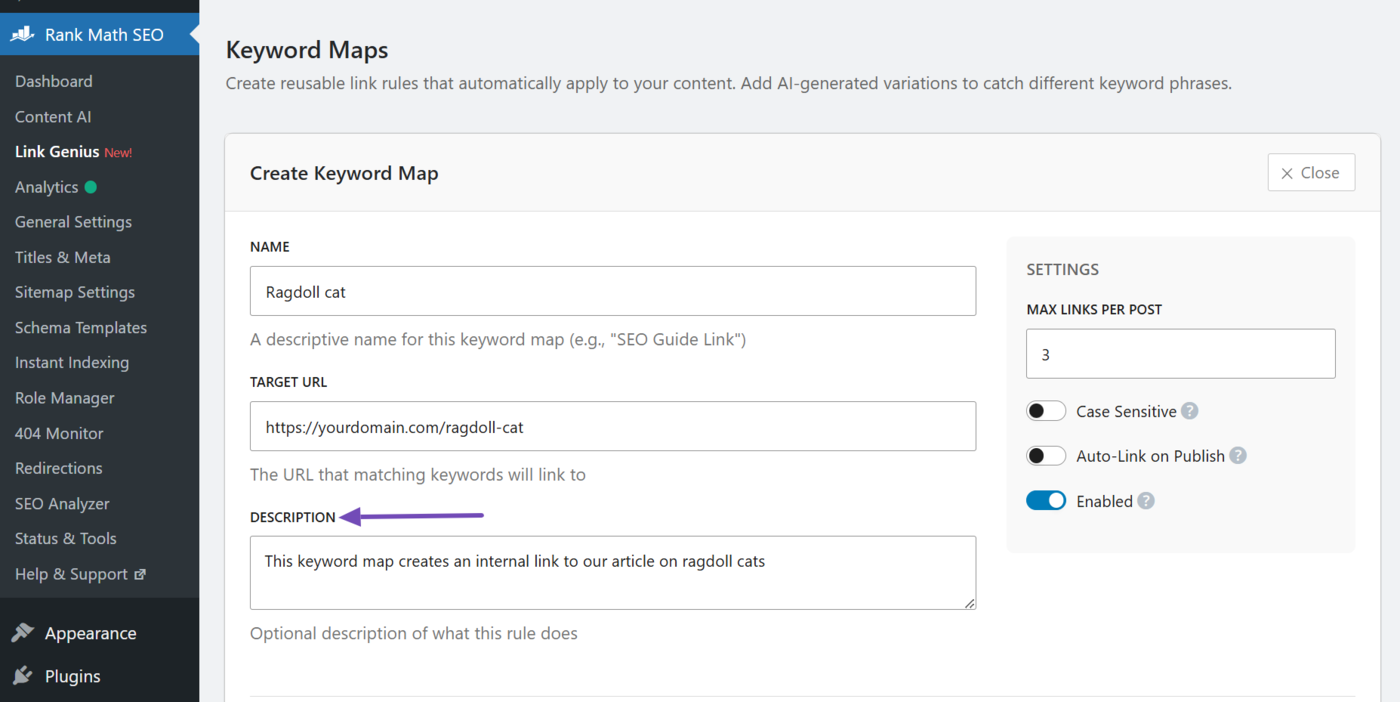
2.1 Name
Enter the primary keyword you want to turn into an internal link. This keyword will serve as the anchor text. For example, if we want mentions of “Ragdoll cat” to point to our article on ragdoll cats, we would add it here.
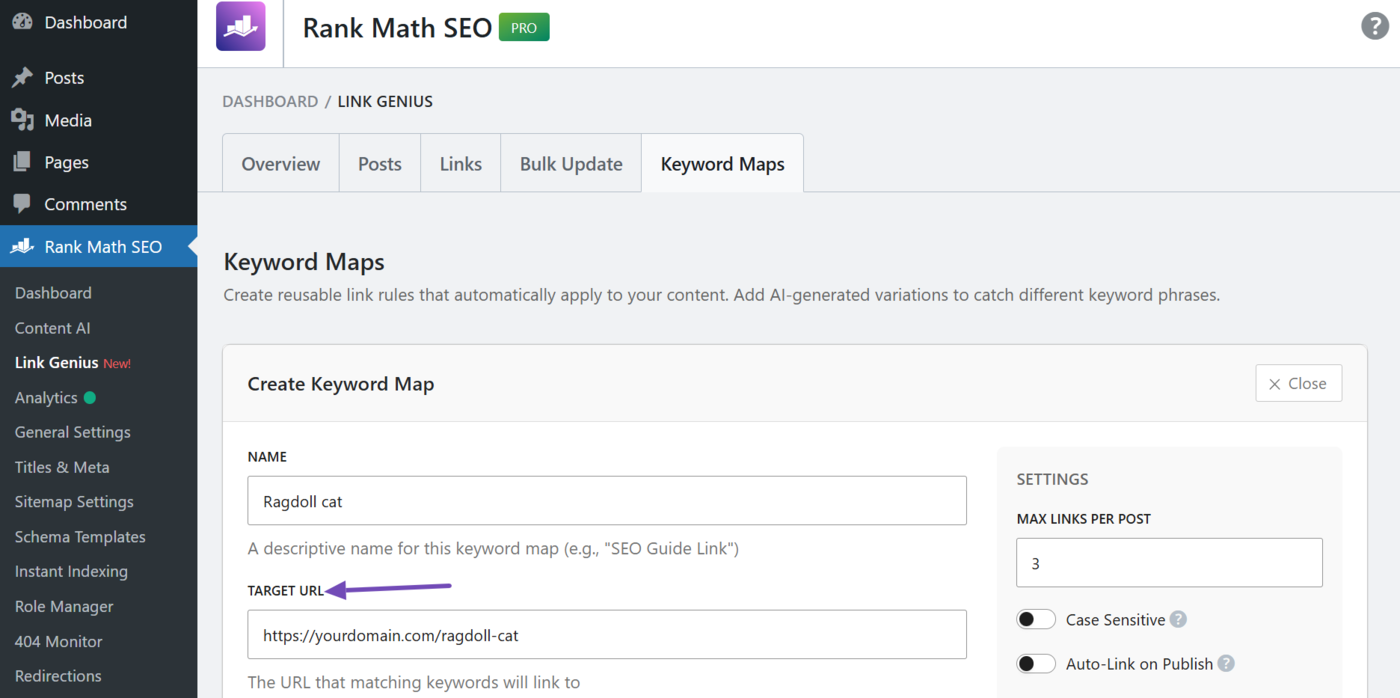
2.2 Target URL
Enter the URL you want the link to point to. Make sure to enter the full URL. For example, we want the internal link to point to our article on ragdoll cats, so we will enter it here.
2.3 Description
Enter a description for the keyword map. This is not used in the internal link and only allows you to remember why you created the keyword map.
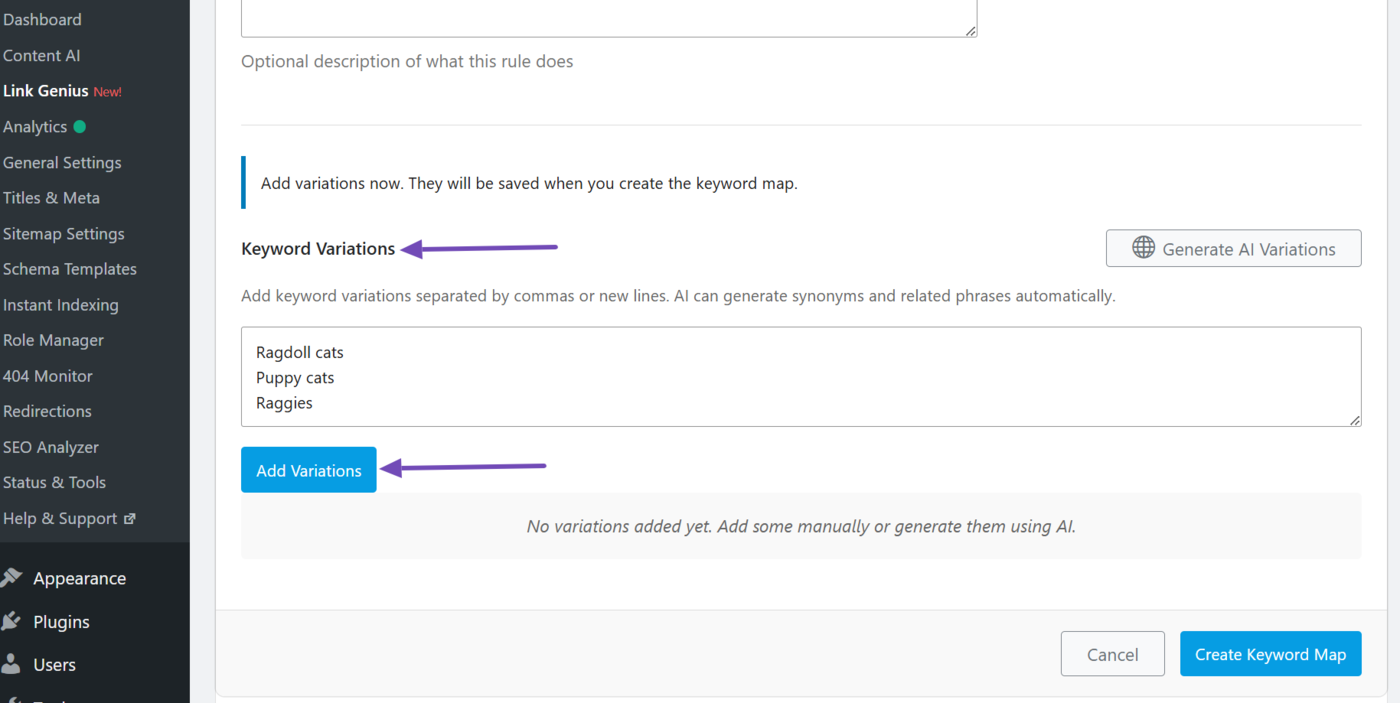
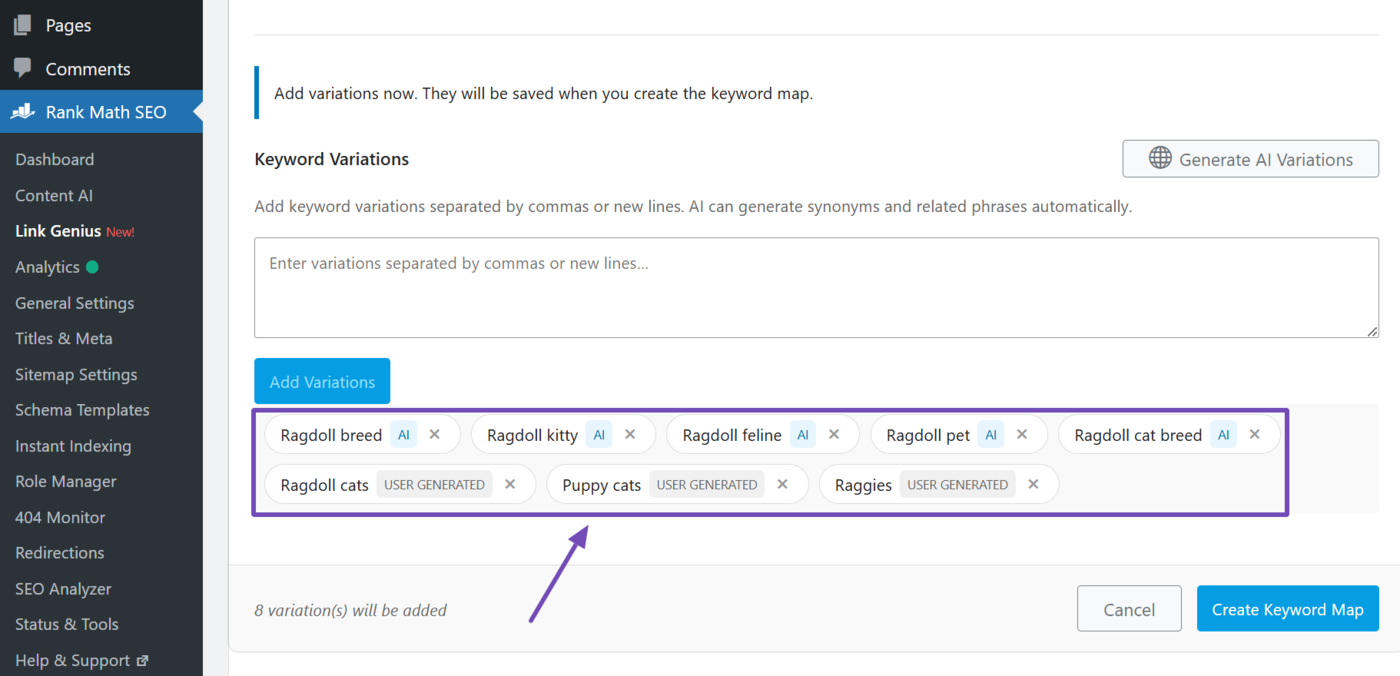
2.4 Keyword Variations
Enter the secondary keywords (and any additional keywords) you want to use for your internal links. These will also be used as anchor texts.
Note: This field is optional and only appears after you have entered a keyword into the Name field.
You can enter multiple keywords into this field. Just make sure to separate them with a comma or add each new keyword in a new line. Once done, click Add Variations.
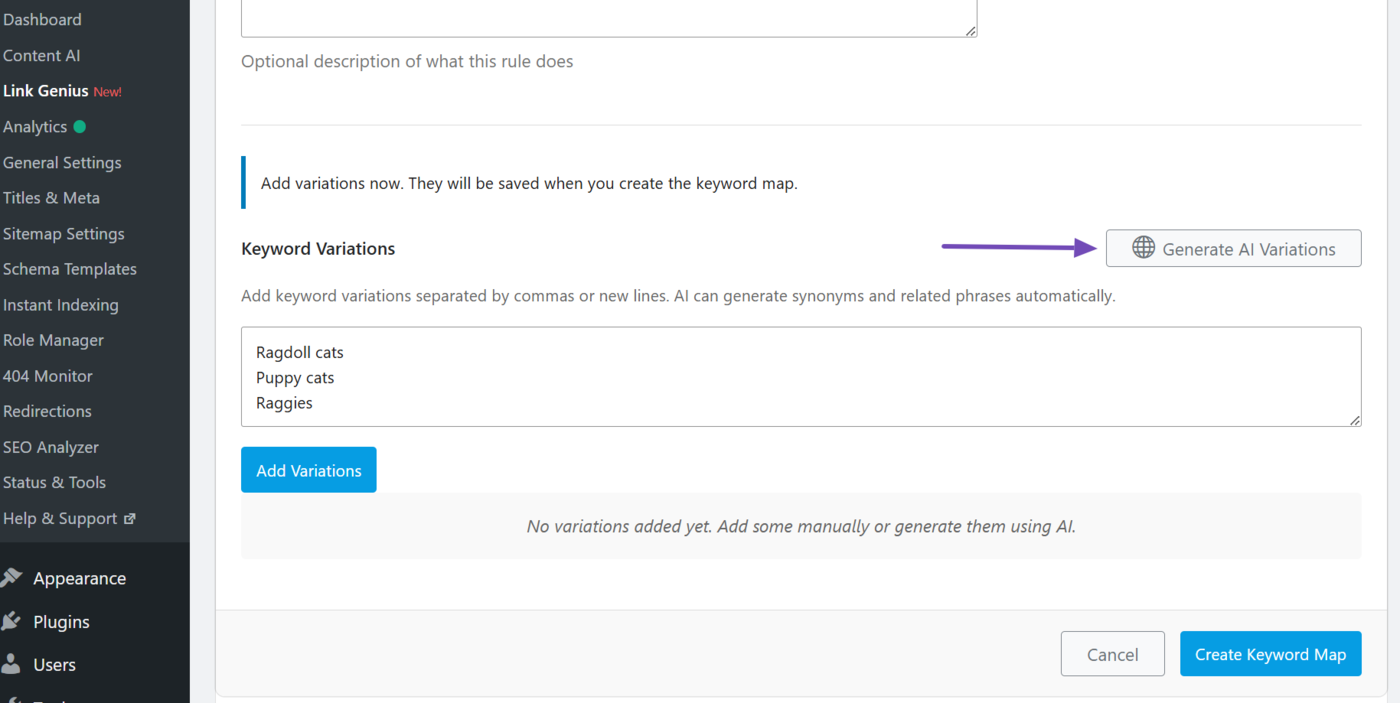
2.5 Generate AI Variations
You can also get AI Link Genius to generate additional keywords. The keywords will then be added to the keyword variations field. To generate the keywords, click Generate AI variations.
AI Link Genius will generate additional keywords. Once done, uncheck the ones you do not want. You can also disable every keyword within a category by clicking Deselect all.
Once done, click Add variations.
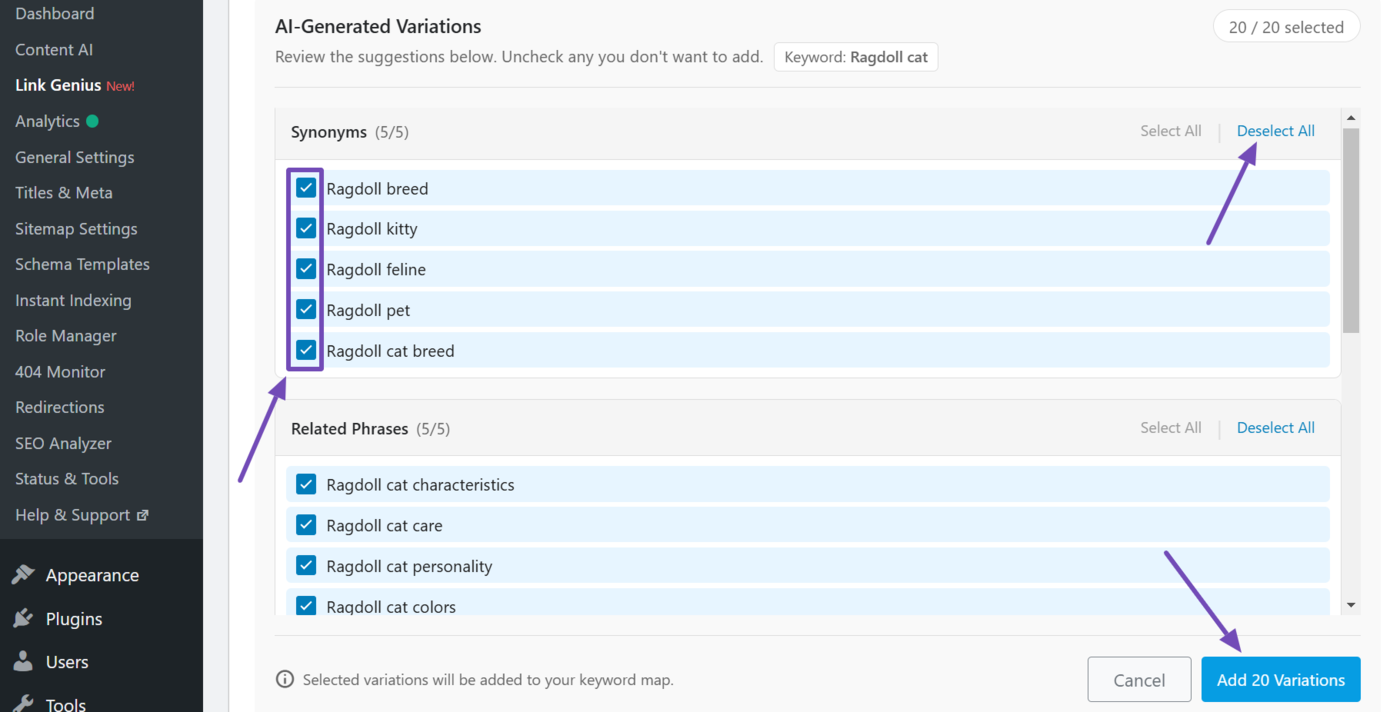
The keywords will be added to the keyword map. Every keyword is labeled “User generated” or “AI,” depending on their source. You can click the × icon to remove a keyword.
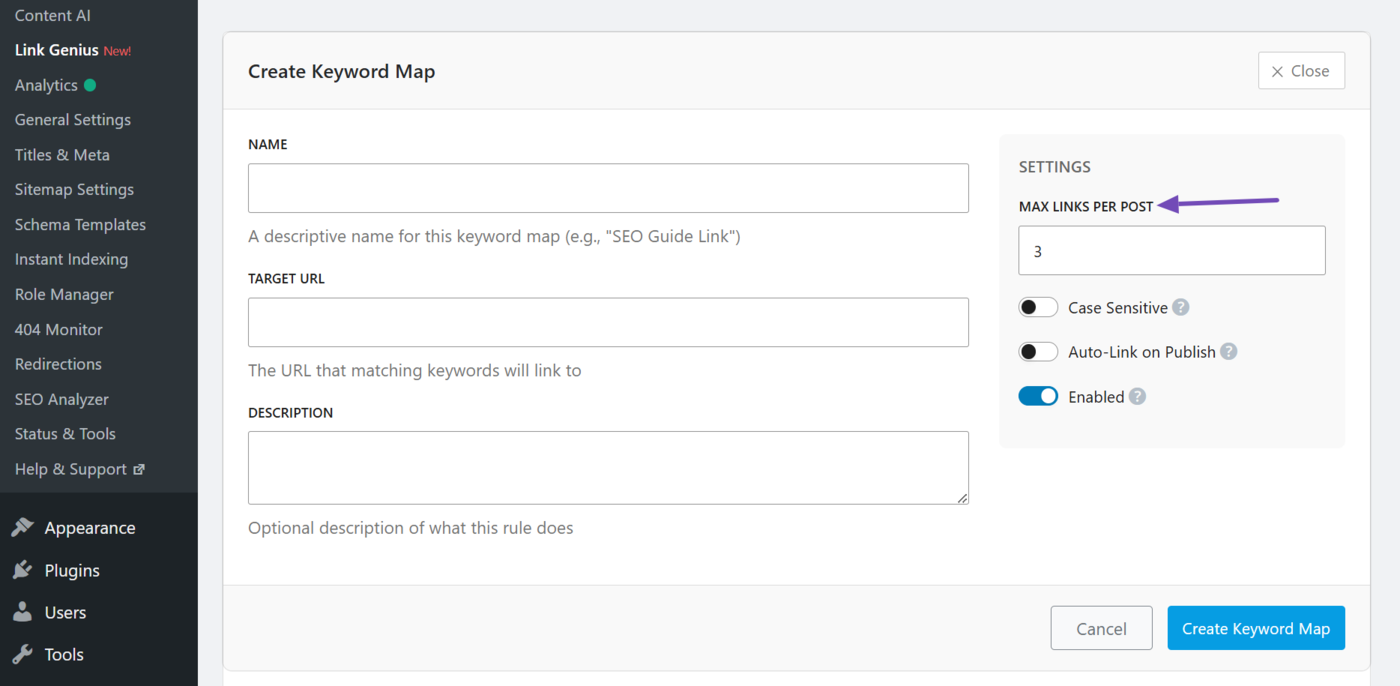
2.6 Max Links per Post
Enter the maximum number of internal links to include in posts containing the keywords you entered in the name and keyword variations fields. It is set to 3 by default, which means only the first three keywords will be turned into internal links.
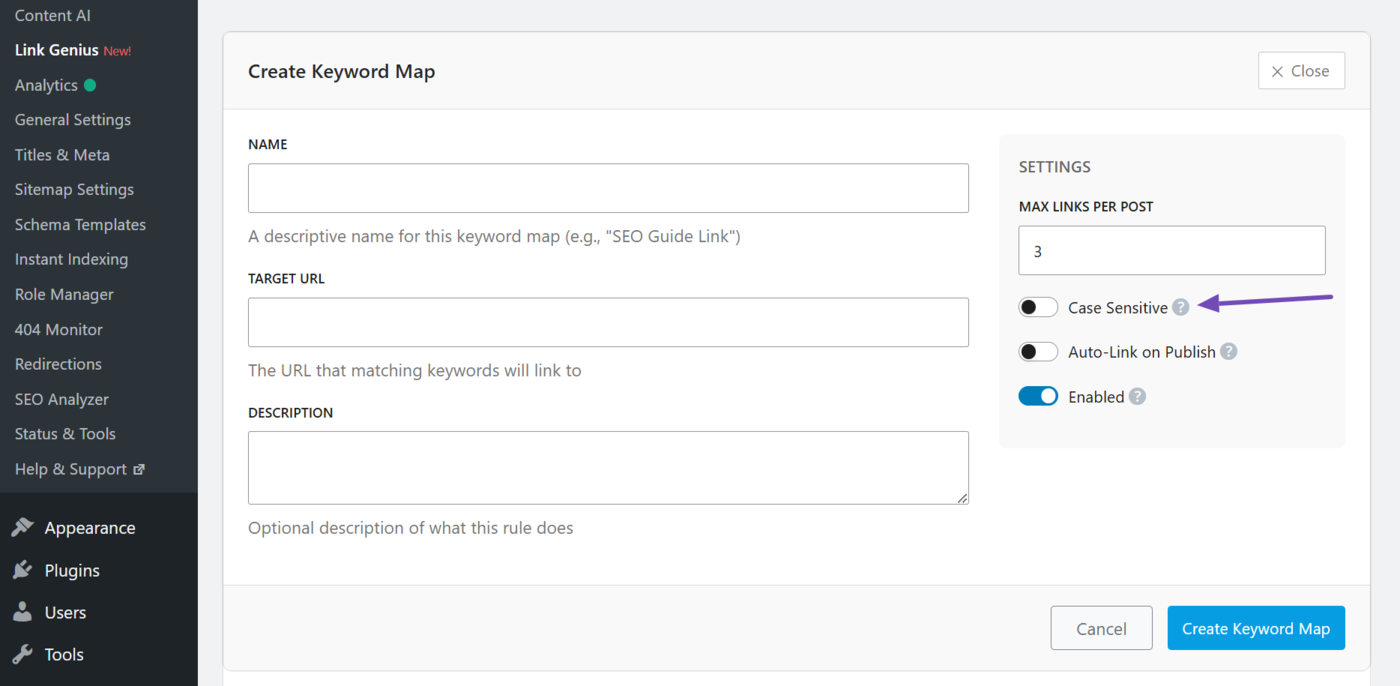
2.7 Case Sensitive
Enable this option to ensure that internal links match the exact capitalization of the keywords you entered into the name and keyword variation fields.
For instance, if you entered Cat (with an uppercase C), only Cat will be converted into an internal link. The lowercase cat will remain unlinked.
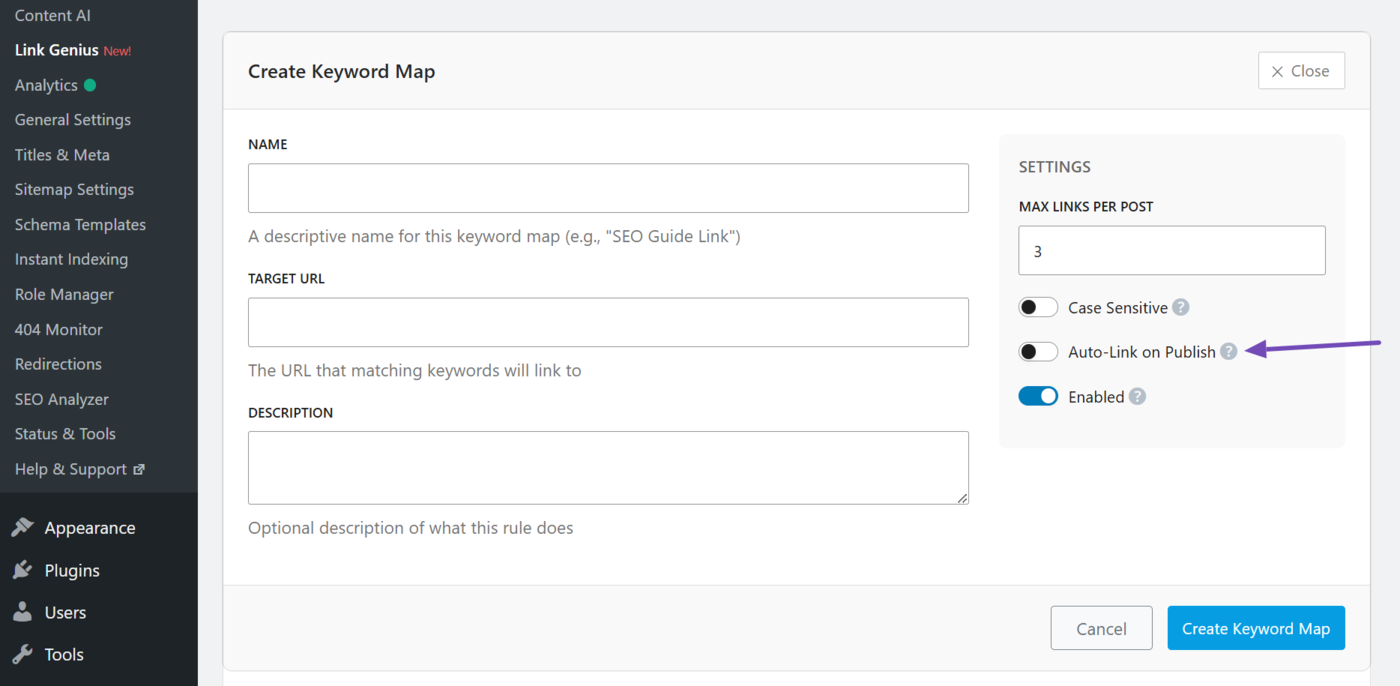
2.8 Auto-Link on Publish
Only keywords that already exist in your posts will be turned into internal links. Enable this option to turn future mentions of the keywords into internal links.
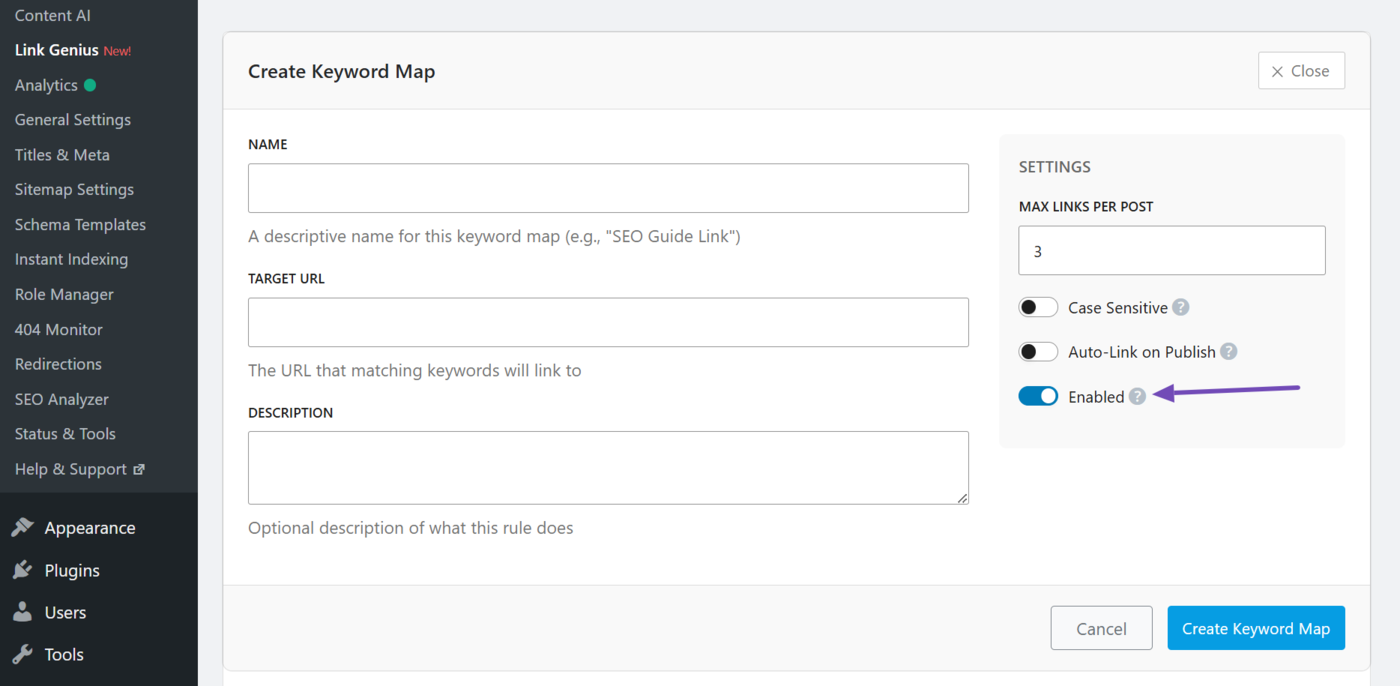
2.9 Enabled
This activates or deactivates the keyword map. Leave it enabled.
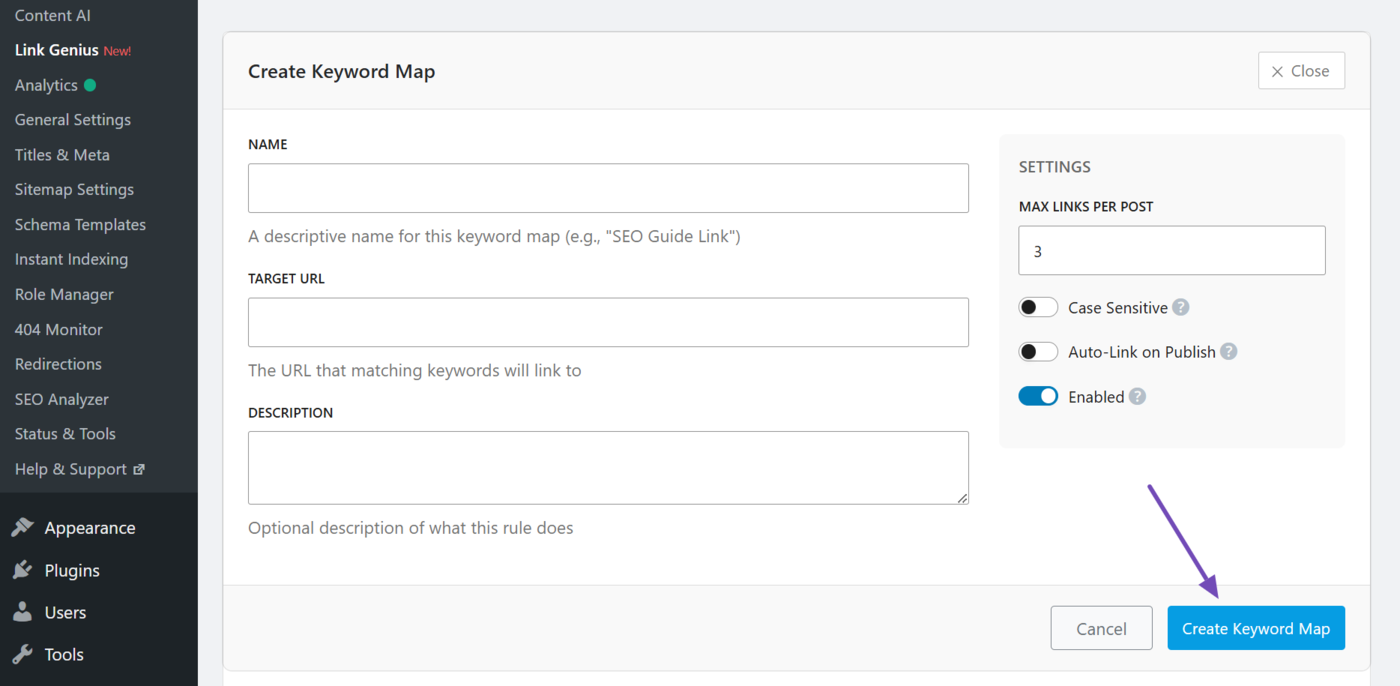
2.10 Create Keyword Map
Once done, click Create keyword map to create your keyword map.
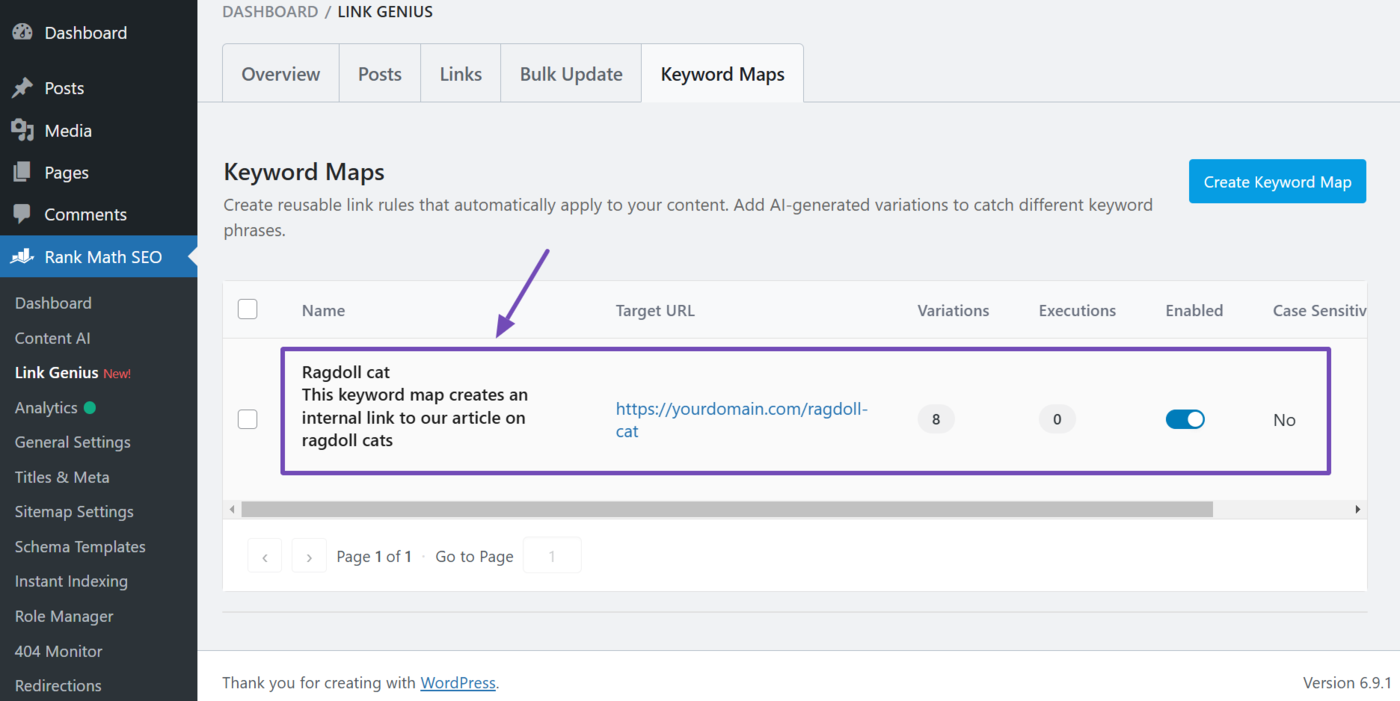
The keyword map you just created will be displayed, as shown below. It is now time to apply it to your posts. We will show you how to do that in the next section.
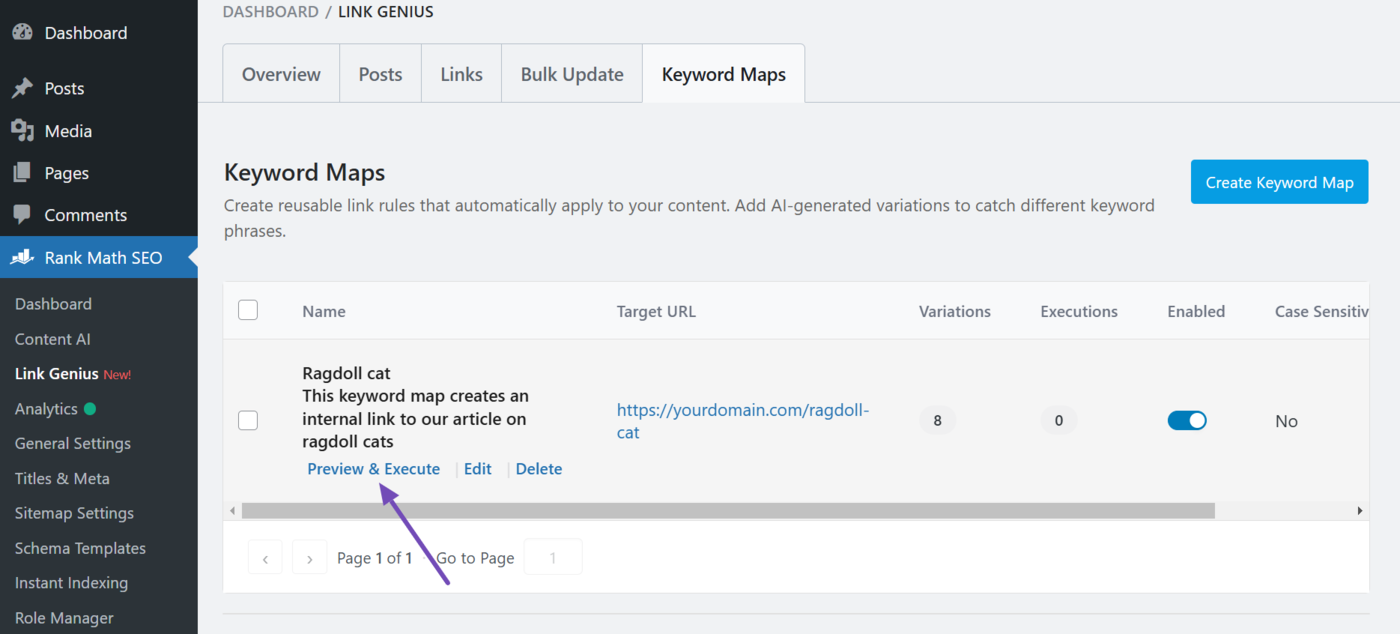
3 Execute your Keyword Map
Hover over the keyword map you just created. You will see some options. Click Preview & execute, as shown below.
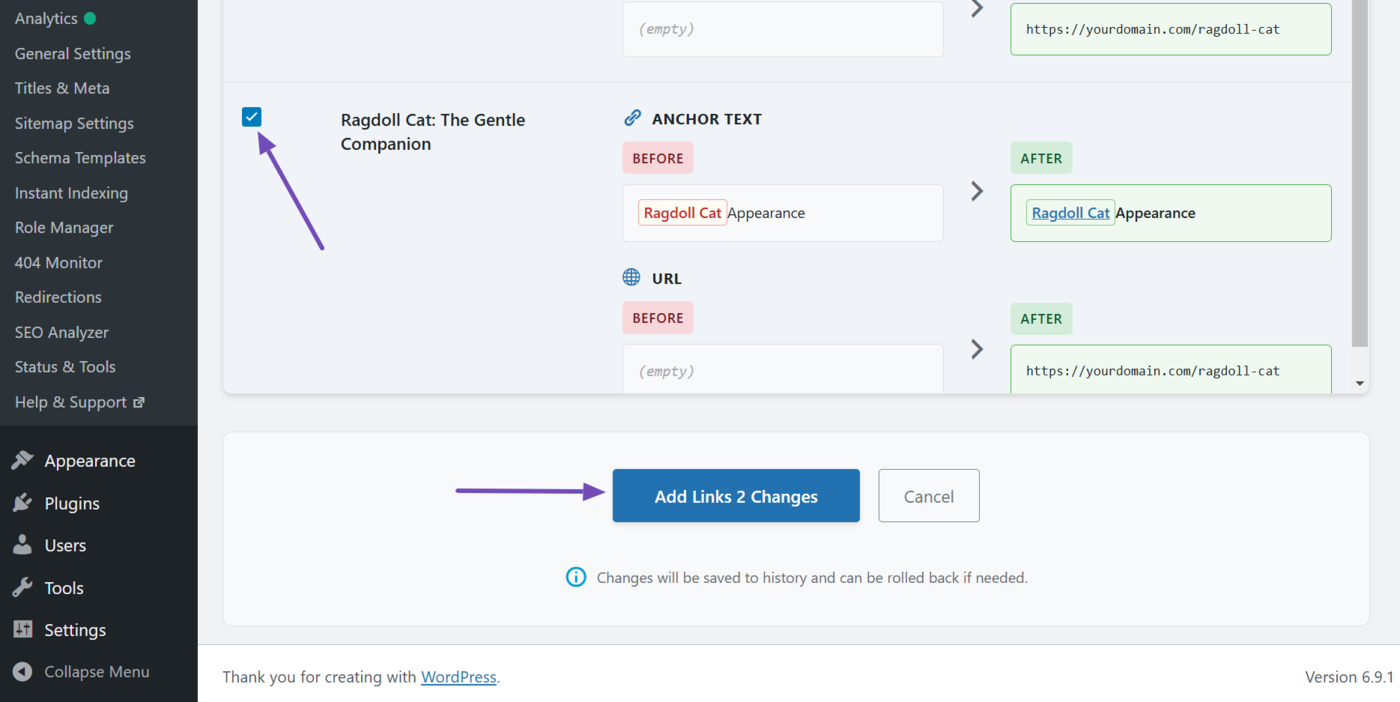
AI Link Genius will show you the keywords it will convert into internal links. Review them, and uncheck the ones you do not want to turn into internal links. Once done, click Add link changes.
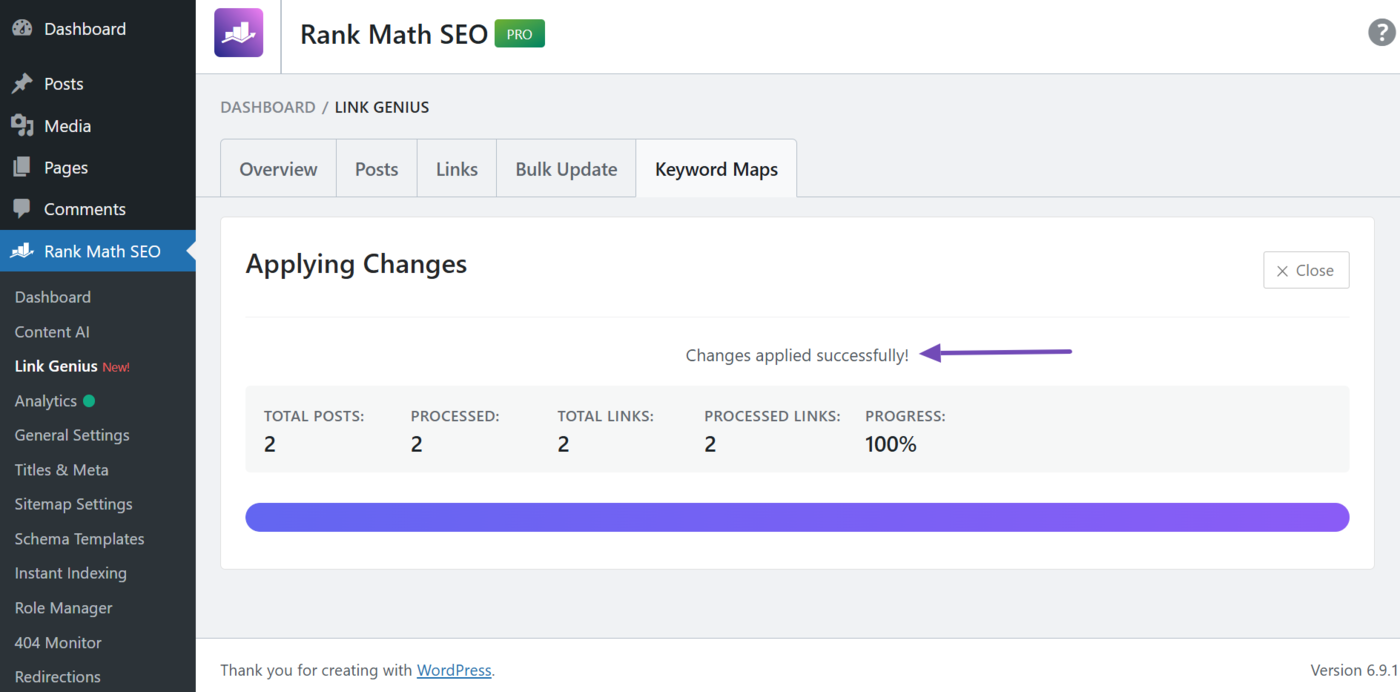
AI Link Genius will update your internal links. Once done, it will display a success message, as shown below. Click Close to close it.
4 How to Rollback a Keyword Map
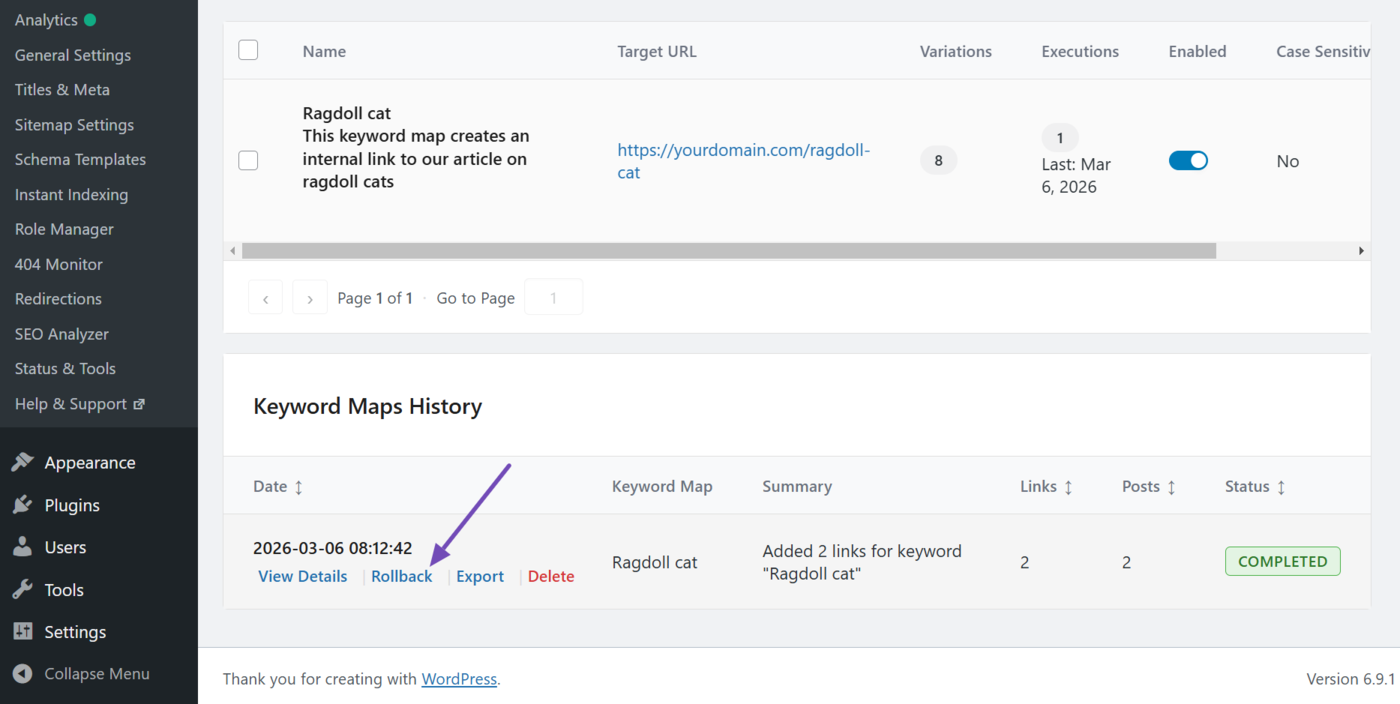
The keyword maps history section will appear after you apply the keyword map to your site. To get started, hover over the keyword map and click Rollback.
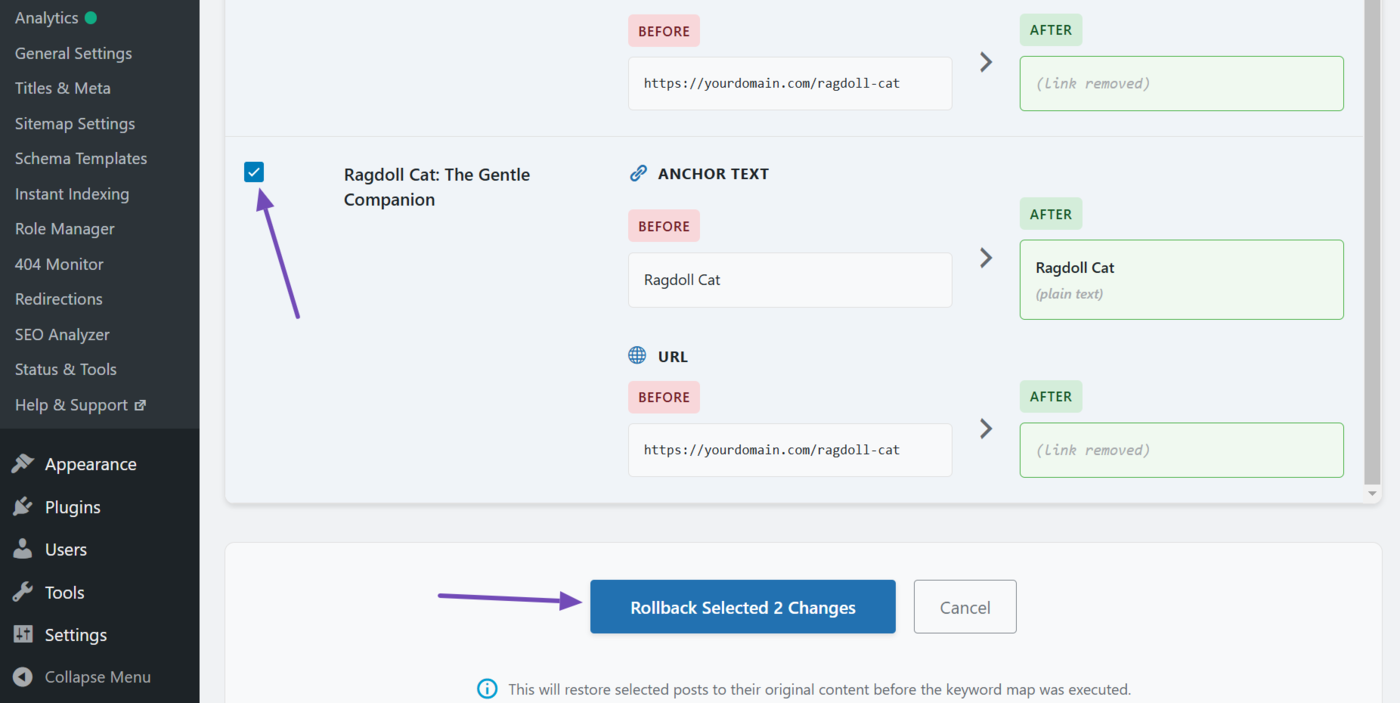
Review the internal links created by the keyword map. You can uncheck the ones you do not want to rollback. Once done, click Rollback selected changes.

The internal links will be removed. The keyword map will also show a success message, indicating the rollback was successful.
That is how to automate your internal links using AI Link Genius. If you have any questions, you’re always more than welcome to contact our dedicated support team, who are available 24/7, 365 days a year.