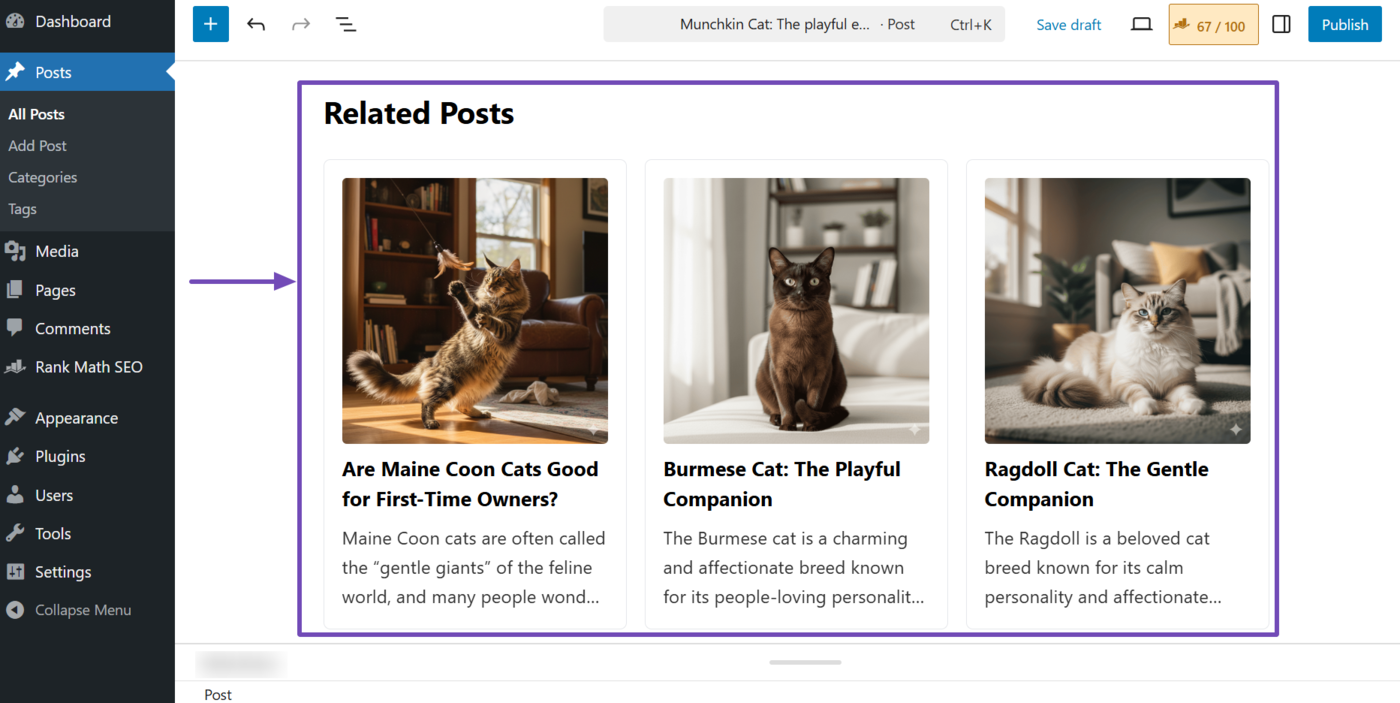
AI Link Genius allows you to automatically add a related posts block to your posts and pages. It also provides you with the settings to customize the content and layout of the block.
In this article, we will show you how to customize the related posts block, whether you added it using the related posts block or Rank Math SEO sidebar (in the block editor), a shortcode block (in the block editor), or a shortcode (in the classic editor).
Note: AI Link Genius is available exclusively in Rank Math PRO. If you haven’t installed Rank Math PRO yet, you can get a subscription of your choice from here.
Table of Contents:
1 How to Customize the Related Posts Block
The related posts block will be visible in your post or page editor if you added it using the related posts block or the Rank Math SEO sidebar.
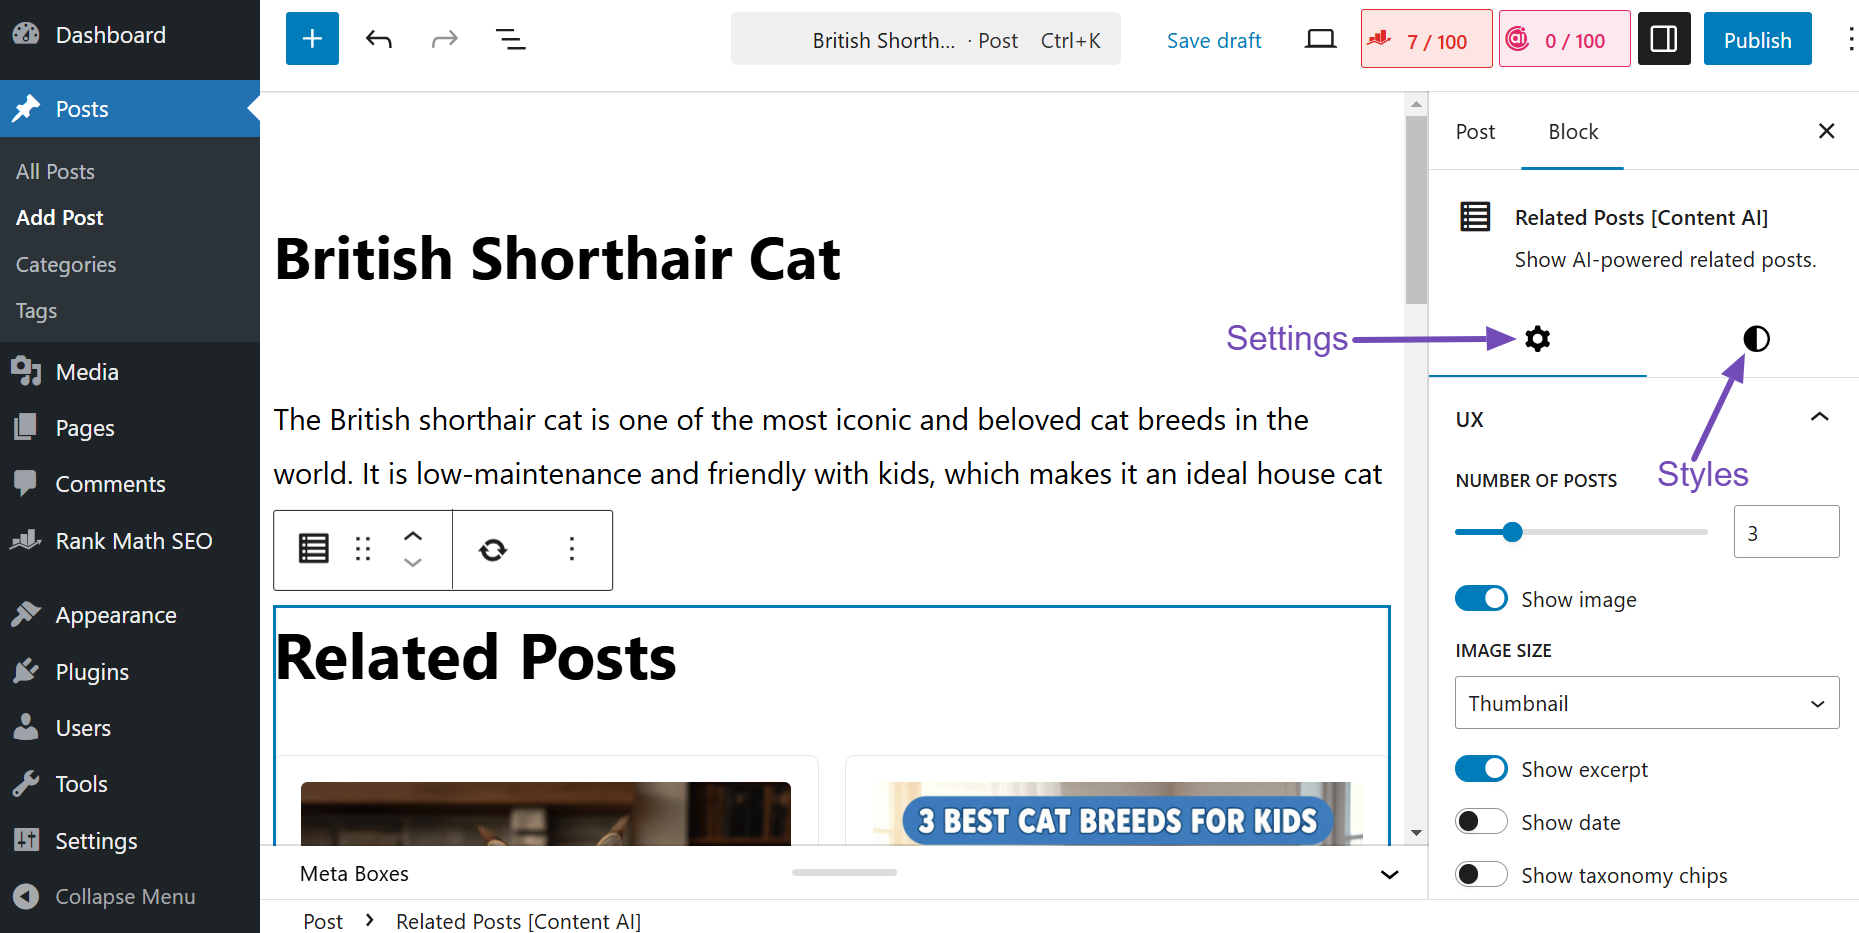
To get started, click the Settings sidebar icon, as shown below.
You will be presented with the related posts block options. It is split across two tabs, including:
- Settings: This lets you configure the block
- Styles: This lets you customize the block’s appearance
We will now show you how to customize these options. Let’s start with the settings tab. Its options are split across multiple panels, including:
- UX: Contains the settings for the visible elements in the block
- Texts: Contains the settings for the text and buttons in the block
- Advanced: Allows you to apply complex settings, such as adding a CSS code
We will discuss them one after another.
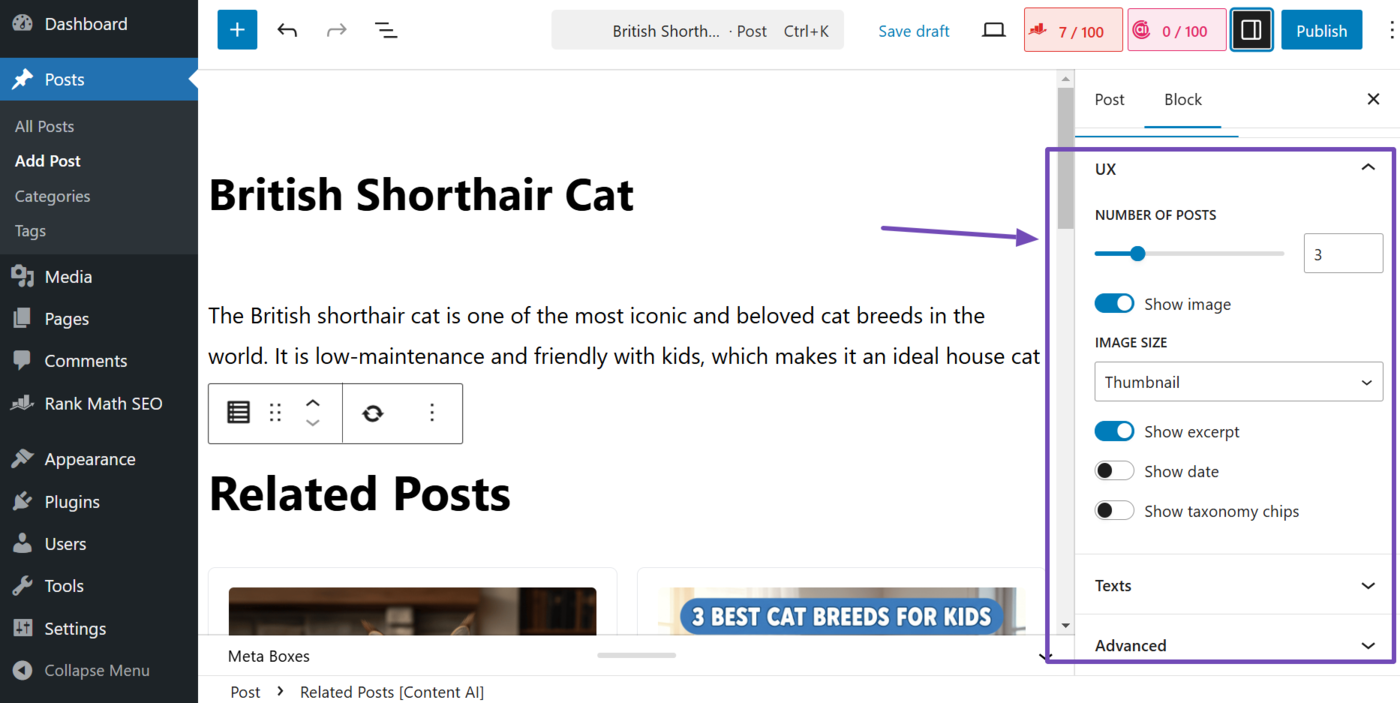
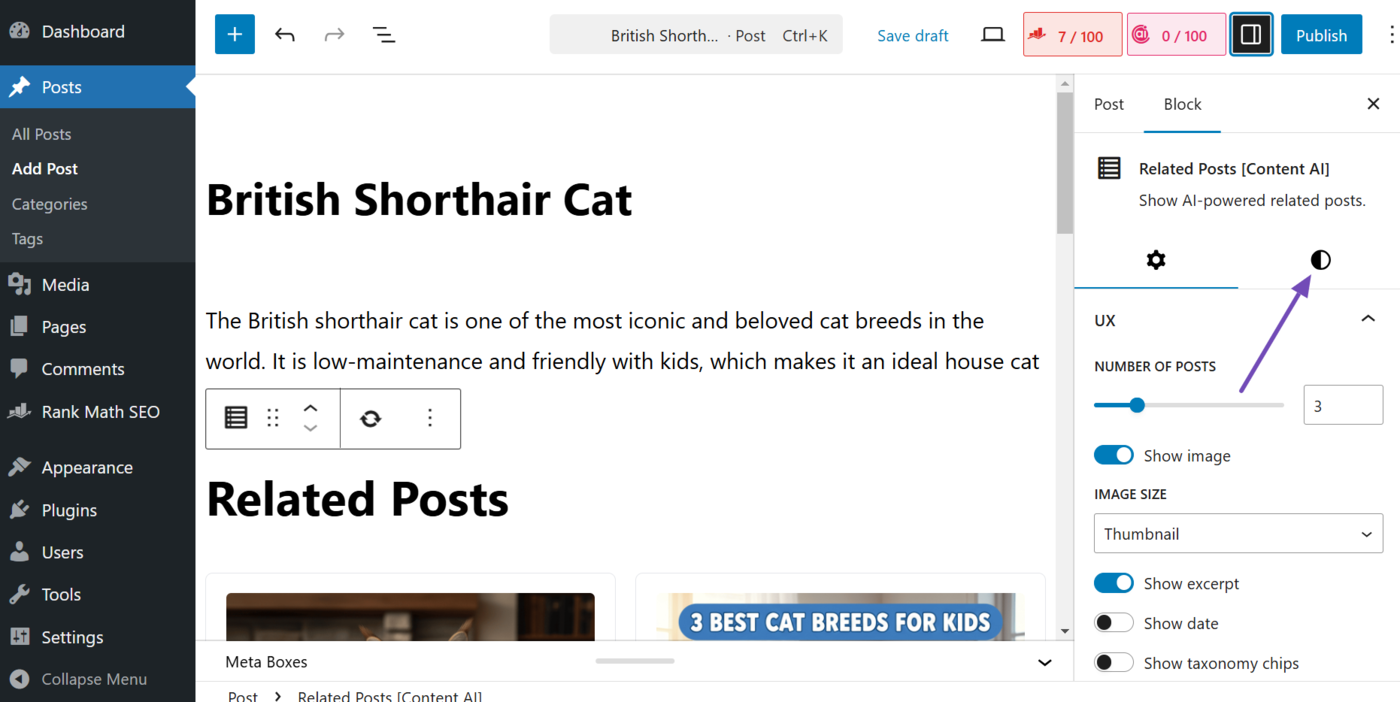
1.1 UX
The UX section contains multiple settings, including:
- Number of posts
- Show image
- Image size
- Show excerpt
- Show date
- Show taxonomy chips
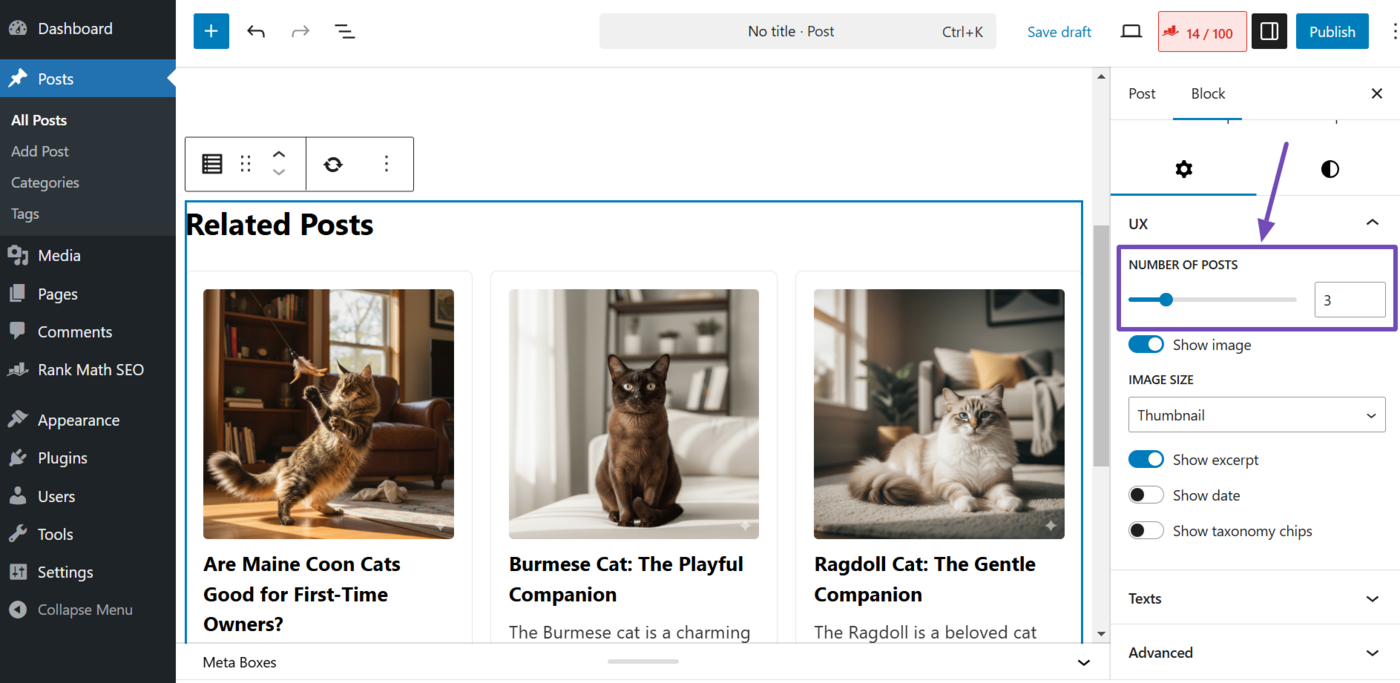
a. Number of Posts
This lets you set the number of posts that will be included in the related posts block. You will select any number between 1 and 10.
b. Show Image
This lets you hide or display the featured images in the related posts block. When enabled, the block will display a featured image. When disabled, the featured images will be hidden.

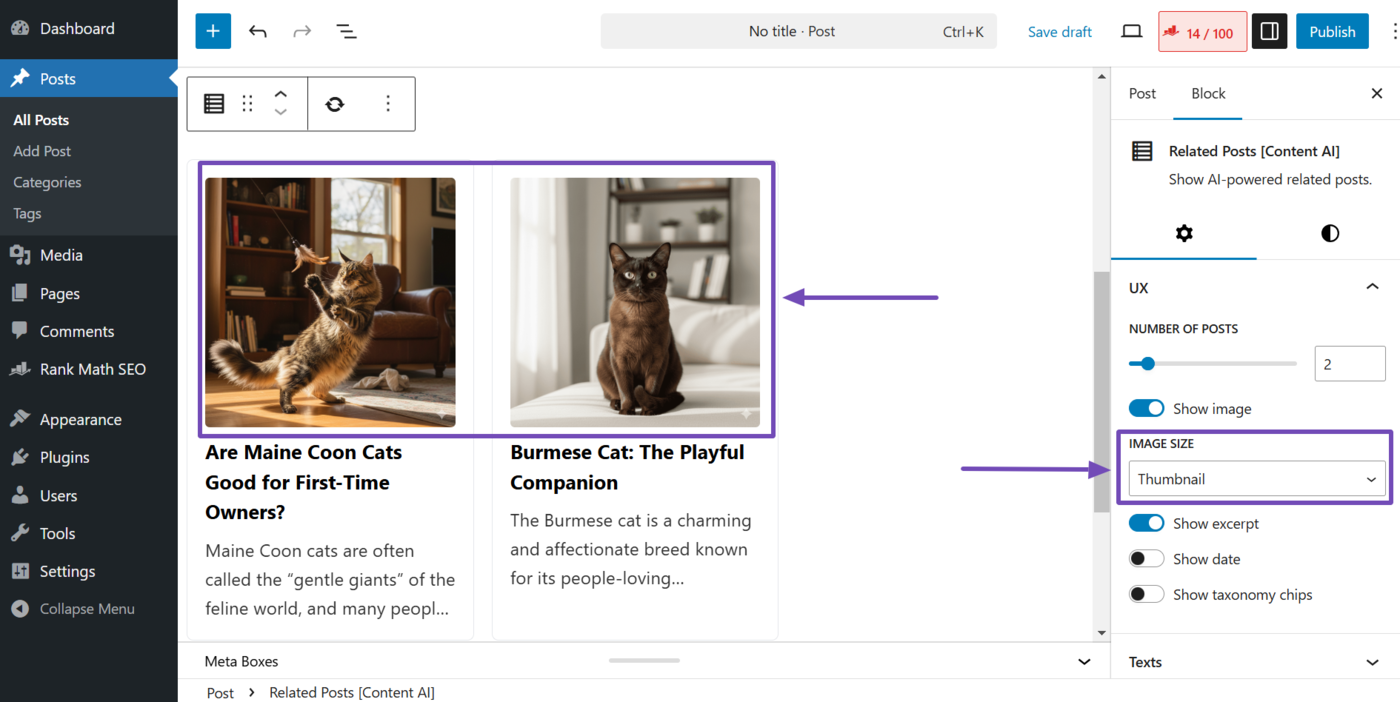
c. Image Size
Note: This option is hidden when the “Show image” option is disabled.
The lets you set the size of the featured images displayed in the related posts block. You can select one of three options:
- Thumbnail: Displays only a thumbnail of the image
- Medium: Displays the image in medium size
- Large: Displays the image in large size
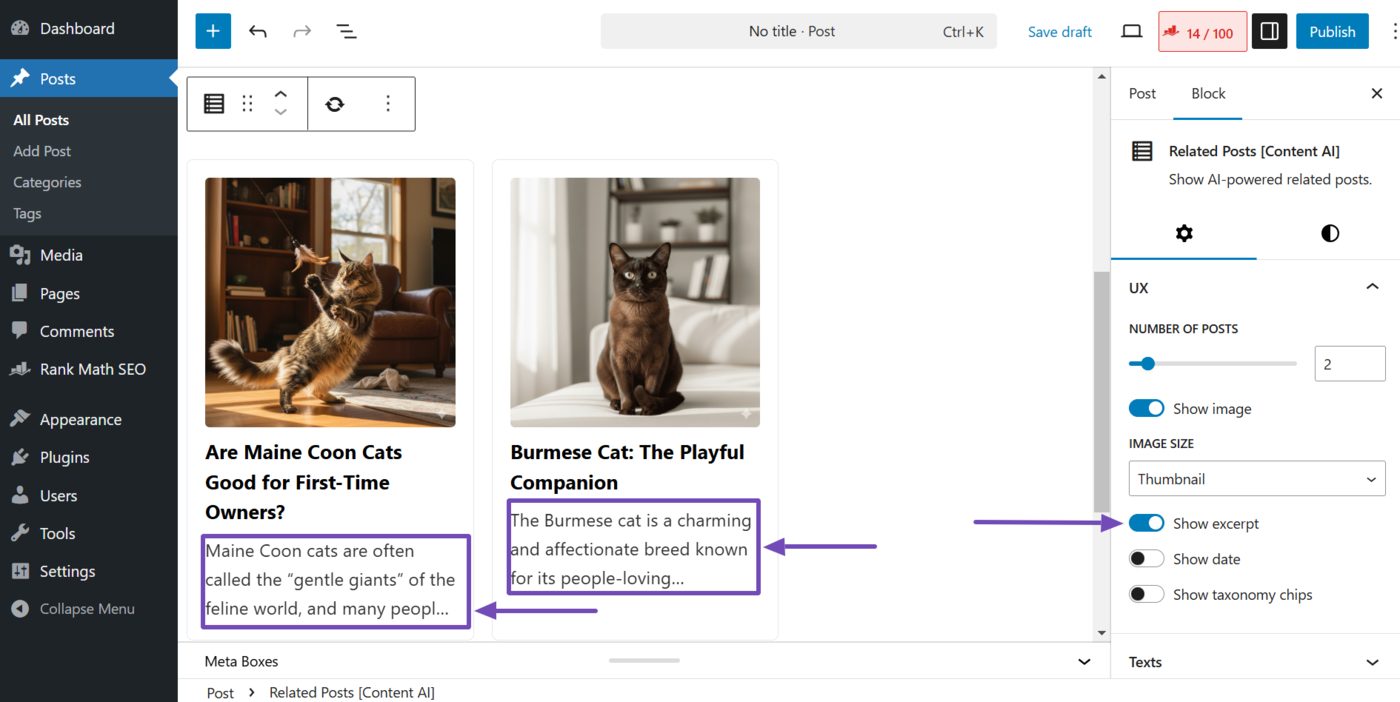
d. Show Excerpt
This lets you display or hide the brief text included in the related posts block.
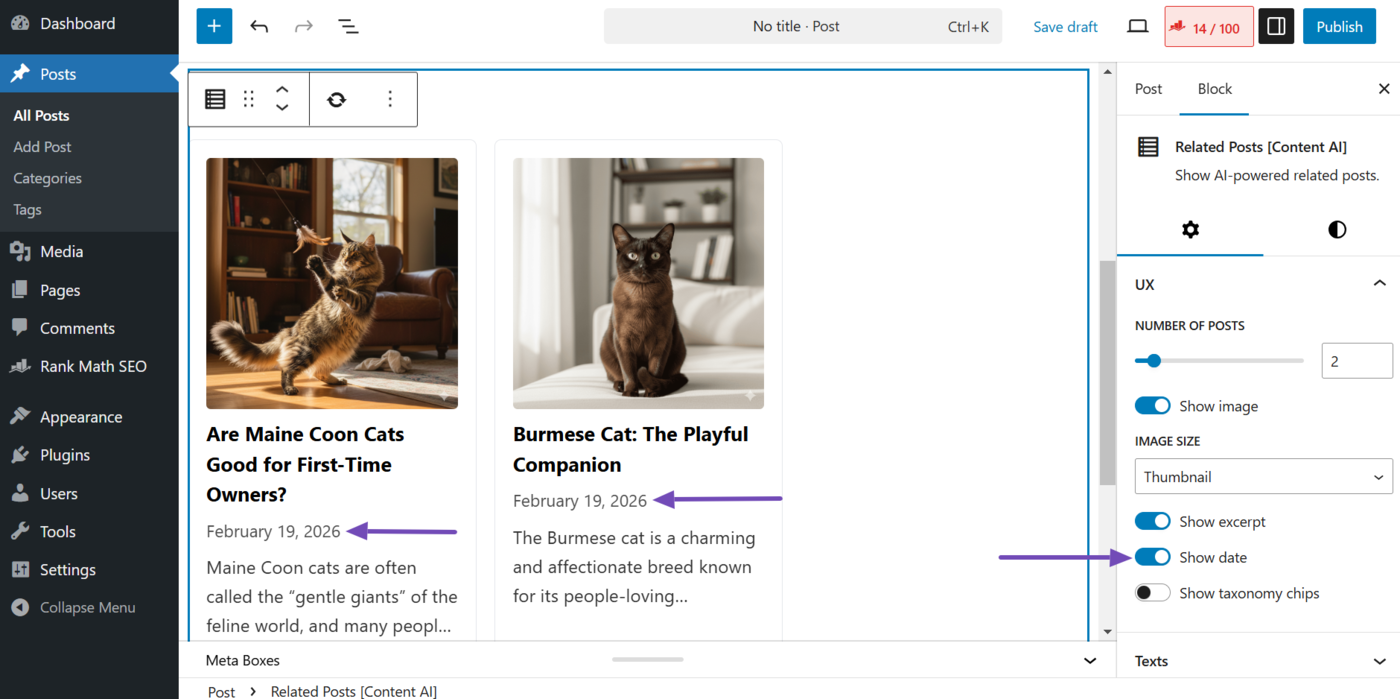
e. Show Date
This lets you add or hide the date in the related content block.
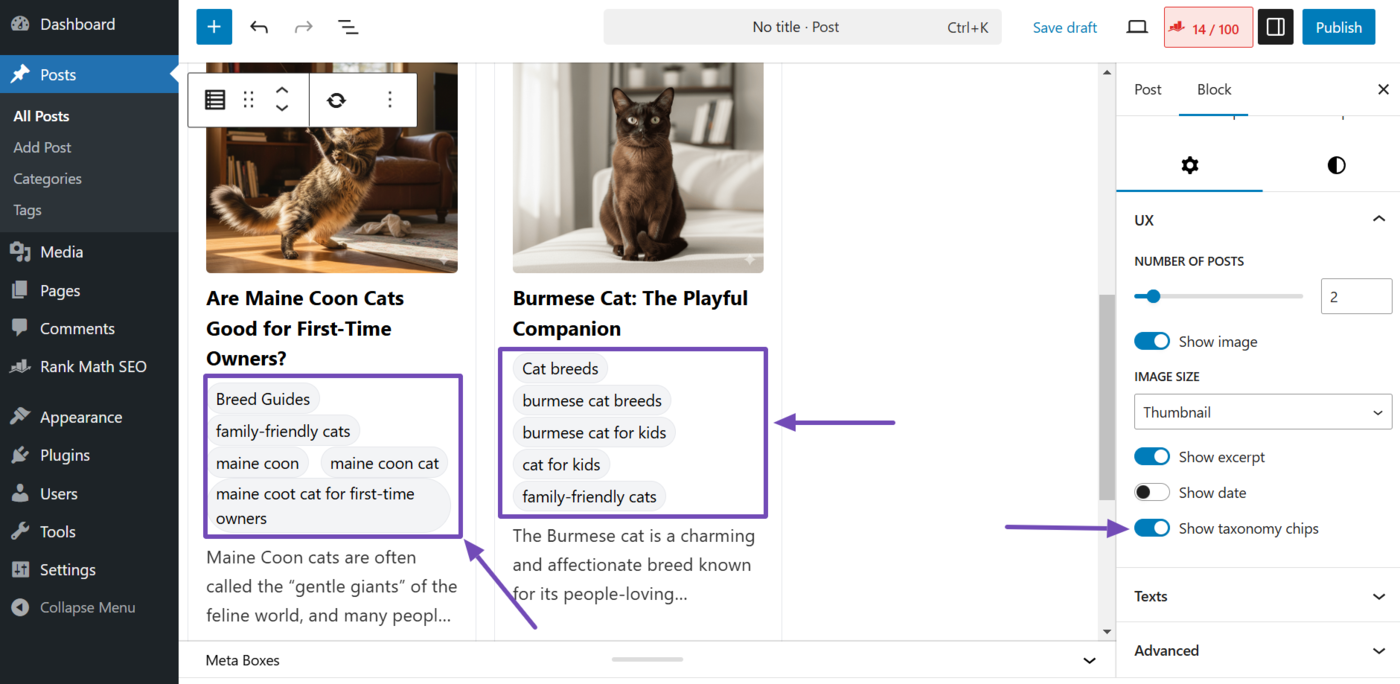
f. Show Taxonomy Chips
This lets you display or hide the categories and tags of your posts. When enabled, it will show your categories and tags. When disabled, they will be hidden.
1.2 Texts
The texts section contains the settings for the text and buttons displayed in the related content block. It contains multiple options, including:
- Title
- Button text
- Button URL
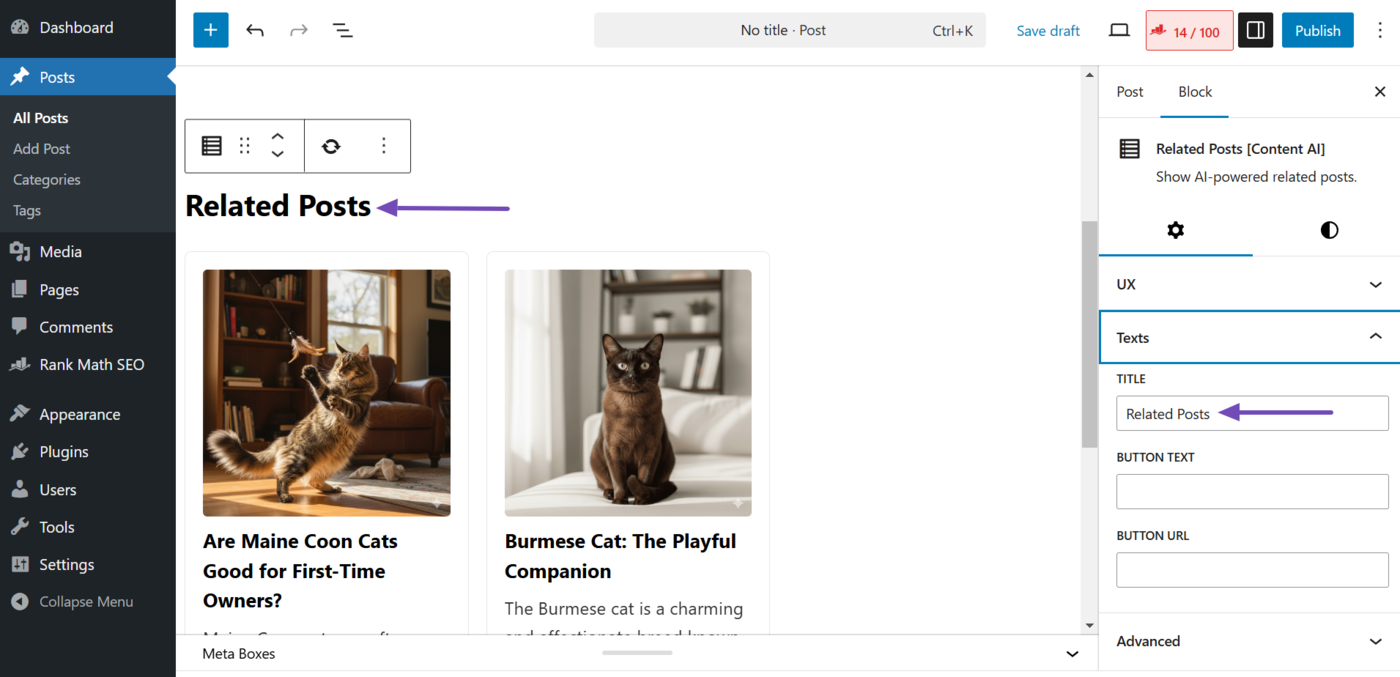
a. Title
This lets you set the heading of the related posts block. It is set to Related Posts by default, but you can change it to any heading of your choice.
b. Button Text
This lets you add a call-to-action (CTA) button to the related posts block. Enter the text you want on the button.
Note: The call-to-action (CTA) button will only appear when you use this setting together with the “Button URL” setting.
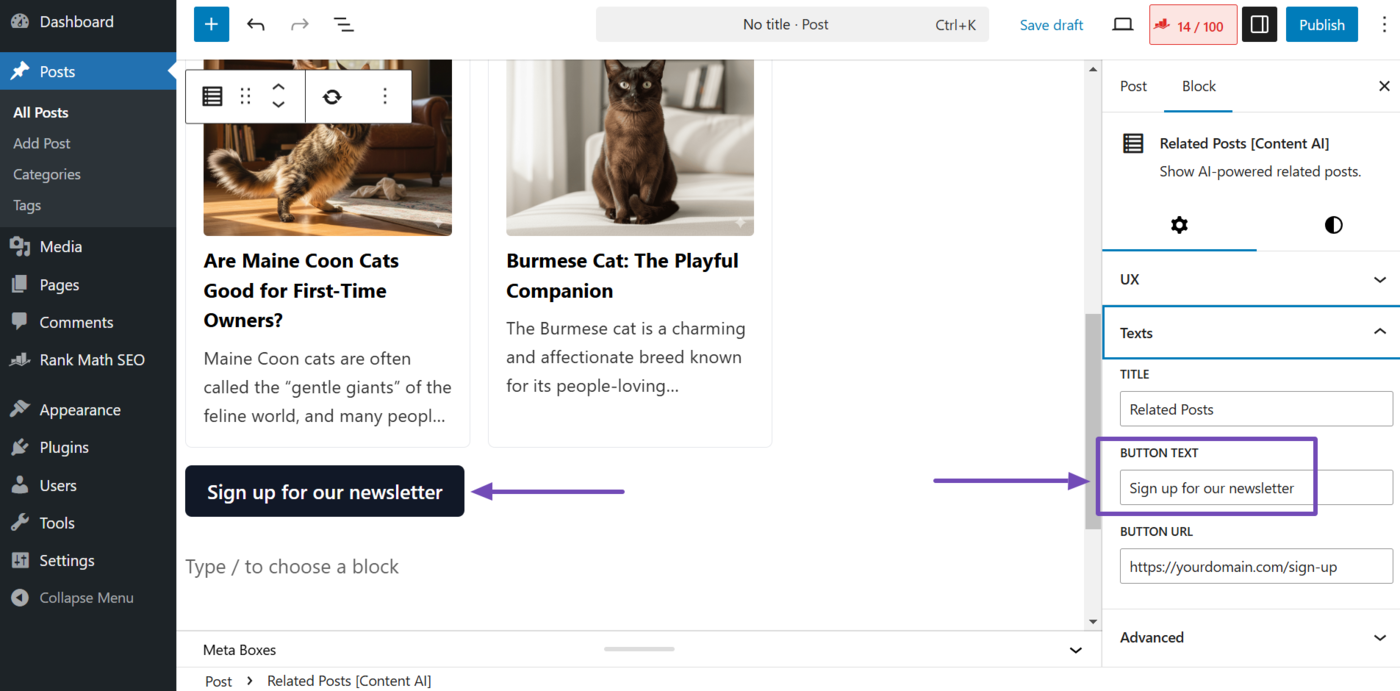
c. Button URL
Enter the URL you want the call-to-action (CTA) button to send users to when clicked.
Note: The button will only appear when you have entered a text into the “Button Text” field.

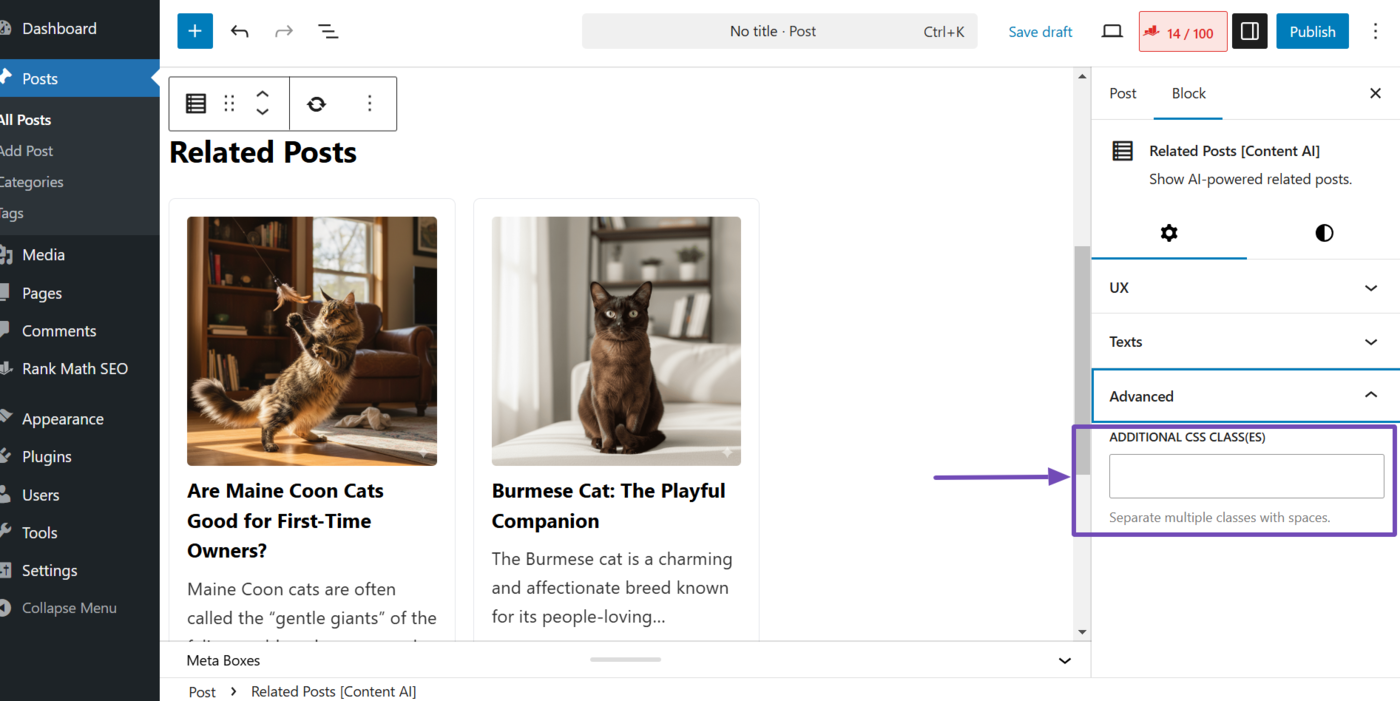
1.3 Advanced
The advanced dropdown allows you to apply complex settings to the related posts block. It contains the additional CSS class(es) option.
a. Additional CSS Class(es)
This option allows you to apply CSS classes to your related posts block. Paste your CSS class here, and it will be applied to the block.
1.4 Styles
To customize the appearance of your related posts block, click the Styles tab.
You will now be presented with the style settings. The available options include:
- Layout variant
- Color
- Typography
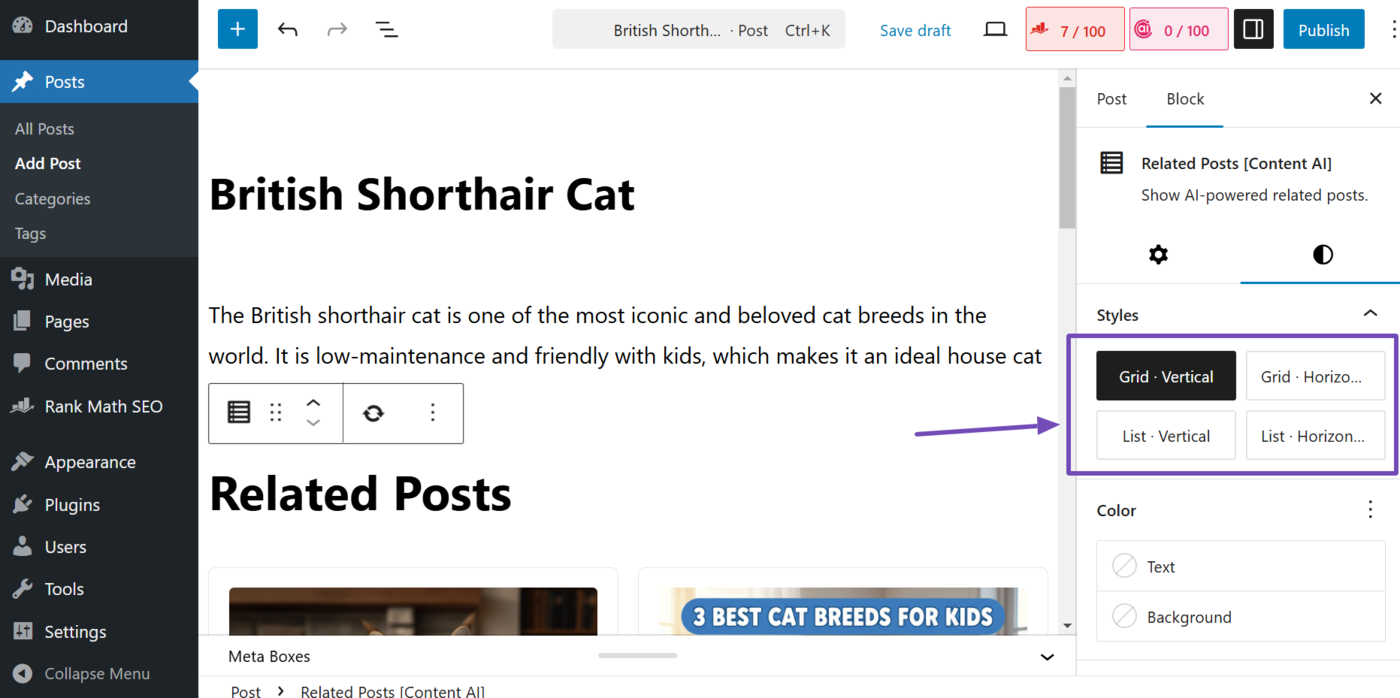
a. Layout Variant
Select a layout for the related posts block. The available options include:
- Grid vertical: Displays the block in a grid with content arranged from top to bottom
- Grid horizontal: Displays the block in a grid with content arranged from left to right
- List vertical: Displays the block in a list with content arranged from top to bottom
- List horizontal: Displays the block in a list with content arranged from top to bottom
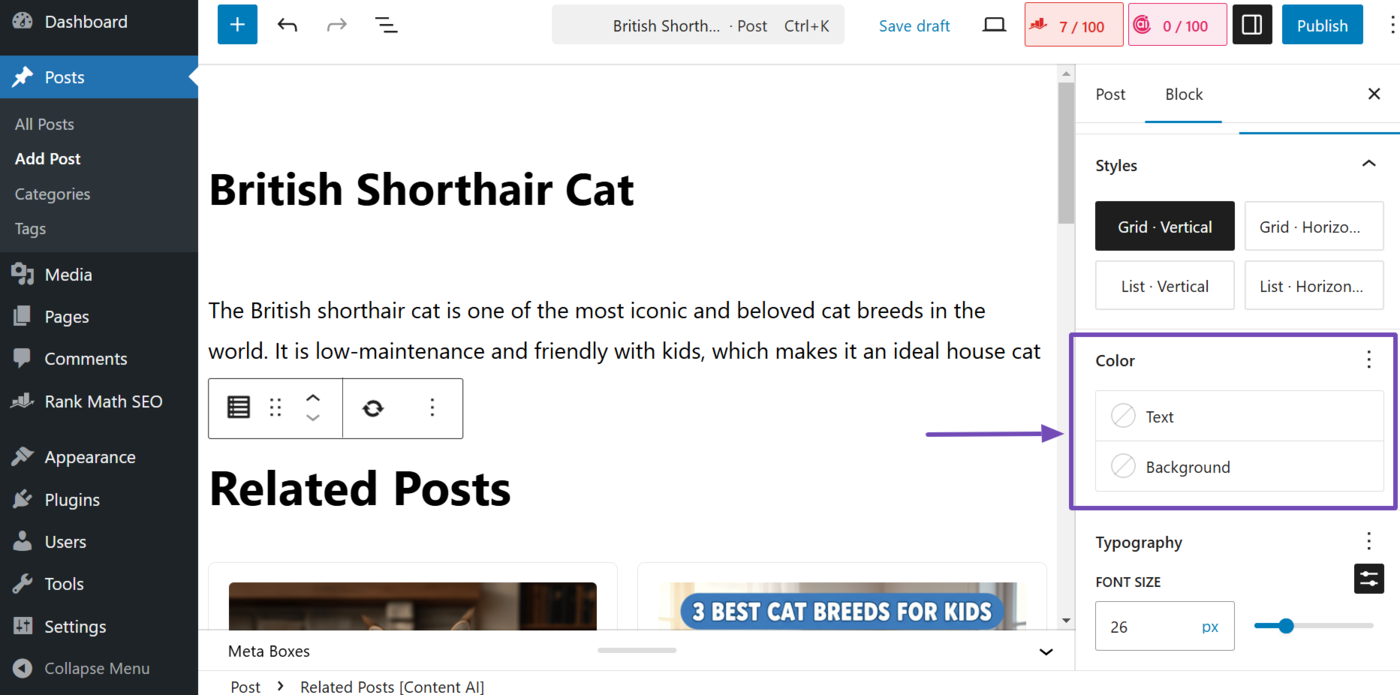
b. Color
Select the color of the block’s text and background. The available options include:
- Text: Click to choose the text color
- Background: Click to select a background color
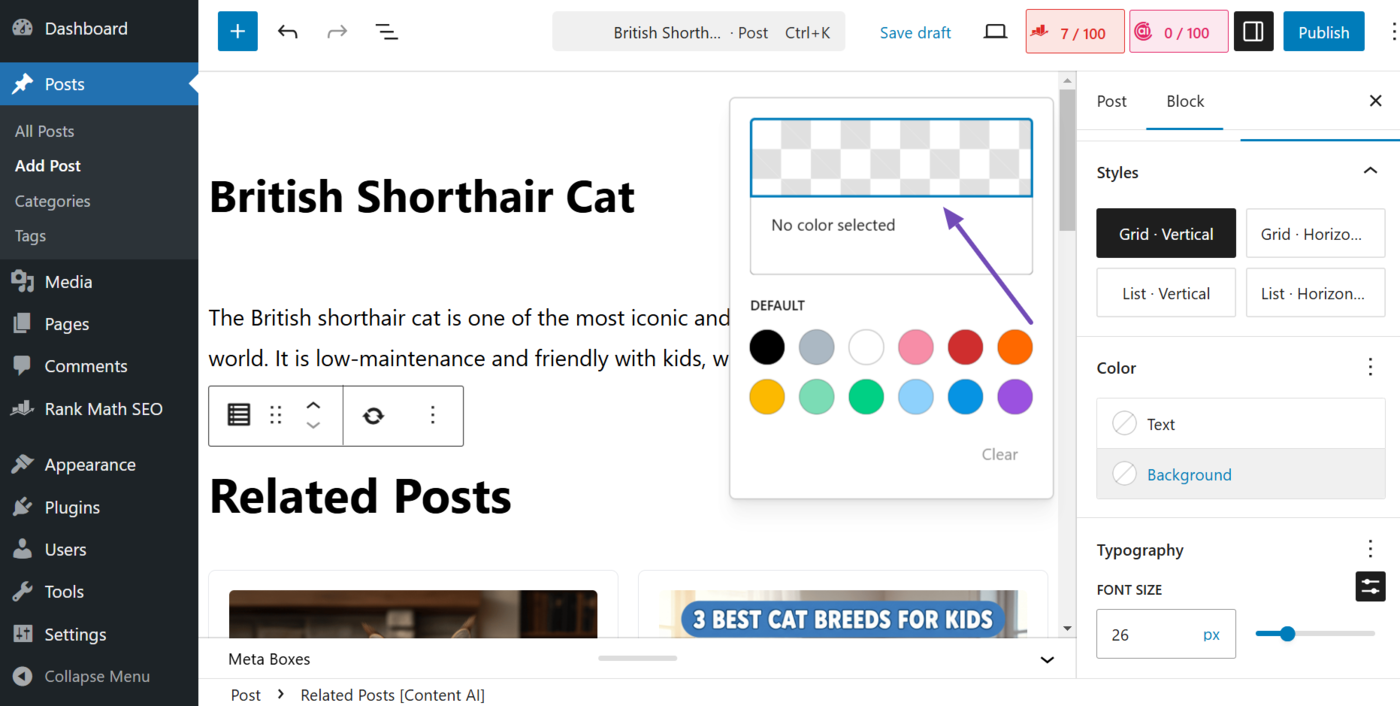
When you select text or background, you can choose a custom color by clicking the transparency grid and entering a hex code.
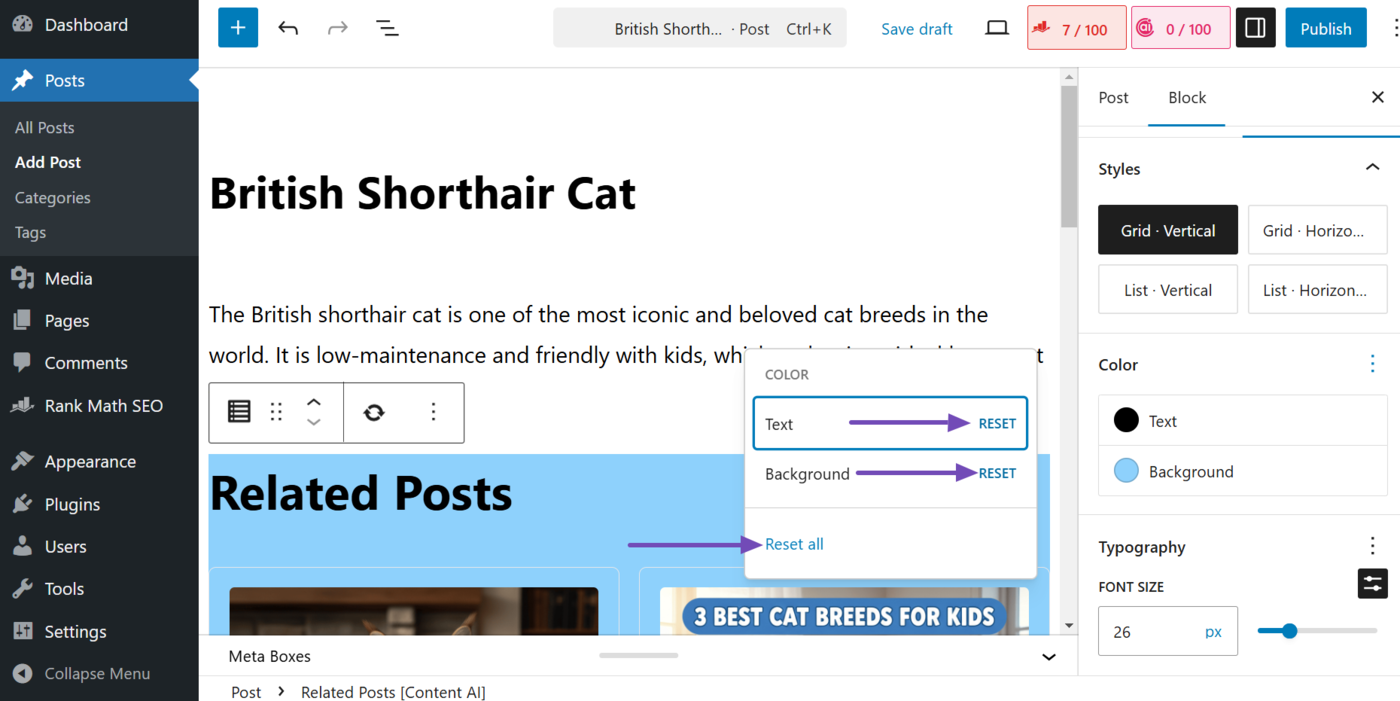
The color panel also include a color options icon (the three dots) that allow you to reset the color of the text or background. To do that, click the color options icon.
Once done, click Reset to reset the color of your text or background, or Reset all to reset both colors.
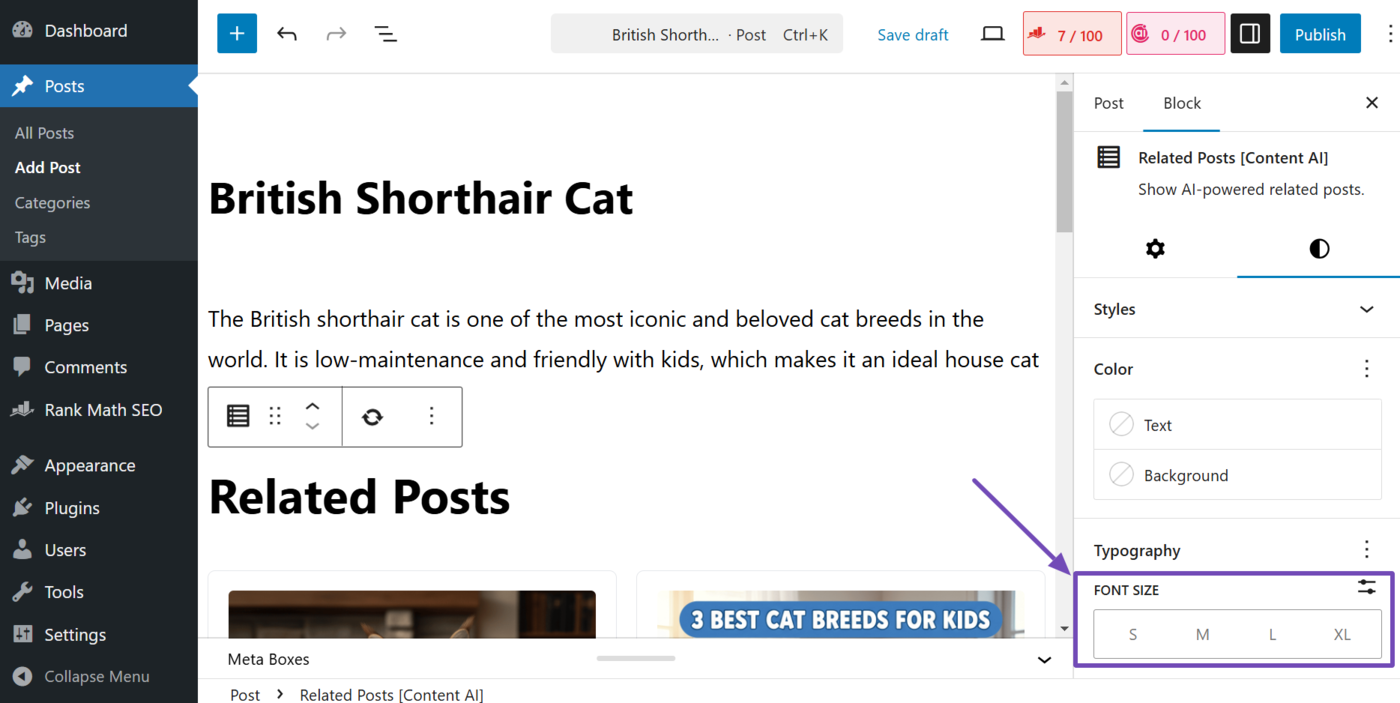
c. Typography
Select the size of your text. The available options include:
- S: This sets your text size to 13 pixels
- M: This sets your text size to 20 pixels
- L: This sets your text size to 36 pixels
- XL: This sets your text size to 42 pixels
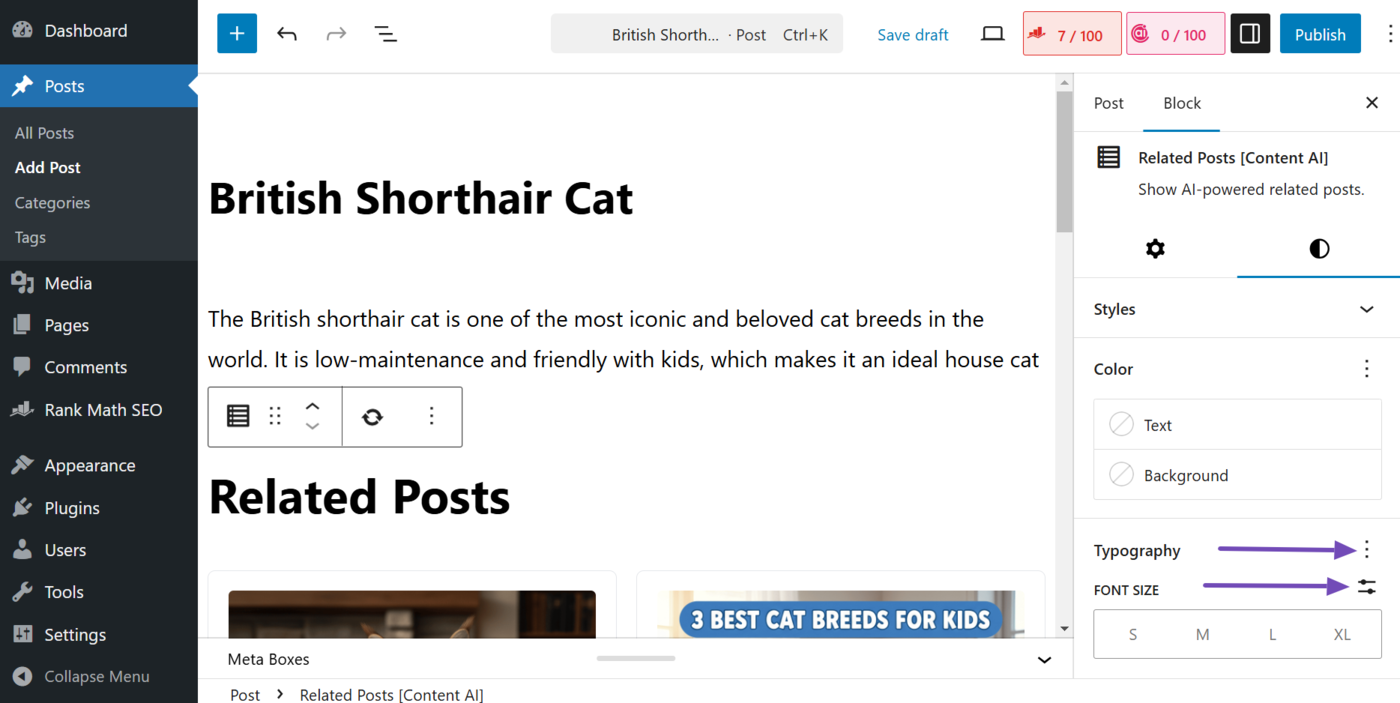
The typography panel also includes two options.
- Typography options: Lets you reset the text size to the default
- Set custom size: Lets you set a custom text size in pixels
2 How to Customize the Related Posts Shortcode
The related posts block will not be visible in your post or page editor if you added it using a shortcode or shortcode block. Instead, you will see the shortcode. This is what the shortcode looks like in the block editor:
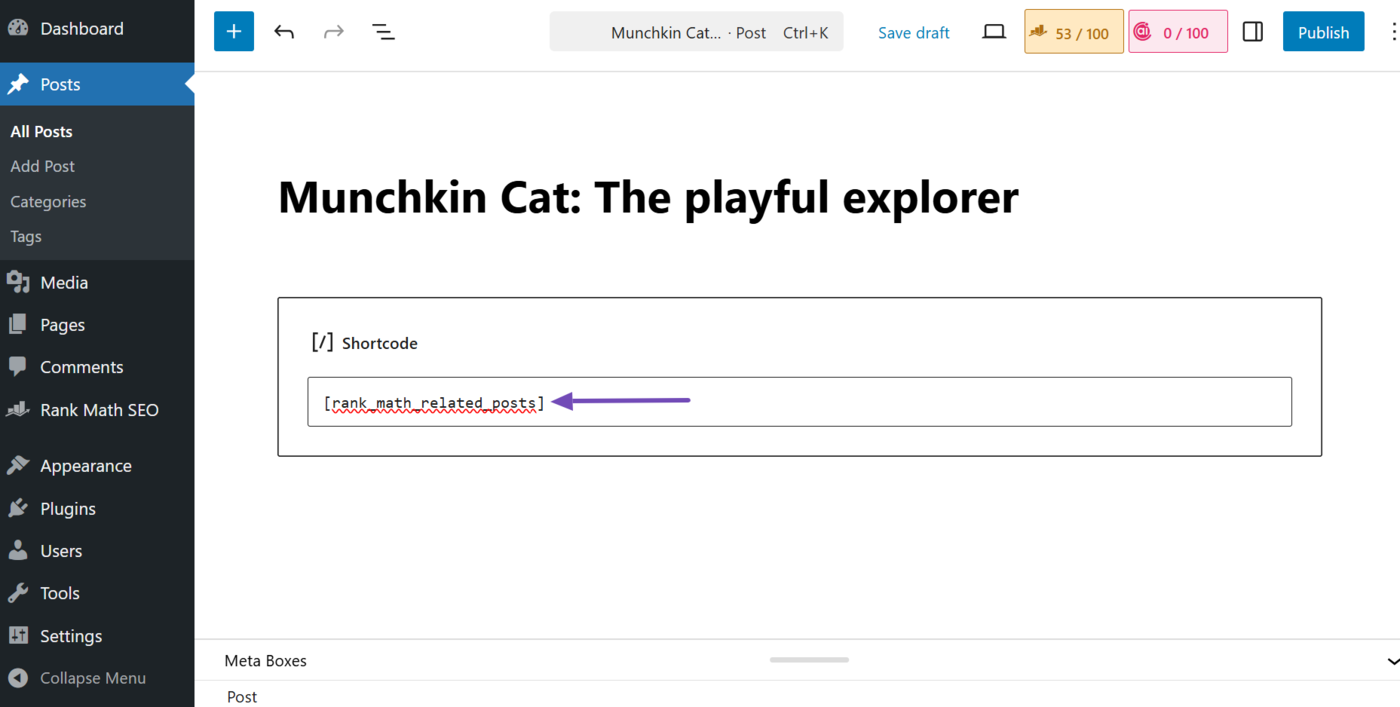
In the classic editor, the shortcode will look like this:

You can customize the related posts shortcode using attributes. We will show you how to do that below.
2.1 How to Add Attributes to the Related Posts Shortcode
The related posts shortcode does not contain any attribute or value by default. However, you can customize it by adding supported attributes and values to it.
For example, the shortcode displays three related content by default. If you want it to show four posts, you will add the number attribute to it and set its value to 4. That is, number="4". So, the shortcode will look like this:
[rank_math_related_posts number="4"]
You can add multiple attributes to the shortcode. For example, the related posts block does not include the article’s publish date. However, you can add one using the date attribute and set its value to "true". That is, date="true".
This means the shortcode that modifies the date and number of posts will look like this:
[rank_math_related_posts number="4" date="true"]
2.2 Related Posts Shortcode Attributes
We will now show you the available attributes along with their default and possible values.
- Number
- Layout
- Image
- Image size
- Excerpt
- Date
- Terms
- Button text
- Button URL
a. Number
This lets you set the number of posts that is included in the block. The value is set to 3 by default but you can change it to any number between 1 and 10 (except 3).
number=""
b. Layout
The layout attribute allows you to set the arrangement of the related posts block. The posts are displayed in a vertical grid (grid-vertical) by default, but you can change it to other layouts, including:
- Horizontal grid
- Horizontal list
- Vertical list
Use the attribute below to change it to a horizontal grid:
layout="grid-horizontal"
Use the attribute below to change it to a horizontal list:
layout="list-horizontal"
Use the attribute below to change it to a vertical list:
layout="list-vertical"
c. Image
This lets you hide or display the featured image of the related posts. The value is set to true by default, but you can hide the image using the attribute below.
image="false"
d. Image Size
This lets you set the size of the featured images included in the related posts. It is set to display a thumbnail by default, but you can set it to display a medium or large image using the relevant attribute below.
Use this attribute to display a medium-sized image:
image_size="medium"
Use this attribute to display a large-sized image:
image_size="large"
e. Excerpt
This lets you display or hide the brief description included in your related posts. It is set to true by default, but you can set it to false to hide the description.
excerpt="false"
f. Date
This lets you hide or display the published date of your related posts. It is set to false by default, but you can set it to true using the attribute below.
date="true"
g. Terms
This lets you show or hide the categories and tags of the related posts. It is set to false by default, but you can set it to true so that it shows your categories and tags.
terms="true"
h. Button Text
This lets you include a call-to-action button in the related posts block. Add the text that will appear on the button in between the quotation marks below. For example, "Click here".
Note: You must use both the Button text and Button URL attributes together for the call-to-action button to appear.
button_text=""
i. Button URL
Enter the URL users are sent to when they click the call-to-action button. For example, "https://yourdomain.com/start-free-trial".
Note: Make sure to use this with the Button text attribute, otherwise the call-to-action button will not show.
button_url=""
That is how to customize your short code blocks in AI Link Genius. If you have any questions, you’re always more than welcome to contact our dedicated support team, who are available 24/7, 365 days a year.