Google Analytics 4 (GA4) allows you to customize your analytics report to view traffic coming from AI search engines and chatbots. You can then add this report to the left sidebar, as shown below.
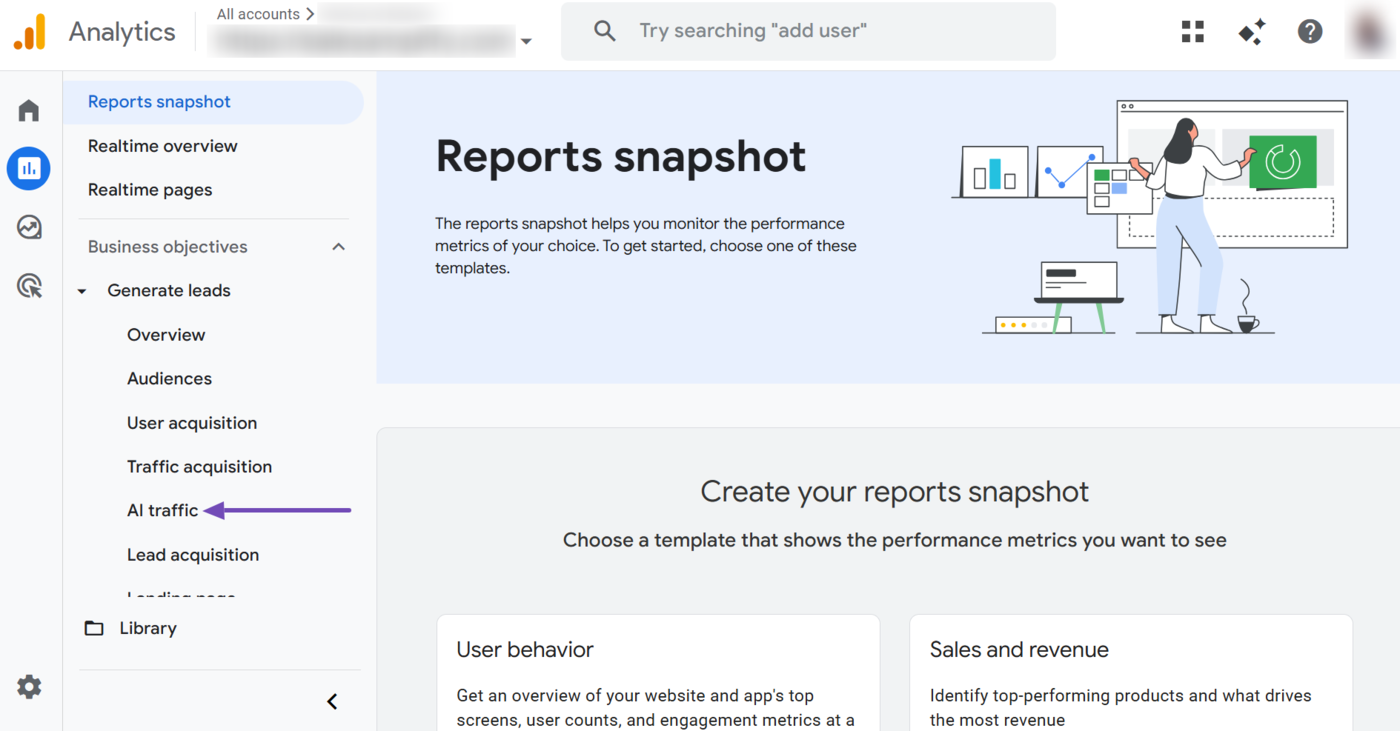
That way, you can easily view and analyze AI-driven traffic directly from the GA4 interface. We will show you how to do that in this knowledgebase article.
In this article, we’ll cover:
1 Create the AI Traffic Report
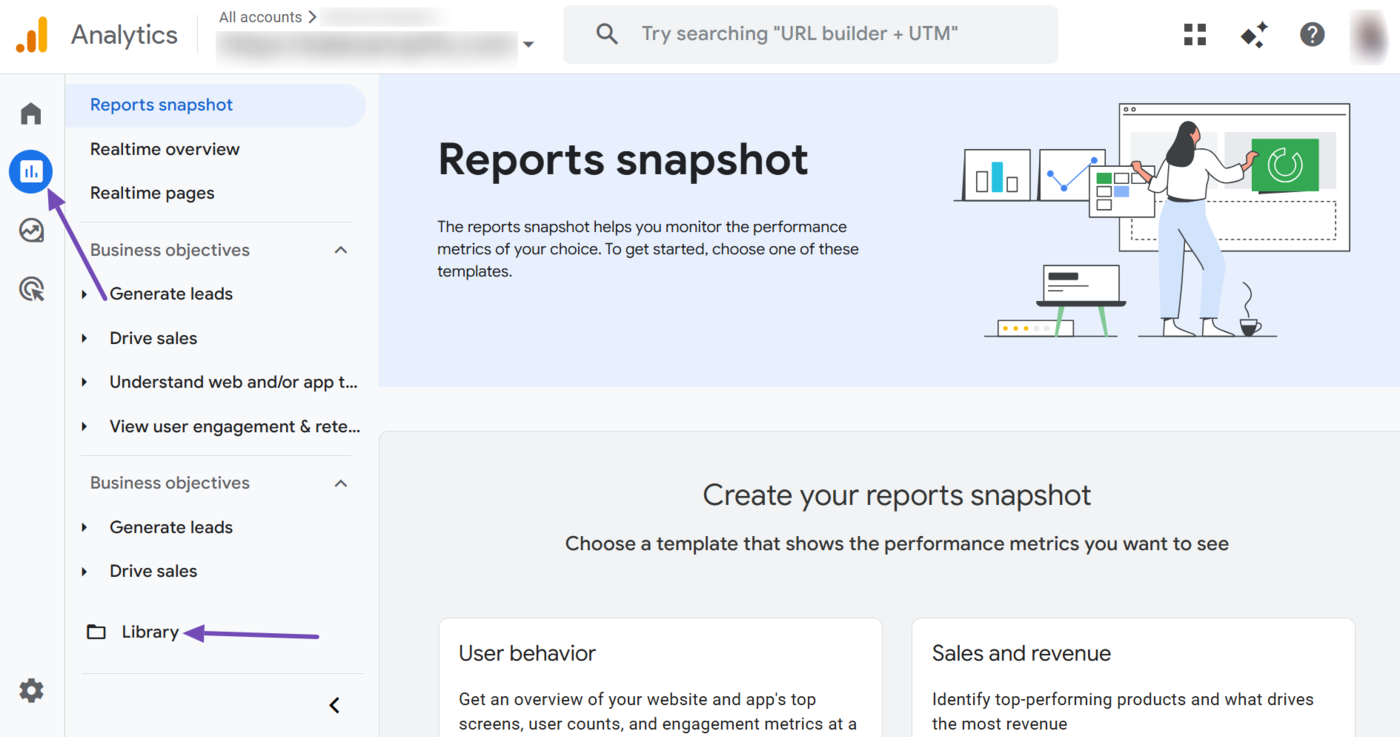
To get started, head to your Google Analytics 4 account. Then, click the Reports icon from your dashboard.
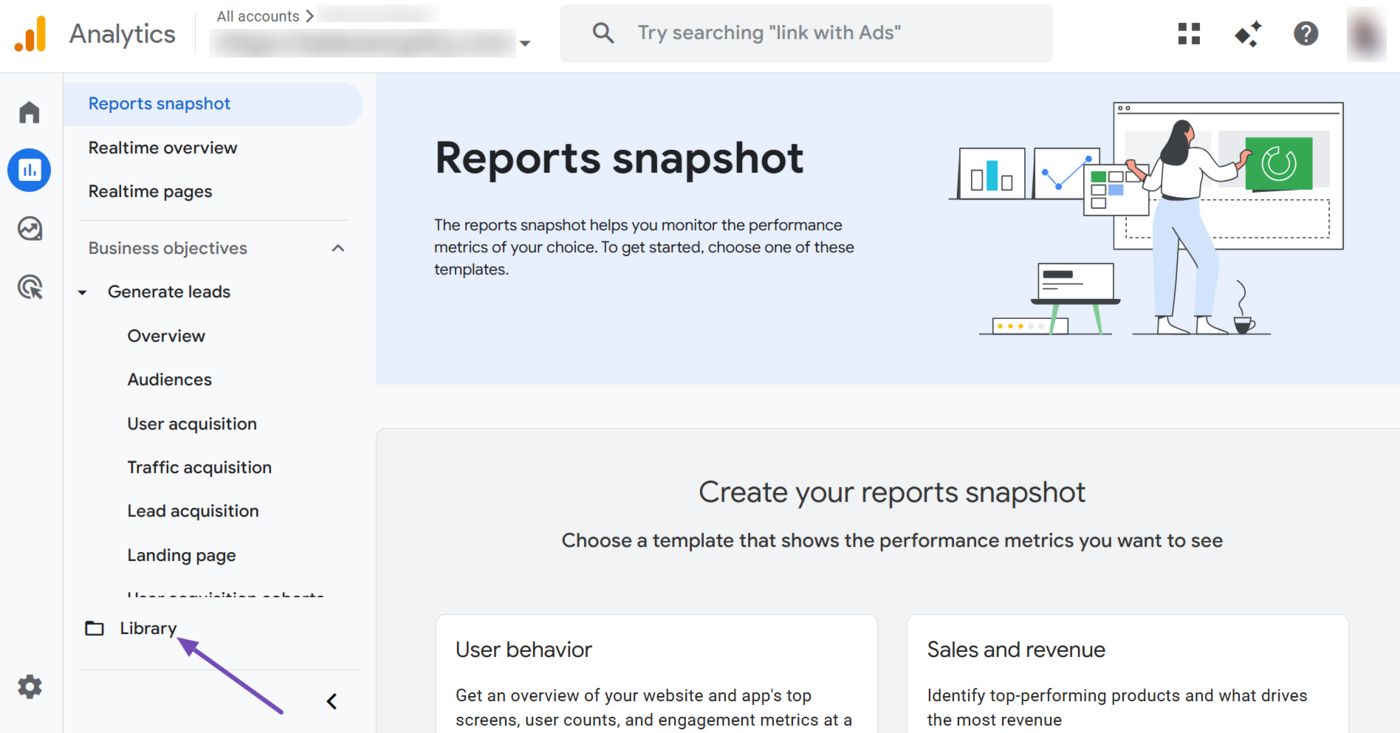
Next, click Library at the bottom of the sidebar.
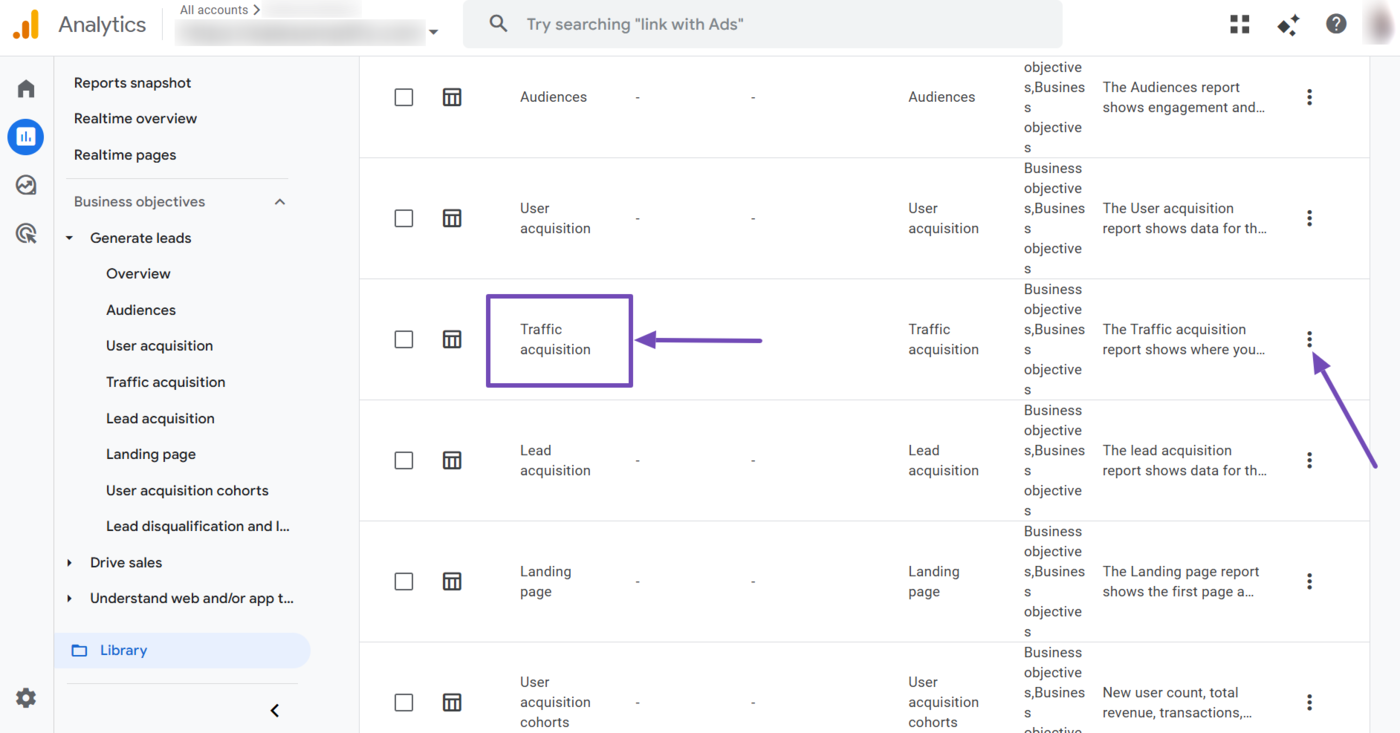
Now, head to the Traffic acquisition report and click the three dots, as shown below.
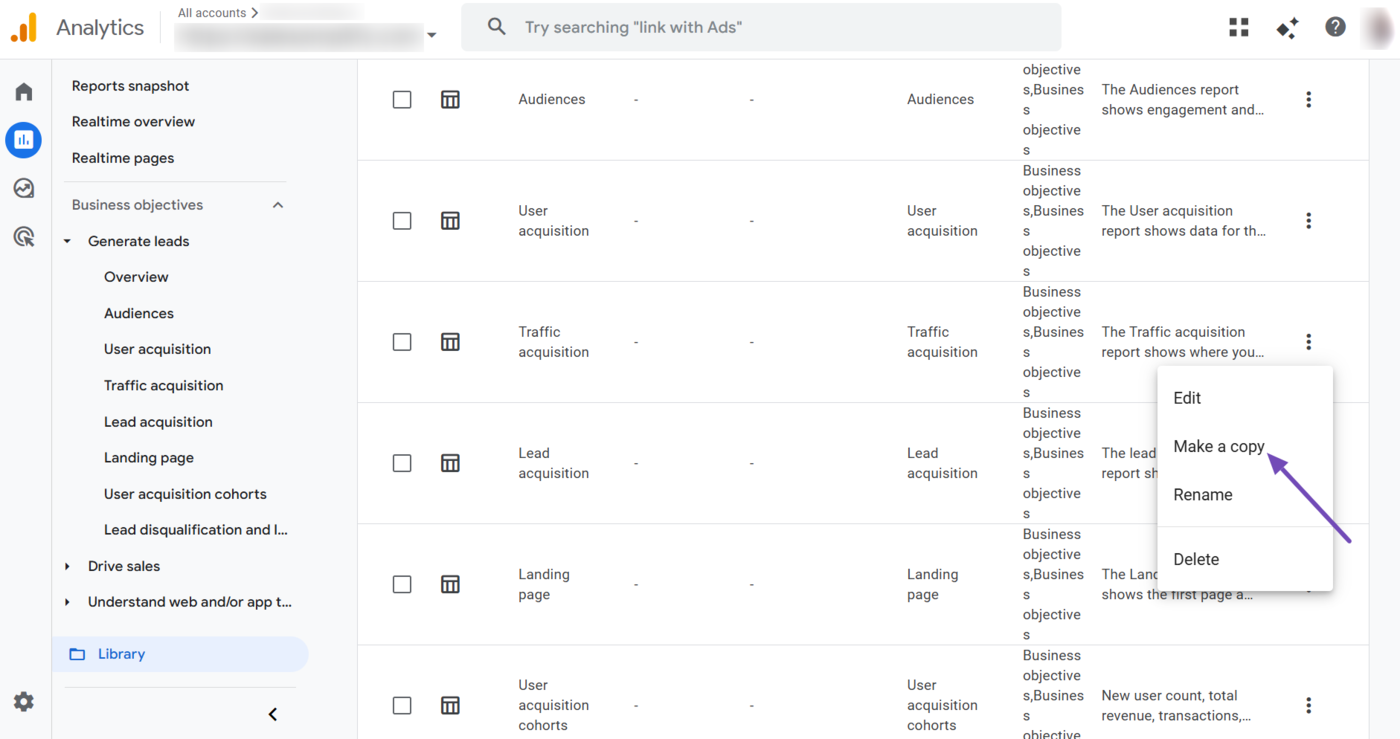
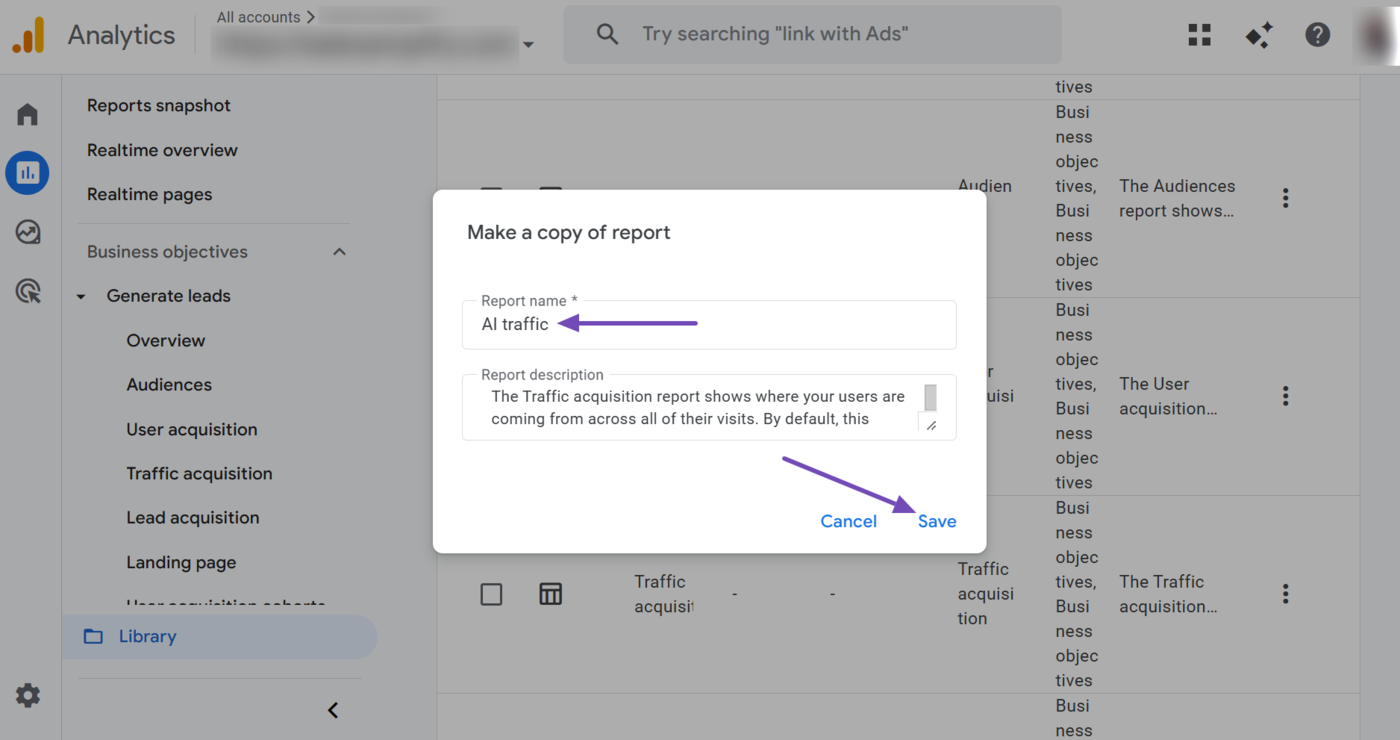
Then select Make a copy.
Name it AI traffic and click Save.
You have now created your AI traffic report. It is now time to configure it so that it only displays the traffic you receive from AI sources.
2 Configure the AI Traffic Report
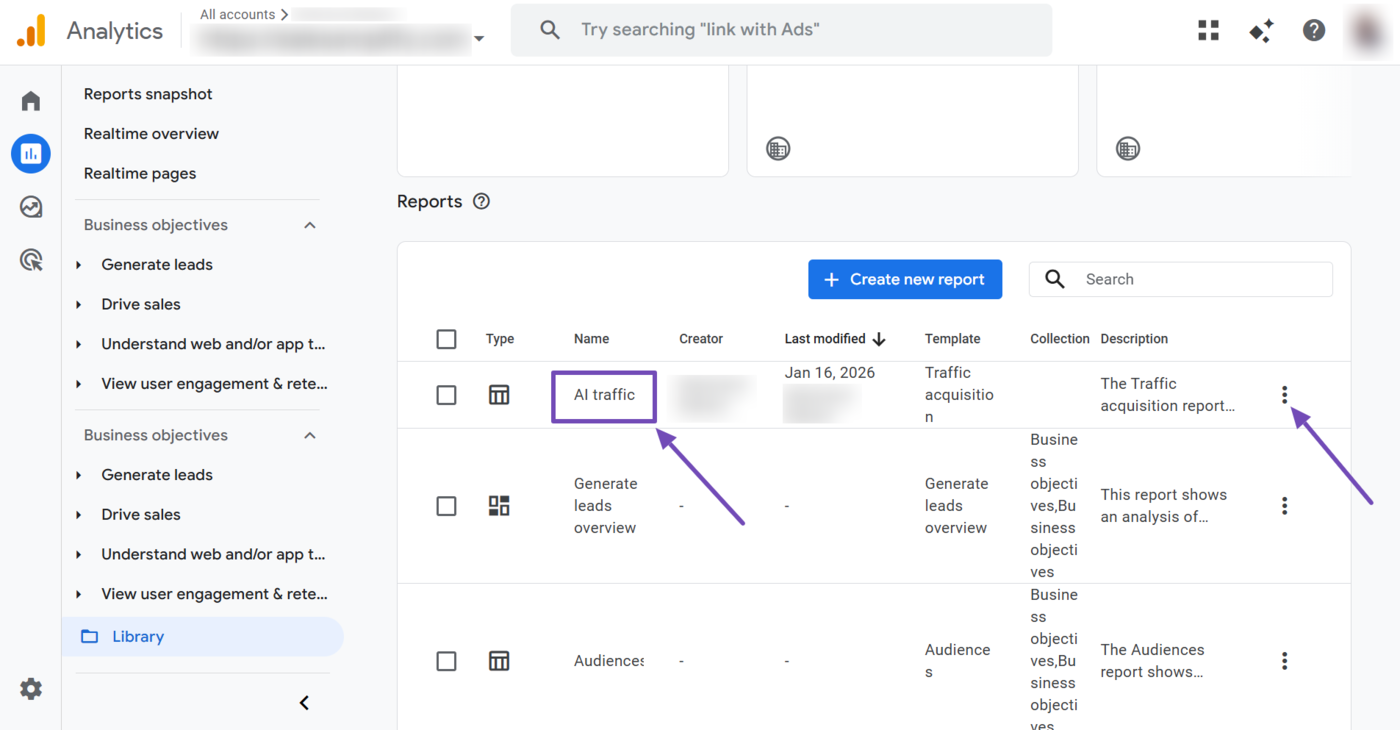
Scroll to the top of the Reports section. You will see the AI traffic report you just created. Click the three dots.
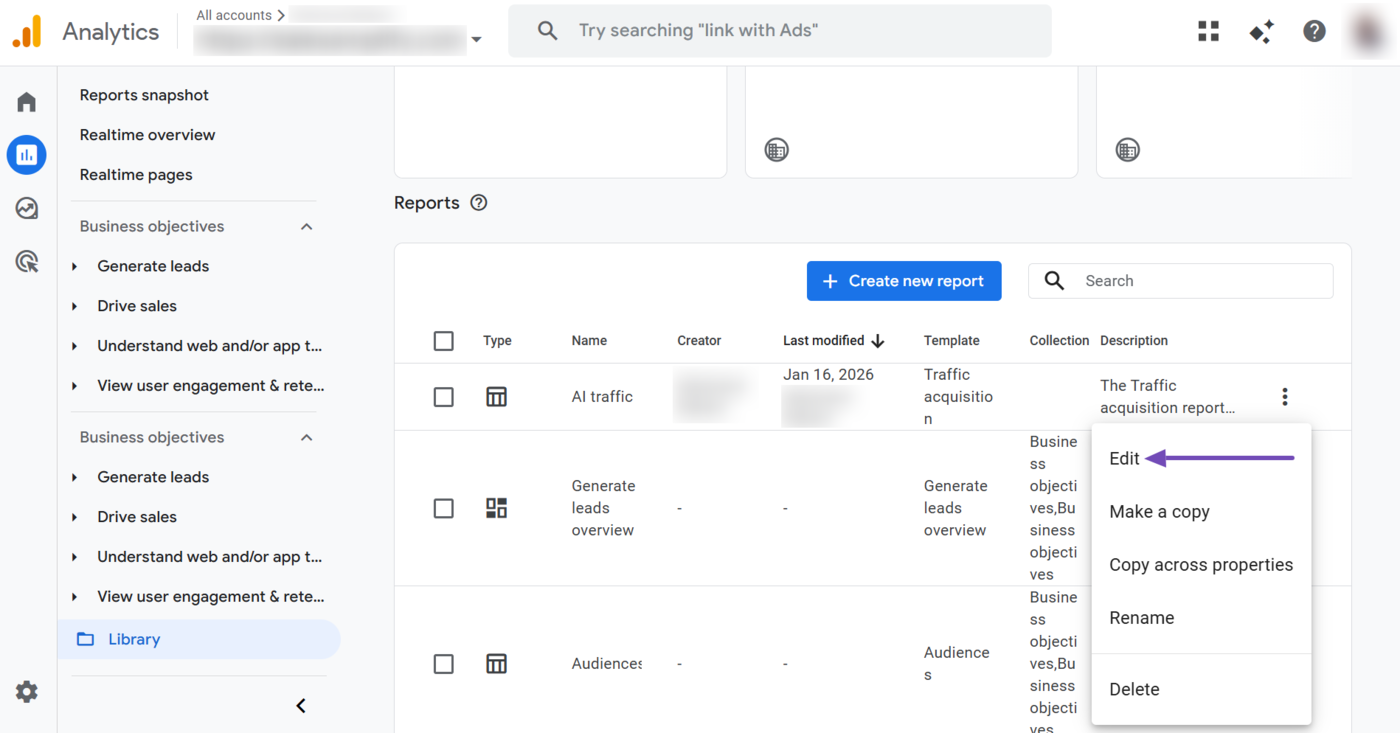
Select Edit.
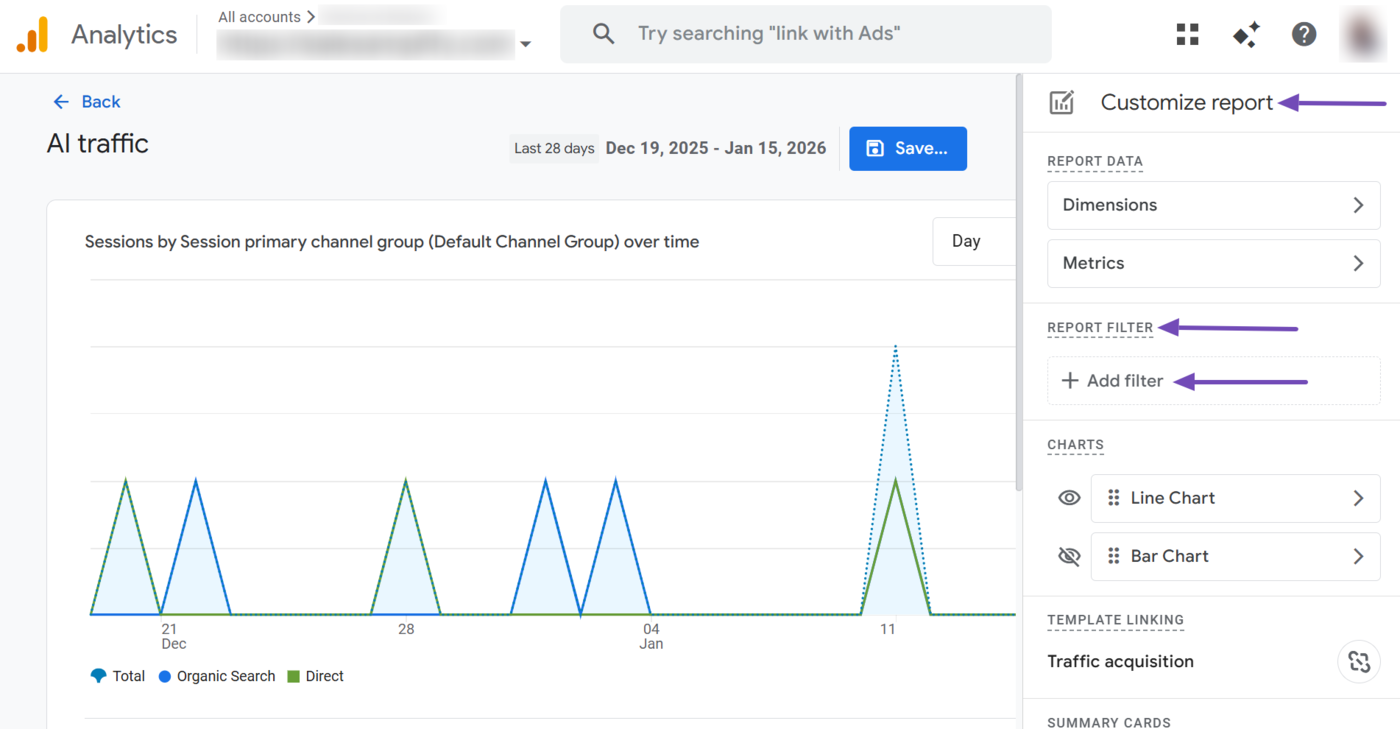
Now, in the Customize report sidebar, head to the Report filter section. Then click Add Filter.
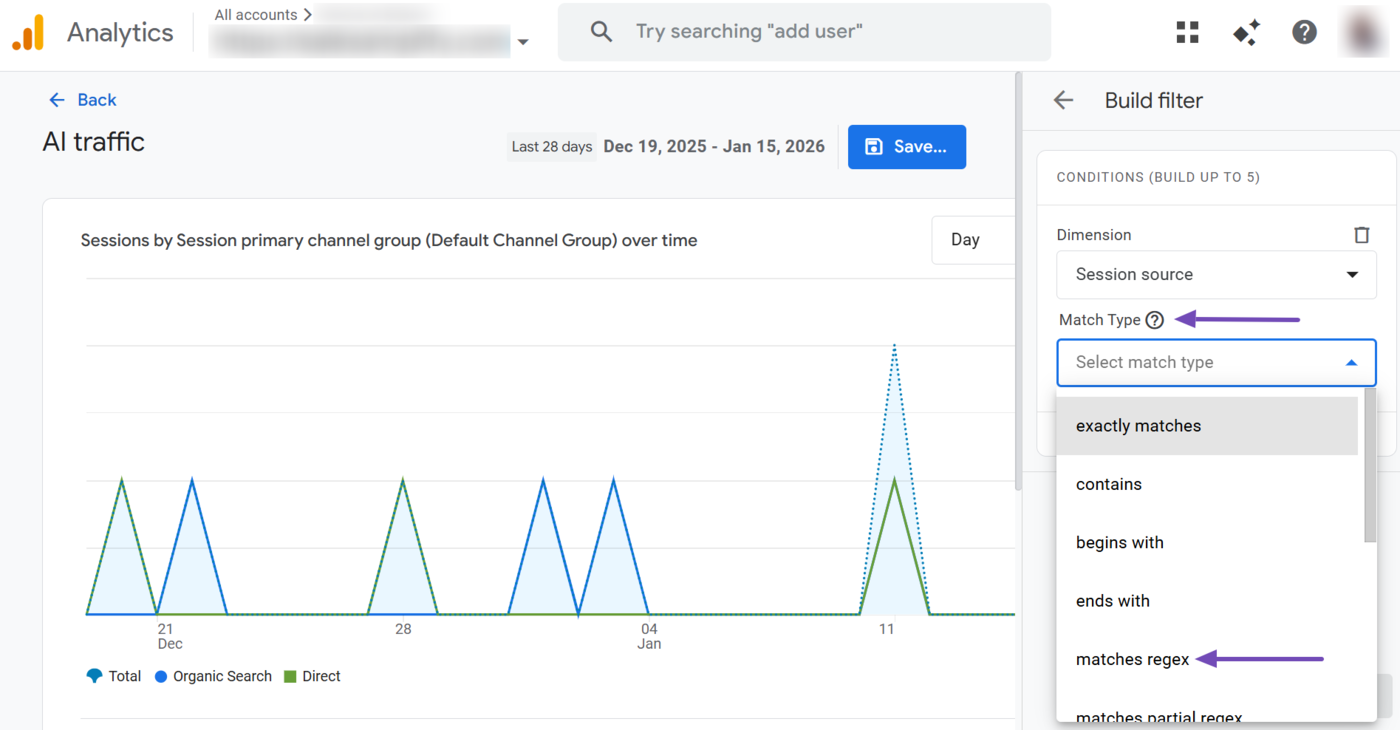
Now, type session source into the Dimension dropdown. The dropdown will display the Session source option. Click on it.

Set the Match Type to Matches regex.
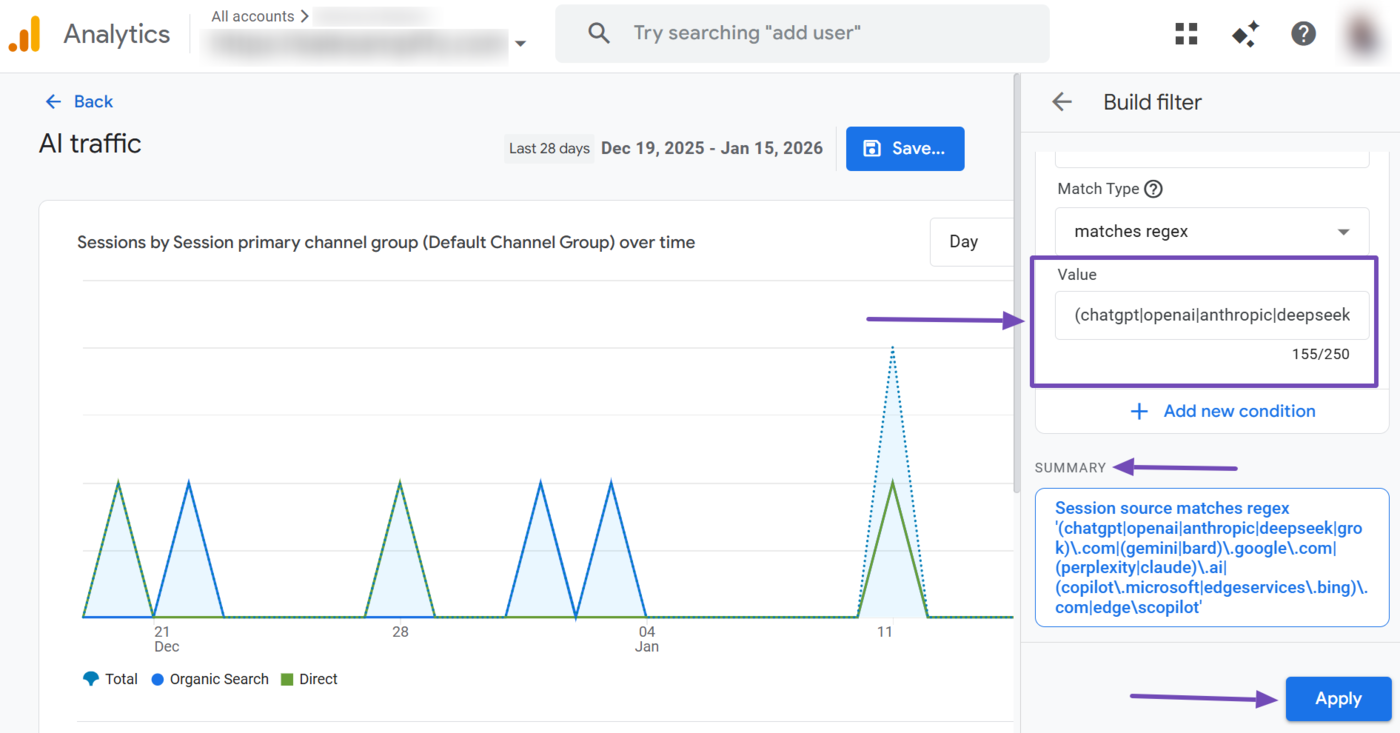
Then copy the regex code below and paste it into the Value field.
(chatgpt|openai|anthropic|deepseek|grok)\.com|(gemini|bard)\.google\.com|(perplexity|claude)\.ai|(copilot\.microsoft|edgeservices\.bing)\.com|edge\scopilotThis is what the Value field should look like after you have pasted the regex code. The regex code will also be displayed in the Summary field. Once done, click Apply.
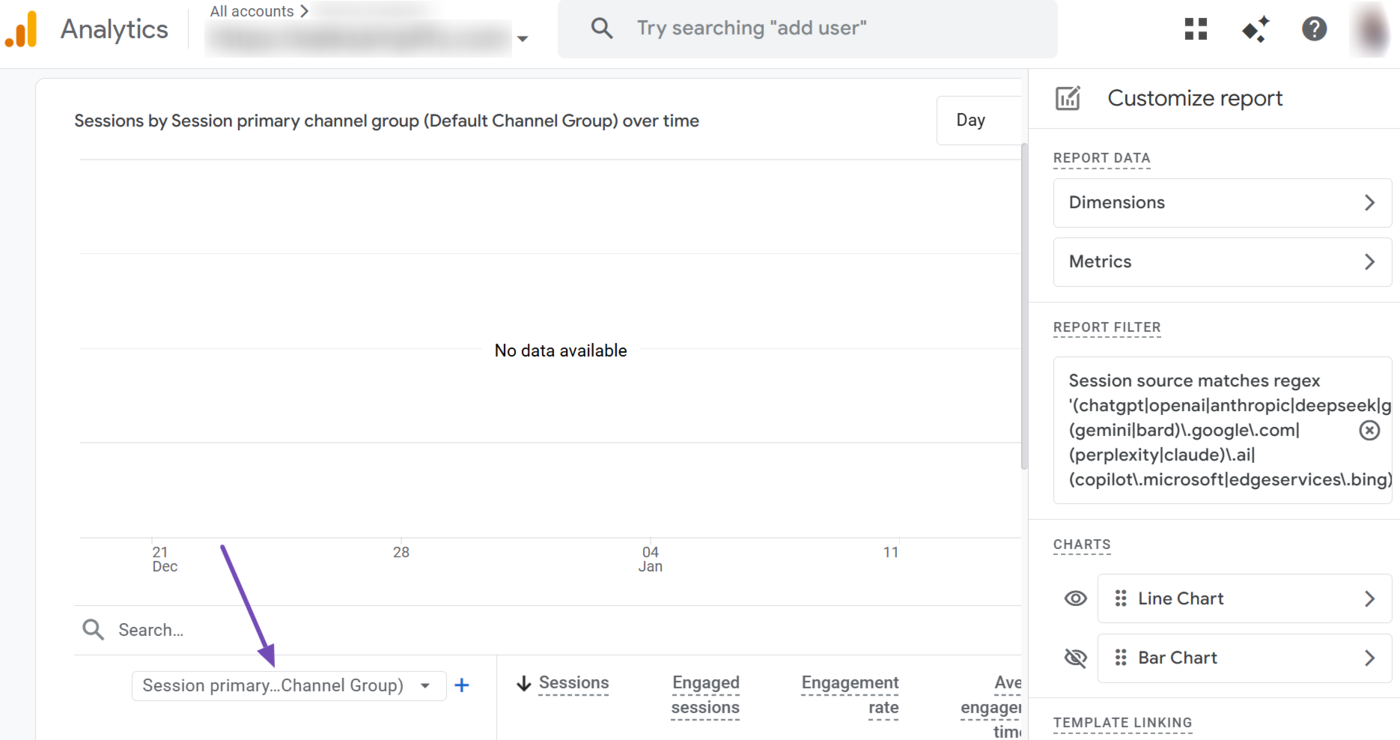
Now, click on the Session dimension dropdown, as shown below.
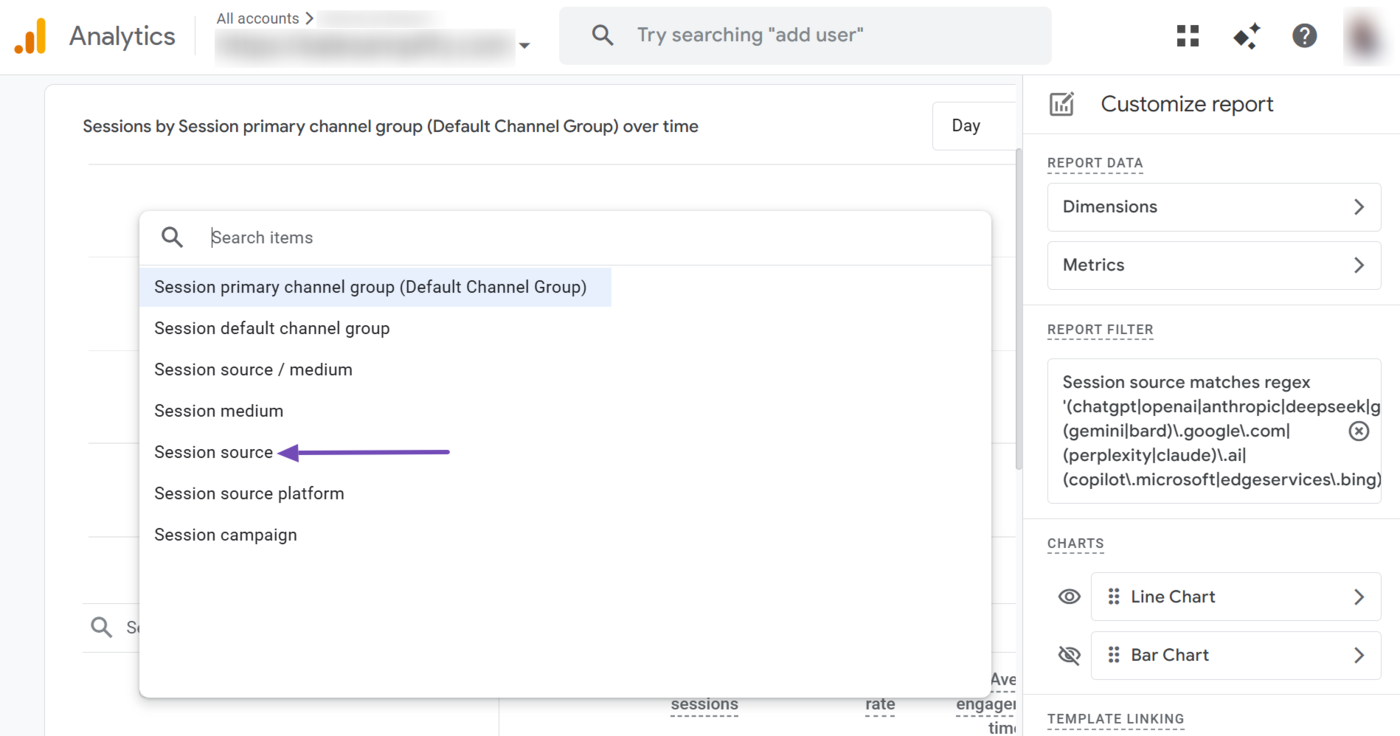
Then, select Session source. The sources of your AI traffic will now be visible to you.
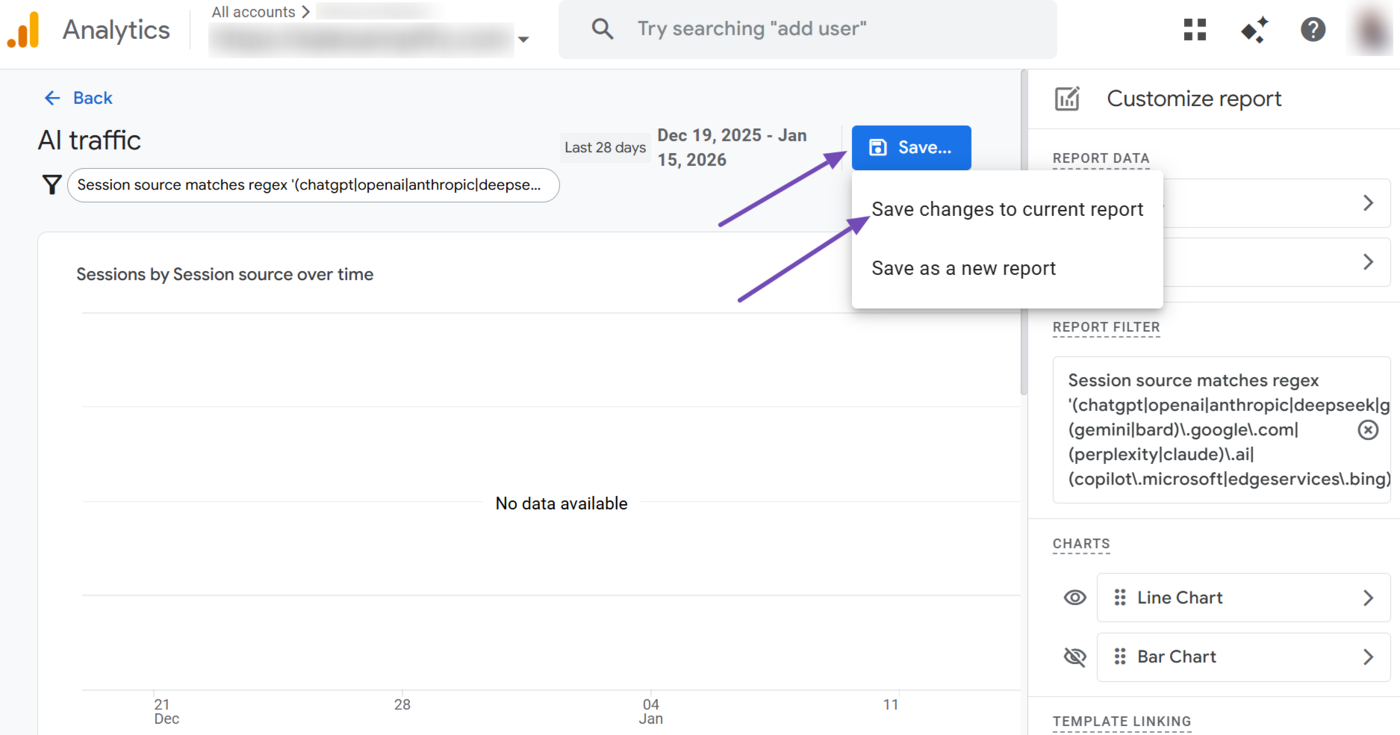
Now, head to the top of the report and click Save. Then select Save changes to current report.
You have now configured and saved your AI traffic report. It is now time to place it in your Google Analytics 4 sidebar. This ensures you can quickly view it from your dashboard.
3 Add the AI Traffic Report to Your GA4 Sidebar
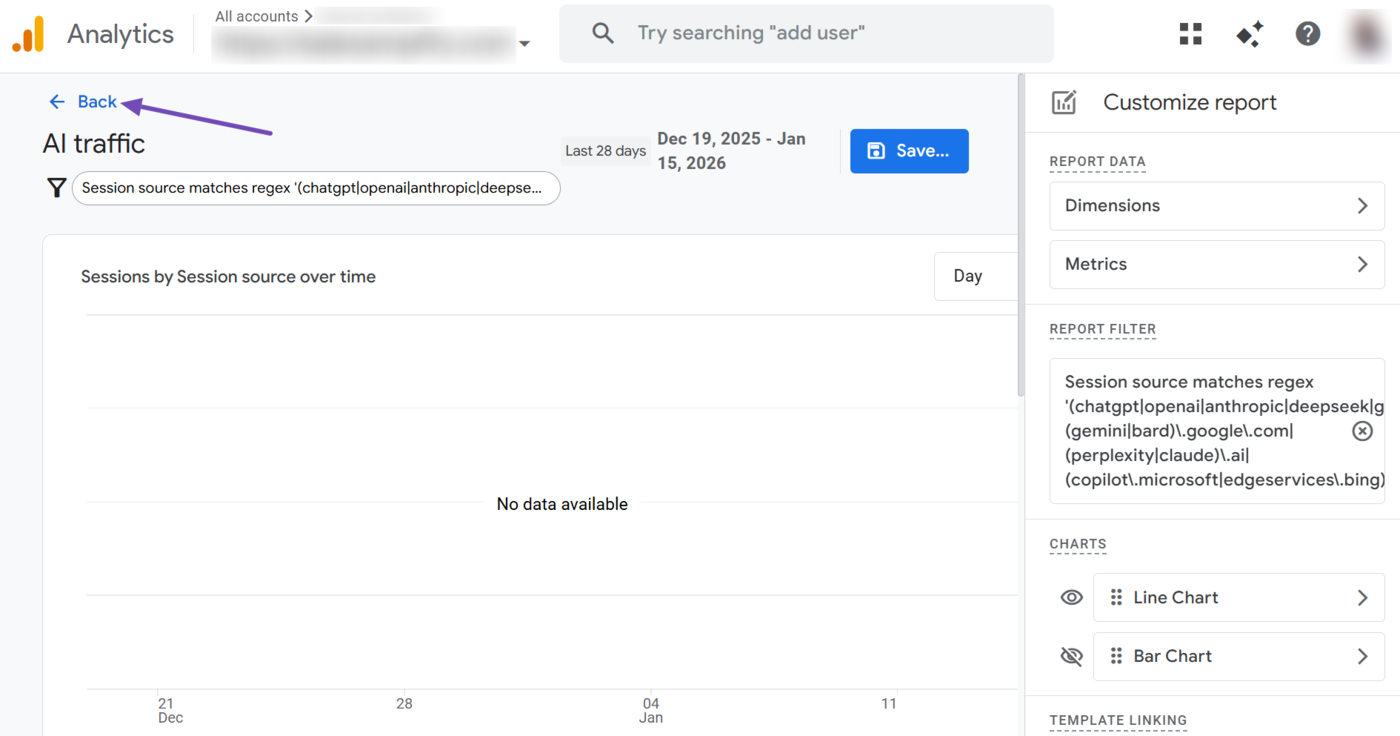
To get started, click Back to return to the Library.
Alternatively, from your Google Analytics dashboard, click Reports → Library to return to the Library.
Once in the Library, head to the Business objectives collection and click the three dots.
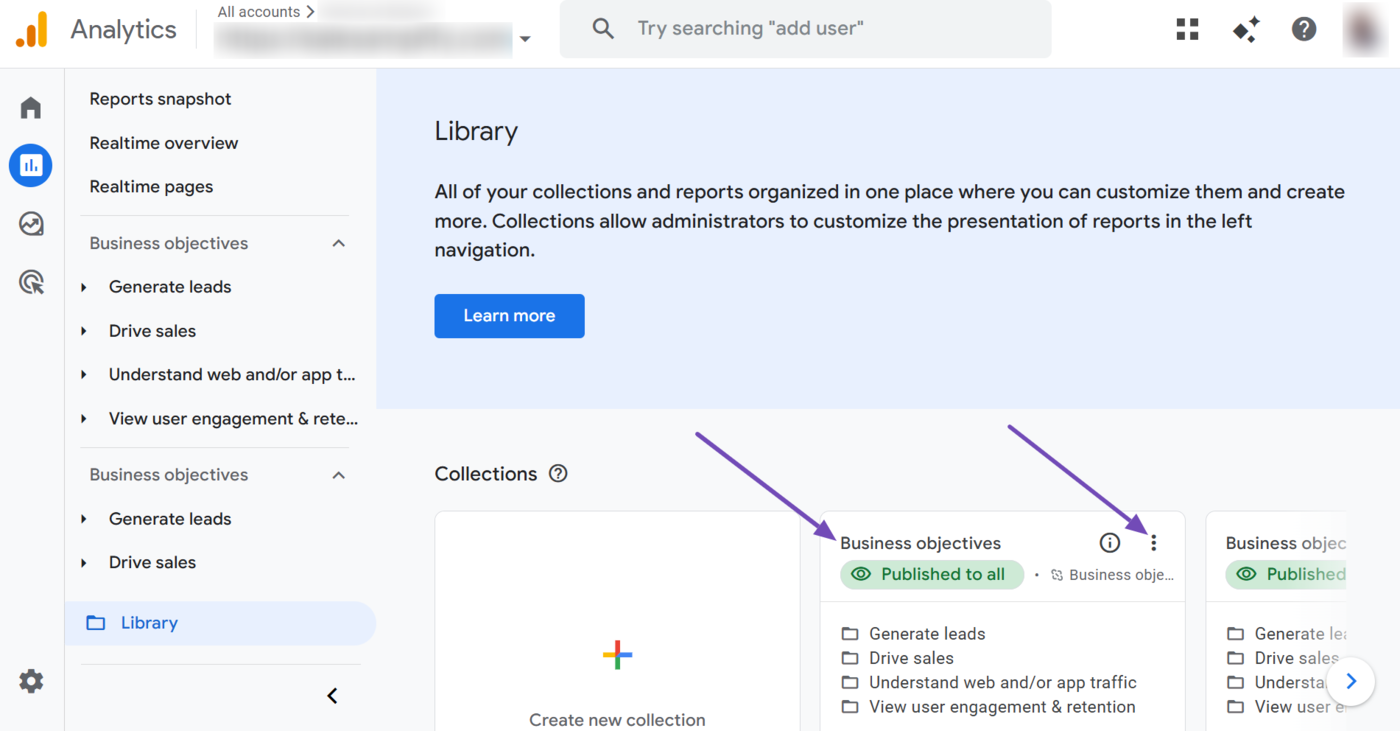
Select Edit.

In the Search reports field, enter AI traffic. The AI traffic report you just created will be displayed, as shown below.
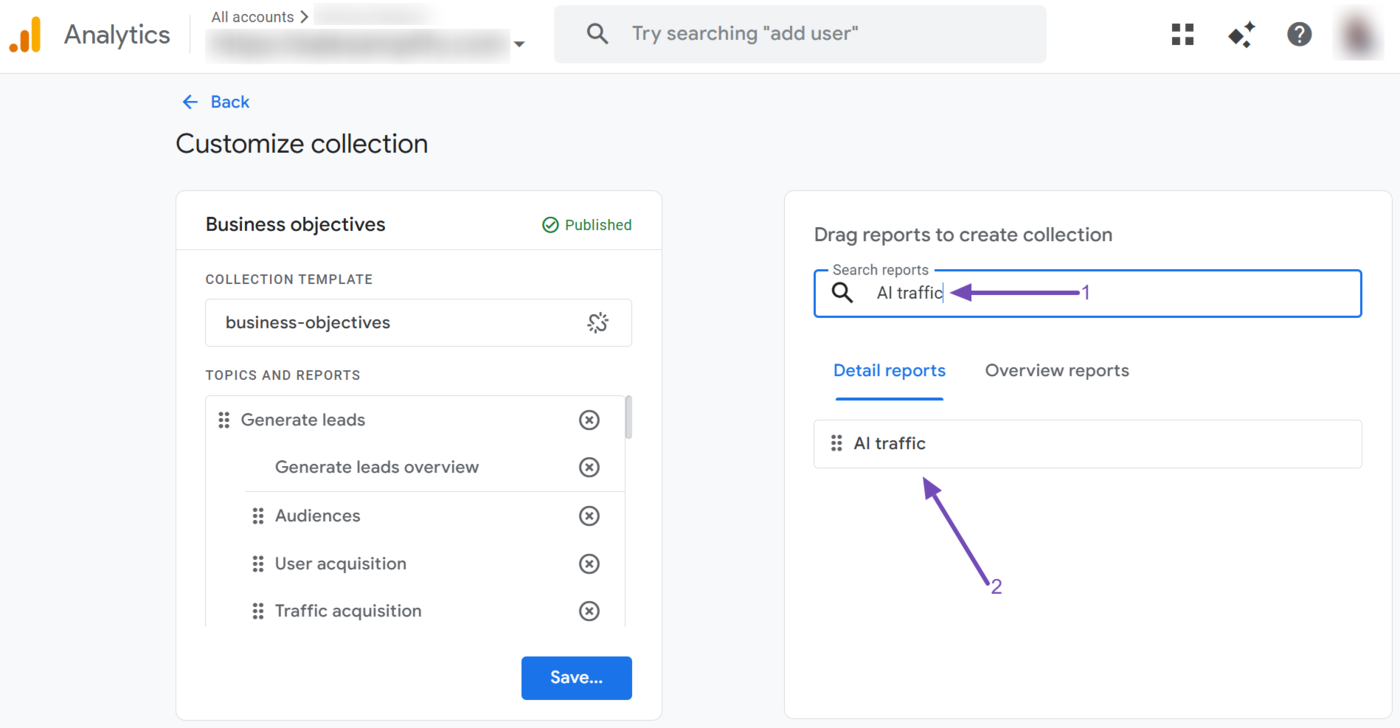
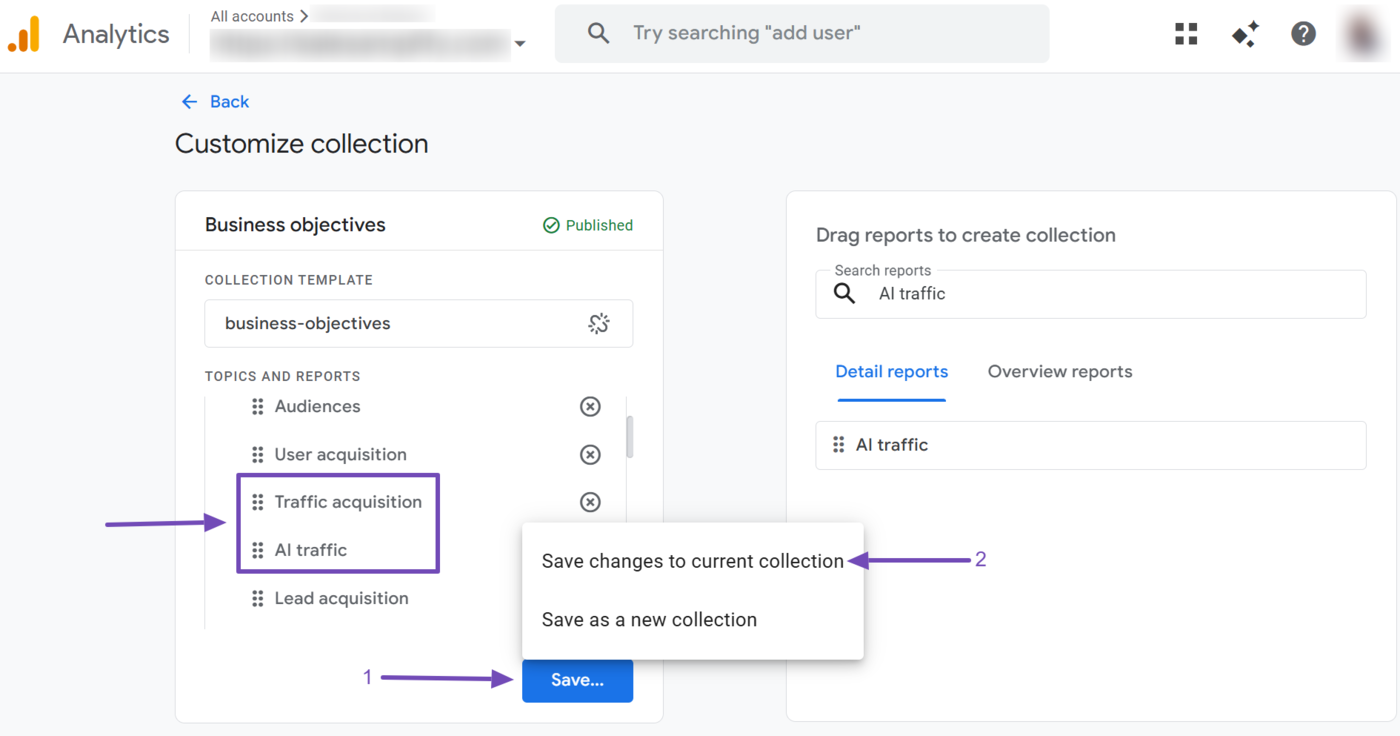
Now drag the AI traffic report into the Topics and Reports field. It is recommended to place it under Traffic acquisition.
Once done, click Save and select Save changes to current selection.
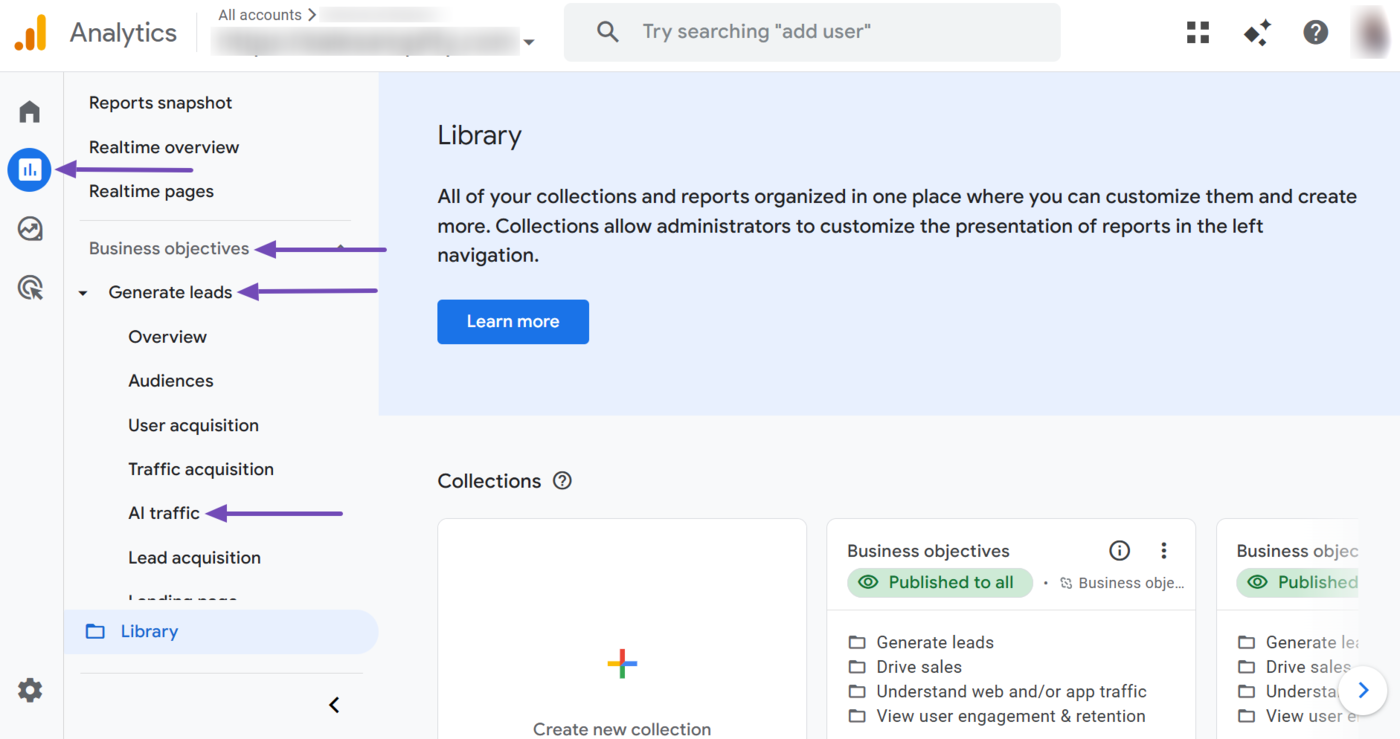
The AI Traffic report has now been added to your Google Analytics 4 sidebar. You can easily view it by heading to Reports → Business objectives → Generate leads → AI traffic from your dashboard.
That is how to view your AI traffic in your Google Analytic 4 sidebar. If you have any questions about using Rank Math, you’re always more than welcome to contact our dedicated support team, who are available 24/7, 365 days a year…